Learn How to Unbox Your Cricut Maker, Walk Through Each Tool, Install Design Space and Create Your Very First Project.
Table of Contents
Cricut Maker Unboxing
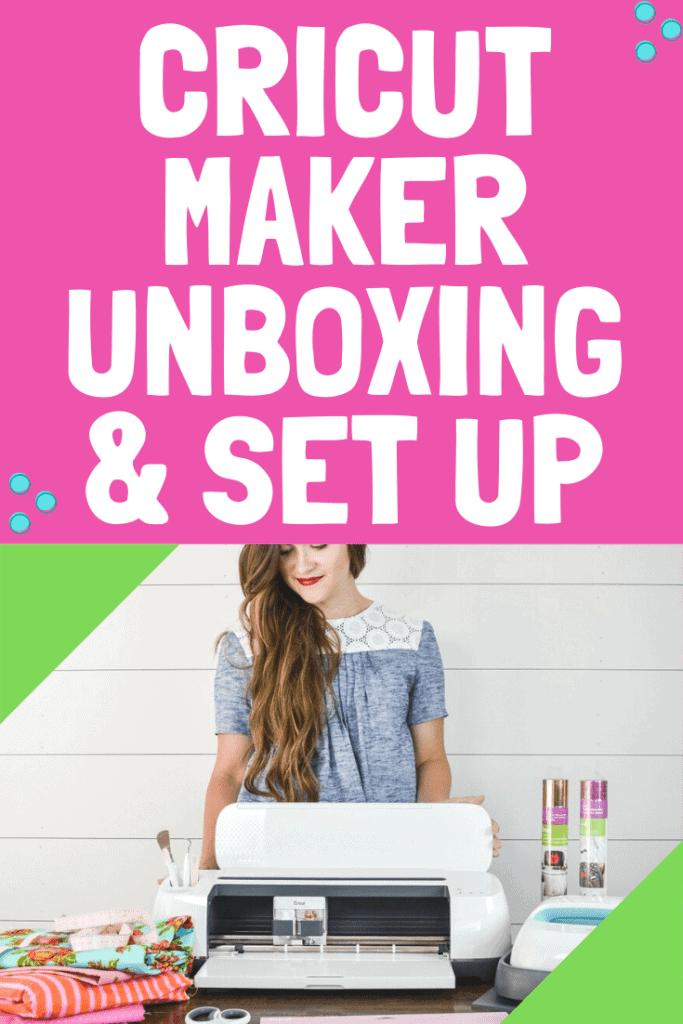
Today, I'm walking you through my Cricut Maker Unboxing and setting up your Cricut Maker machine. Whether you just purchased your machine or it’s been sitting in a closet gathering dust, this post is for you! Let’s go ahead and open up this box!
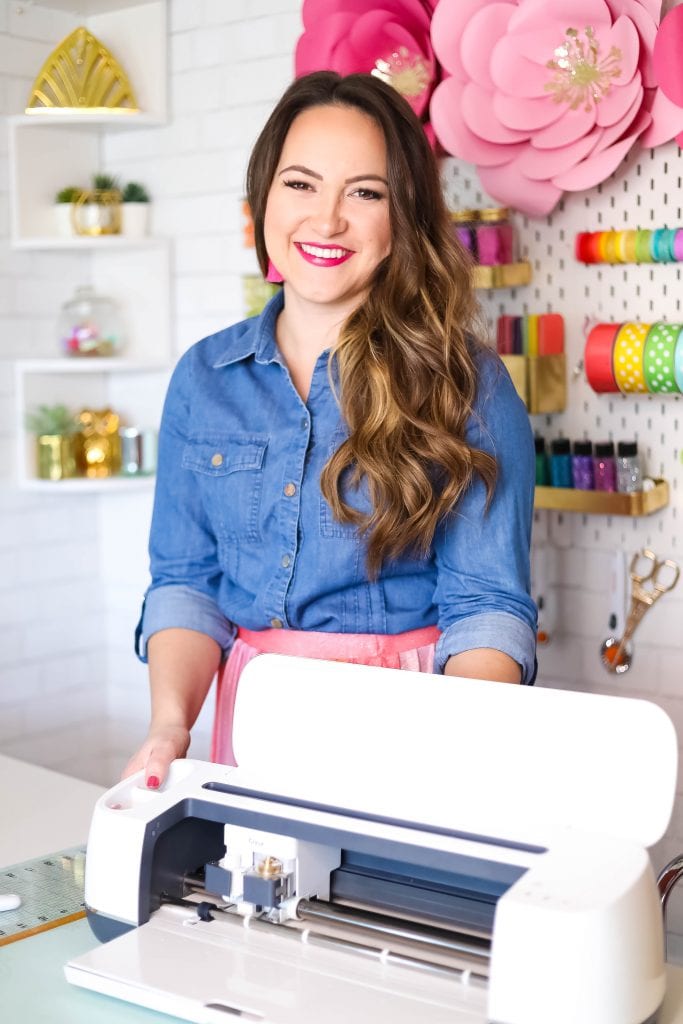
Don't forget to watch the attached video! It will guide you through every single step!
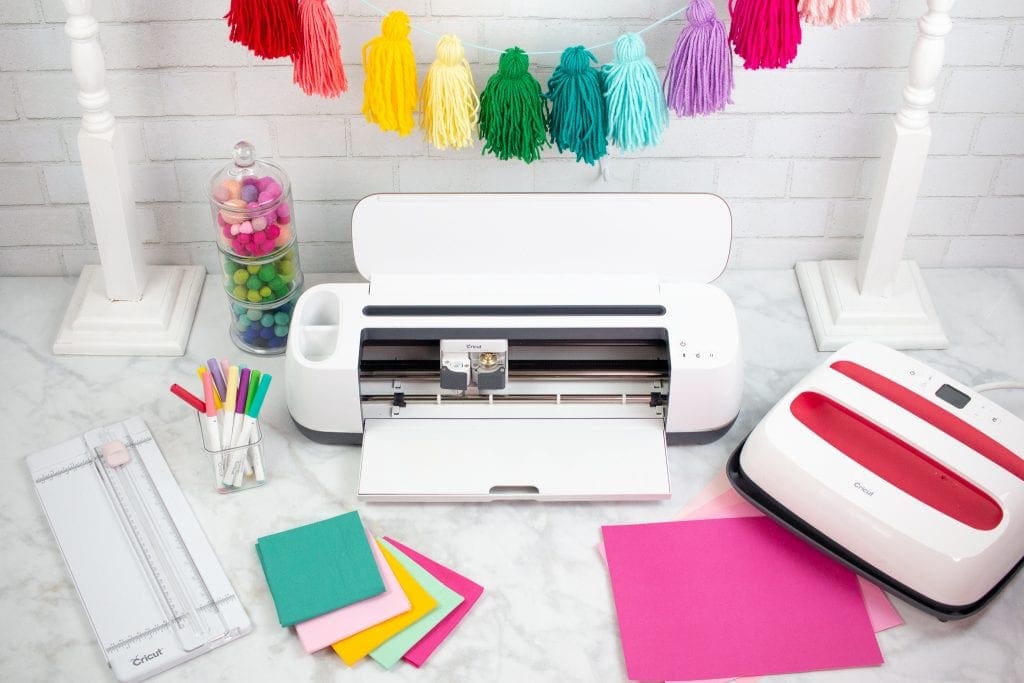
What's Inside of the Cricut Maker Box?
Once you open the box you’ll find a Let’s Get Started Box which contains the materials for your very first Cricut Maker project.
Let’s set this aside for just a minute and we’ll come back to it later.
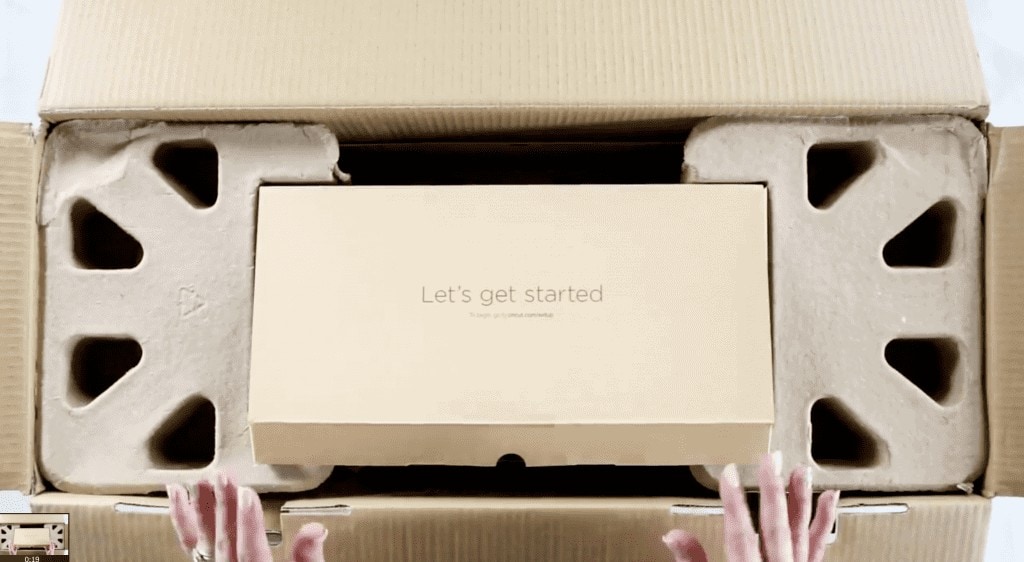
Next, you’ll see the Open Me First Envelope which is filled with cards to easily guide you through this process. You can go ahead and go through each card or you can stick with me and I’ll walk you through each step.
Inside you’ll find the Welcome Book which is filled with information about what your machine can cut, the different tools and blades, as well as photos of sample projects to inspire you. You’ll definitely want to spend a few minutes reading through this booklet!
To the left, you’ll find the Rotary Blade and Housing. Remove it from its protective packaging and set it aside for now.
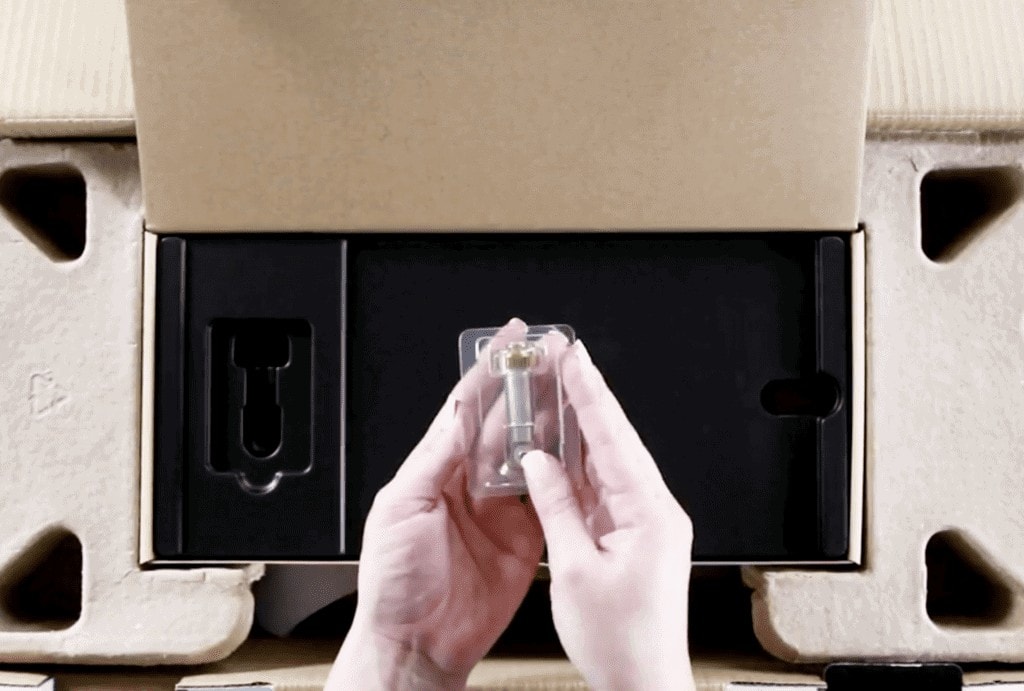
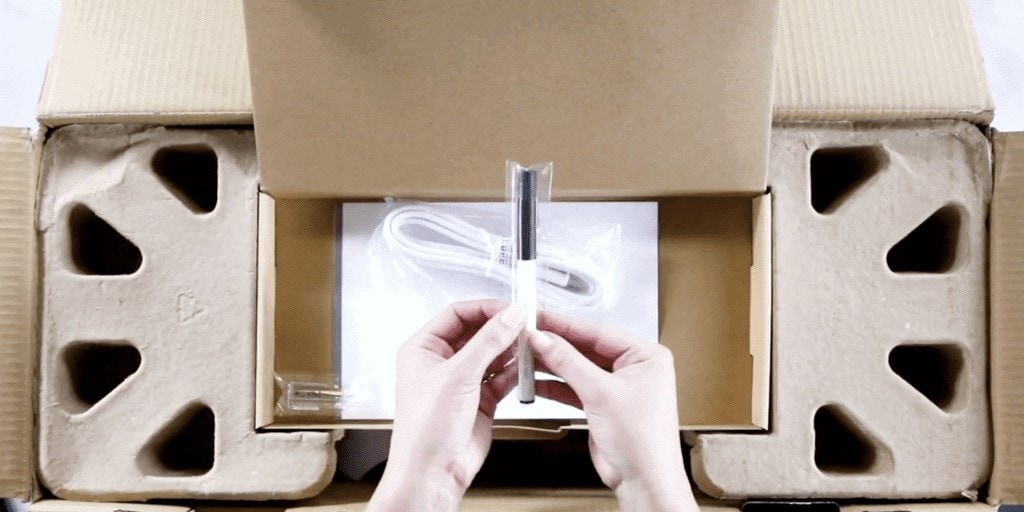
Underneath you’ll find a Cricut Fine-Point Black Pen, a USB Cord as well as your Machine Warranty.
There are two 12x12 mats inside of the box.
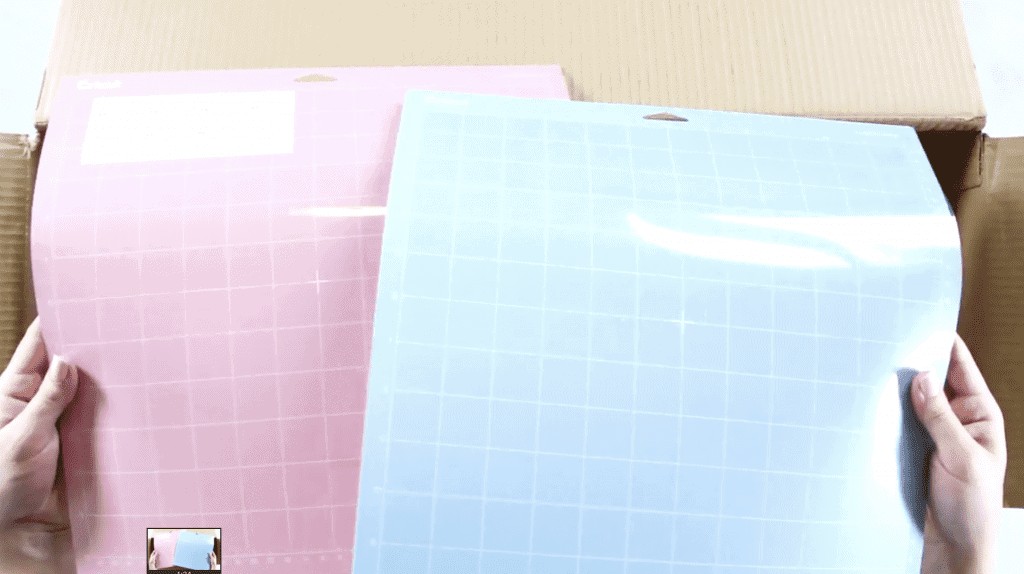
The mats will come slightly rolled up but don’t worry, they will flatten out quickly! The blue light grip mats is ideal for lighter weight materials like paper and cardstock, while the pink fabric mat is designed for fabric and is able to withstand the extra pressure needed to cut fabric.
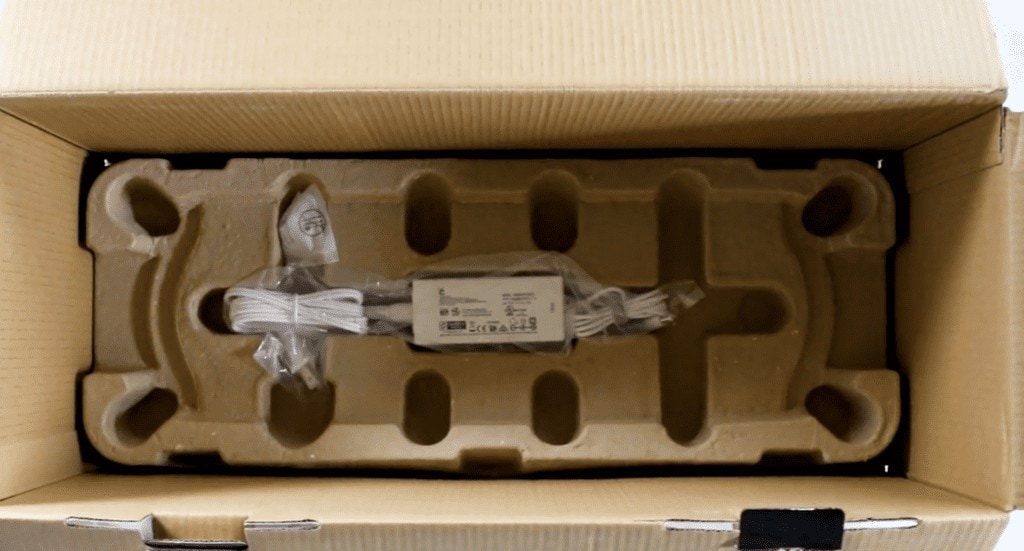
Located underneath the Maker is the Power Cord.
Remove the plastic from the machine and lift the top to open the Cricut Maker and then remove the styrofoam. Isn’t this machine beautiful?
How to Use the Cricut Maker Buttons
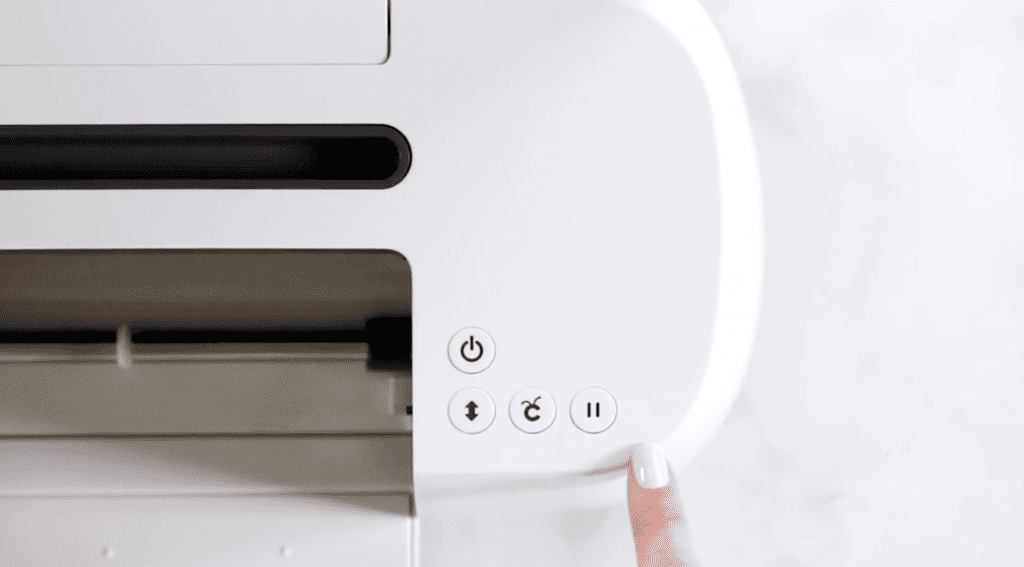
On the right-hand side of the machine you’ll see 4 different buttons.
- First we have the Power button which powers the machine on and off.
- The Load/Unload button feeds the mat in and out of the machine
- The Go also referred to as the Cricut button can be pressed to start a project.
- Finally, we have the Pause button which can be pressed during a project to temporarily stop the cutting process.
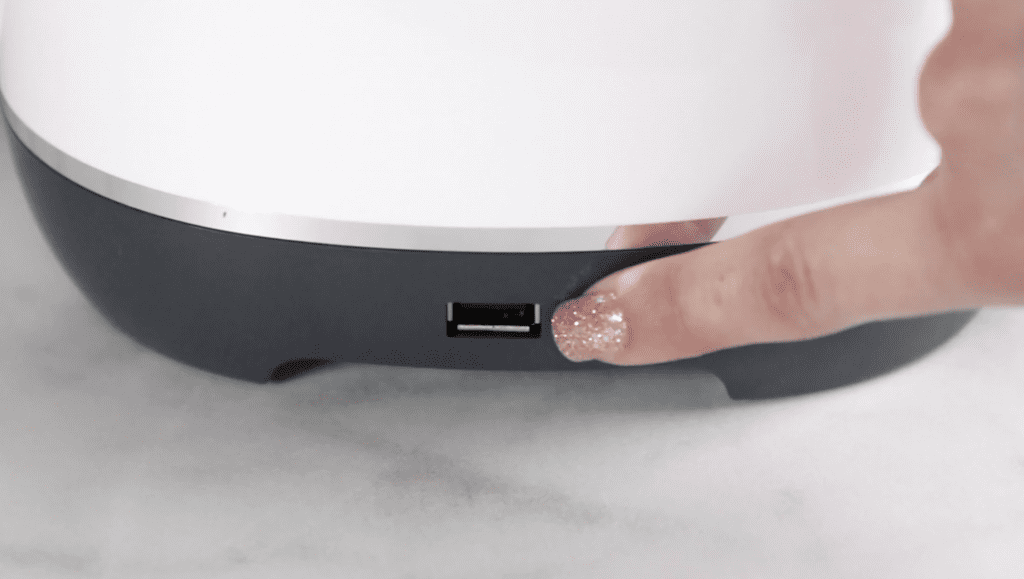
Now, Cricut really thought of EVERYTHING when designing this machine. The slot along the top of the Maker holds your phone or tablet and it’s great for pulling up Design Space while crafting. Just in case you’re low on battery, a USB charging port is located on the side of the Maker to keep you fully charged!
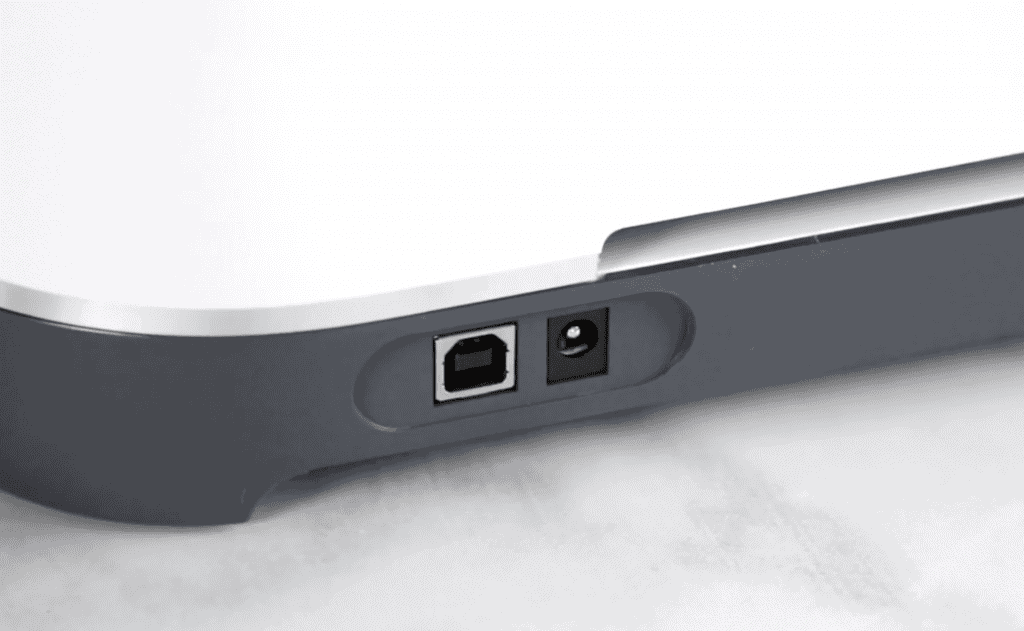
The power plugin is located on the back of the machine. Let’s go ahead and plug the power cord in right now!
Adaptive Tool System
Inside of the machine is the Adaptive Tool System. This is the driving force of the entire Maker machine.
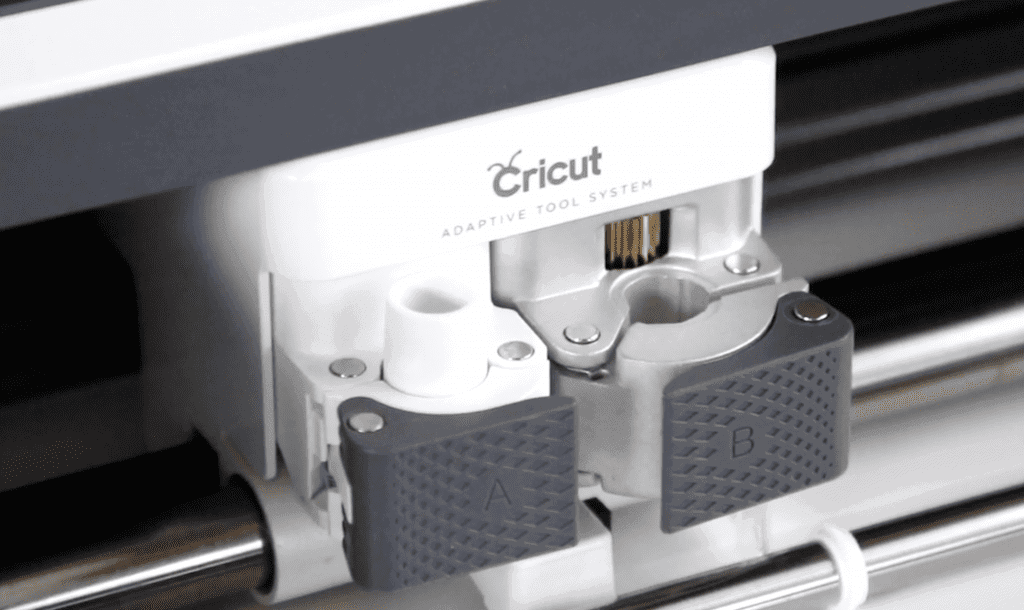
The accessory adapter comes preinstalled in clamp A and can be used to hold pens or a scoring stylus.
The Fine Point Blade comes preinstalled in clamp B. Clamp B has gears that interlock with certain Maker tools creating greater precision and control.
Cricut Maker Storage
On the left-hand side of the Maker, you’ll notice the storage cup. Each compartment is lined with a silicone layer. You can store your blades here without worrying about damaging them.
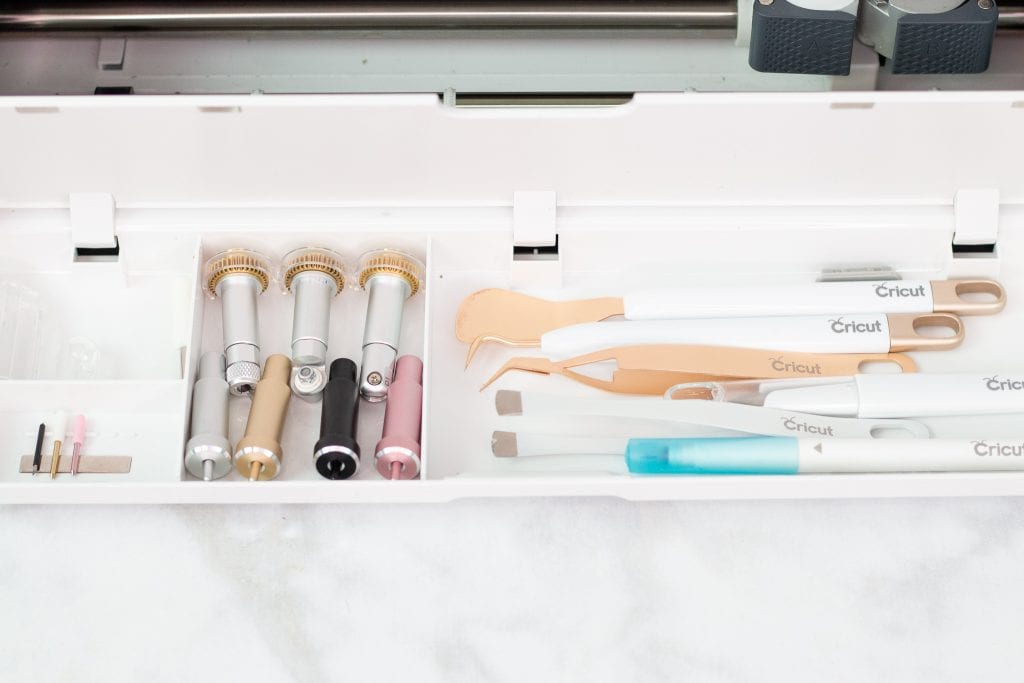
At the bottom of the Maker, you’ll find an additional storage compartment! This one has three separate sections to help you organize all of your tools.
The largest compartment is ideal for larger tools like pens, a stylus, weeders and, tweezers.
To fit blades with a drive housing in this compartment make sure they are stored flat side down.
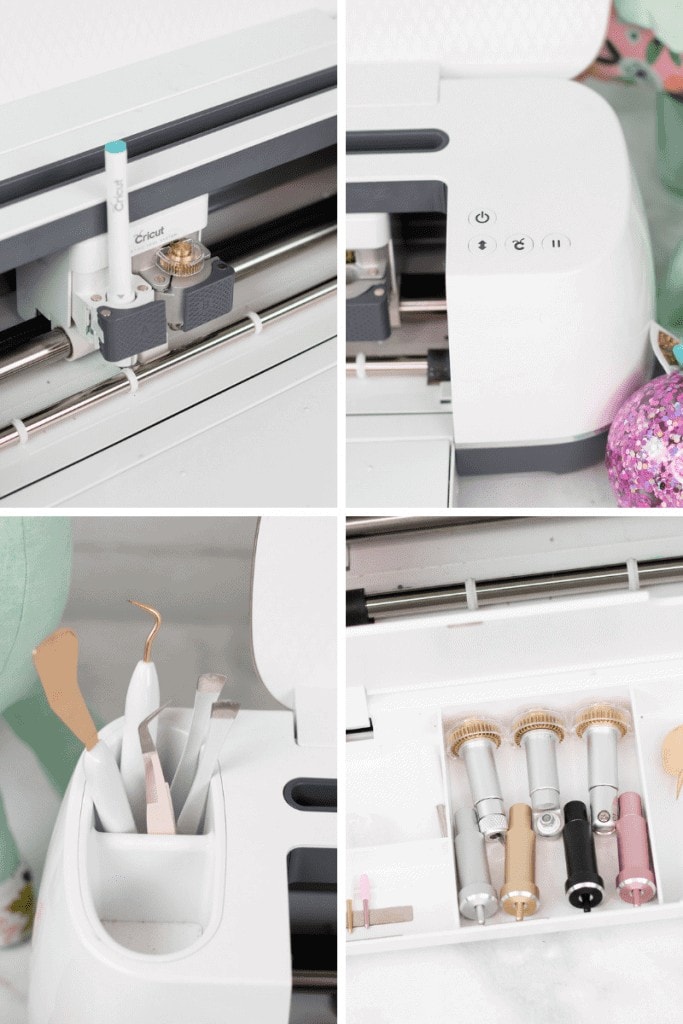
The smallest compartment features a magnetic strip that’s perfect for storing replacement blades so that they don’t get lost!
Design Space Installation
Now, it’s time to start the installation process!
Click here to get started www.cricut.com/setup
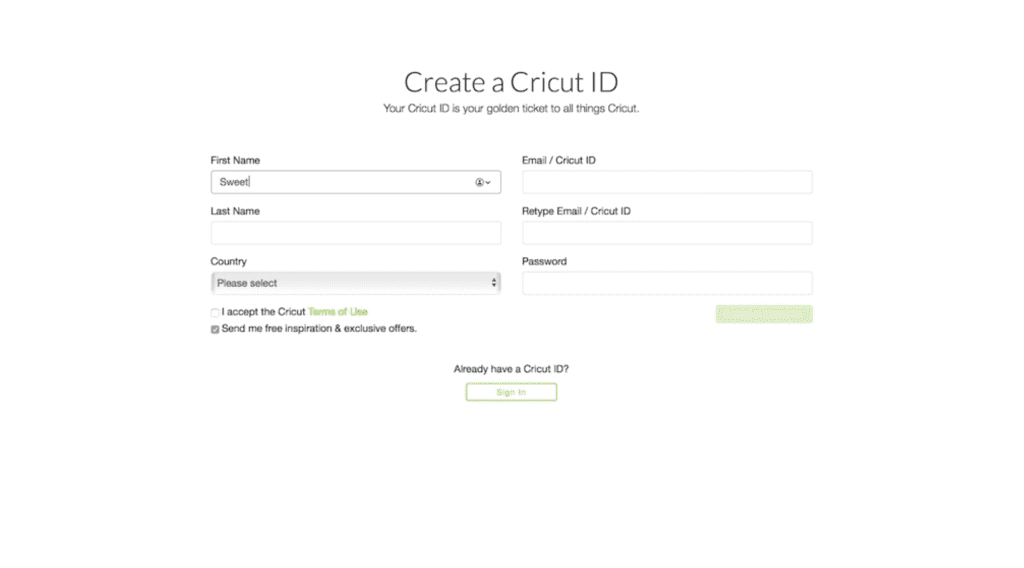
Create a Cricut ID and password. This will allow you to create your own account and access your files from anywhere.
All Cricut machines come with a 1-month free trial of Cricut Access for new subscribers. This will give you access to over 100,000+ images, hundreds of fonts and a collection of ready-to-make projects.
You’ll definitely want to take advantage of this, and when the trial is over, I recommend extending your Cricut Access to keep these amazing benefits and save an additional 10% on any Cricut.com purchase!
In addition, to your trial, your Cricut Maker comes with 50 Free Ready-To Make projects which includes 25 sewing patterns.
Cricut Maker Set Up
On the Let’s Get Started page, select Cricut Maker.
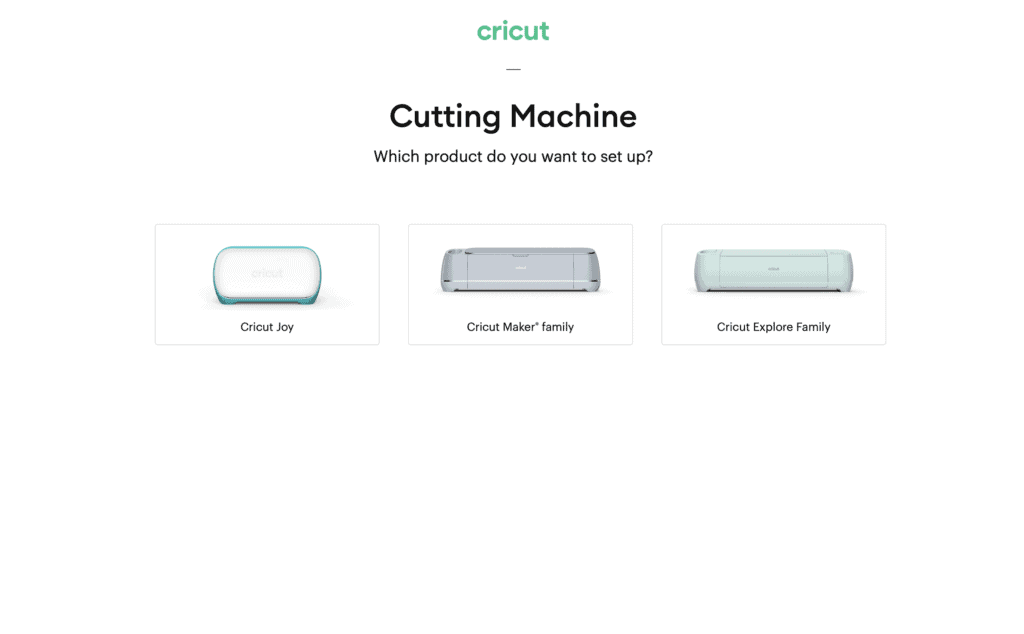
Follow the prompts listed on the screen.
If at any point you get stuck or experience a problem you can contact Cricut Customer Care for extra assistance during this process!
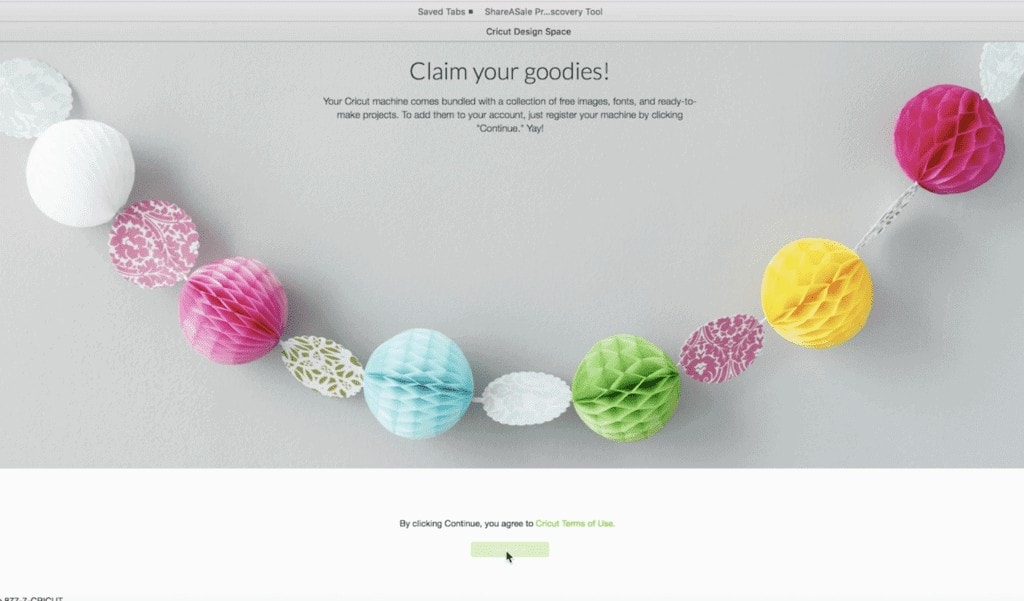
Go ahead and claim your goodies by clicking Continue.
How to Set Up Your Cricut Maker First Project
Now it’s time to get started on our very first Cricut project! Are you excited?
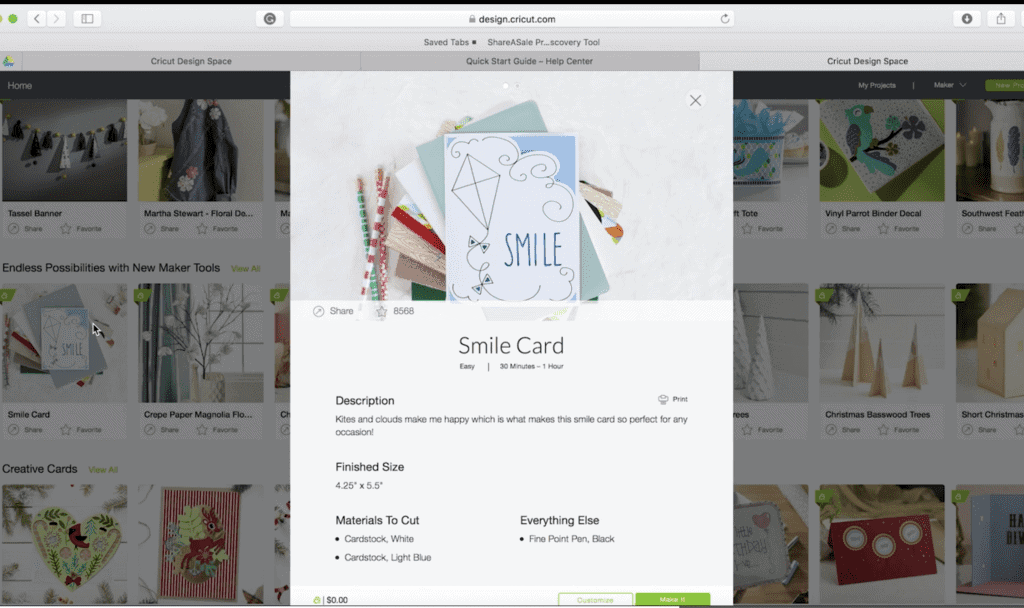
You’ll want to remove the clear plastic liner from the Cricut mat. Don’t throw this away! Set it aside and place it back on the mat once you’ve finished your project.
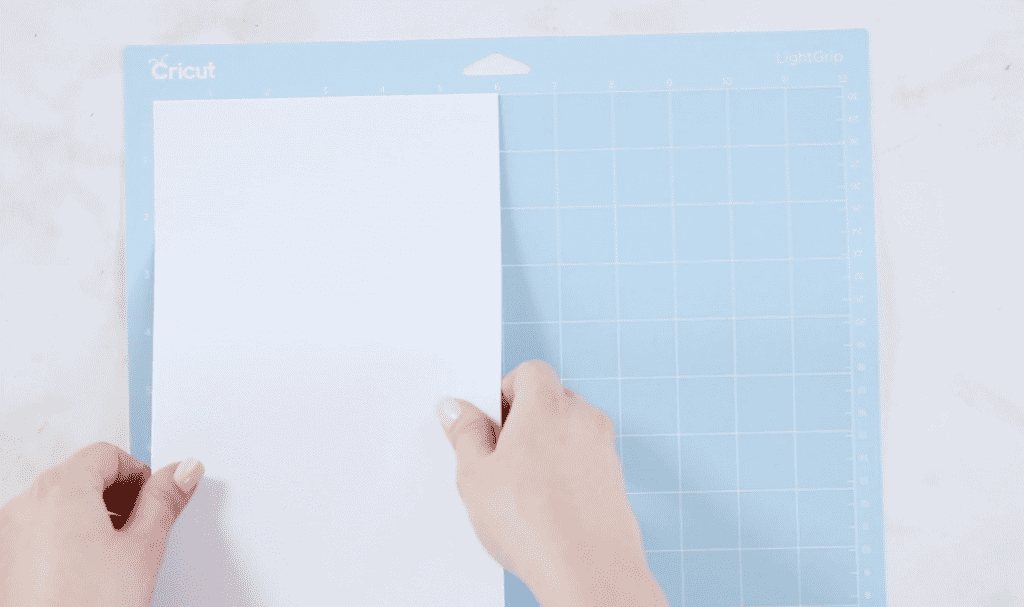
Place the cardstock paper on the blue mat aligning the edges with the outermost grid lines.
In Design Space, set the material to Medium Cardstock. Insert the black marker into the adapter A clamp.
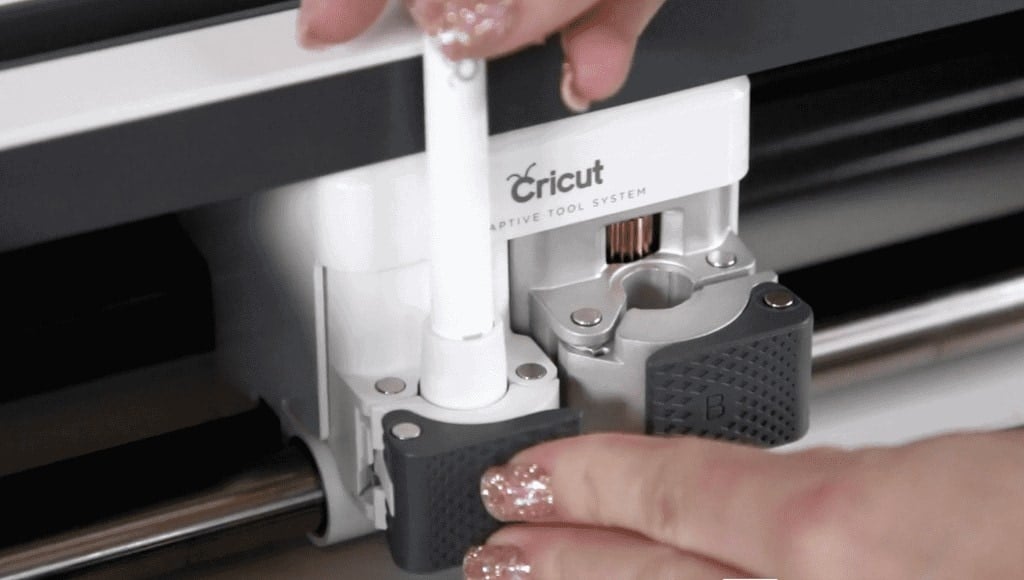
With two hands insert the mat into the machine making sure It’s even on both sides. Press the load button to pull the mat into the machine. Make sure you have at least 10 inches of space behind the machine so the mat can move freely during the cutting process.
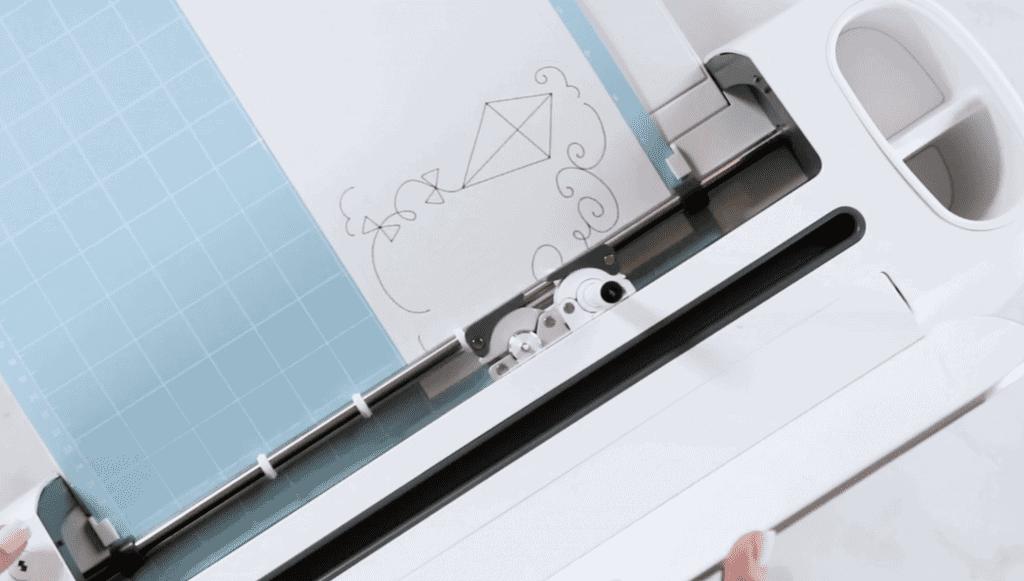
Press the Flashing GO button to begin drawing. The machine will draw the entire design for you. How neat is that?
Once the entire design has finished drawing the Maker will begin cutting.
Unload the mat, remove the pen from Clamp A and close the clamp. Flip the mat over and peel it away from the cardstock.
Go ahead and fold the card in half, insert the liner into corner slots. Continue following the Design Space prompts.
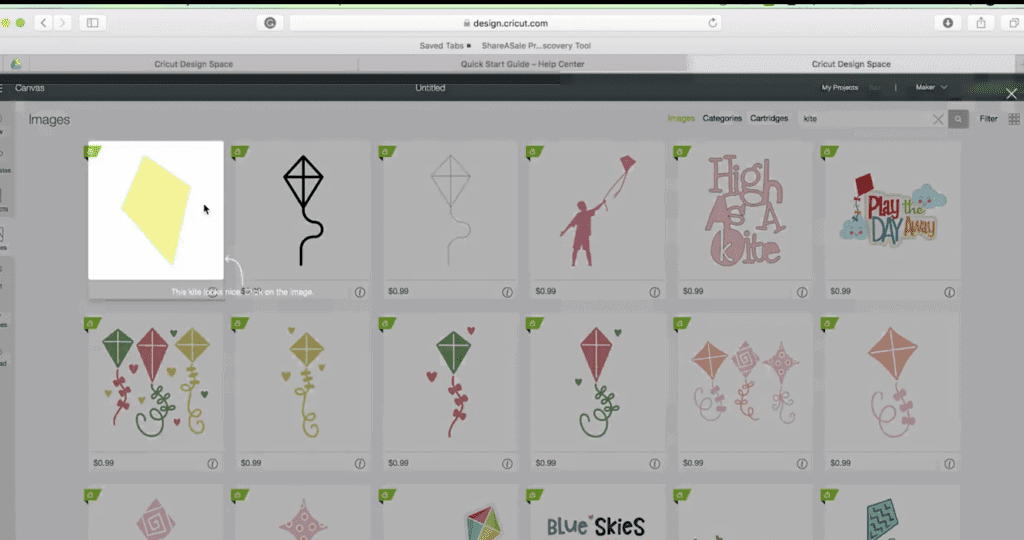
Slide the blue sheet of paper into the slots on the white card.
Select Cotton as your material. Open Clamp B, insert the Rotary Blade and close the clamp.
Click here to learn everything about using the Cricut Rotary Blade.
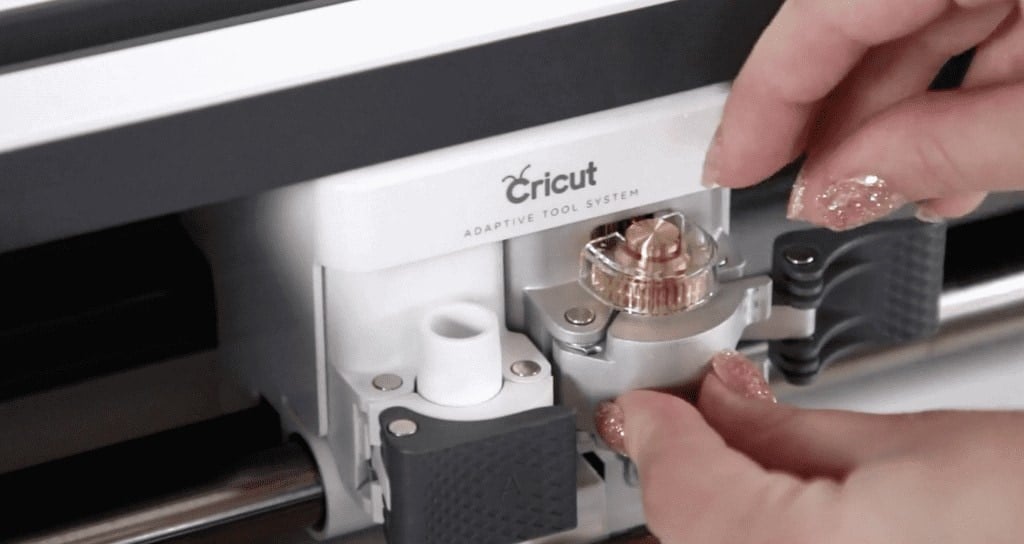
Apply the piece of fabric to the pink fabric mat. Making sure it’s aligned with the left-hand corner of the grid. Load the Mat and Press Go.
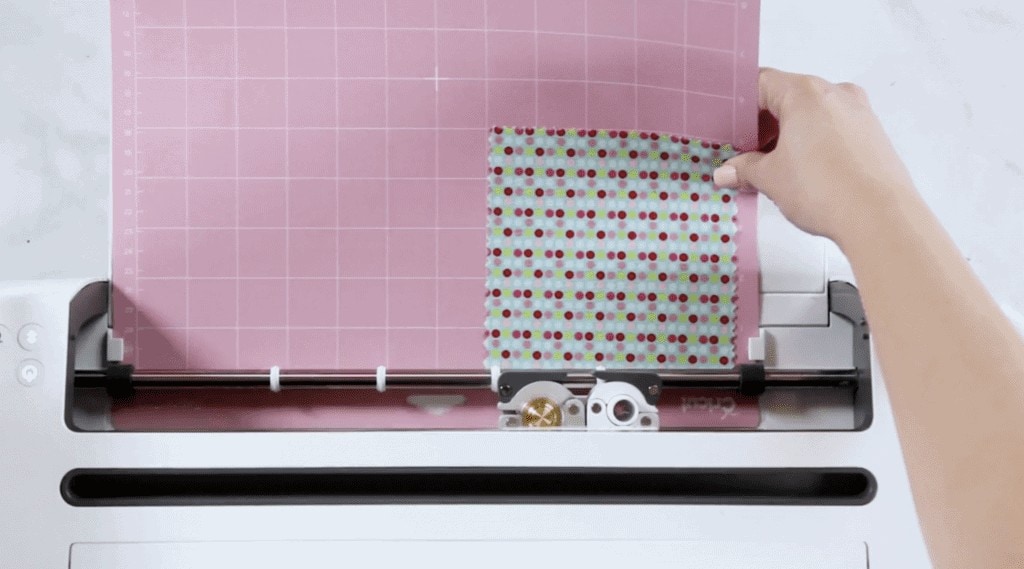
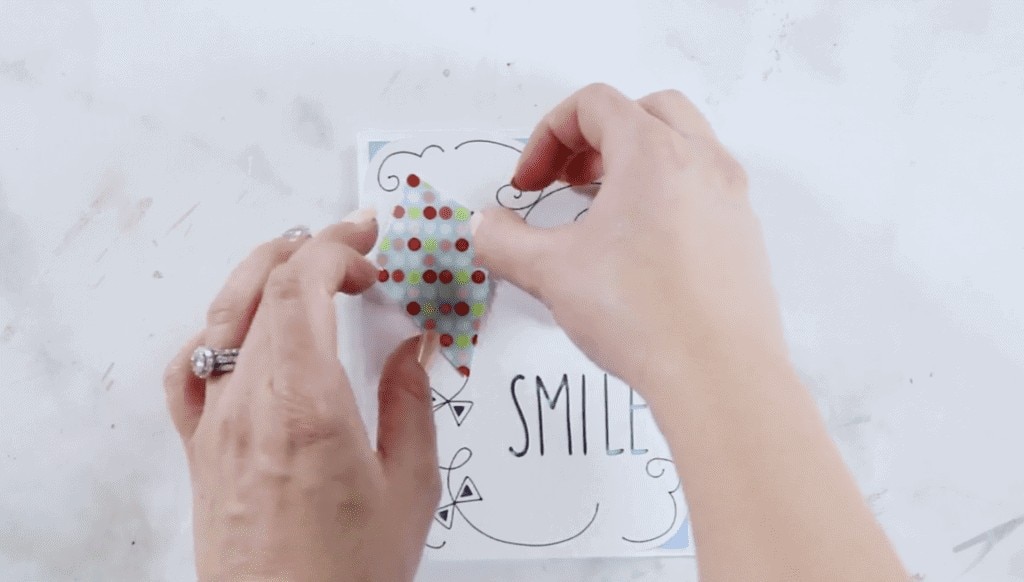
Once it’s finished cutting unload the mat and gently peel the fabric from the pink mat. With a bit of glue, adhere the kite to the card and you’ve finished your very first project!
Want to learn even more about your Cricut Maker? Click here!
Save this for later! Click here to save this on Pinterest.

Hi Kimberly, Where can I find the free projects that came with my Crivut Maker? The Maker has me a little intimidated.