Table of Contents
Everything You Need to Know about the Brand New Cricut Maker Cutting Machine
"With its revolutionary toolset, Cricut Maker cuts, writes, and scores more materials – with greater precision and control – than ever before. Plus, with more tools coming, Cricut Maker grows with you as you master each new craft." -Cricut
I've been hiding a secret for the past few months and I'm so excited to finally share all of the details with you!
[youtube https://www.youtube.com/watch?v=_NPI7nepqV4&w=560&h=315]
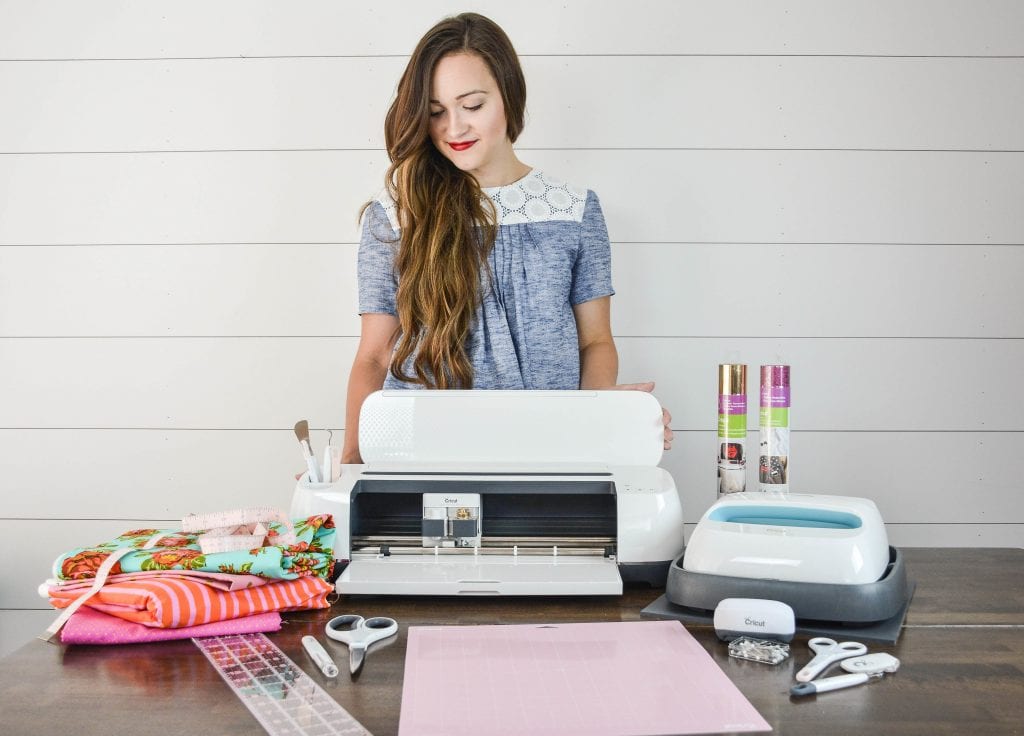
The new Maker machine from Cricut was released today and I can't wait to show you all of the amazing things it can do! I first got to test out this machine about a month ago at a Cricut Ambassador Retreat. A few weeks later I got my very own machine in the mail and I've been busy testing out all the amazing new features ever since! Let's just say I've had quite a few late nights while I've been busy playing with my new toy!
This machine is truly every crafter's dream!
Learn more about setting up your Cricut Maker here!
Be sure to check out all of my Cricut hacks to save you time and money here!
So, what exactly does the Cricut Maker do?
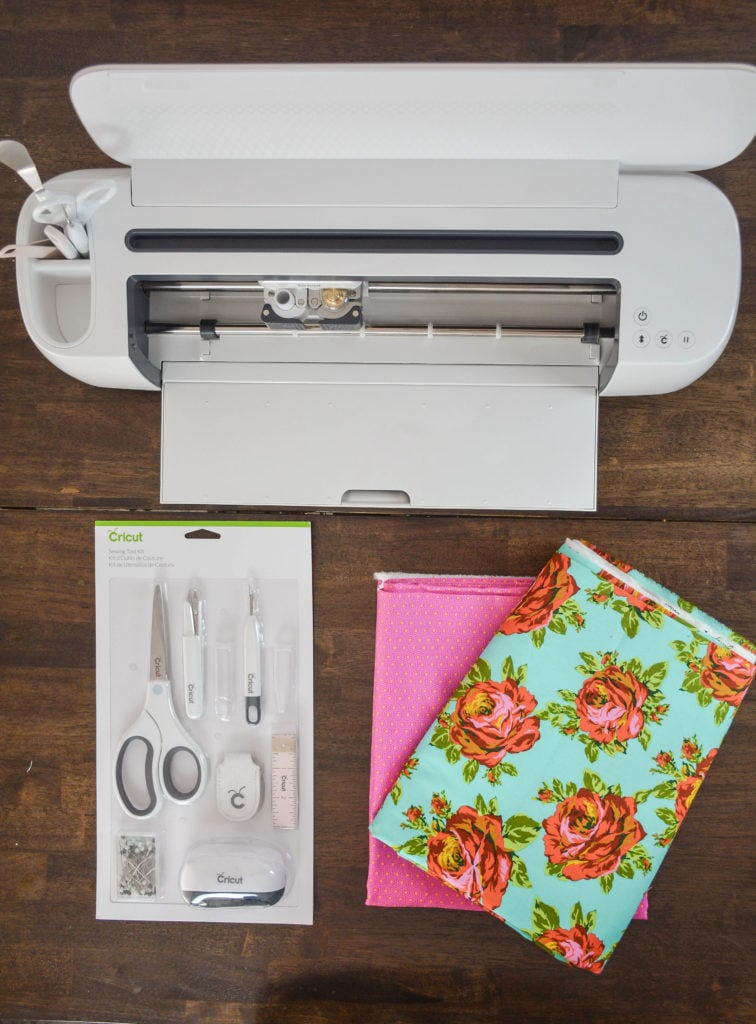
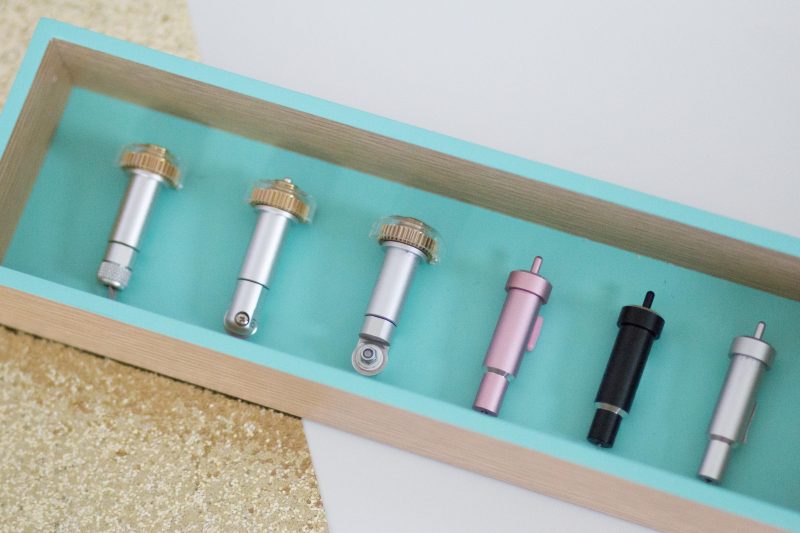
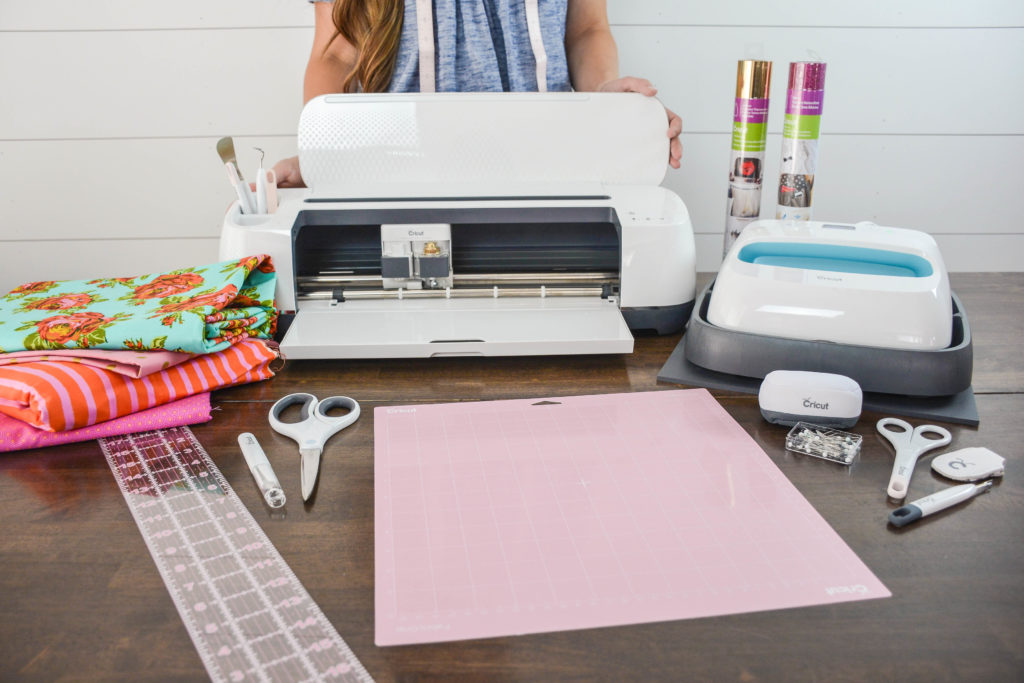
What sets the Maker apart from all the other cutting machines on the market is its adaptive tool system which allows you to write, cut, and score with incredible precision on a variety of different materials.
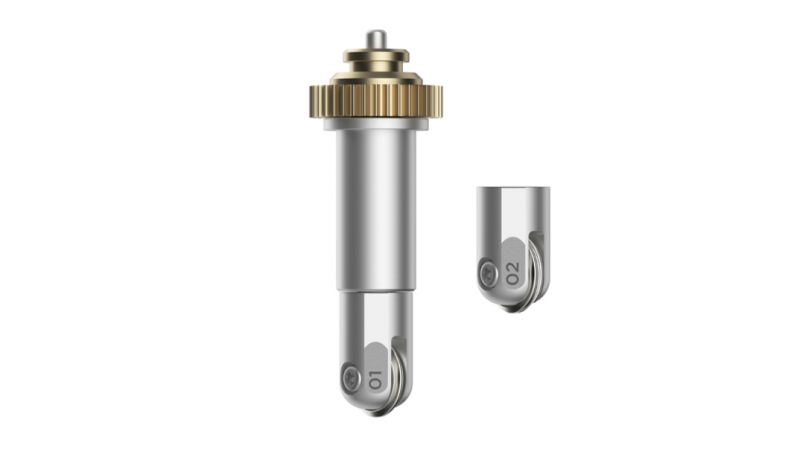
Cricut Maker Rotary Blade
First up, I have to tell you about the rotary blade. After all, this is a sewing blog, right?! This amazing little blade can cut intricate designs and does a wonderful job cutting fabric. So far I haven't met a fabric it couldn't cut through. I can't tell you how long I've been waiting for a machine that could easily cut fabric without it needing to have a backing attached. I can finally make all those busy books that I've had planned for the past three years!
The rotary blade allows you to precisely cut virtually any type of fabric as it smoothly glides and rolls across the fabric. New to sewing? Choose a pattern from Design Space that includes seam allowances markings and the Cricut Maker Fabric Pen will draw in all of the stitching lines for you leaving no room for error!
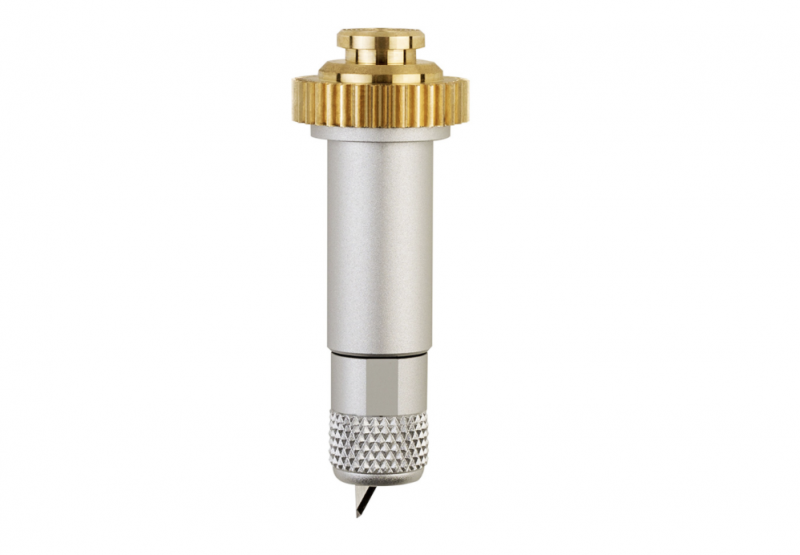
Cricut Maker Knife Blade
It also has a Knife Blade which is perfect for cutting thicker materials like balsa wood, heavy leather, mat board, and chipboard. (Pretty amazing right?) I can hardly wait to start creating some fun home decor items to hang on my walls! This machine has 10 times more cutting power than any other machine in its class, which is pretty impressive, to say the least. Imagine an X-ACTO blade but with incredible precision and greater force, that's the knife blade for you!
Cricut Maker Scoring Wheel & Double Scoring Wheel
The scoring wheel is every paper crafter's dream come true! Gone are the days of scoring by hand! The Maker does the hard work for you by creating perfect creases on a variety of materials without any cracks!
Cricut Maker Bonded Fabric Blade
This blade makes cutting intricate fabric appliques a breeze! This blade requires a bonded backing in order to cut and is every quilter's dream tool!
Cricut Maker Fine-Point Blade
The Maker machine still uses the Fine-Point Blade which is perfect for everyday projects like paper, Iron-On, and Vinyl.
Cricut Maker Washable Fabric Marker
If the thought of sewing scares you, let me introduce you to your new best friend. The new Removable Fabric Marker traces all of the seam allowances onto the fabric eliminating all of the guesswork that comes with sewing corners and curves. This means your seams will finally be perfect!!
Cricut teamed up with Simplicity Patterns (which is basically all of my crafting dreams combined) and uploaded over 200 sewing patterns to the design space. My least favorite part of sewing (cutting) is now being taken care of!
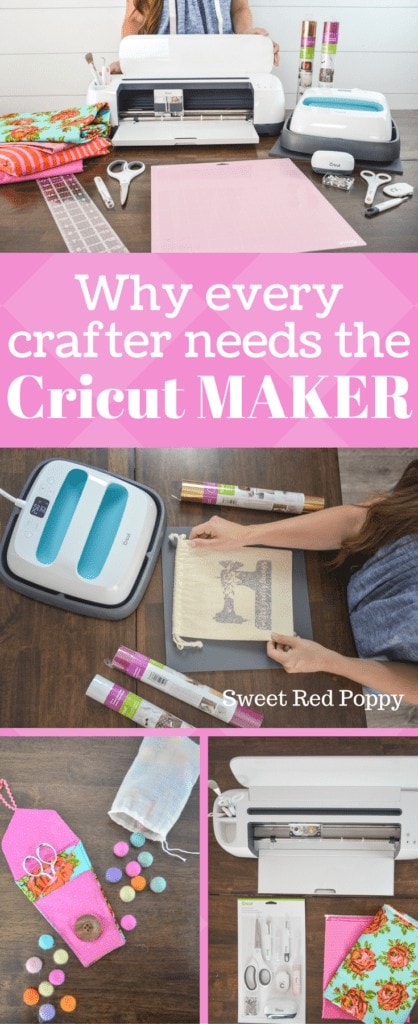
Cricut EasyPress
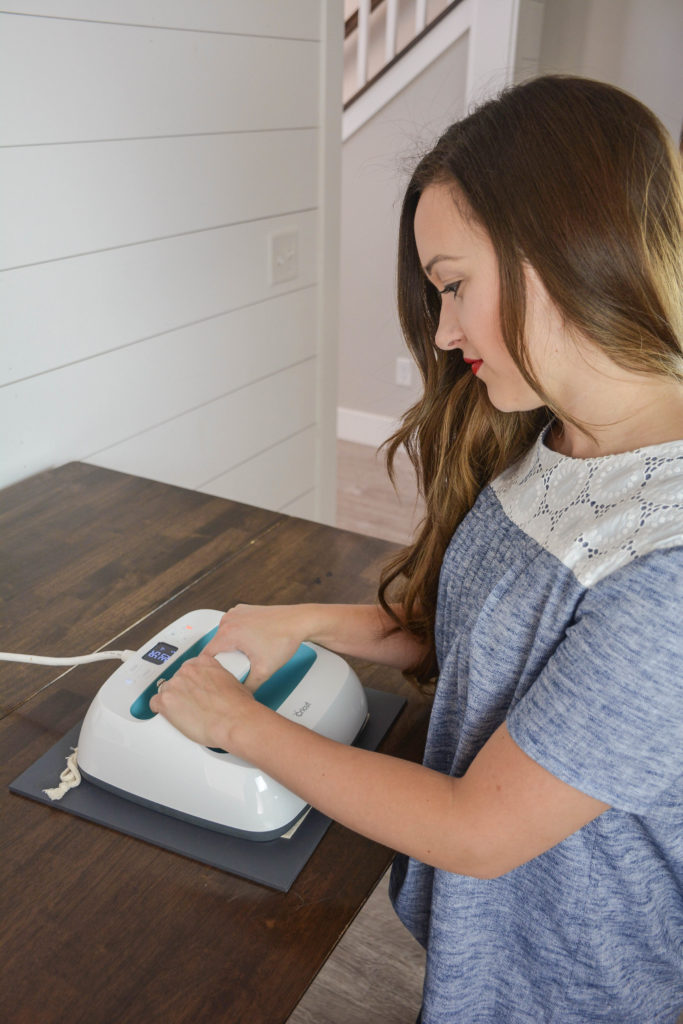
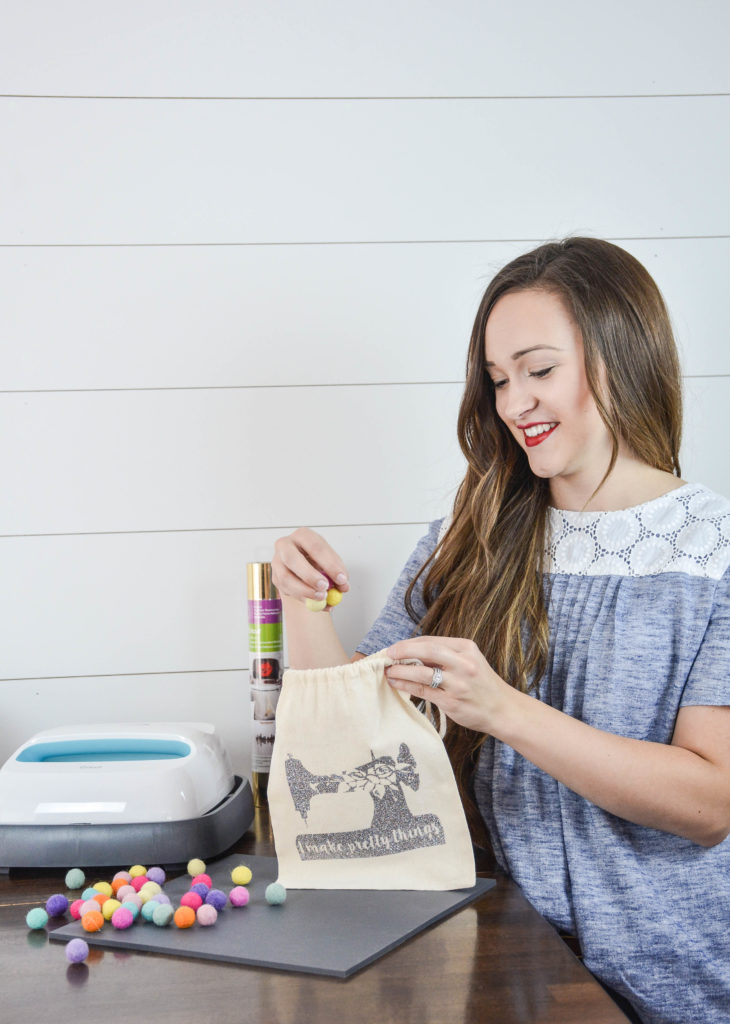
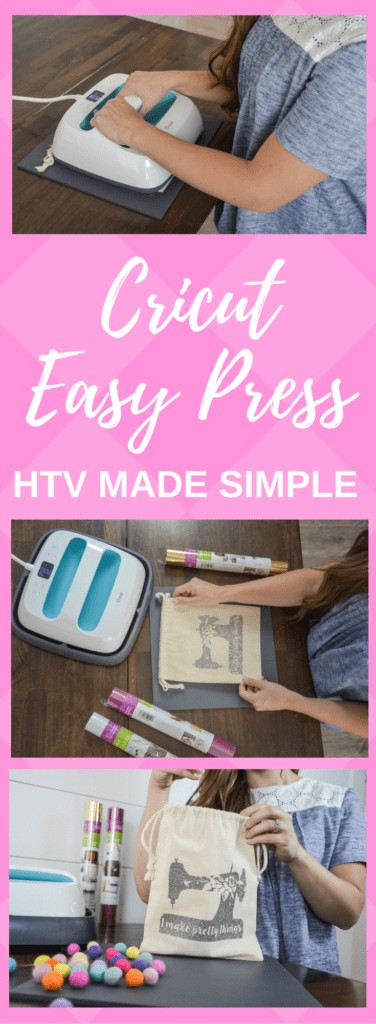
I know you're probably thinking it can't get much better than this, but just wait!!! Cricut also released EasyPress which is the answer to every iron-on diva's dreams! I just finished running a tour of 27 sewing bloggers focused on Iron-on and I WISH this product would have been ready in time for it because it makes iron-on SO easy!
It comes with a quick reference chart that tells you exactly how much time your iron-on project needs to be pressed for and at what temperature, which removes all of the guesswork!
Cricut is busting the myth that pressure is the most important factor when adhering Iron-On to materials. Consistent heat is the key to getting perfect results every single time and that's exactly what EasyPress delivers.
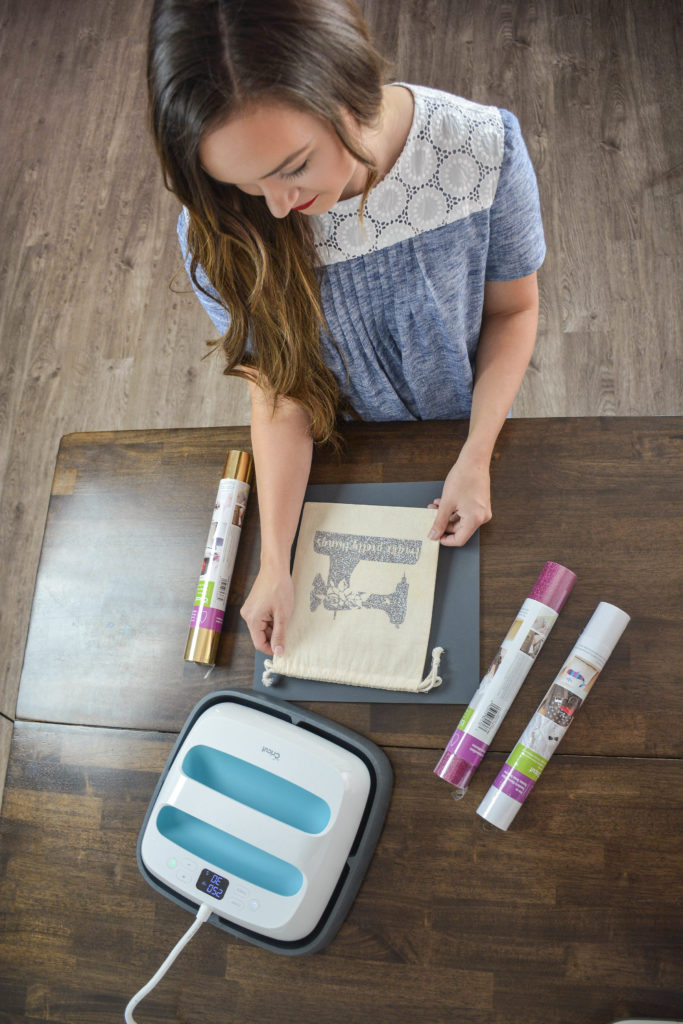
I can't wait to use this easy press on quilting blocks and even on sewing projects! It features a square plate that heats evenly throughout the entire plate, unlike an iron which can have hot or cold spots that can lead to your iron-on burning or not adhering completely. It also has a comfortable grip that allows you to firmly press down without the worry of burning your hands. I don't even want to admit how many times I've burned my hands on my current iron.
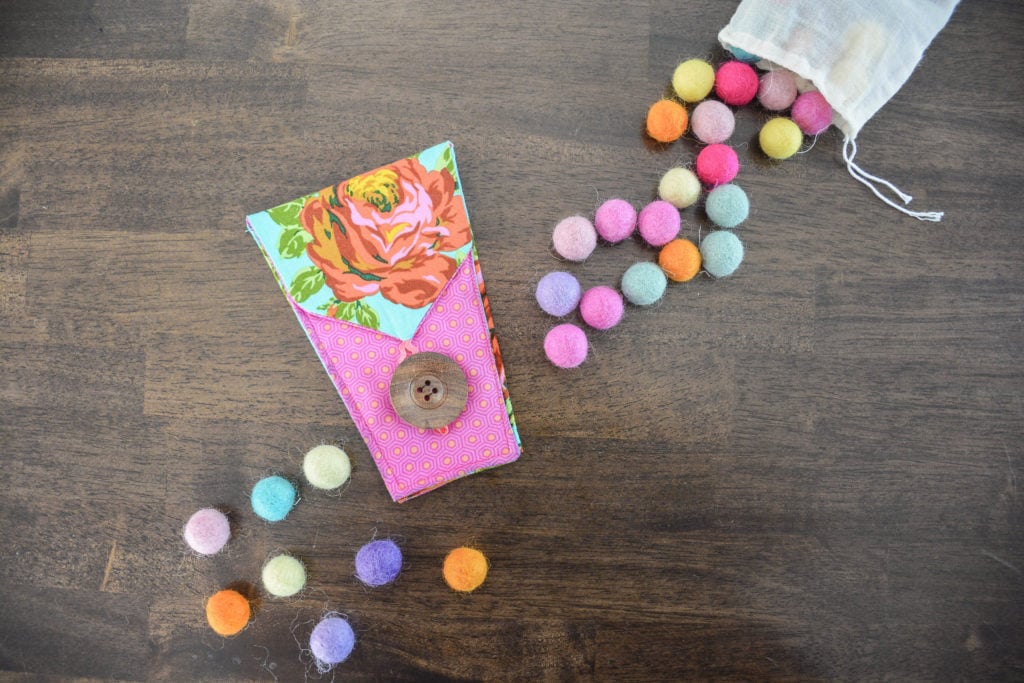
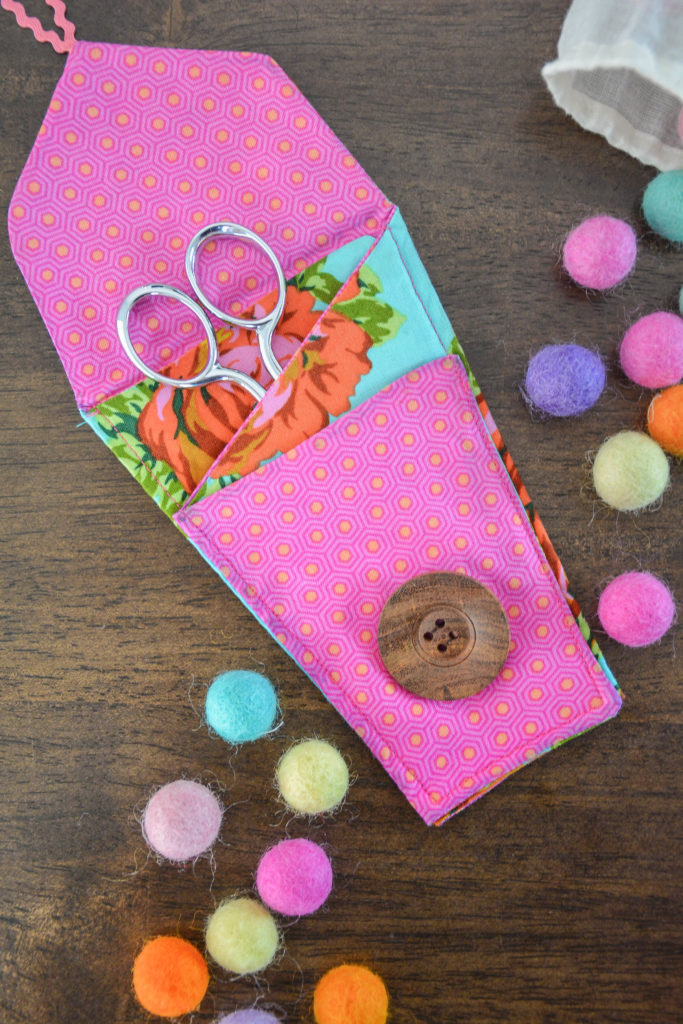
You can find the pattern for this adorable scissor pouch in the Cricut Design Space.
Purchase the new Cricut Maker, Easy Press, and BrightPad HERE.
What project would you make first with the new Maker machine?
Learn more about setting up your Cricut Maker here!
Save this post for later! Click here to save on Pinterest.
Sewing Pouch Tutorial
- Begin by cutting two pieces of quilting cotton that are 18” x 12” I find it easiest to do this with a rotary blade and a cutting mat.
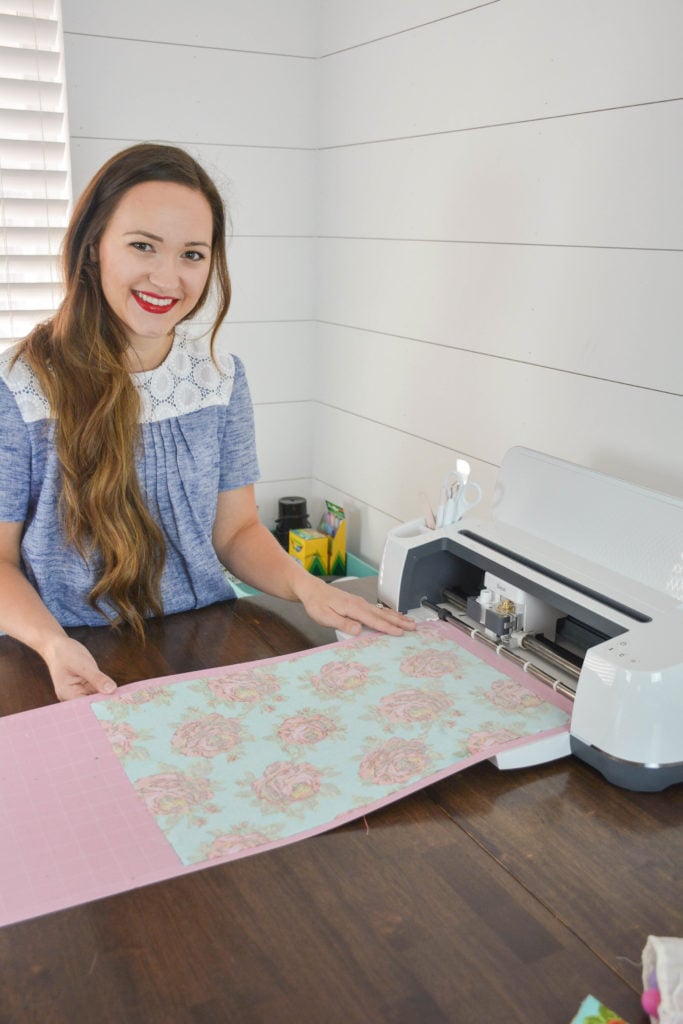
- Carefully apply the fabric with the pretty side down to the Fabric Mat. Make sure not to stretch the fabric as you apply it. Smooth out any bubbles or puckers and make sure the fabric is securely attached to the mat.
- Insert your fabric marker into the adaptive tool system.
- Insert the mat into the Maker and press the Cricut button. The Maker machine will begin by drawing lines on the fabric. Pretty neat, right??
- The first piece of fabric will have the marking for the fold lines and the second piece of fabric will be marked with the seam allowances. Once the machine has finished, unload the mat and carefully pull up the fabric.
- Repeat this process with the second piece of fabric. Remember pretty side down!
Now that both pieces of fabric are cut out it’s time to get sewing!
Sewing
- The Cricut Maker takes all the guess work out of sewing by marking the stitching line for you on the fabric.
- Attach the loop to the front side using a basting stitch. This will secure the ribbon so it doesn’t move later on while it’s being sewn.
- Place both pieces of fabric on top of each other with right sides together.
- Pin the perimeter of the pouch.
- Starting two inches in from the corner begin sewing, Carefully pivot your machine around each corner by putting the needle in the down position, lifting the presser foot and turning the fabric so that the needle lines up with the direction of the line.
- Stop 2 inches from where the sewing began. Backstitch to secure the stitching.
Cutting
- Whenever you have a curve or corner it’s important to do some trimming!
- Begin by trimming down all of the corners.
- Next, trim close to, but not through the seam allowance on the corners.
- Finally, trim down the seam allowances and turn the pouch right side out.
- Using a turning tool, carefully push out the corners until there’s a sharp point.
- Heat up your iron and fill it with water. It’s time to get pressing!
- Carefully press the entire pouch, giving extra care to the corners.
Stitching/Pressing
- Sew the button on.
- Press the pouch according to the lines that were made on the first fabric.
- Carefully align the bottom edges and sides.
- Topstitch the sides and bottom of the pouch, making sure to backstitch at the beginning and end.
- All done! Wasn’t that easy?
This is a sponsored conversation written by me on behalf of Cricut. The opinions and text are all mine.

I am so jealous you have this machine! It is the best thing since sliced bread. Bhaha!
That machine is SO COOL! I'm imagining all sorts of small projects (like stuffed animals!) where a machine-cut piece would be so much easier and more accurate! If only it could also do large apparel projects too. 😉
And I would totally use the EasyPress... I love making vinyl shirt designs for friends and family but the ironing process is definitely iffy!
Right? I'm so excited to make more projects on it. I just need more hours in the day!!! I think you will love the EasyPress. I even use it for regular ironing because it has such a large heat base it makes everything so fast.
Very intriguing! Thanks for sharing.
I love your projects. I am so excited to get to try this machine. I am making projects in my head as I write. Super excited.
I wish I could back to your hotel room and sneak your machine back home with me. LOL. I'll just have to wait my turn 🙂 Great video!!
I can't find this pattern in DS. Would you be able to share the link, please?
Kim! I knew that was you in the pictures!! This is the coolest machine! Your a celebrity!! Lol you are amazing do I have to have use new cricut machine to use the press?
Can you use the Easy Press with a Silhouette Cameo, or is it specific to Cricut?
I just bought the cricut maker. And I dont know what to do with it. I havent taken any classes at Joann's yet.I will keep watching your videos. Thanks Judy