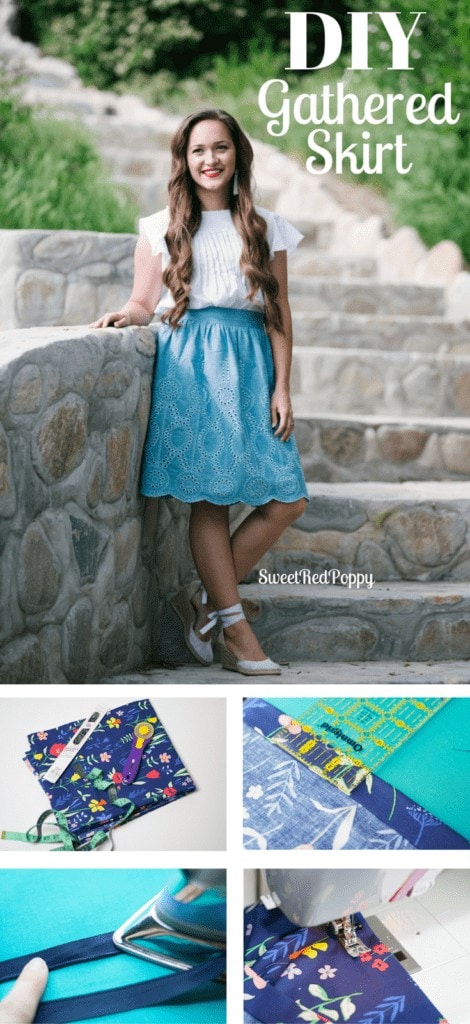
Learn how to sew a DIY Gathered Skirt-perfect for the spring and summer-in this step-by-step sewing tutorial!

Doesn't White Swiss Dot and Chambray just scream summer to you? When I think of the quintessential summer outfit, a white flowy blouse and a chambray skirt always come to mind, add in a pair of white eyelet espadrilles and it's near perfection! I thought I was ready for the end of summer, but now I'm having second thoughts!
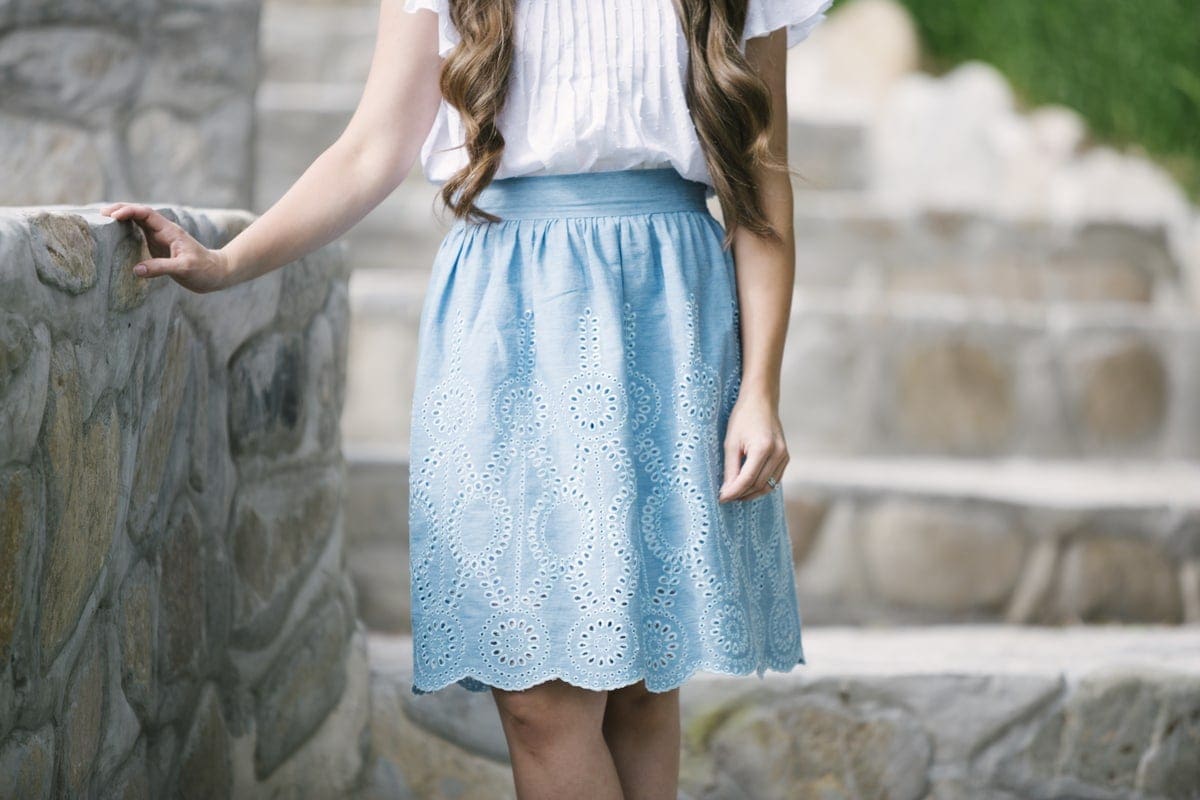
When I saw these two fabrics on Style Maker Fabrics I absolutely, positively had to have them! Cutting into this gorgeous fabric gave me some serious anxiety, but I'm so glad I finally did because the result was perfect! I decided the best way to showcase this fabric would be to make a simple skirt so the embroidered scalloped bottom could really shine! I'm sharing my free skirt tutorial with you today so you can make your very own skirt!
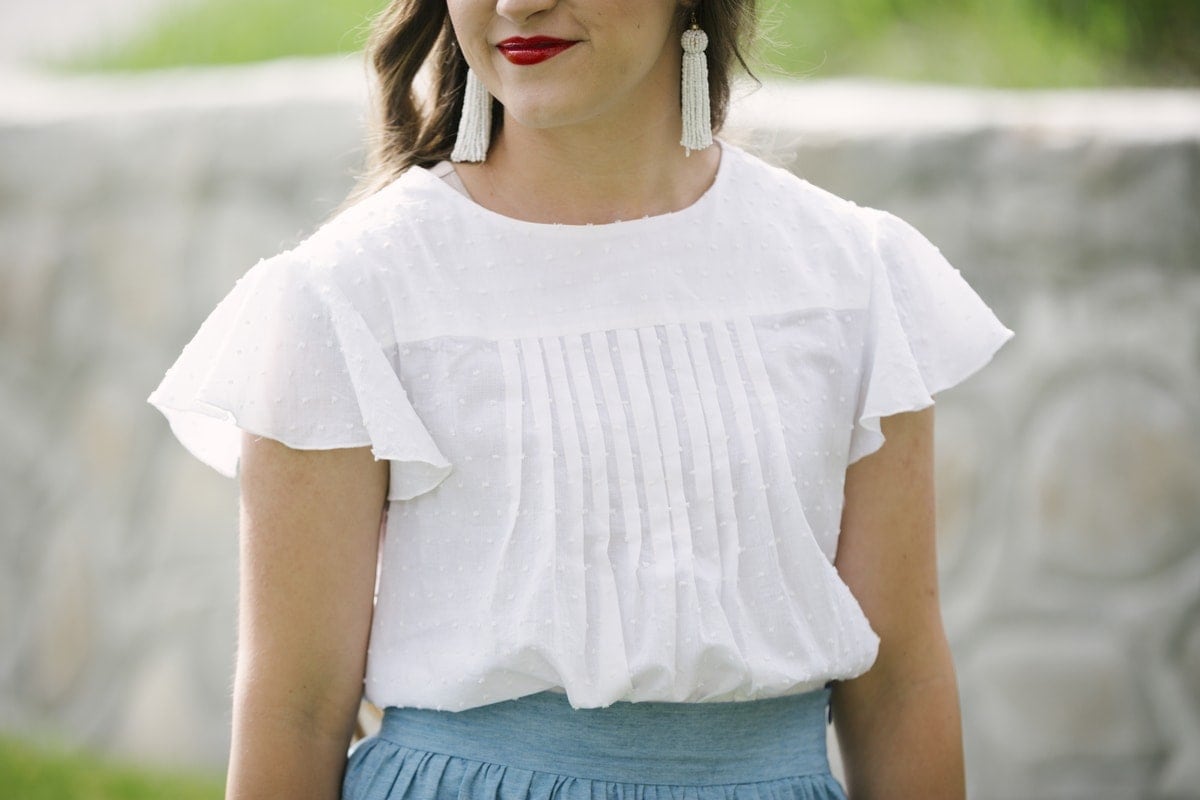
How Did I Create this Top?
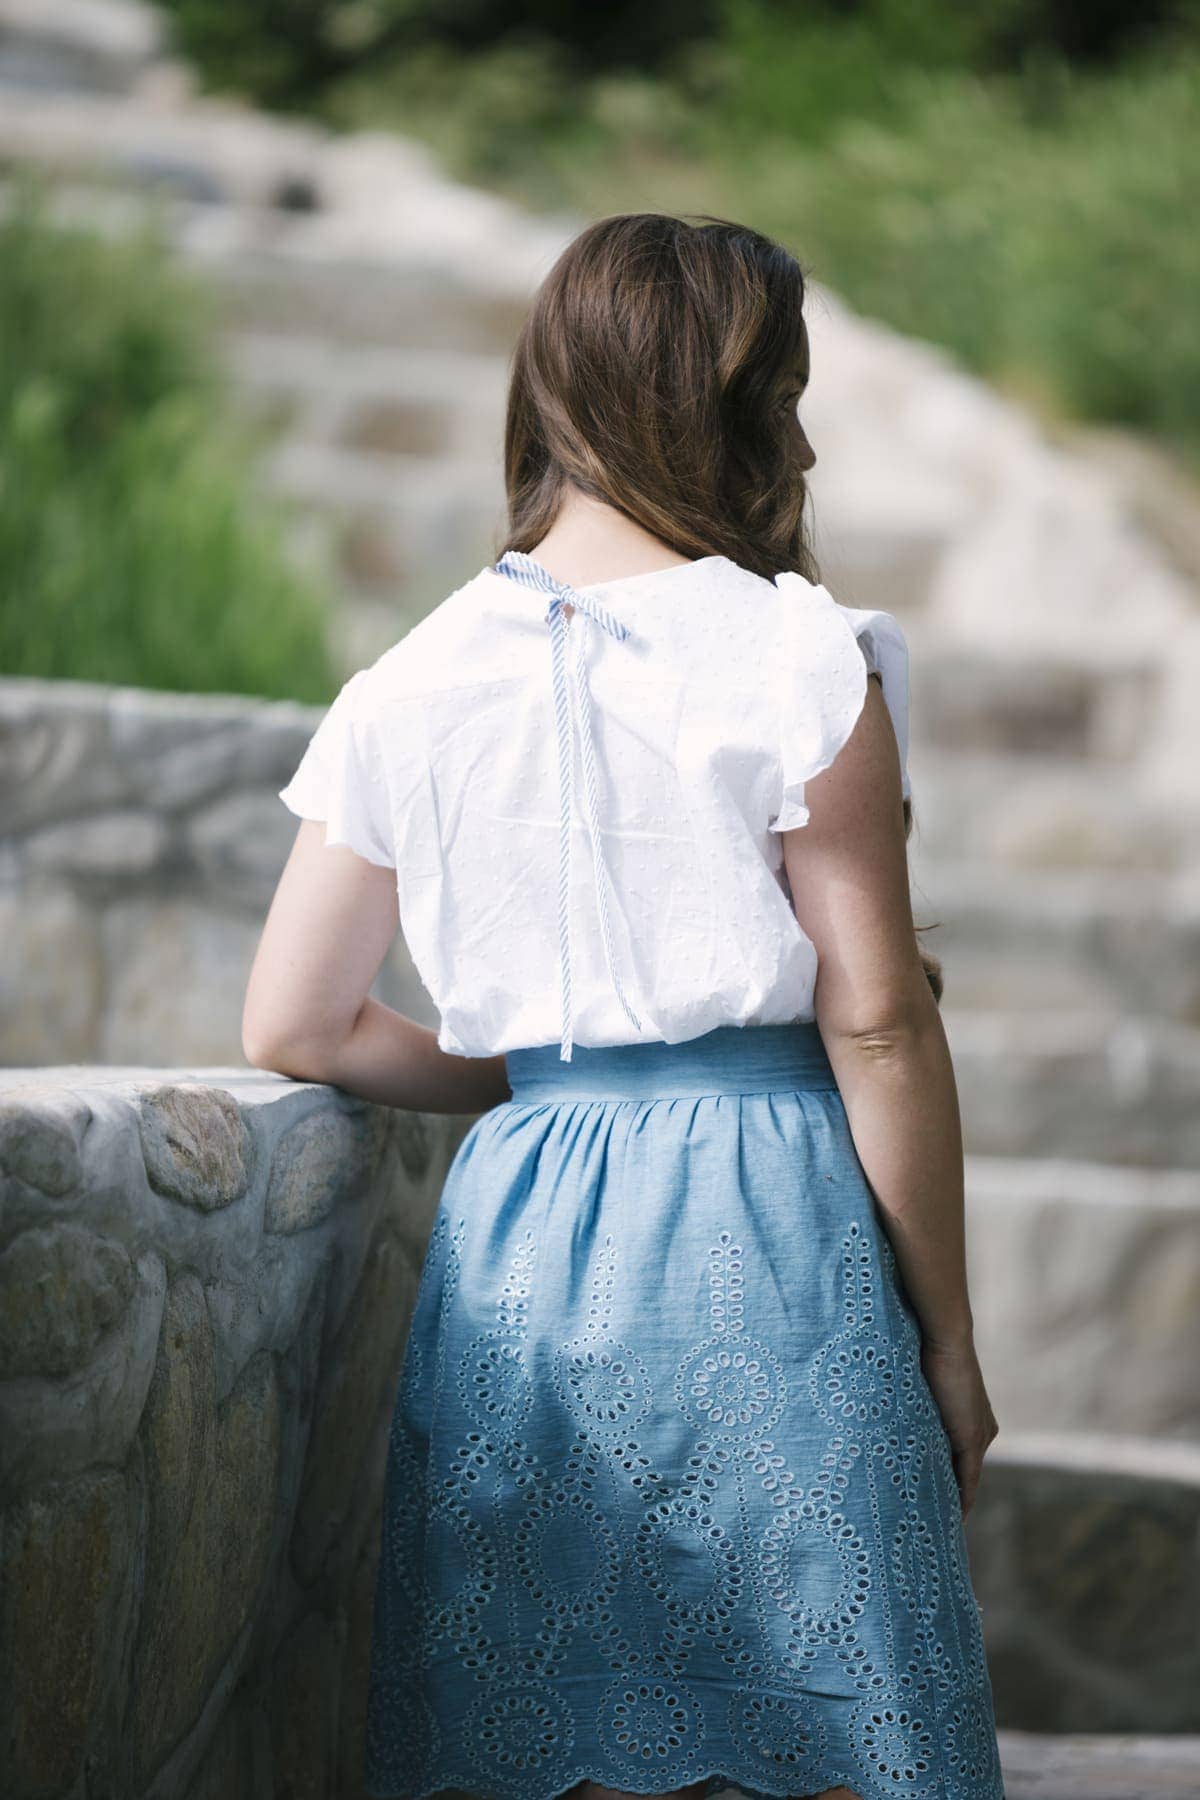
To create this top, I used McCall's M7544 and added the flutter sleeve from Simplicity 1693. (aff. link) My measurements put me in a size 12 bust and size 14 waist and hips. Since this top is a very loose fitting top I chose to use a straight size 12 and I'm really happy with the way it turned out! I used version A which features a front and back yoke as well as pleats along the bust. It's a little bit more fitted than the other versions of this pattern.
SKIRT TUTORIAL
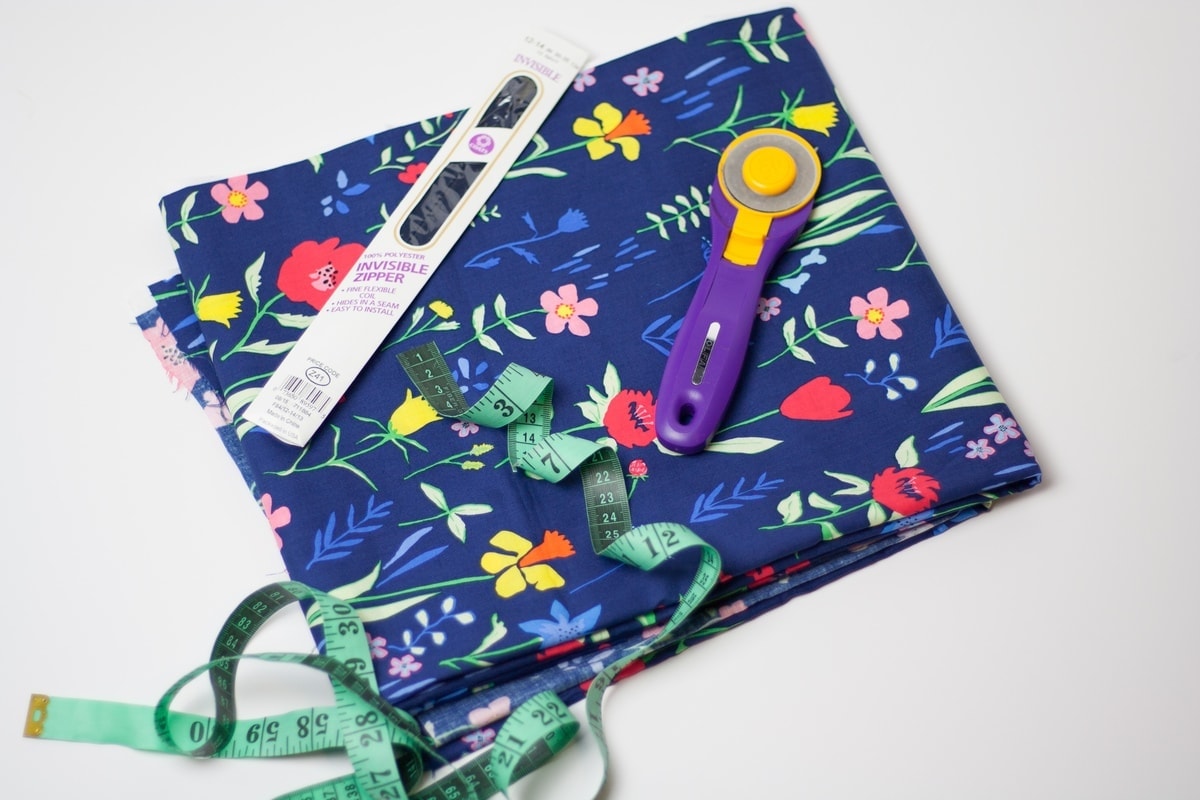
Supplies
WAISTBAND
Begin by taking your waist measurement. If you aren't positive where your actual waist is, take a piece of string, wrap it around your waist and lean side to side. The string will settle in the smallest part of your waist.
The width of your waistband will be your waist measurement plus 2.5 inches for ease and seam allowance. The length of the waistband will be 5 inches tall. Now, cut a piece of interfacing that is 3/4ths of an inch shorter than the waistband width, and 4 3/8 inches tall. Iron your interfacing to the wrong side of the waistband piece. It should be centered with 3/8's inch on either side.
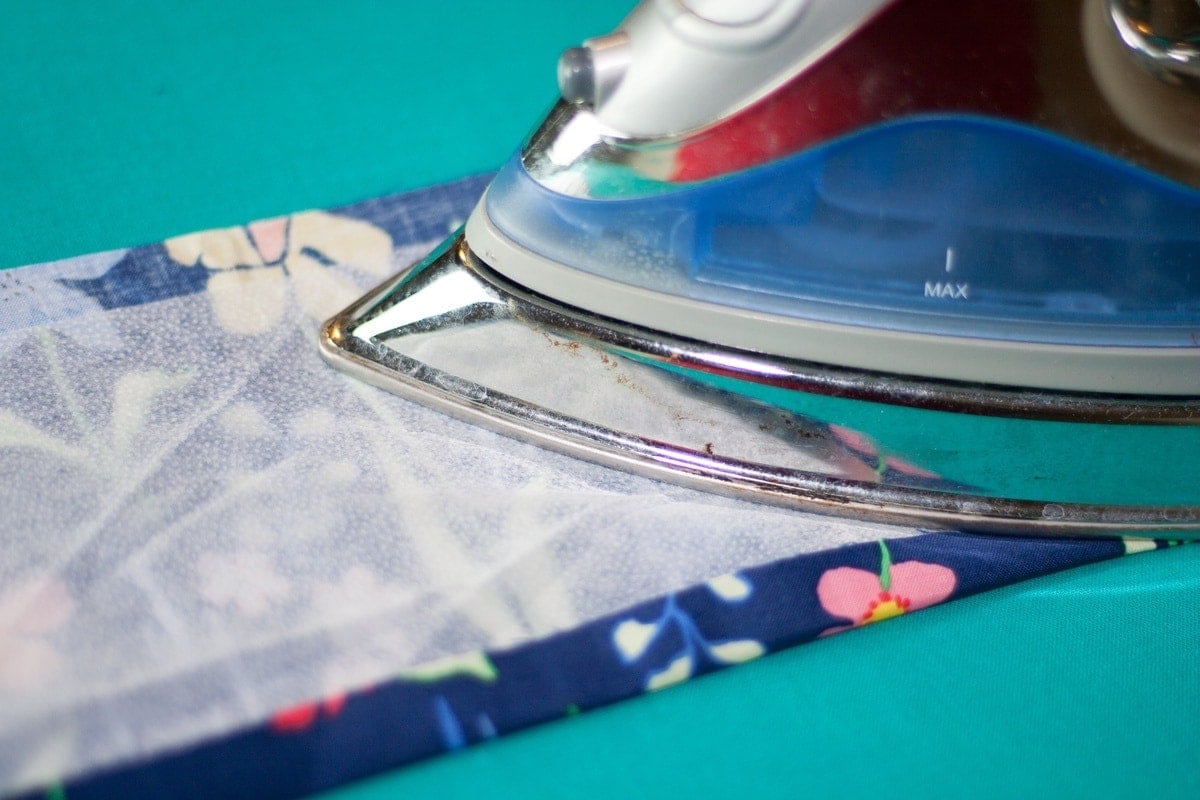
Turn up one long edge towards the wrong side 3/8ths of an inch and press.

SKIRT FRONT & BACK
Measure from your waist to the point where you want your skirt to hit, then add 1.5 inches to account for the hem. Keep in mind that your waistband will be about 2 inches tall. Next, take your waist measurement and multiply it by 1.5, if you are using a lighter weight fabric like quilting cotton you may want to double the waist measurement. Cut a skirt front and back using that measurement.
SIDE SEAMS
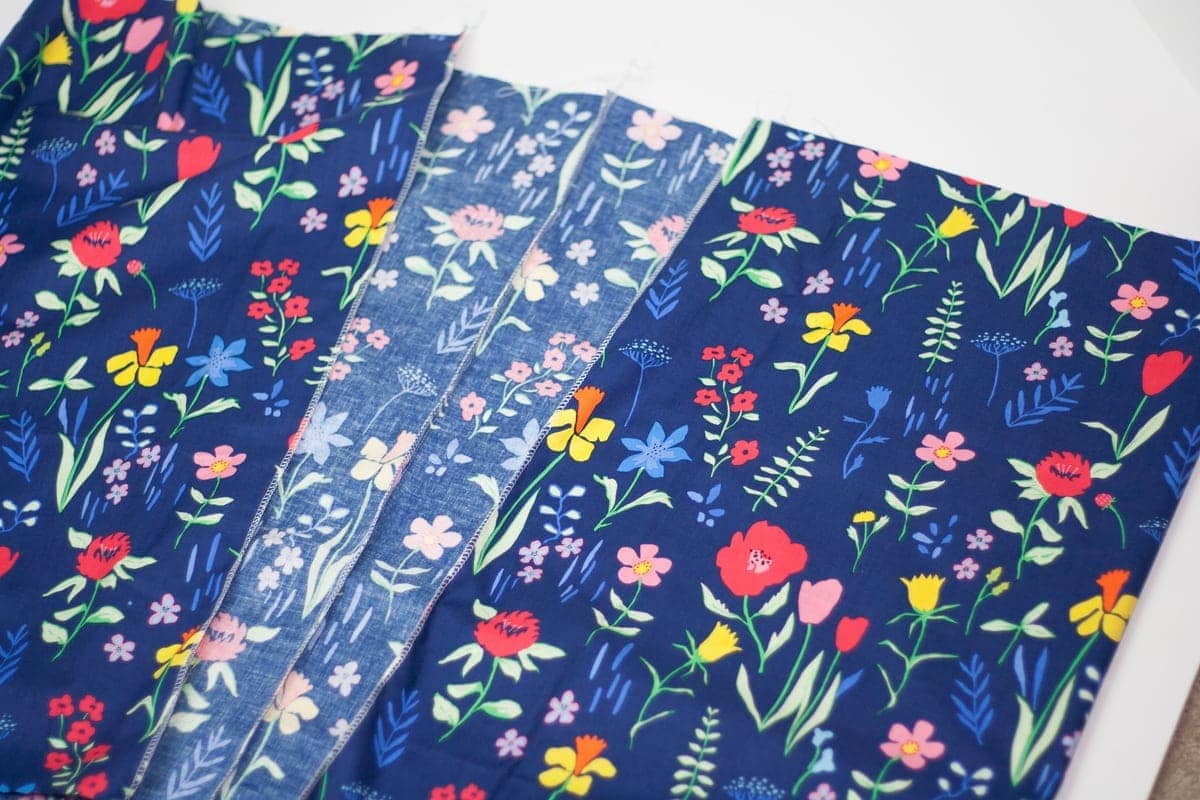
With right sides together, sew one side of the skirt together and finish all seams. Press seam. Mark the middle point on both the front and back of the skirt as well as the middle points on the waistband.
GATHERING
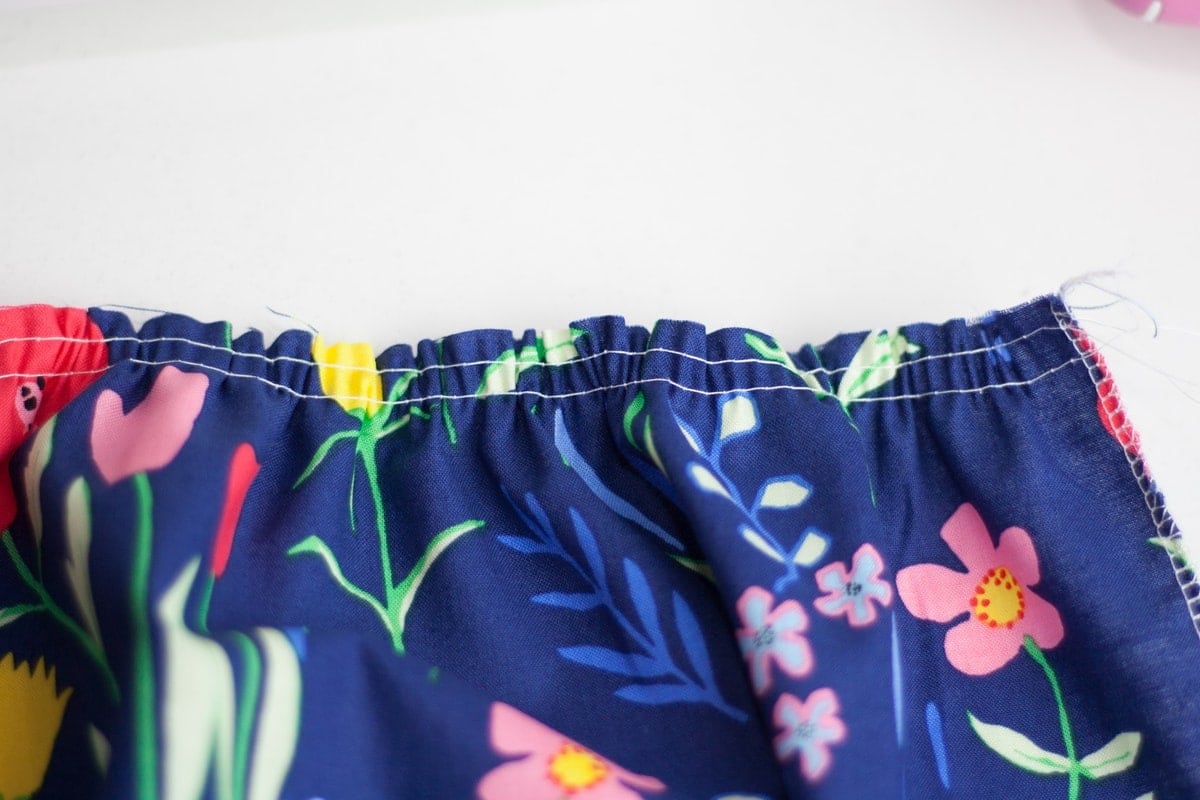
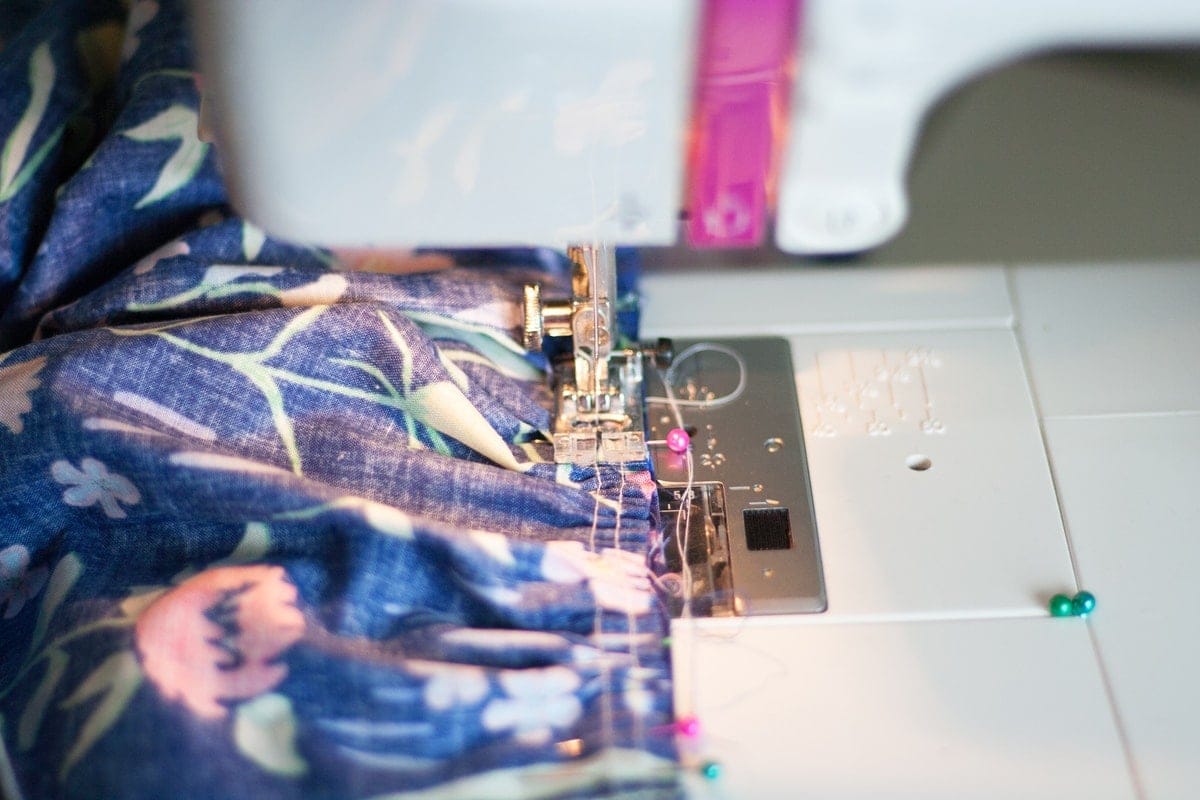
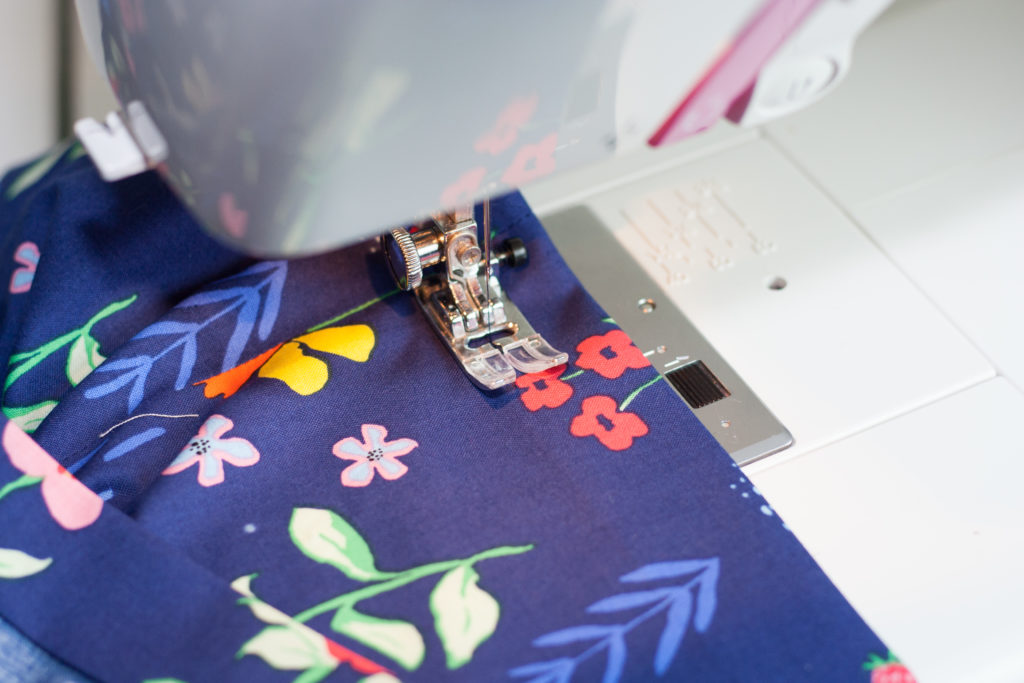
Set your sewing machine to it's longest stitch length. Run two sets of basting stitches along the top raw edge of the skirt, 3/8th's inch and 5/8th's inch from the edge. Make sure to leave long threads on either side. Pull the top basting threads and begin to gather the skirt. With right sides together, lay your waistband with the unironed raw edge at the top aligning with the raw edge of the skirt, making sure to line up all pins. Next, align the raw edge of the waistband and the edge of skirt together.
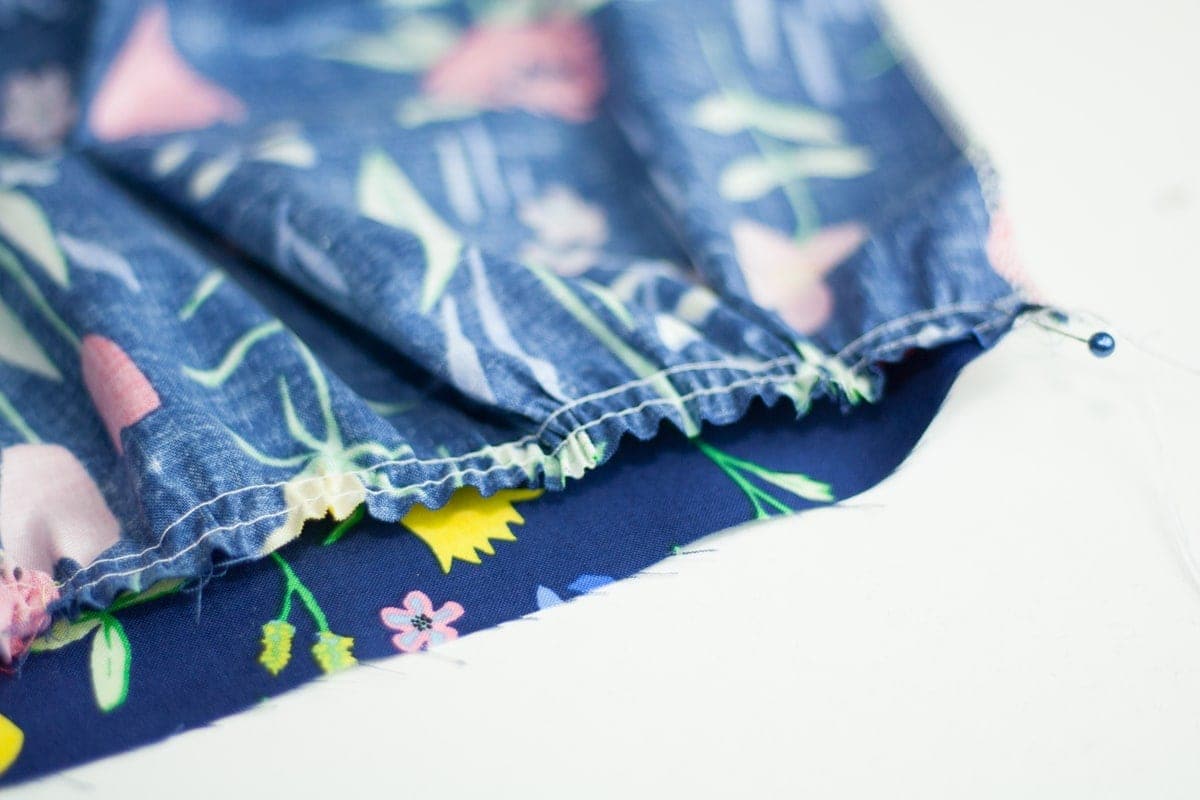
Carefully, ease the basting stitches as you line up all of the middle points to help evenly distribute the gathers. Make sure that your gathers look like they are evenly spaced across the front and back. Pin everything in place. Using a 3/8ths-inch seam allowance sew your waistband and skirt together.
Remove all basting stitches. Iron the seam upwards towards the waistband. Finish both the front and back skirt seams that have not been sewn.
ZIPPER
This step might seem daunting for a beginner but I'll walk you through every step of the process. Begin by ironing the zipper completely flat. Roll the coil out a little bit to get it completely flat and press with lots of steam.

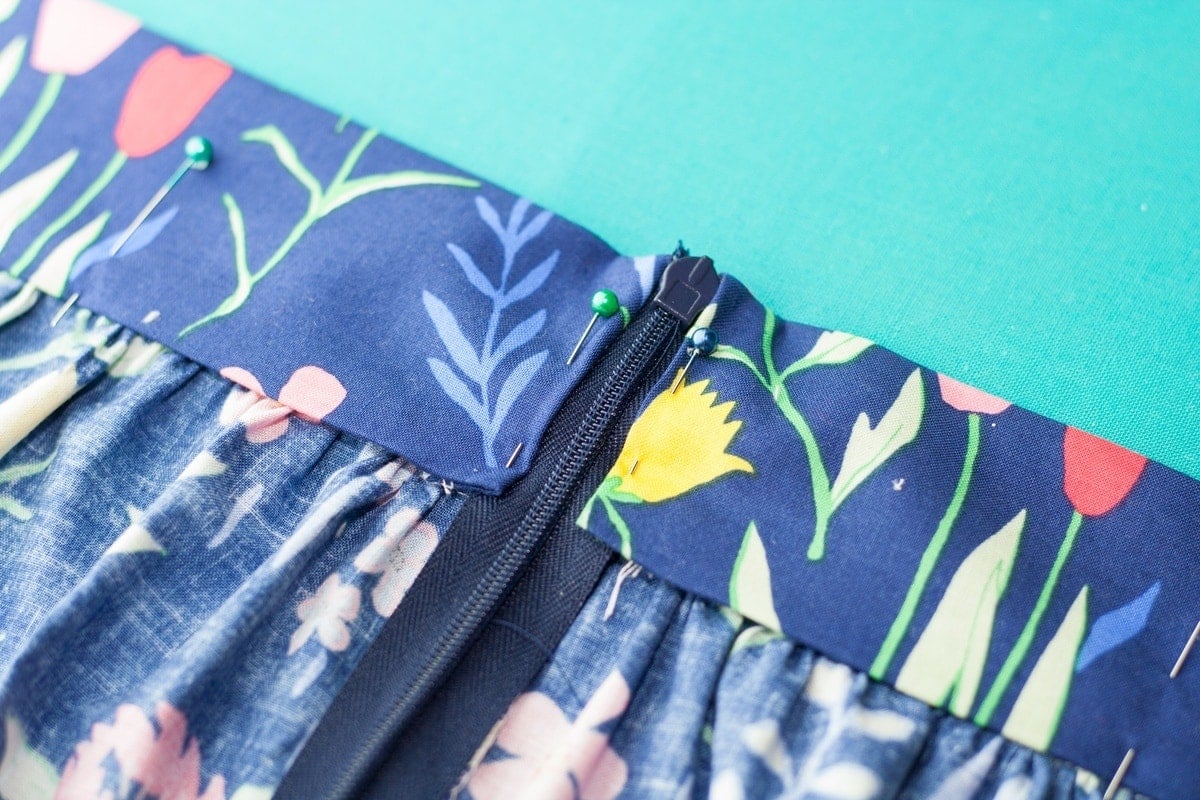
Flip the skirt right side out. With the right side of the skirt facing upwards, lay the left side of the zipper with the wrong side facing up on the left side of the skirt. Align the top of the coil with the fold in the waistband. With an invisible zipper foot, stitch close to but not on the zipper coil as far down the zipper as you can. Make sure to backstitch at the beginning and end of the zipper. Repeat this process on the opposite side. Make sure to place the coil with the wrong side up. Refer to the picture below.
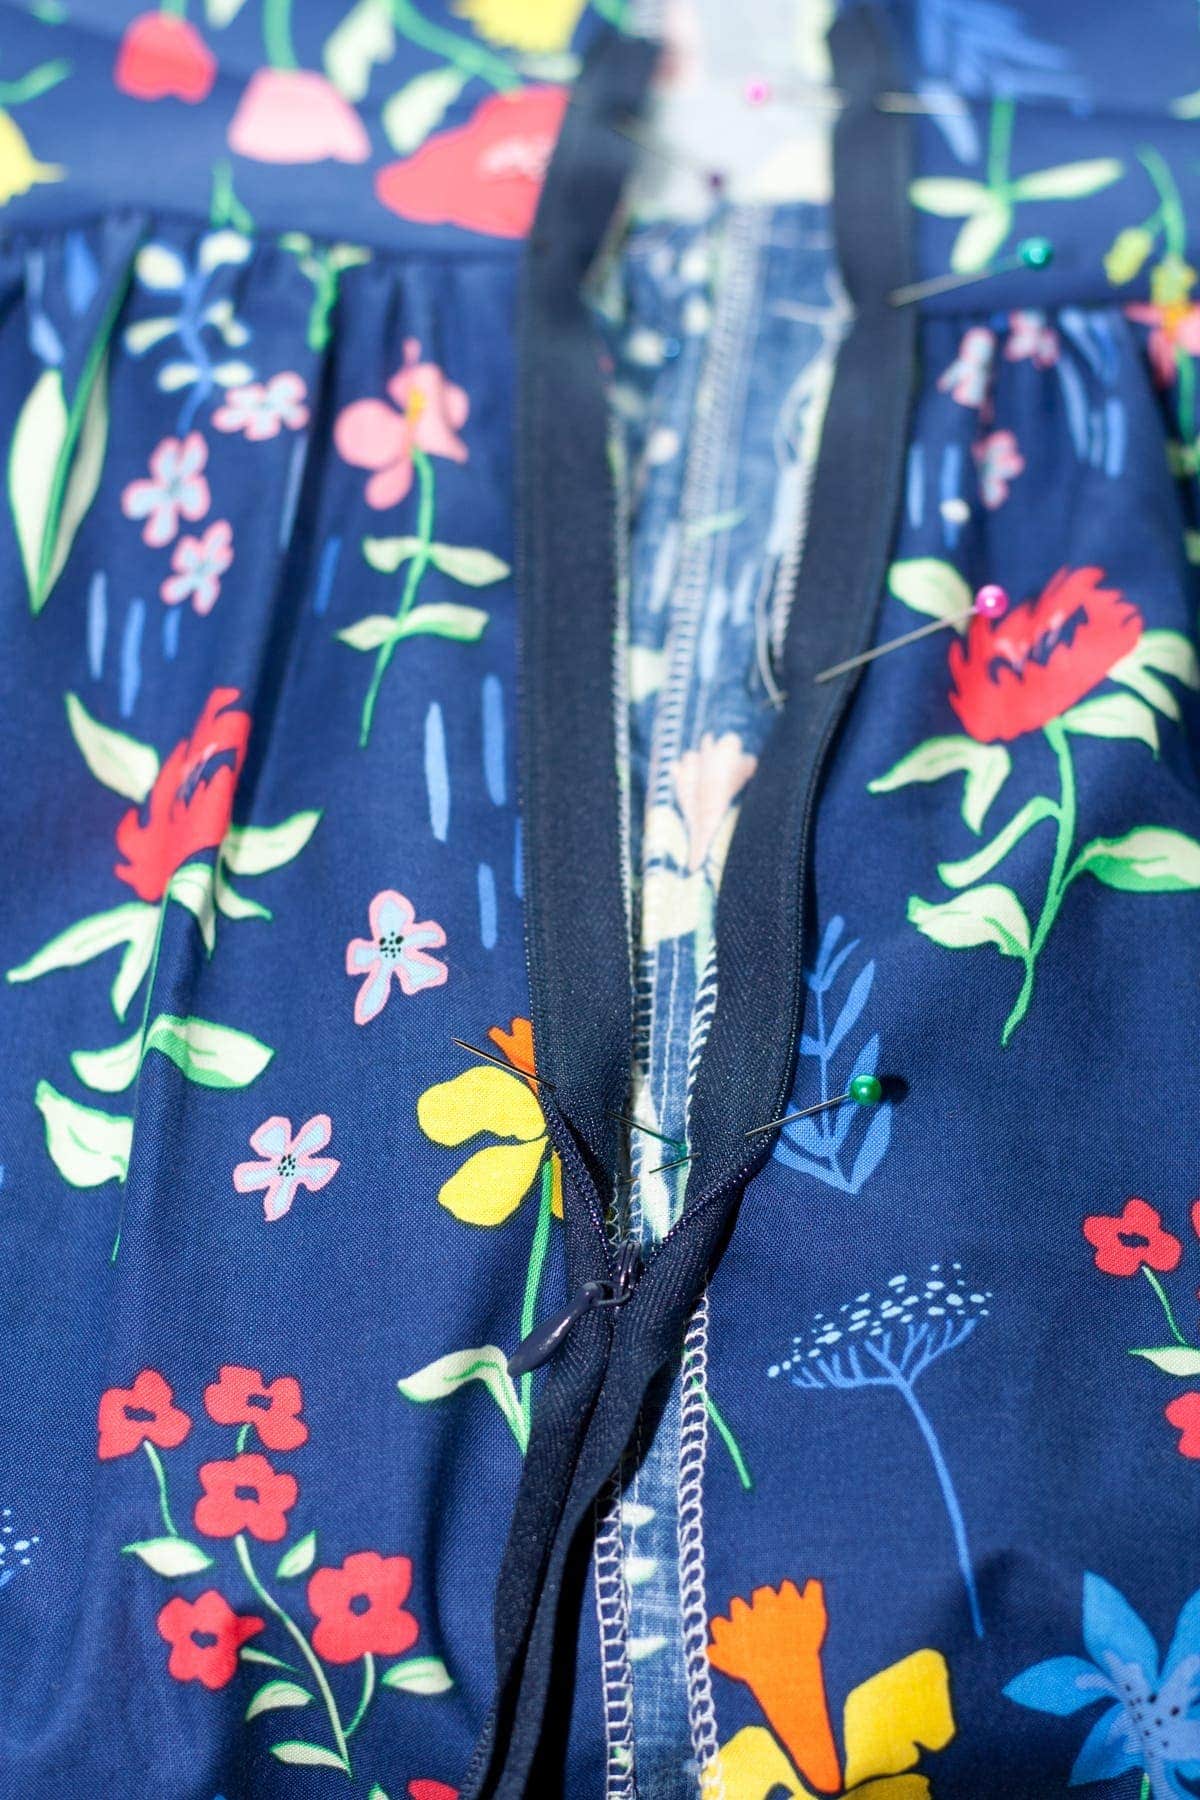
It's easiest to baste the second zipper in to make sure that the placement is correct and that the waistband seams line up. Once you've sewn the zipper check to make sure everything lines up, if it doesn't unpick the basting stitches and readjust your zipper and sew with a normal stitch length. Trim off the top of the zipper right above the point where the coil ends.
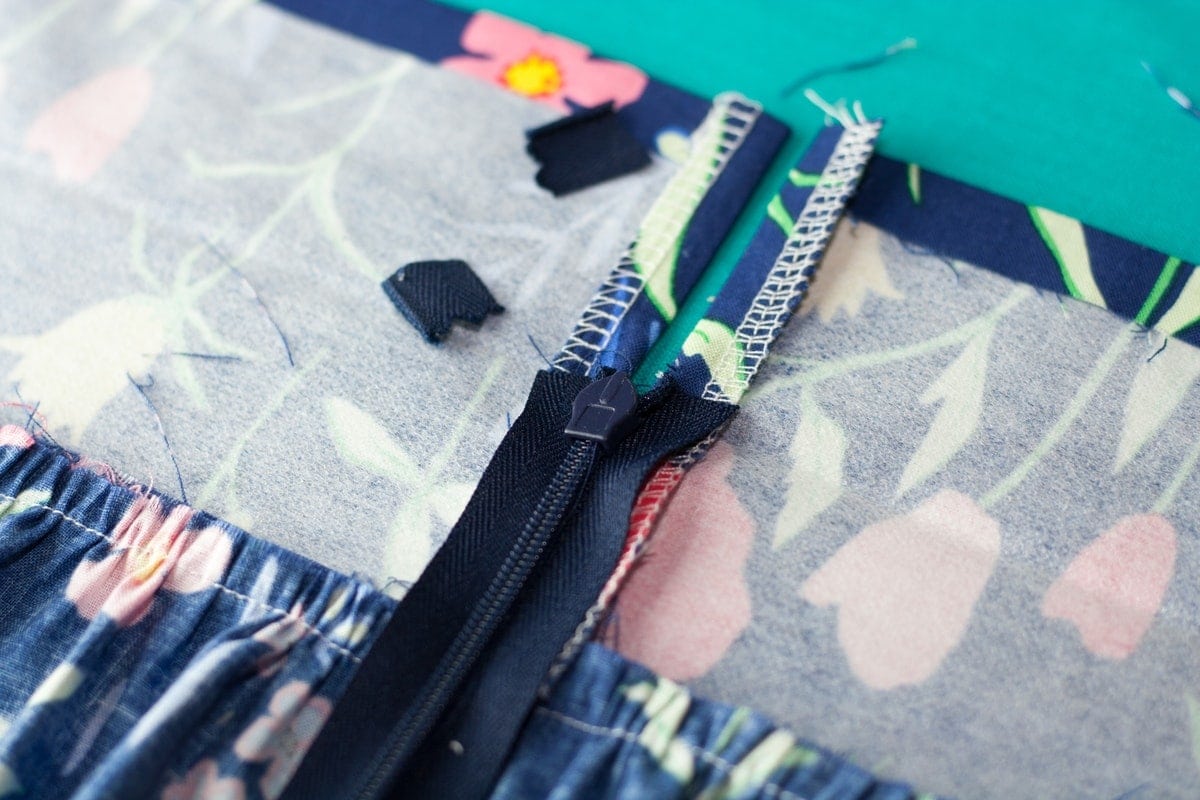
Pull the zipper all the way to the top. Stitch the unsown portion of the skirt below the zipper. Turn the zipper tape on top of itself gently pulling it out of the way.
Fold down the waistband down so it barely covers the stitching line. Hand sew the waistband to the skirt.
HEMMING
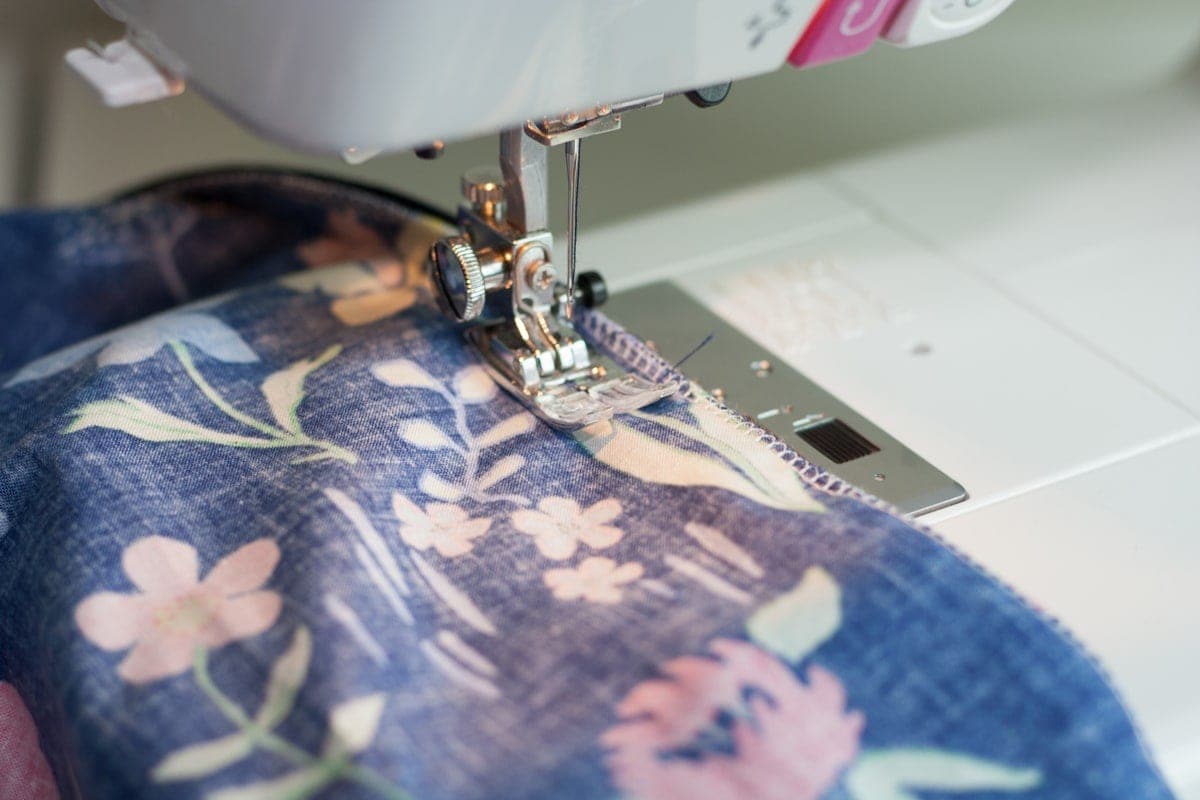
Fold the hem under towards the wrong side 1/2" and press. Fold the hem another 1" under and press again.

Stitch 1/4 " from the top fold.
Press the entire skirt thoroughly. Enjoy!
That embroidered fabric is just so pretty! And it looks really cute on you as this skirt! I love the white Swiss dot too.
Hi Kim. Would you be able to use a wide elastic for the waist instead of a zipper.
Thank you so much for all your time to share all these great simple instructions.
I've never sewed b4. A newbie. Thank you for opening this world up to me. Truly enjoying it. God bless.
I see she has a similar skirt pattern for children using elastic. Maybe use that waistband method.