Crafty Iron-On Cricut Bag
Learn how to design a crafty bag using your Cricut machine and Iron-On.
This is a sponsored post written by me on behalf of Cricut. All thoughts and opinions are my own.

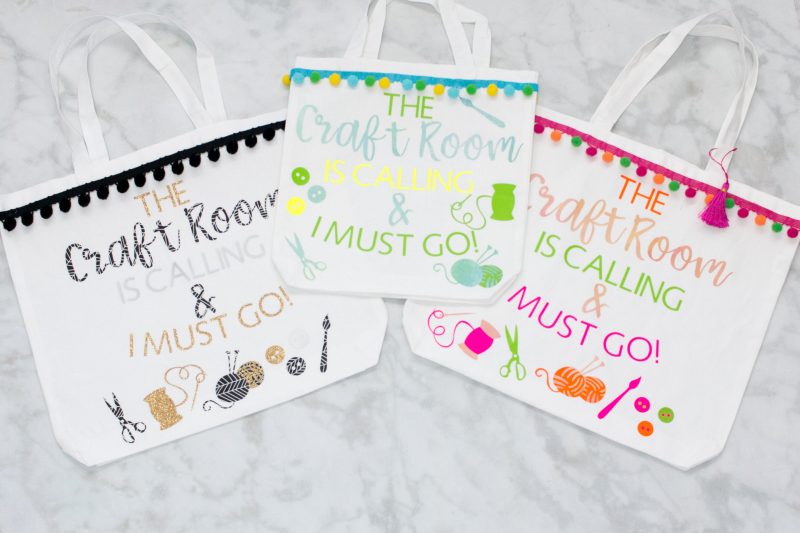
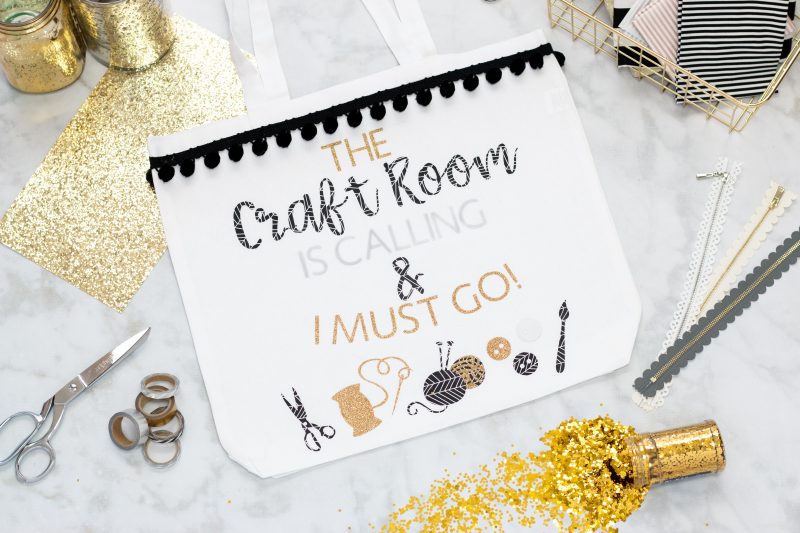
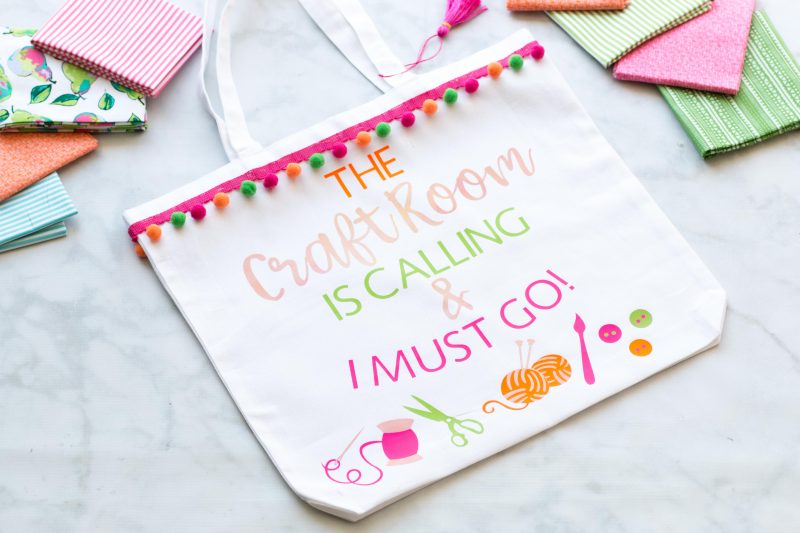
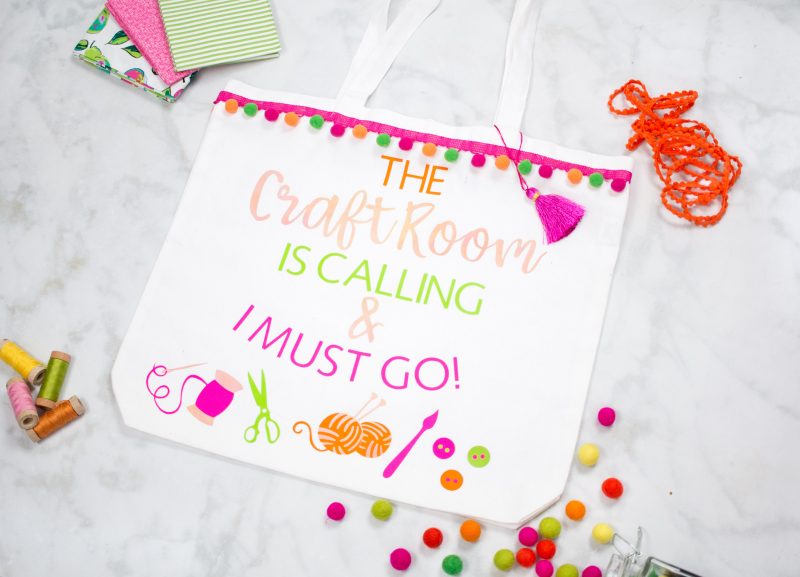
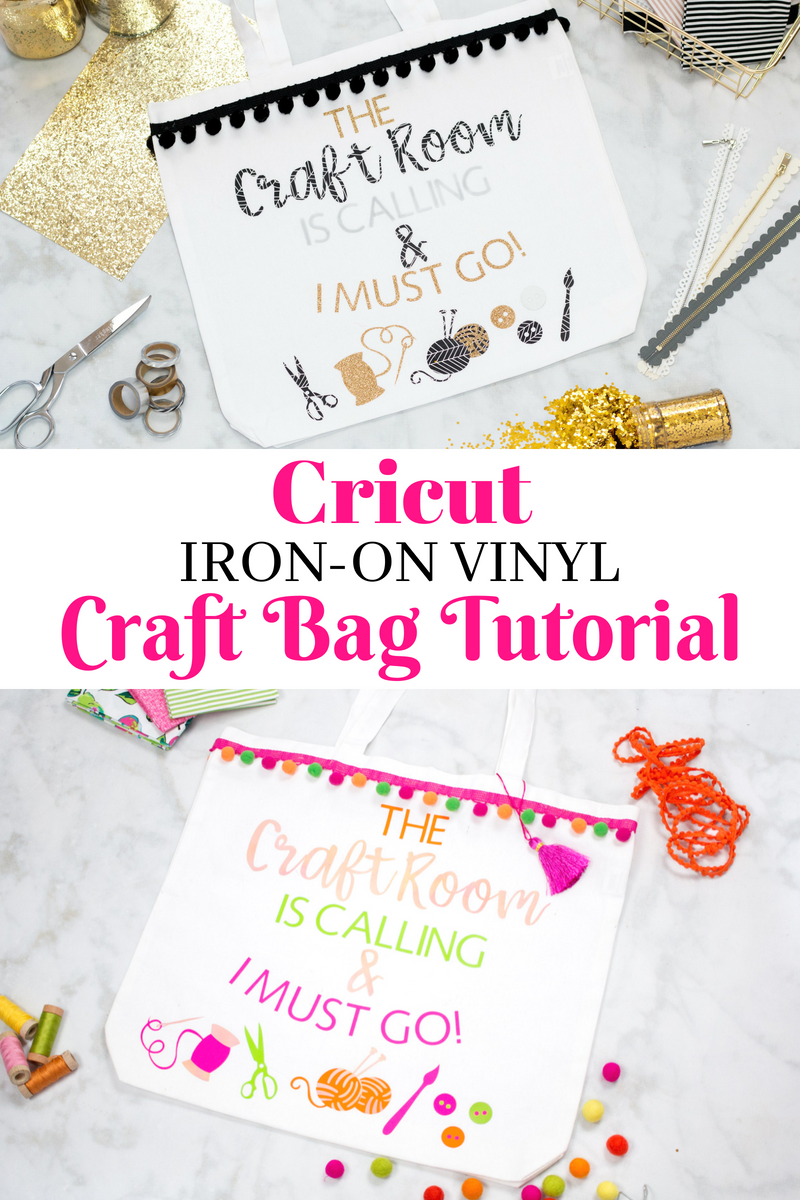
Everyone needs an adorable bag to carry all of their crafty supplies! This bag can be personalized by changing the color palette to match your own personal style.
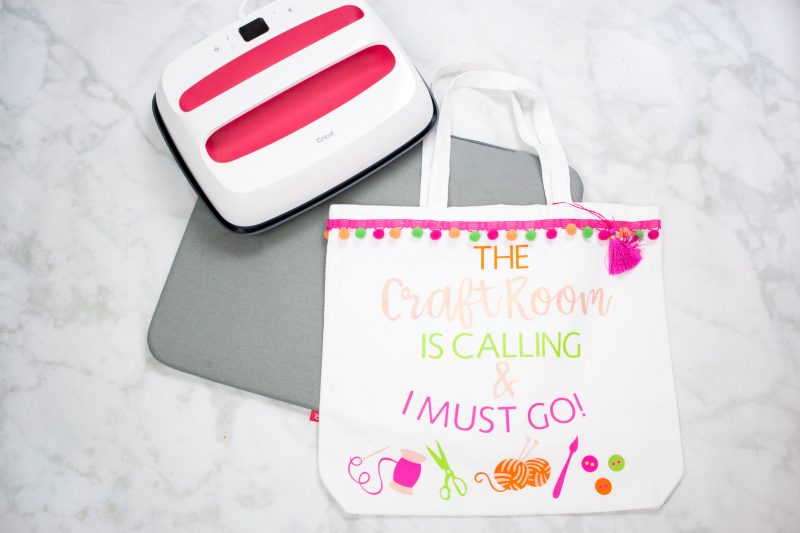
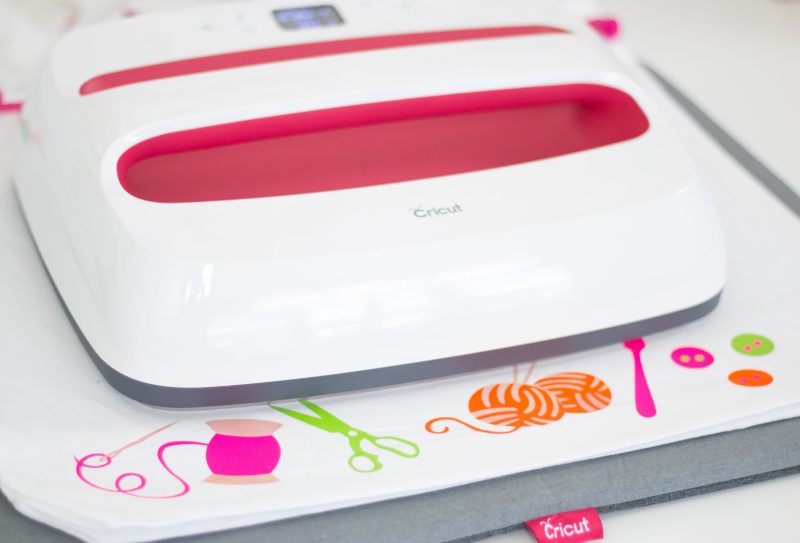
When Cricut told me they were releasing the EasyPress 2 I jumped at the opportunity to blog all about it! I was lucky enough to get access to the first EasyPress before it released and it was a game-changer. I'm even more excited about the EasyPress 2. It comes in a variety of different sizes making it perfect for whichever project you have planned.
The EasyPress that's pictured above is 12" x 10" making it ideal for T-shirts, blankets and large tote bags. It heats up even fast than before and it has an auto-shut off feature. Which lets be honest, is a necessity for us busy moms! I'm always getting distracted mid-project.
The EasyPress has adjustable heat up to 400℉. Now you can create professional-looking apparel in less than 60 seconds. The best part is the Cricut team has done all of the hard work for you and they've rigorously tested every type of Iron-On with every type of substrate and provided you with a chart for perfect results!
It's amazingly simple to use. On the left hand side tap the power button, then tap the temperature button. You can increase or decrease the temperature by pressing the plus or minus button. Next, select the timer button located below the temperature. You can increase or decrease the timer by using the plus or minus button. Make sure to refer to the EasyPress chart for perfect results. Select the green Cricut button and the EasyPress will begin counting down for you. You don't need to worry about projects getting ruined from too little or too much time now. Isn't that SO nice?
Why Shop Through My Links?
When you shop through my affiliate links, it doesn't cost you anything extra, but it helps me out in a big way! I earn a small commission from those purchases, and that support allows me to continue creating and sharing free tutorials and patterns for you. Thank you so much for helping me keep this creative community going!
Supplies
- Cricut Machine
- Weeding Tool
- Cricut Easy Press 2
- Easy Press Mat
- Cricut Iron-On
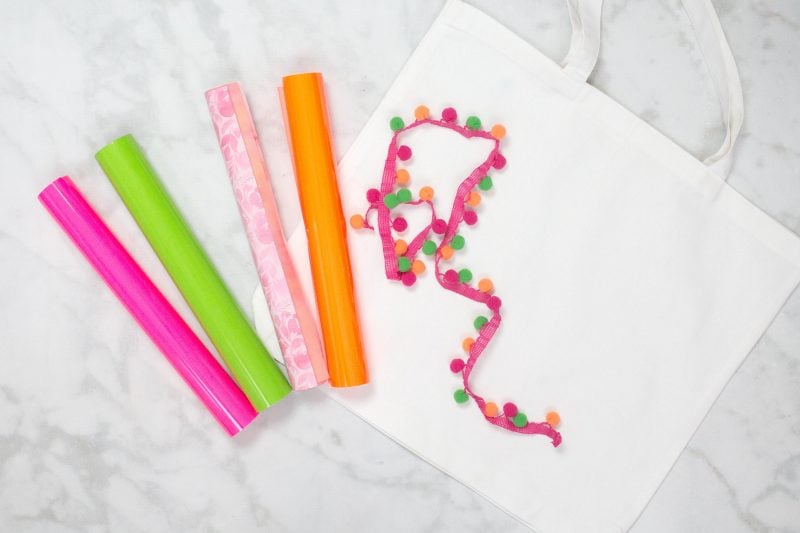
- Pom Pom Trim
- Blank Tote Bag
- Hot Glue Gun
Open Design
Open the design using this link. https://design.cricut.com/#/design/99894468
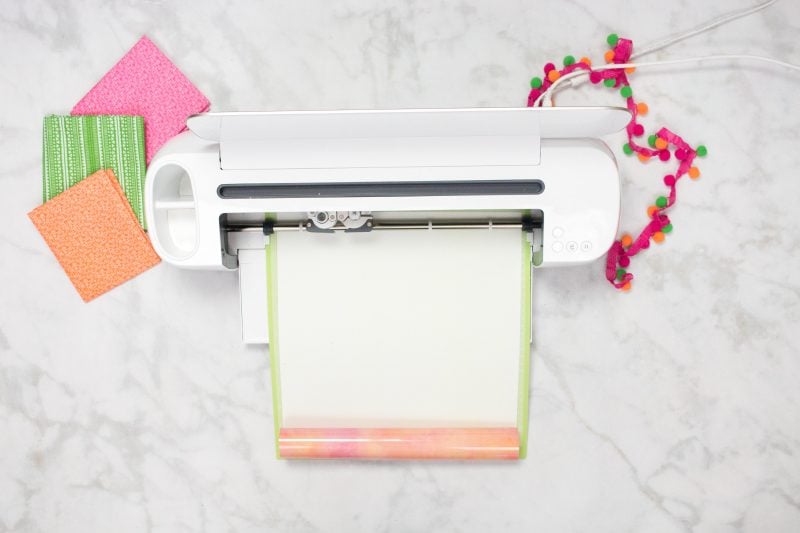
Prepare the Cricut mats with the four different shades of Iron-On.
Prep Mats
Place the Iron-On with the patterned side facing downwards onto the Cricut StandardGrip cutting mat.
Select the images within Design Space and make sure that all of the designs are set to mirror before cutting them out.
Load the mat into the Cricut machine and cut the designs out. Repeat this process until all four sheets of Iron-On have been cut out.
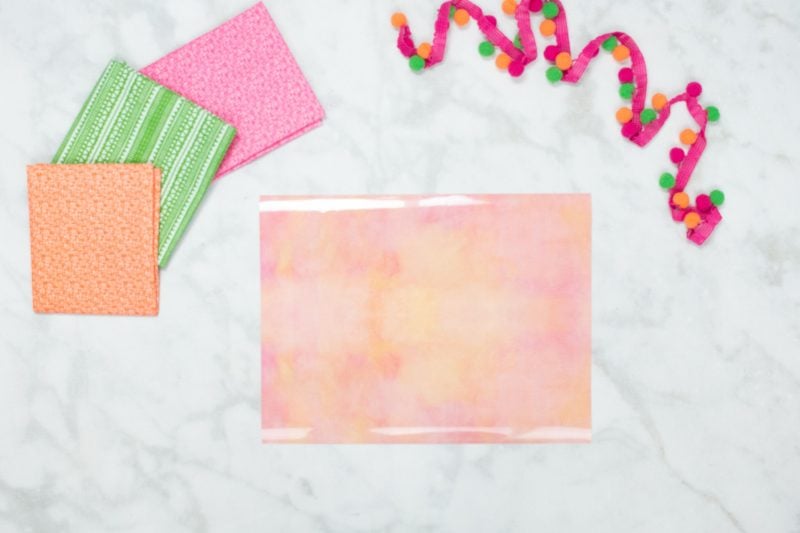
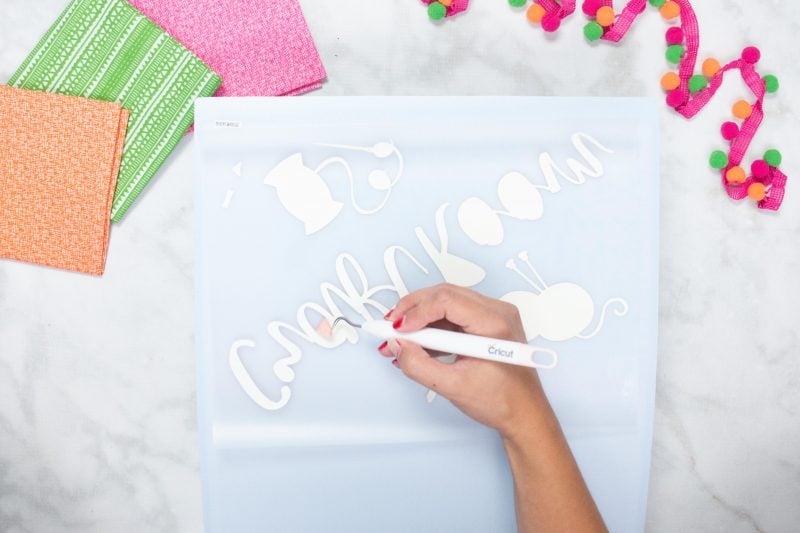
Remove the excess pieces surrounding the design using a weeding tool leaving the liner intact.
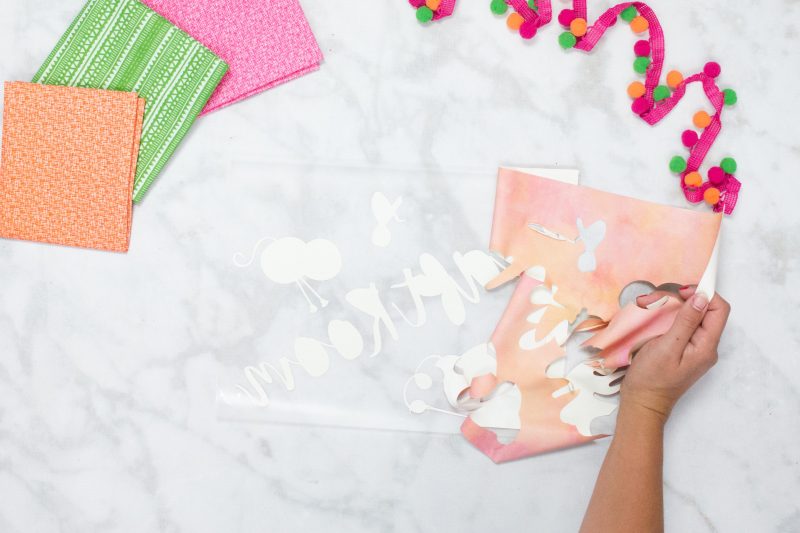
Position Images
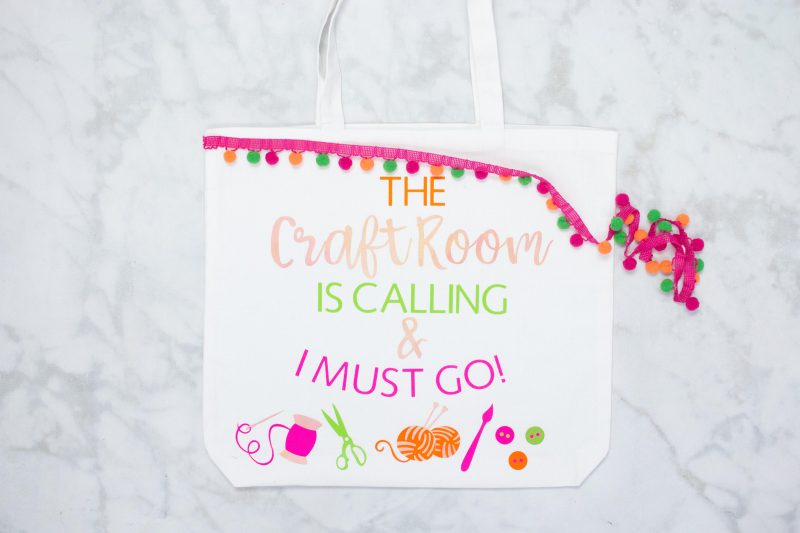
Position all of the images on the bag taking care to center the designs.

EasyPress Design
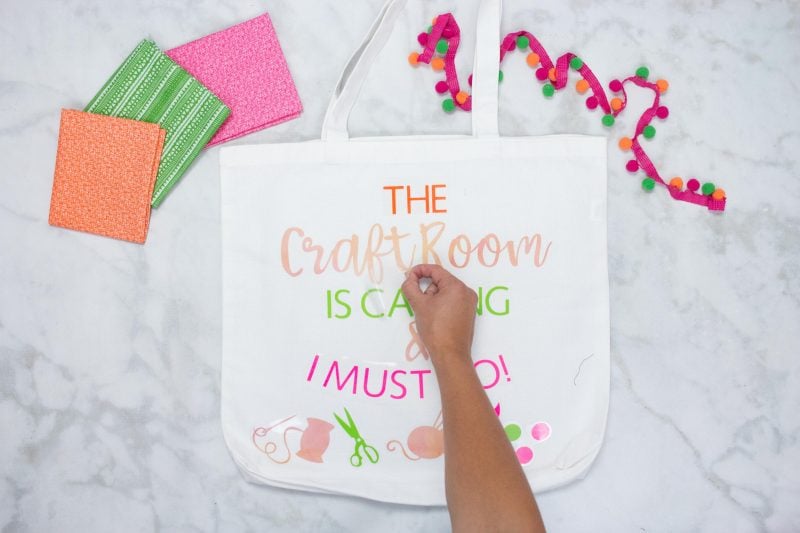
Preheat your iron or EasyPress and apply the Iron-On in sections making sure it adheres completely to the bag.
Cool and Peel
Allow the Iron-On to cool completely.
At a 45-degree angle gently pull the clear vinyl lining away from the Iron-On design. If the design is not sticking to the bag completely reheat the design and allow it to cool completely.
Trim
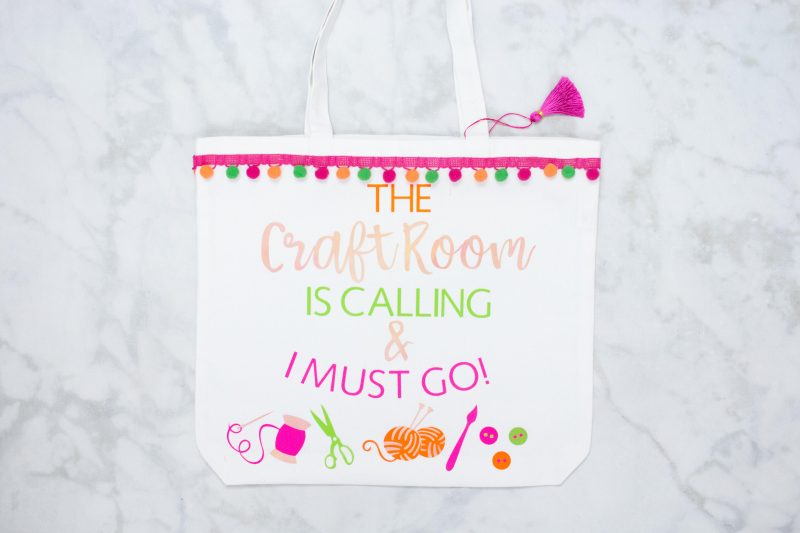
Apply the pom pom trim to the bag along the stitching line using a hot glue gun.
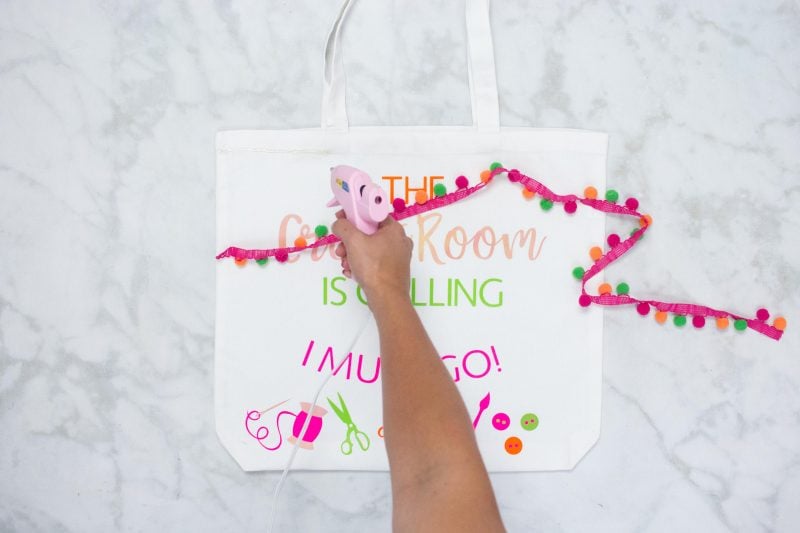
Overlap the ends of the trim by 1/2 inch and attach a tassel to the bag.
Wasn't that fun?? I can't wait to see the bags that you create! This design would be adorable on a wall hanging or even a T-shirt!
This is a sponsored conversation written by me on behalf of Cricut. The opinions and text are all mine.
Leave a Reply