Welcome to Zipper 101: Everything You Need to Know About Different Types of Zippers, and How They Work.
The zipper, invented all the way back in 1851, didn't become a commercial success until the early 1900s, when the design was improved by Gideon Sundback to more closely resemble the zipper we know now.

Early on, zippers were used primarily as closures on tobacco pouches and boots. It wasn't until the 1930s that the zipper started to be promoted for use on clothing.
Today, zippers are everywhere - accessories, home decor items, clothing, luggage, and more! Learning how to sew with zippers is the perfect addition to your sewing repertoire.

But before you dive into sewing zippers, it can help to learn a bit more about zippers, the parts of a zipper, and how they work.
Looking for sewing patterns that use zippers? Click here to see all of my free patterns and tutorials!
Table of Contents
Non-Separating Zippers vs. Separating Zippers
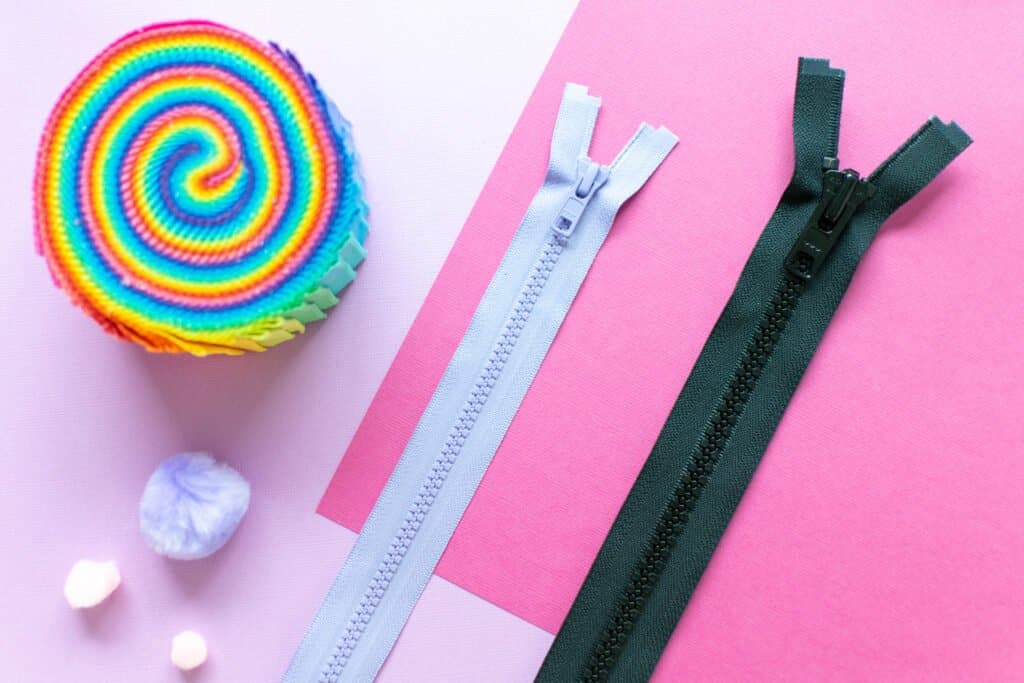
Most zippers can be separated into 2 overarching categories: separating zippers and non-separating zippers.
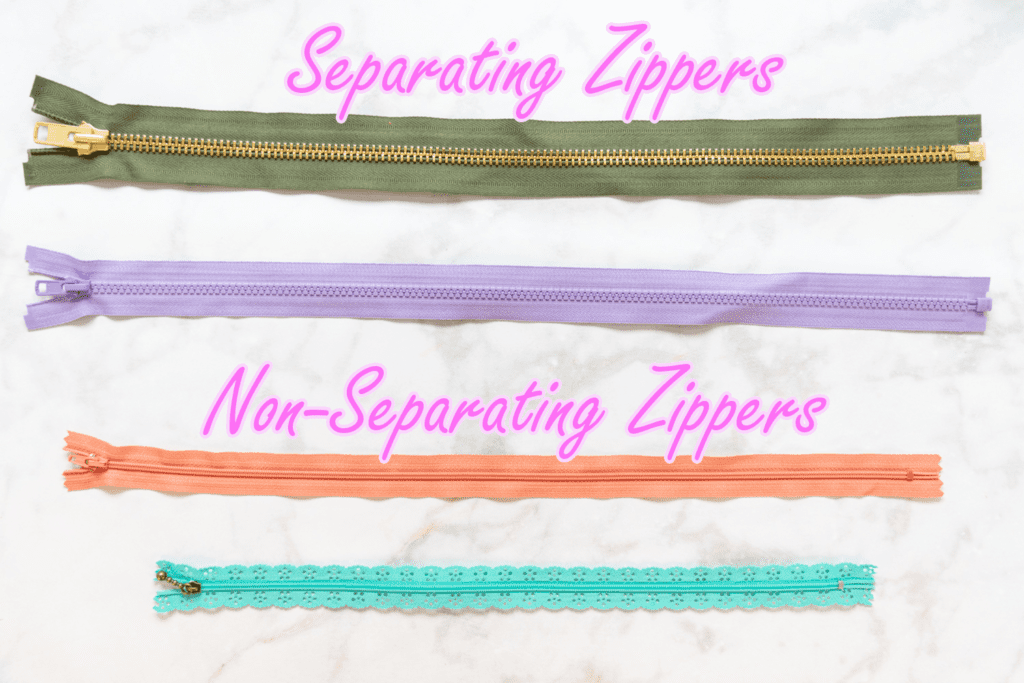
As the name implies, the two sides of a separating zipper come completely apart when the zipper is open. This type of zipper is usually found in jackets or coats where the entire front of the garment needs to open up.
Non-separating zippers don't come apart completely. Sometimes the bottom of the zipper doesn't come apart and sometimes both the top and bottom remain attached.
These 2 types of zippers have slightly different parts because they function differently.
The Parts of a Zipper
Knowing the anatomy of a zipper is important. It helps you to understand how each component works together to make a functional zipper. This is useful information when selecting the right zipper option for your project.
Also, knowing what each part of a zipper is can help you to find the right replacement pieces when repairing a zipper.
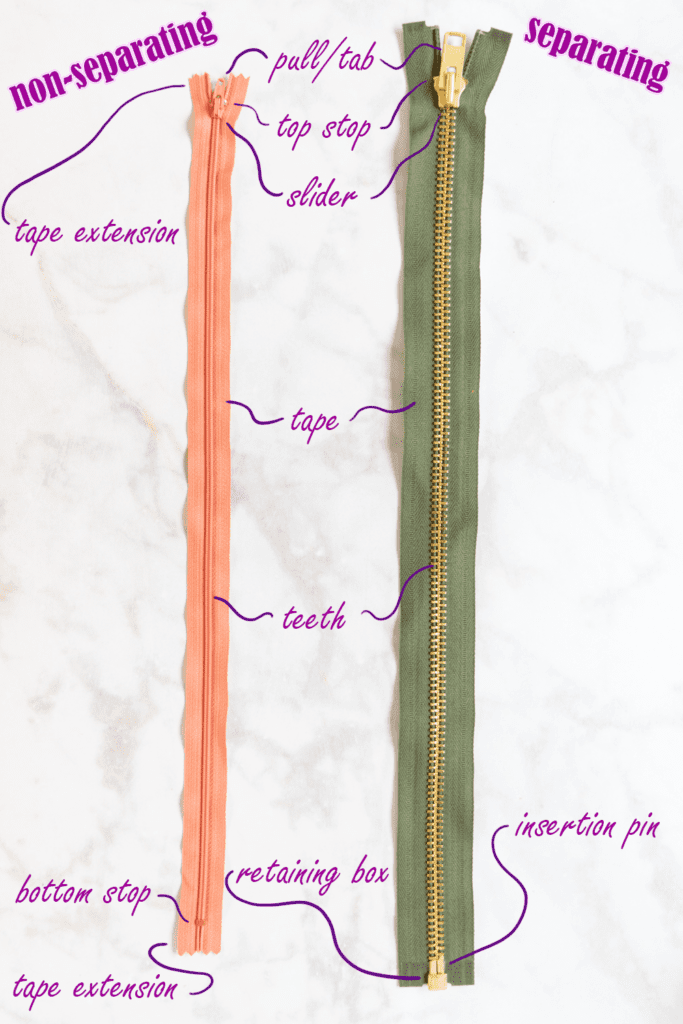
Here are the different parts of a zipper:
- Top Stop: The top zipper stop is a metal or plastic piece secured to each side of the zipper tape above the teeth. This prevents the zipper slider from coming off the top of the zipper. Some zippers have a top stop on each piece of zipper tape, while others have one top stop that goes across both sides of zipper tape.
- Zipper Tape: The zipper tape is the fabric portion of a zipper that will sewn into your project. Each zipper has 2 pieces of zipper tape that the teeth are secured to.
- Zipper Teeth: Zipper teeth are the main event of a zipper! They are either plastic or metal pieces attached to the zipper tape that interlock when the zipper is closed.
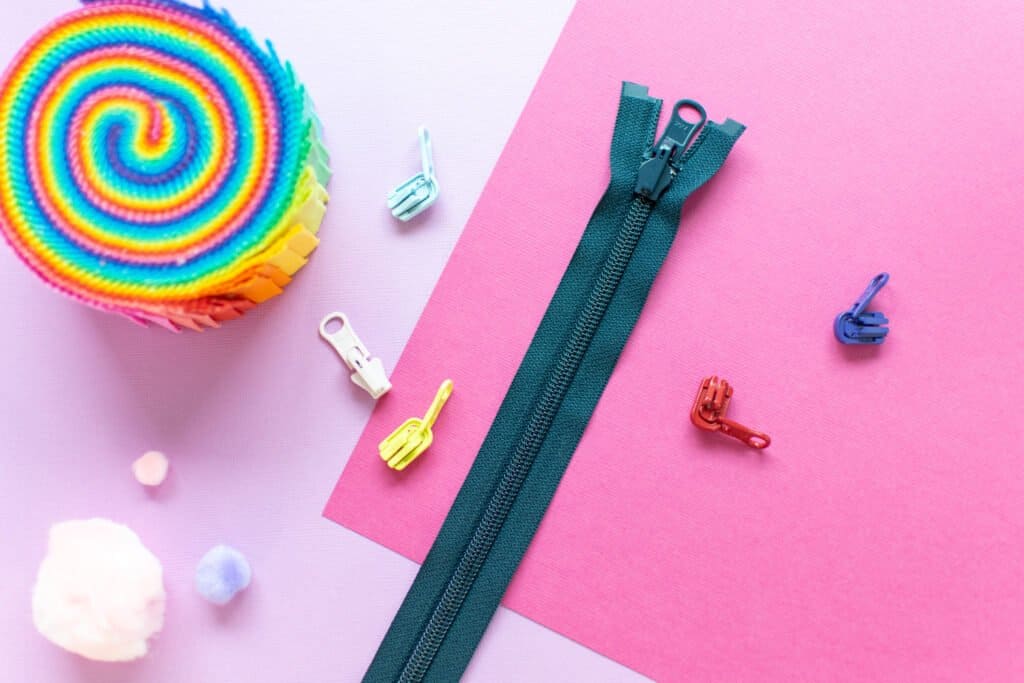
- Zipper Slider: The slider is placed on the zipper teeth and is moved up and down the teeth to open and close the teeth.
- Zipper Pull/Tab: Every zipper slider has a pull attached that is meant to be held onto to move the slider up and down the zipper teeth.
- Bottom Stop: The bottom stop is similar in functionality to the top stop - it's meant to prevent the slider from coming off the bottom of the zipper. However, only non-separating zippers have bottom stops. The bottom stop usually goes across both sides of the zipper tape to keep the bottom of the zipper together.
- Retaining Box/Starter Box: Separating zippers don't have a bottom stop, instead they have a retaining box and insertion pin mechanism. The retaining box is the larger metal or plastic piece located on one side of the zipper tape below the teeth. The purpose of this box is to get the insertion pin in position, aligning the two sides of zipper teeth, and allowing the zipper to close.
- Insertion Pin: The insertion pin is the piece of metal or plastic at the bottom of the zipper teeth opposite the retaining box on a separating zipper. This pin is inserted through the slider, then into the retaining box to help alighn the zipper so it can be closed.
- Top Tape Extension: Zippers usually have a bit of excess tape that sticks up past the top stop. This extra length of tape is called the top tape extension.
- Bottom Tape Extension: Opposite the top tape extension, the bottom tape extension is the excess amount of tape below the bottom zipper stop or retaining box/insertion pin.
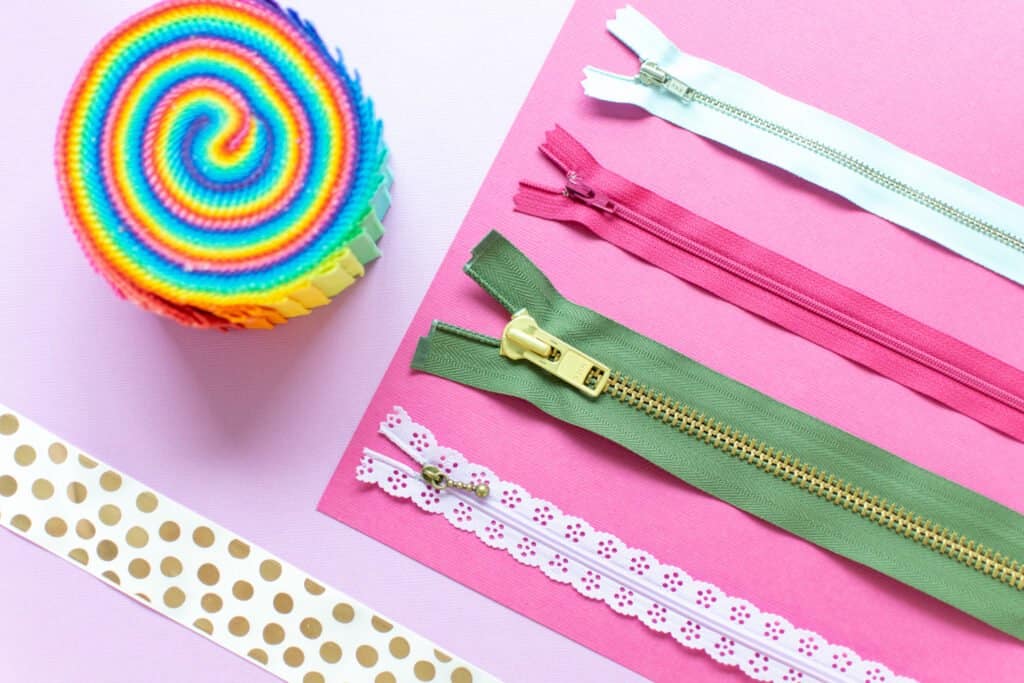
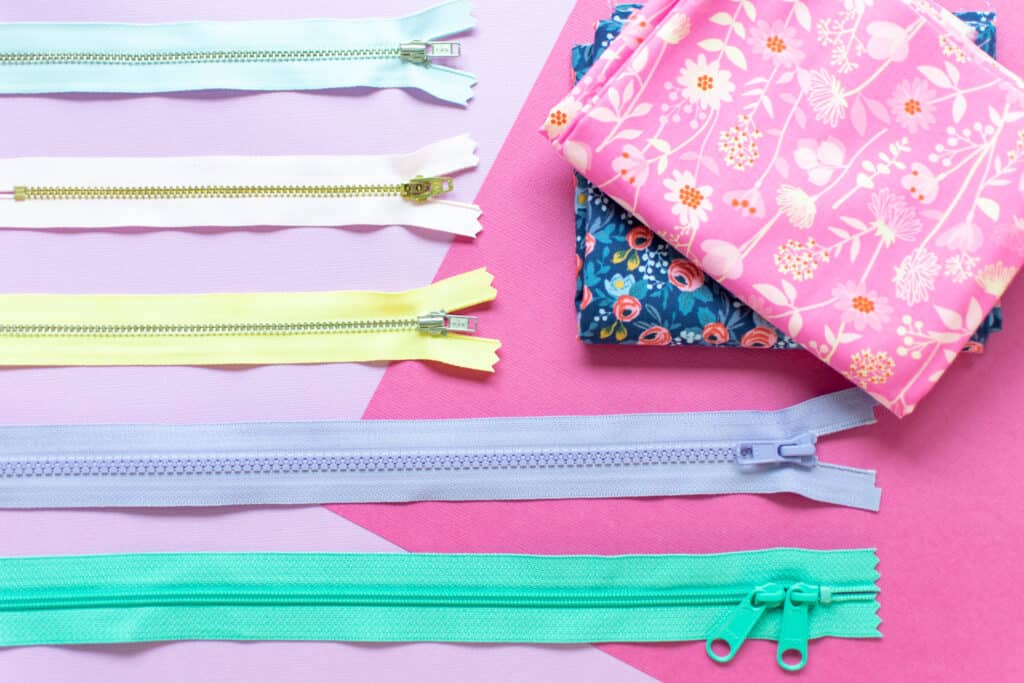
Types of Zippers
Now that you know the anatomy of a zipper, let's take a look at the different zipper options available. There are 4 primary types of zippers, all of which can be found in both separating and non-separating varieties.
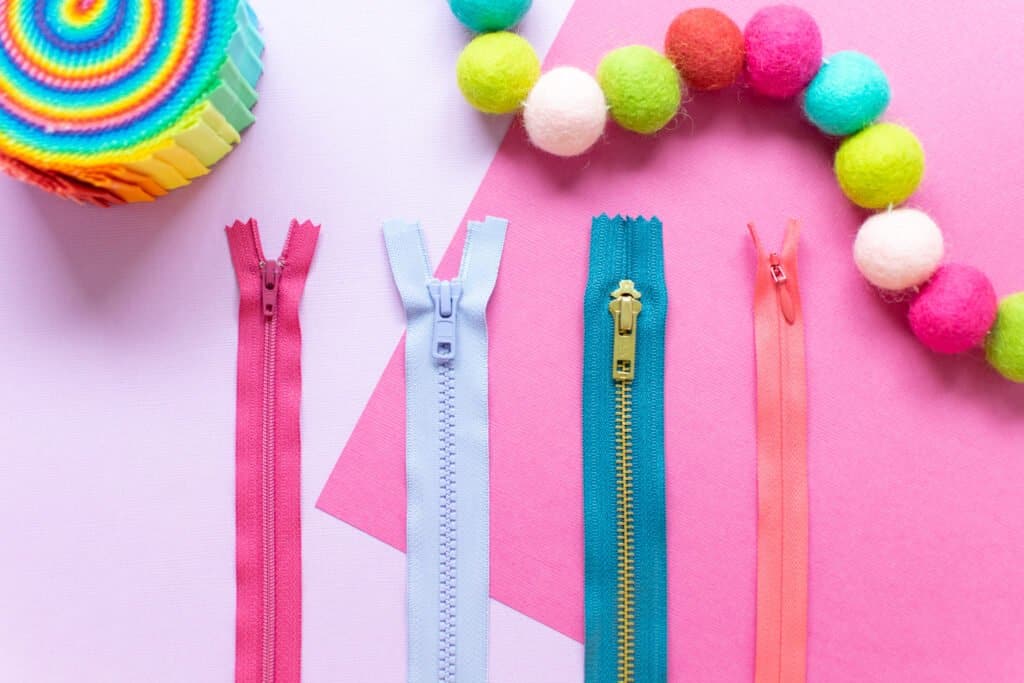
The 4 types are:
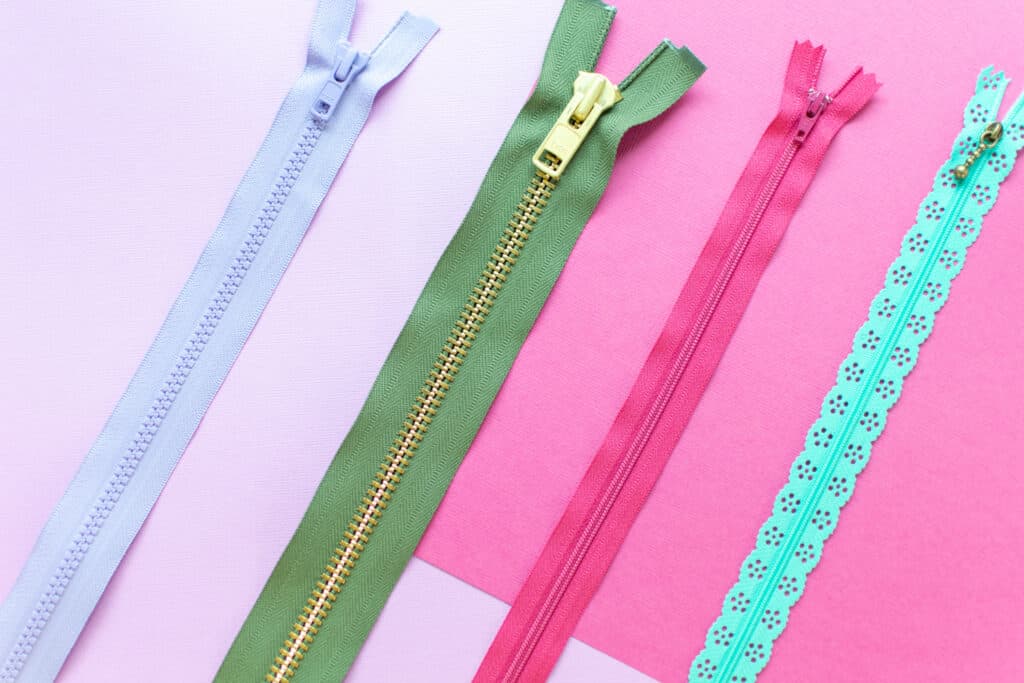
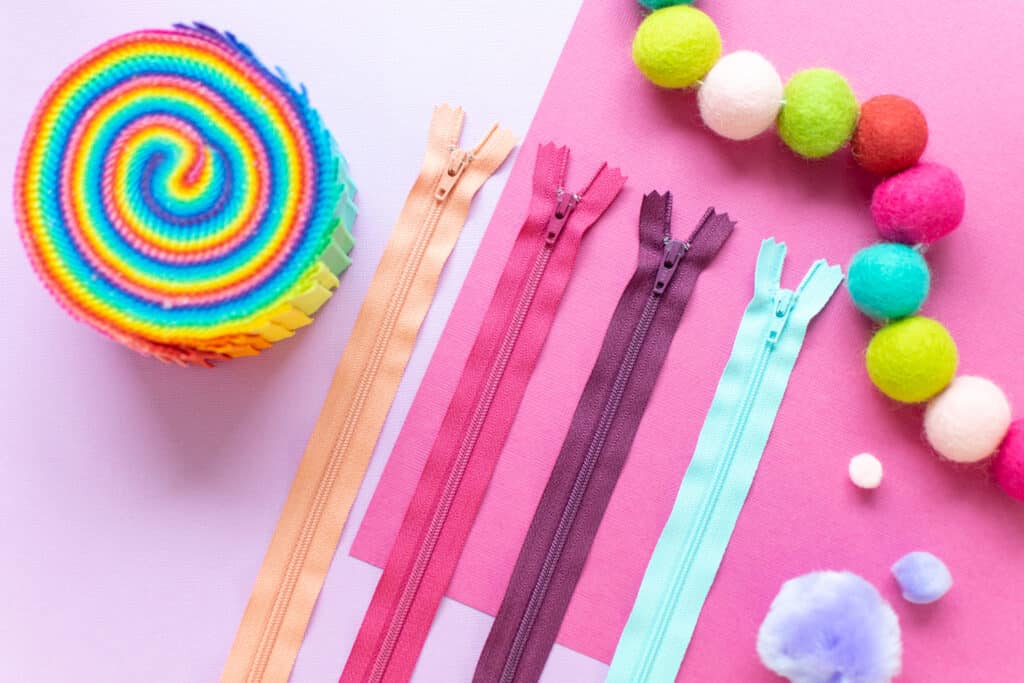
Coil Zippers
The teeth of coil zippers are made from thin pieces of plastic that have a coil-like appearance. These teeth are stitched to the zipper tape with thread.
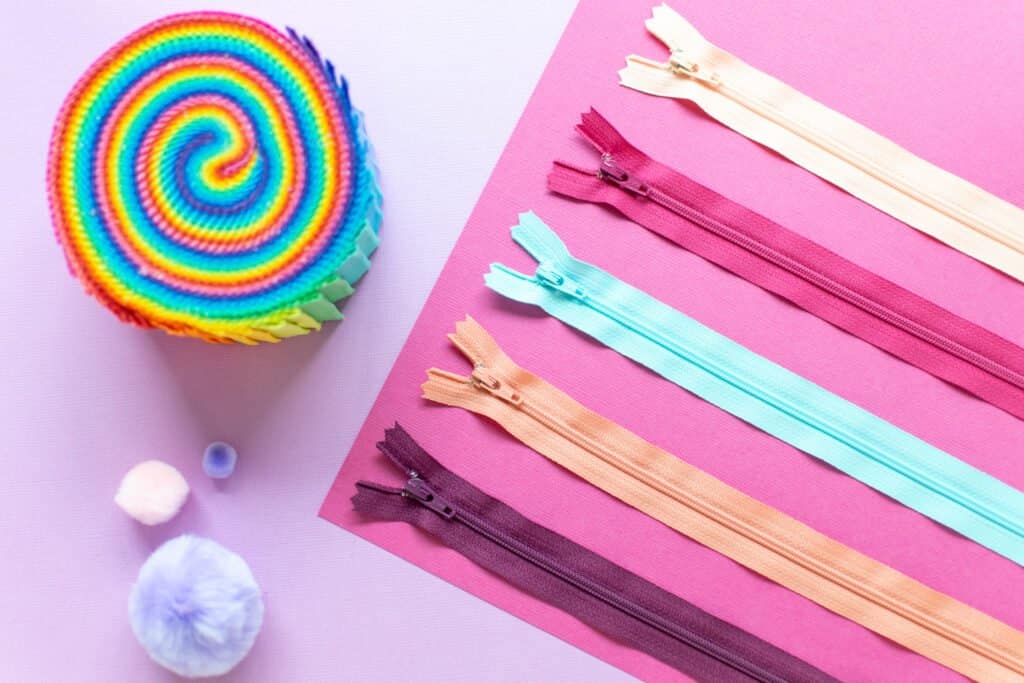
Coil zippers are flexible and lightweight, making them perfect for sewing into curved seams. They are also resistant to pulling apart while closed. This is great when making bags or luggage that may get overstuffed and put pressure on the zipper.
The downside to coil zippers is that the thin teeth can be prone to getting bent or damaged over time.
Molded Plastic Zippers
Molded plastic zippers also have teeth made from plastic, but these teeth are wide and look like interlocking puzzle pieces. The teeth are molded directly onto the zipper tape, rather than being sewn on.
Molded zippers are stong and not prone to damage. They are great for clothing, especially hard-wearing outerwear. However, the thick teeth make them much less flexible than coil zippers. This means that molded plastic zippers are best used in straight seams only.
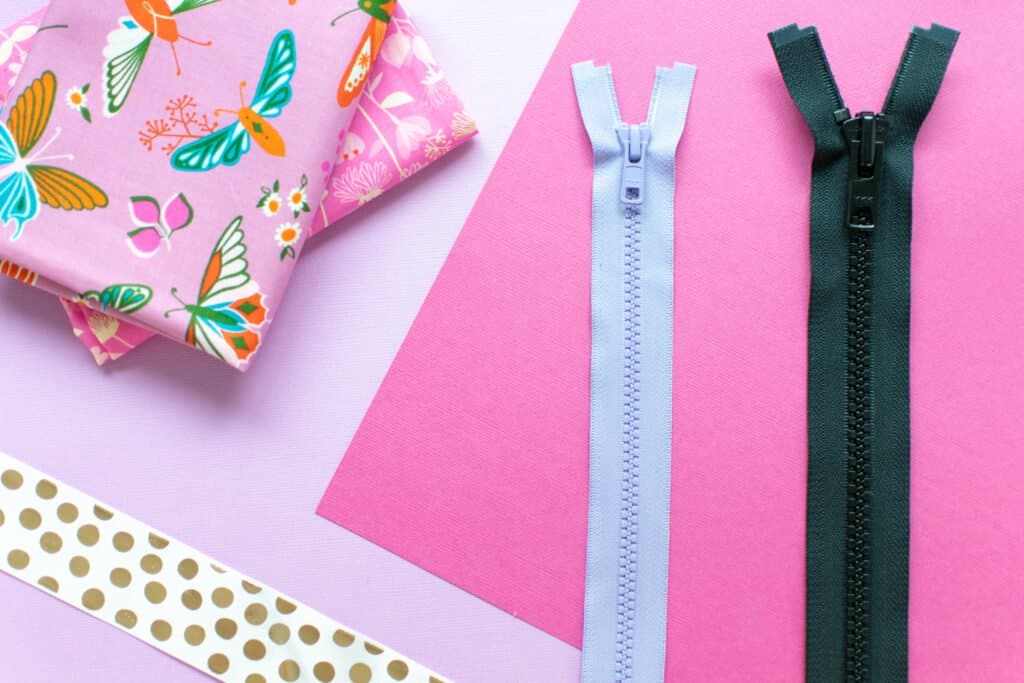
In addition, the teeth of molded zippers have a tendency to pull apart and separate while closed if pressure is placed on the zipper. This makes them a bad choice for bags that may get overstuffed.
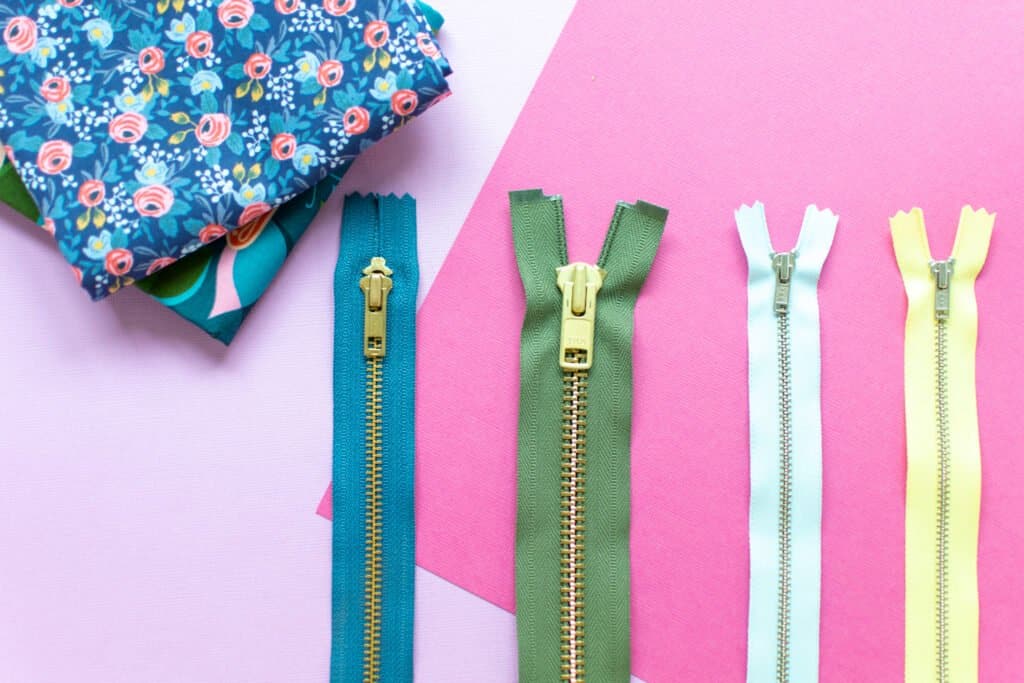
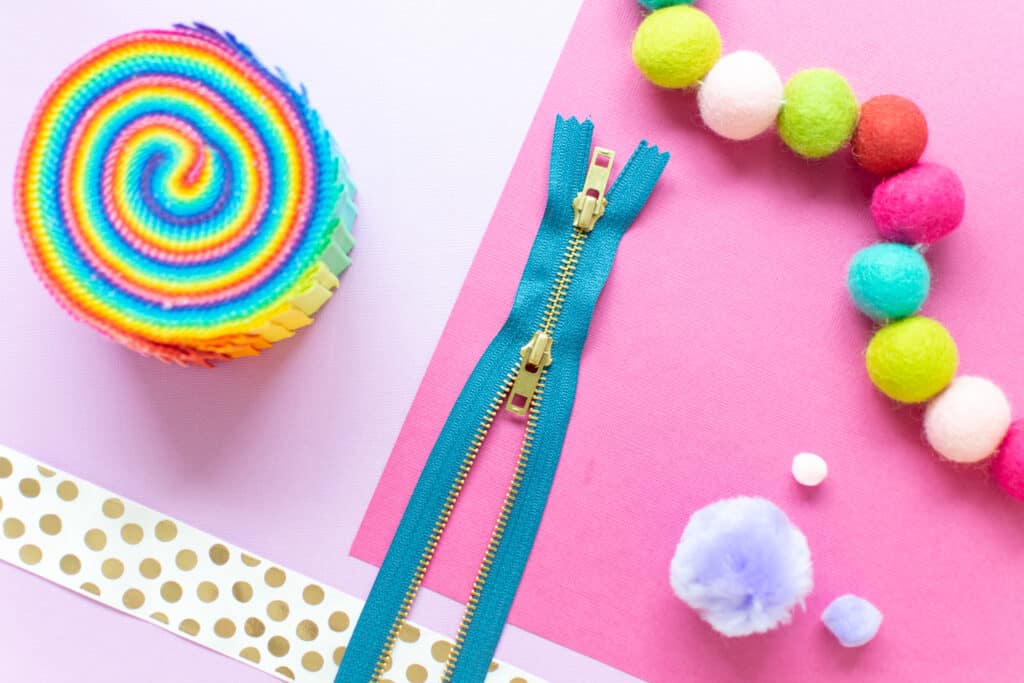
Metal Zippers
Metal zippers are the most strong and durable option - they are made with metal teeth that are clamped onto the zipper tape. They are also a statement zipper! You can find beautiful zippers made with all types and colors of different metals.
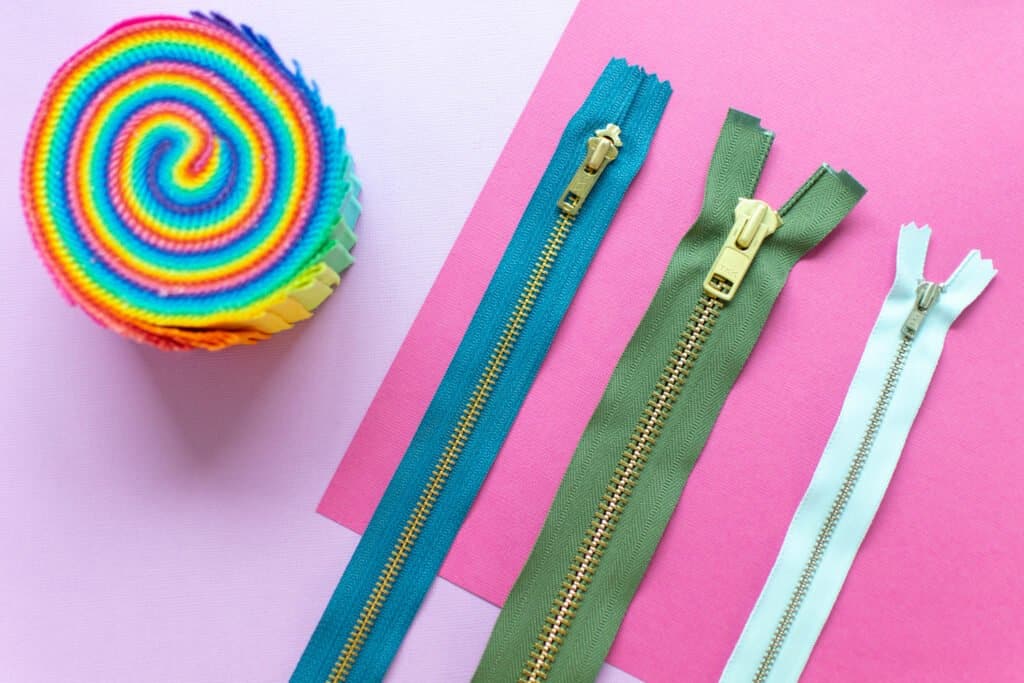
Metal zippers are perfect for bags, pants, and outerwear that will receive a lot of wear and tear. However, there are a few negatives to using metal zippers.
For one, they are heavier than their plastic counterparts - keep this in mind when making lighter-weight garments or projects. For example, a metal zipper won't pair well a chiffon!
In addition, metal zippers often don't hold up as well out in the elements (especially rain) as other types of zippers. This type of zipper is probably not your best choice for outdoor furniture or a rain coat!
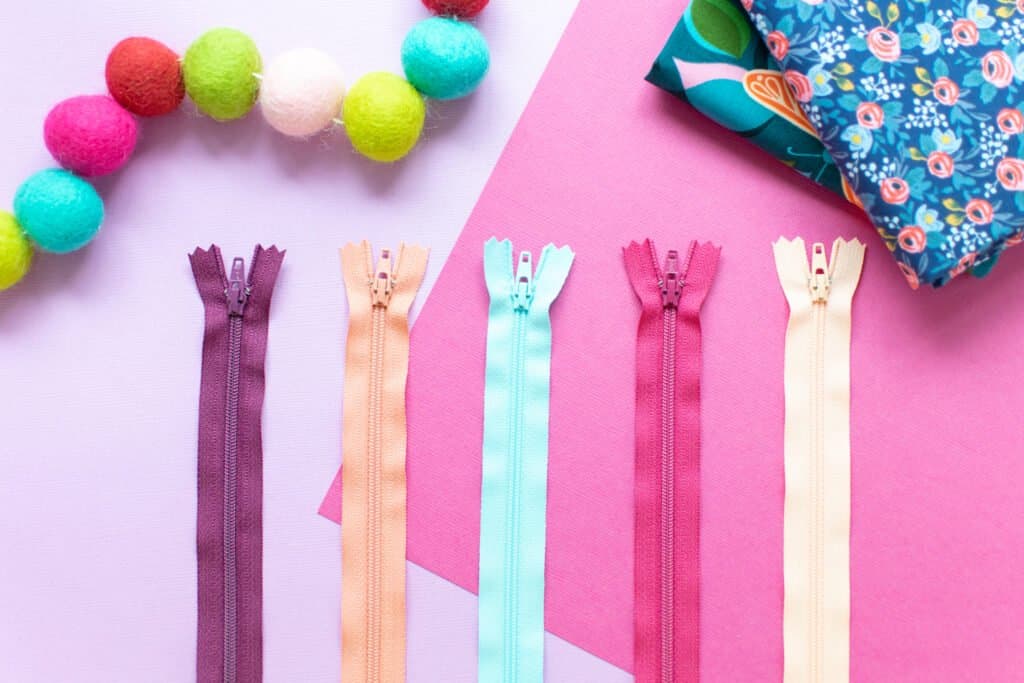
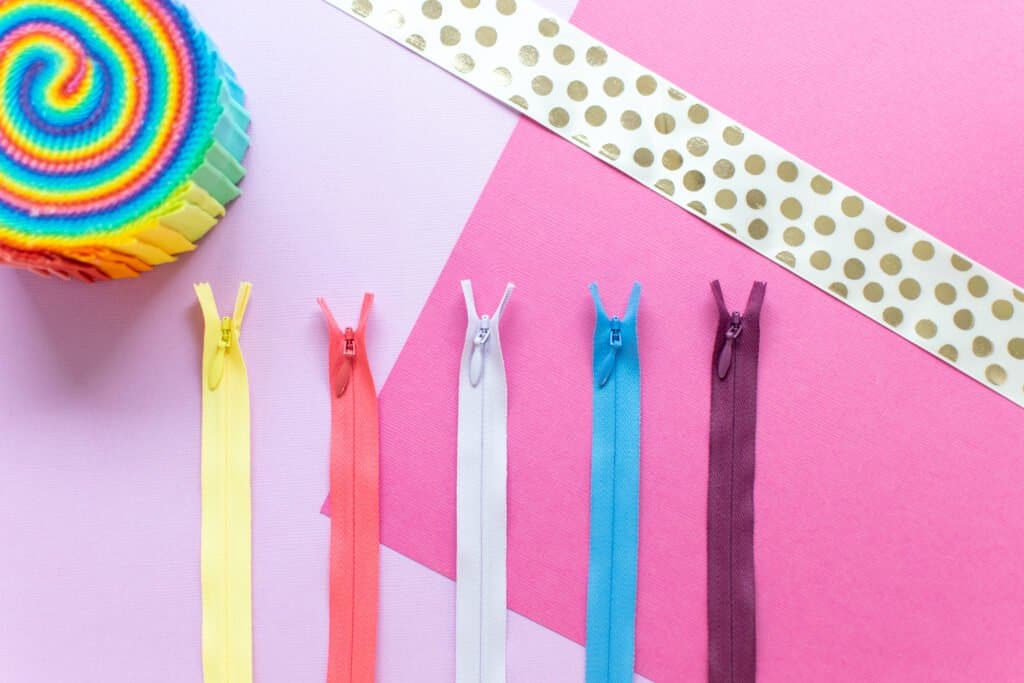
Invisible Zippers
The final type of zipper is invisible zippers, which are also known as concealed zippers. Invisible zippers are usually made with plastic coil teeth, but they have a few key differences from a standard coil zipper.
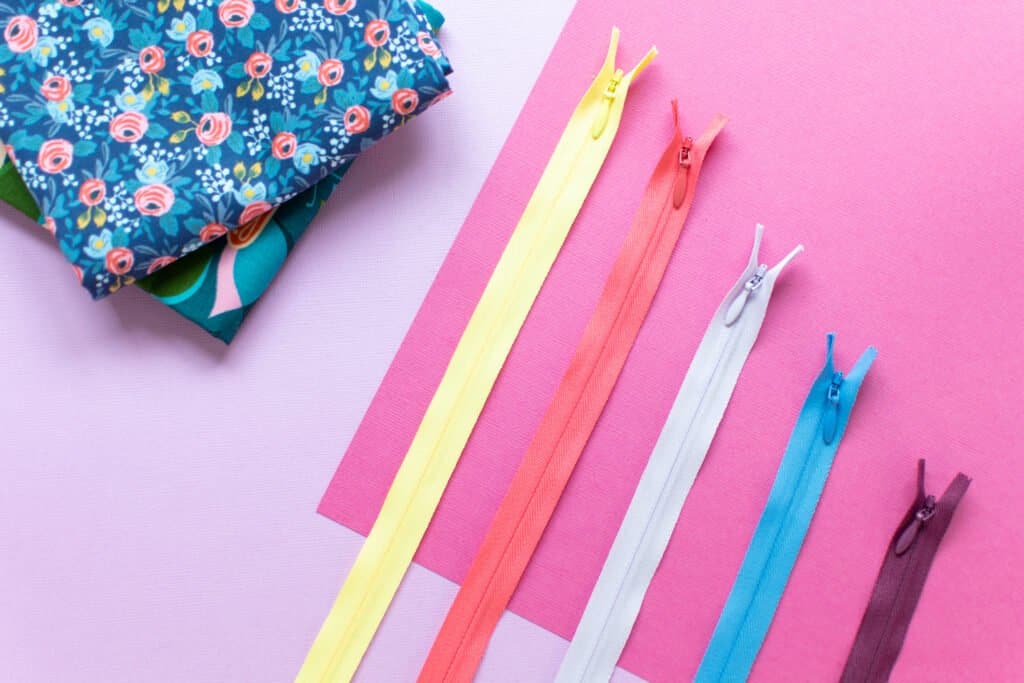
First, the teeth of an invisible zipper are curled underneath the tape, hiding them from view. In addition, the slider is usually very narrow to allow it to hide easily within a seam.
When inserted into your project properly, an invisible zipper will disappear into the seam. This is perfect for garments and other projects that need an ultra-professional look. Think pencil skirts, cocktail dresses, and slacks!
Zipper Sizing
When you're scrolling through zipper options at your favorite online sewing supply retailer, you'll likely see numbers with a # symbol before them in the descriptions. This is the zipper size.

Zippers are sized by measuring the width of the teeth, while the zipper is closed, in millimeters. So, a #5 zipper has 5mm wide teeth. That seems easy enough, right? But why does this matter?
Most sewing patterns don't recommend a zipper size, they just give you a length. So you'll have to choose the size yourself! Keep this in mind while selecting a zipper size: the larger the size, the wider and more conspicuous the teeth will be - and the heavier the zipper will be.
Here is a quick reference chart for choosing a zipper size:
| Zipper Size | Size Category | Use It For |
| 1-4 | Small | dresses, skirts, dress pants, lightweight purses |
| 5-7 | Medium | jackets, coats, backpacks, purses |
| 8-10 | Large | very heavy-duty outerwear, boat and vehicle covers |
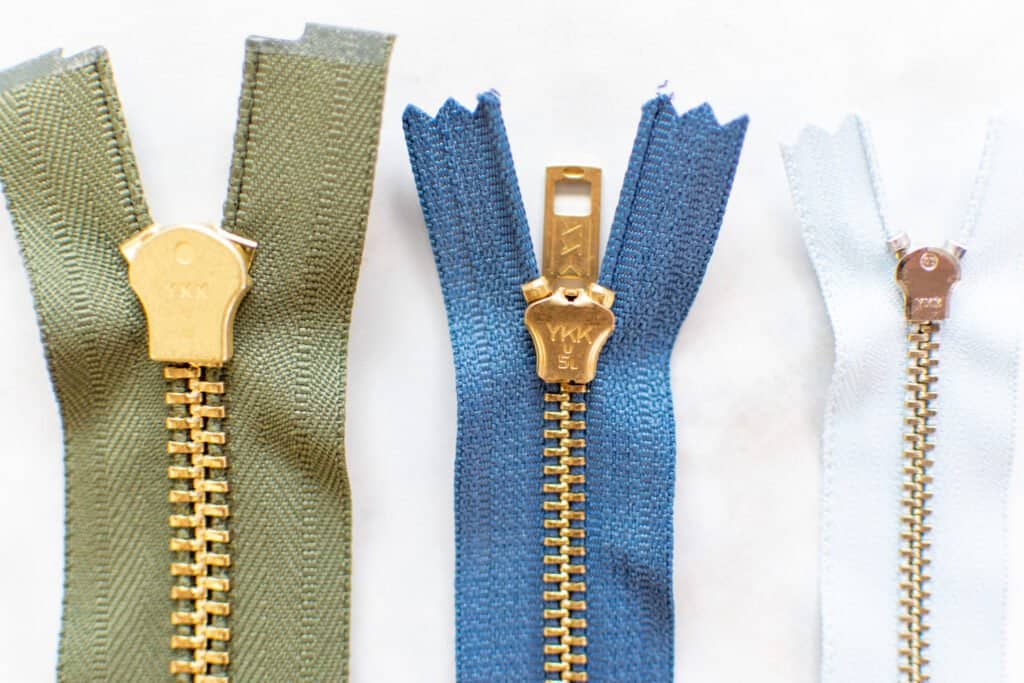
What Do the Numbers on the Back of My Zipper Mean?
If you need to find a replacement zipper for a garment or other item, you'll need to determine the size and type of the original zipper so you can find an appropriate replacement.
Most zippers have a number and sometimes also letters stamped on the back of the slider. The number on the back of the slider is the size of your zipper. The letters often correspond to the type (coil, molded, metal (including type of metal), invisible) and the functionality of the zipper (type of slider, separating vs. non-separating, etc.).
What each letter means depends on the brand of your zipper. For the most popular zipper brand, YKK, here is their guide to the letter designations on the back of their sliders.
However, the key is to know that the number corresponds to the size of your zipper.
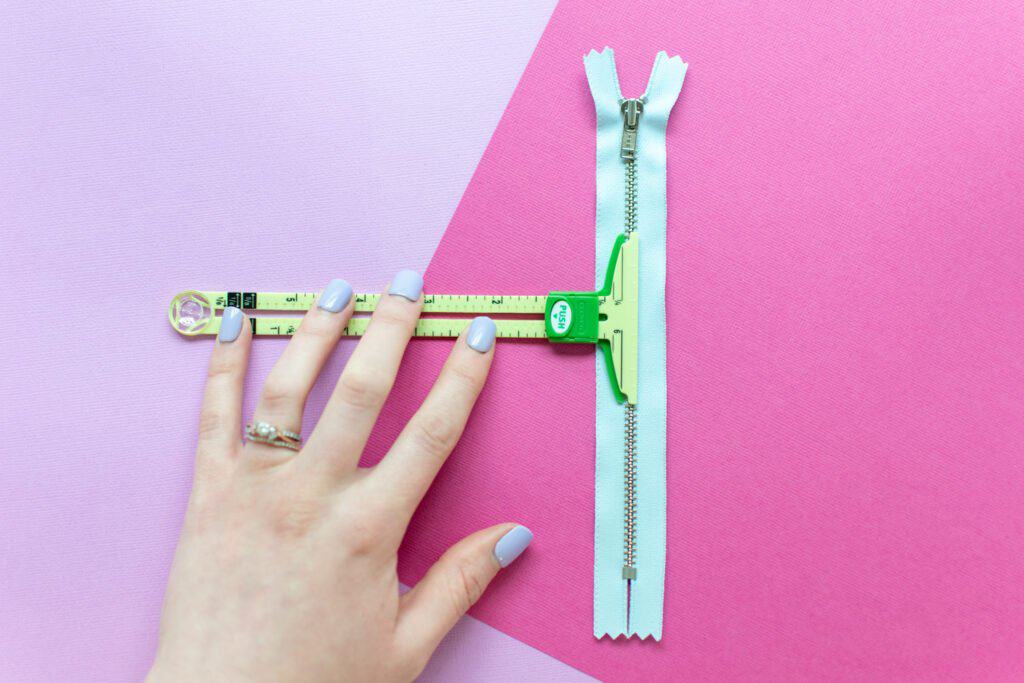
How to Measure a Zipper
Most sewing patterns will recommend a length of zipper for the project. To find the length of a zipper, measure from the top stop to the bottom stop. Or, if you're using a separating zipper, from the top stop to the retaining box.

The length of a zipper does not include the top or bottom tape extension.
Types of Zipper Sliders
As I mentioned earlier, there are a lot of options when it comes to zippers these days. And that includes the sliders.
While a basic zipper slider will work for most applications, knowing the different slider options available can help you to make the best choice for your project.
Locking vs. Non-locking
Zipper sliders come in both locking and non-locking versions.
A locking zipper slider has a tiny pin inside of it that catches in the zipper teeth, holding it in place. This means that a locking slider will not move up or down the teeth unless the tab is being physically pulled on.
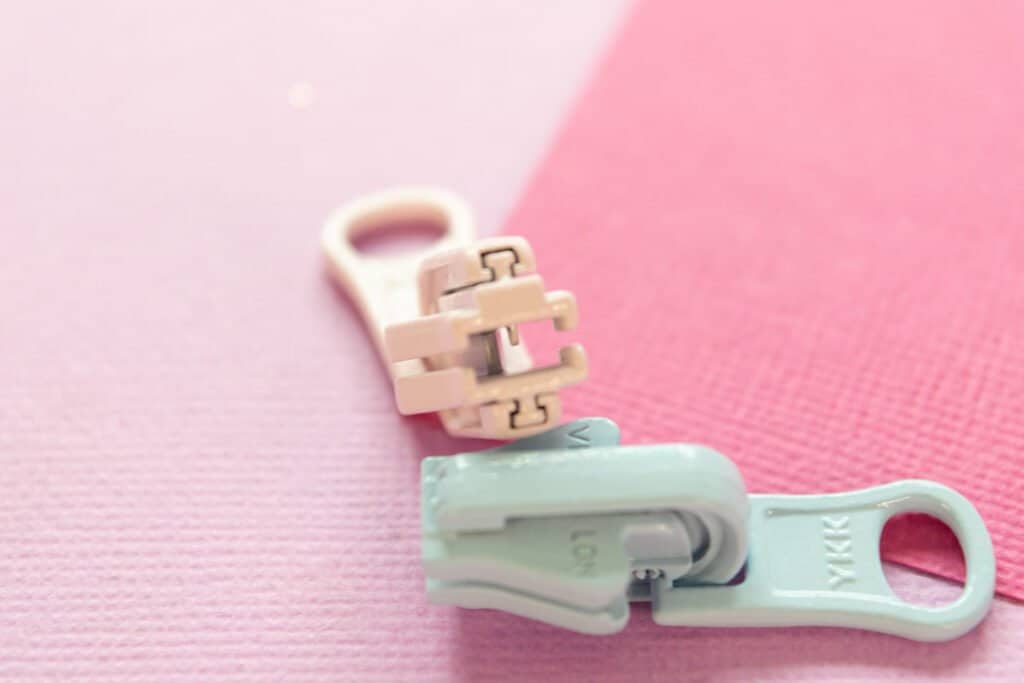
A non-locking zipper slider doesn't have this pin mechanism. Because of this, non-locking sliders can move down the zipper on their own if pressure is placed on the zipper.
This type of slider is best used on purses and other items where the zipper won't be pulled on. Try to avoid non-locking sliders on garments - you don't want your clothes coming unzipped on their own!
Reverse Zipper Sliders
Most zipper sliders work from the toothed side of the zipper. This means that the teeth will be facing towards the outside of your project, which is great for most applications.
A reverse zipper slider is just the opposite - it is attached to the non-toothed side of the zipper. So, when it is sewn into your project, the teeth will be facing to the inside.
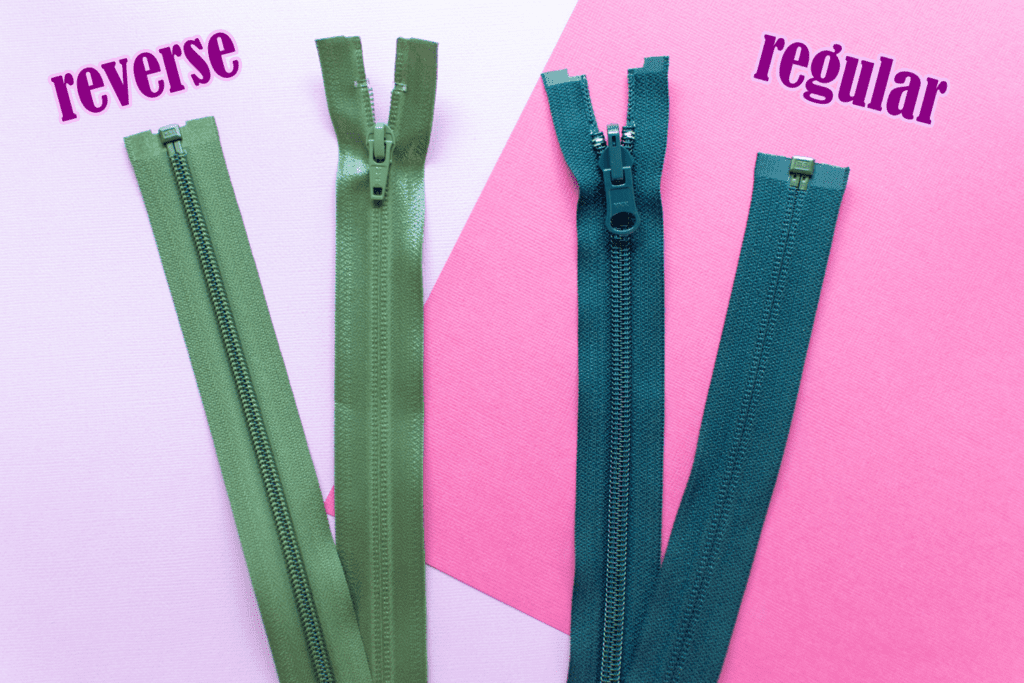
This is useful for projects where water-resistance is needed, since the teeth being turned to the inside provides another layer of protection against water. It's also great if you just don't like seeing the zipper teeth from the outside!
Reversible Zipper Sliders
While "reversible sliders" may sound like it should be the same thing as "reverse sliders" - it's actually something completely different!
Reversible sliders have a tab that can be pulled up and over the top of the slider, making it functional from both the front and back. This is perfect for reversible items that may need to be zipped from either side.
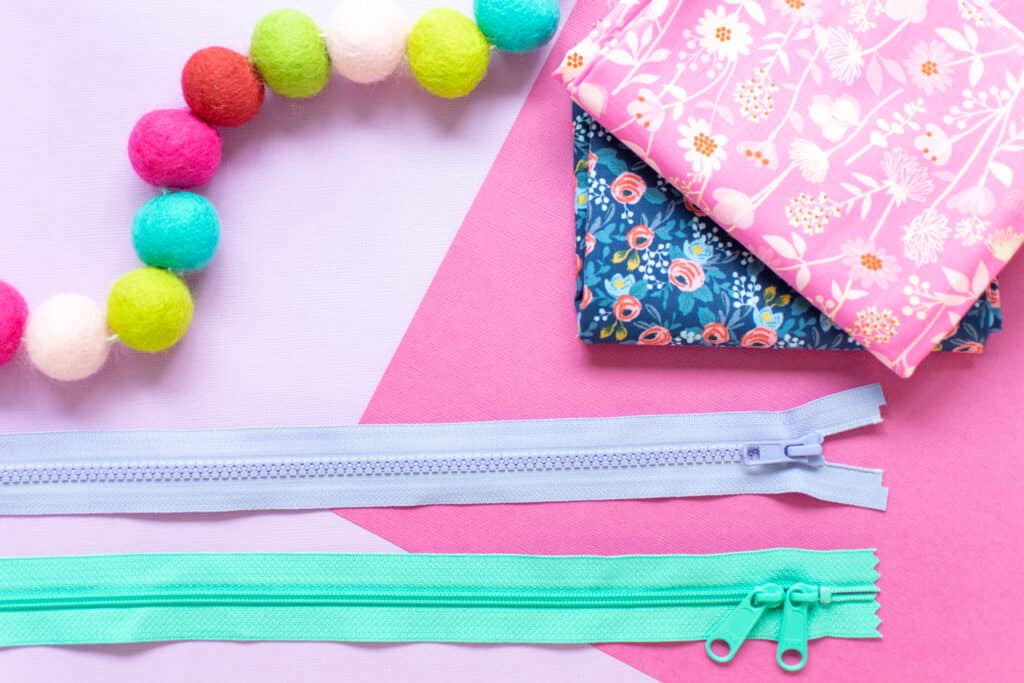
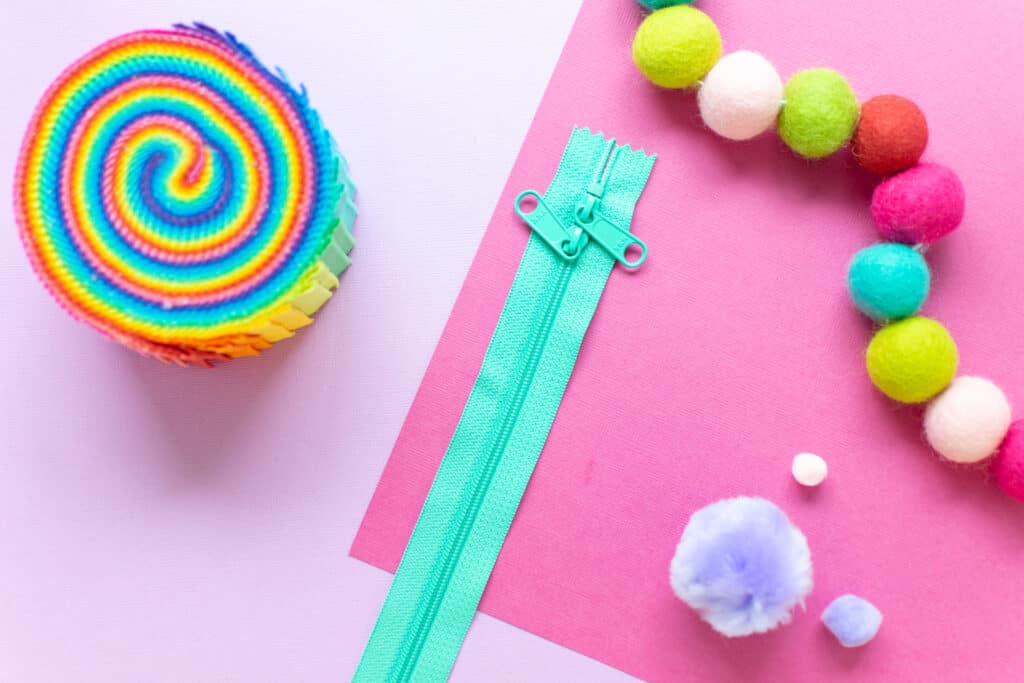
Double Zipper Sliders
Double zipper sliders are somewhat similar to reversible sliders in that they work from both sides. However, instead of having a pull tab that moves from one side to the other, they have two tabs - one on each side.

This type of zipper works well for reversible projects as well as items that need to have a zipper tab on both sides, such as a tent.
One-Way vs. Two-Way Zippers
Many zippers, especially those used on bags and luggage have two sliders on the zipper teeth. These are two-way zippers.
One-Way Zippers
A one-way zipper is your standard zipper. This type of zipper has only one zipper slider and can only be zipped up in one direction. A basic one-way zipper will work great for most garments, bags, and home decor projects.
Head-to-Head Zippers
A head-to-head zipper is a type of two-way zipper with sliders that are facing towards each other on the tape. To close a head-to-head zipper, the sliders must be pulled in towards each other, while to open the zipper they are pulled apart.
Head-to-head zippers are often used on luggage, purses, backpacks, and other types of bags.
Tail-to-Tail Zippers (aka Coverall Zippers)
Tail-to-tail zippers are the other type of two-way zipper that you'll come across. These work exactly the opposite of a head-to-head zipper. The sliders on this type of zipper are faced away from each other, so to close the zipper, the sliders are pulled away from each other.
Tail-to-tail zippers are also used on backpacks and bags, as well as coveralls.
Have you ever tried sewing with any of the fun zipper options we talked about today? Leave a comment below, I would love to hear about your zipper sewing adventures!
Sewing with zippers? Share a photo on Instagram with the hashtag #sweetredpoppy, I would love to see what you're making!
Looking for sewing patterns that use zippers? Click here to see all of my free patterns and tutorials!
Don't forget to join my Facebook group where you can show us what you're making, ask questions, and learn from others!
WOW. Thank you... Amazing as always. I have always been nervous with zips... I never knew there were so many different types etc.
As a newbie to sewing your tutorials awesome!
Thank you!
Thank you for this comprehensive post about zippers Kim, I learnt a few things! Very much appreciated!
I am new to sewing a zipper. I have a heavy duty heated vest that needed a new zipper. I replaced the zipper only to realize I sewed it in backwards. The pull tab is on the inside. Can the pull tab be taken off and put on the outside of the vest? Or do I need to remove the zipper and sew it in the right way?
thank u
That's an amazing post , so detailed.
Thank you so much for this.
Wow! Who knew there was so much to learn about zippers! Thank you for such an informative post.