Free Mother’s Day Floral Bouquet Layered Cut Files and Pop-up Card. Create a Thoughtful Gift With This Step-by-Step Tutorial and Video.
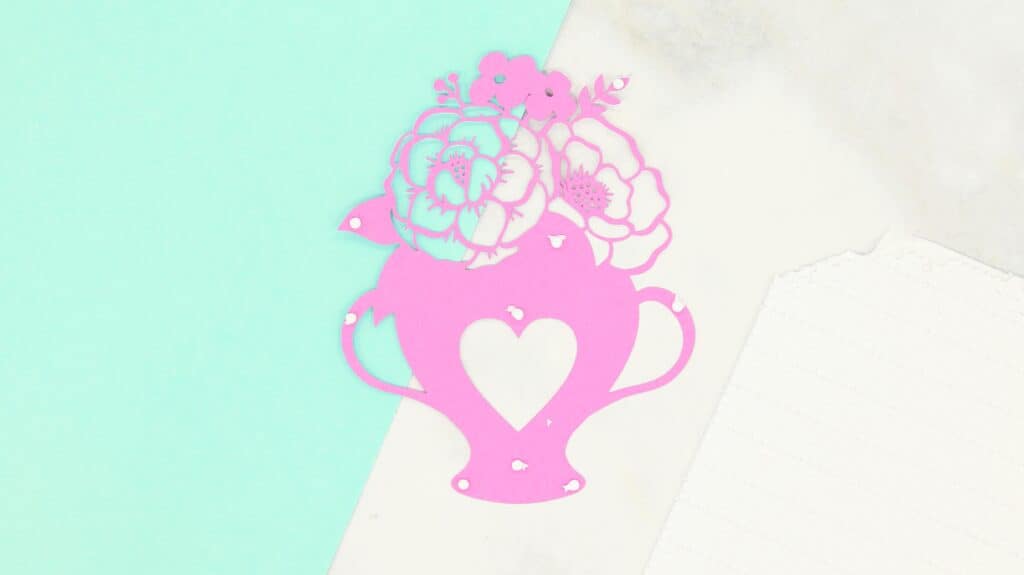
Gift the women in your life a lovely Mother's Day Bouquet with this free layered SVG Design file. No watering is required!
It's always tricky to know what to gift your mom for Mother's Day, but you can never go wrong with flowers. Especially when the blooms are guaranteed to last!

I love the idea of cutting this design out with Iron-on material and applying it to a tote bag. It would make the perfect accessory for running errands as the weather warms up.
It would also be adorable turned into a card with a thoughtfully written sentiment inside. What more could a mother want?
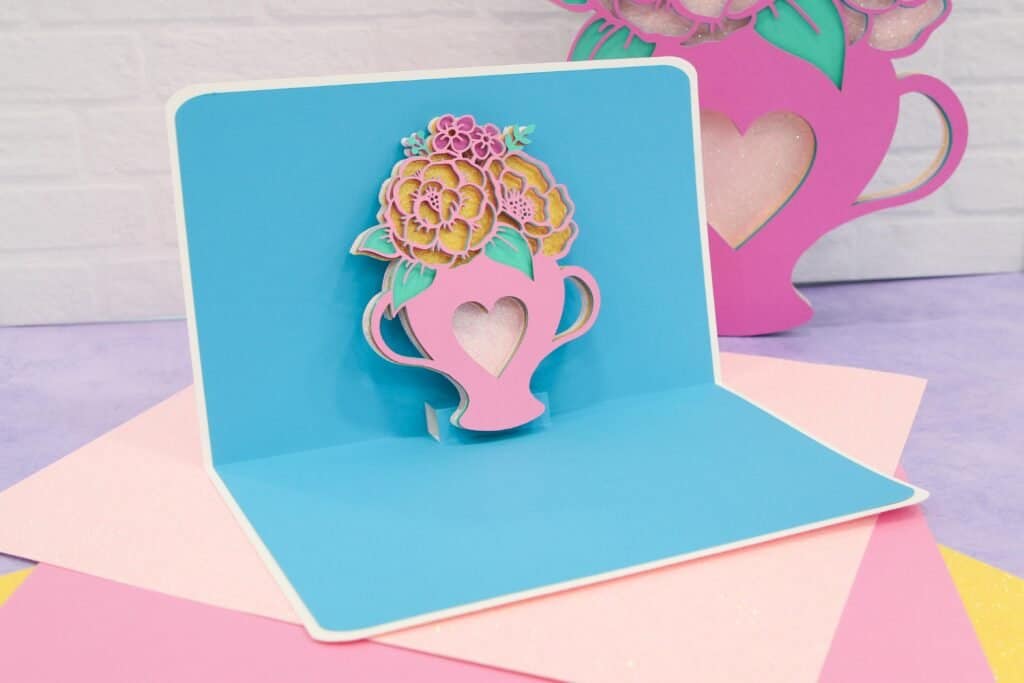
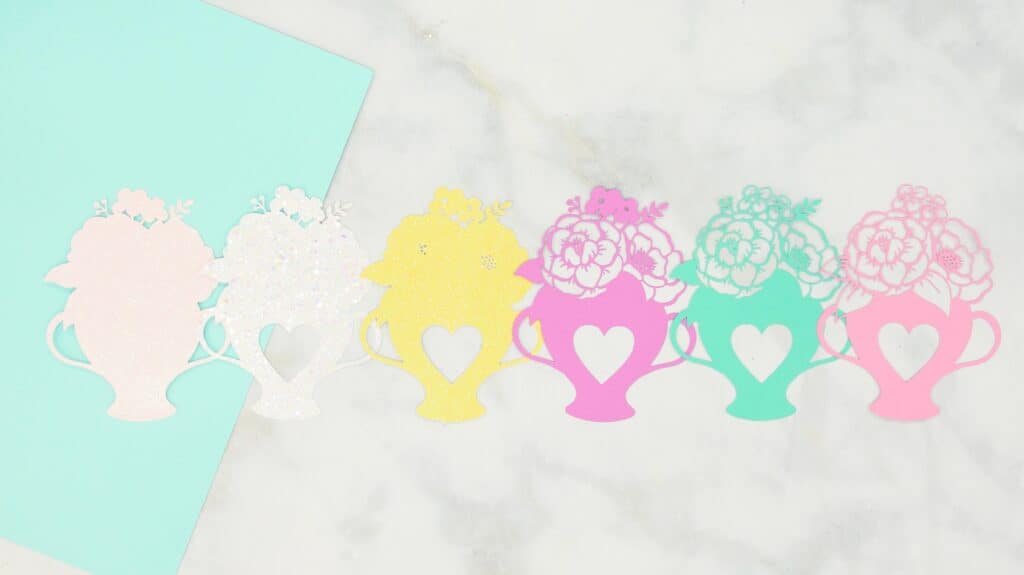
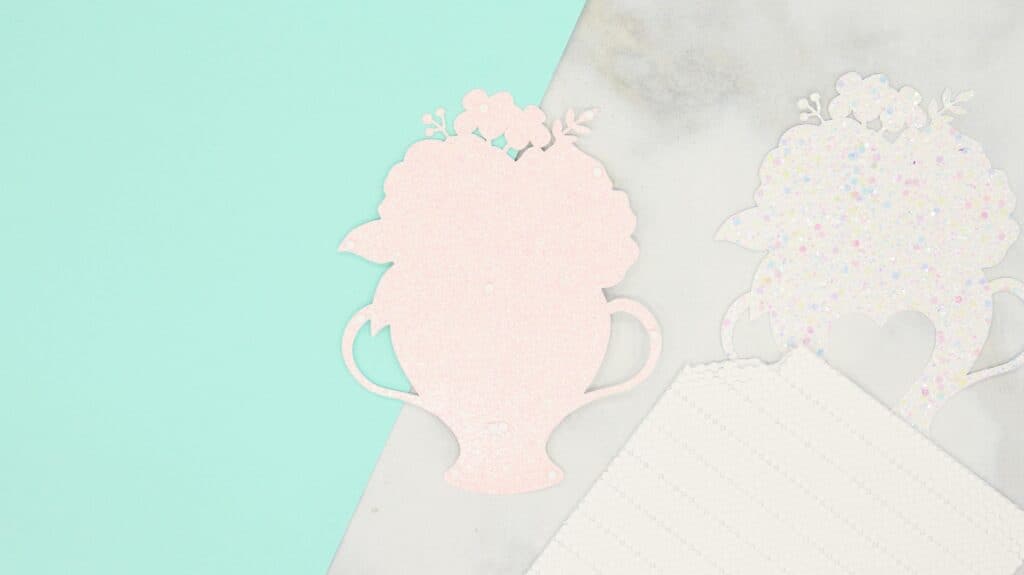
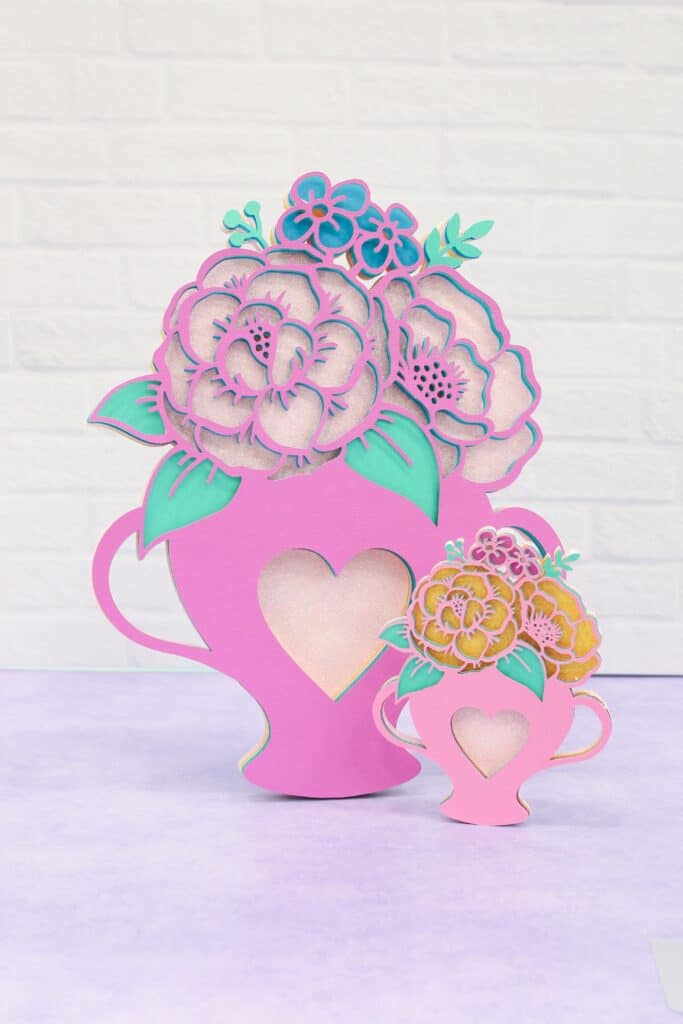
I made an oversized bouquet out of cardstock as well as a pop-up card using the same file. It can be used in many different ways, so feel free to get creative!

Table of Contents
Mother's Day Bouquet SVG
Follow these step-by-step instructions and download the free SVG cut file to make this Mother's Day Bouquet.
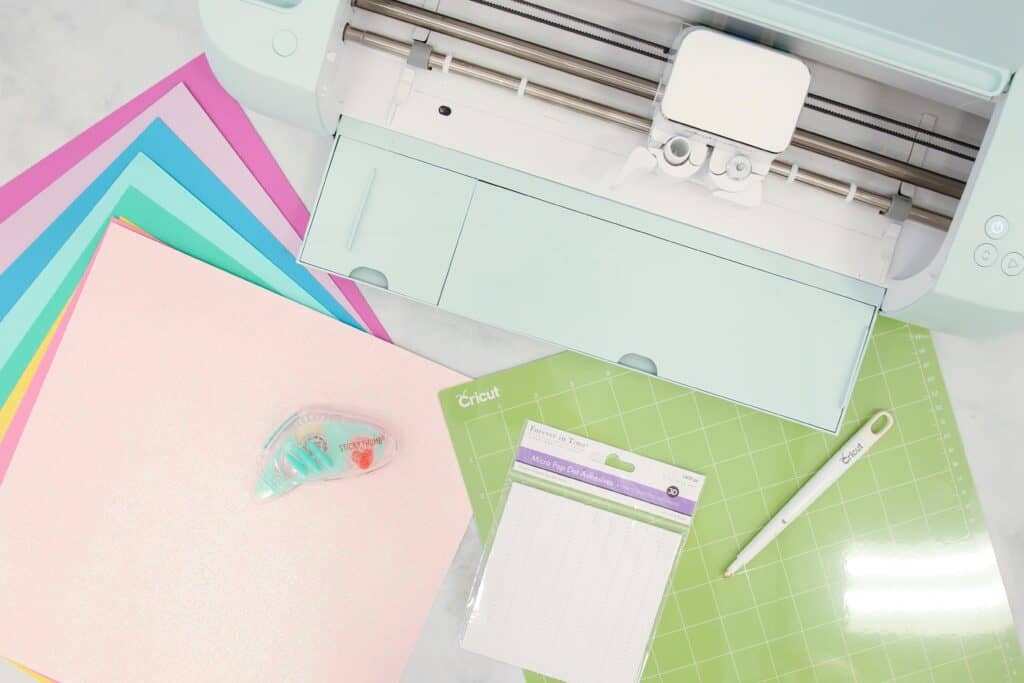
Supplies:
- Free Mother's Day Bouquet Cut Files (link below)
- Cricut Explore, Cricut Joy, or Cricut Maker
- Fine-Point Blade
- StandardGrip Mat
- Cardstock
- Foam Adhesive Dots or Craft Glue or Adhesive Roller
- Scoring Stylus or Scoring Wheel
- Cricut Scraper, Optional for removing small pieces of cardstock from the mat
Click Here to Download the Free Mother's Day Bouquet SVG Cut Files!
Step 1: Upload the SVG Design File to Cricut Design Space
Open Cricut Design Space and click the + to create a new project.
In the Design Panel on the left, select "Upload." Click "Upload Image." Click "Browse."
Navigate to the file on your device to upload it to Cricut Design Space.
Here you can change the name and add tags. Click "Upload."
Once you have the file uploaded, select it and click "Insert Images" to bring it onto your canvas.
If you want to make the pop-up card version, click here to access my Design Space canvas. You'll need to resize your bouquet to be 4" x 5".
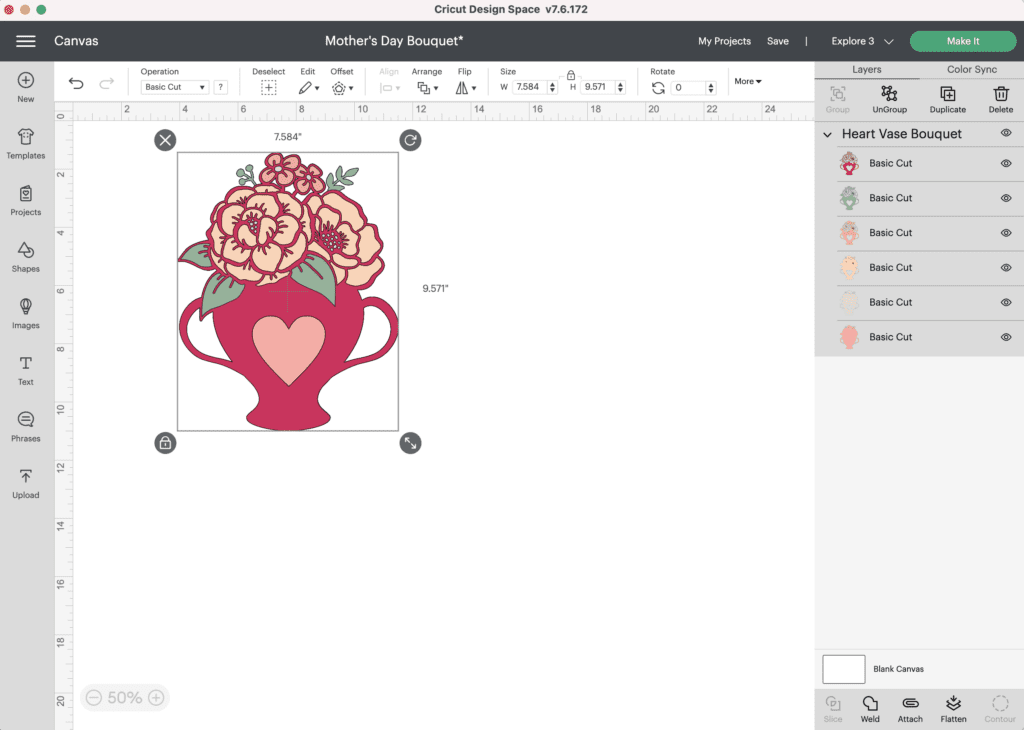
Step 2: Resize the Bouquet Design
Resize the bouquet to your desired size. In my finished photos, I made the pop-up card bouquet 4" x 5" and the oversized bouquet 8.5" x 10.7".

Now you're ready to cut the design! Click “Make It” in the upper right-hand corner of the screen.
This brings you to the preview screen. Click "Continue."
Now it’s time to connect to your machine and select your material. For all of my layered designs, I use the Cardstock (for intricate cuts) setting.
This setting along with a clean, sticky mat ensures a nice, clean-cut.
Ensure your Fine-Point Blade is loaded into your machine.
Step 3: Cut Out the Design
Peel the protective liner away from your cut mat.
Following Design Space’s prompts, place your first color of cardstock on your mat.
Press the load button to load the mat into your machine. Begin the cut.
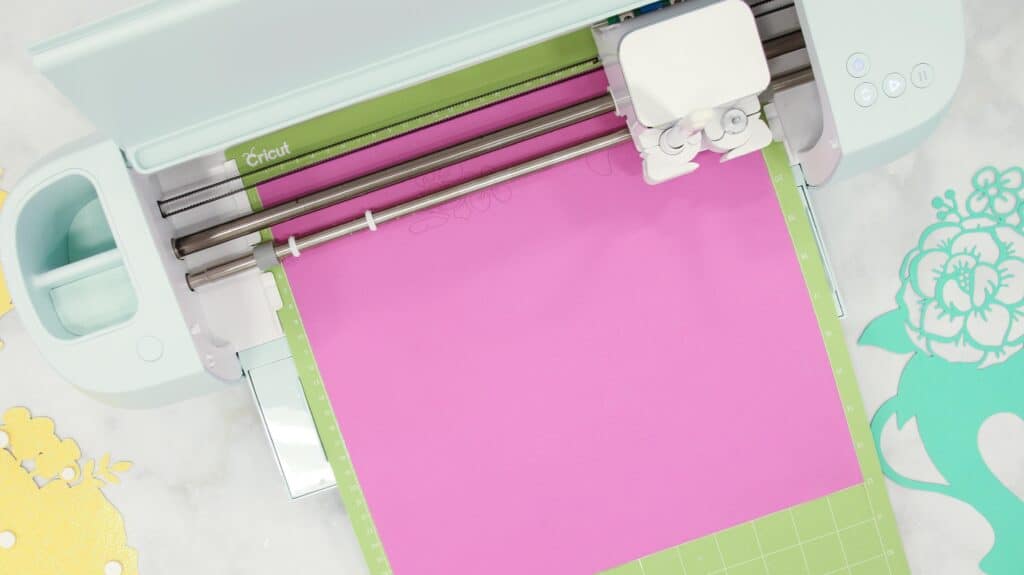
Continue to load, cut, and unload the rest of the cuts until you have all of the elements cut out.
Pro Tip - Peel your mat away from the cardstock to avoid tearing or rolling your cardstock.

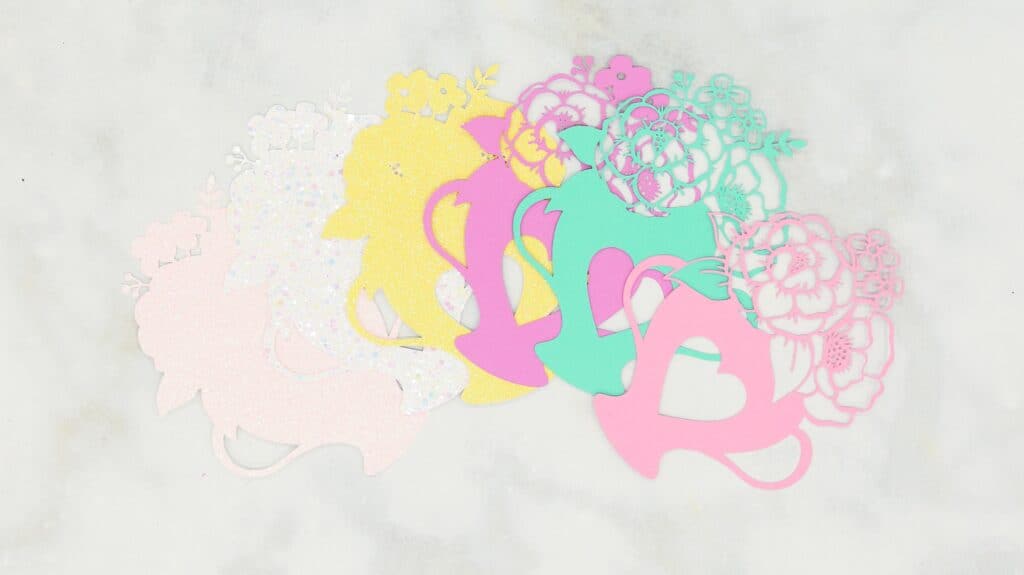
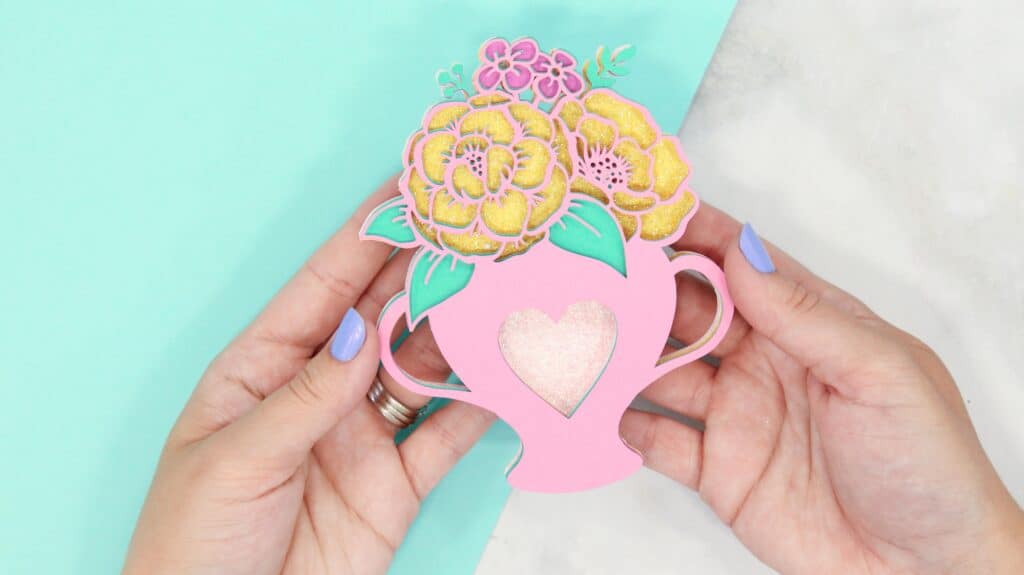
Step 4: Assemble Bouquet Design
After you cut the design, use the foam adhesive and/or craft glue to put it together.
Pro Tip - It’s best to use the adhesive in the same spot on each layer to get an even rise and 3D layered look.
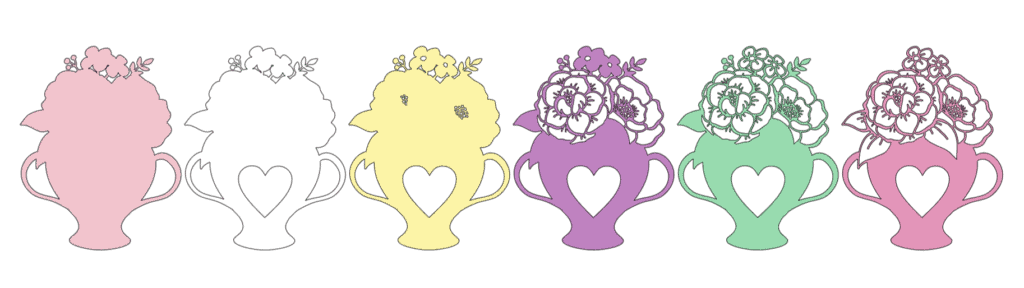
Cricut Design Space doesn’t cut out the layers in order so it can get confusing to piece together. Head back to Design Space to see the layers as a reference for how to put them together.
The image below shows you from bottom to top how the layers should be placed.
Layout all of your cut-out pieces in the appropriate order in front of you.
Using craft glue or foam adhesive attach the layers together beginning from the base and working your way to the front.
Begin by placing foam adhesive or craft glue on the back of the second to the base layer. Line it up with the base layer and press it in place.
Next, place foam adhesive or craft glue on the back of the next layer. Line it up with your base layers and press it in place.
Continue this process until you get to the very top layer.
Step 5: Apply your Design as Desired
If you're turning your bouquet into a card, adhere the bouquet design to a folded cardstock card.
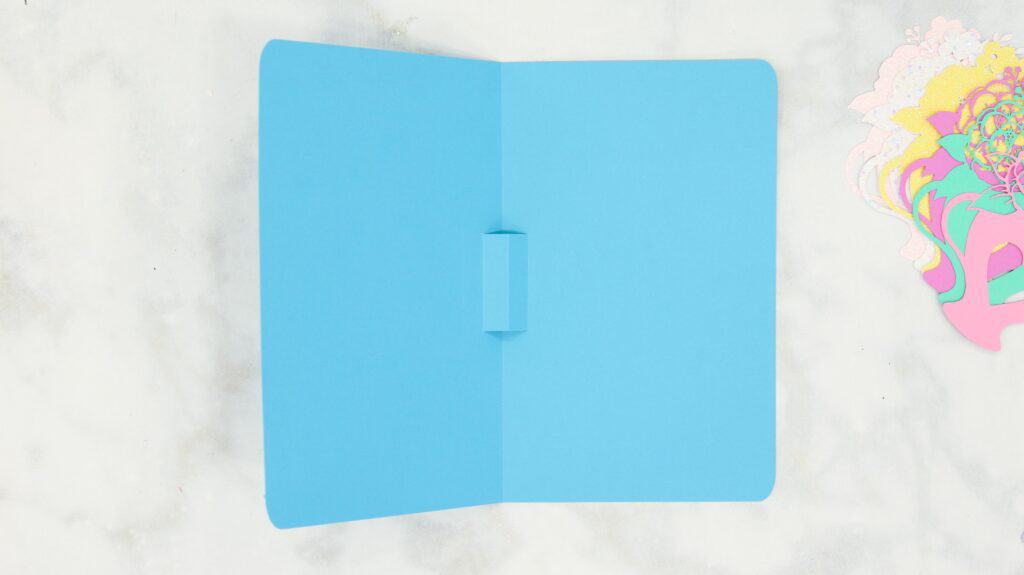
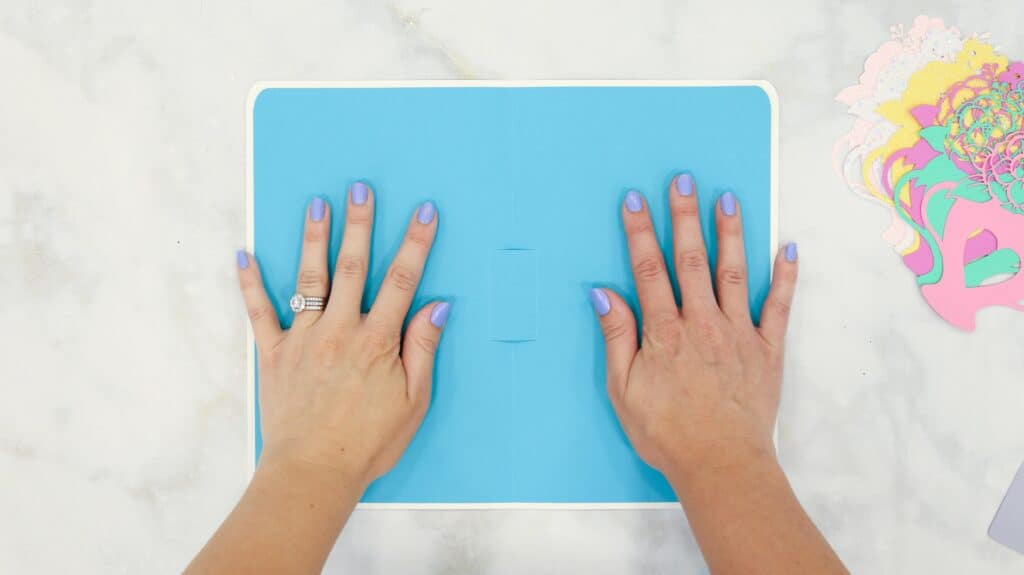
To create the pop-up card, place the two cards in front of you.
Fold the cards in half along the middle score line.


Then fold the smaller card along the smaller score lines to create the pop-up. The pop-up should be folded in the opposite direction that the card is folded to create a 3D effect.
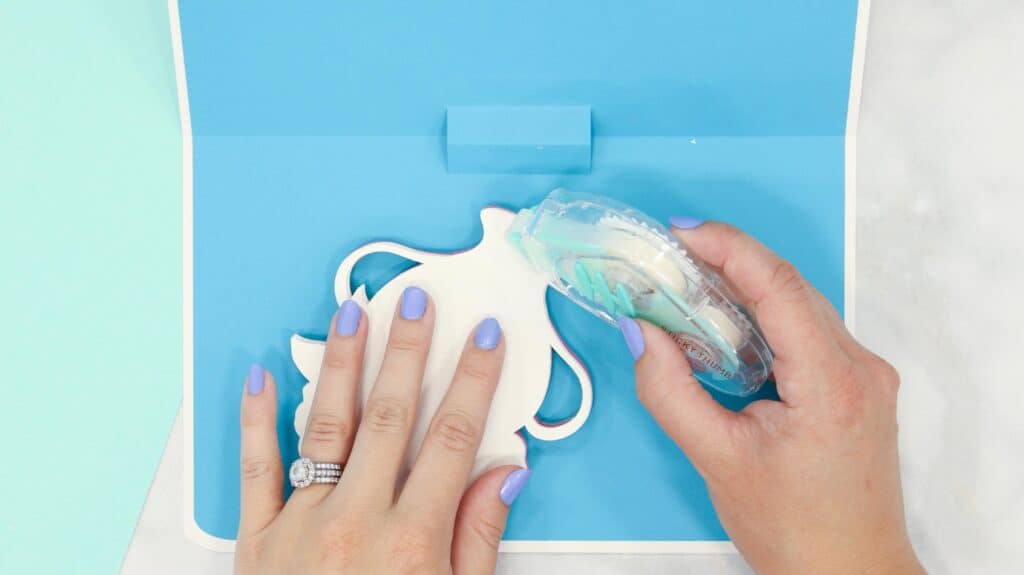
Using a tape runner, apply tape to the larger card. Center the smaller card and secure it to the larger card making sure the fold lines are aligned.

Having two layers stabilizes your card and protects the pop-up feature from tearing.
Apply tape or glue along the back of the bouquet and adhere it to the pop-up. Make sure the bouquet is centered along the pop-up. To allow the card to open and close without issue, place the bouquet just slightly above the base of the pop-up so it appears to be floating.

Add in a hand-written note or sentiment to complete your beautiful Mother's Day pop-up card!
If you're cutting this design out of iron-on material or vinyl, layer the pieces in the same manner as above, simply omit the foam adhesive or glue dots, and use the necessary application method for your specific material.

Be sure to let me know how you plan on using this design in the comments below! Or drop a question for additional clarification.
Pin this project for later if you'd like to remember it for the future!
Looking for more layered designs? Click here! And if you'd like to check out more free SVG Design Cut Files, see them all HERE!
Sorry I can't download this wonderful Mother's Day Floral Bouquet as it takes too long for the browser have tried loads of times & on my big desktop so could you please send me the link please as I would love to make this
Many thanks Wendy x
Your designs are great, unfortunately your page has become an advertising nightmare! So many ads the page doesn’t load properly and takes so long to read the directions I find my self just not even bothering and going on to somewhere else to find Cricut designs. So sorry I will miss your creative spirit!
If you click on the three dots inside the circle to the right of the address's window you can select immersive reader - and the document shows up 'clean'.
Looks amazing.
do you have and svg for the blue card with the pop
Thanks for sharing. I read many of your blog posts, cool, your blog is very good. https://accounts.binance.com/register-person?ref=IHJUI7TF
https://accessbridgepharmacy.shop/# mexican pharma
AccessBridge Pharmacy: AccessBridge Pharmacy - AccessBridge Pharmacy