Sew a Structured Easter Basket With This Step-by-Step Sewing Tutorial With Photos, Video, and a Free Printable Sewing Pattern.
Easter is right around the corner and that means it’s time to get sewing!
There’s something about sewing for Easter that always gets me so excited! The weather is finally warming up outside, the sun is shining, and any day now my tulips will be blooming.
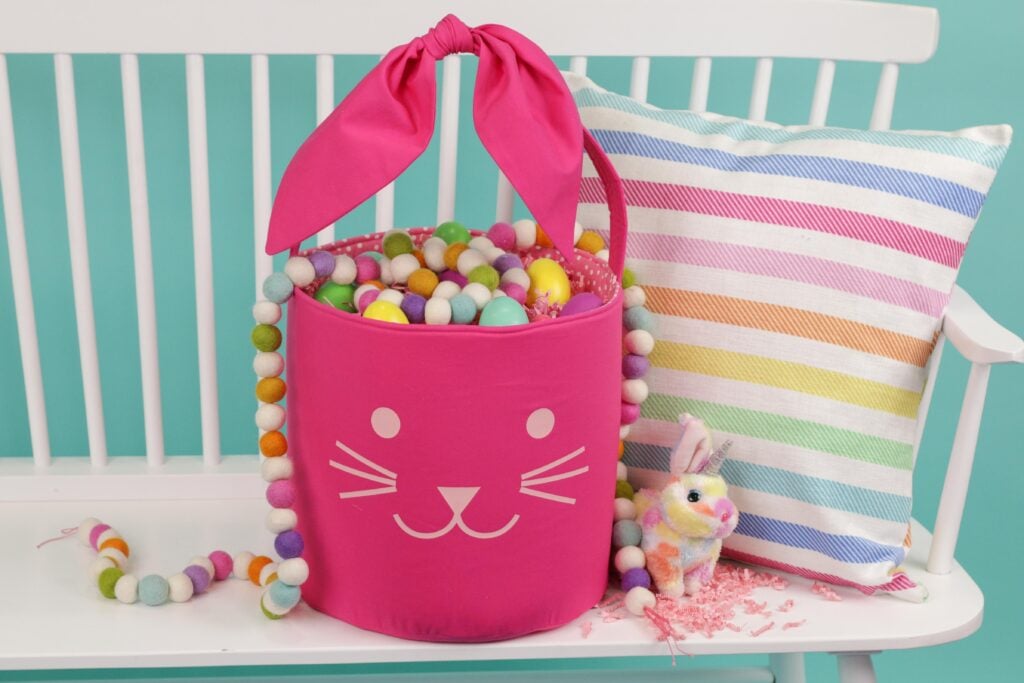
Today, I'm sharing a sewing pattern to help you make your own Easter basket.
I teamed up with JOANN to bring you this tutorial and help you find all of the supplies you'll need for this project.
This is a sponsored post on behalf of JOANN. All thoughts and opinions are my own.
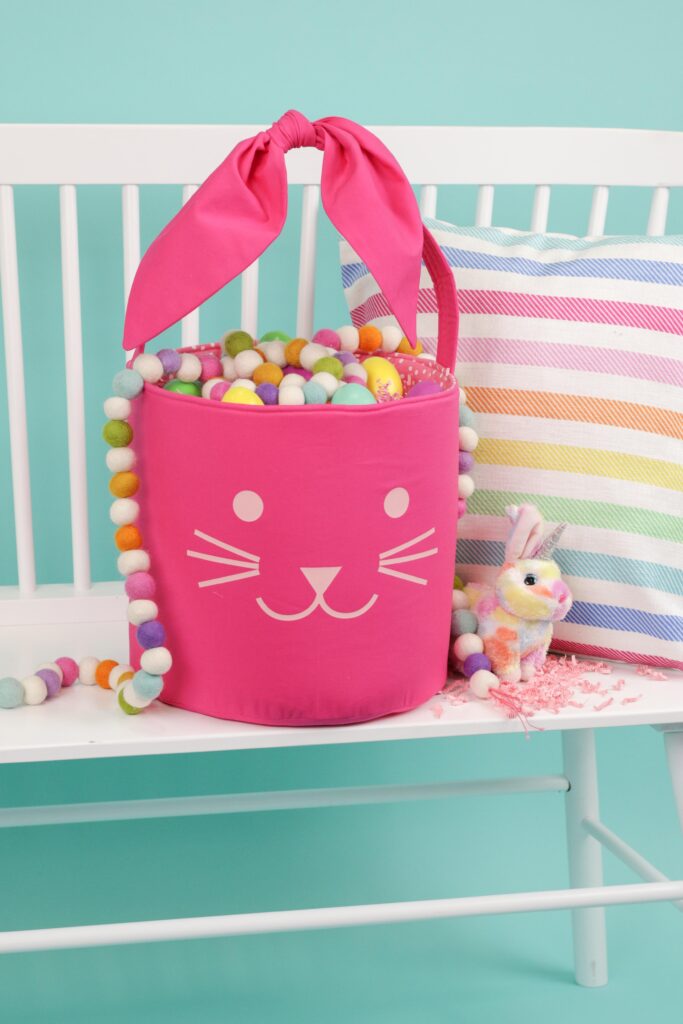
Looking for an Easter dress to go with your basket? Get my FREE dress pattern and tutorial here!
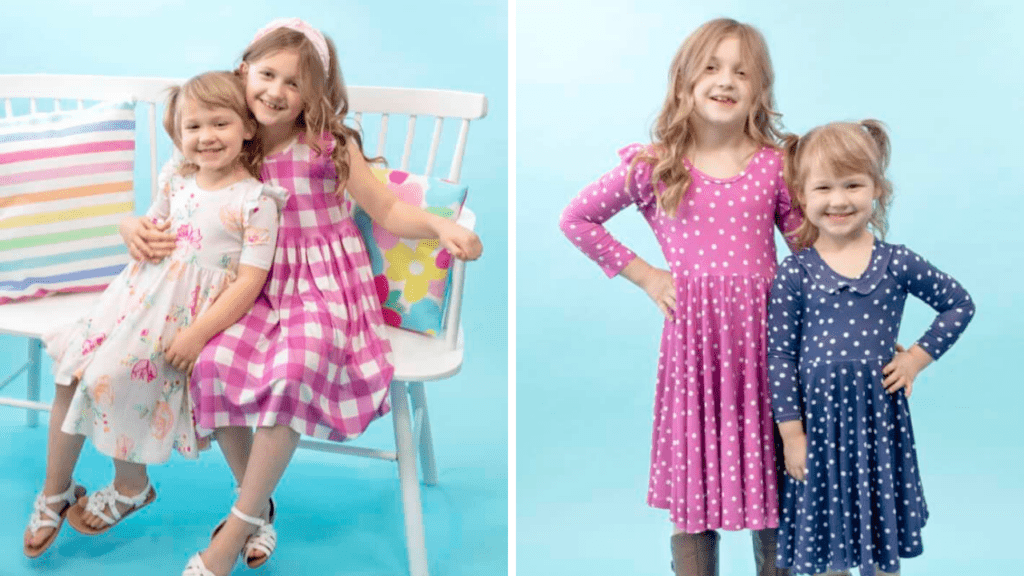
After a long winter, pulling out my favorite Easter colors always brings me so much joy! Are you ready to get sewing?
This pattern is an intermediate sewing pattern that uses Flex Foam to create a basket with structure.
Table of Contents
Supplies
- Quilting Cotton 1 3/4 Yard
- Flex Foam (1-Sided) (43" x 20")
- Scissors or Rotary Cutter & Mat
- Thread
- Pins or Clips
- Iron & Ironing Board
- Sewing Machine Needle
- Fabric Pen or Chalk
- Printer
- Printing Paper
- Tape
Click Here to Download the Free Easter Basket Pattern

Step #1: Download and Assemble the Pattern Easter Basket Sewing Pattern
To start making your Easter basket, begin by downloading the pattern to your computer.
Open up the pattern in Adobe Acrobat. Opening it in Adobe will ensure that the scaling of the pattern is accurate. Printing from an internet browser can change the scaling of the pattern.
Now you can print the pattern at 100% with no scaling.
Once your pattern has been printed, check the 1" x 1" square to ensure the pattern has been printed off correctly. If the 1" square measures larger or smaller than 1", the pattern will need to be printed for accuracy.
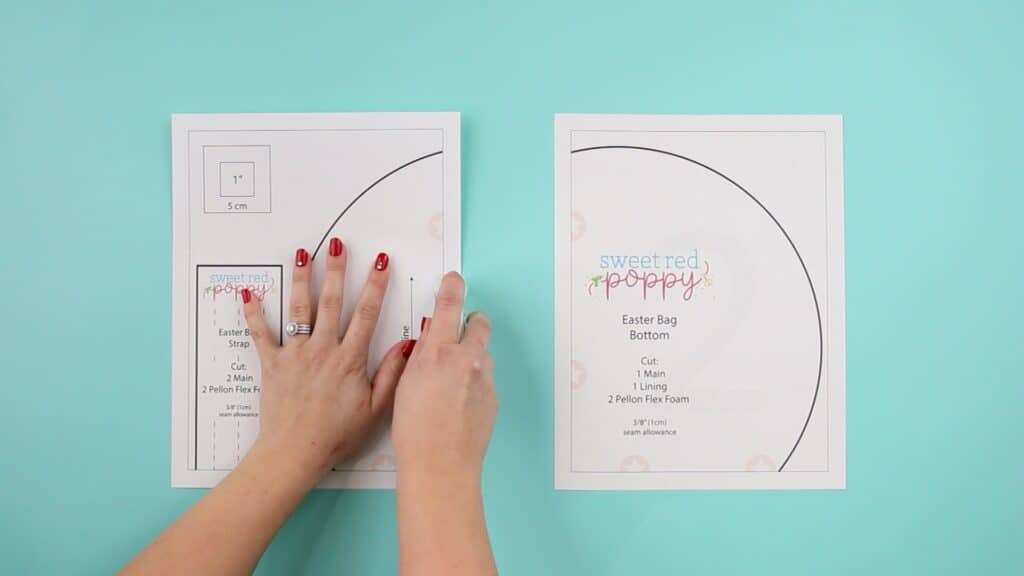
Align the half circles and black lines together as you piece the pattern together. You can connect the pieces of paper with tape or a glue stick.
Use the guide below to accurately line up all of your pattern pieces.
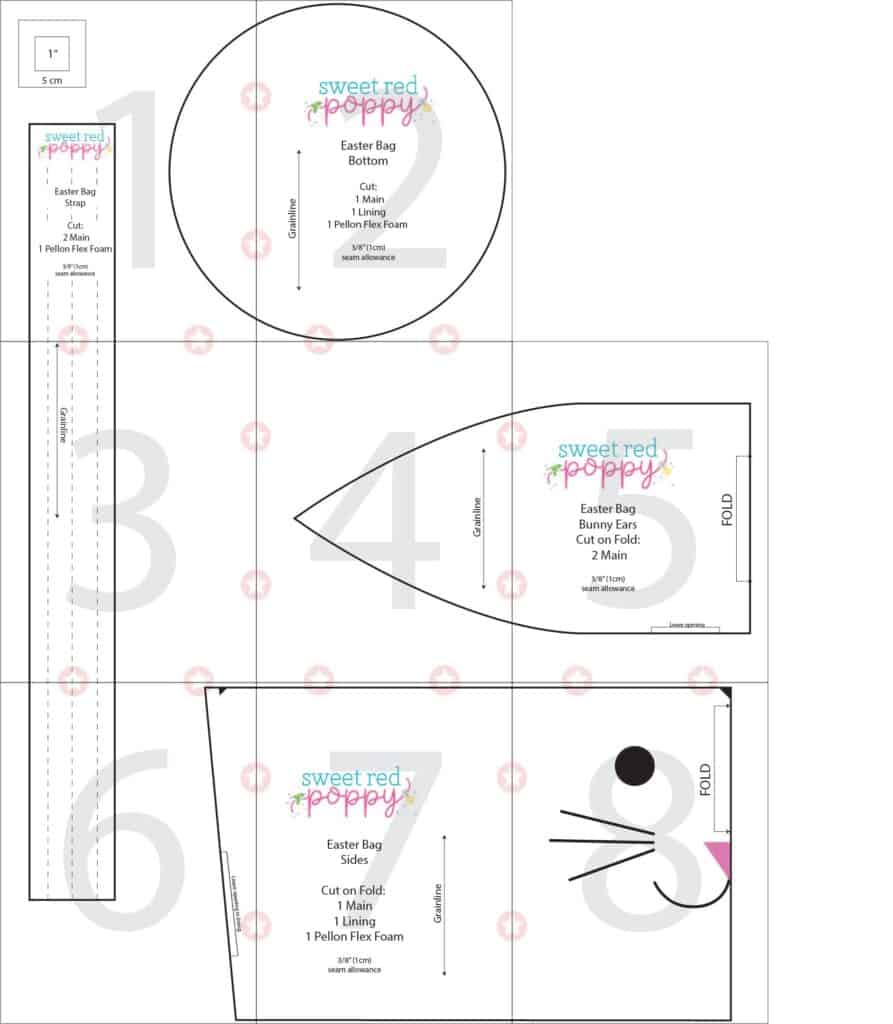
Feel free to trim off the excess from each piece of the pattern or hold the pieces up to the light and align them together without trimming.
Once you reach a paper without any stars on the right-hand side you can move down and start a new row.
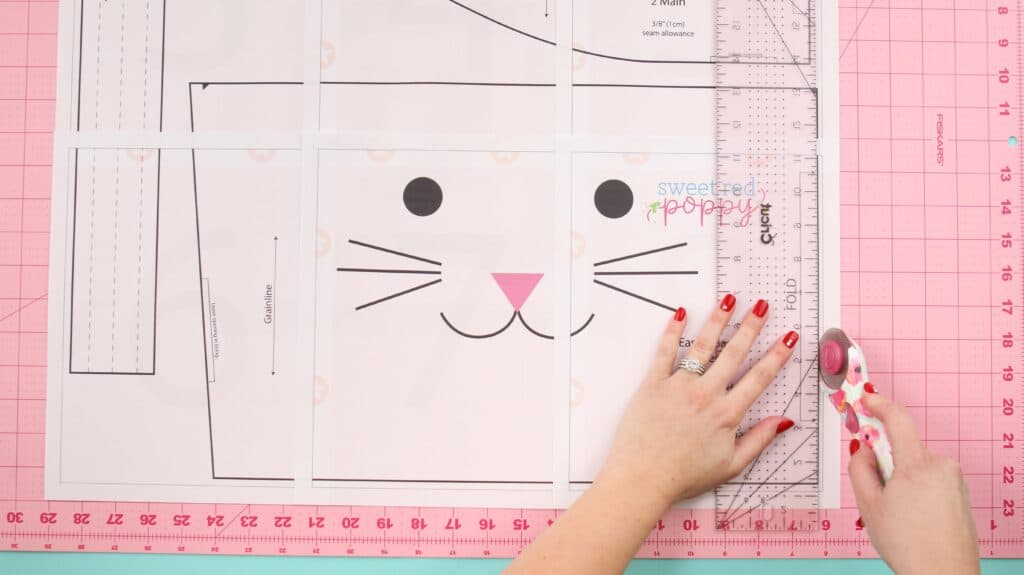
Cut the pattern pieces out by cutting along the black lines.
*PRO TIP: Cutting out patterns is much faster if you use a rotary cutter and an acrylic ruler. I keep a different blade on hand for cutting out paper so I don't dull my fabric blade.
Step #2: Cut and Prepare the Fabric
It's time to cut out the fabric for your Easter basket. Let's begin by cutting out the main and lining fabric for the bag. Make sure to pay close attention to any pattern markings.
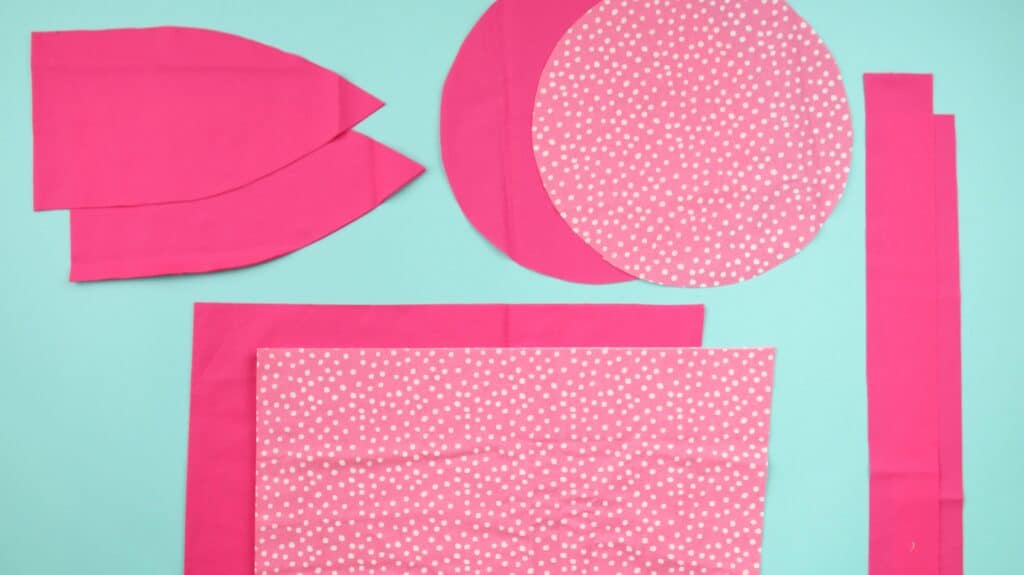
Main
- Cut 1: Easter Bag Sides (CUT ON FOLD)
- Cut 1: Easter Bag Bottom
- Cut 2: Easter Bag Strap
- Cut 2: Bunny Ears
Lining
- Cut 1: Easter Bag Sides (CUT ON FOLD)
- Cut 1: Easter Bag Bottom
Before removing the pattern pieces from the fabric, use a fabric marker to transfer any markings.
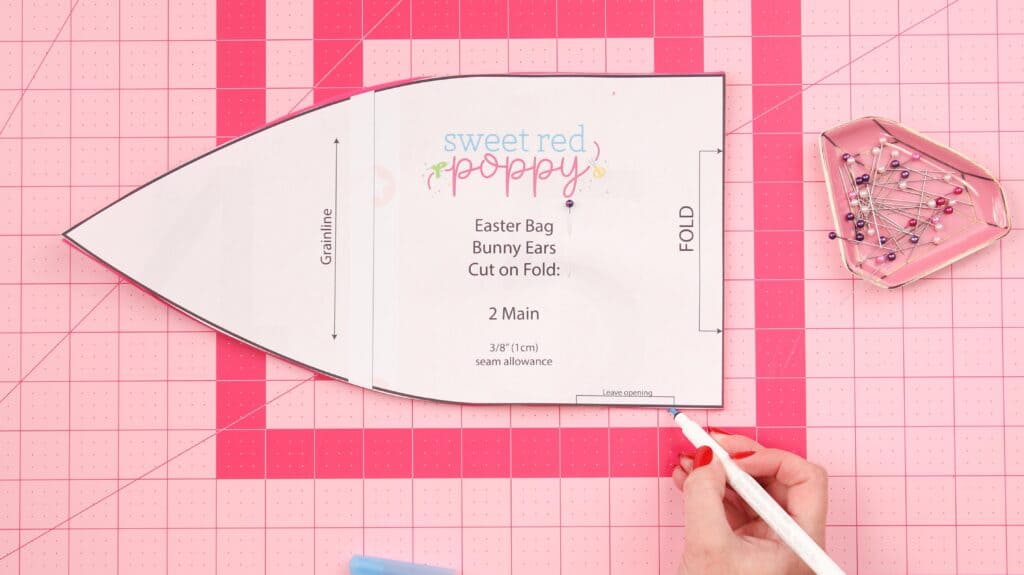
Once you've cut out all of your fabric pieces, you can start on the Flex Foam.
Flex Foam
- Cut 1: Easter Bag Sides (CUT ON FOLD)
- Cut 1: Easter Bag Bottom
- Cut 1: Easter Bag Strap
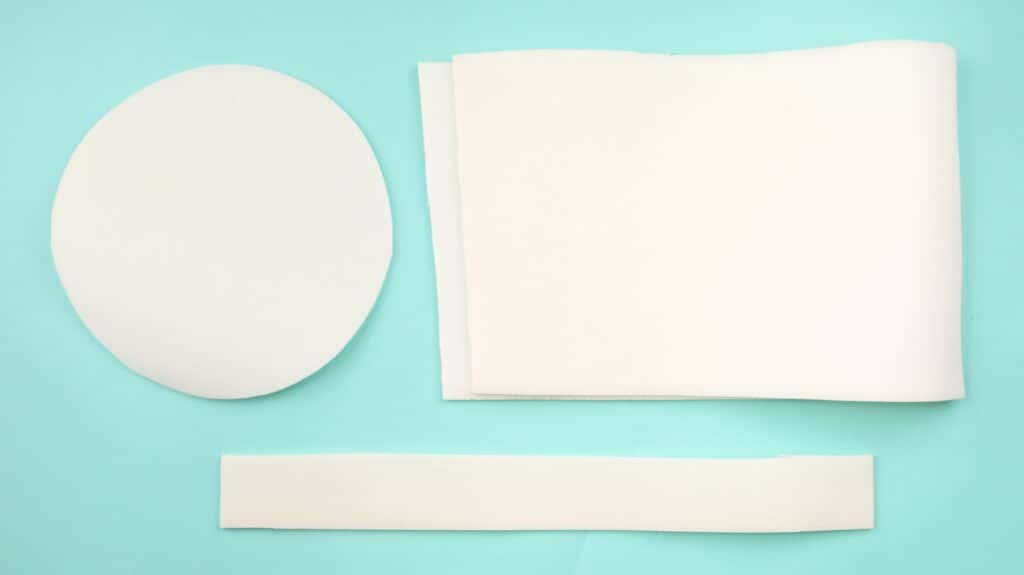
Using flex foam is really important for this pattern because it's what gives the basket its shape and allows it to stand up straight. Make sure that you purchase one-sided Flex Foam.
Each piece of Flex Foam should be ironed onto the wrong side of a piece of lining fabric. The strap will be ironed to either piece of strap fabric.
Be sure to follow the directions that come with your Flex Foam for the best results.

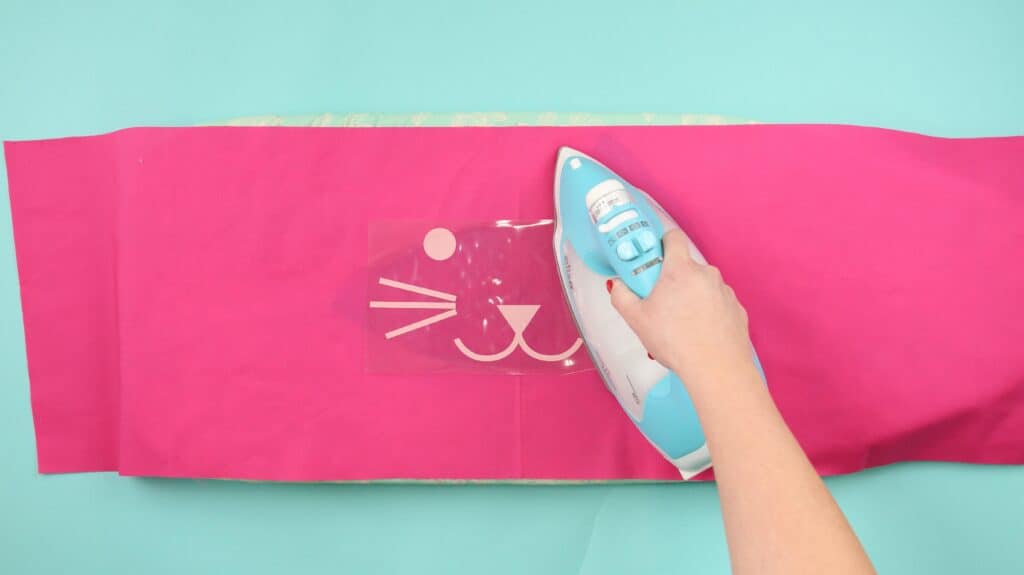
*If you plan on adding an Iron-On Bunny face to the main fabric, go ahead and do that now! I used Iron-On to create my bunny face. You could also create this with a fabric applique.
Step #3: Sew and Press Easter Basket Sides
Lay the Easter Basket Sides (Main) on a flat table in front of you. Fold the fabric in half with right sides together, aligning the shorter side edges together. Pin the side seam and sew it with a 3/8" seam allowance.

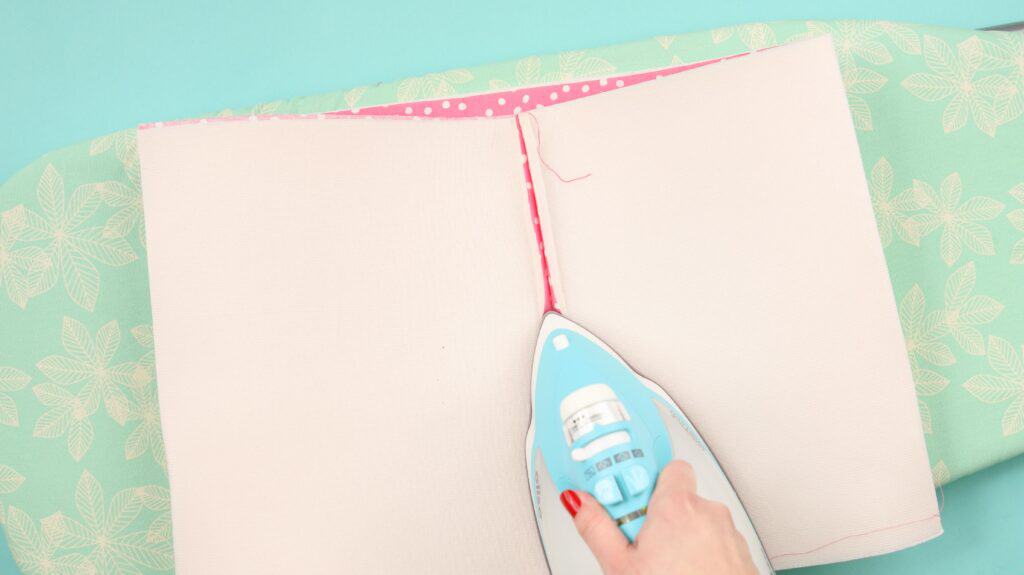
Repeat this process with the lining fabric as well. The lining fabric should have a sheet of Flex Foam adhered to it.

I find it's easiest to use clips on this material because it's so thick. It's helpful to start sewing about an inch from the edge of the fabric, backstitch to the edge, and then sew forward.
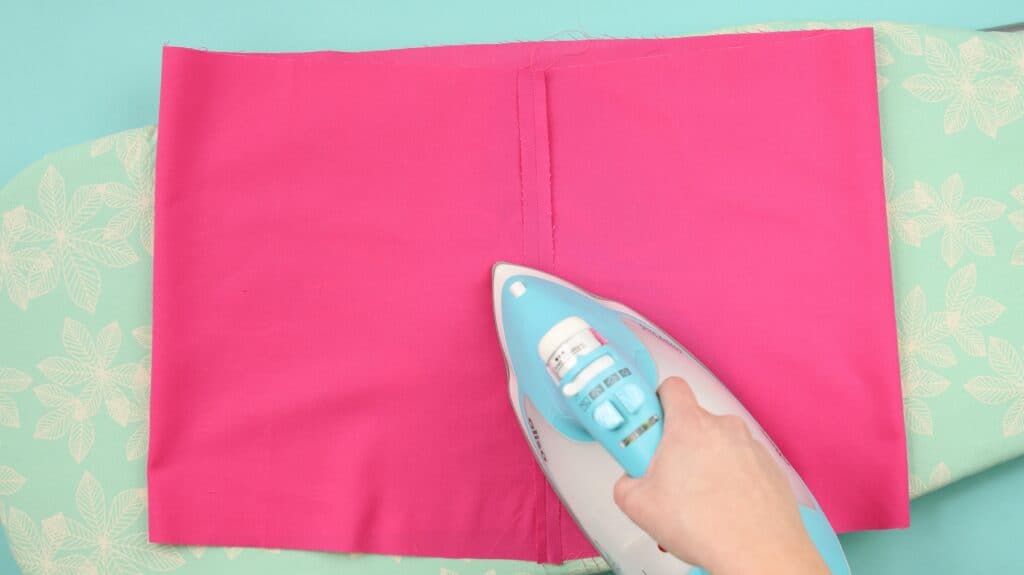
Once you've sewn both sides, press the seam allowance open with a hot iron.
Step #4: Sew the Bunny Ears
Up next are the bunny ears! They need to be pinned together, sewn, turned right side out, and pressed.
To create the bunny ears, lay one piece of fabric on top of the other. Make sure that the right sides are facing together.
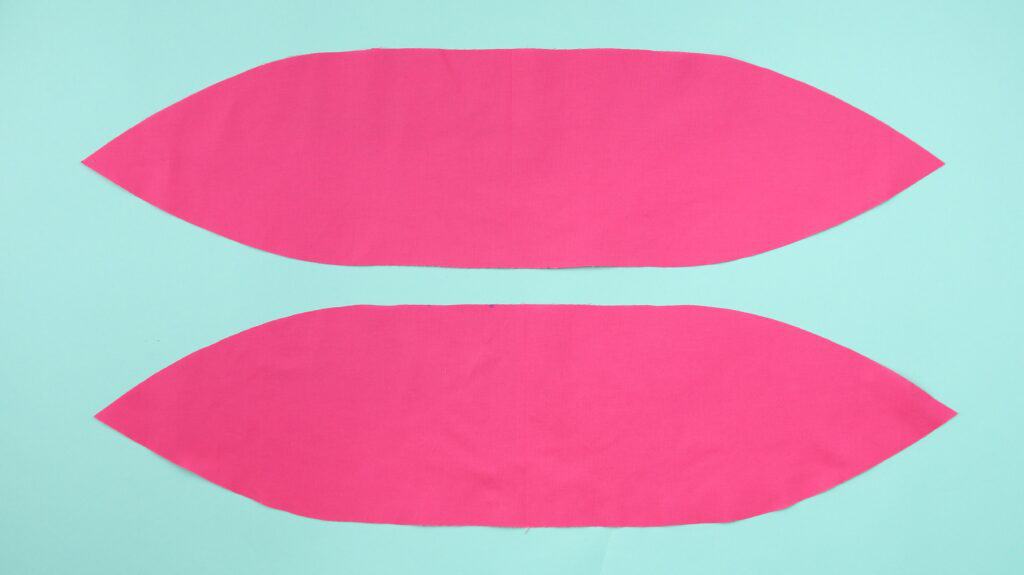
Pin along the perimeter of the bunny ears, leaving a 2-3" hole for turning. I like to place my turning hole in the center so it gets covered up once it's tied.
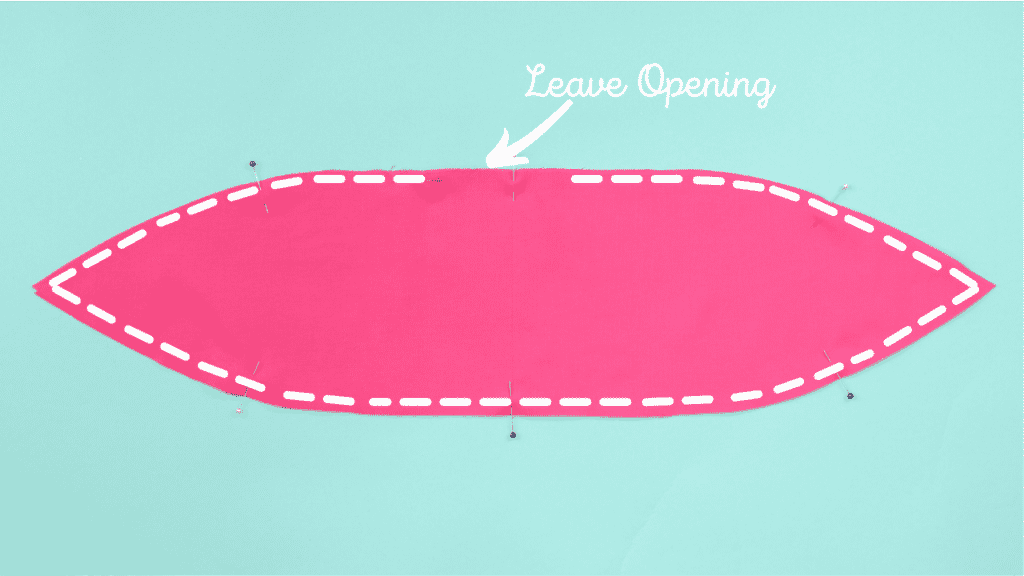
Sew the bunny ears together using a 3/8" seam allowance. Turn the bunny ears right side out, taking extra care to push out the points.
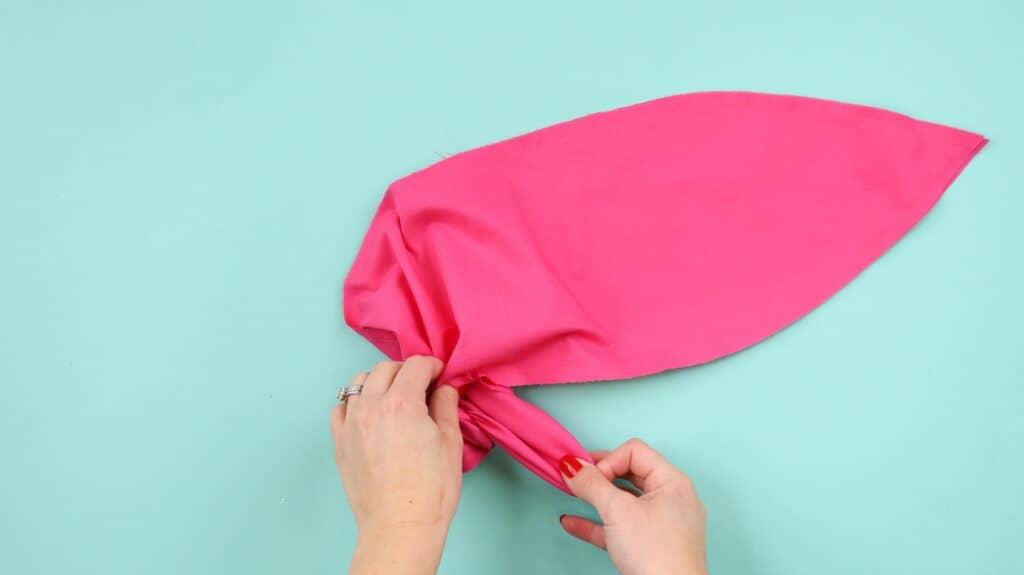
With a hot iron and plenty of steam, press the seams flat. Set the bunny ears aside until the end of the project.
Step #5: Sew the Basket Strap
It's time to create the basket strap. The strap needs to be pinned together, sewn, turned right side out, pressed, and topstitched.
Begin by laying one of the straps out the table in front of you. The right side should be facing upward. Place the second strap on top with the right side facing downward.
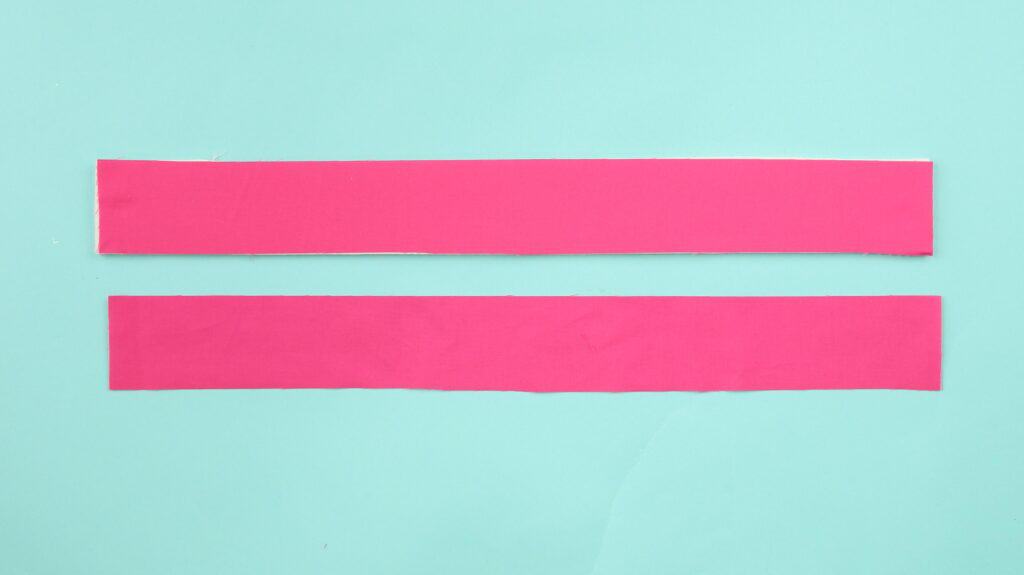
Pin the long sides of the strap, leaving the short ends unpinned.
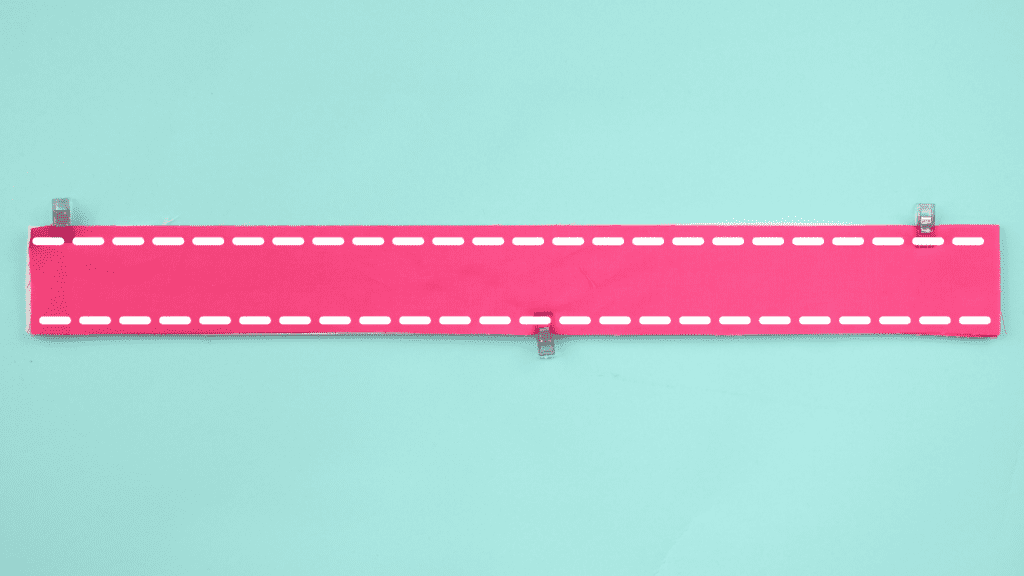
Sew the straps together with a 3/8" seam allowance.
Now It's time to turn the strap right side out. This step is a bit tricky and requires some patience because of the thickness of the Flex Foam. Gently turn the strap right side out; this requires a bit of wiggling.
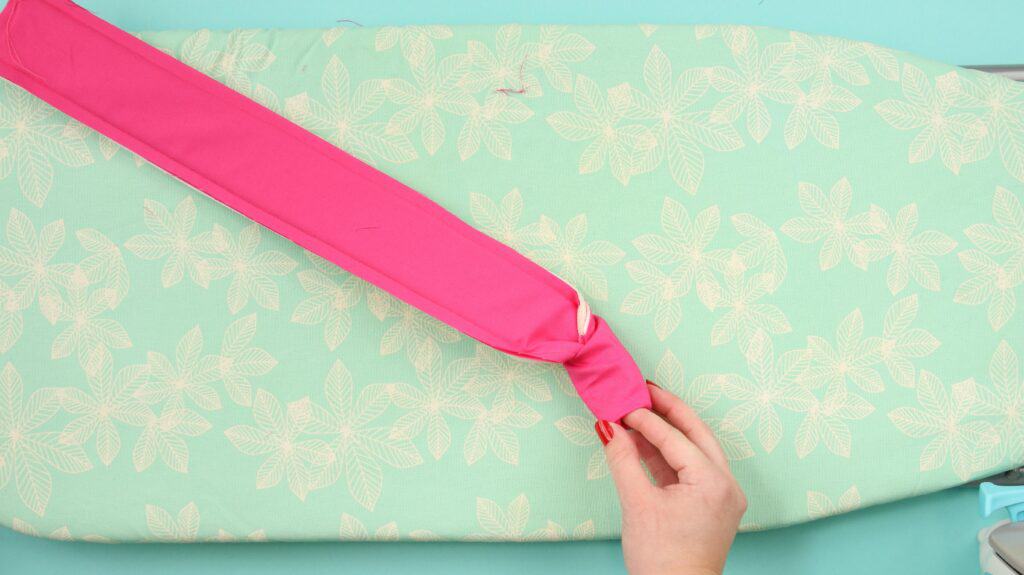
Press the strap with plenty of steam with a hot iron to set everything in place.
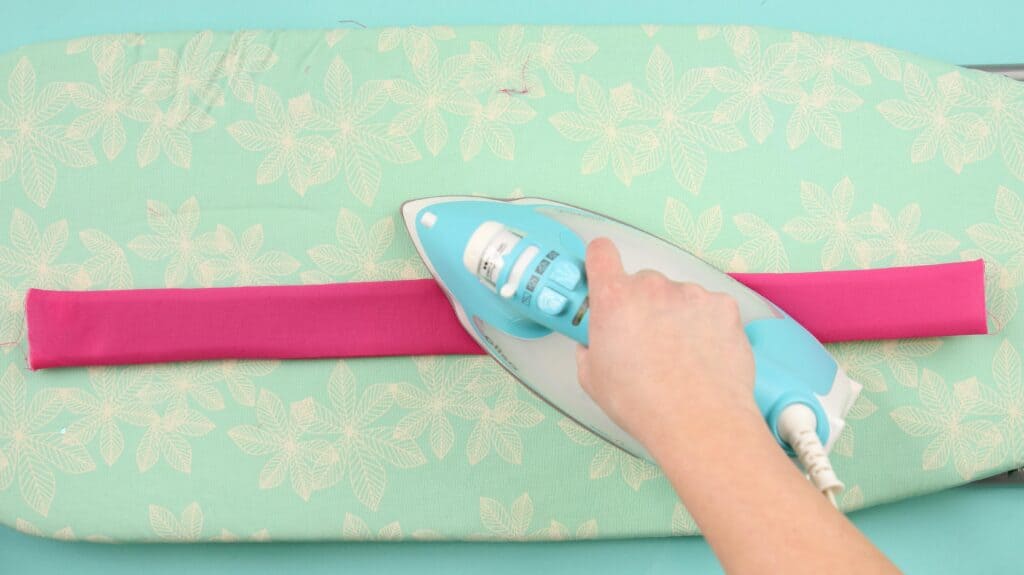
Topstitch along the sides of each seam and down the middle of the strap.
Step #6 Assemble the Basket
We're finally to the last step! Are you ready? The sides need to be pinned to the base, sewn, pressed and layered.
Start by placing the circular base in front of you. It should be right side facing upward.
*PRO TIP: To make this step easier, use a fabric marker to quarter the circle and the bottom of the basket sides. This will give you a guide to line everything up.
Align the matching sides to the base with right sides together. Begin by pinning each quartered mark, then add more pins to distribute the fabric.

This step requires a bit of patience as you pin everything into place, but taking extra care during this step will give you a beautiful result without puckers.
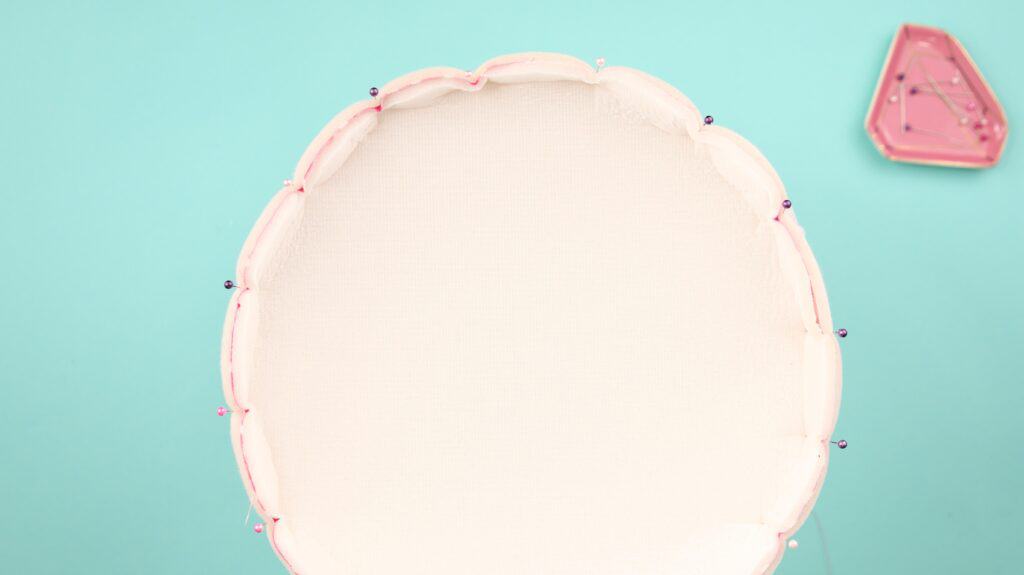

Once you've pinned the lining and the main fabric to their bases, sew around the entire circle with a 3/8" seam allowance.

*PRO TIP: I like to turn down the speed of my sewing machine during this step and sew slowly, making sure that everything is lining up.
Don't forget to backstitch your seam at the end to secure your threads.
Turn the basket main right side out. Leave the basket lining with the wrong side facing out.
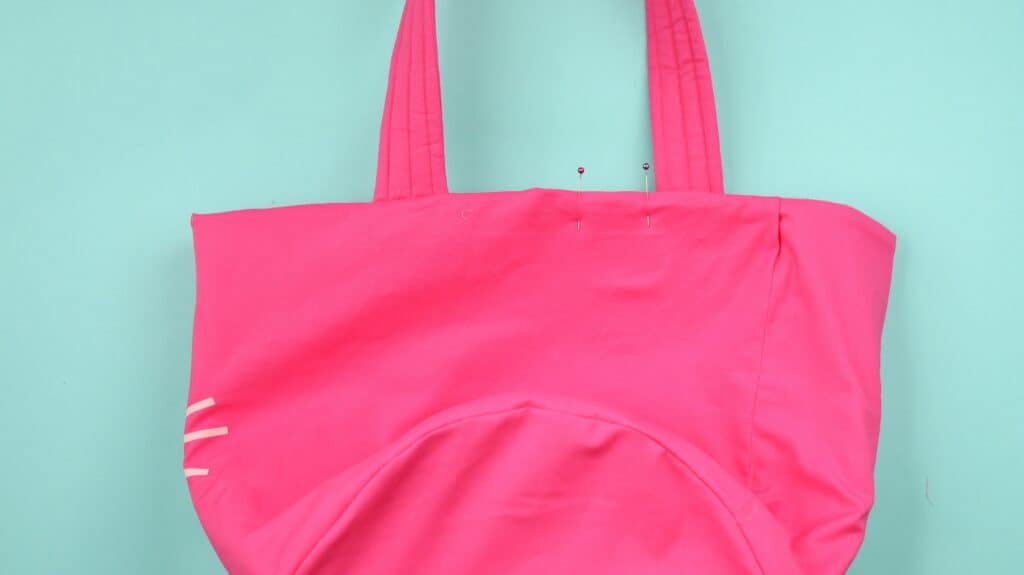
Pin the strap inside of the lining basket, making sure the straps are evenly spaced.

Next, place the main fabric inside of the lining. Start by pinning the side seams together. Then work your way around the rest of the basket.
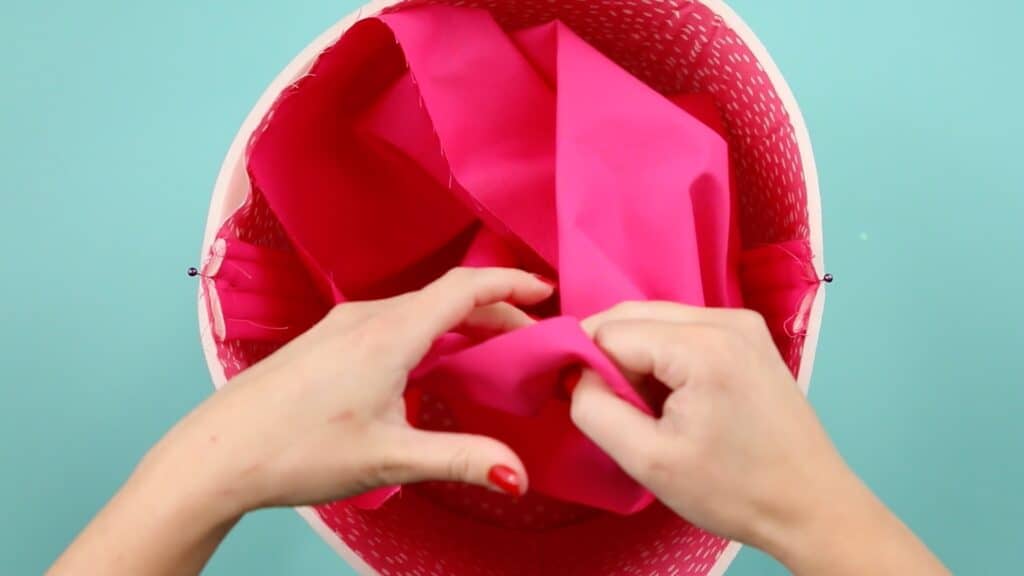
Leave a 3-4" opening in the seam of the top of the basket. This opening will be used for turning once the basket has been sewn.
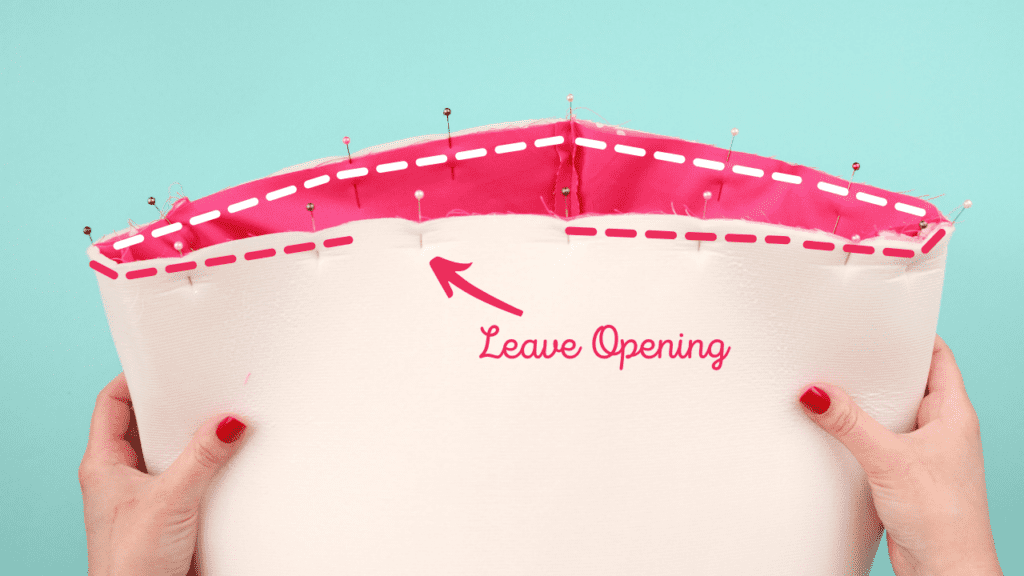
Sew the lining and main fabric together with a 3/8" seam allowance. Be sure to backstitch at the beginning and the end of the seam. This reinforcement will help secure the stitches as the fabric gets turned right side out.
Turn the basket right side out by gently pulling the lining fabric out through the opening.
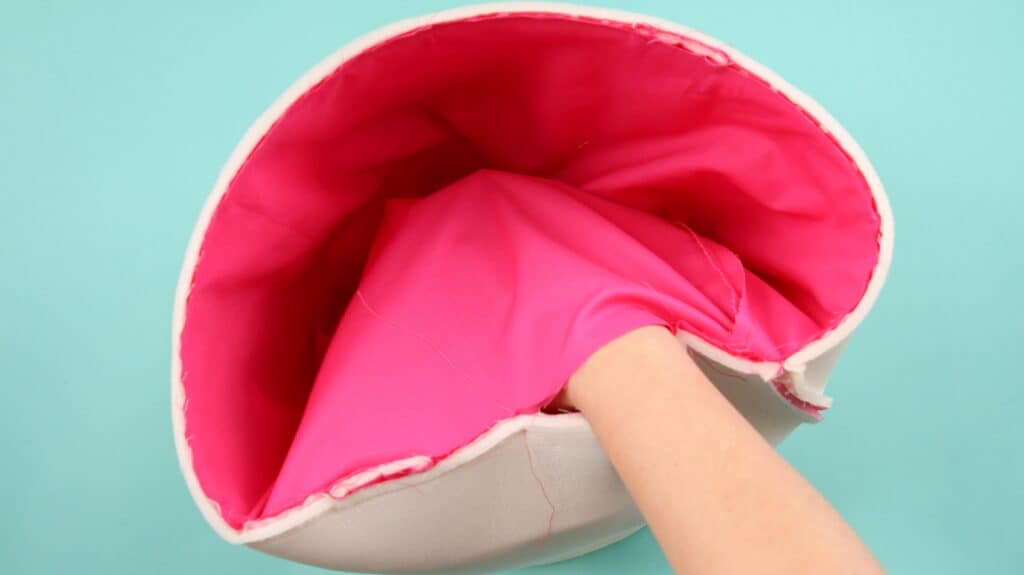
Take a few minutes to rearrange the lining and the main fabric. The Flex Foam can make this a bit tricky. Align all of your seams and wiggle the fabric into place.
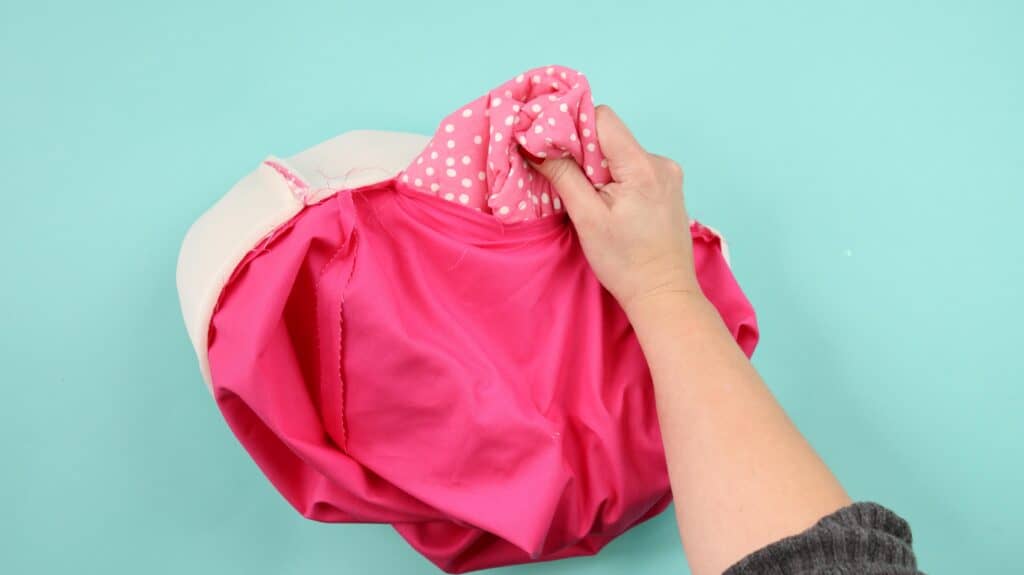
Press the seam with a hot iron and plenty of steam.
Place a few pins along the opening and topstitch 1/4" from the edge of the seam around the entire basket.
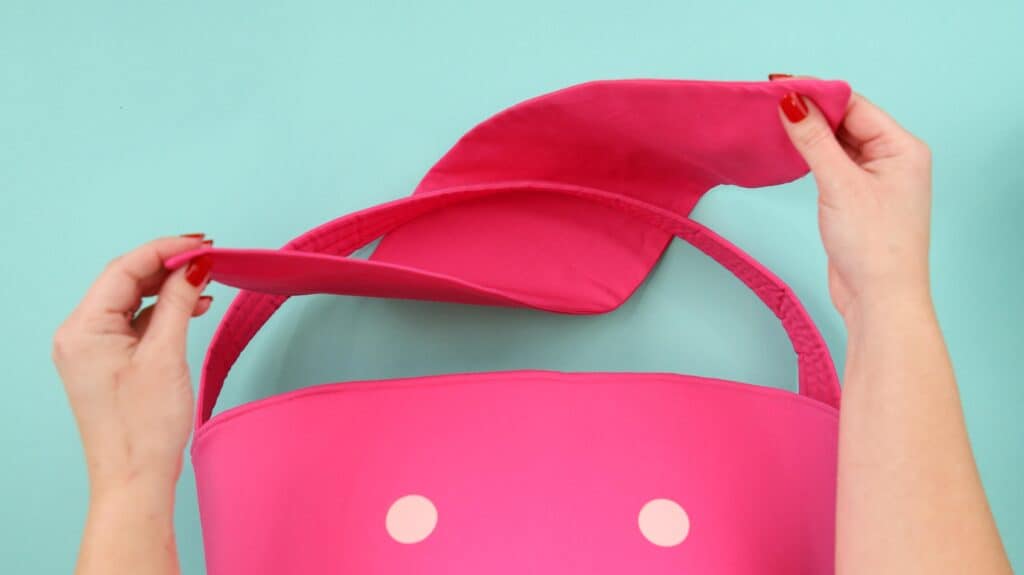
Tie the bunny ears to the center of the strap, and you have your finished Easter basket!
Don’t want to forget about this pattern? Save this project for later! Click here to save this project on Pinterest.

Looking for more free sewing patterns? I have the perfect outfit to go with this adorable basket. Check out this Sailor Hair Bow that's perfect for Easter or my Madeline Circle Skirt Dress.
Join my crafting and sewing Facebook group where you can show us what you’re making, ask questions, and learn from others!

Thank you for sharing the pattern for the easter basket. I can't wait to make one.
Thank you for making this pattern possible. I made a 100%, a 50%, and a 25% version. The 50% could be a childs basket and the 25 could be a small version for a gift size. Fill with your favorite candy.
I made your cute Easter basket for my grandson, and it looks nice! I did have to take in more of a seam in the lining because of the extra space taken up by the Flex Foam. I also chose not to sew lining & main fabric together & turn it as shown. Instead I made a binding and used round plastic boning at the top to keep it nicely round. The only problem I can't readily solve is that the weight of the ears tied on the handle makes the handle flop down. I think I will attach the ears inside below my binding and let them flop out on the outside. Very cute! Thanks for the pattern! Love your postings!