Learn How to Make Realistic Crepe Paper Dahlia Flowers With This Step-by-Step Tutorial, Free Printable Pattern and SVG Cut File.
If you’ve never worked with crepe paper before, you’re in for a treat! It’s such a unique medium and makes for the most beautiful paper flowers.
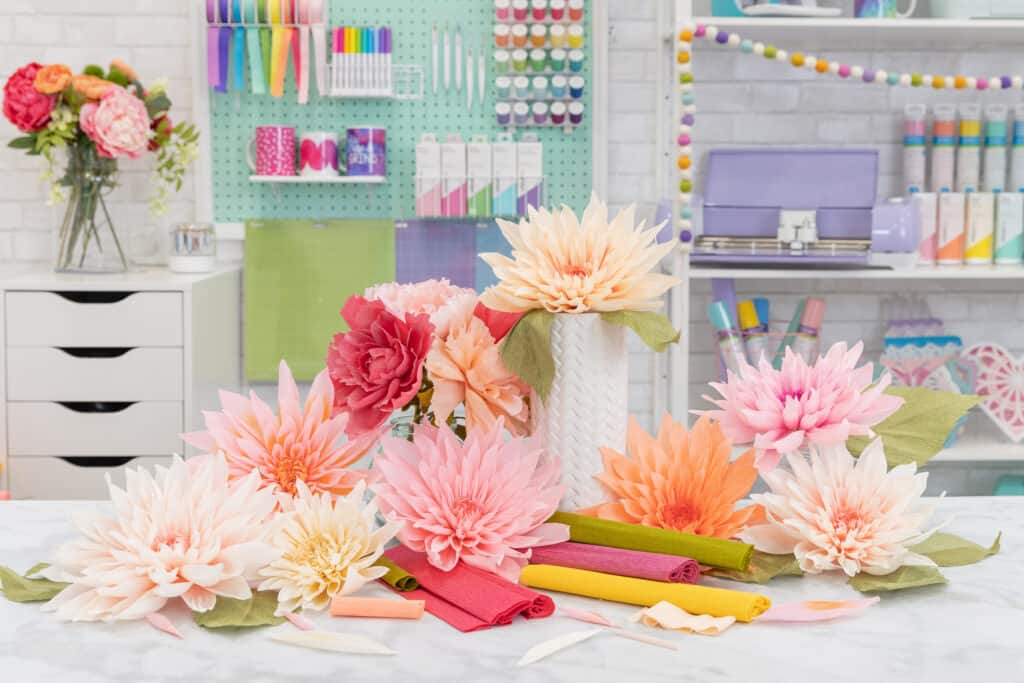
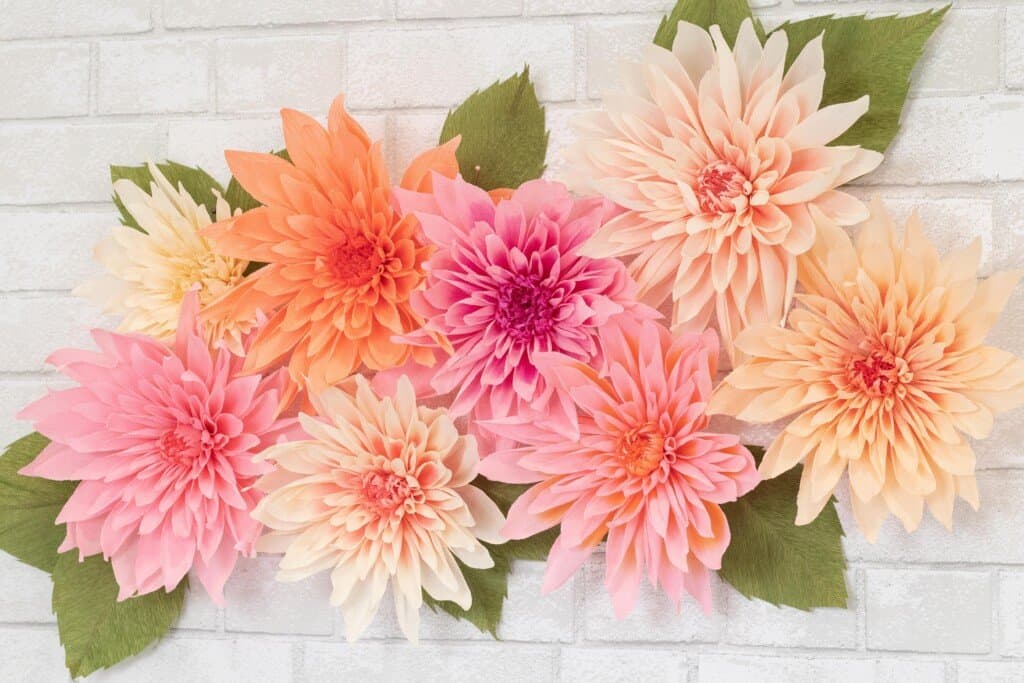
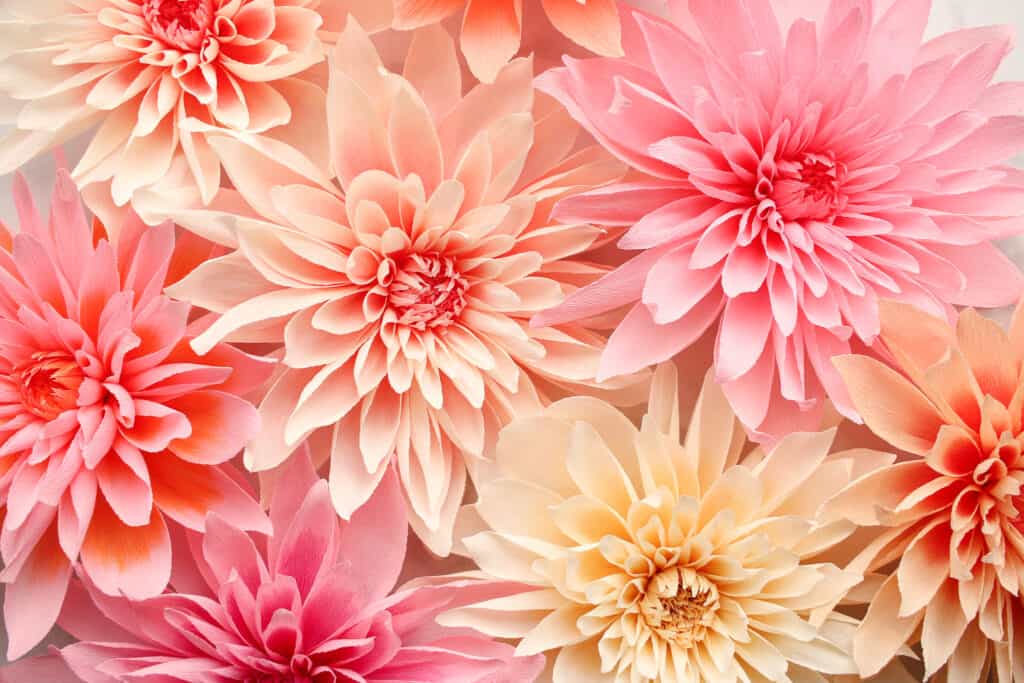
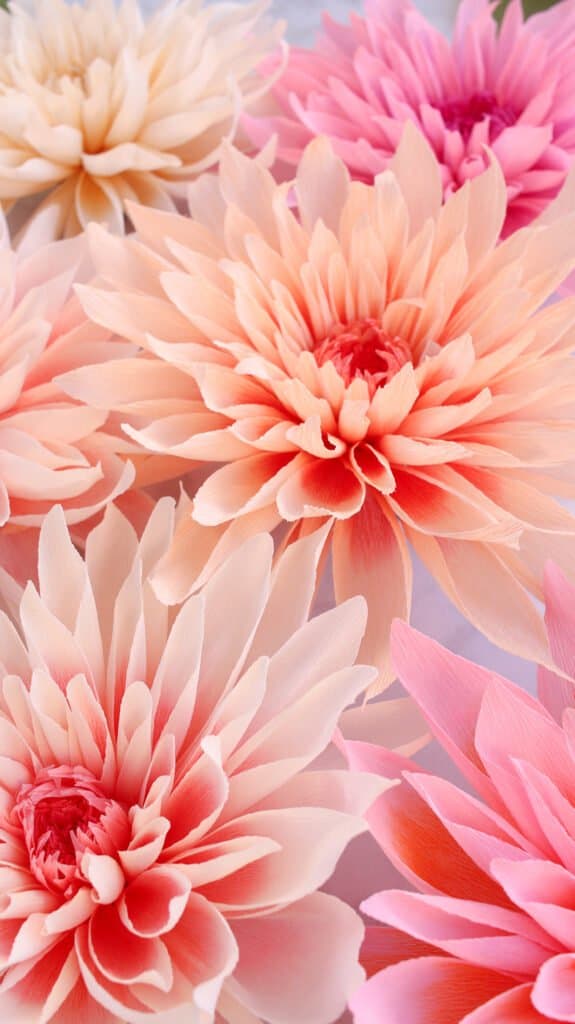
These Oversized Crepe Paper Dahlias are the perfect foray into crepe paper flowers. The petal shapes are simple, you’ll learn a variety of techniques, and the end result is full of impact!
Looking for even more free paper flower patterns? You'll love my oversized roses and my gorgeous peonies.
Looking for even more paper flower templates? Get my Wild Rose tutorial or my Paper Peonies here.
Table of Contents
What Type of Crepe Paper Should I Use?
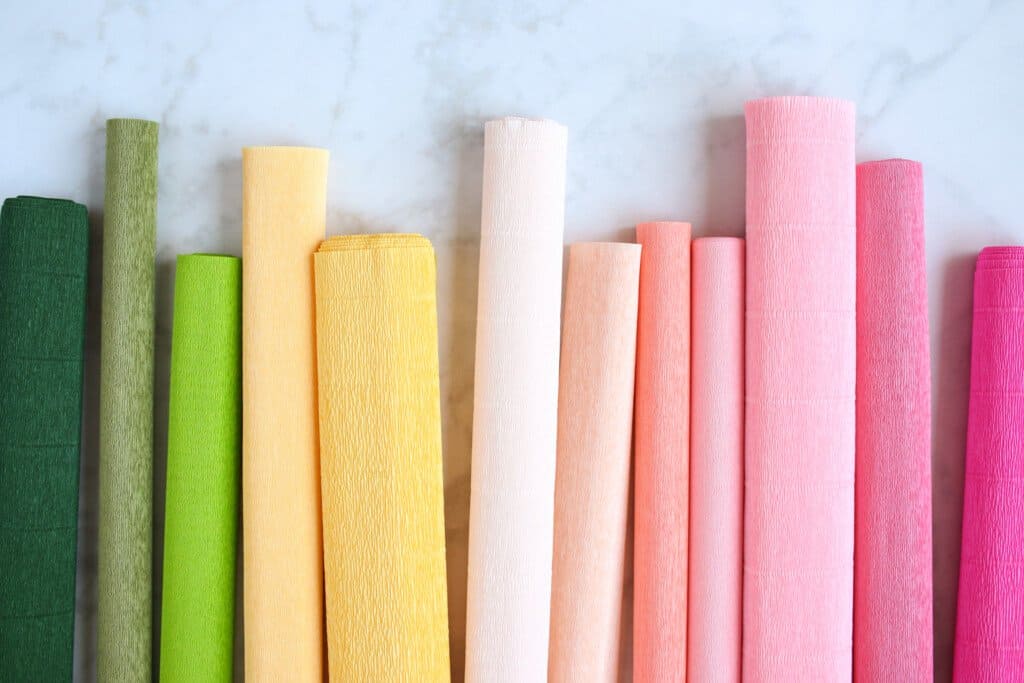
These paper dahlia flowers work best with 90-gram crepe paper. Thinner varieties will not give you nearly as much stretch, which really impacts the shape of the flower. Thicker crepe paper will work, but won't result in delicate-looking flowers. You can still create a beautiful flower, they will just have a bit more texture.
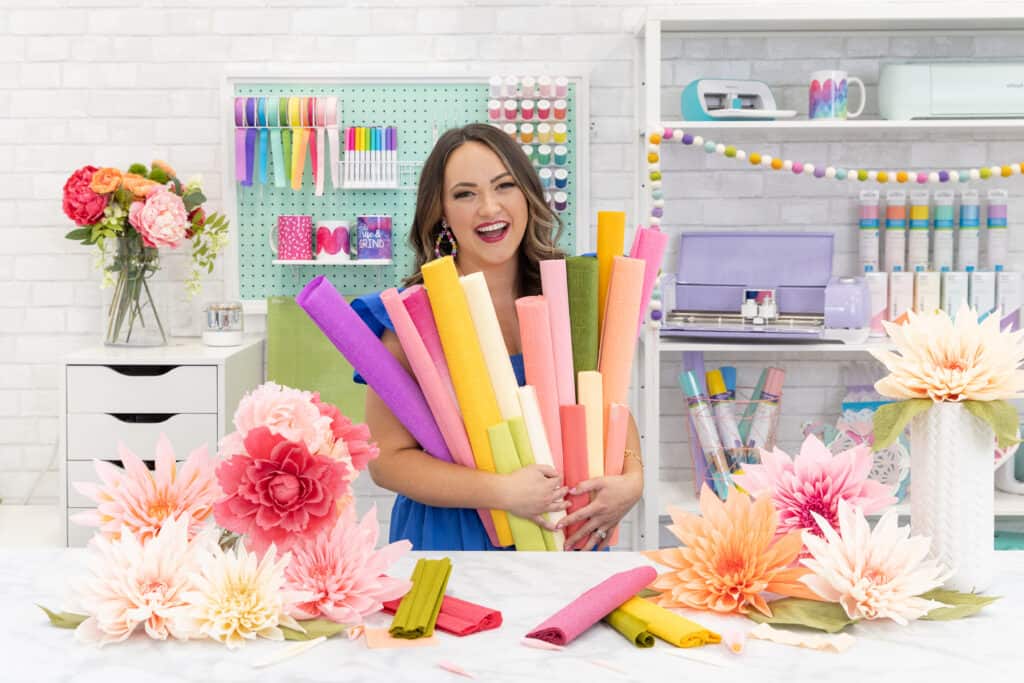
If you’re unfamiliar with crepe paper and the different varieties, make sure you check out my Crepe Paper Resource Guide. This will give you an in-depth rundown of the types, brands, distributors, and varieties available to you.
How Large is the Finished Flower?
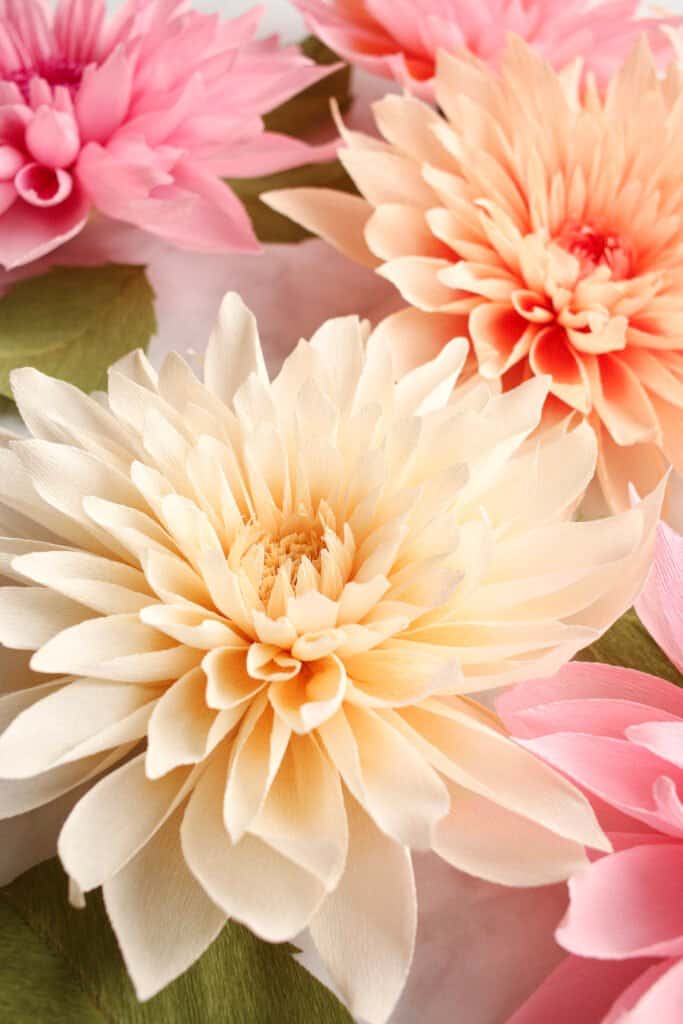
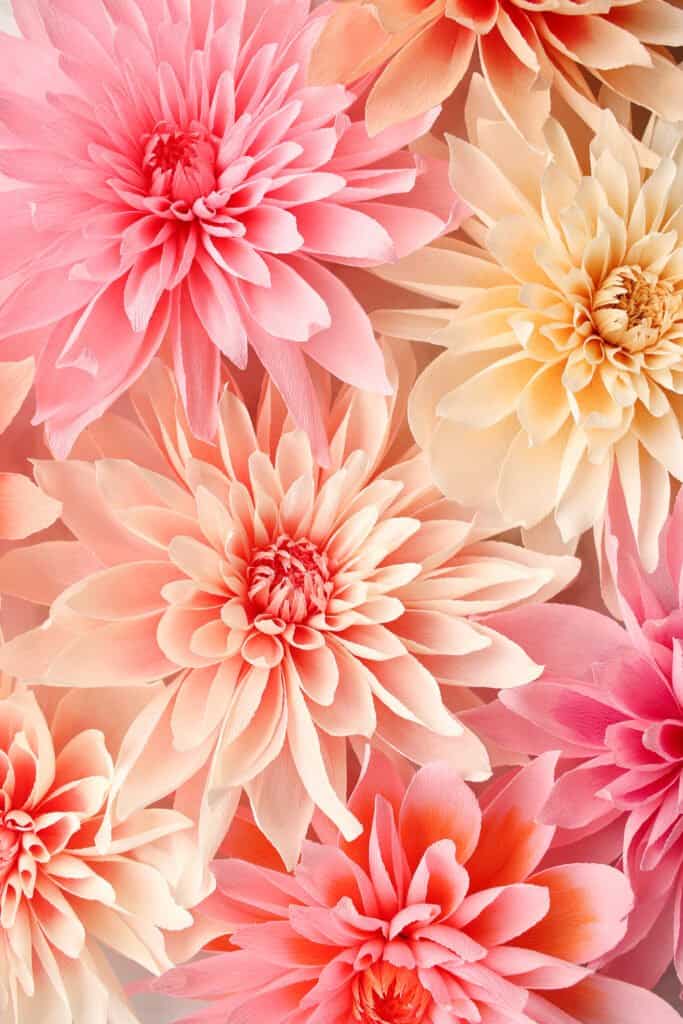
The finished Dahlia is designed to be between 8 and 12 inches in diameter, making them quite large and ideal for party decor, wall displays, or oversized table arrangements.
One roll of 90-gram crepe paper, 19.5 by 59 inches, from Carte Fini will result in 3 Oversized Dahlias.
You can easily scale this flower smaller or larger by adjusting the size of the petals. Or you could simply add or decrease the number of petals to adjust the finished flower size.
Can I Make these with a Cricut Machine?
Cricut Maker machines do cut crepe paper! You will need a rotary blade and a Strong Grip mat for successful cuts.
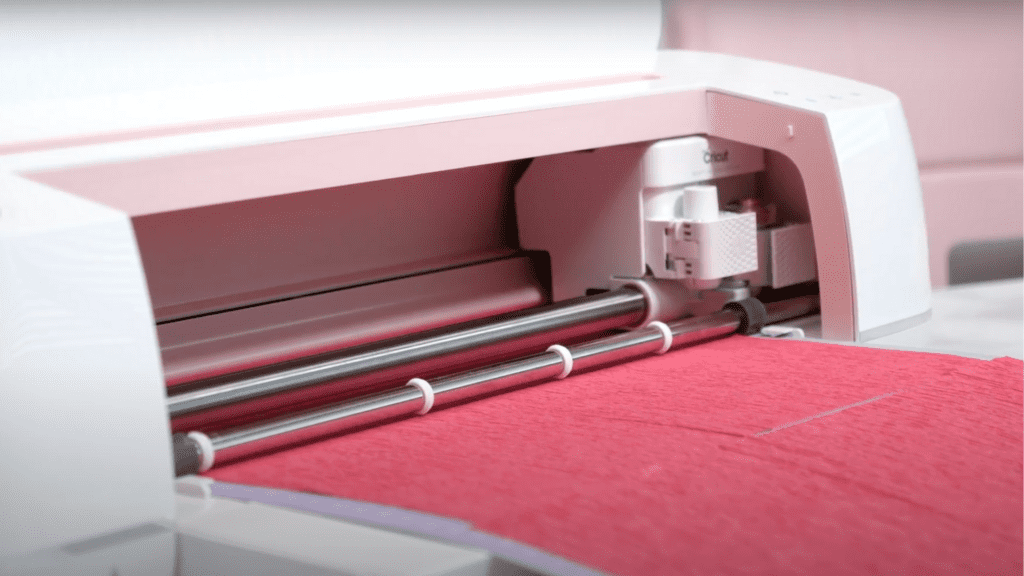
Cutting crepe paper flowers with your Cricut certainly reduces the amount of manual labor involved in creating these paper Dahlias, however, it might not be the quickest option.
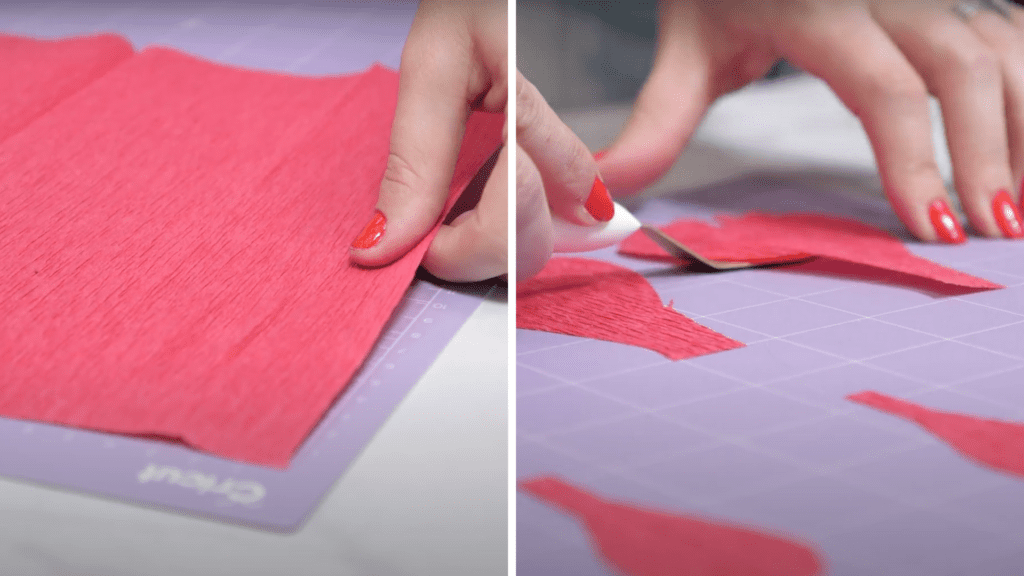
Because crepe paper has such a unique texture, you can easily layer the paper and cut multiple petals at the same time, even up to 6 layers of 90-gram crepe paper depending on the quality of your scissors! These dahlias have a very simple petal shape, which makes them simple to hand cut.
So if speed is your concern, I would recommend hand cutting. If you're willing to spend more time for less time with the scissors, your Cricut Maker may be the way to go!
How Do I Cut Crepe Paper?
The one thing to remember when cutting your crepe paper is the grain. Crepe paper is similar to fabric, in that it has a grain! The textured ribs of the paper create stretch. The templates provided indicate the direction the petal should lay against the crepe paper. There are three short lines on each template piece that you want to align parallel with the textured lines.
For most flower petals and pieces, you will want the length of the petal to run parallel with the grain of the crepe paper. This will ensure you can stretch and manipulate the petal correctly.
Again, please check out the Crepe Paper Resource Guide (coming soon) to give a more detailed explanation for all things crepe paper!
Do I need to use Pan Pastels?
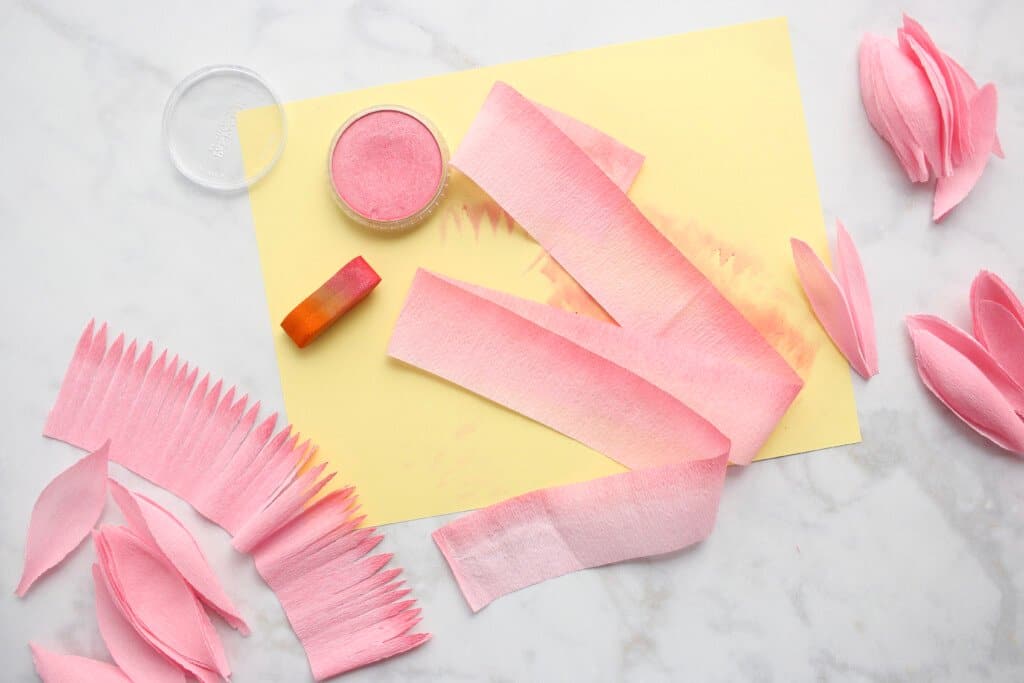
Pan pastels are absolutely optional! However, they add such lovely depth and color that once you give them a try, I can promise you won't go back! You can find them at most craft stores or art supplies. We love this kit by Lia Griffith. Carte Fini also offers a variety of kits and individual colors as well, as do many other art supply stores.
You can add the pastels to the base of the petals or the tips depending on what look you want your flower to have.
Additionally, you will want some sponge applicators in order to apply the colors to your paper. The colors are highly pigmented and a little goes a long way. You'll want to protect your surface when applying the pastels to avoid any color dust or residue from staining precious surfaces.
If you don't want to invest in pan pastels, you can also add color and dimension with watercolors or watered-down acrylic paints.
What Applications does this Flower Have?
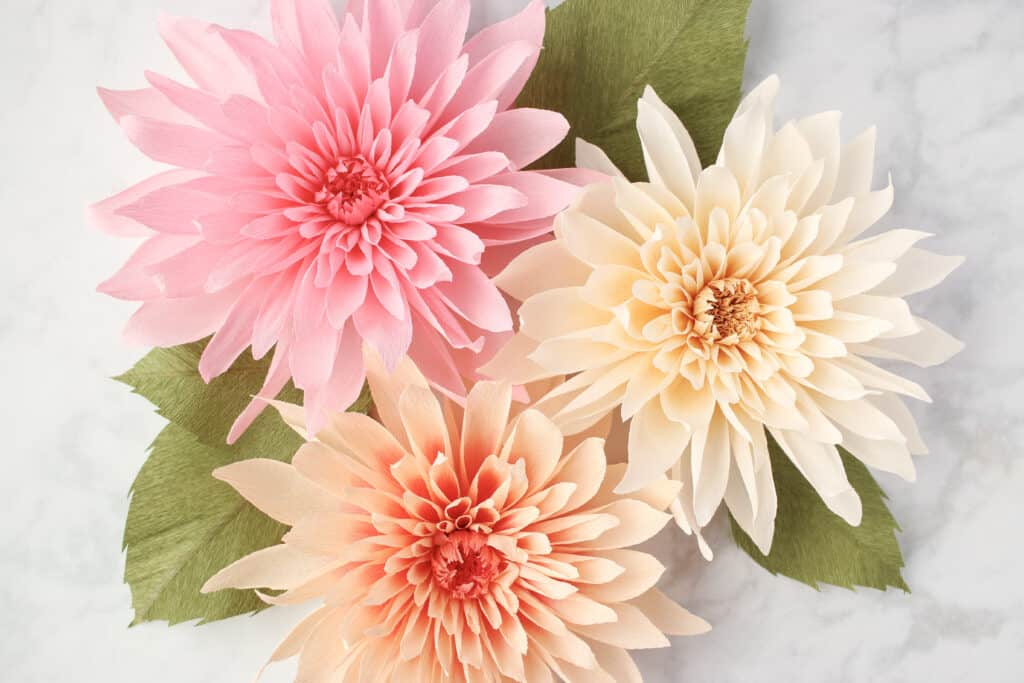
The oversized nature of these flowers is perfect for party decor, table centerpieces, wall displays, and backdrops. You can really make these paper dahlia flowers as big as you want if you continue to add more petals, increasing the petal size as you go. For these purposes, wire stems are not necessary.
However, if you want to create a giant bouquet, you could easily attach a strong floral wire stem, we’d recommend an 18 gauge, or stronger, wire, to the center of the fringed center. Simply glue the tip of the wire to one end of the fringed piece, and then wrap it tightly around the wire. The remainder of the Dahlia construction is the same.
How do I Adhere the Paper Flowers to the Wall?
To hang your paper flowers on a wall, there are a variety of techniques. The size of your flower and the material of your surface will determine the best option for you.
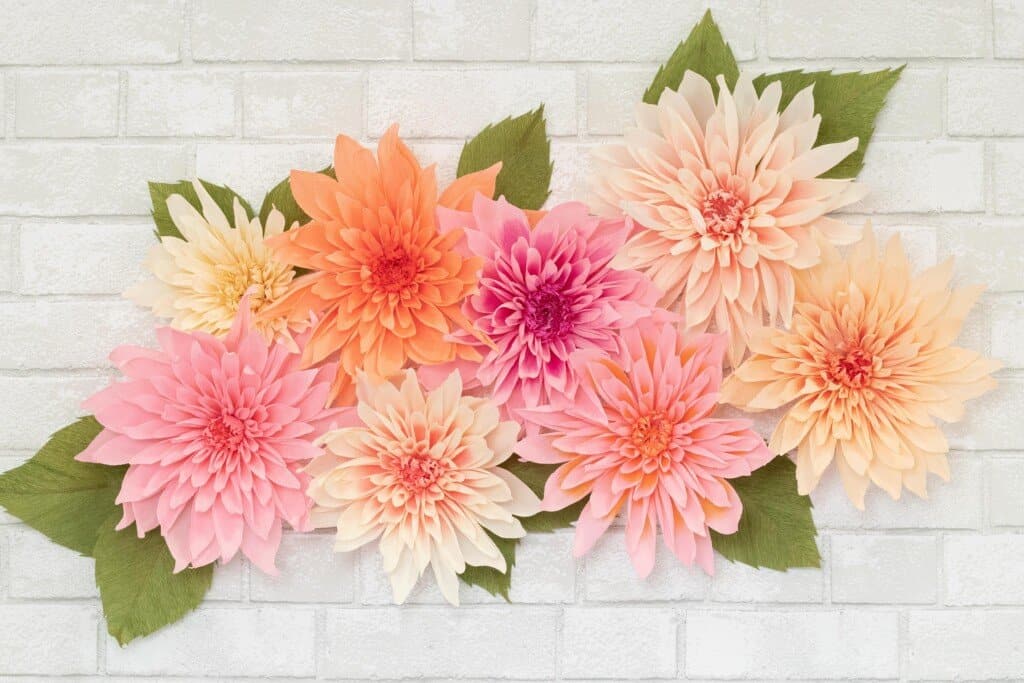
For a quick solution, use mounting tape.
A more time-consuming solution requires creating twine or wire loops on the back of your flowers and hanging them on command hooks or thumbtacks. You can find details for this in my oversized rose paper flower tutorial.
Velcro pads are also a good solution.
How long does it take to create one flower?
These Oversized Paper Dahlias do take a bit of time, due to their size and the number of petals involved. That being said, if you're making a lot, you can easily batch-cut all your petals, shape them, color them, and construct each flower. I would plan on between 30 and 60 minutes for one flower.
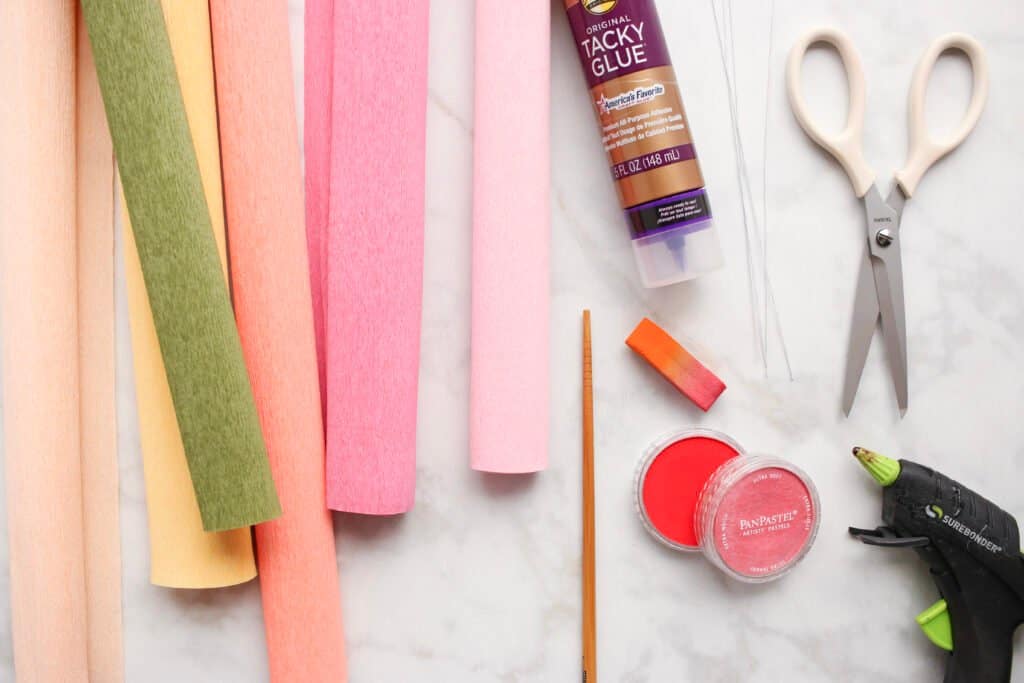
Oversized Crepe Paper Dahlia Supplies:
- Fine Crepe Paper, preferably 90 gram or doublette. I love the 90-gram variety by Carte Fini, and you can buy colors individually. The Extra Fine Kit from Lia Griffith is also a good place to start. It's a little bit thinner than I prefer, but will still work!
- Scissors
- Pan Pastel Kit, or Individual Pan Pastels
- Hot Glue Gun
- Thin Wooden Dowel or Chopstick
- Sponge Applicator
- 24 Gauge Wire (for leaves)
- Tacky Glue (for leaves)
- Cricut Maker, optional
CLICK HERE TO DOWNLOAD THE FREE SVG & PAPER DAHLIA PRINTABLE PATTERN
Want to learn how to make even MORE paper flowers?
Get The Ultimate Guide to Paper Flowers E-Book and get access to ALL of my printable paper flower tutorials and flower SVG files in my Ultimate Guide to Paper Flowers Ebook by clicking here!
Directions:
Pieces to Cut:
- 1, 2x10” piece of crepe paper
- 1, 2.5x10” piece of crepe paper
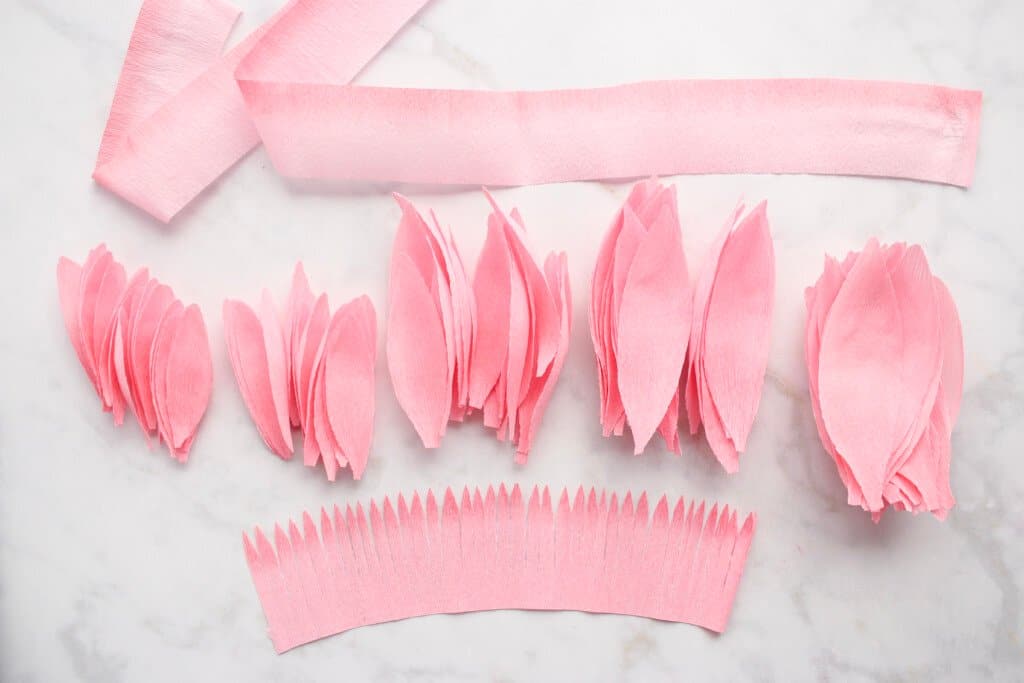
- 13-16, 3” petals
- 15-17, 3.5" petals
- 14-20, 4” petals
- 16-18, 5” petals
- 15, 5.5” petals
If you're cutting by hand, print off the PDF template and cut out the pieces.
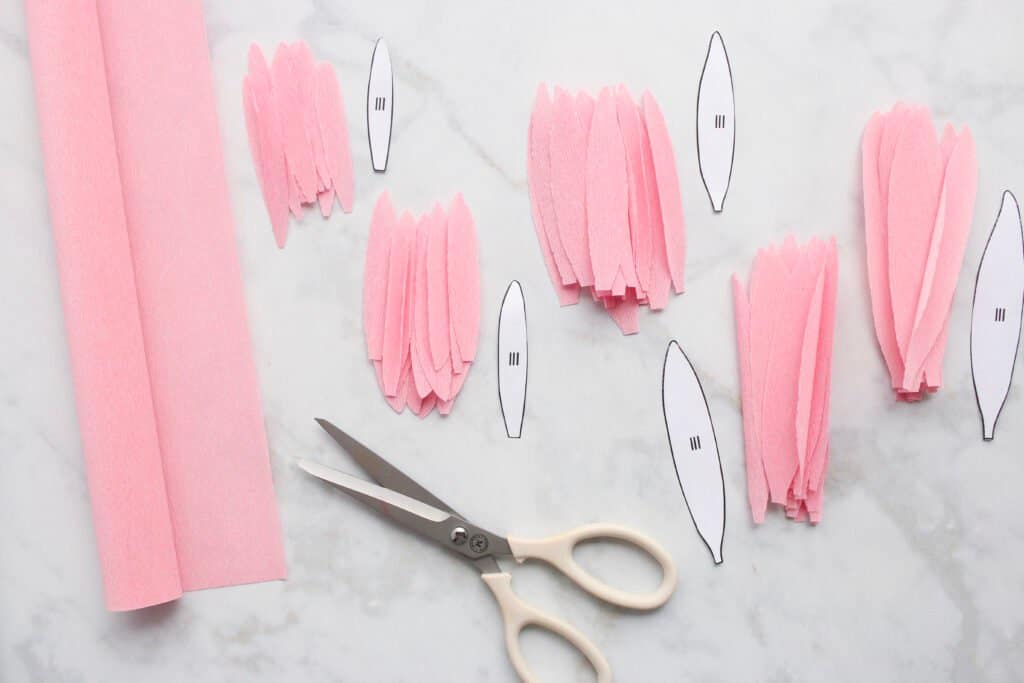
You can fold strips of crepe paper to cut multiple layers of petals at once.
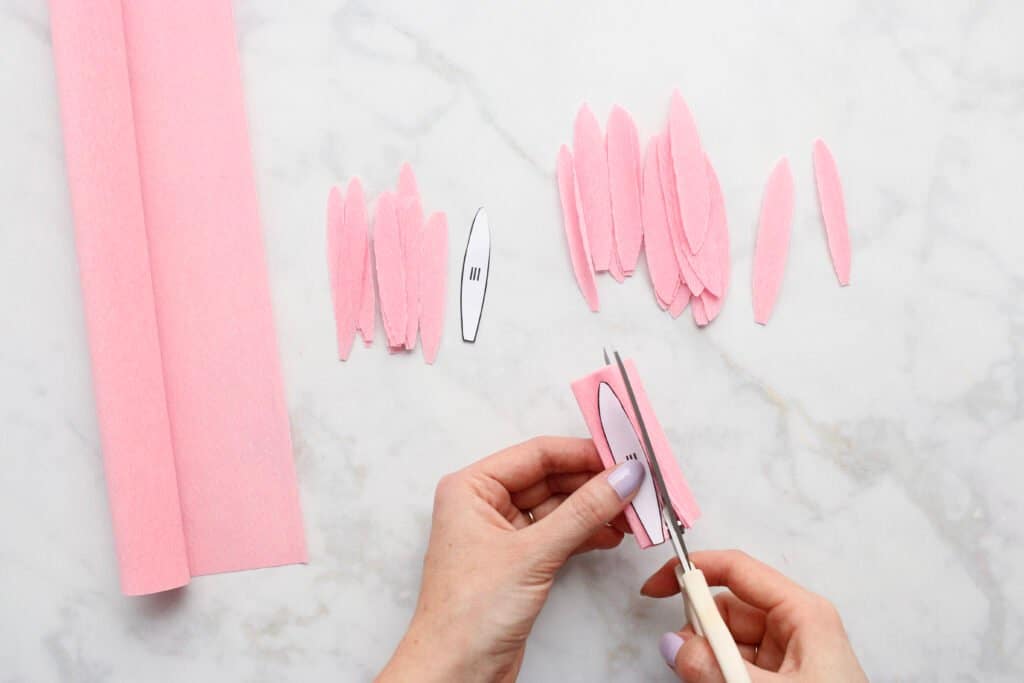
Lay the template onto your folded crepe paper, making sure the grain lines are matching and cut.
For the "spiked" strip, fold the strip over three times so you have four layers of crepe paper. Lay your template over the folded crepe paper and cut, taking care not to cut through the ends, so you have one continuous piece.
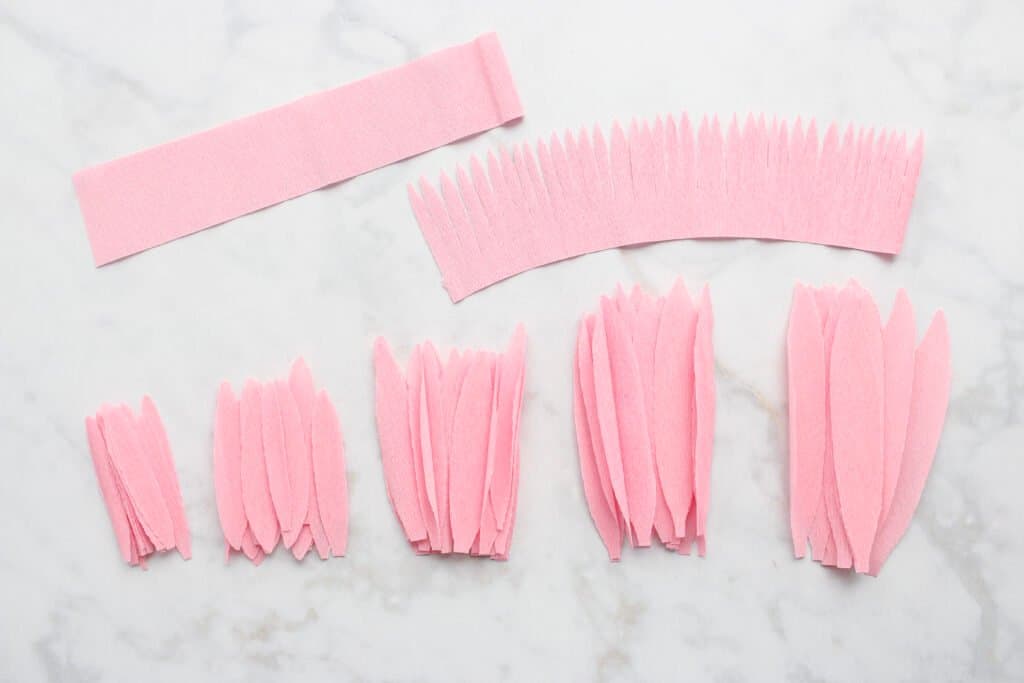
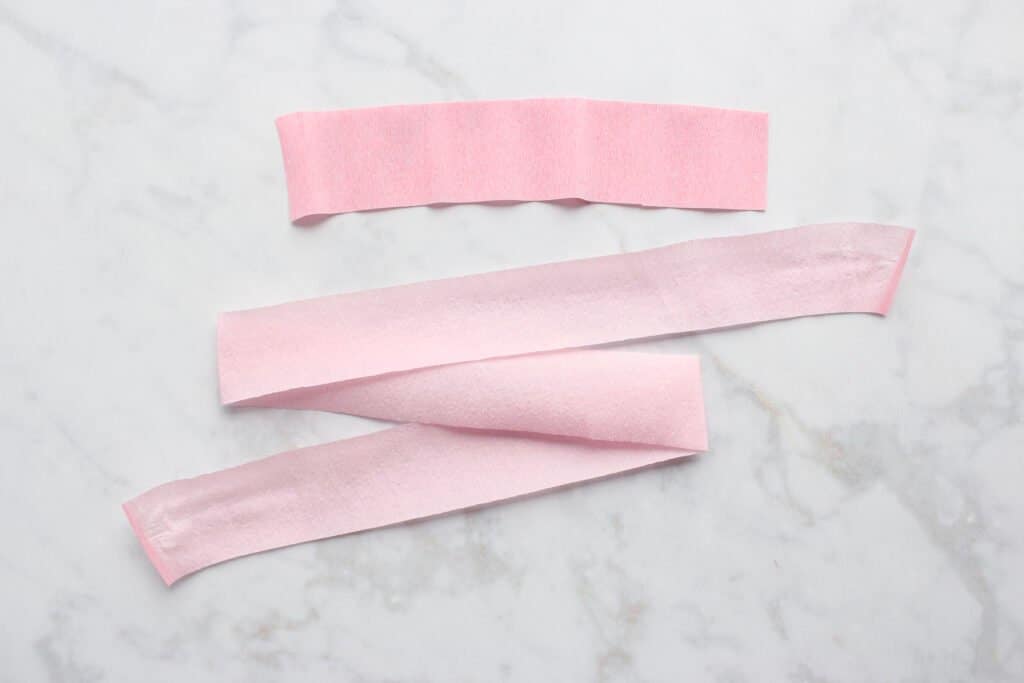
Shaping the Crepe Paper
Gently stretch out the 2-inch by 10-inch strip of crepe paper. If you're using a high-quality crepe paper around 90 grams, the paper will stretch about 230% and smooth out most of the ridges.
Now stretch each petal by using your thumbs to gently pull outwards on the center outer edges of the petal to create a "cupping" effect.
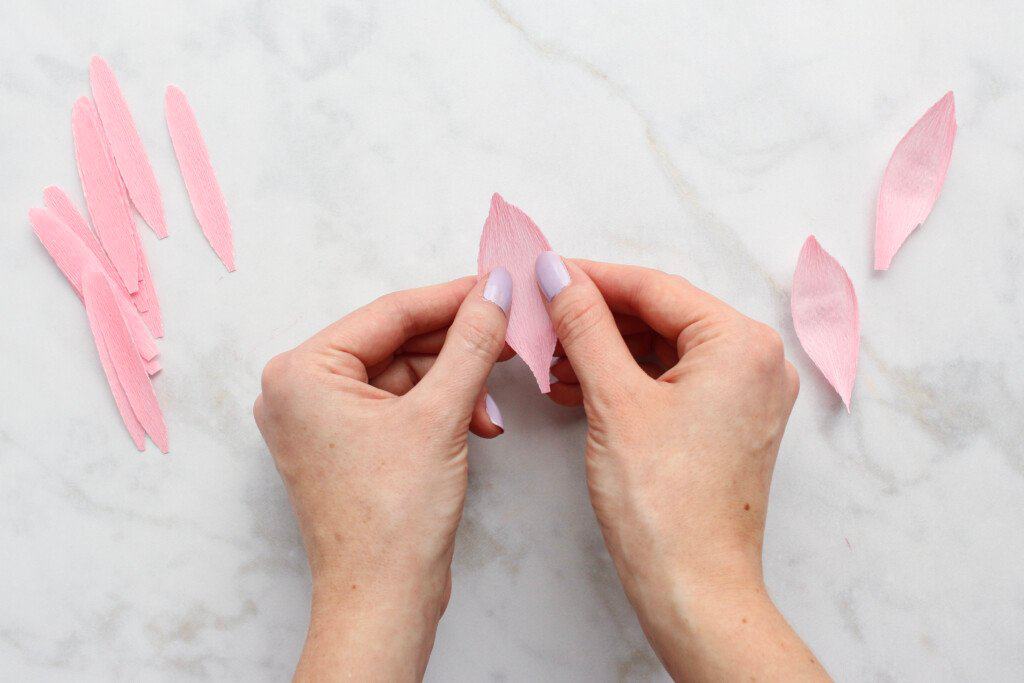
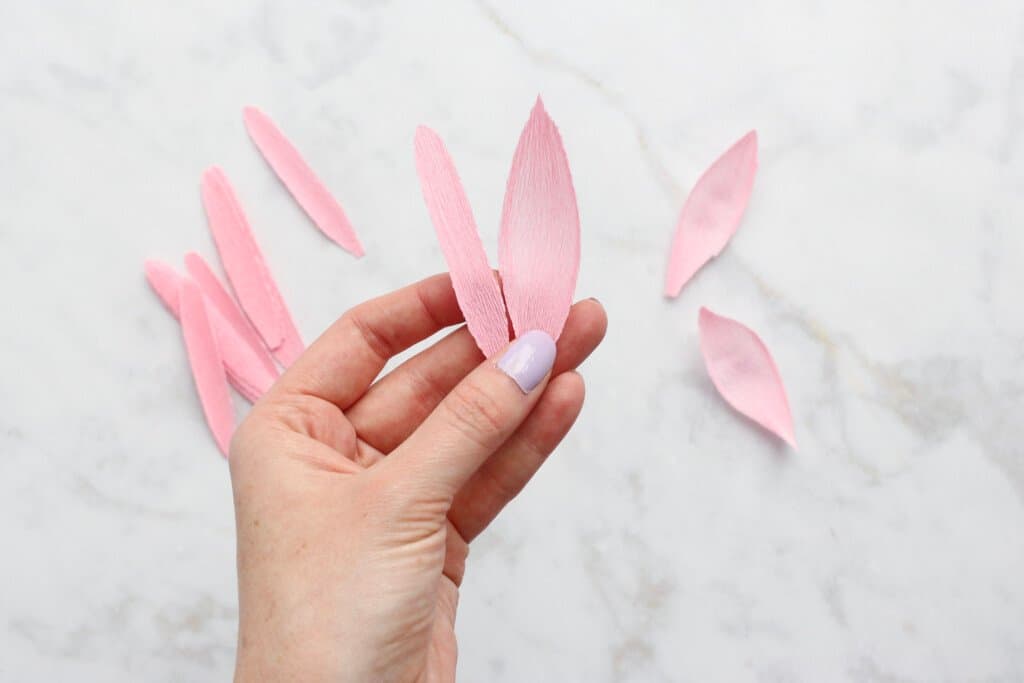
Continue for all the petals, keeping them separated by size. Leave the "spiked" strip unstretched.
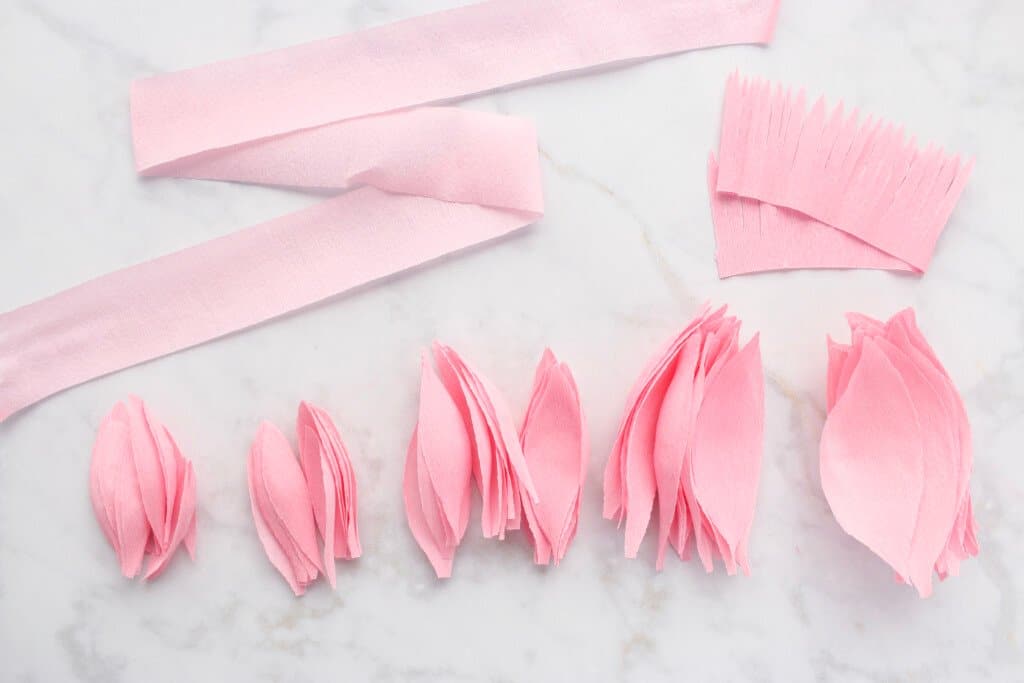
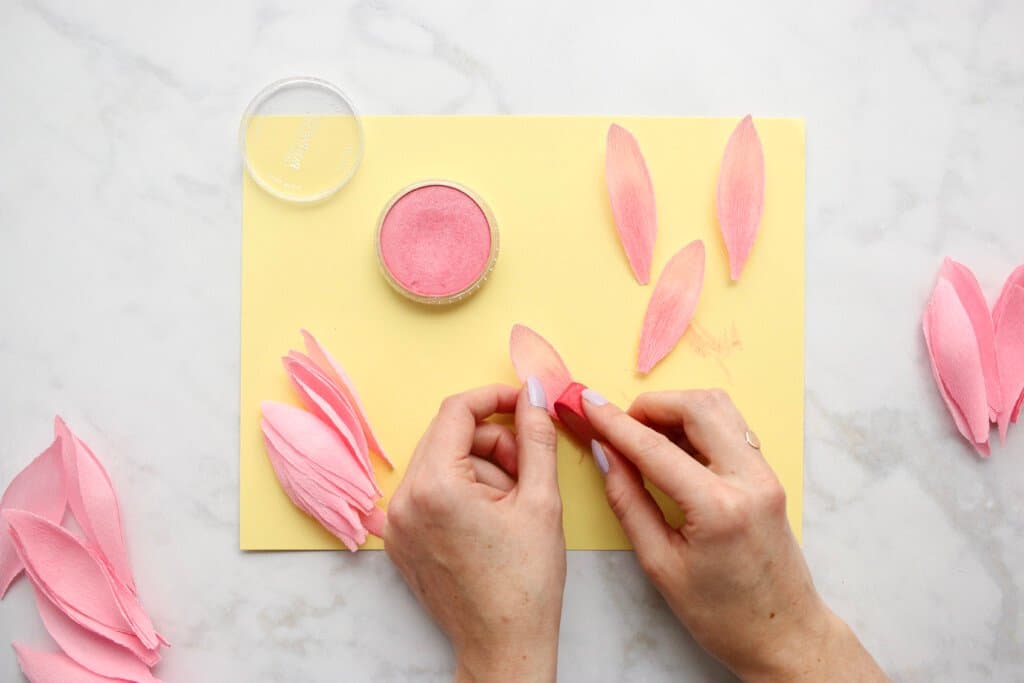
Adding Pan Pastels
Choose a pan pastel with a pigment at least 1-2 shades darker than your crepe paper.
Use a scrap piece of paper to protect your surface from the pastels.
Use foam applicators to apply your pan pastels. Feel free to experiment on some scrap crepe paper to determine the color intensity you want to achieve.
Apply color to the top 1/2-inch of the "spiked" strip of crepe paper
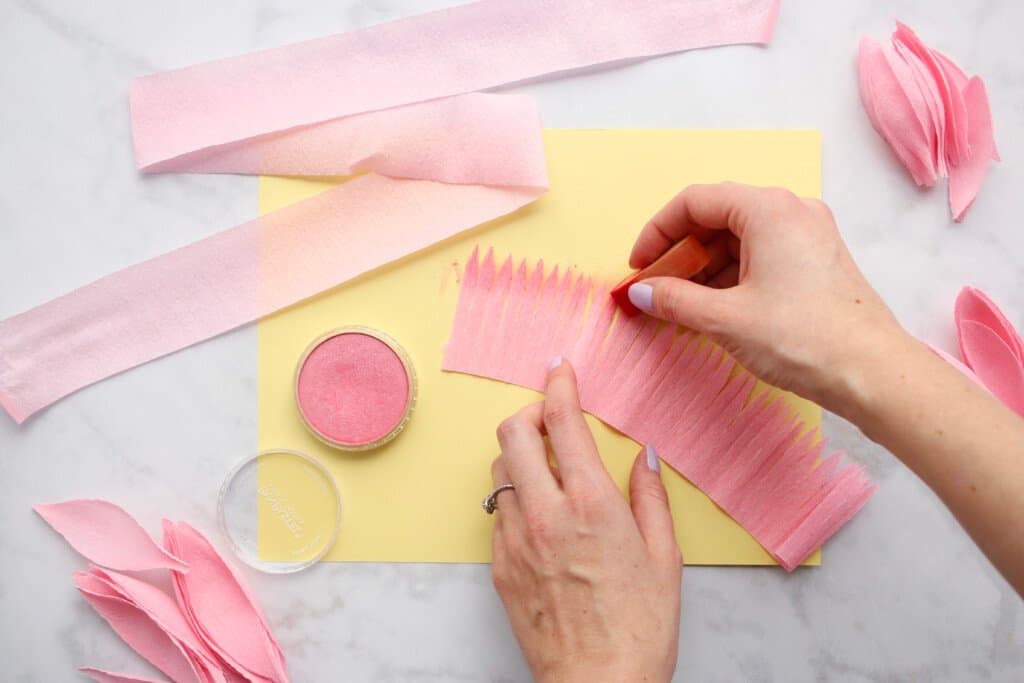
Apply the pan pastels to the top 1/2-inch of the stretched out piece of crepe paper
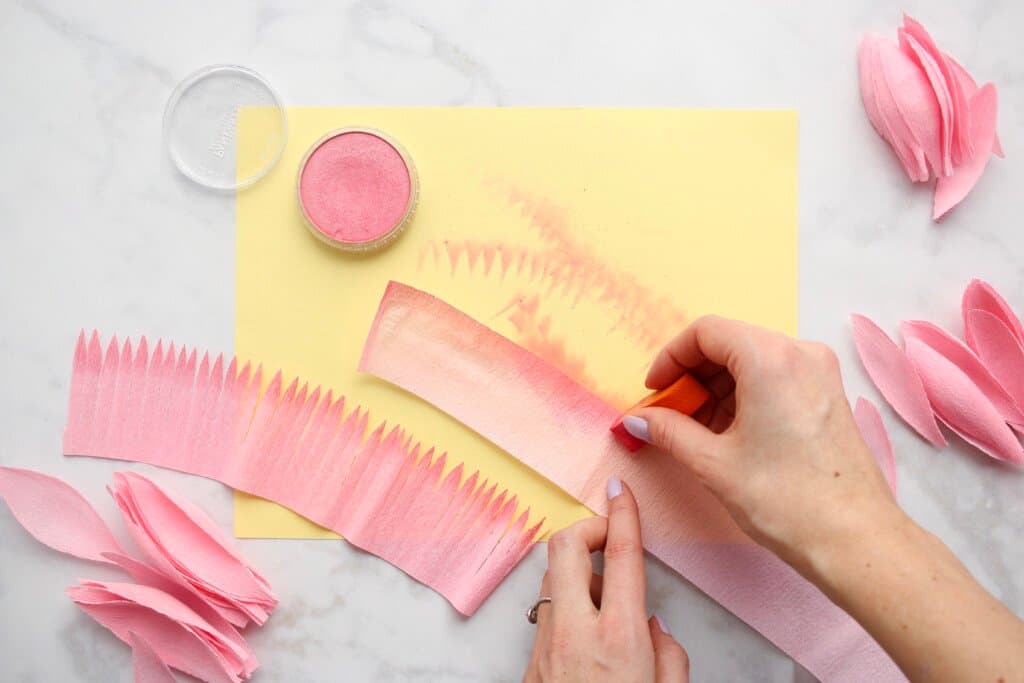

For the petals, apply the pastels to the lower half of each petal. As the petal size increases, lower the intensity of the pastels.
Paper Dahlia Center:
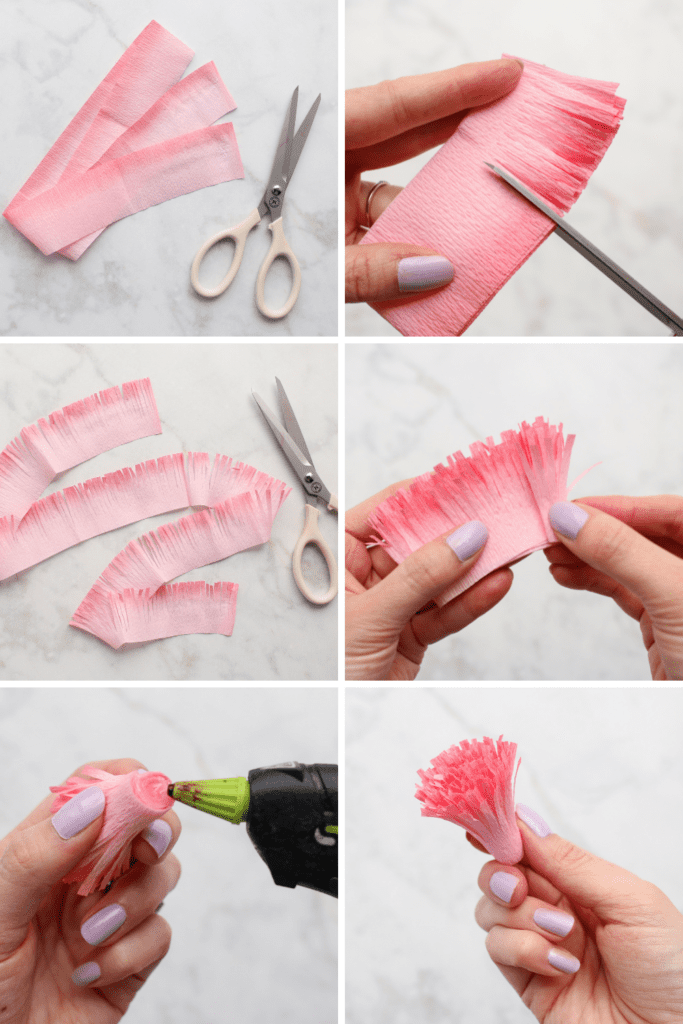
Fold the stretched-out strip of crepe paper over a few times.
Use scissors to fringe the paper by cutting snips 1.5 inches into the strip.
Tightly roll up the fringe and secure with hot glue on the base.
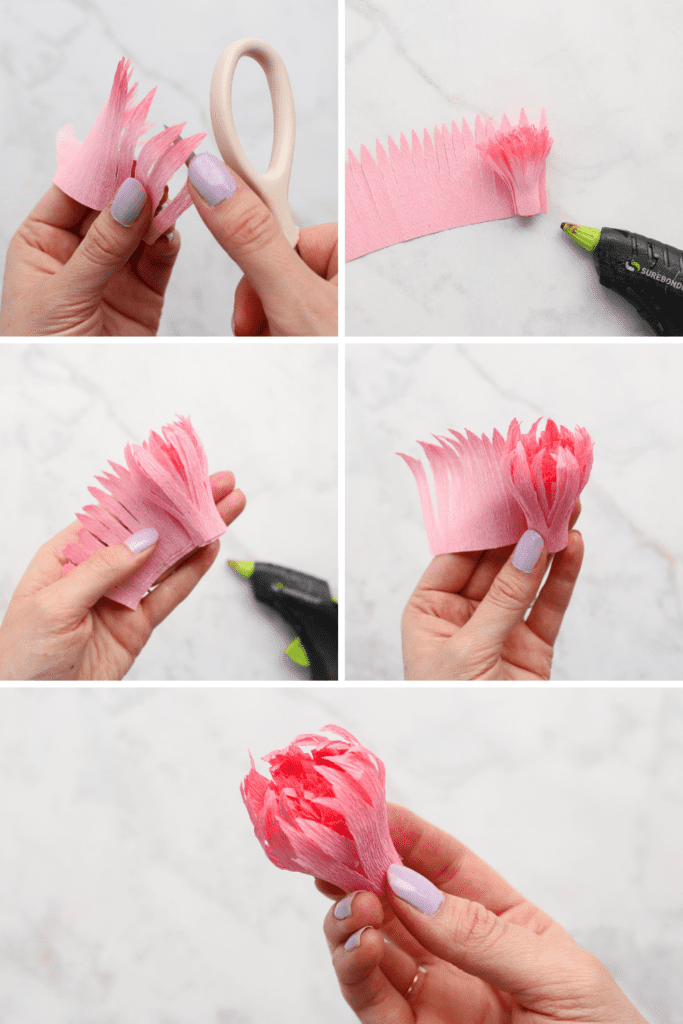
Take the "spiked" strip of crepe paper and gently curl the tinted triangle petals toward you with scissors, a chopstick, or dowel.
Wrap this piece around your completed fringed center, about .25” above the base of the fringe, so the petals curl inwards towards the center.
Secure with glue as you go.
Paper Dahlia Petals:
3” flowers – 14-16 petals
4” flowers – 16-20 petals
5” petals – 16-18 petals
5.5” thicker petals – 15 petals
Begin to add your petals to your dahlia center, starting with the smallest size.
Fold the edges of the base of the petal inwards to create a slight coil shape.
Secure about 1/4 inch above the fringed base, with a dab of hot glue. Make sure the folds are facing the center.
Repeat this process with all of the small petals, until the entire fringed center is surrounded with petals.
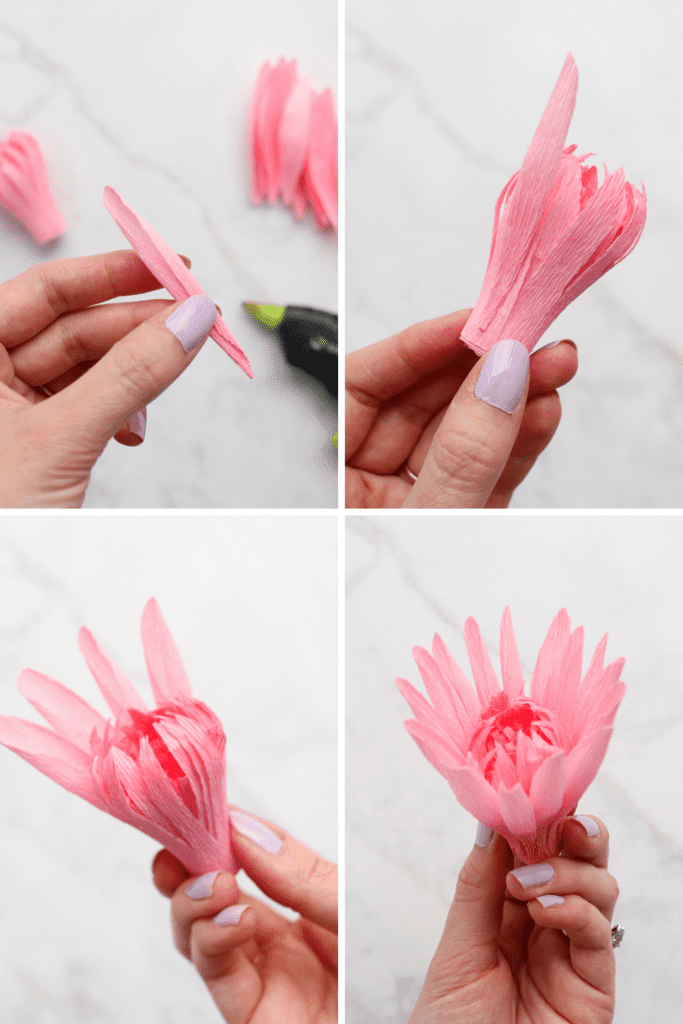
Repeat this process with the next smallest petal size, again attaching the petal about 1/4" above the first row.
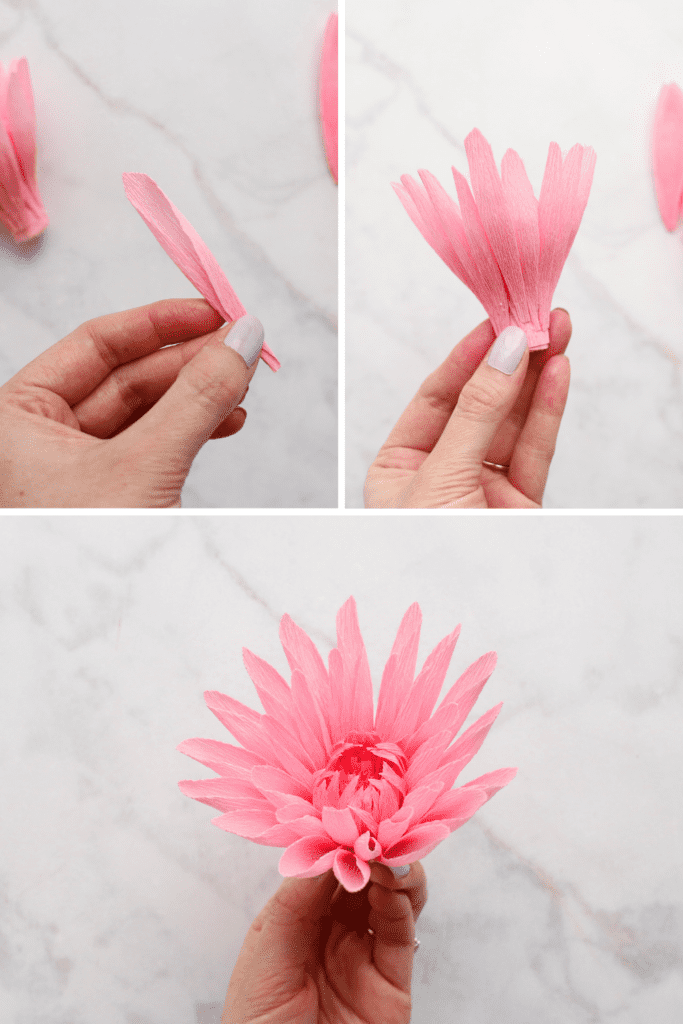
Attach the third, fourth, and fifth layers of petals like the first two.
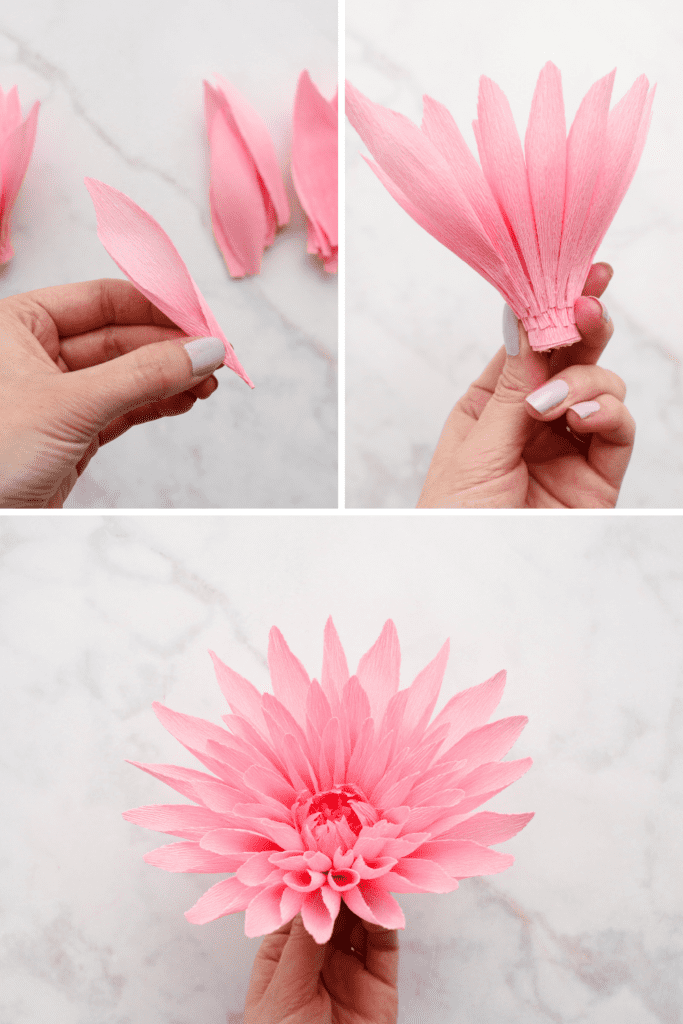
Fourth Layer:
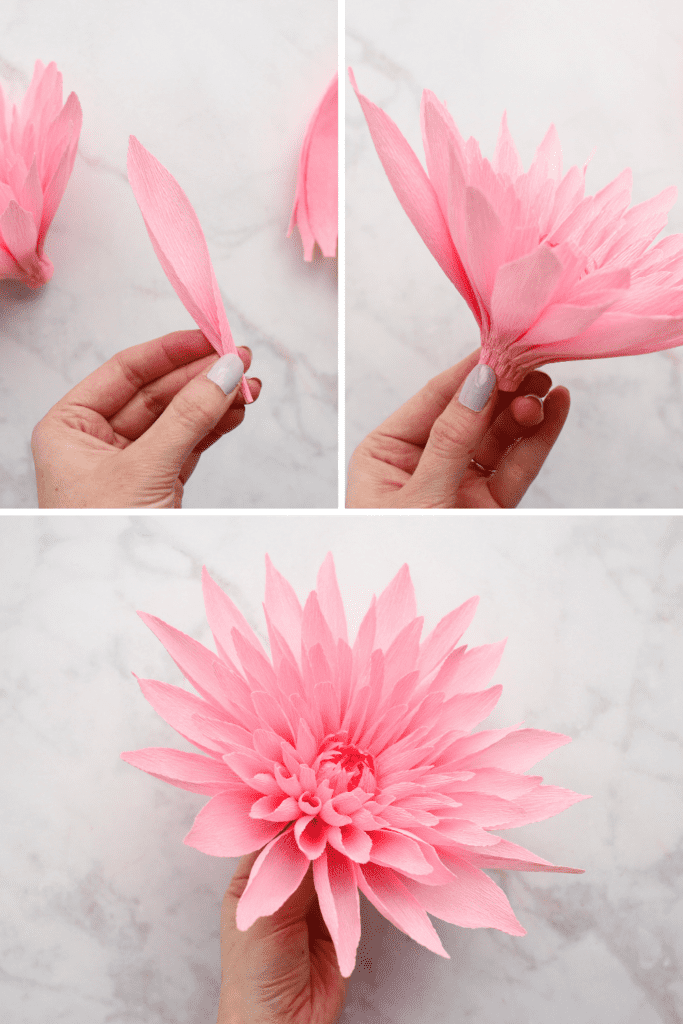
Fifth Layer:
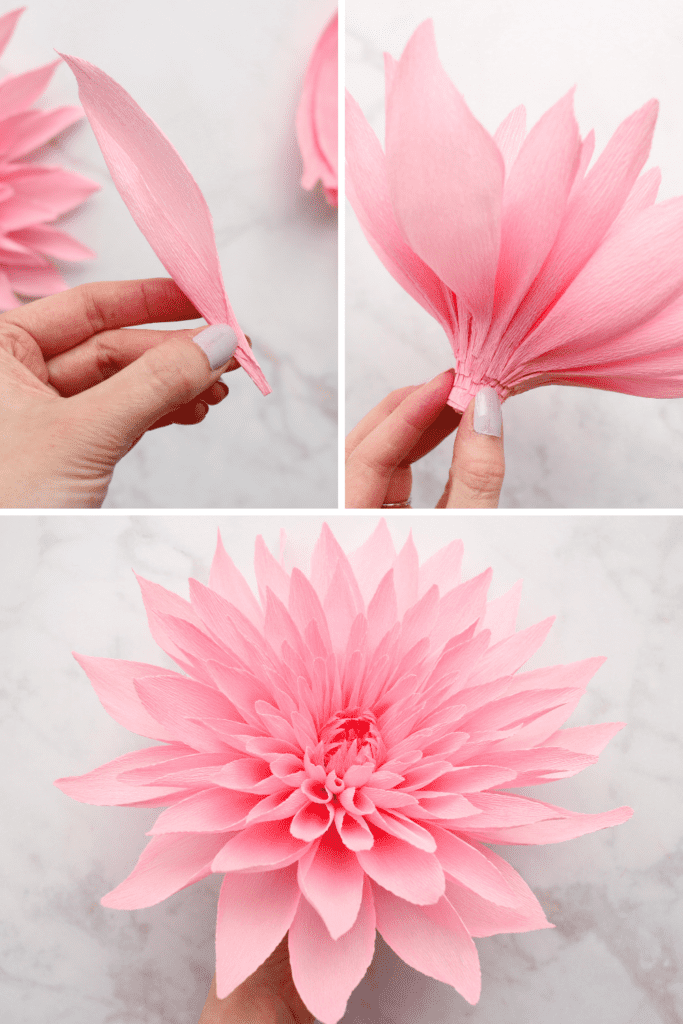
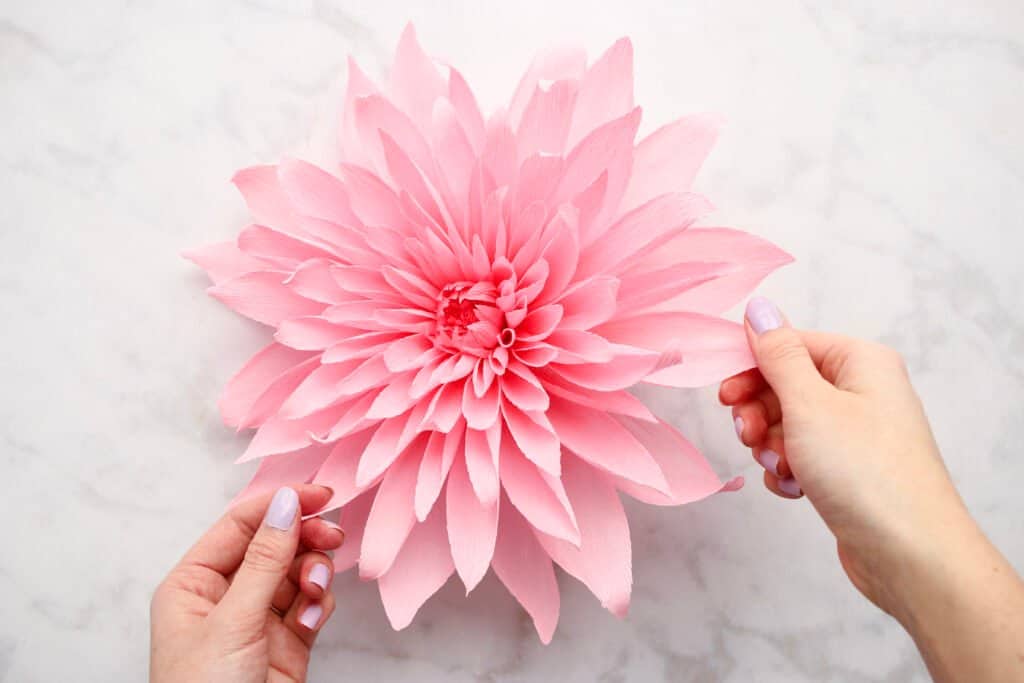
Once all your petals are secured, gently push down on the petals so they are more open and not sticking straight up. This creates a much fuller and fluffier-looking flower.
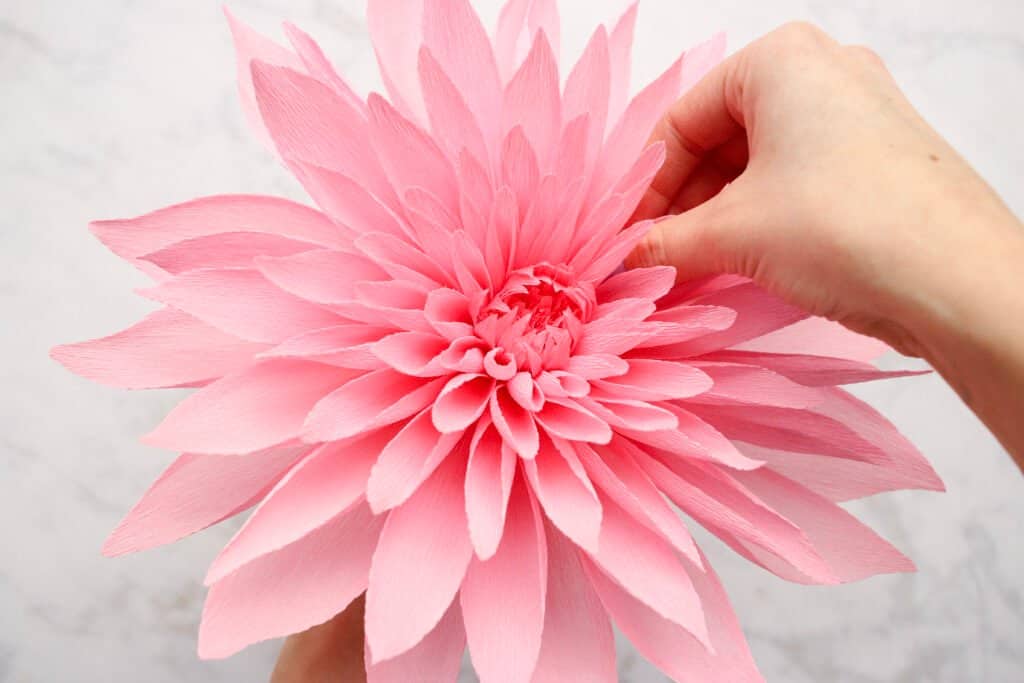
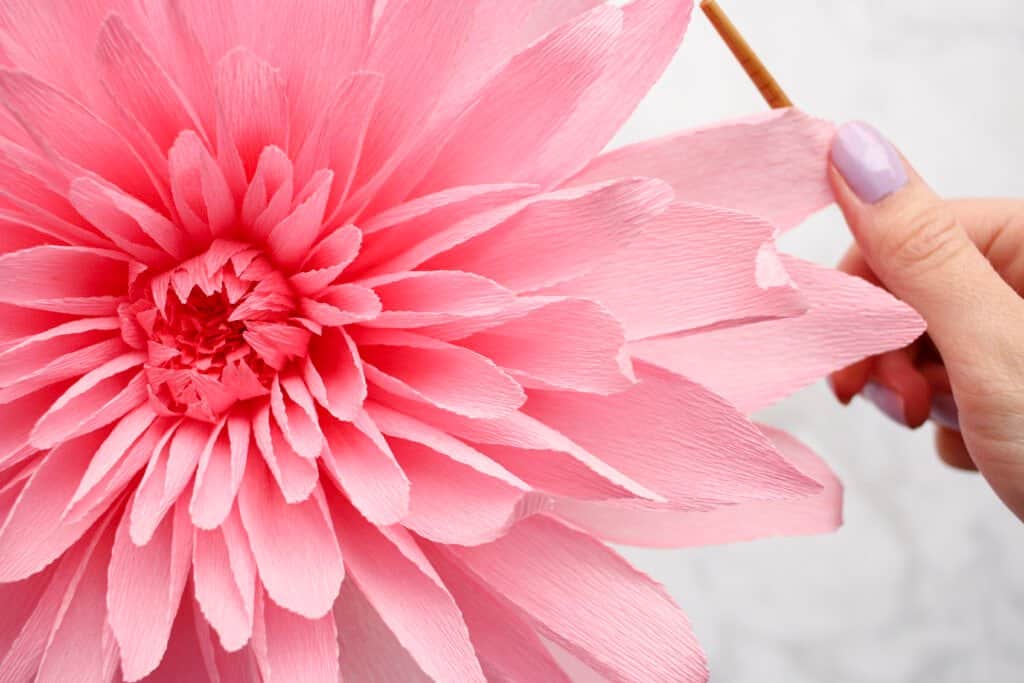
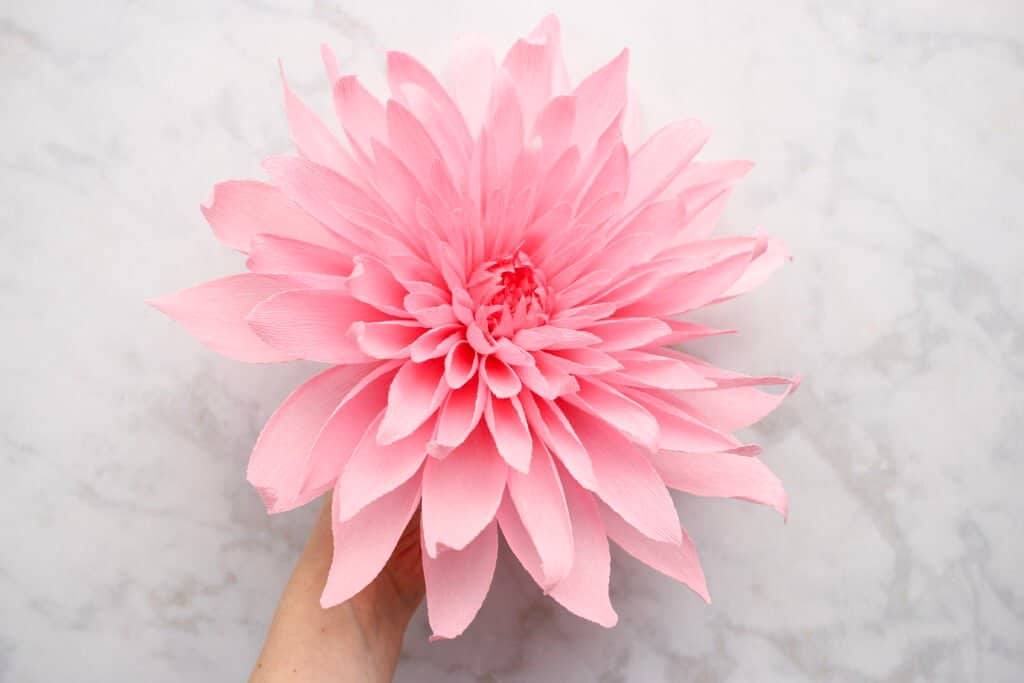
To finish, take your chopstick or other tool and gently wrap around some of the flower tips to add some extra dimension and movement. Curl some inwards, some outwards, to add some organic shape. You don't want it to be perfect!
Dahlia Leaves:
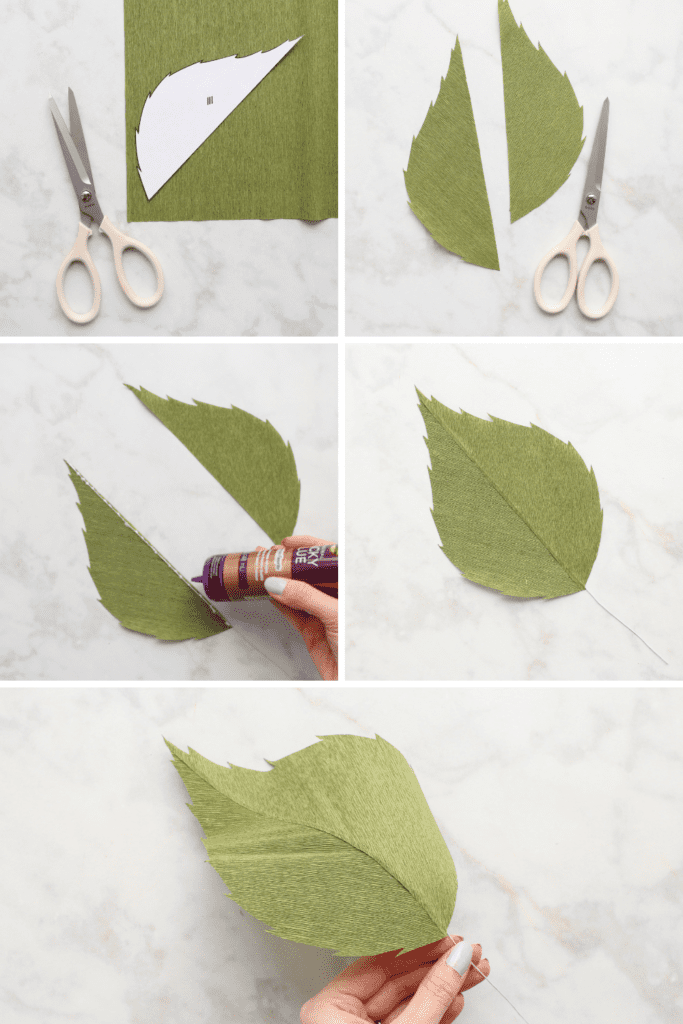
Each leaf will require two halves. The trick is to cut out each half with the grain mirroring the other.
Position the templates matching the grain directions according to the marking. The grain for each half should go upwards and outwards from the center.
Make a thin line of glue on the inner edge of one leaf half. Place a 24 gauge wire onto the line of glue.
Add a bit of additional glue to the top of the wire and layer the second leaf half on top, overlapping just enough to cover the wire. Seal tightly and let dry.
Manipulate the leaf to create some dimension and trim wire as necessary.
Repeat this process for as many flowers or leaves as desired!
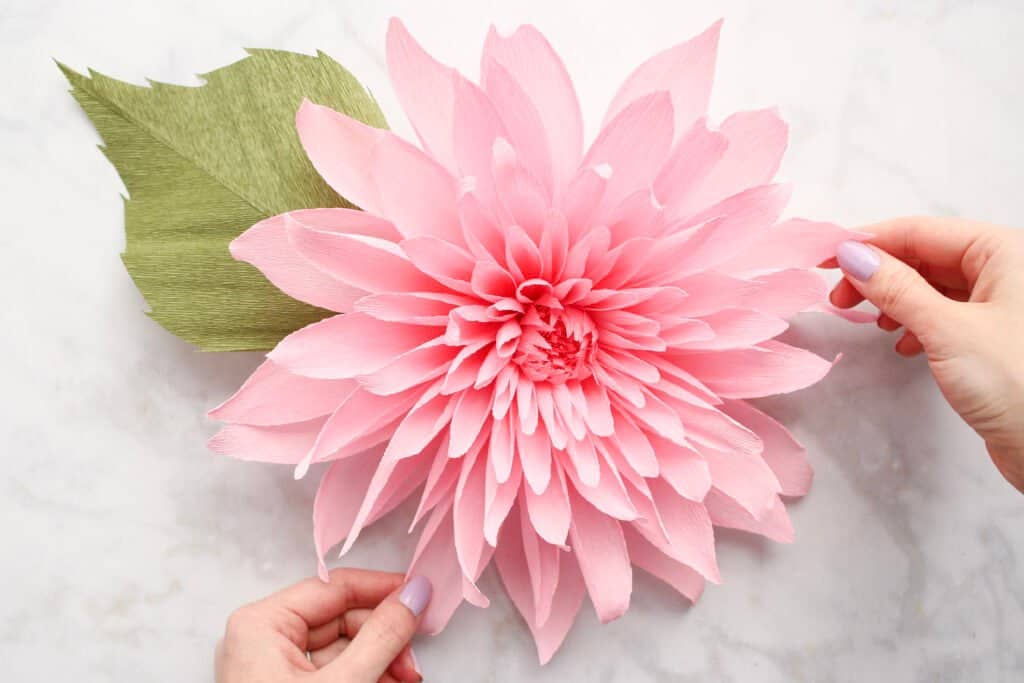
Now you have a beautiful crepe paper dahlia! Make multiple flowers to create a beautiful bouquet of flowers or hang them on a wall for a stunning display.
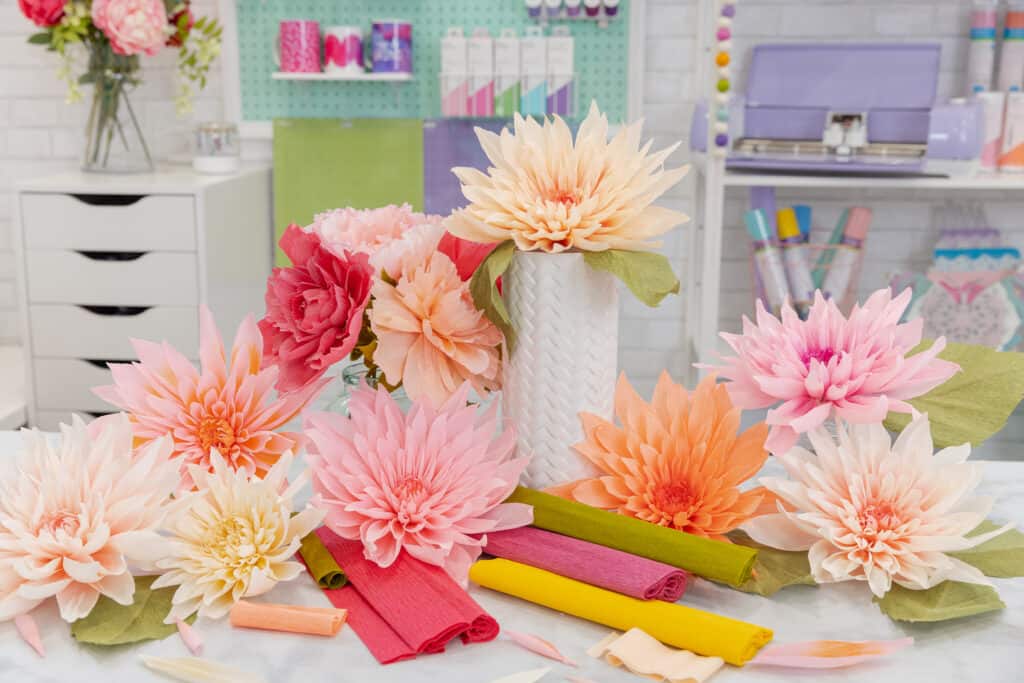
Looking for more paper flower projects? Click here!
Join my crafting and sewing Facebook group where you can show us what you’re making, ask questions, and learn from others!

These are soo beautiful. Thank you for the pattern. ive just downloaded now and cant wait to start making them.
I keep seeing "SVG" but have no idea what it stands for. Can someone help?
Thanks in advance!
Sweet Red Poppy, your attention to detail is consistent. From masks to these awesome flowers, your patterns always kill.
This is soo beautiful! I would love to know what colors specifically you used from Carte Fini to create the stunning dahlia display in your photos. Do you have a video tutorial? I looked on your YouTube channel but didn’t see it. I can’t wait to make this for our classroom door! Love how thorough you are in your explanation and presentation! I love your YouTube channel and blog!