Create Realistic Looking Peony Flowers From Cardstock With This Step-By-Step Tutorial, Plus Get the Free SVG Cut Files and Printable Template.
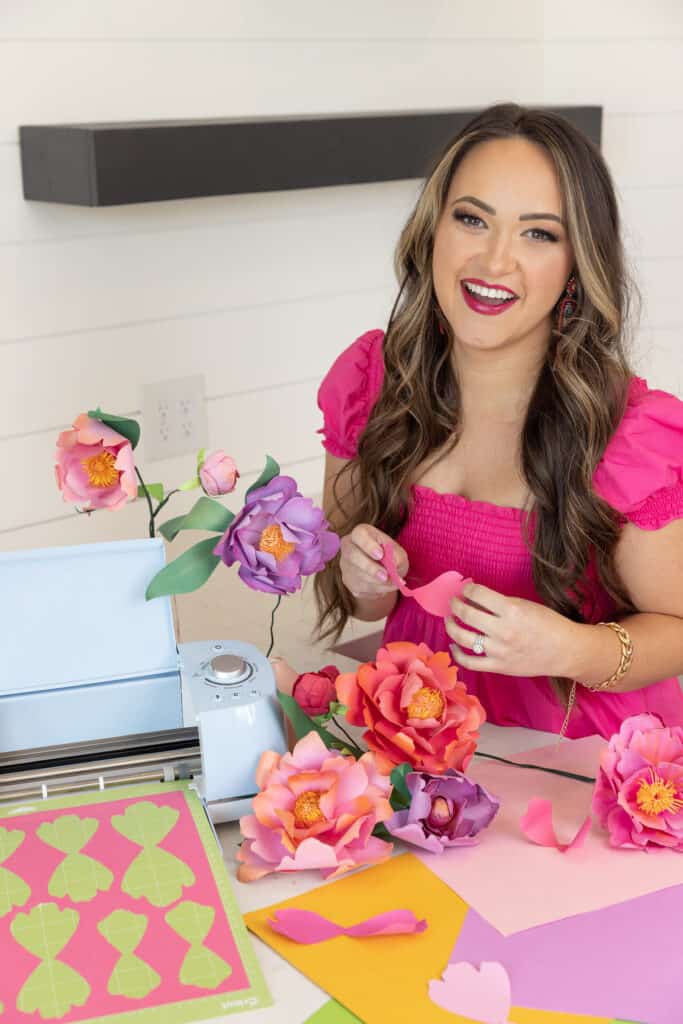
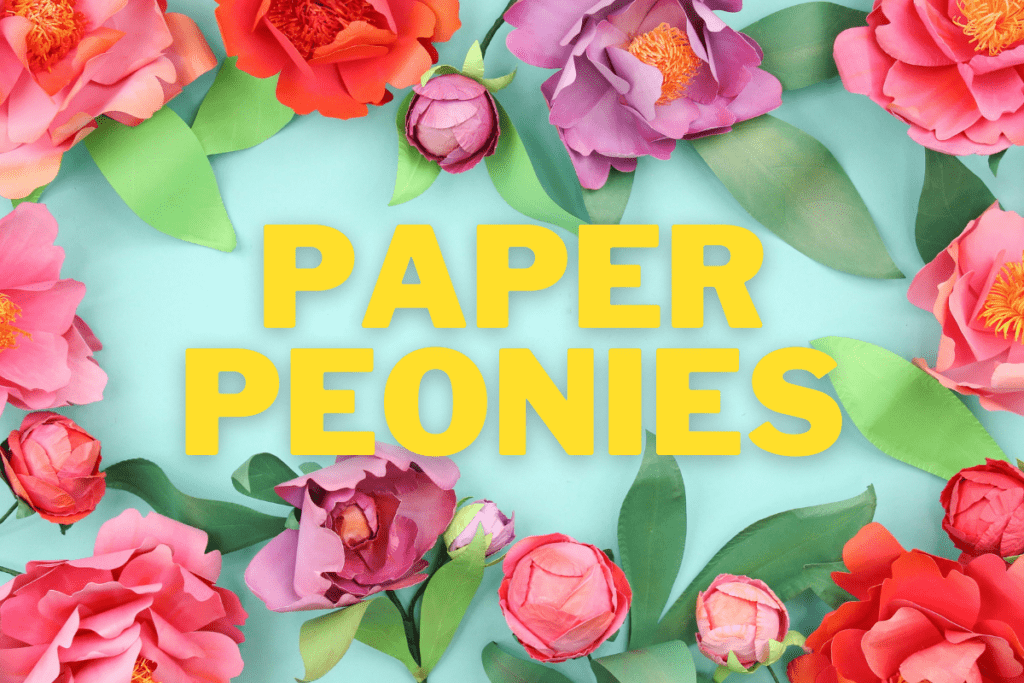
If making paper flowers is on your list of things to learn this year, you’re in the right place! My Oversized Paper Garden Rose is one of my favorite projects, so I decided it was time for more paper petals! Enter: the Paper Peony.
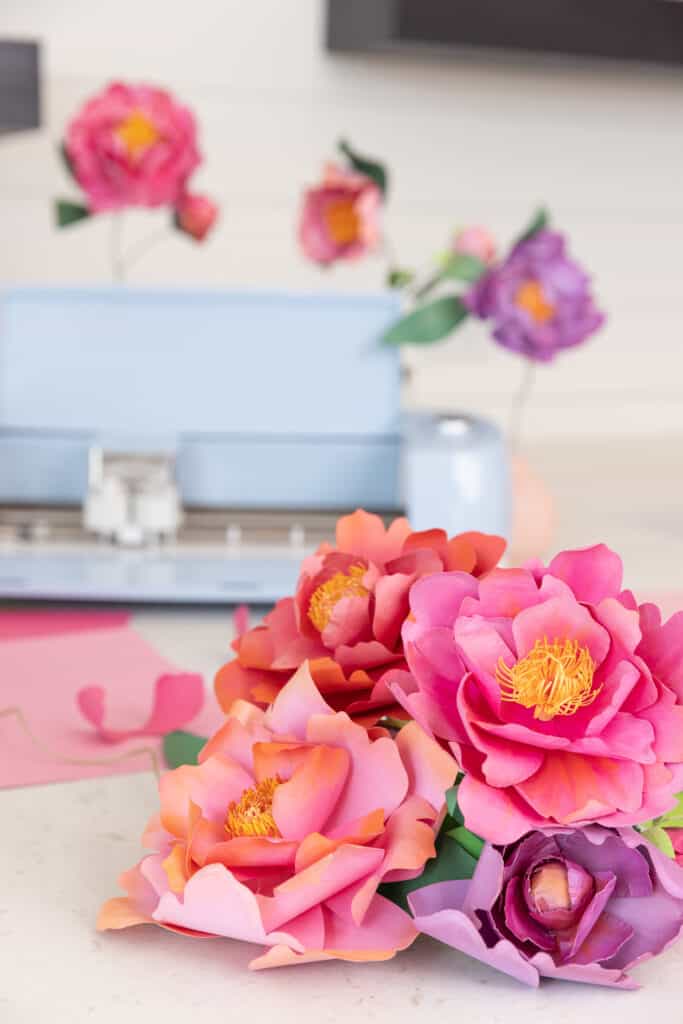
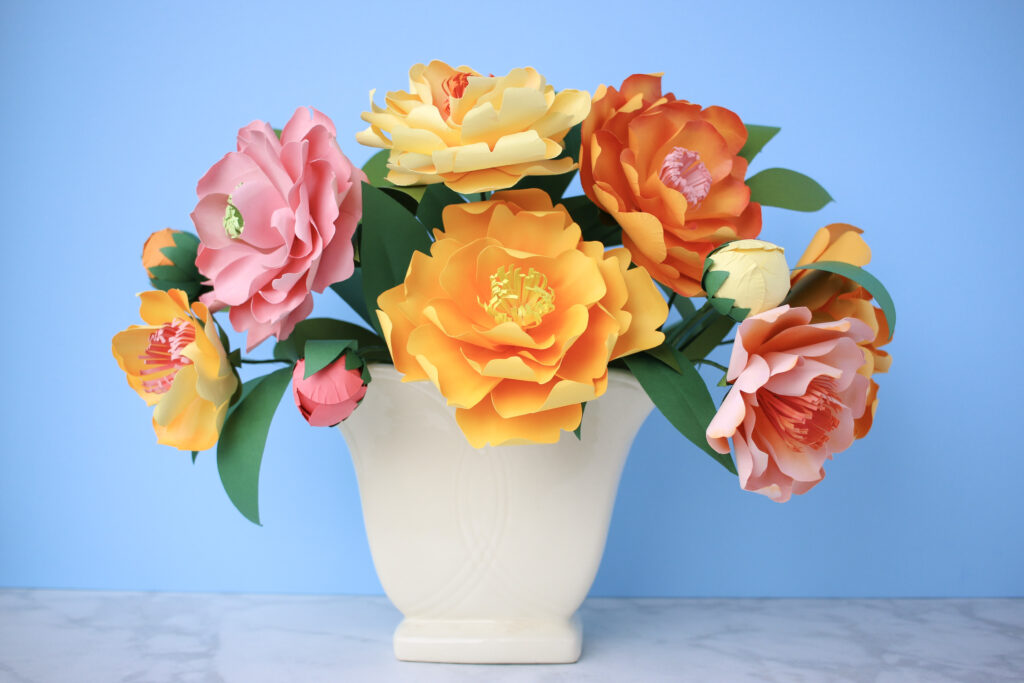
This paper peony is made from cardstock, a material we all have laying around! With simple techniques, you can turn a few plain pieces of paper into a beautiful blossom that’s sure to brighten your day.
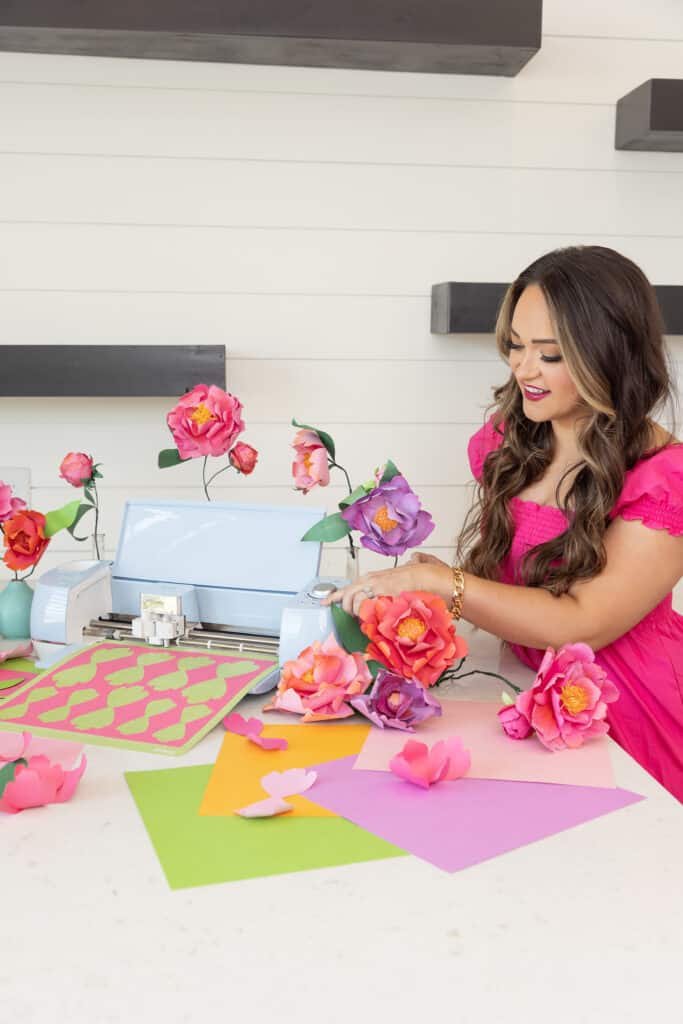

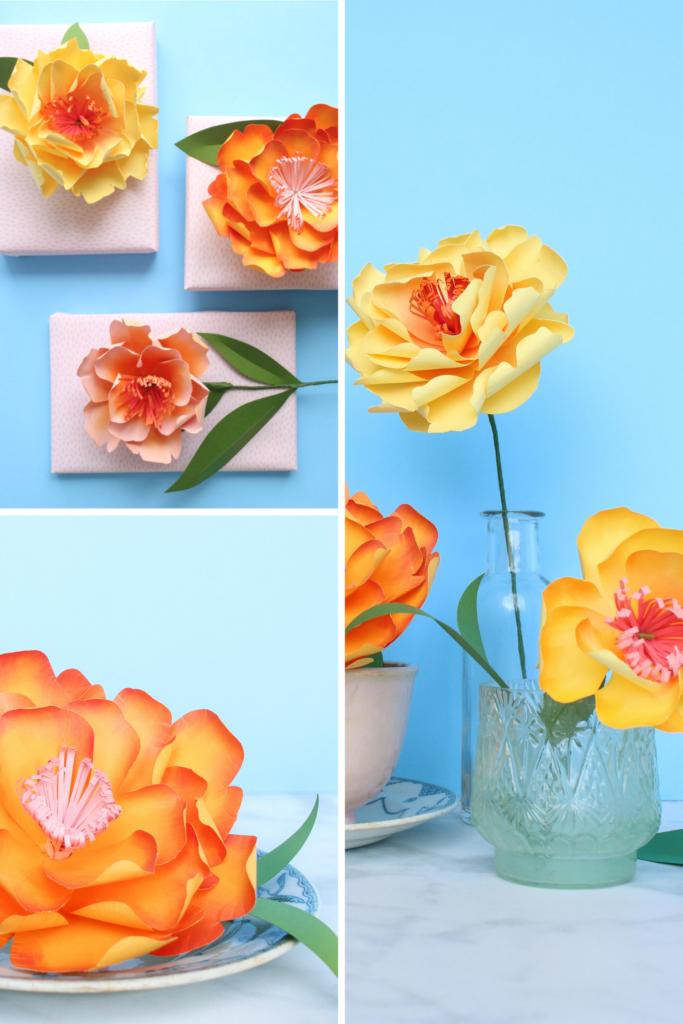
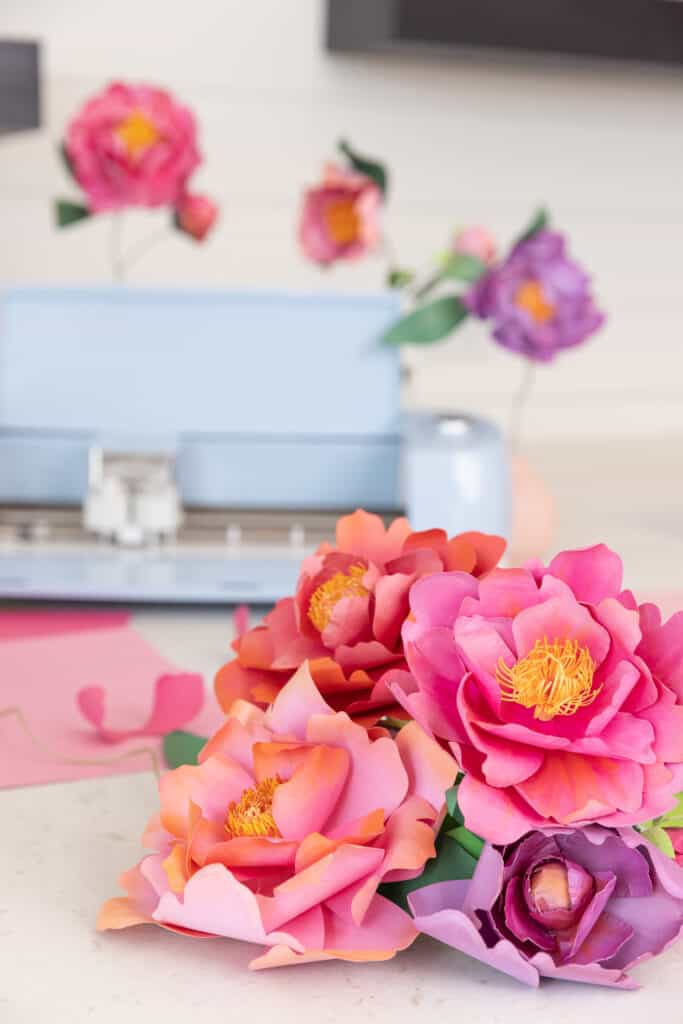
The size of this flower is life-size and would be perfect for a bouquet, a table display of bud vases, or even sweet gift toppers.
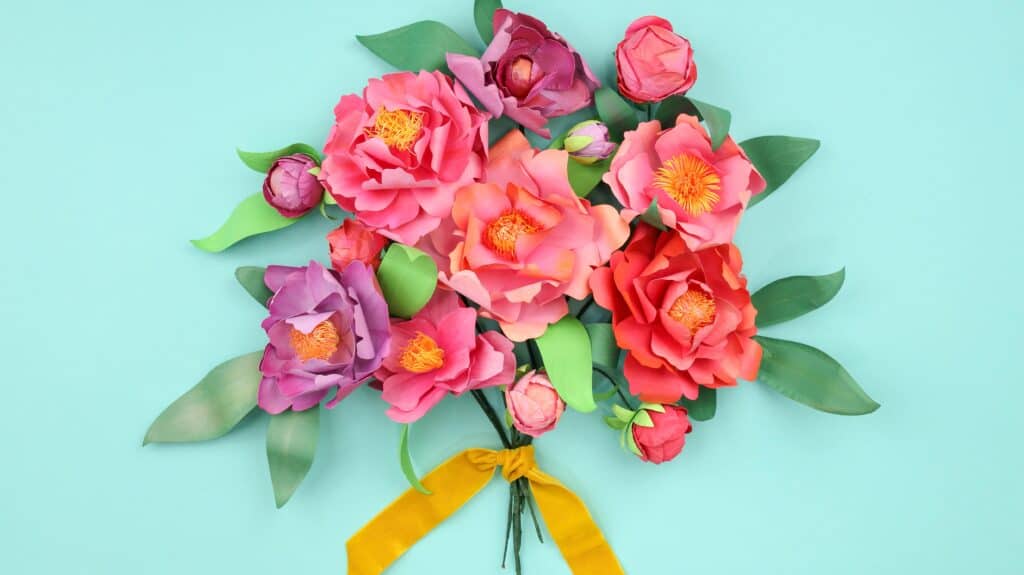
You could also increase the size of this template and use it to create a paper flower backdrop by making these flowers larger.
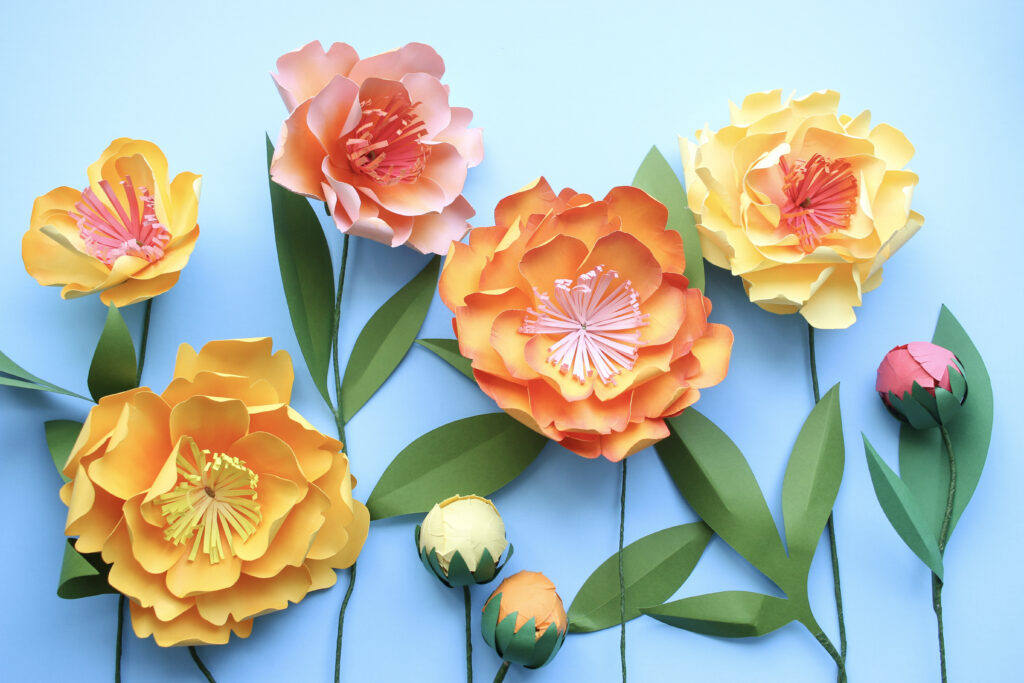
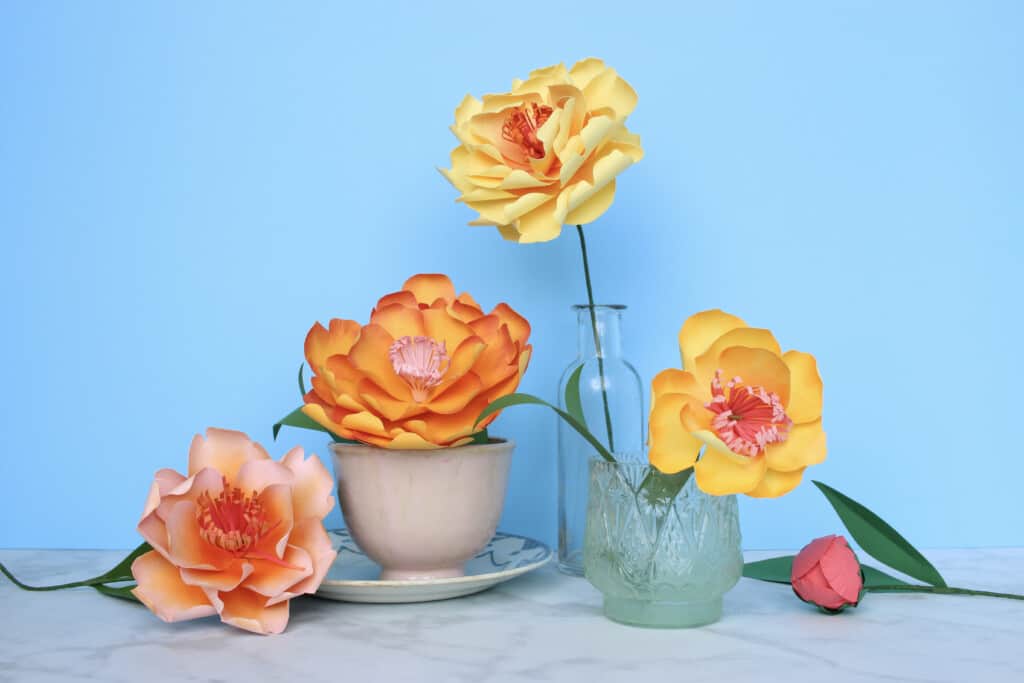
Table of Contents
What Type of Paper Should I Use to Make Paper Flowers?
When making paper flowers, it's very important to use the correct type of paper to achieve the best results. This will give you flowers that look realistic and lifelike.
I strongly recommend you find paper between 60-80 lbs, as it will curl and manipulate the easiest. My personal preference is 65 lb cardstock because it's on the lighter side and it's easier to manipulate. Heavier cardstock can be harder to work with.
What’s the Best Place to Shop for Cardstock for Paper Flowers?
I recommend shopping for cardstock at JOANN. You can shop in person from the open paper shelves or online. Park Lane has quite a few variety packs of paper that work really well for this project and they offer 65lb cardstock.
When you are shopping for paper look for cardstock that is solid core! This is really important! White core paper is a cheaper type of cardstock that has color printed on each side. When you cut into it, it is white on the inside. It tends to look cheap when it's used with paper flowers.
Instead, you'll want to make sure you select a paper that says, "Solid Core". This means the color hasn't been printed on the outside of the paper. Solid core paper has been dyed and has the same color on the inside and outside.
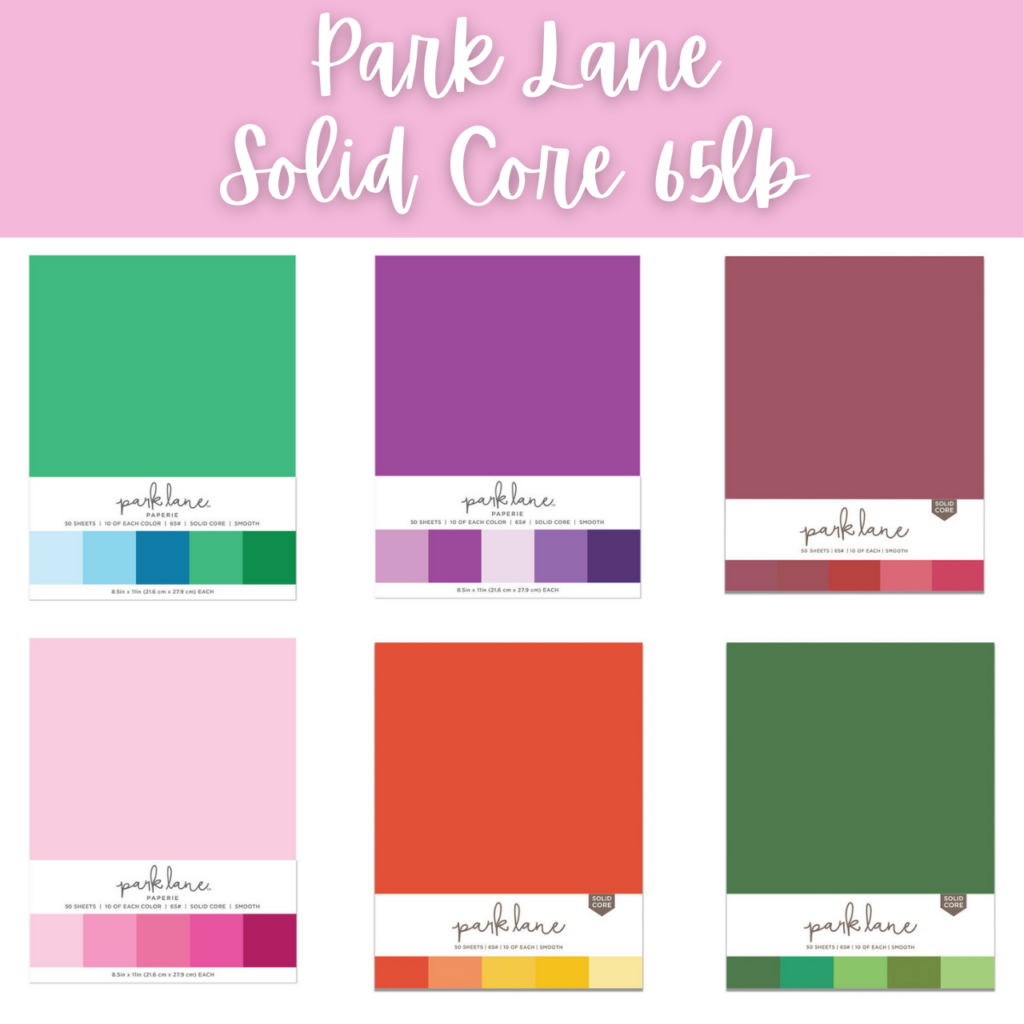
*PRO TIP - I always stock up on cardstock during a sale, learn my JOANN coupon secrets here!
How Much Paper Do I Need to Make Paper Flowers?
One 6.5" flower requires two to three, 8.5" x 11" pieces of paper, or one or two, 12" x 12” pieces of paper, plus a contrast color piece for the stamen and a piece of paper for the greenery.
If you're planning on making an entire bouquet of flowers, I recommend purchasing a paper pack with a variety of coordinating colors.
To create an oversized paper flower I recommend having four to six pieces of 8.5" x 11" pieces of paper, or three to four, 12" x 12” pieces of paper, plus a contrast color piece for the stamen and a piece of paper for the greenery.
When in doubt, cut extra petals! Accidents happen, especially when you're working with something as light as paper. I recommend cutting extra petals, stamen, and greenery whenever you make paper flowers just in case something goes wrong! You'll also find it's nice to have extra pieces while you're creating your flowers in case you need to fill in an empty spot or add extra volume.
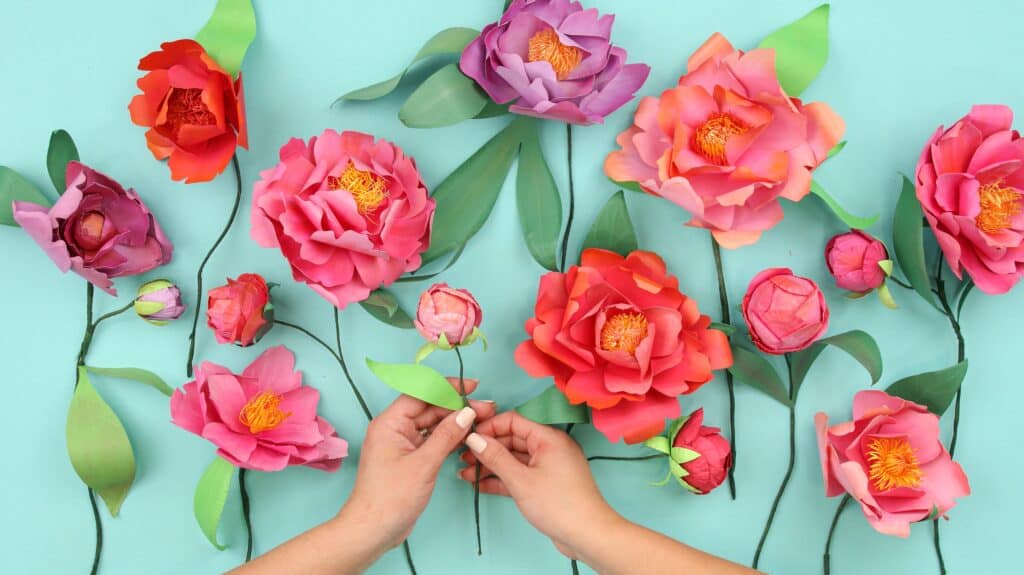
Should I Cut by Hand or With a Cutting Machine?
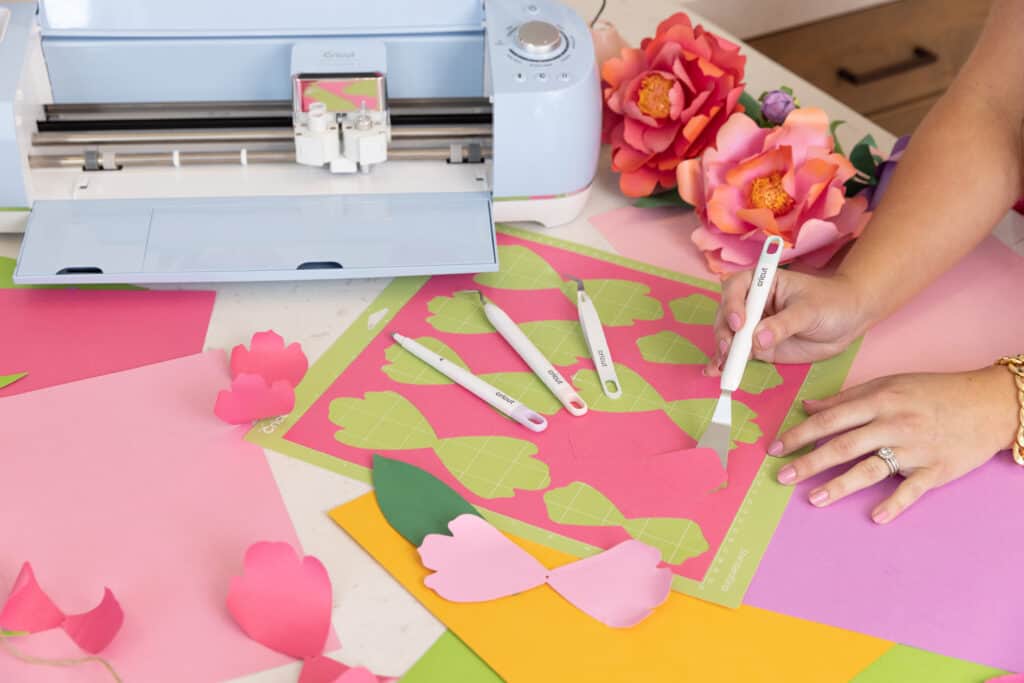
This is really a personal preference! When it comes to making smaller flowers, I find it's much faster to cut with a machine, especially if you can fit multiple petals on one page. The pros of cutting by machine are the accuracy, and ability to cut small details. The downside is having to load and reload each mat with a new piece of paper.
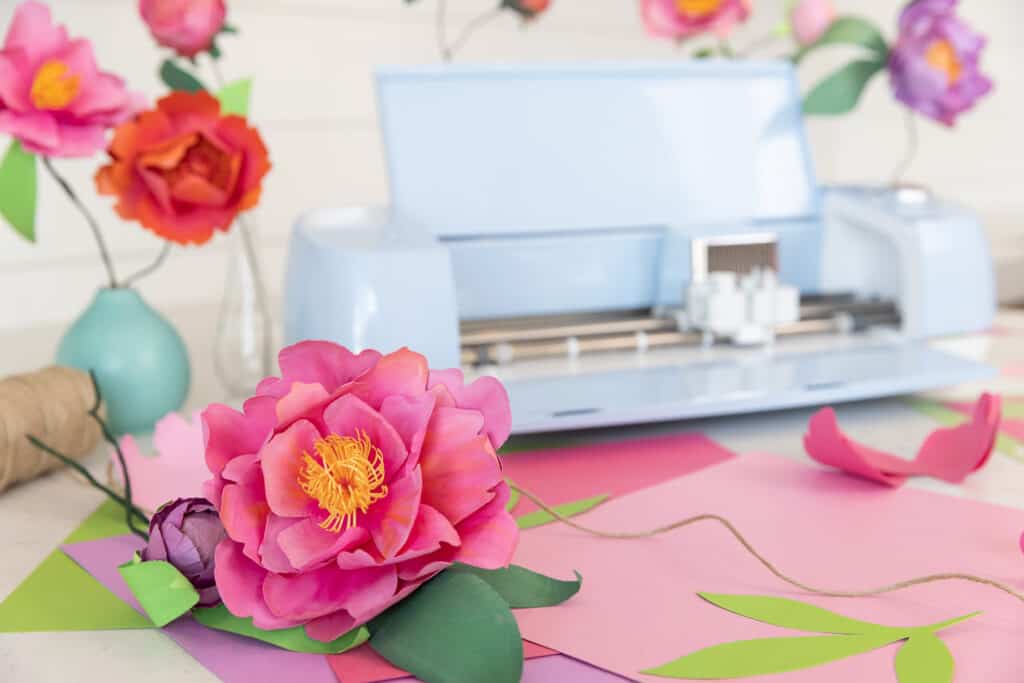
If I'm making larger flowers where each petal takes up the majority of the piece of paper, It's easier to stack 3-4 sheets together and cut out the large petals by hand.
Typically, I'll cut out my large petals for oversized flowers while I'm watching a movie or catching up on Netflix because it can be somewhat time-consuming.
What Is the Size of This Flower?
If you use the template as provided without making any changes to it, this tutorial will give you one flower that measures 6.5" wide and one peony bud that measures 1.5" x 1.5".
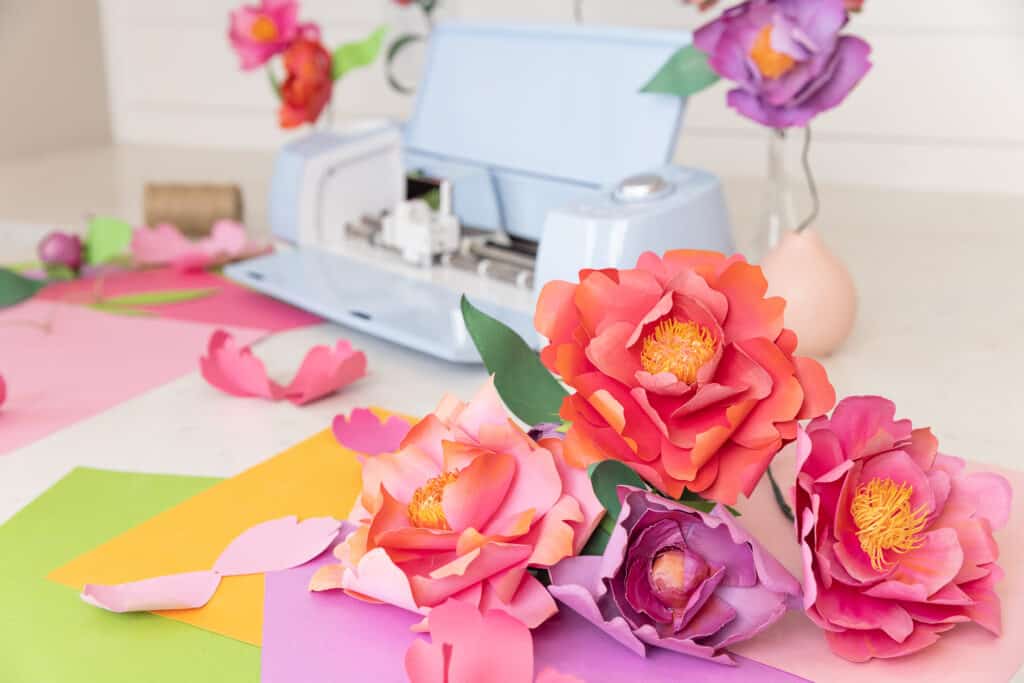
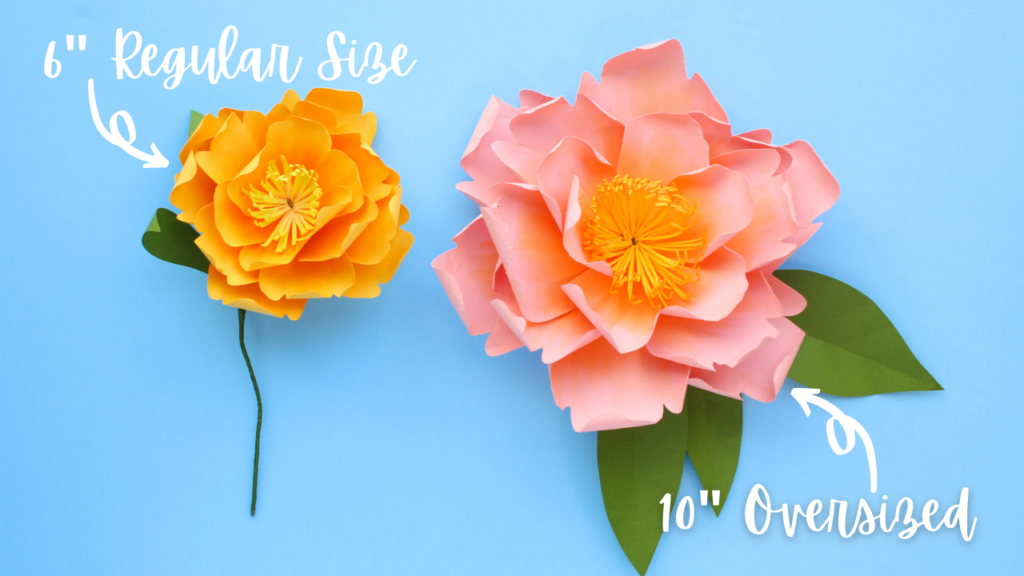
The template size can be increased to create a larger flower if desired. The photo below shows the normal size on the left hand versus a larger size on the right.
To make an oversized peony like the one below select all of the templates in Design Space and increase the size. I increased the size until the largest petals were just under 11". You'll also want to purchase larger styrofoam balls if you plan on creating oversized buds.
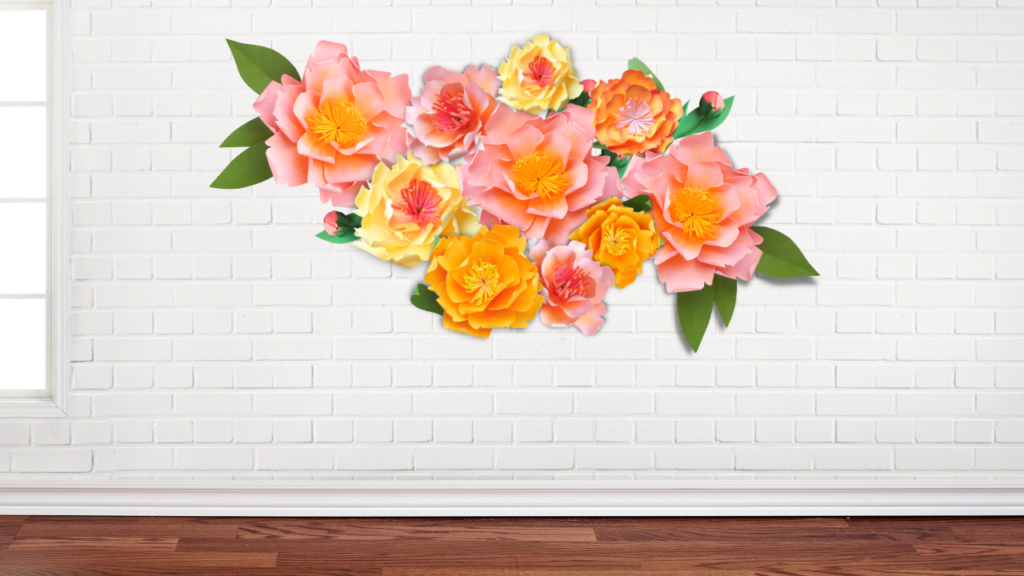
Here's a mockup of what a wall filled with oversized paper peonies would look like. Just imagine how beautiful this would look for a bridal shower, baby shower, or nursery. Paper flower backdrops are so stunning!
Get My FREE Oversized Wild Rose Template & Tutorial Here!
What Are Pan Pastels and Do I Need Them for This Project?
Pan pastels really bring this project to life. They give the flowers a realistic look by providing more depth. However, pan pastels can be pretty pricey. I've linked to my favorite pan pastel kit which will give you a variety of different colors.
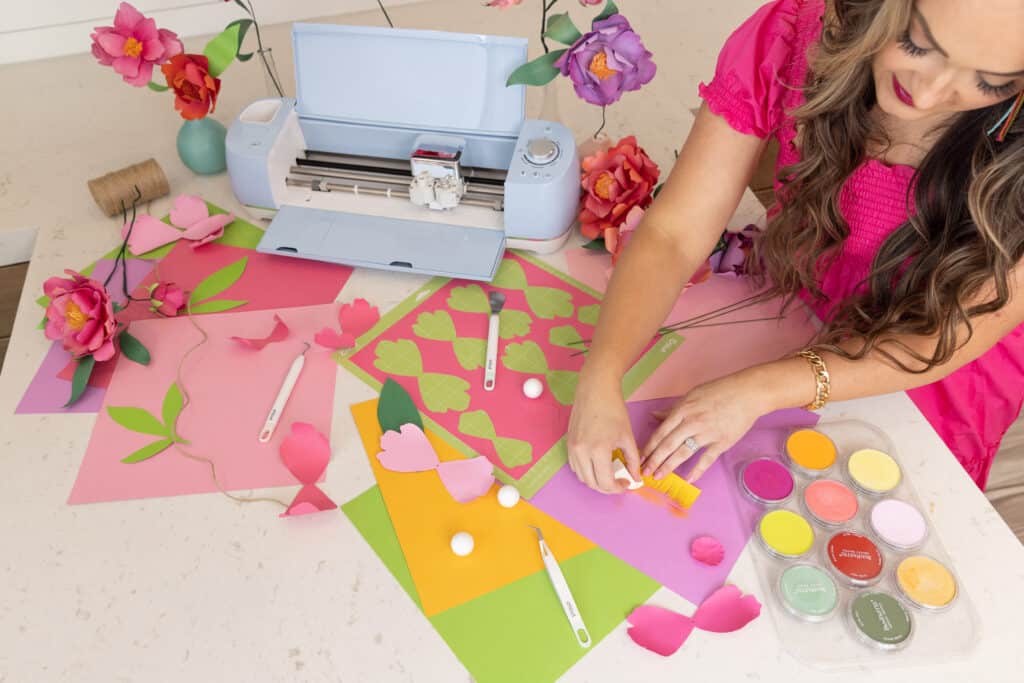
For a more budget-friendly option, you can order a single pan pastel. Make sure to choose a color that's at least a few shades darker or lighter than the paper you will be working with so that it shows up and adds contrast to your flower petals.
Pan pastels can be easily blended together and each little pot is loaded with color. When I say a little goes a long way, I really mean it! They are highly pigmented. They also put off very low dust and they are erasable in case of mistakes.
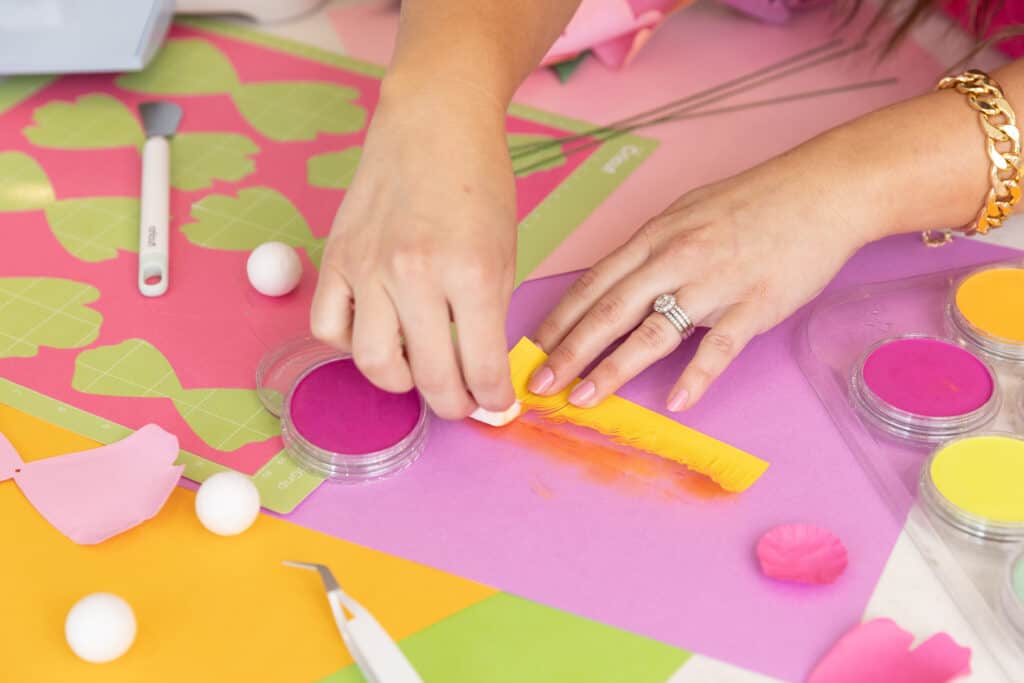
This kit comes with several micropore sponges which makes applying the pan pastel quite simple. The sponge is reusable, easy to clean and it’s smooth so it won’t damage your paper. The benefit of using a sponge is that it will prevent you from having any brush strokes left behind on your project, giving you an even application of color.
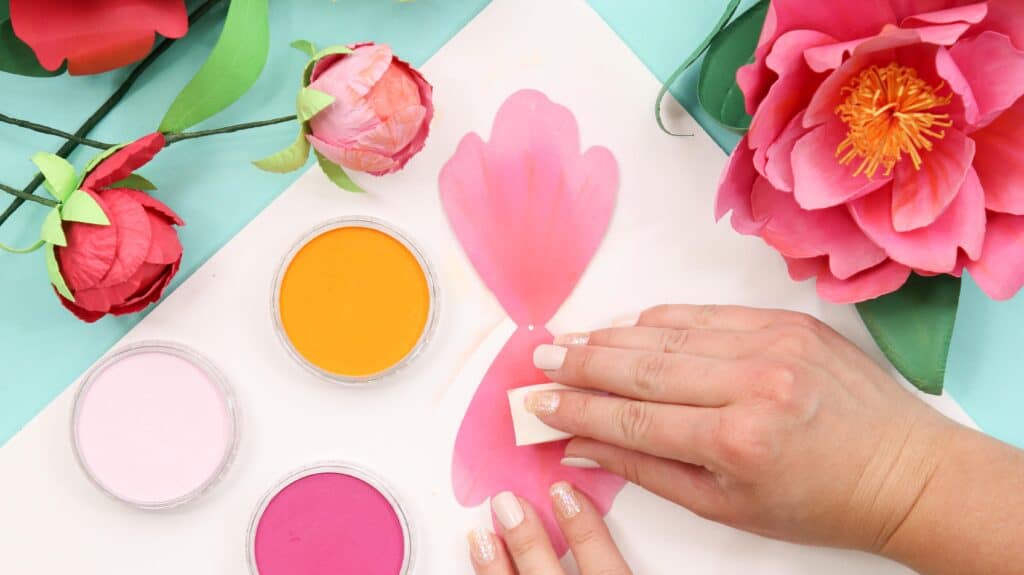
If you're planning on making tons of paper flowers, I'd really recommend investing in this kit. If you're not totally sold on it, try purchasing an individual pan pastel here.
Paper Peony Supplies
- 65 lb Smooth Solid Core Cardstock – I recommend 60-80 lbs, as it will curl and manipulate the easiest. (Check the paper recommendation section above for more details)
- One regular-sized flower requires 2 to 3, 8.5x11” pieces of paper or 1 to 2, 12x12” pieces of paper, plus a contrast color piece for the stamen and a piece of paper for the greenery.
- 1.5-inch Styrofoam Balls or paper scraps to create the peony buds
- Floral Wire Stems (I recommend 18-20 gauge)
- Floral Tape
- Hot Glue Gun
- Needle Nose Wire Cutters
- Scraper Tool
- Chopstick, Wooden Dowel, or Pencil for curling petals
- Flower Shaping Mat
- Pan Pastel Kit, or Individual Pan Pastels (read above paragraph for more detail)
- Scissors
- Cricut Machine (optional)
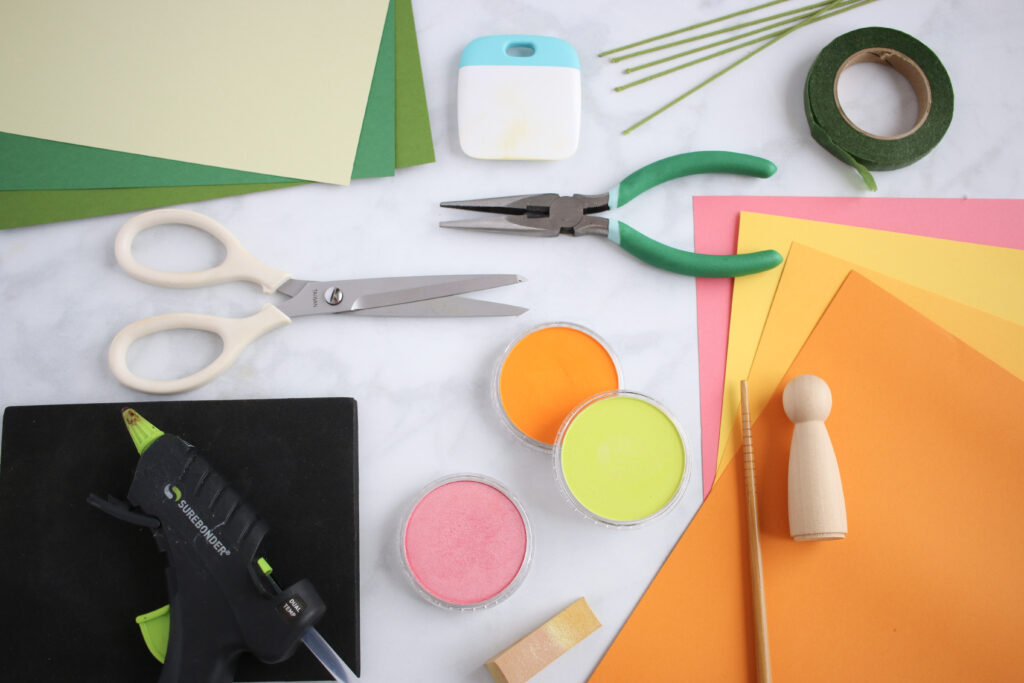
Download the SVG Peony File Here
Want to learn how to make even MORE paper flowers?
Get The Ultimate Guide to Paper Flowers E-Book and get access to ALL of my printable paper flower tutorials and flower SVG files in my Ultimate Guide to Paper Flowers Ebook by clicking here!
If you have a Cricut Machine, downloading the SVG files and uploading them into Design Space is definitely the way to go! You can quickly and easily resize, duplicate, and cut out all your flower pieces seamlessly. It is by far the fastest option!
To do this, begin by downloading the SVG file to your computer.
Open Cricut Design Space and select the "Upload" option in the bottom lefthand corner.
Select "Upload Image" and browse to find your recently downloaded Peony File.
Now you can add the Peony File to your canvas.
Once on your canvas you can Ungroup the flower pieces, resize them if desired, and duplicate them to cut the precise number of pieces you want.
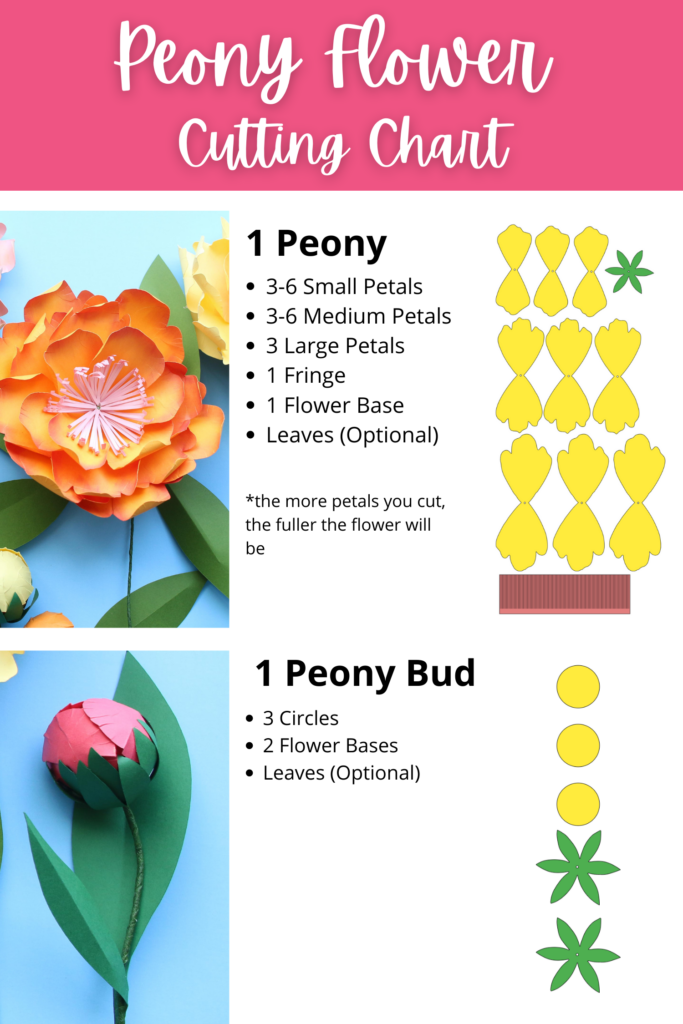
I duplicated my flower pieces so I had three of each size. See the recommended cutting chart listed below.
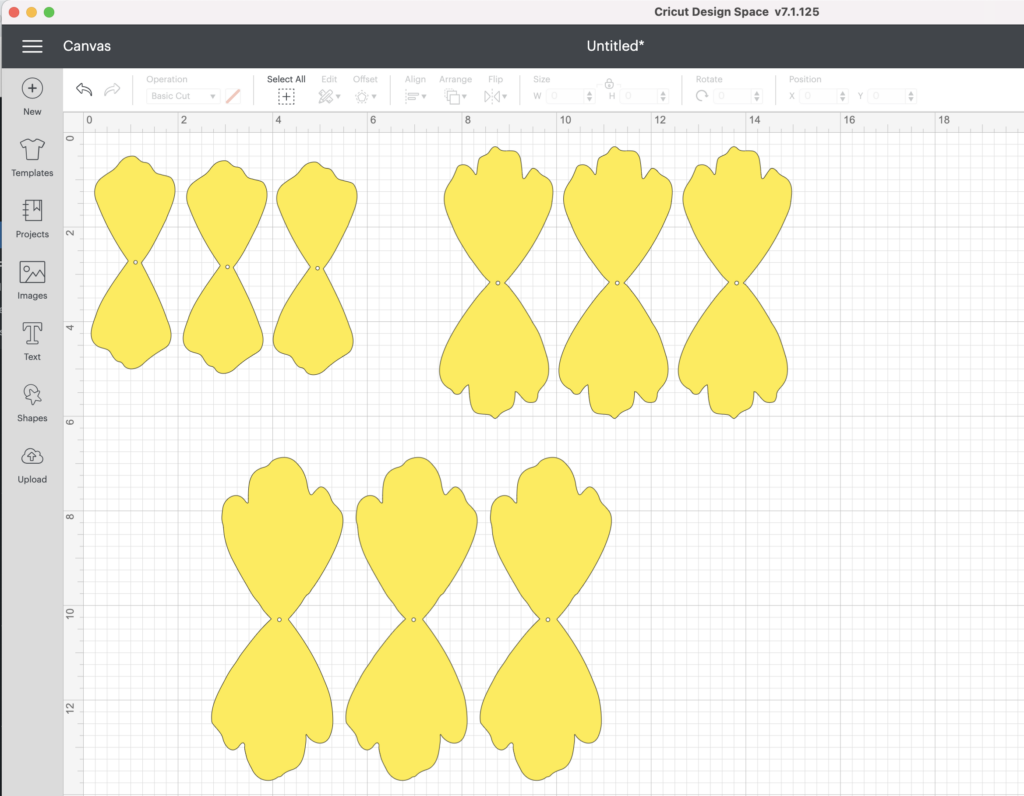
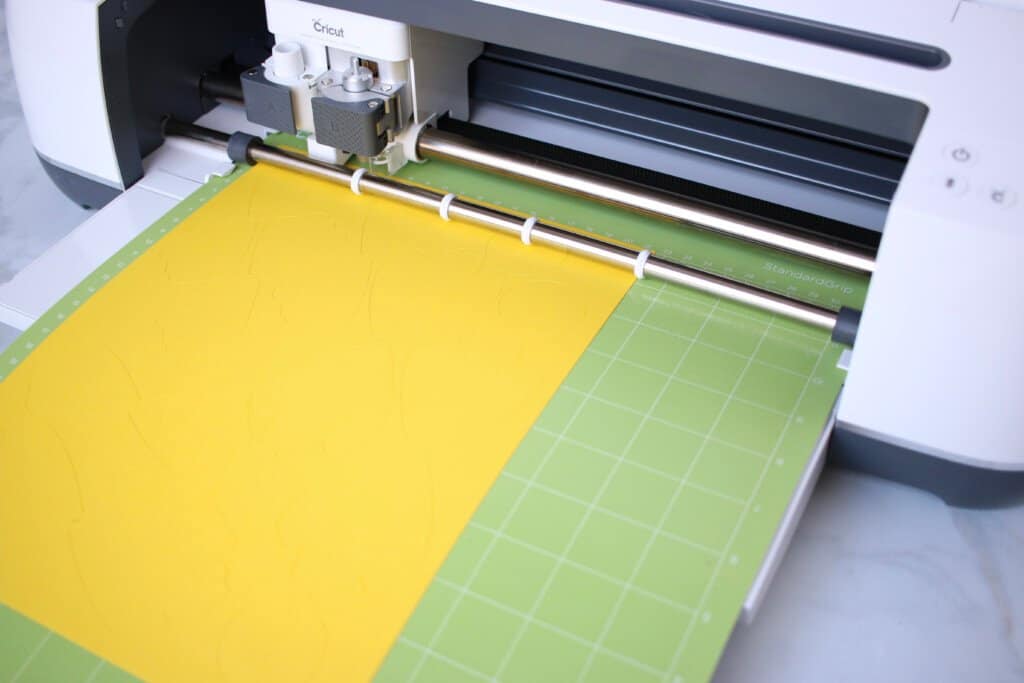
Place your cardstock on your mat and cut out all of your pieces.
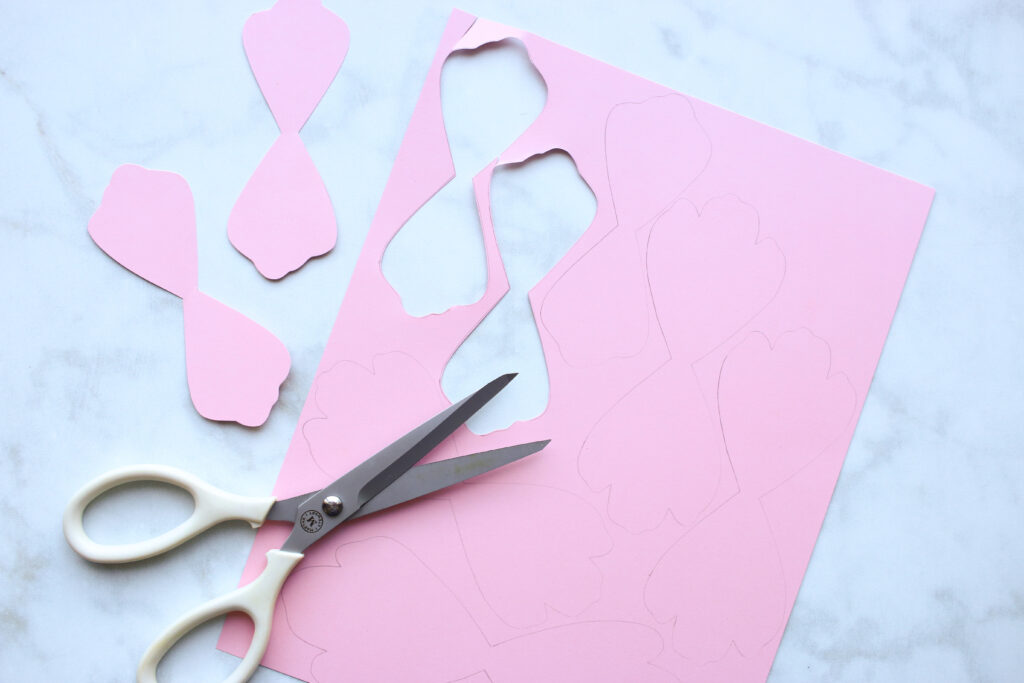
If you don't have a Cricut machine, it's not a problem! Download the PDF file to your computer and print out the templates. I recommend printing the template out of cardstock so it's nice and sturdy.
Cut out the individual templates to use as your patterns for tracing subsequent flower pieces.
This process is naturally slower than using a cutting machine. However, you can cut and construct as you go, which allows you to only cut the flower petals you need!
Let's make some Peonies!
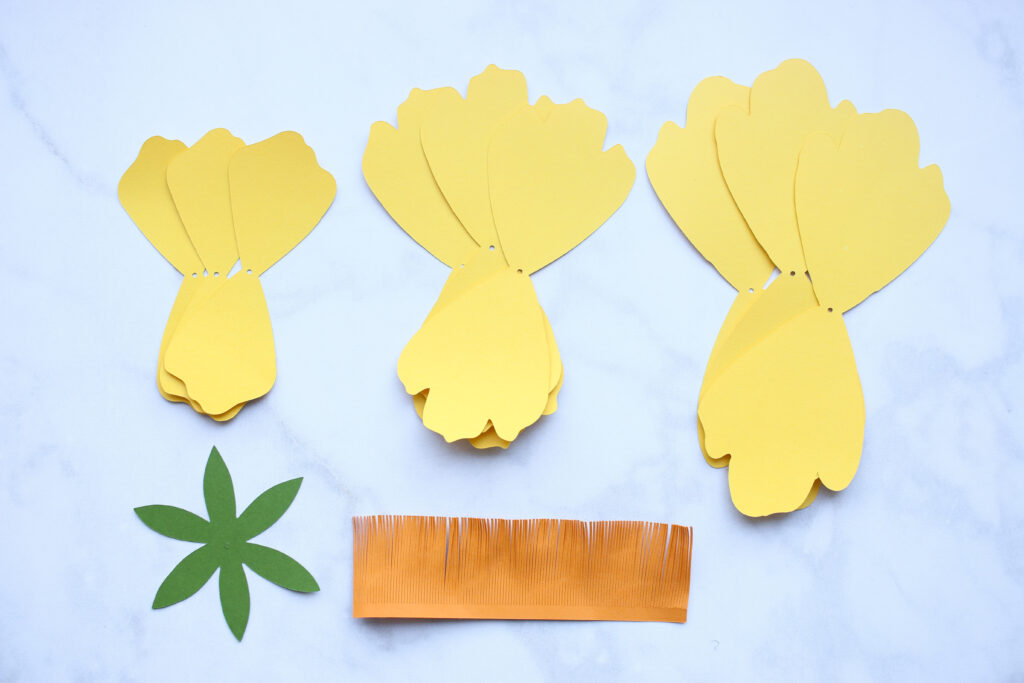
Step One: Cut Out the Flower Pieces
For 1 Peony you need:
3-6 small petals
3-6 medium petals
3 optional large petals.
1 fringed stamen piece
1 flower base
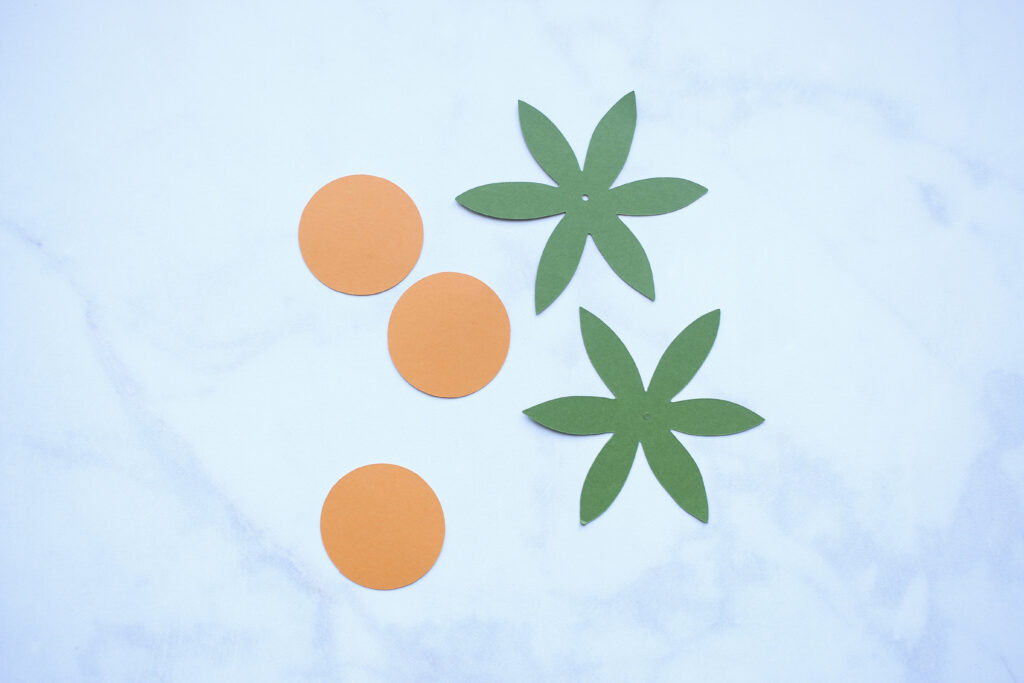
For One Peony Bud You Need:
3 circles
2 flower bases
Step Two: Add Depth with Pan Pastels
Use a sponge applicator to apply and layer pan pastels at the center or the edges of your petals and also along one long edge of your stamen piece.
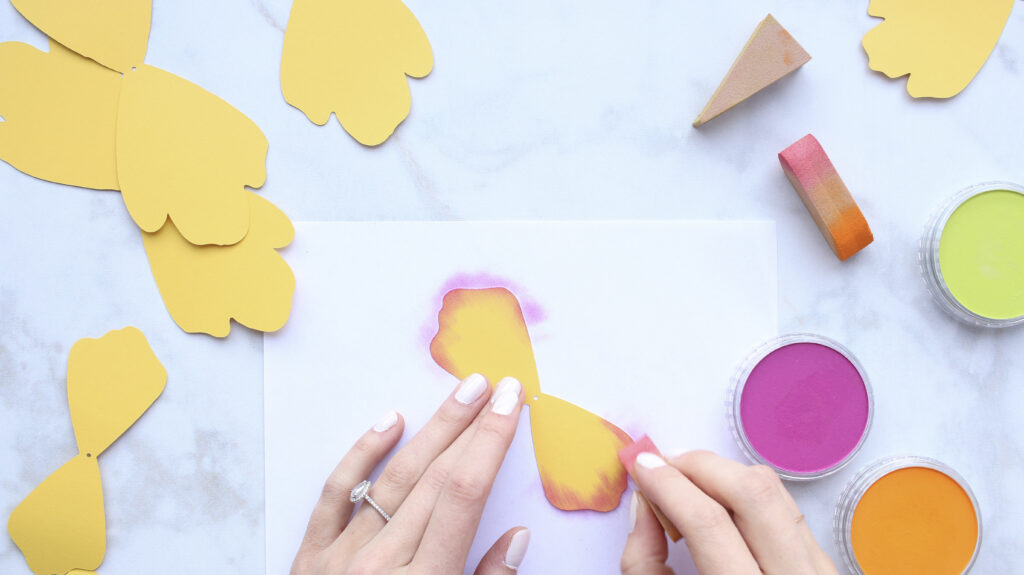
This is optional but is a fun way to add dimension to the flowers. You can add color to the edges or to the centers. There are so many different techniques and no right or wrong way! Just place a piece of scratch paper underneath to avoid getting pastels everywhere.
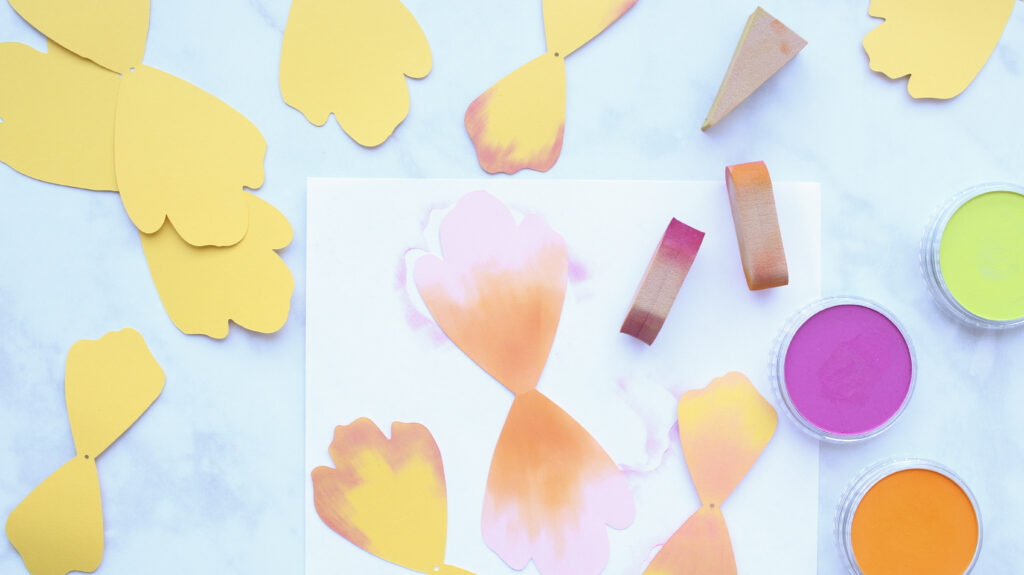
You can also use watercolors or acrylics to add colors.
Step Three: Shape the Petals
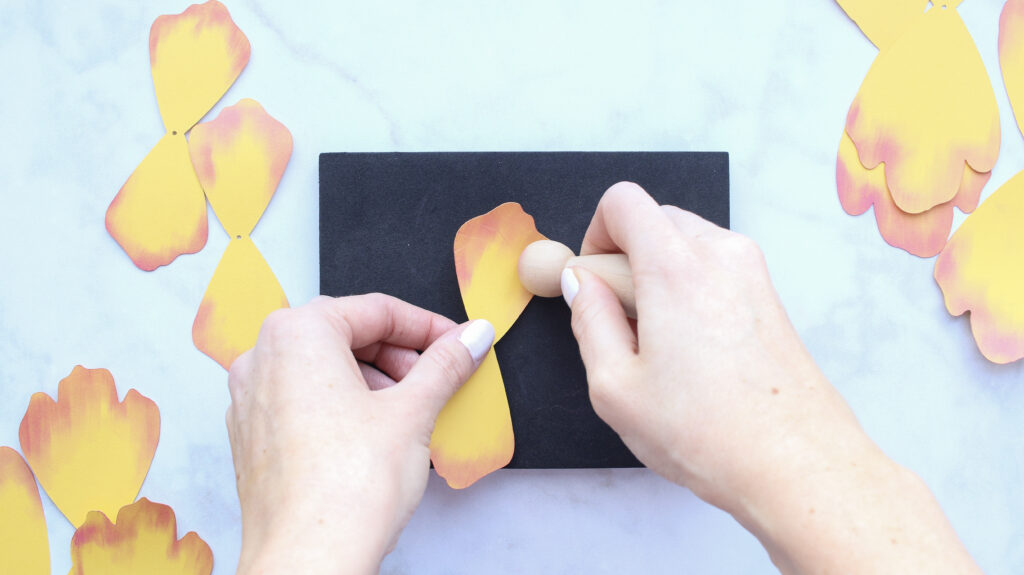
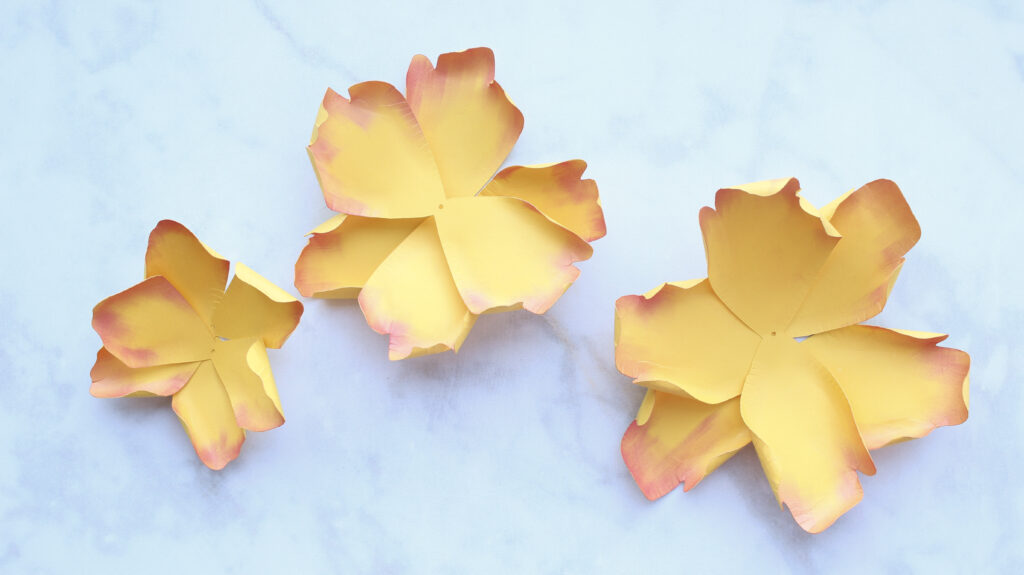
To begin, I like using a foam mat and wooden doll form or paper flower shaping tools to gently rub and round the edges of the petal
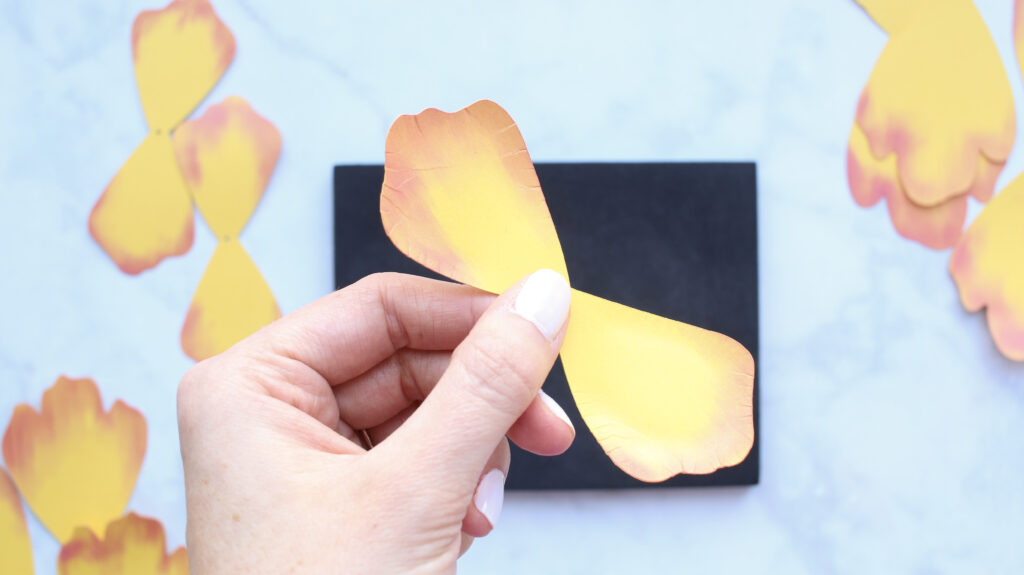
Then to add additional dimension, you want to use any long slender tool. A chopstick, a thin wooden dowel, or even a pen or pencil will work.
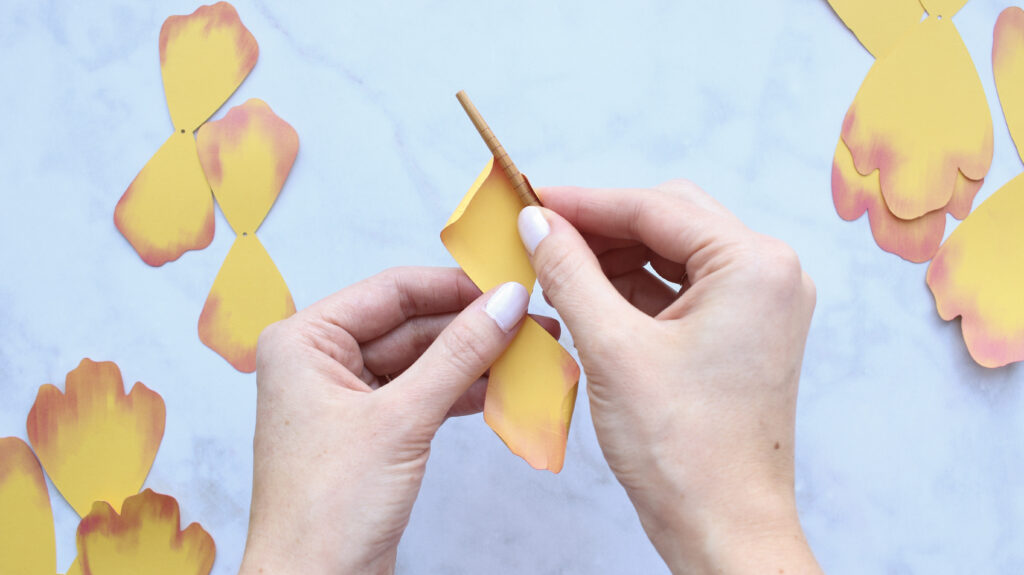
Gently wrap the edges of the petal around your tool of choice to curl the petal inwards. There is no science to this, you just want to give some organic shape.
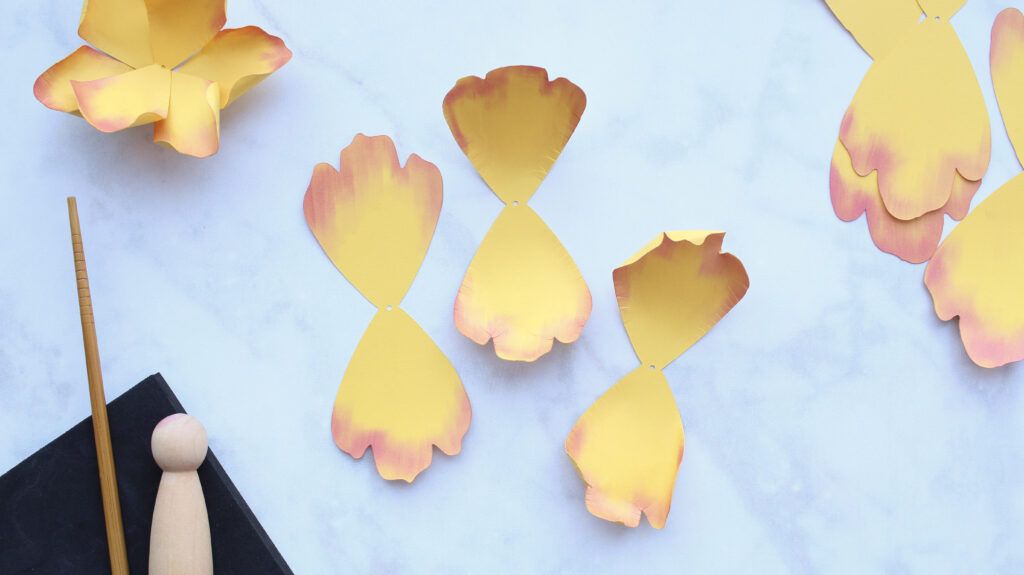
Here you can see the transformation of the flat petal to one with rounded edges from the mat and peg doll, and the third has curled petals using the chopstick.
Repeat this process for all of your petals.
Step Four: Assemble the Peony
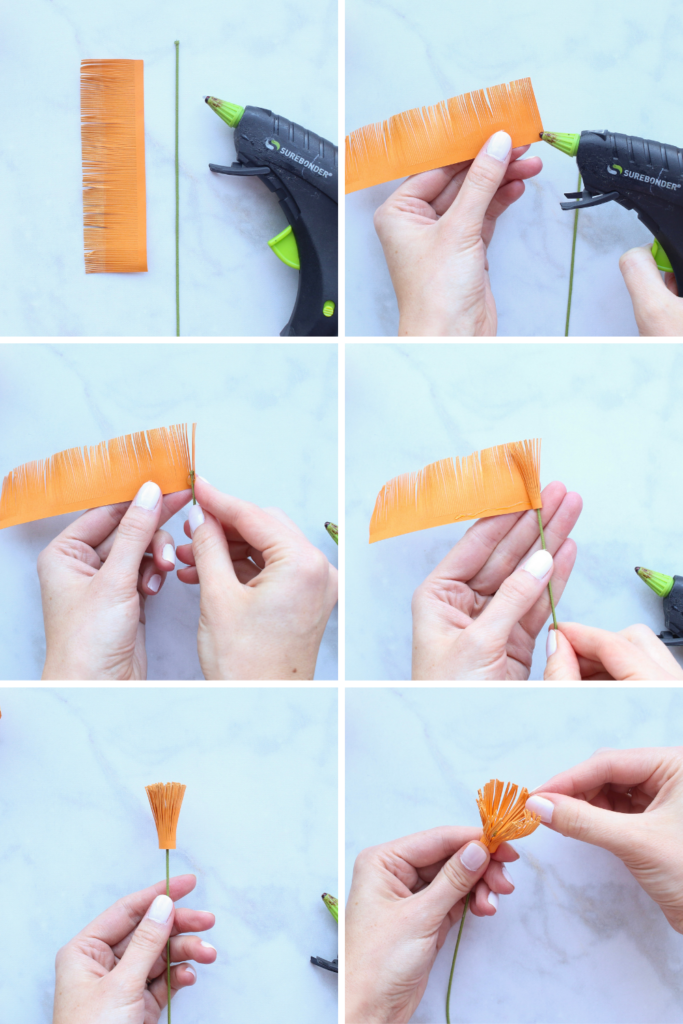
For the stamen, add a dab of hot glue to the top of a wire stem. Attach one end of the fringed piece to the glue and tightly wrap around the tip of the wire, adding more glue as you go.
Flare out the fringe pieces and curl the tips in slightly at the top.
Add 3-6 small petals, one at a time by sliding the wire through the hole in the center and secure with hot glue.
Add 3-6 medium petals, one at a time, and secure with glue.
Add 3 large petals, one at a time, and secure with glue. If you want a smaller flower, feel free to omit the 3 large petals.
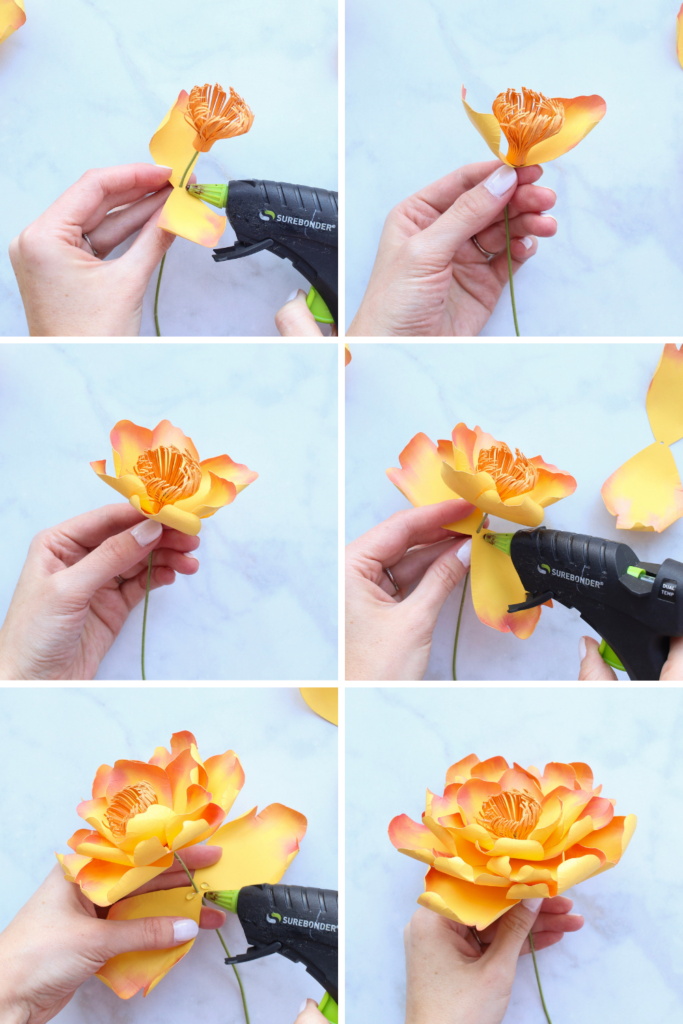
Add flower base and secure with glue.
Wrap stem with floral tape.
Step Five: Create a Bud
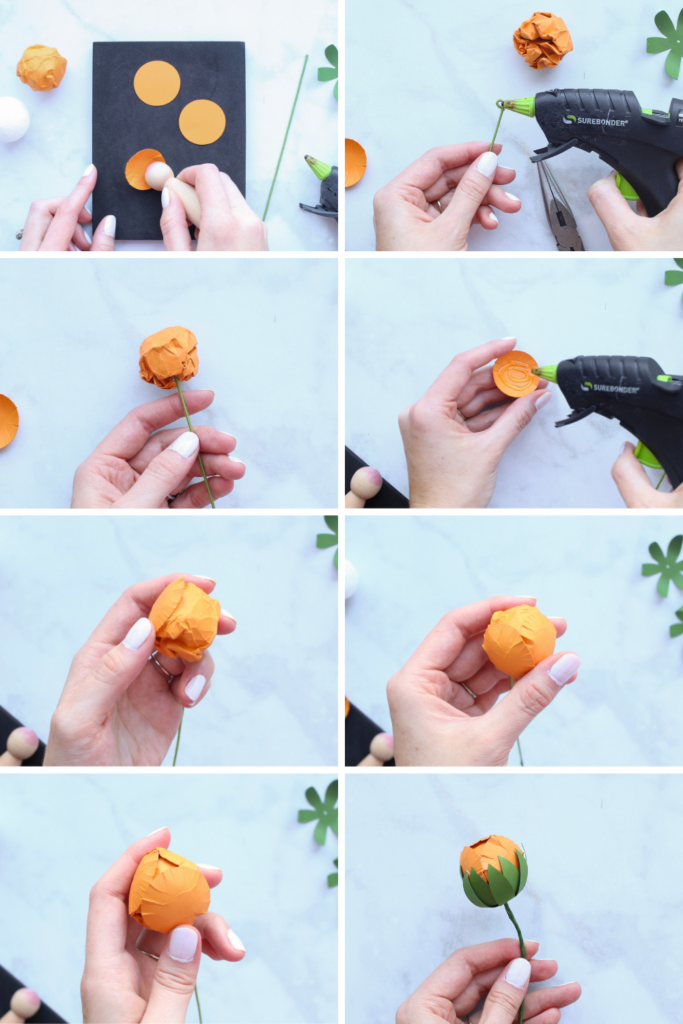
To make a peony bud, use scraps of paper to roll together a 1-inch wide ball. You can also use styrofoam balls for a quicker route!
Glue your bud form onto a floral wire stem with hot glue.
Take the 3 paper circles and using your flower shaping mat and tools round out the circles.
Glue each of the 3 circles around your peony bud, overlapping the edges slightly.
Slide on two flower base pieces and shape around the bud, securing with glue.
Wrap the stem with floral tape.
Step Six: Create the Leaves
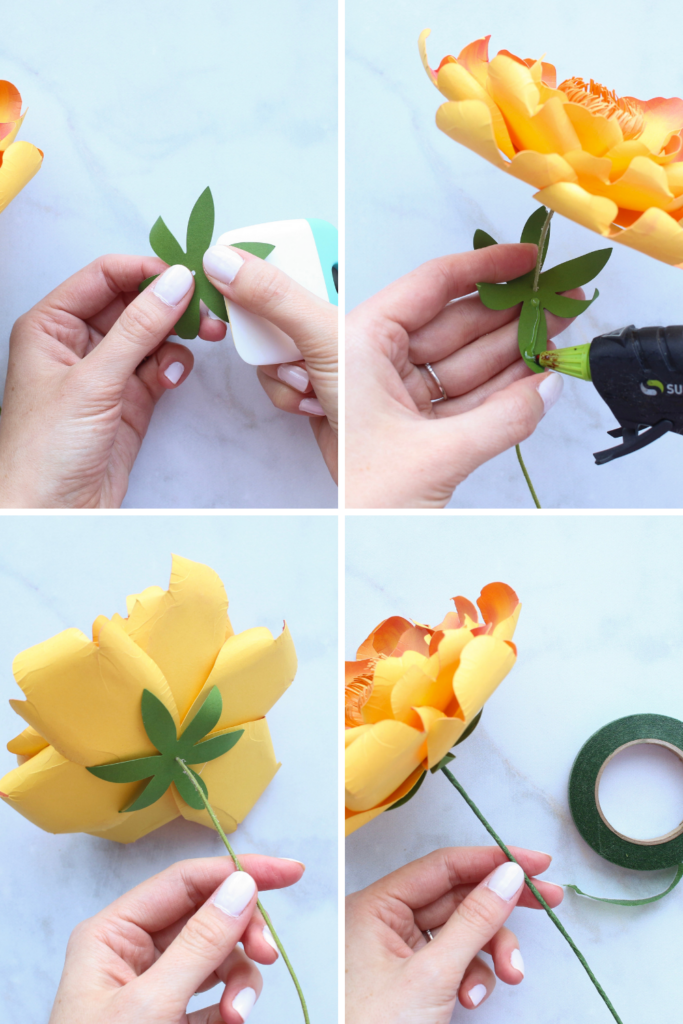
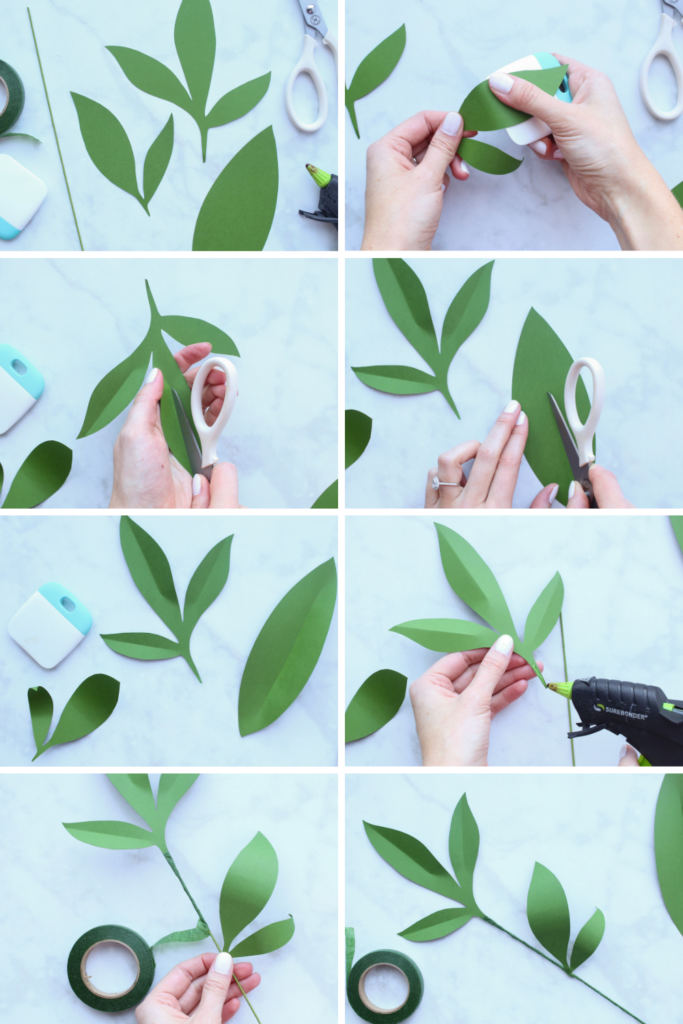
Shape leaves with a scraper tool or scissors. Use these to gently curl the edges or you can add veins or score lines to the center of your leaves. There are a few options to do this: Scraper tool, using the scissors in the palm of your hand to give some shape or using the scissors to score a line down the center or the sides to create veins. Your choice!
Wrap the wire stem of your finished peony with floral tape, adding one or two leaves as you go and securing with a dab of glue.
Ta-Da!
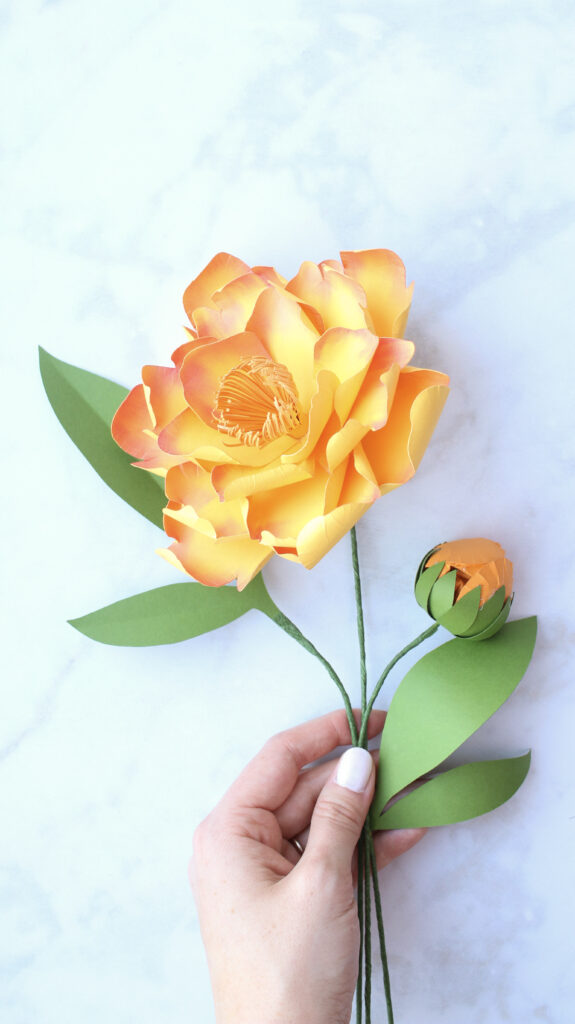
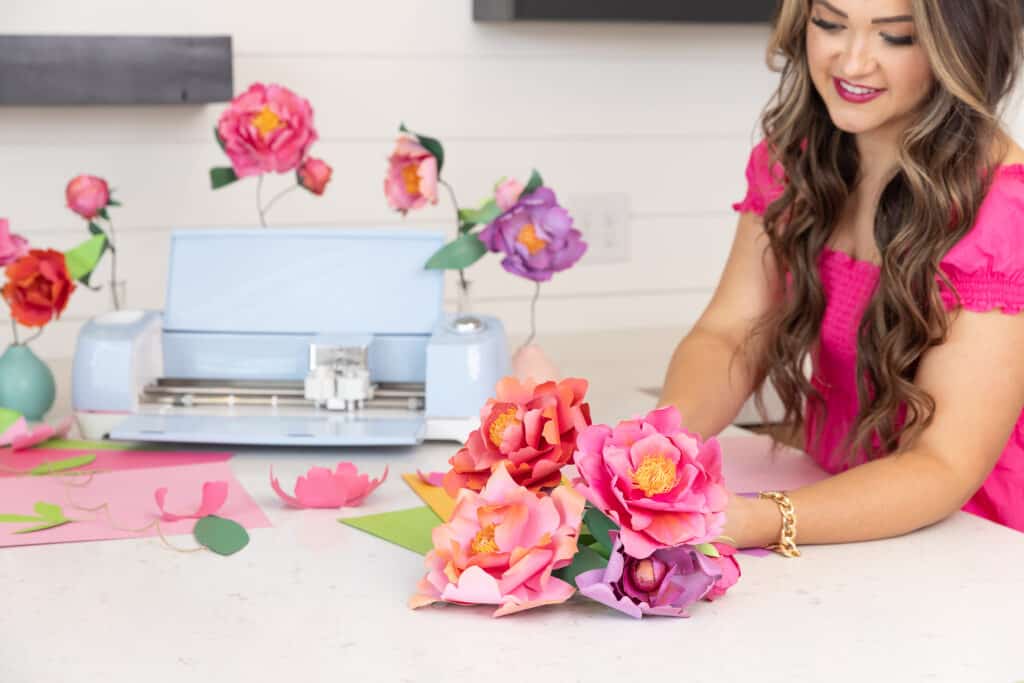
Now you have a beautiful paper peony! Repeat this process for the desired number of flowers you’d like.
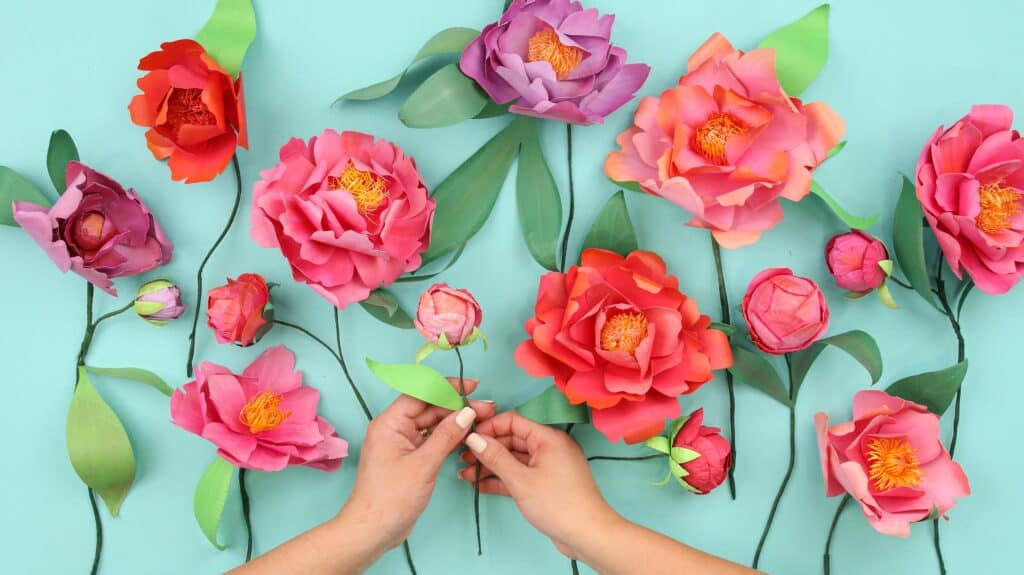
Arrange a bunch in a vase for a pretty centerpiece, or make just a few a place them in small bud vases for a more delicate look. Additionally, you can skip the stems altogether and use the flowers as gift toppers.
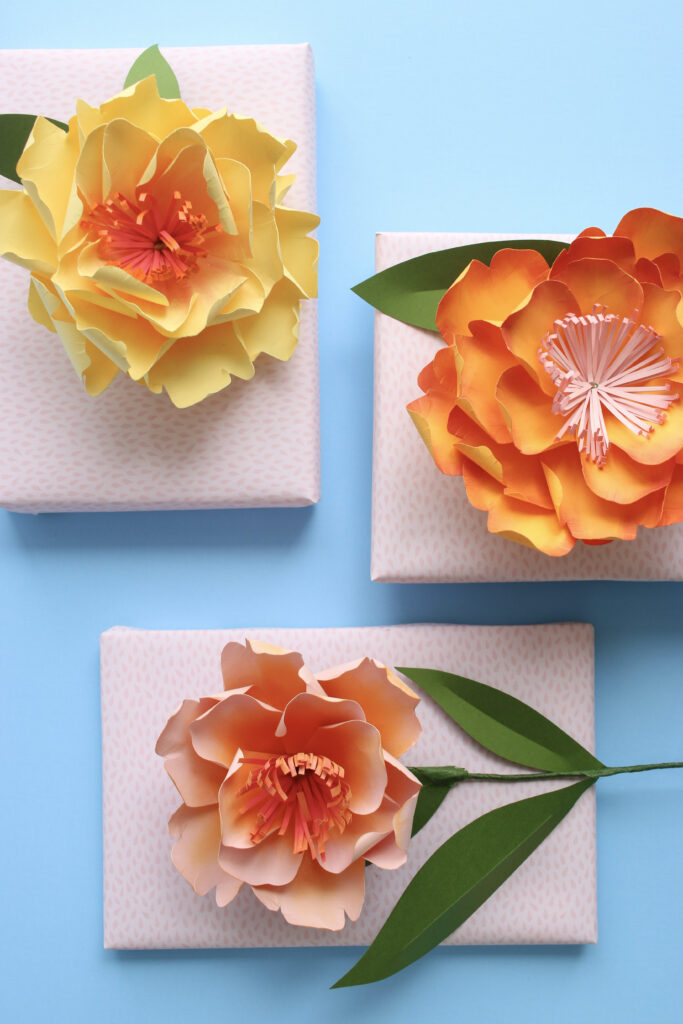
Feel free to resize the templates to create smaller blossoms or oversized peonies! Let me know how you'll be using your paper peonies in the comments below!
Don’t want to forget about this free flower template? Save this project for later! Click here to save this project on Pinterest.
Looking for more paper flower projects? Click here!
Join my crafting and sewing Facebook group where you can show us what you’re making, ask questions, and learn from others!

wow.. These are awesome. I cant wait to make them... ive the pattern downloaded . Thank you so much
Can these peonies be made with crepe paper? Thank you.
Hi am i able to downsize this pattern? i want to put on atems for a vase tia and ty for template
Hello, I have problems, I can't open the . Thank you !