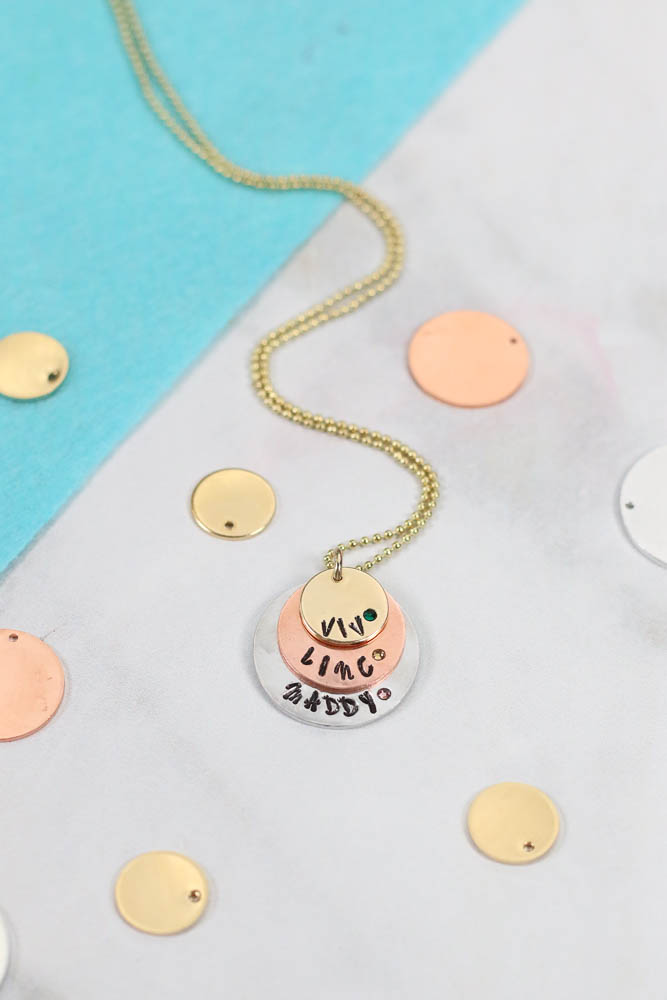
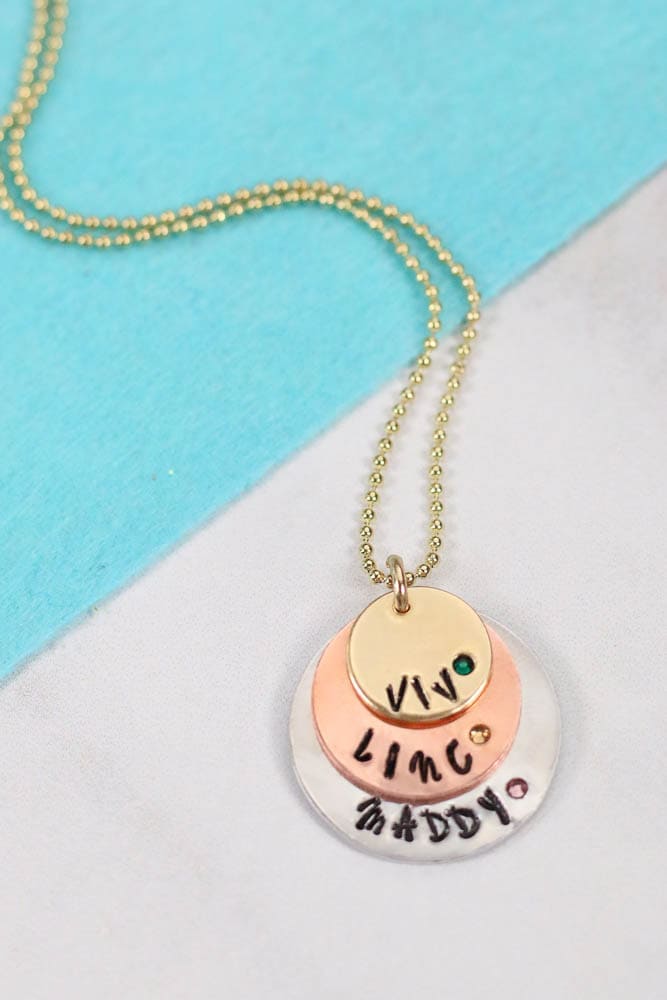
Learn How to Create a Beautiful, Hand-Stamped, Layered Necklace with Birthstones with this ImpressArt metal stamping tutorial!
It's time for another metal stamping tutorial with ImpressArt! I'm sharing all of my favorite tips and tricks for creating a stunning tiered birthstone necklace.
With Mother’s Day approaching quickly, you can easily create a one-of-a-kind hand-stamped necklace with each child's name and birthstone for a sentimental gift that’s sure to be treasured for years to come!
Are you brand new to metal stamping? Make sure to start here with my beginner post where I’ll walk you through every step of metal stamping and share my favorite tips and tricks.
Once you finish my beginner post, take a minute to read my intermediate metal stamping post to learn about more advanced techniques like Crystal Setting.
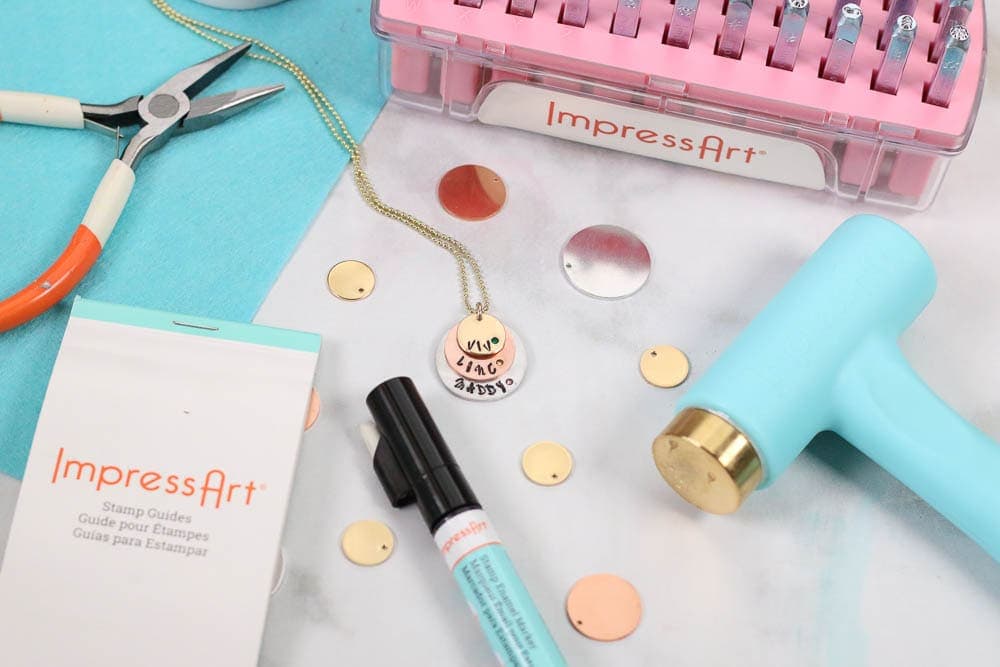
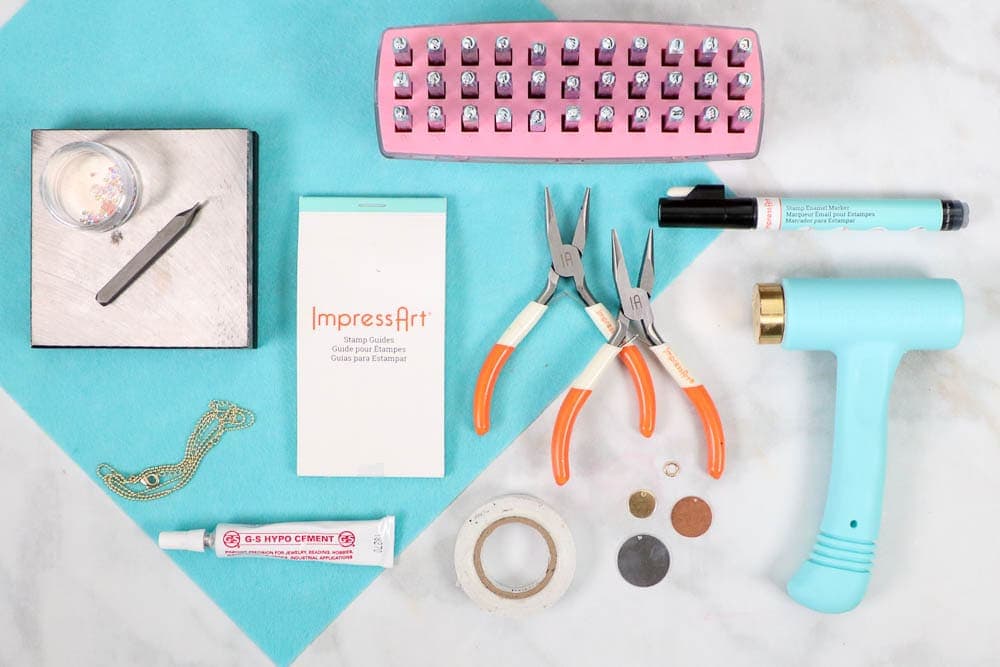
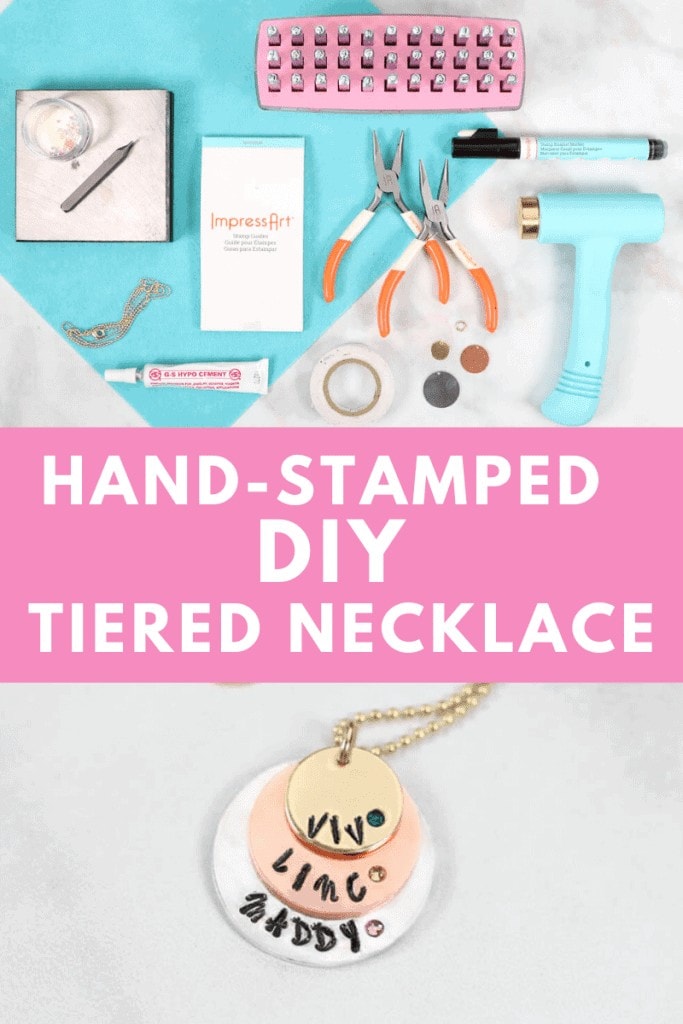
Ready to get started? I’ve listed out the supplies you’ll need for this project below!
Ready to get started? I’ve listed out the supplies you'll need for this project below!
Hand-Stamped Tiered Necklace Supplies
- Ergo-Angle™ Stamping Hammer
- Steel Block
- Stamp Tape™
- Stamp Guides™
- Stamp Enamel Marker™
- ImpressArt® Letter, Number Stamps, & Design Stamps
- (2) Chain Nose Pliers
- Circle Stamping Blanks, 1/2", 3/4", & 1"
- Jump Ring
- Pre-made Chain
- G-S Hypo Cement – Jewelry Glue
- Crystal Setter Kit
Use the Coupon Code: SPRING20SRP (Valid 3/6/2020 through 4/30/2020) to take 20% off of your purchase.
It’s important to keep in mind the differences in the hardness of each metal. For this project, brass and copper blanks will require more force than Alkeme
Below is a Metal Stamping Blank chart that’s helpful in determining the techniques that should be used with each type of metal. It also gives insight into the characteristics of each metal.

The blanks I am using in this tutorial (Copper, Brass & Alkeme) are natural metals and are expected to tarnish as they are exposed repeatedly to heat, humidity, and skin. I think this adds to the charm of hand-stamped jewelry and can tell a story of what a piece of jewelry has gone through in its life journey.
If a piece of jewelry ever becomes too tarnished for your liking, it’s easy to bring it back to it’s bright and shiny original state by polishing it with ImpresArt’s High Polish Buffing Blocks.
NOTE: ImpressArt’s Artisan collection is comprised of 18K gold, 18K rose gold, and silver-plated metals. Never use buffing blocks, jewelry cleaner, or polishing cloths to clean jewelry and keepsake made from plated metals. These items will ruin the jewelry by taking off the plating.
Harder metals and stamps with more detail require a harder strike than softer metals and stamps with less detail. Aluminum, Alkemé, & Pewter are the easiest and softest to stamp. Brass & Copper are harder and require a bit more force.
Hand-Stamp Each Metal Blank
1” Stamping Blank
Begin with the largest 1” blank on the stamping block. Place a 3/4” circle stamp guide on top of the blank lining the top of the circle with the top of the hole in the blank. It should be slightly lower than the top of the blank.
With a pen, write in the letters you wish to stamp in between the orange and black lines.
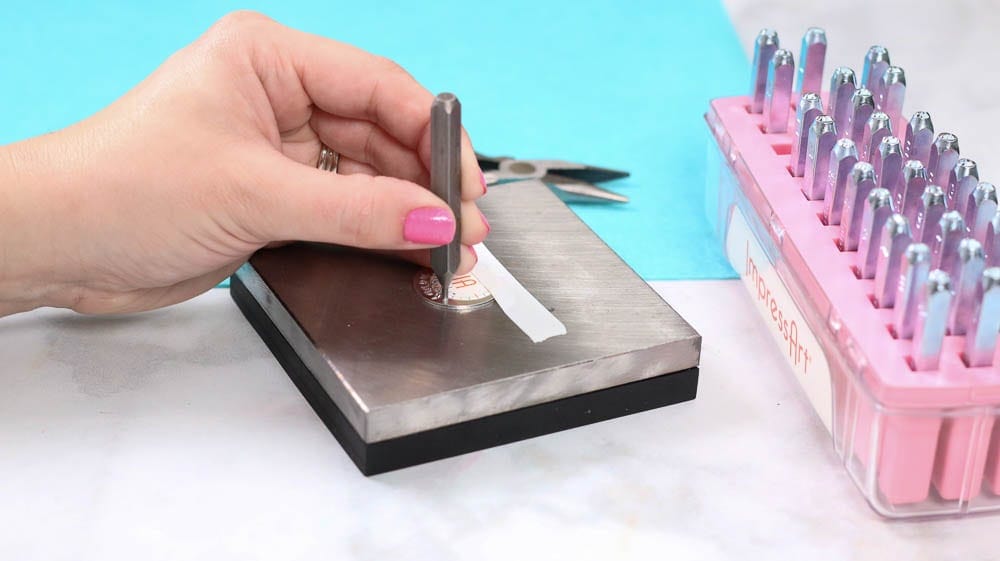
Pull the stamp away from yourself until you feel a slight resistance from the stamp hitting the stamp guide. The Impress Art logo should be facing towards you while you’re stamping.
Strike the stamp with the Stamping Hammer while holding the stamp firmly in place with the side of your hand anchored to the table.
Repeat this process until you’ve finished your entire message, then remove the stamping guide once you’ve finished.
Pro Tip - Use Stamp Tape to secure the Blank in place on top of the stamping block. This will ensure the blank doesn’t move during stamping.
3/4” Stamping Blank
Line the top of the smallest circular stamp guide with the bottom of the hole on the stamp blank.
1/2" Stamping Blank
For the smallest blank, use the 1/2” stamp guide. It should extend over the blank. Focus on using the spacing guide and making sure there is enough room below it to fit each letter without any stamps hanging over the edge.
Crystal Setter
Choose your desired setting stamp and create an indentation with the stamp.
Be careful not to position the punch too close to the side of the blank or on top of any letters. Use a tap and tilt motion to create the impression.
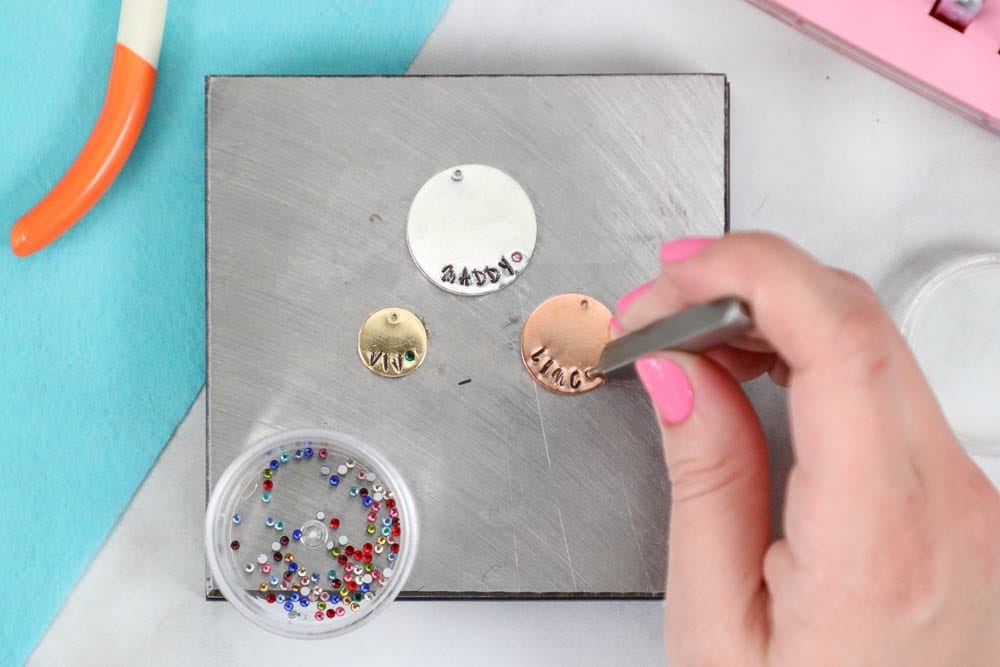
Strike the stamp with the Ergo Angle Hammer with medium pressure to create a round indentation. It should be deep for the crystal stone to sit inside of it without protruding.
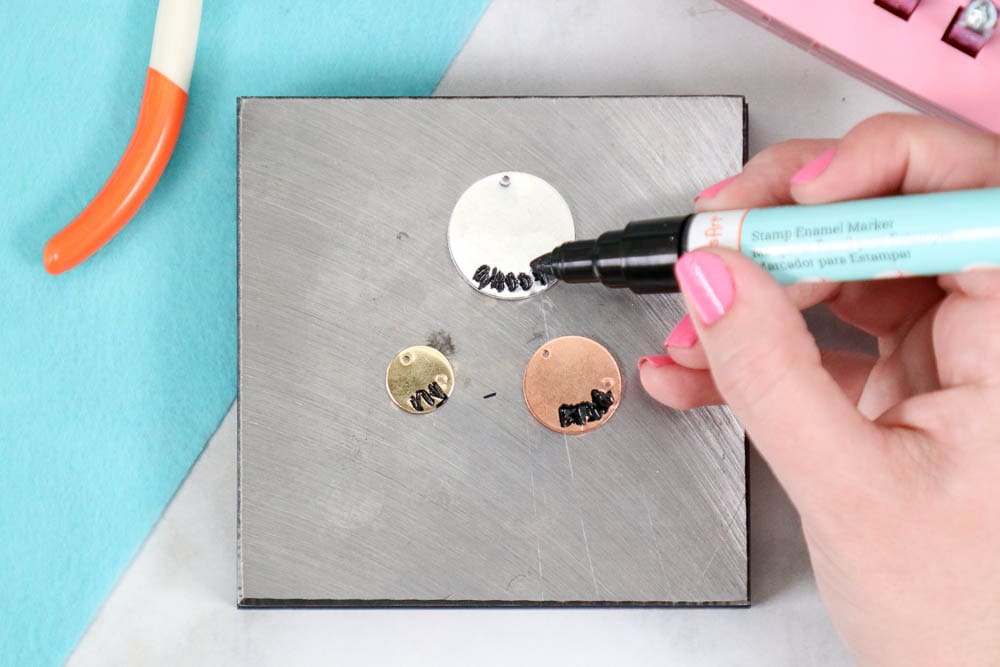
Highlight Impressions with Stamp Enamel
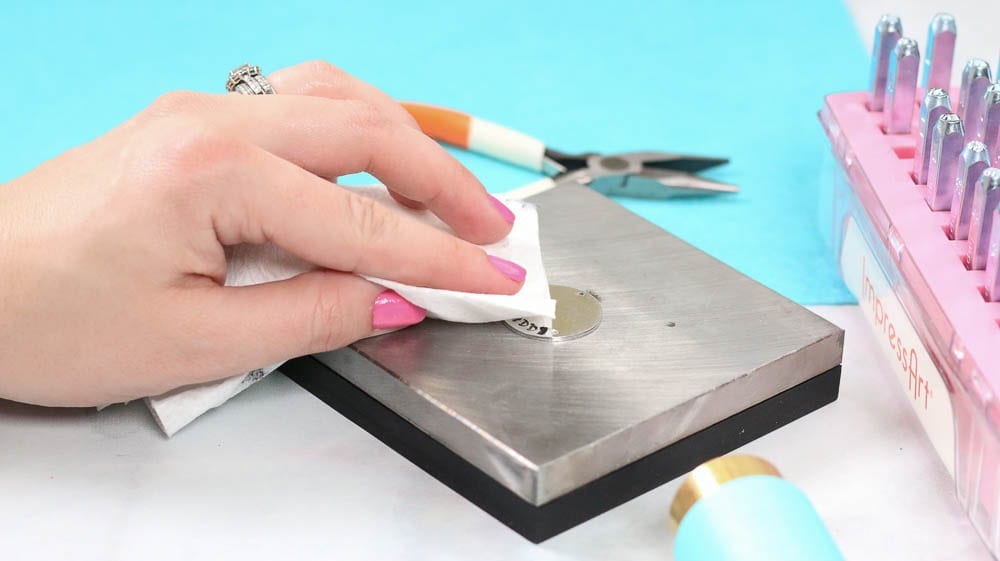
Once all of the metal blanks have been stamped, go over the indentations with a Stamp Enamel Marker. Gently dab the excess marker with a paper towel and allow it to dry. Wipe away any excess to reveal the highlighted impressions.
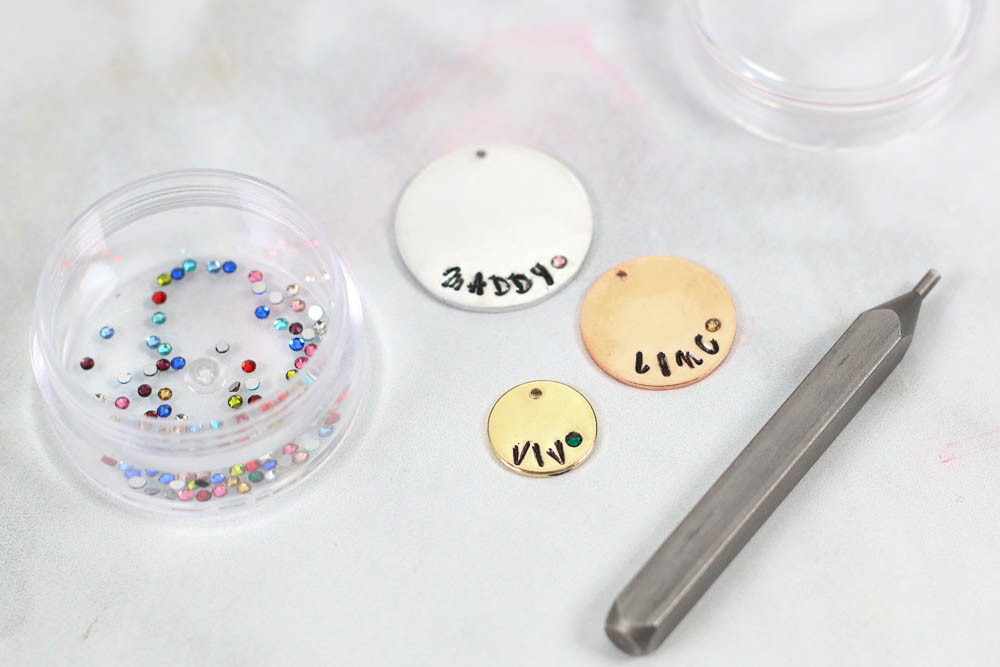
Using the G-S Hypo Cement dab a small amount of glue inside the indentation. Place a flat-backed crystal (birth month) on top of the divot pressing it firmly into place. Allow it to dry completely.
Add Jump Rings and Chain
Using two pairs of pliers makes this process much easier and will help you to prevent the jump rings from becoming damaged in the process.
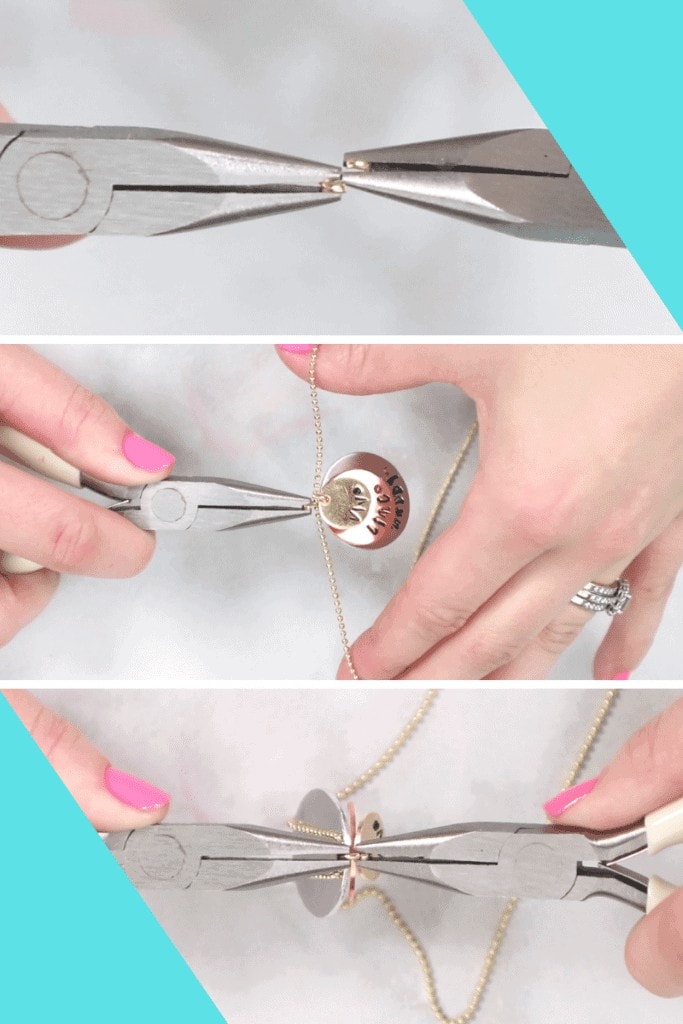
With two pairs of pliers, grab both sides of the jump ring and gently open the ring vertically. Avoid pulling the ends of the jump ring outward as this can weaken the metal.
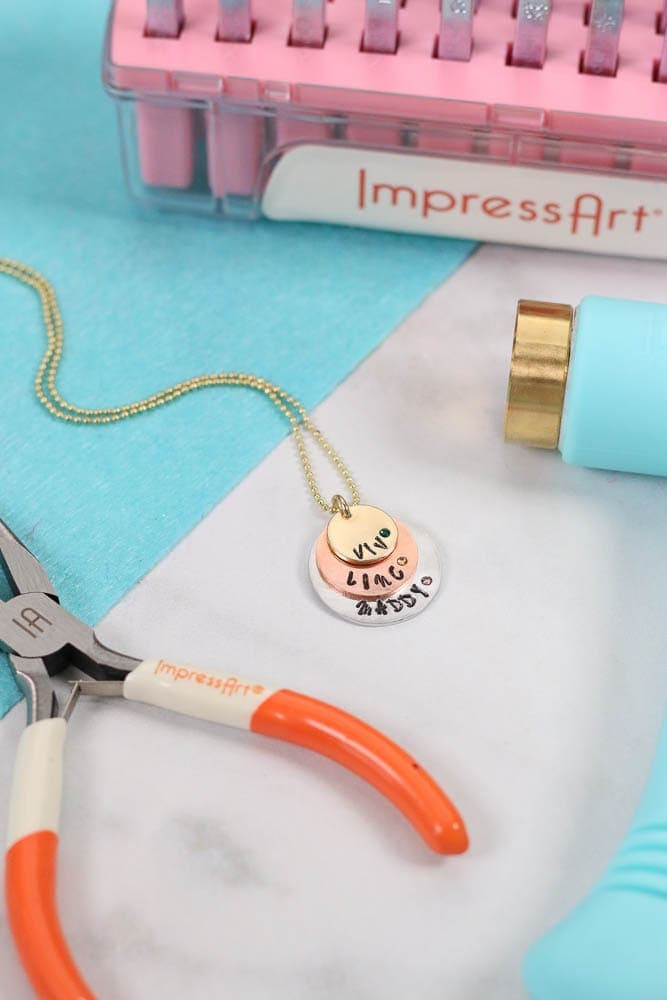
Place the blanks onto the jump ring in order and layer the chain over the blanks. Gently close the jump ring. Now It’s time to enjoy your beautiful hand stamped jewelry!
Check out ImpressArt.com for even more ImpressArt metal stamping tutorials!
You can get all of the supplies for this project by visiting ImpressArt.com Don’t forget to use the code SPRING20SRP for 20% off of your purchase!
Don’t forget to join my crafting Facebook group where you can show us what you’re making, ask questions, and learn from crafting experts! Follow me on Instagram for daily crafting inspiration and a look behind the scenes.
I always wanted to learn how to make these myself! How cute!
Just found a new craft I want to try out. These would make great gifts for new moms or grandmas.
Thank you for the chart that helps me see what technique I should use. Maybe I can get a metal stamping machine. There could be a case in which I need help from a professional though.
https://precisionstamp.com/deep-draw-metal-stamping