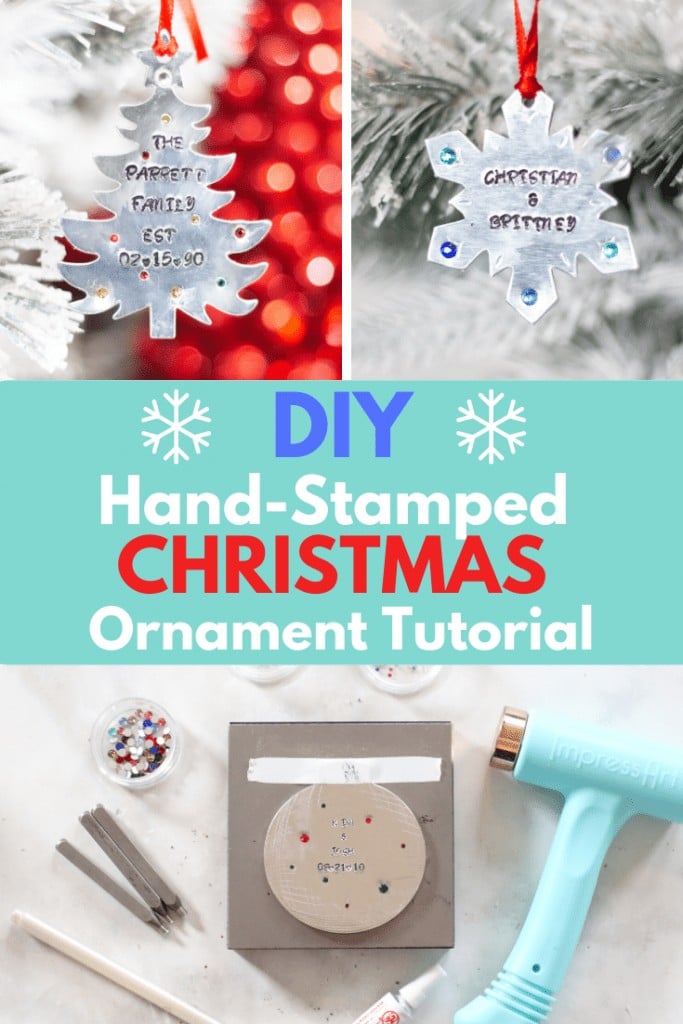
Create beautiful, one-of-a-kind hand-stamped metal Christmas ornaments with this step-by-step tutorial.

I’m back with another metal stamping tutorial today in partnership with ImpressArt.
Just in time for Christmas, I’m teaching you how to create gorgeous one-of-a-kind hand-stamped metal ornaments.

If you’re looking for a sentimental gift to give this holiday season these personalized ornaments are sure to impress. See what I did there???

I’ll be sharing a fun technique to add some sparkle to your hand stamped gifts this holiday season using the brand new Crystal Setter Kit from ImpressArt.

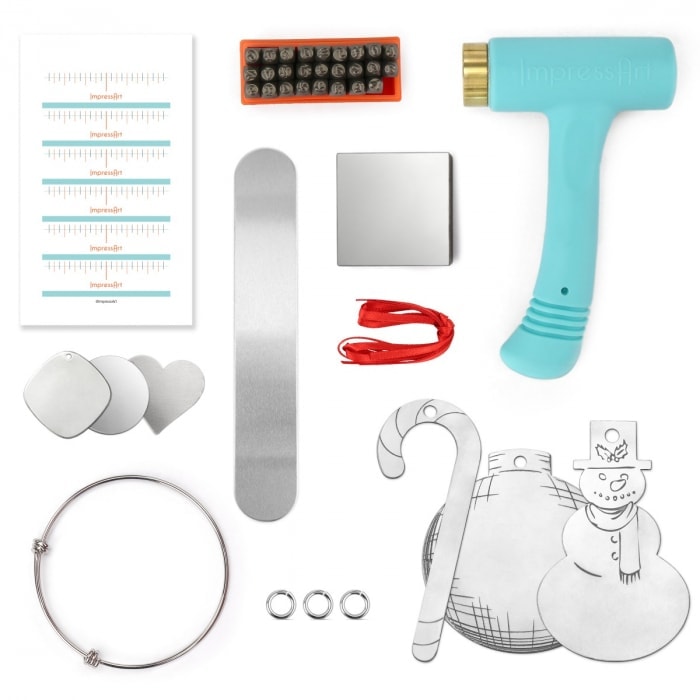
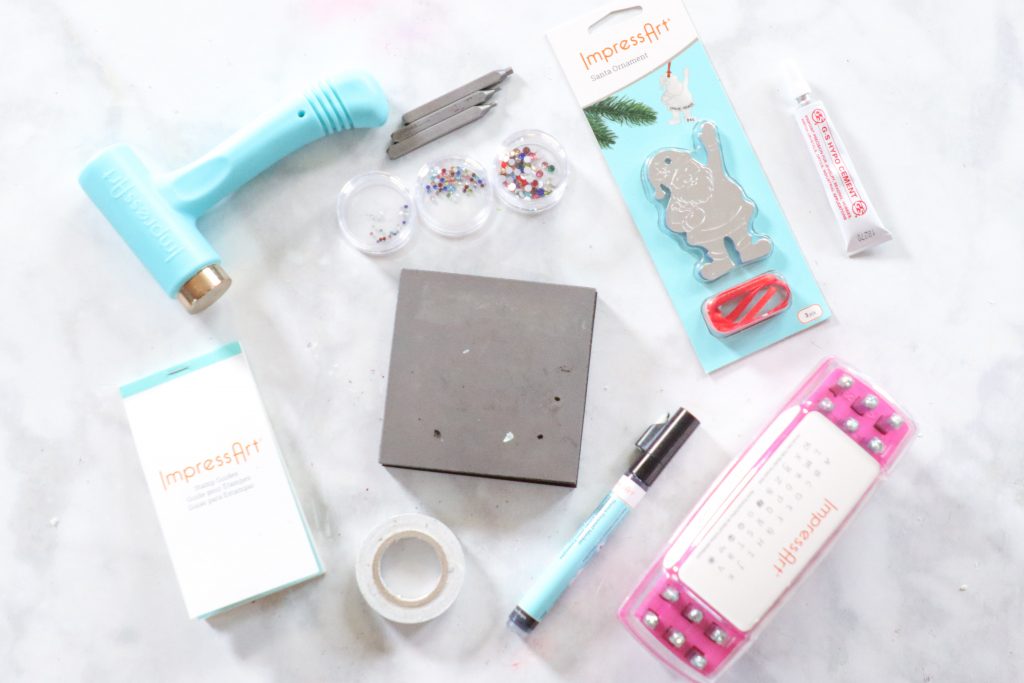
For this tutorial, you’ll need the following supplies from ImpressArt.com
- G-S Hypo Cement - Jewelry Glue
- Stamp Straight Tape
- Crystal Setter Kit
- Stamp Enamel Marker
- Steel Stamping Block
- Ergo Angle Metal Stamping Hammer
- Ornament Kit
- Letter Stamps
- Stamp Guides
Use the code 20SRPWIN (valid through Jan 2020) to take 20% off of any order placed on Impress Art.com
It's the perfect way to get started with metal stamping for Christmas!
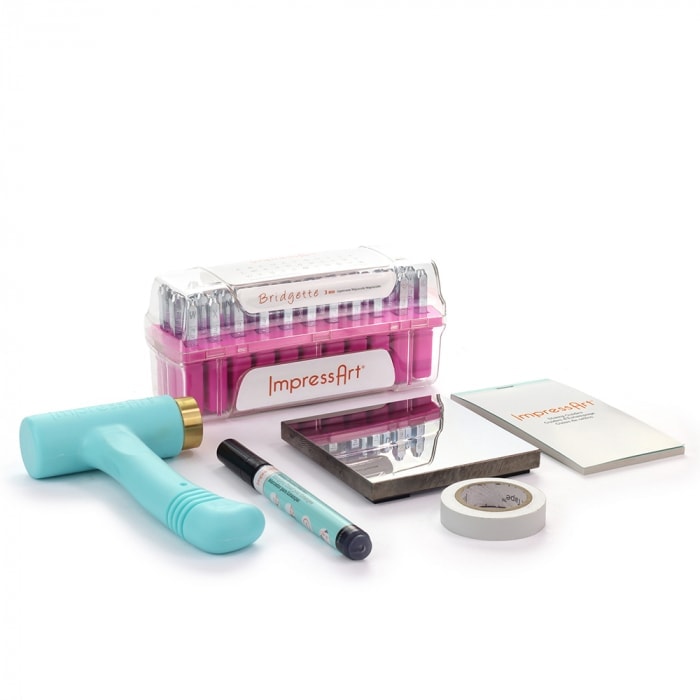
Or this Metal Stamping Start Kit is a great option as well!

Let’s go ahead and get started!
Prepare to Stamp
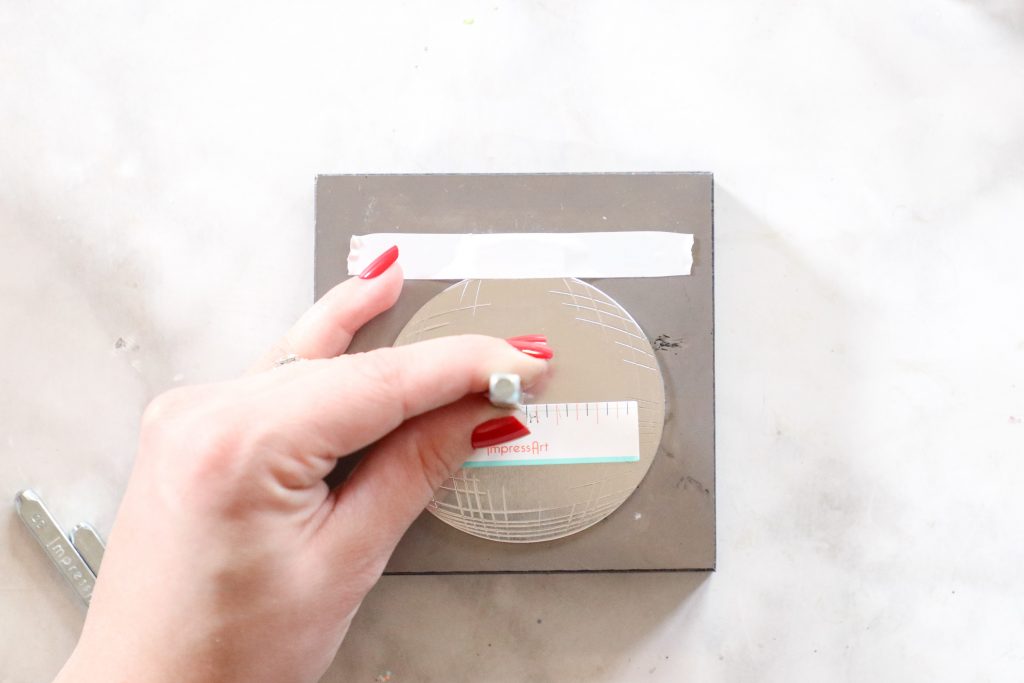
Begin by removing the blue film from your ornament.
Using the Stamping Straight Tape, secure the ornament to the stamping block. This will ensure that the ornament doesn’t move around while you’re stamping.
Use a stamp guide to evenly space out your message.
How To - Metal Stamping
Place the stamp on top of the ornament aligning it with the stamping guide. Pull the stamp towards yourself until you feel a slight resistance. The Impress Art logo should be facing towards you while you’re stamping.
Looking for more in-depth instructions? Check out this post if you're just getting started!
Strike the stamp with the Stamping Hammer while holding the stamp firmly in place with the side of your hand anchored to the table.
Repeat this process until you’ve finished your entire message.
Remove the stamping guide once you’ve finished.
Add Crystals & Enamel
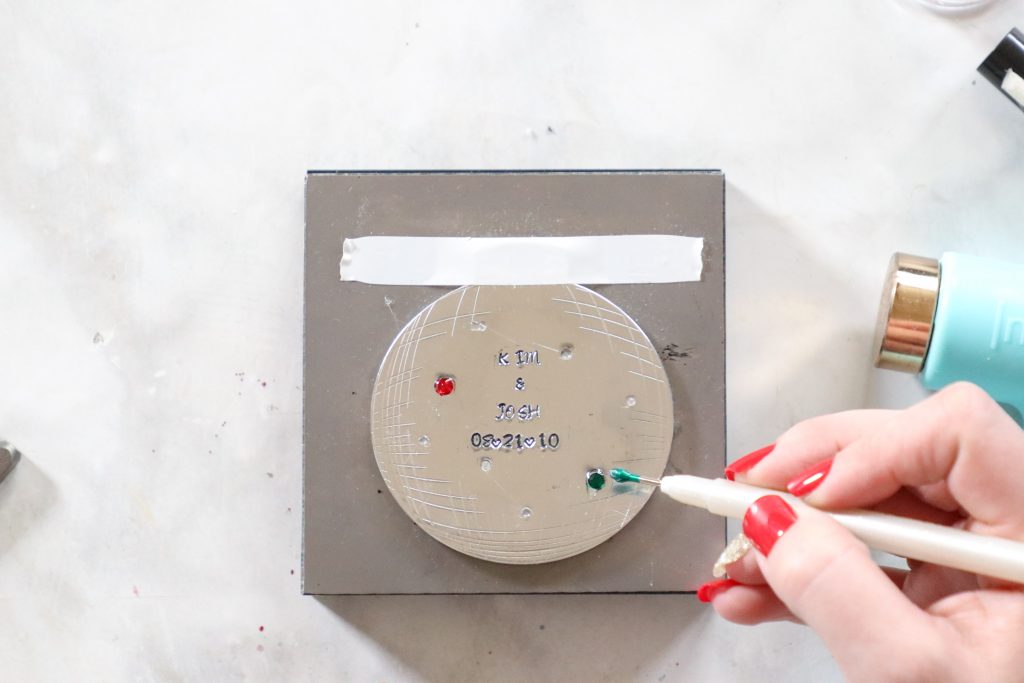
Make your ornament even more special by adding some sparkle to your Christmas ornament with the Crystal Setter kit.
Choose your desired setting stamp and create an indentation with the stamp.
Be careful not to position the punch to close to the side of the ornament or on top of any letters.
Strike the stamp with the Ergo Angle Hammer with medium pressure to create a round indentation. It should be deep for the crystal stone to sit inside of it without protruding.
Go over and indentations with a Stamp Enamel Marker. Gently dab the excess marker with a paper towel and allow it to dry. Wipe away any excess to reveal the highlighted impressions.
Using the G-S Hypo Cement dab a small amount of glue inside the indentation. Place a flat-backed crystal on top of the divot pressing it firmly into place. Allow it to dry completely.
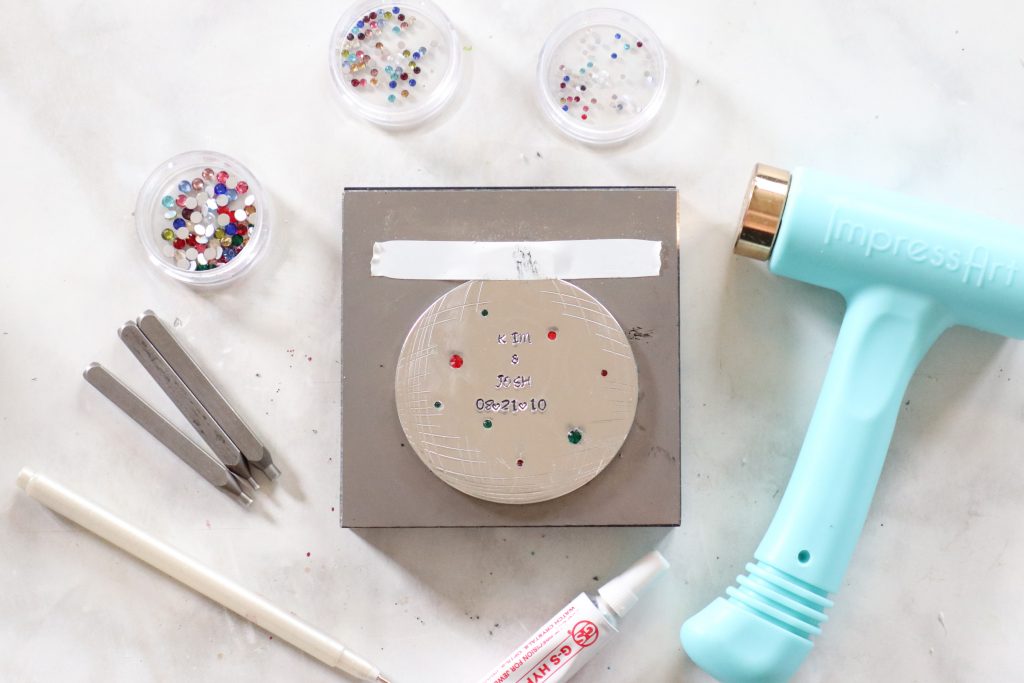
Secure a ribbon to the top of the ornament.
Now you have a hand-stamped Christmas ornament that’s sure to become a special keepsake for years to come.

If you have any questions about this tutorial be sure to leave me a comment below and I’ll get back to you as soon as possible!
You can find all of the supplies for this tutorial available online from ImpressArt.com
Great project for ornaments