Find out how to use the new Cricut 2x2 Card Mat 2x2 in this step-by-step tutorial, plus get 10 FREE SVG files to make your own custom card designs with the mat!
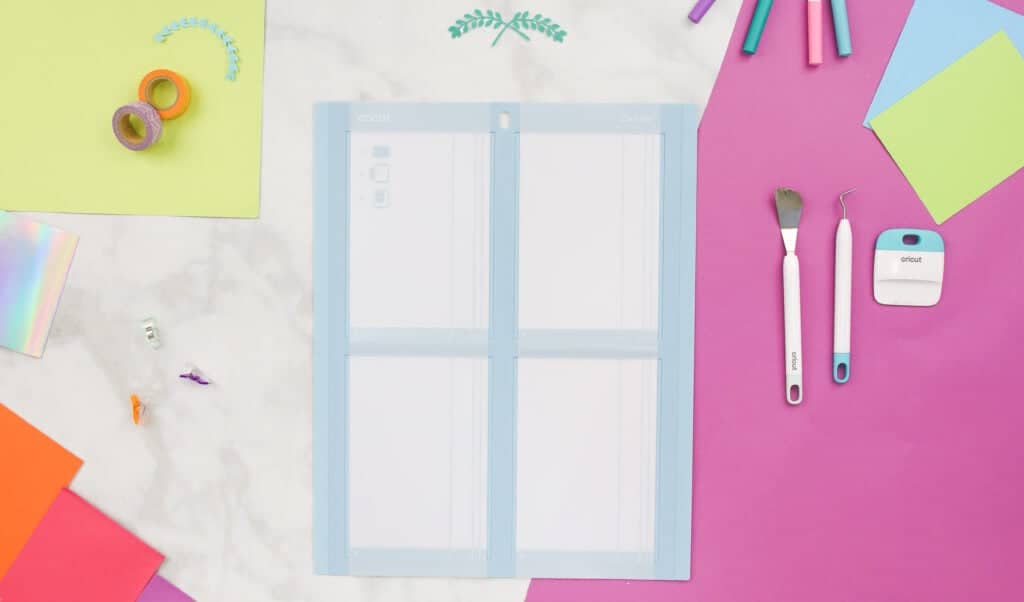
Want to make quick last-minute cards? Me too!
Before I show you a step-by-step process on how to make some custom cards, I want to talk about the Cricut 2x2 Card Mat. I'm going to show you how to use it, share helpful tips and tricks, and then show you how to make personalized cards with the mat.
I'm also sharing 10 FREE files so you can make cards for any occasion!
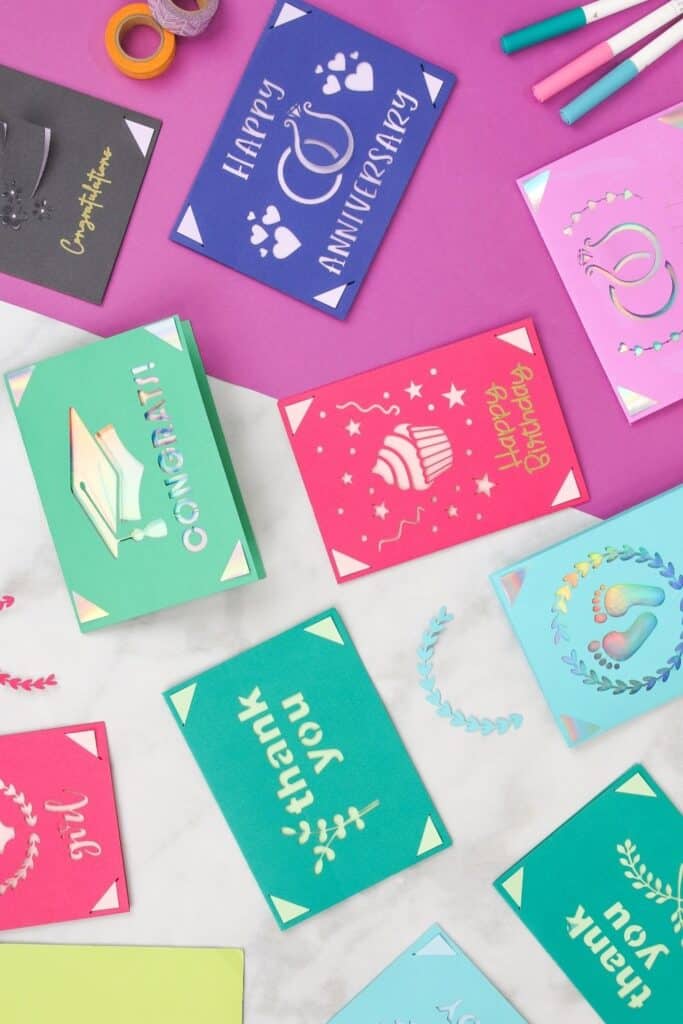
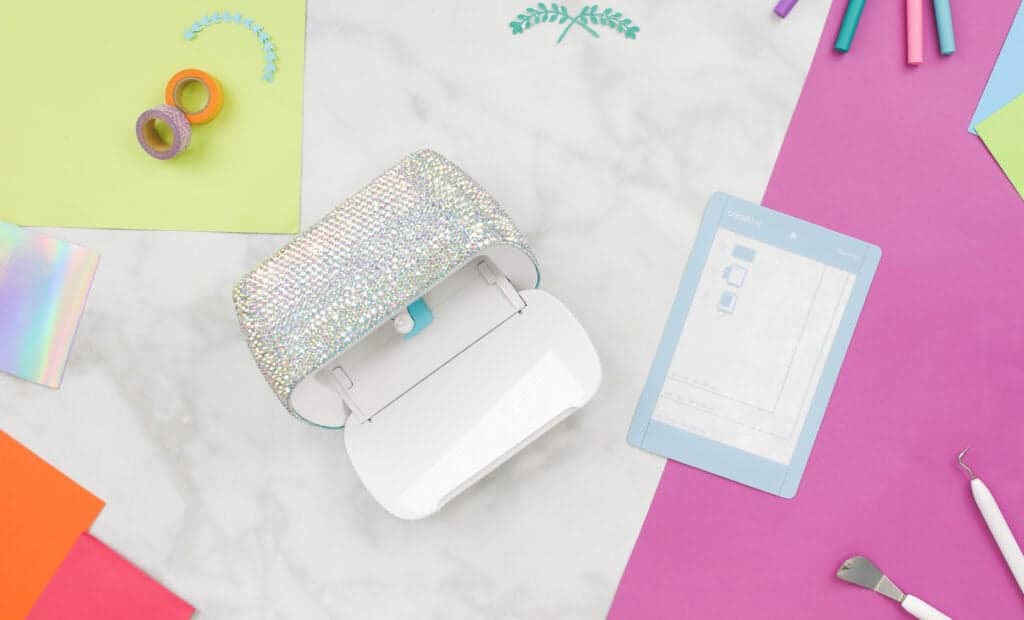
In the past, the Cricut Joy was the only machine that had a mat specifically made for making custom cards. That mat is called Cricut Joy Card mat. But now there is a card mat for those that own bigger Cricut cutting machines!
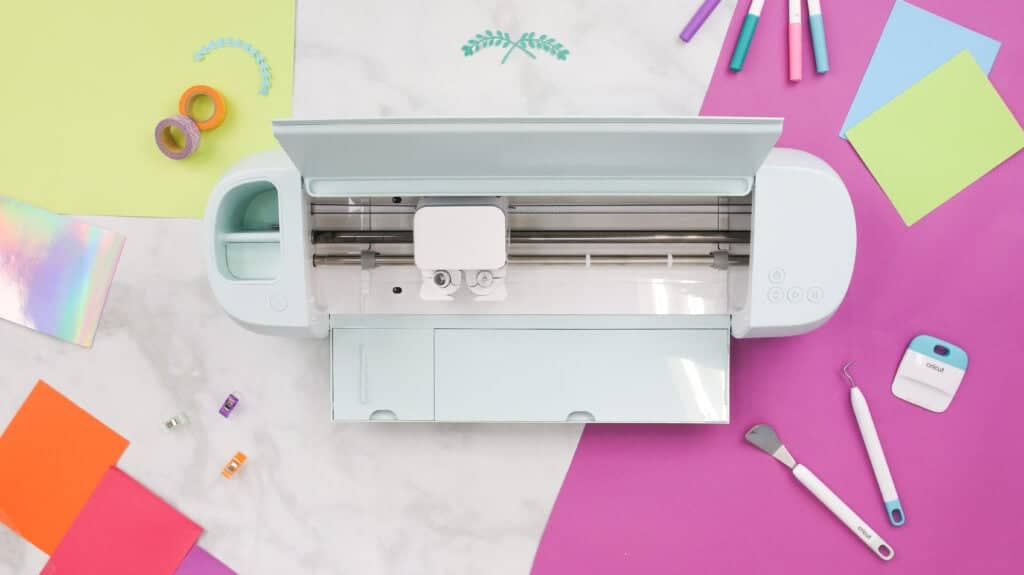
The Cricut Card Mat 2x2 is compatible with Cricut Explore and Cricut Maker machines (Explore Air 2, Explore 3, Cricut Maker, and Cricut Maker 3).
Now, let's go over this mat and explain the differences between the Cricut Joy Card Mat and Cricut Card Mat 2x2.
Dimensions of Card Mat
This Cricut Card Mat measures 13 in x 16.25 in (33 cm x 41.2 cm).
How does a 13-inch mat fit into a Cricut cutting machine, you might be wondering?
If you compare the Cricut card mat to a standard Cricut mat, you'll notice that the widths of both are 13 inches, so it will fit into your Cricut Maker and Explore machines perfectly!
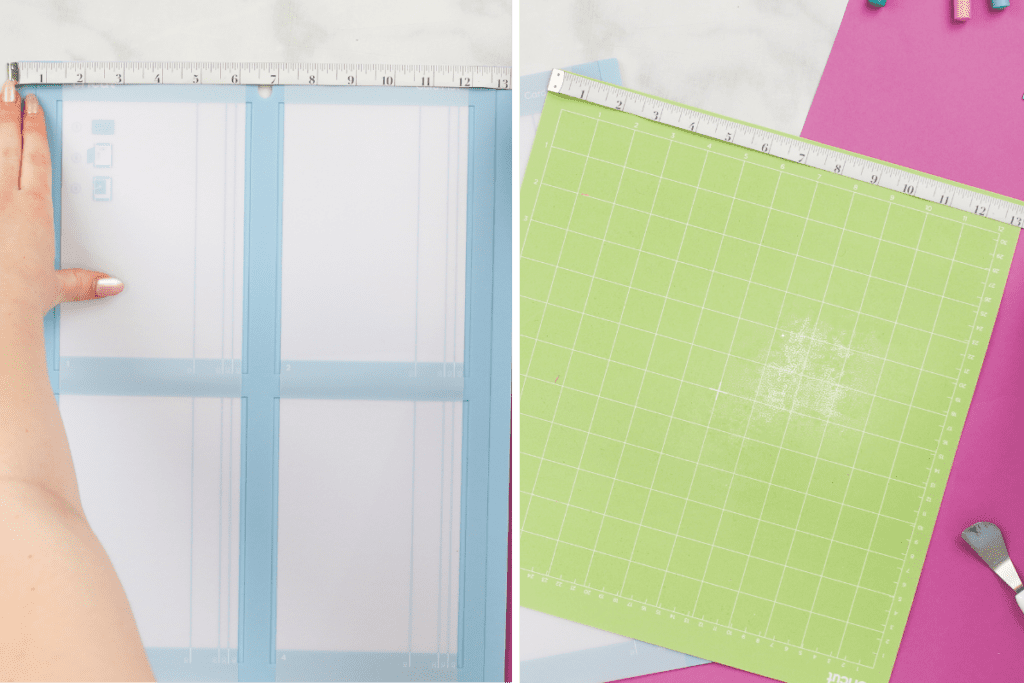
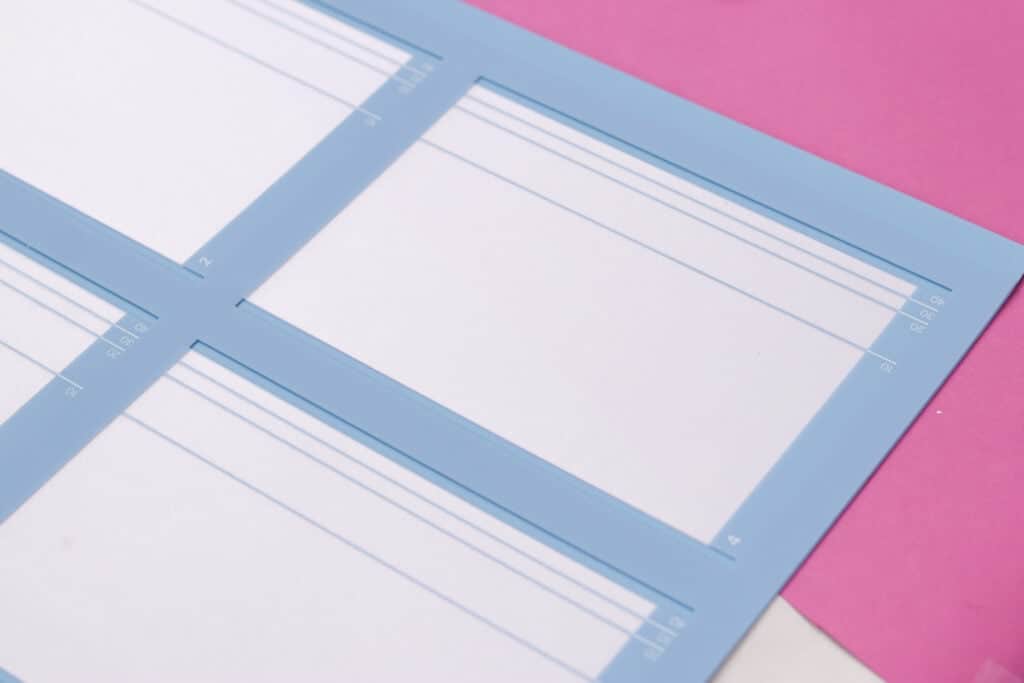
Cricut Card Mat 2x2 Alignment Guides and Protective Divides
The Cricut card mat 2x2 has protective sheets, alignment guides, and protective dividers.
The divider has a top layer and a bottom layer.
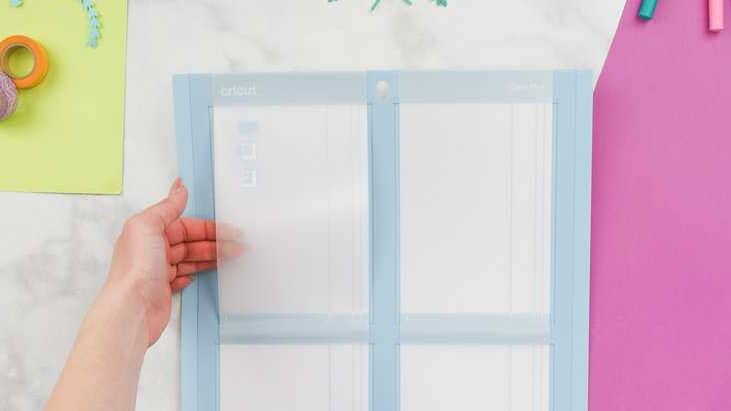
The top layer comes with two protective sheets that protect the sticky liner underneath. The folded front of a card will stick to this adhesive cover.
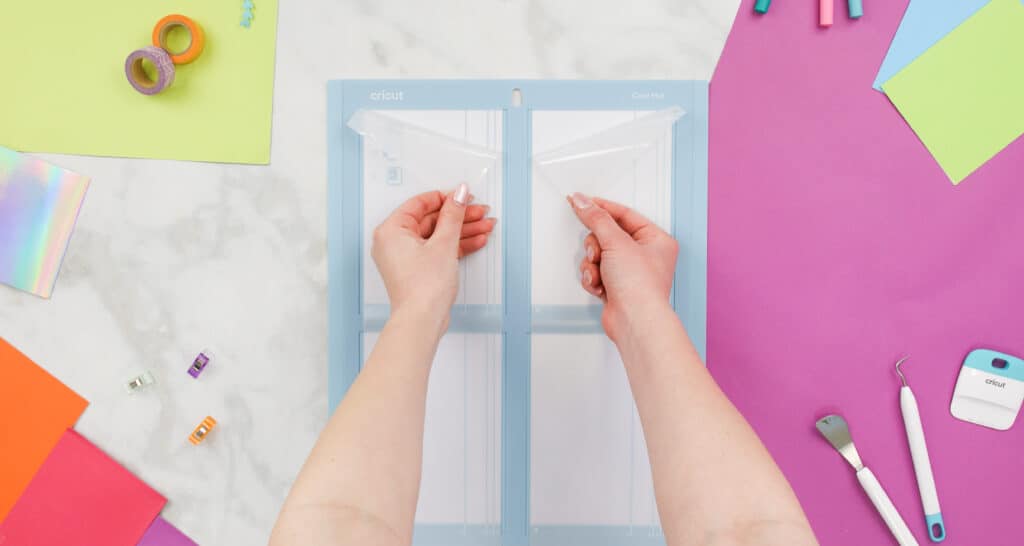
The bottom layer does not have a sticky liner because this is where the back of the card rests. The divider will protect the back of the card while your machine is cutting a design on the front. Pretty neat, right?
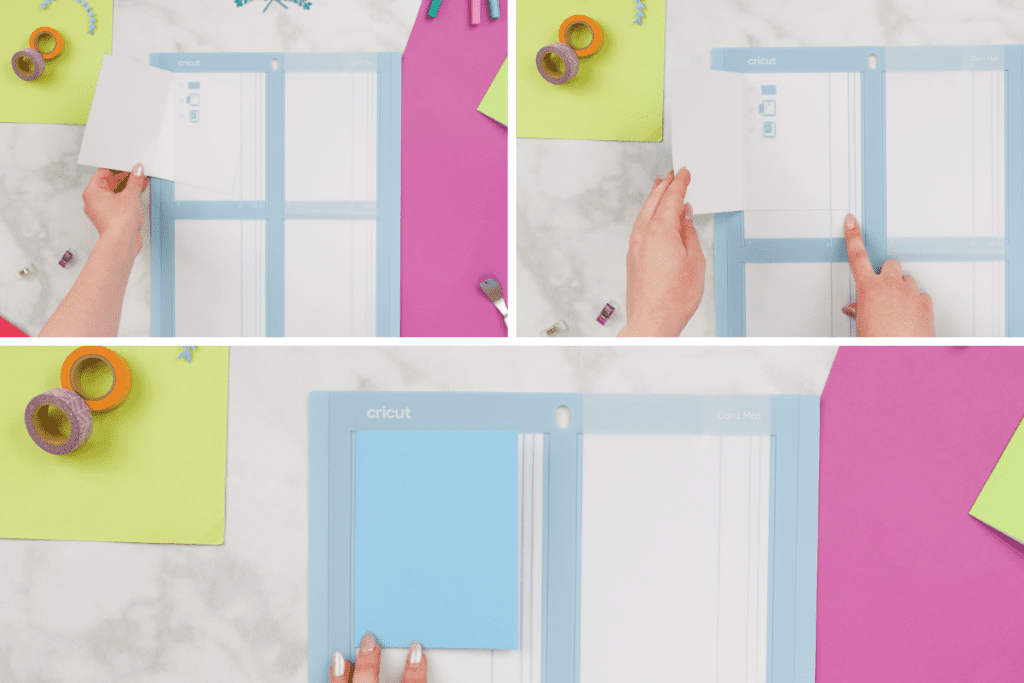
You will also notice the alignment guides on the mat showing numbers 10, 20, 30, and 40. These numbers correspond with the card sizes, which I will talk more about down below.
Differences Between Cricut Joy Card Mat and Cricut 2x2 Card Mat:
The Cricut Card Mat 2x2 is similar to the Cricut Joy Card Mat, only it's compatible with Cricut Maker and Explore machines and features 4 panels to cut four cards at a time!
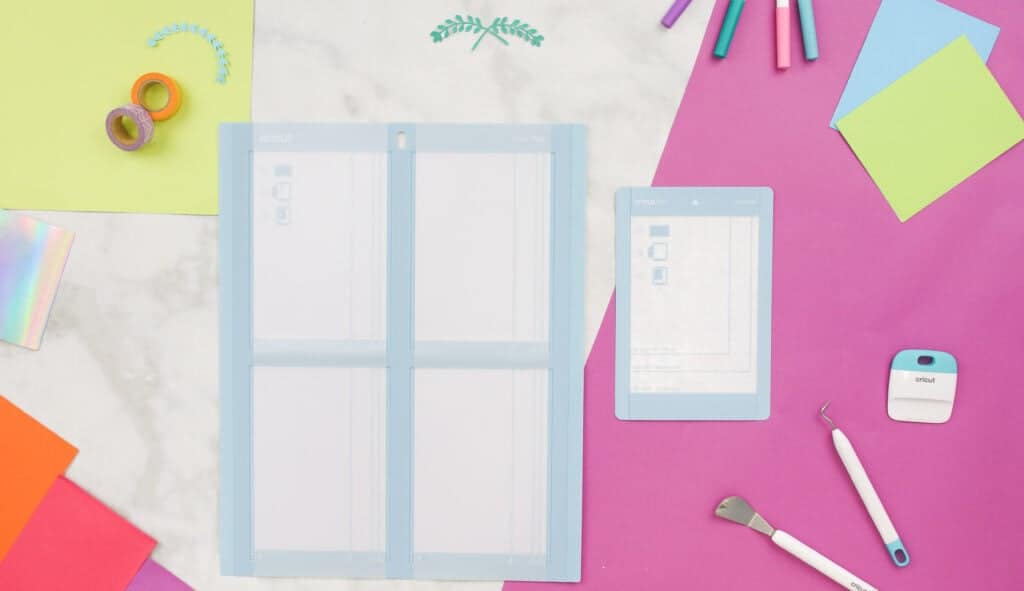
One other difference you'll notice is the card size options. You will be able to fit larger cards on the Cricut 2x2 Card Mat.
New Card Sizes
There are new card sizes to choose from! Altogether there are 5 Cricut card sizes to choose from.
- R10 - 3.5 in x 4.9 in (8.9 cm x 12.4 cm)
- R20 - 4.25 in x 5.5 in (10.8 cm x 14 cm)
- R30 - 4.5 in x 6.25 in (11.4 cm x 15.9 cm)
- R40 - 4.75 in x 6.6 in (12.1 cm x 16.8 cm)
- S40 - 4.75 in x 4.75 in (12.1 cm x 12.1 cm)
You might be wondering what the R and S stand for.
When using insert cards, you can choose from square or rectangle cards, hence the R's and S's (S stands for square; the R stands for rectangle).
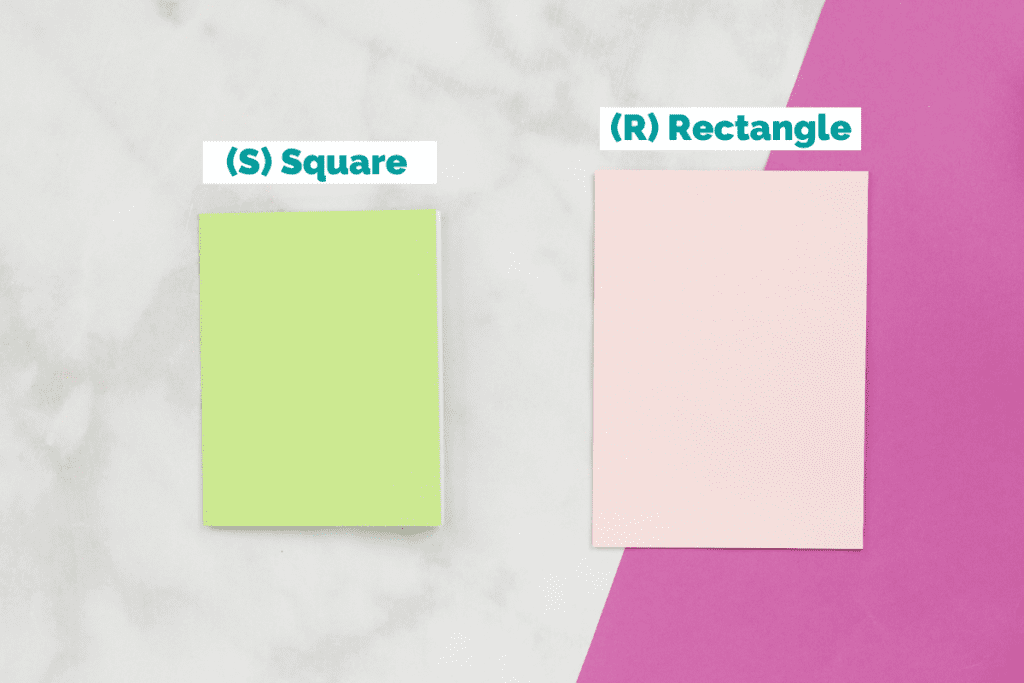
Some sizes can be compatible with both square and rectangle cards, such as size 40.

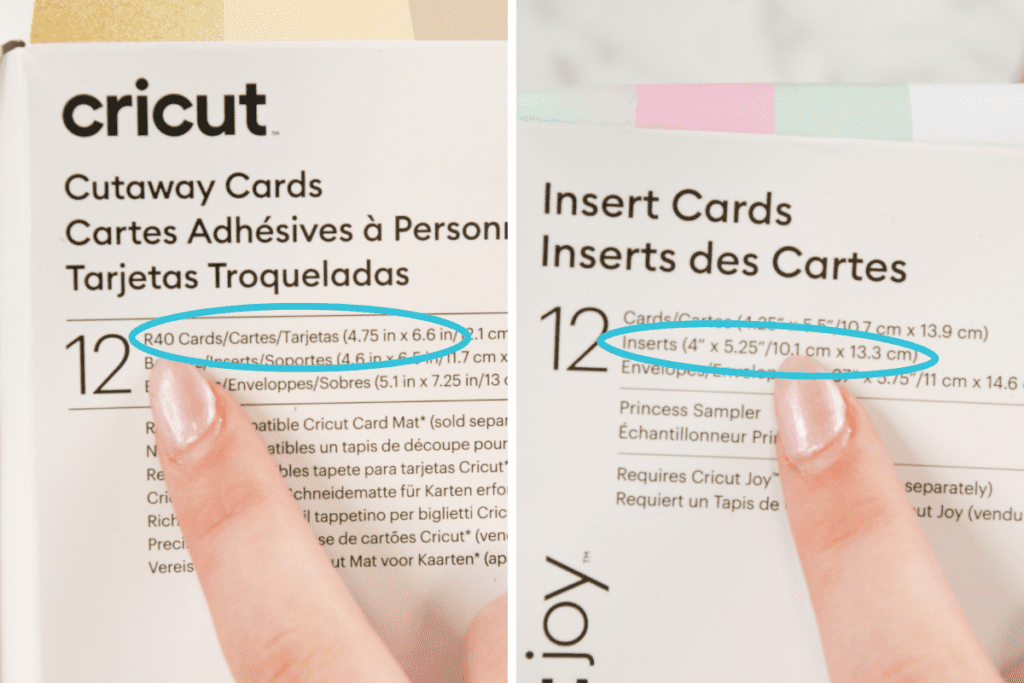
To make sure you are buying the correct card sizes, you can look at the package where it provides the size and what it's compatible with (R or S).
Cricut Materials
There are so many materials that you can use to make cards on this mat. Cricut carries card sets that you can use, such as insert cards, Cricut cutaway cards, and envelopes.
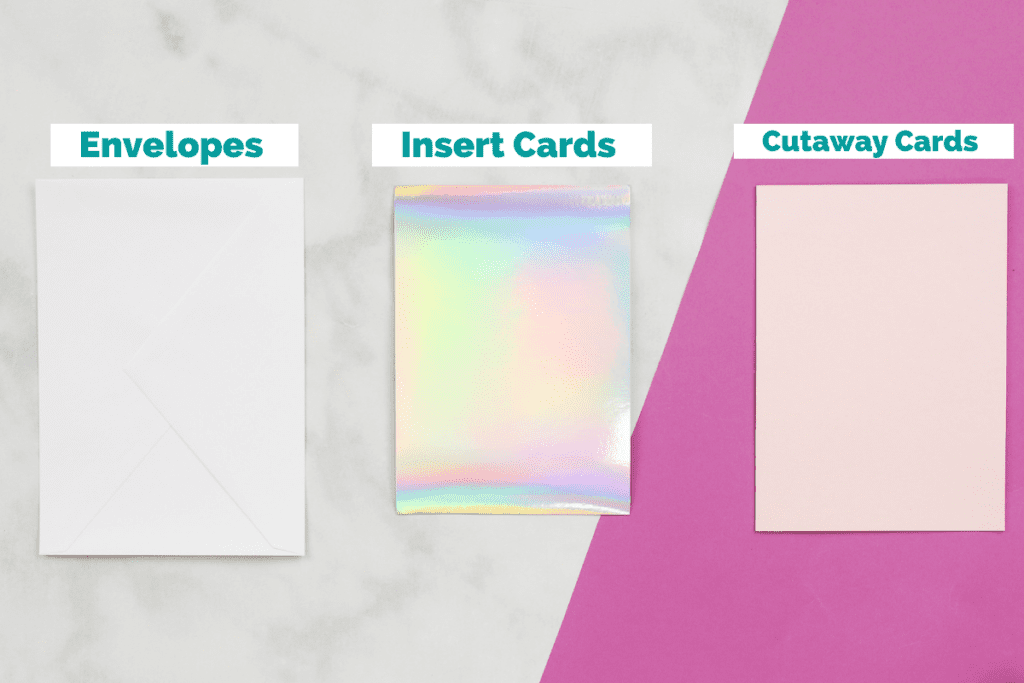
Make Your Own Cutaway and Insert Cards
You can even make your own cards out of simple cardstock! When cutting your cards, just make sure your cards don't measure anything over 4.75 in x 6.6 in (12.1 cm x 16.8 cm) in the design software because that is the maximum recommended card size.
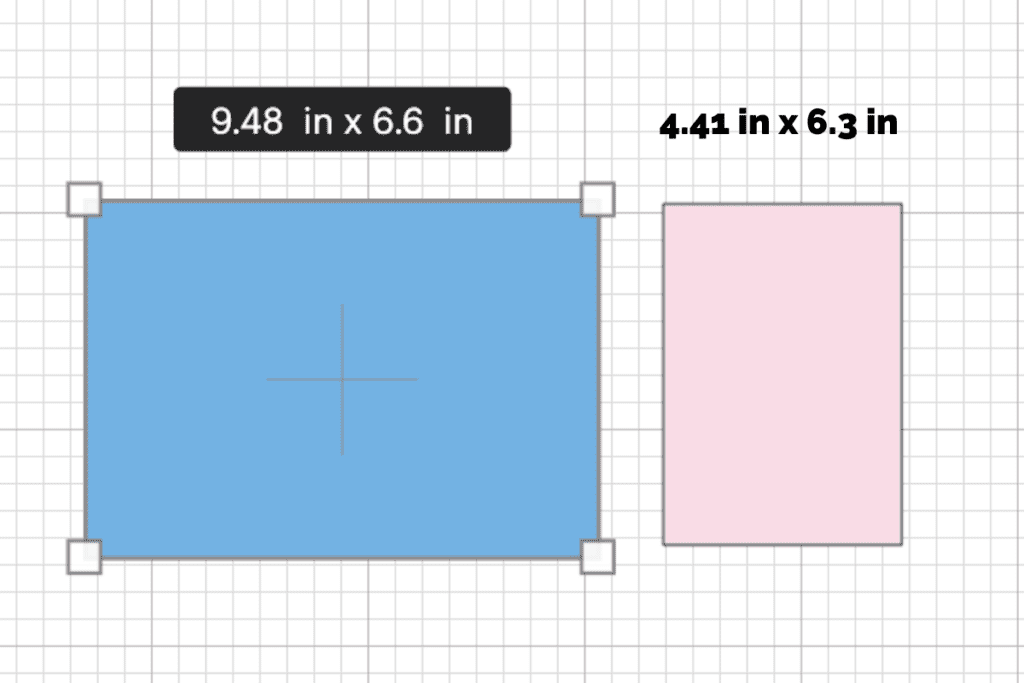
For example, I made my own R40 card templates in Cricut Design Space by making a 9.48" x 6.6" rectangle for the cutaway card and a 4.41" x 6.3" rectangle for the insert.
I added a score line to my cards in Cricut Design Space, but you can also score it with a scraper tool after the rectangles have been cut.
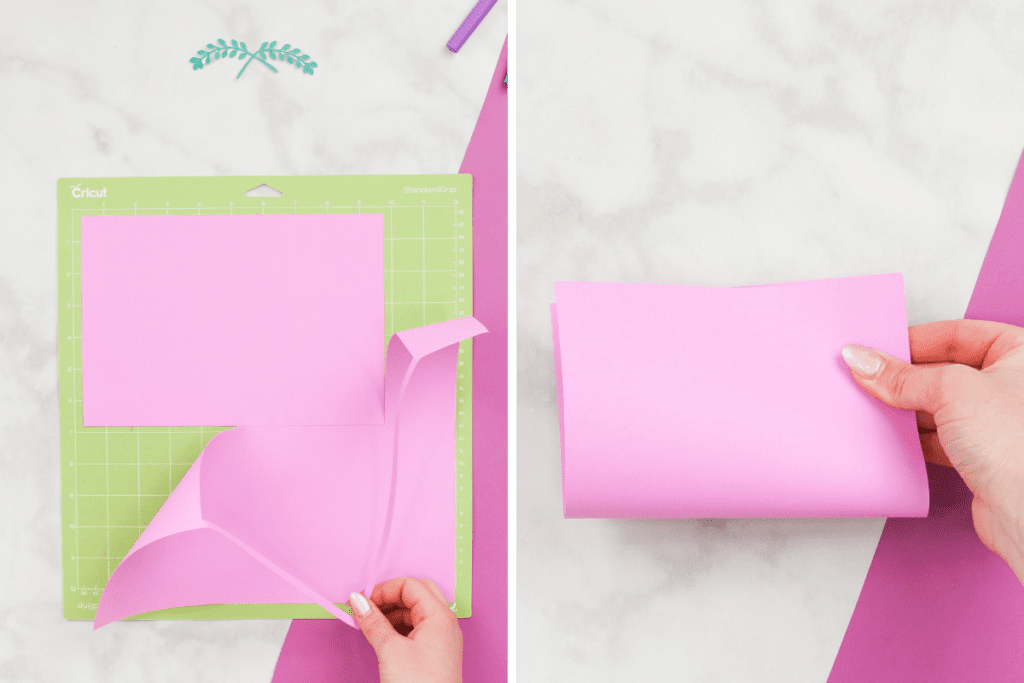
To add a bit of sheen to your cards, you can use foil transfer sheets with your foil transfer tool.
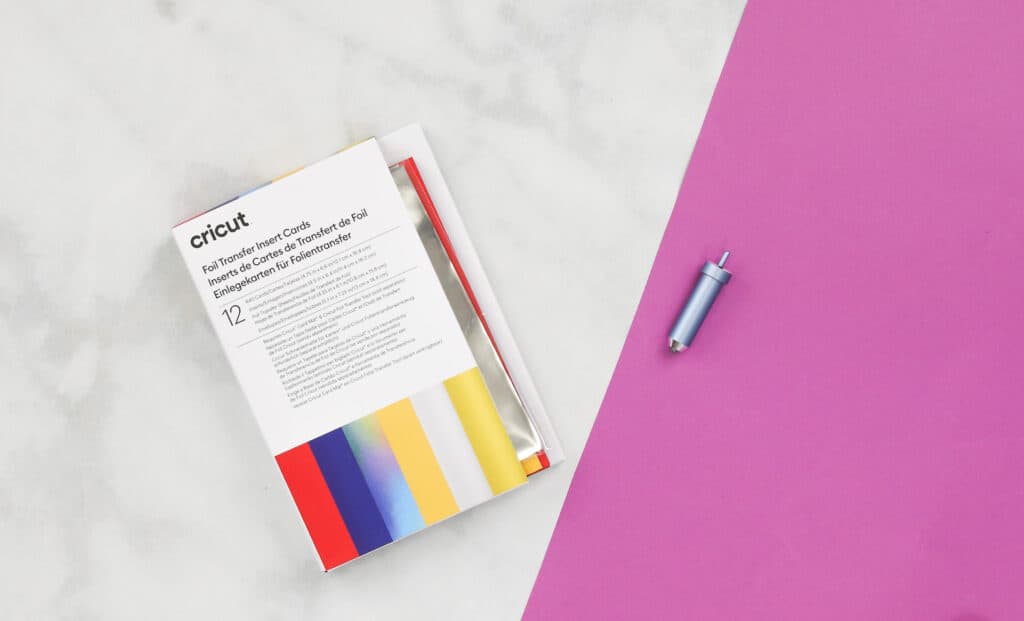
If you want to learn more about the foil transfer kit, click here!
What are Insert Cards & Cutaway Cards?
Cricut Insert Cards and Cutaway Cards were designed specifically for the Cricut Card Mats.
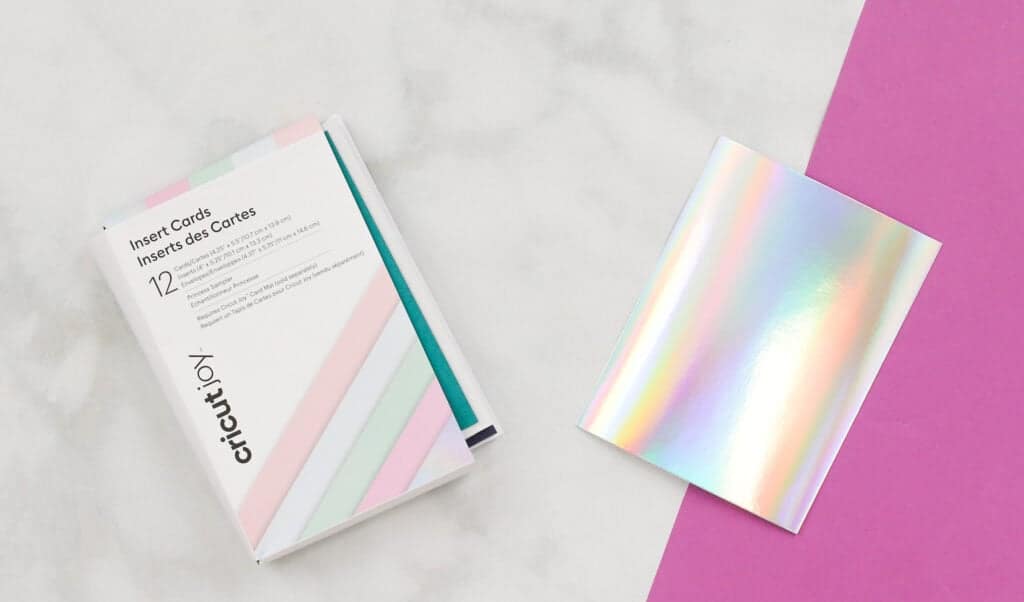
Insert Cards are pre-folded cards that Cricut provides in a variety of colors and sizes that fit within the recommended card sizes.
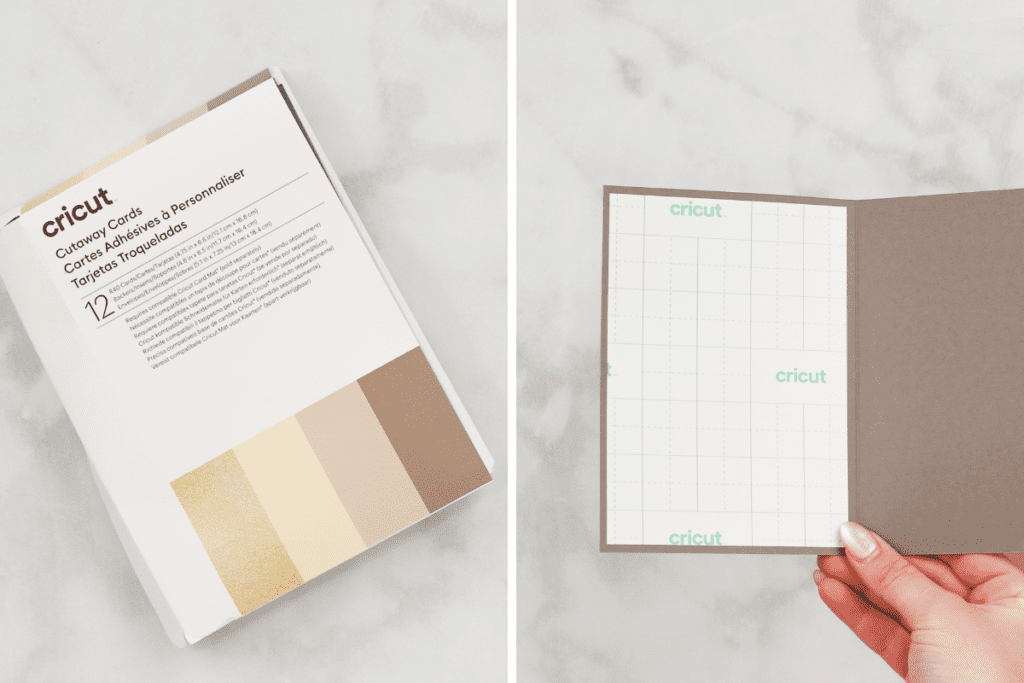
Cutaway Cards are similar to insert cards, except the cards have a liner inside of them- when peeled away it leaves a sticky adhesive for a backer that can then be applied to it with the decorative side facing the adhesive.
You can use insert cards and cutaway cards on both the Cricut Joy Card Mat and Cricut Card Mat 2x2.
Can I Use Cricut Joy Cards on the Cricut Card Mat?
Yes! The Cricut Joy cards will be compatible with the Cricut Card Mat 2x2.
Cricut Access Card Designs
You can choose from thousands of designs on the Cricut Design Space software or use one of my FREE designs by clicking the link down below!
Card Designs
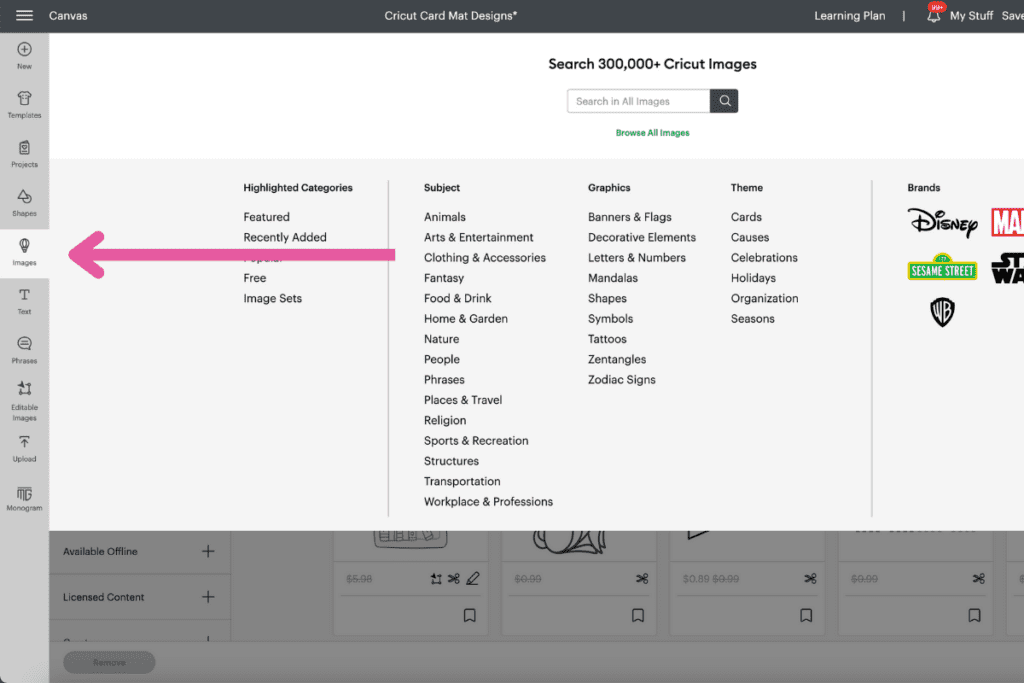
To choose a card design in Design Space, click on Images to the left of the canvas.
Browsing Cards
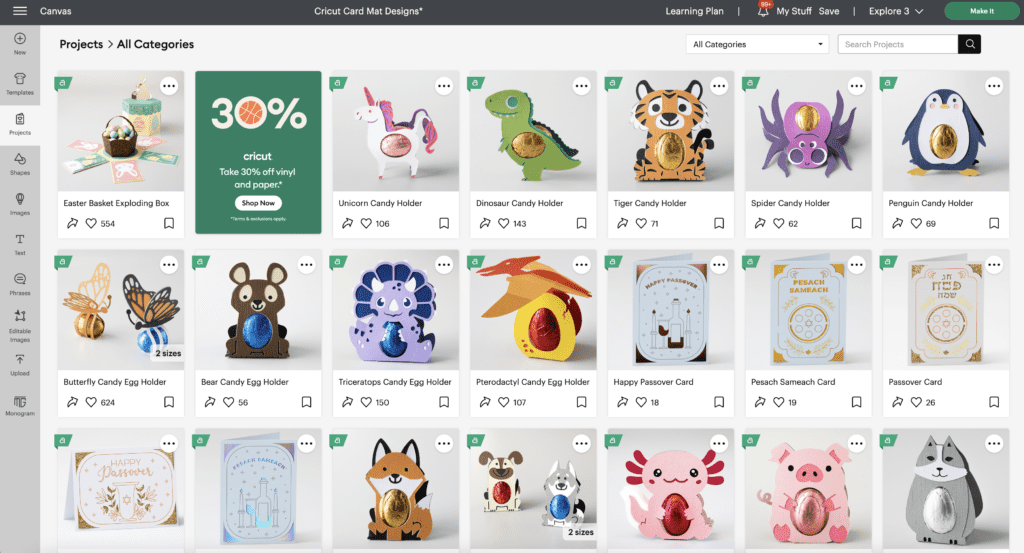
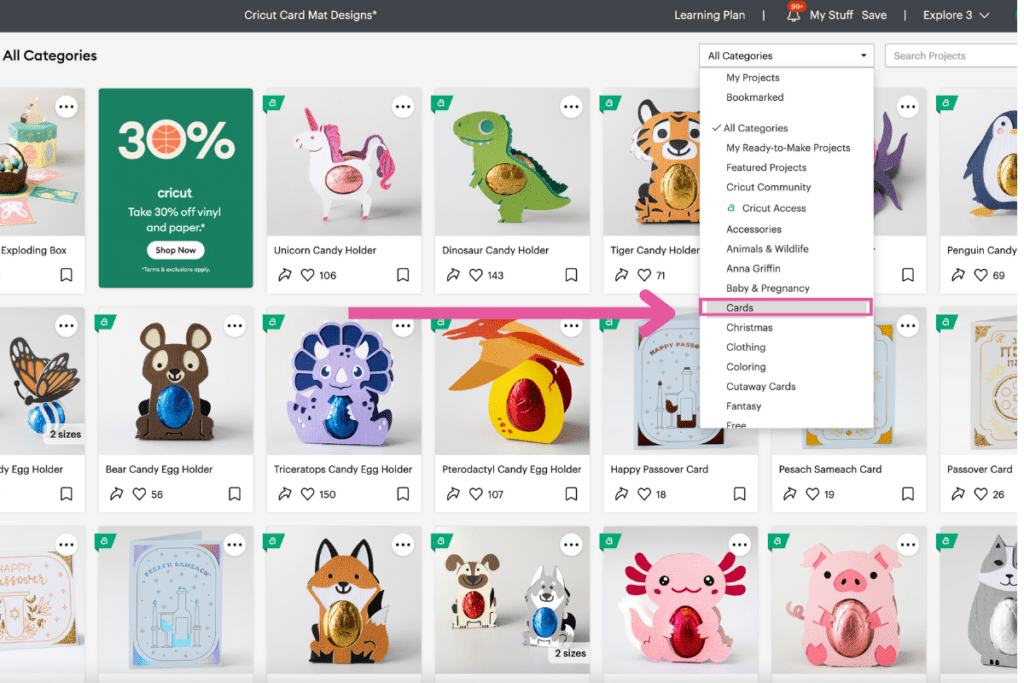
Click on Projects and type in cards, Insert Cards, or Cut Away Card in the Search Projects box, or click on Categories and look for "Cards."
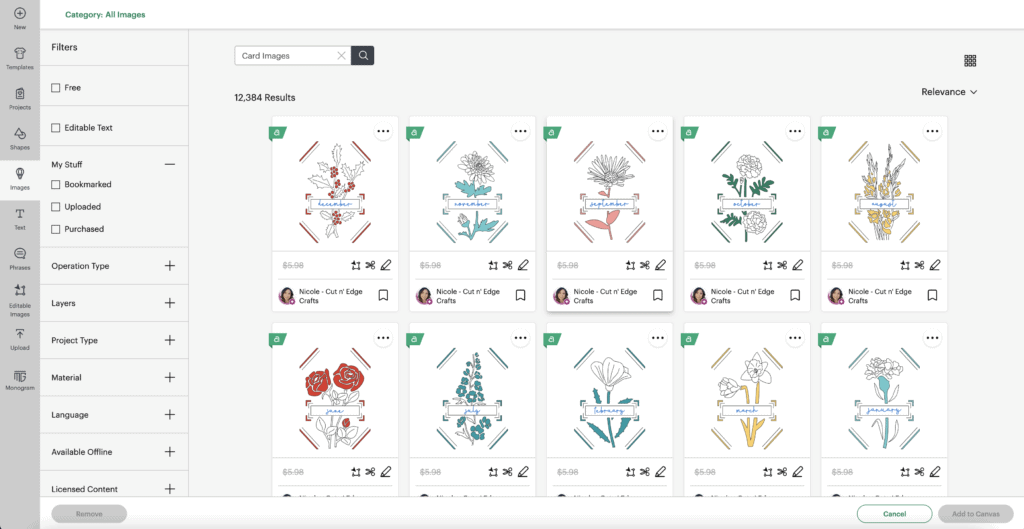
Card Images
To look at card images, click on Image, choose your filters, and find the design you are looking for.
When looking for designs, be sure to pay attention to square and rectangular cards and sizes by clicking on the design you want. For example, if you have rectangle cards, look for cards that have R next to the size number.
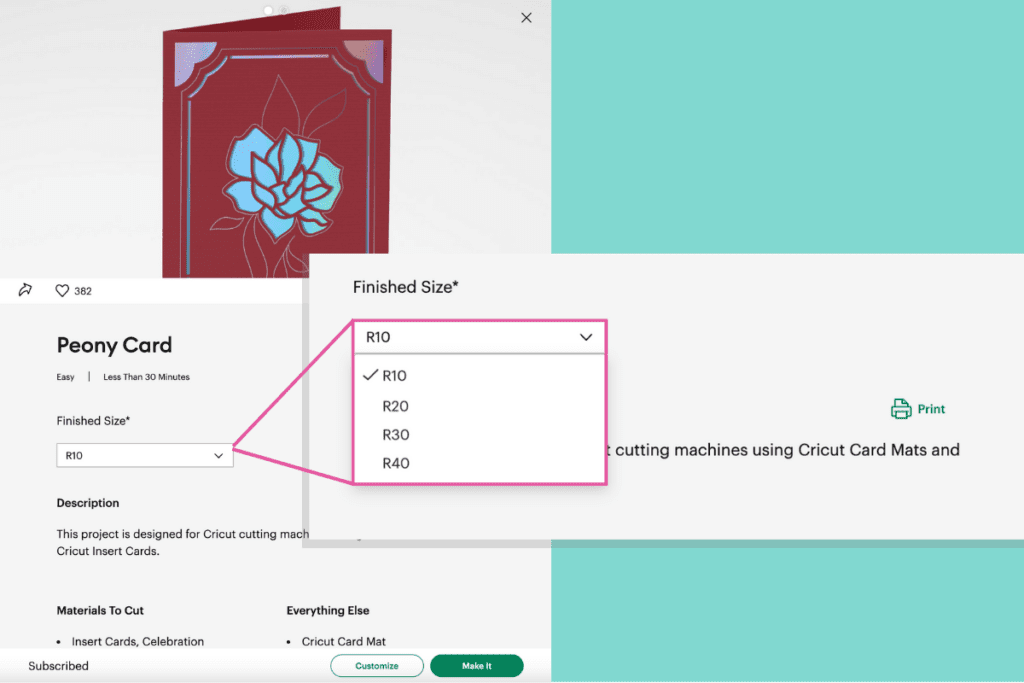
To do this, select the design you want, and click on the drop-down menu below Finished Size*. Some card designs have multiple sizes to choose from, whereas some only have one.
Table of Contents
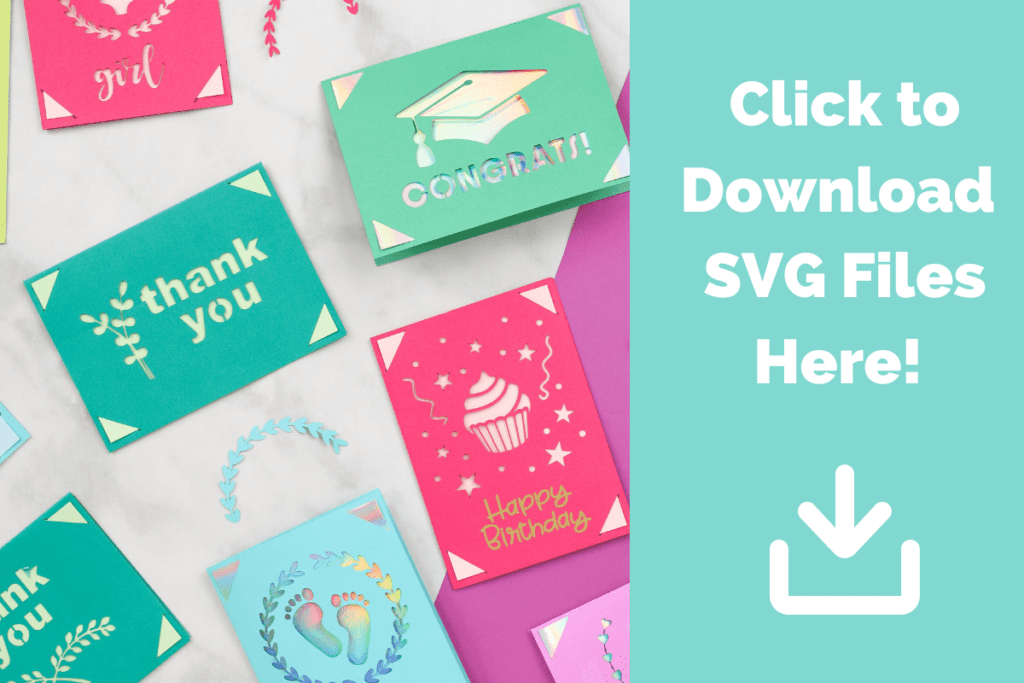
Download My Free Insert Card Designs Here!
How to Cut Four Different Cricut Cards On One Mat
You're able to cut or draw different images and designs on four different cards at a time, but the cards have to be the same size and color in order to cut different designs on the same mat.
To do this, open the Cricut Design Space software, go to your canvas, locate the color sync panel at the top of the layer panel.
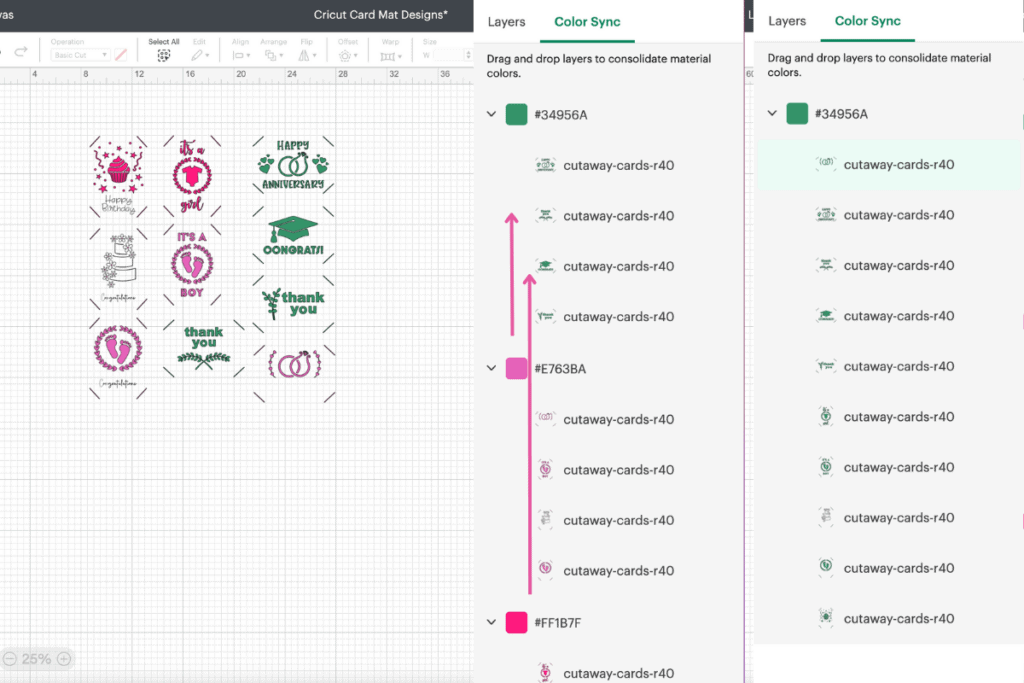
Then, click and drag images into one of the color layers until all the layers are all one color.
This doesn't mean you have to change the color of the cards that you want on your mat, this makes it so that the four different designs can be on the same mat.
Can I Cut Different Sized Cards on the Same Mat?
Unfortunately no, all cards have to be the same size in order to cut on the same mat.
The maximum recommended card size is 4.75 in x 6.6 in (12.1 cm x 16.8 cm).
If you make a large card that is bigger than the recommended card size, the artwork will not be centered correctly on the card.
It's time to move on to creating our custom cards! I think if you're wanting to cut in bulk this mat is for you!
Download SVG Files Here!

Custom Card Project
Supplies Needed
- Cricut Maker, Cricut Explore, or Other Cutting Machine
- Cricut 2x2 Card Mat
- Cricut R40 Insert Cards
- Cardstock 65-80 lbs - If you're cutting you're own cards.
- Fine-Point Blade
- (Optional) Foil Transfer Kit
- Cricut Spatula or Scraper Tool
- Weeder Tool
- Tape
- Cricut Pen
Now that we know everything, it's time to make some cards!

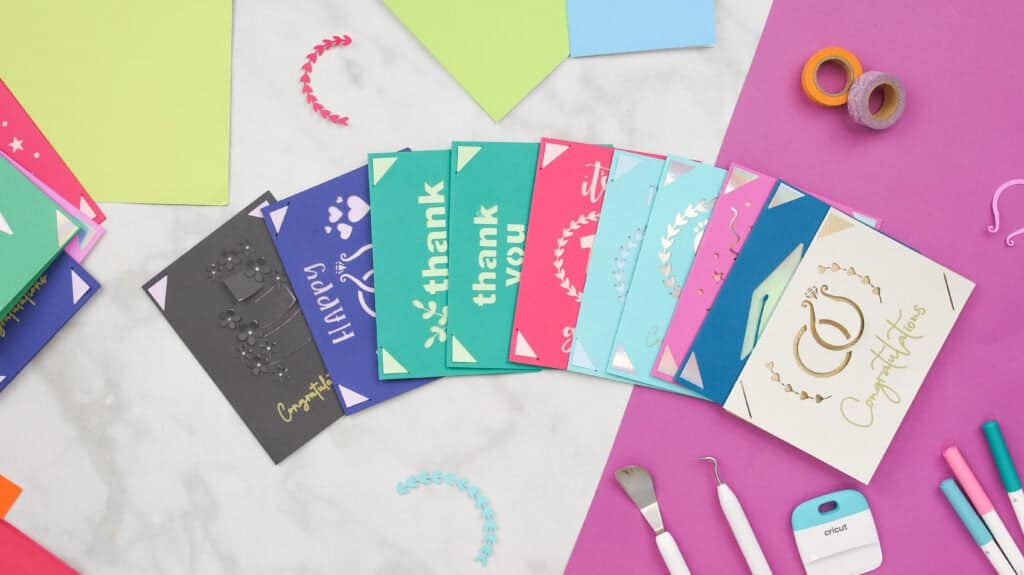
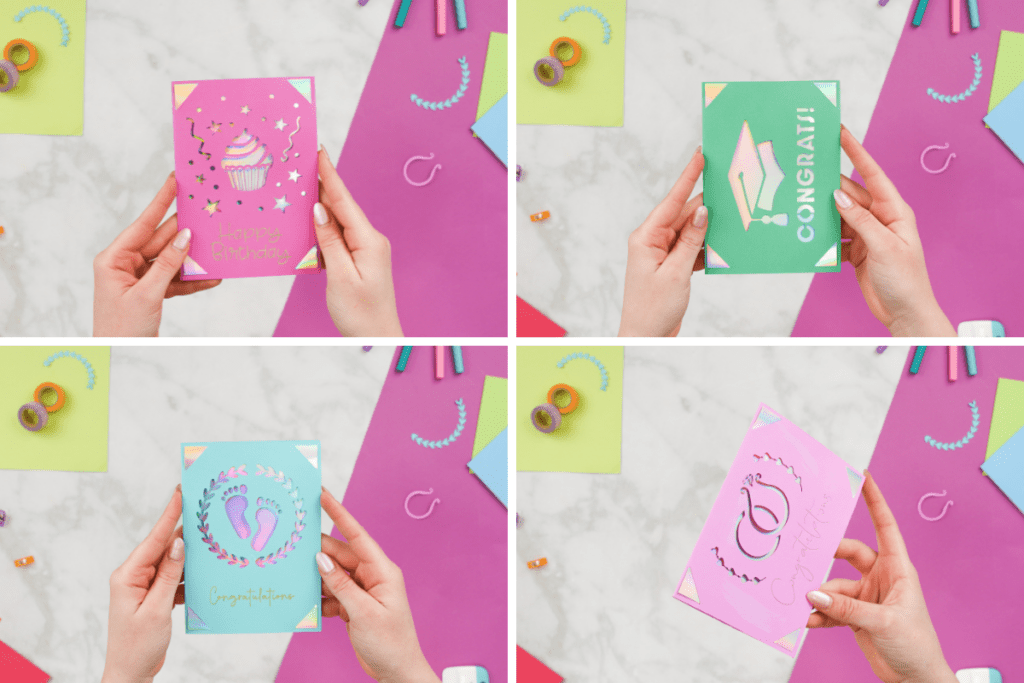
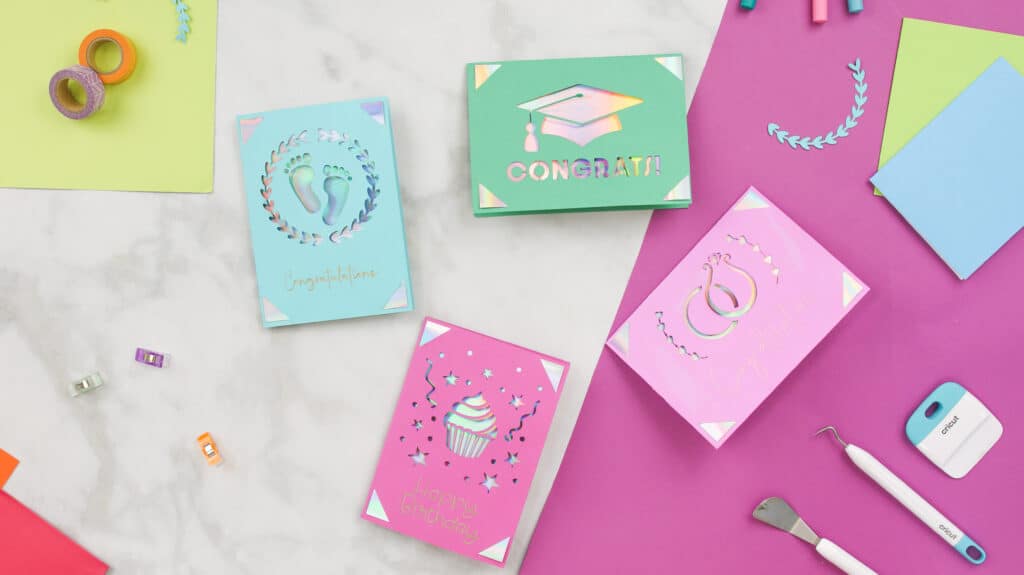
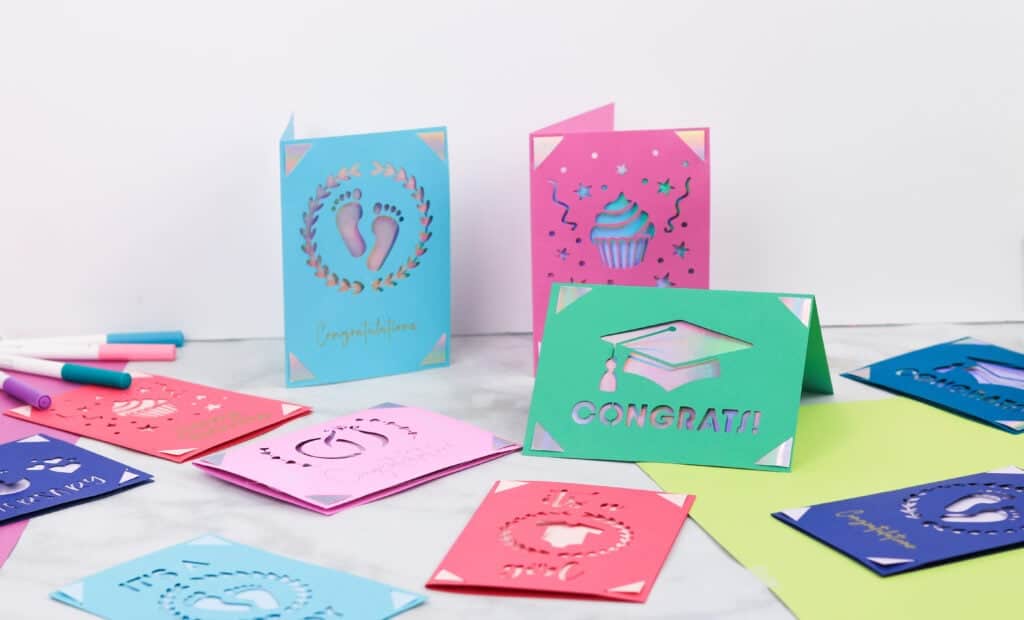
There are ten different designs to choose from to fit almost any occasion.
There's a graduation, three wedding cards, three baby shower cards, two thank you cards, and a birthday card.
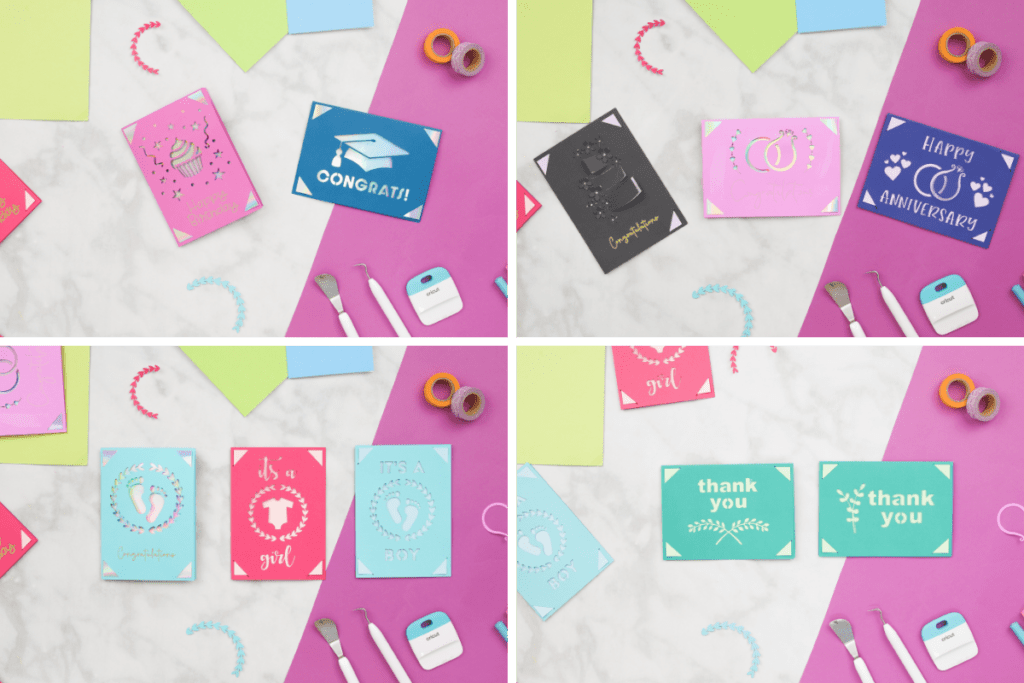
These designs measure R40 - 4.75 in x 6.6 in (12.1 cm x 16.8 cm) when uploaded to Cricut Design Space but feel free to resize them to the sizes that were listed earlier or use the reference down below.
I don't recommend resizing to size S40 because it will distort the image, but any of the rectangle sizes are compatible with these designs.
Step 1: Upload Designs to Cricut Design Space
To Begin this project, Download the SVG files to your computer and open up the Cricut Design Space software.
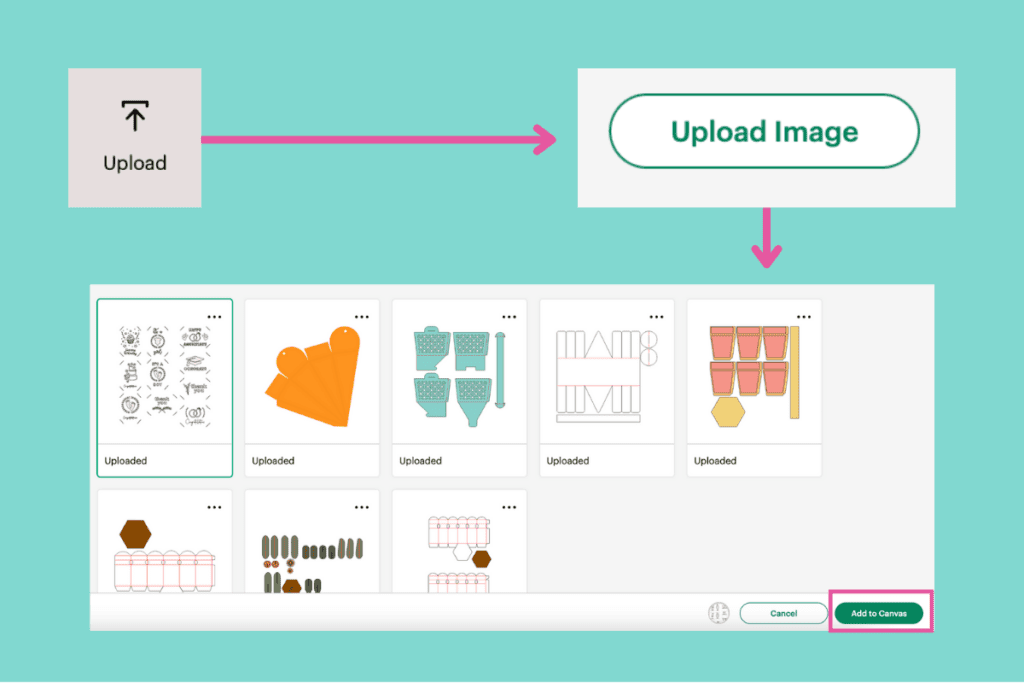
Click Create New Project. Once the software takes you to the canvas, click Upload to the left of the canvas.
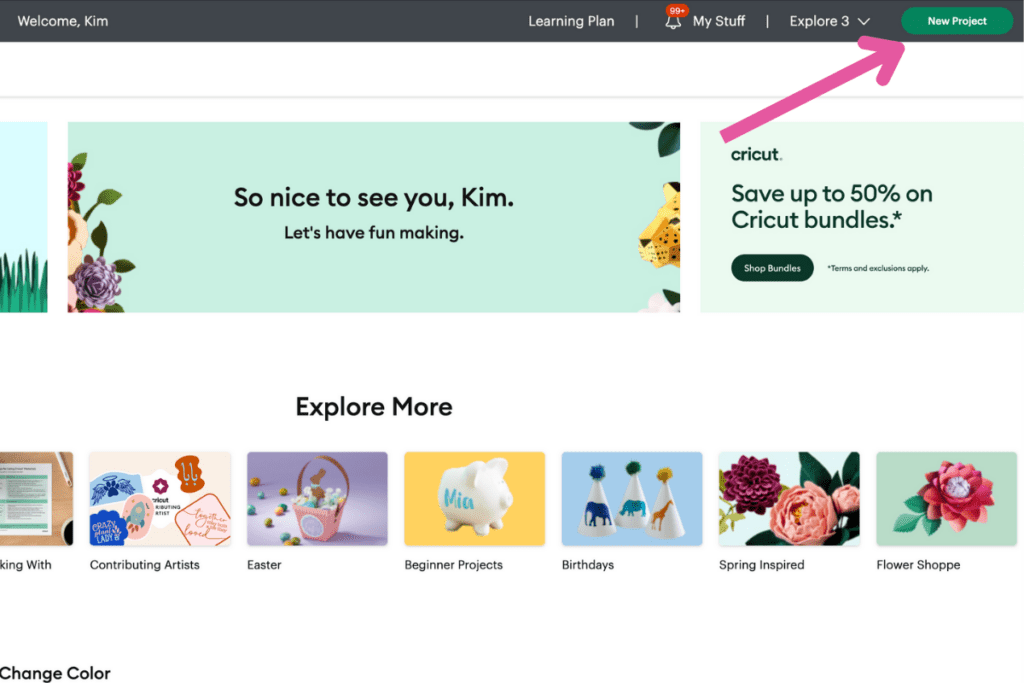
Upload Image, select the Cricut Card Mat design file, and add it to your canvas.
Ungroup the designs by clicking Ungroup above the layers panel.
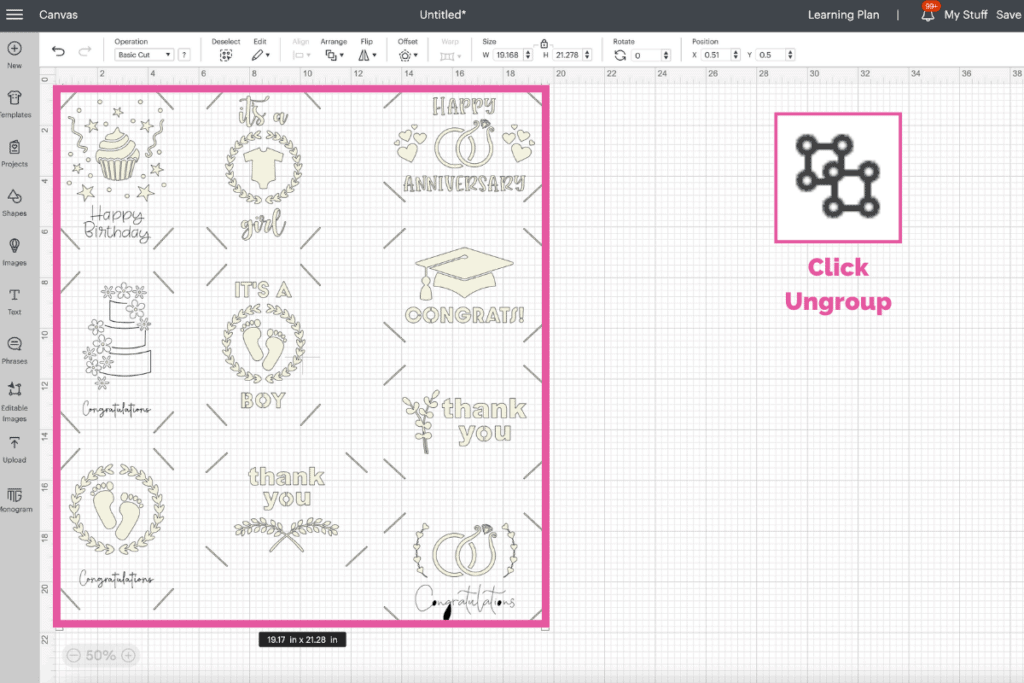
Select one of the designs and use the size references below to resize the design.
R10 - 3.5 in x 4.9 in (8.9 cm x 12.4 cm)
R20 - 4.25 in x 5.5 in (10.8 cm x 14 cm)
R30 - 4.5 in x 6.25 in (11.4 cm x 15.9 cm)
R40 - 4.75 in x 6.6 in (12.1 cm x 16.8 cm)
S40 - 4.75 in x 4.75 in (12.1 cm x 12.1 cm)
Now, let's change some of the cut layers in the layers panel to Pen or Foil. To do this, select a layer, then at the top left of the canvas, find the Operations panel.
Changing Operation to Pen or Foil
Then, change the Operation to Pen or Foil in the drop-down menu.
For example, select “Happy Birthday” from the cupcake design in layers, then above your canvas is the Operations panel. Click on the dropdown menu where it says “Basic Cut” and change it to Pen. Do this to the three “Congratulations.”
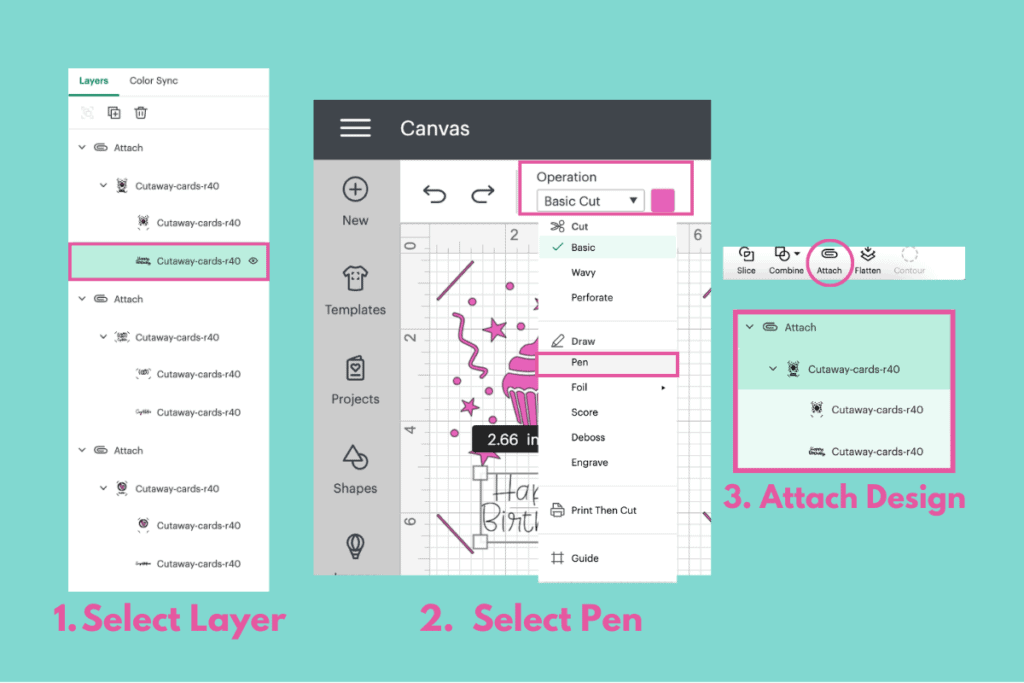
For now, I'm going to select Pen for my cards.
Afterward, select each design and attach them so that pieces of the designs don’t separate when you eventually click Make It. To do this, all you have to do is select a design click Attach below the layers panel, or right-click and select Attach.
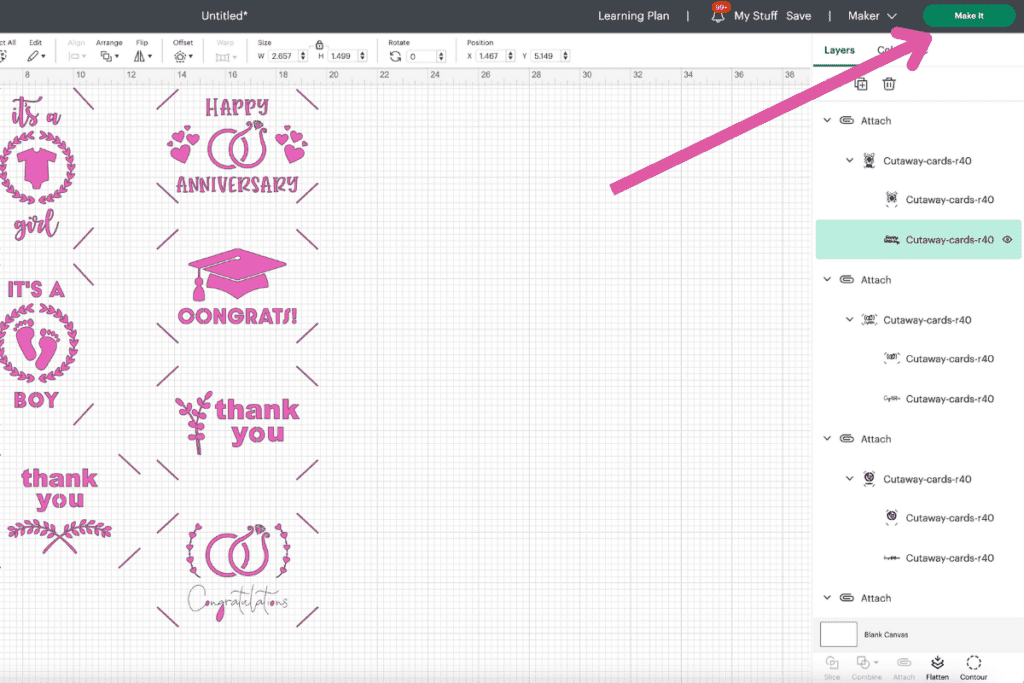
Once you're happy with the designs, click Make It in the top right-hand corner of the screen.
Reminder: If you're wanting to cut 4 cards at a time, the cards have to be the same size and color.
On the Prepare screen, change the Material Load Type from On Mat to On Card Mat.
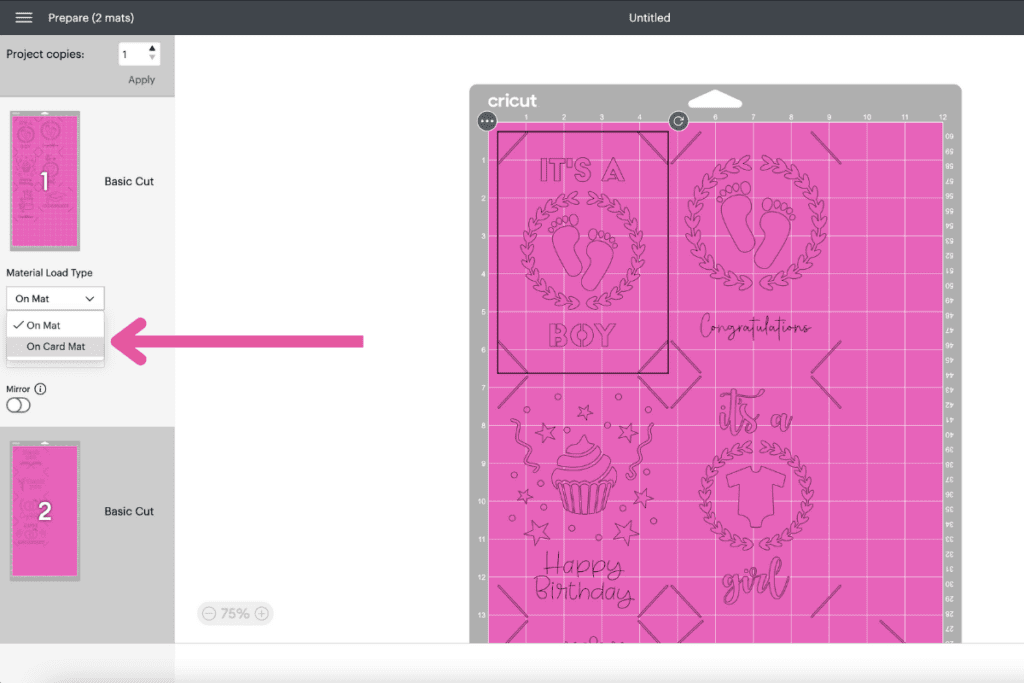
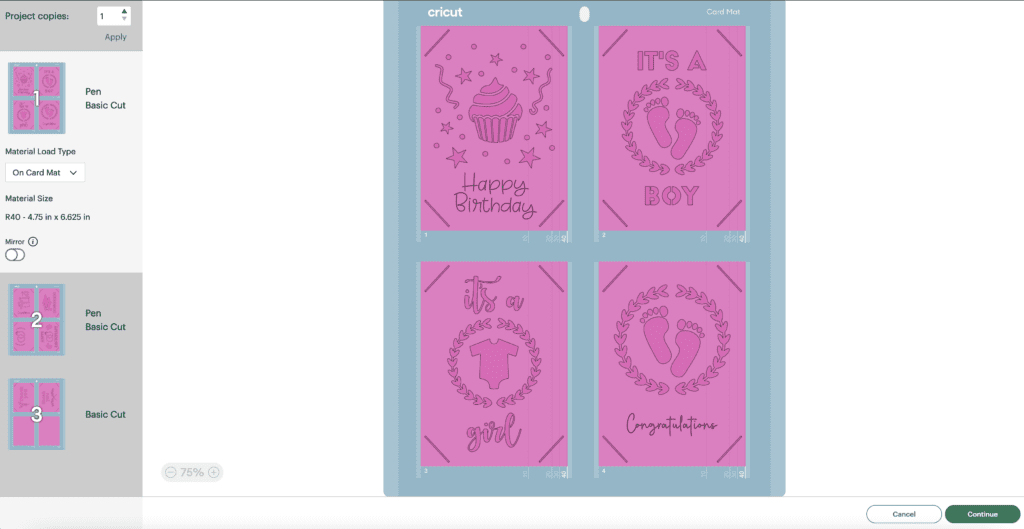
You should then see the standard mat change to the card mat and each design has its own space in 4 corners of the mat.
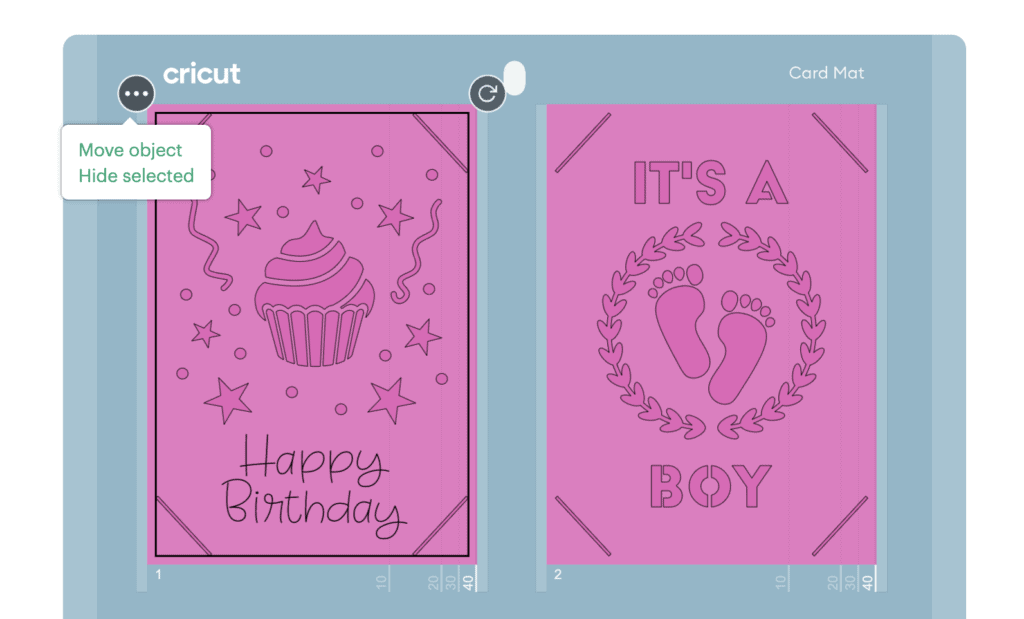
Moving Card Designs
Feel free to move objects or hide selections by hovering over one of the cards and clicking the three dots.
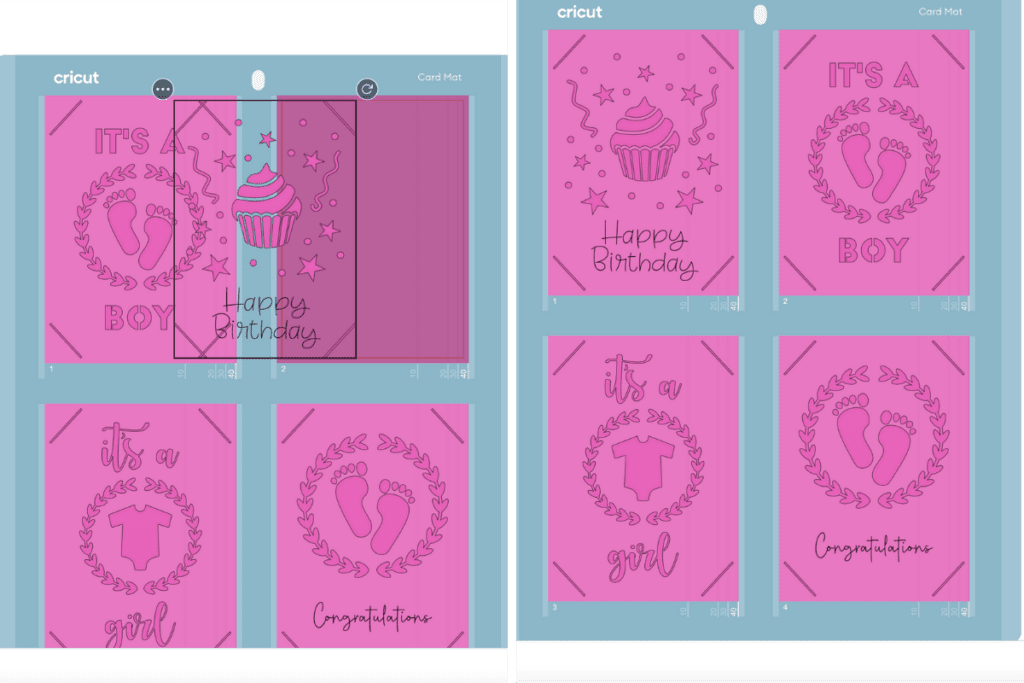
You can also rearrange the placement of the card designs by clicking and dragging them to a different place on the mat, switching places with one another. This is great if you’ve already slipped four cards into the card mat.
Duplicating Card Design
Wanting to cut more than one card of the same design? Change this by clicking the up or down button next to Project Copies on the Prepare screen. Once you’re happy with the amount click Apply.
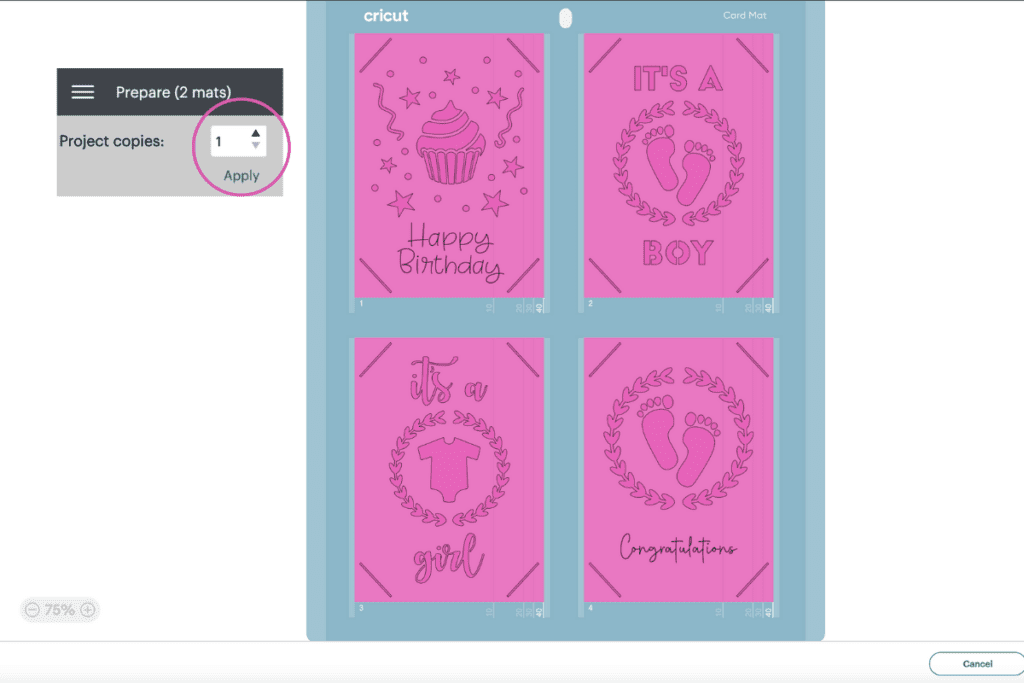
Once you’re happy, click continue and connect to your cutting machine.
The material I’m using is “Cardstock for Intricate Cuts” or you can look for the setting “Cutaway Card + Backer” or "Insert Card- Cardstock" on the cut screen. This was designed specifically for the cards that you are using.
Select your material, I recommend using the Cardstock (for intricate cuts) setting.
Step 2: Add Cards to Mat
Remove protective mat covers and place them shiny sides together to avoid picking up dust
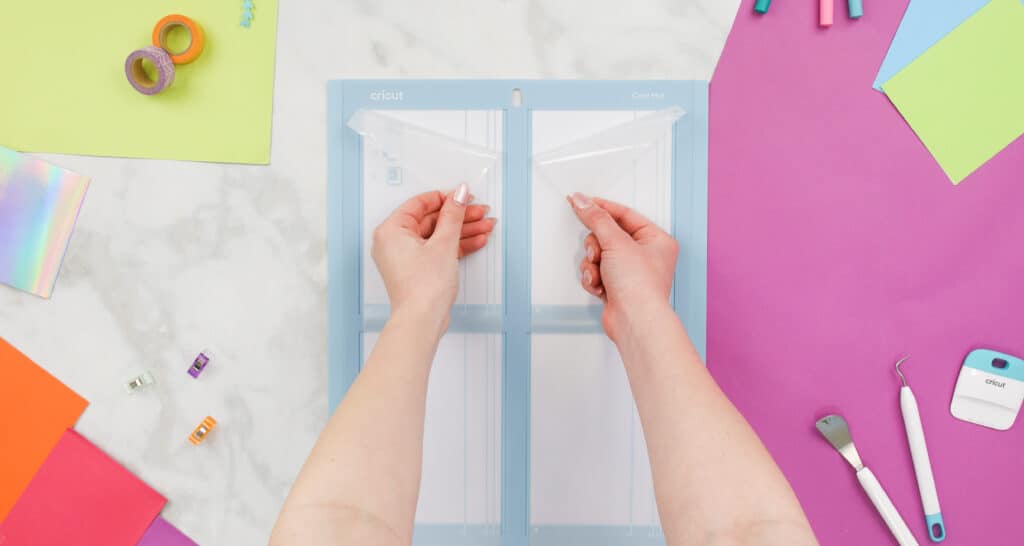
Then, load your cards from the left side of the plastic insert.
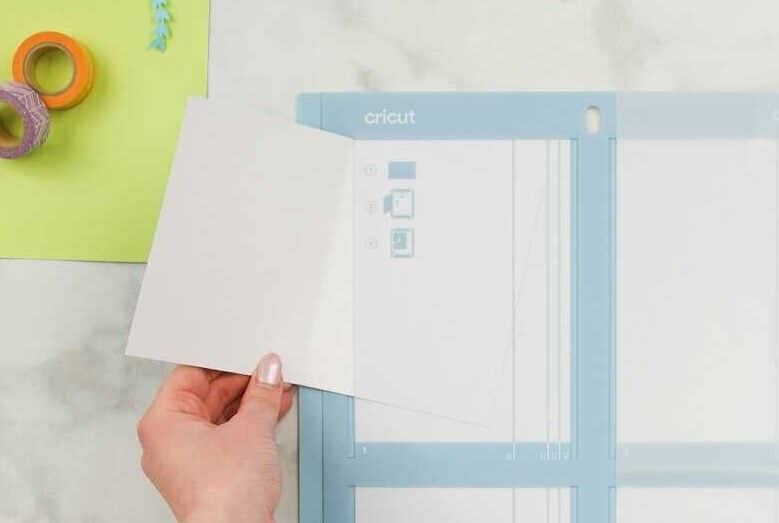
Slide the card all the way to the right aligning it with the guides provided on the divider and flushing the card's crease with the plastic divider's left edge. Then, fold over the front of the card and stick it to the mat, laying it flat.
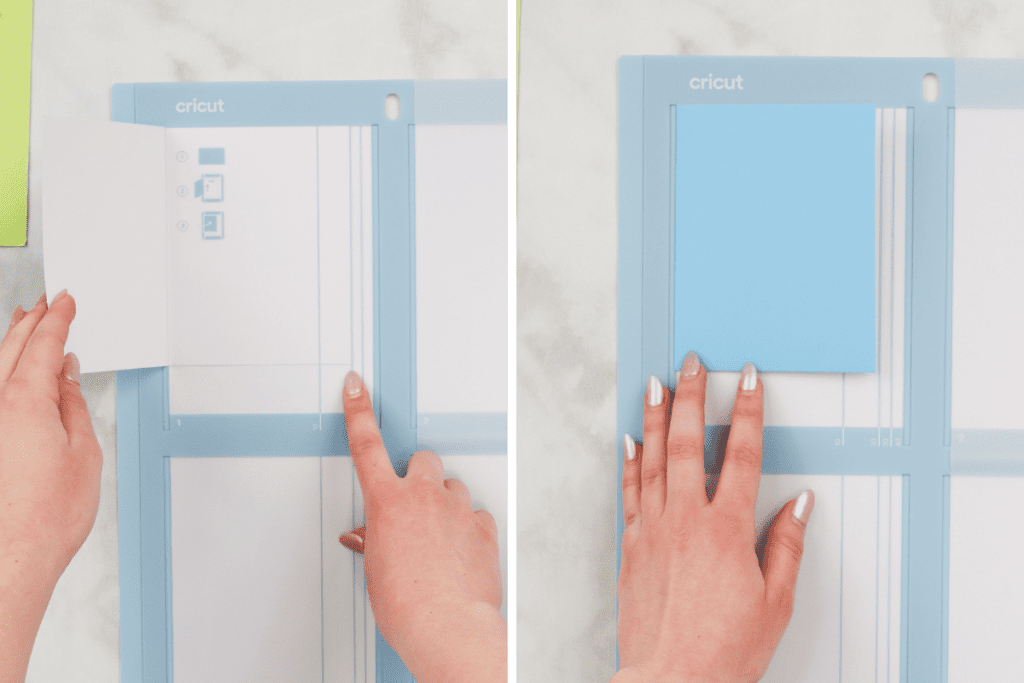
Tip: I would align them to the bottom blue line. With these Cricut card designs, I noticed that if I aligned the card to the very top, the cut marks at the bottom for the inserts seemed too close to the edge of the card.
Step 3: Start Cutting
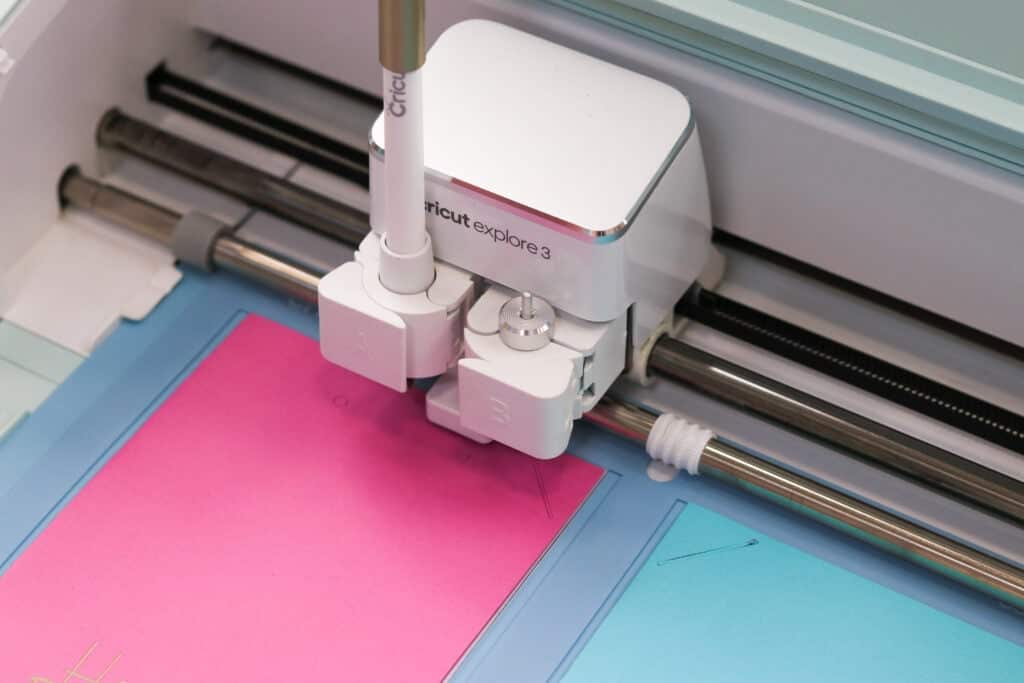
PRO TIP: Before loading, be sure to move the star wheels (white rings on your Cricut cutting machine) to the center of the rail, aligning it with the middle column of the card mat. This helps to avoid getting any dents or track marks on your cards.
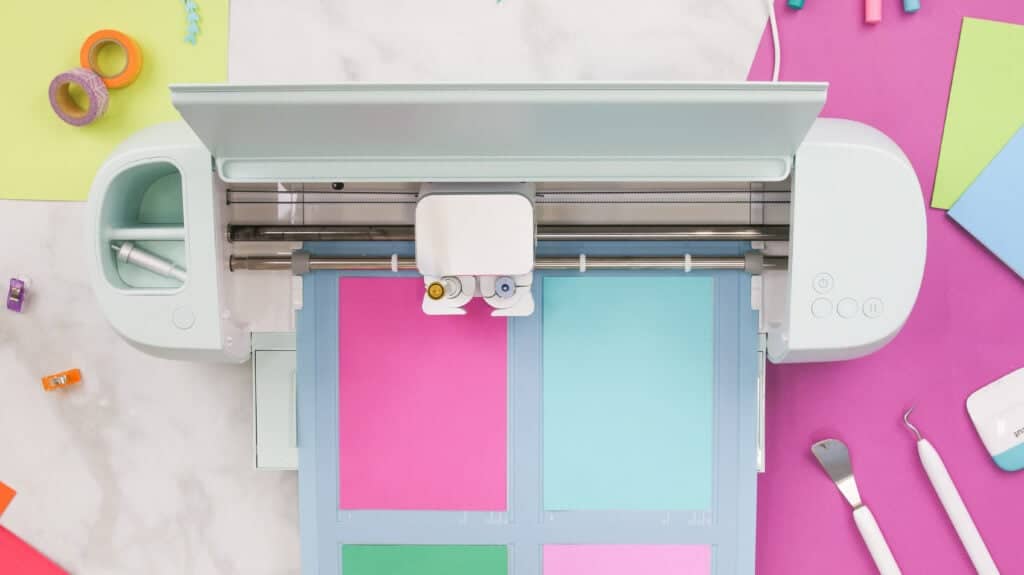
When loading your material, make sure to load the mat with the arrow pointing towards your Cricut machine. If you load the mat facing the wrong way the outcome will end with your designs on the cards not being properly aligned.
Press on the flashing start or "C" button.
It’s just so nice that I can cut 4 cards at a time now!
Adding Foil
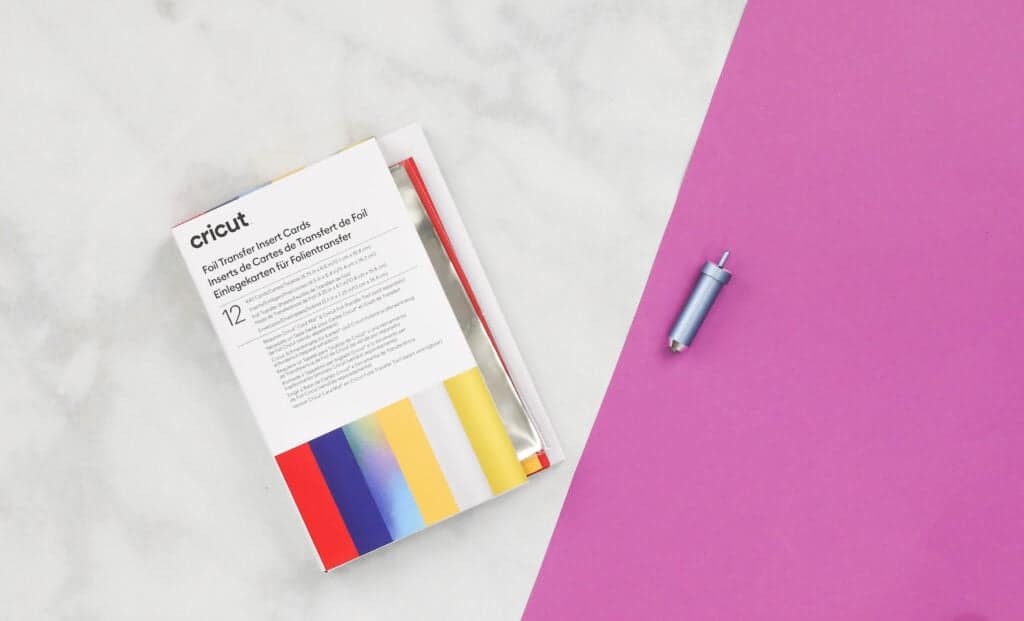
I decided to add foil to my congratulations card. If you're not sure how to apply foil to your cards, don't worry! I'll walk you through the steps. First, insert the foil transfer tool into your Cricut machine.
Then, take a piece of foil from Cricut's Foil Transfer, and some tape.
Add the foil to the card you would like foiled, and tape the four corners of the foil making it taut so that it doesn't move as the foil transfer tool is tracing.
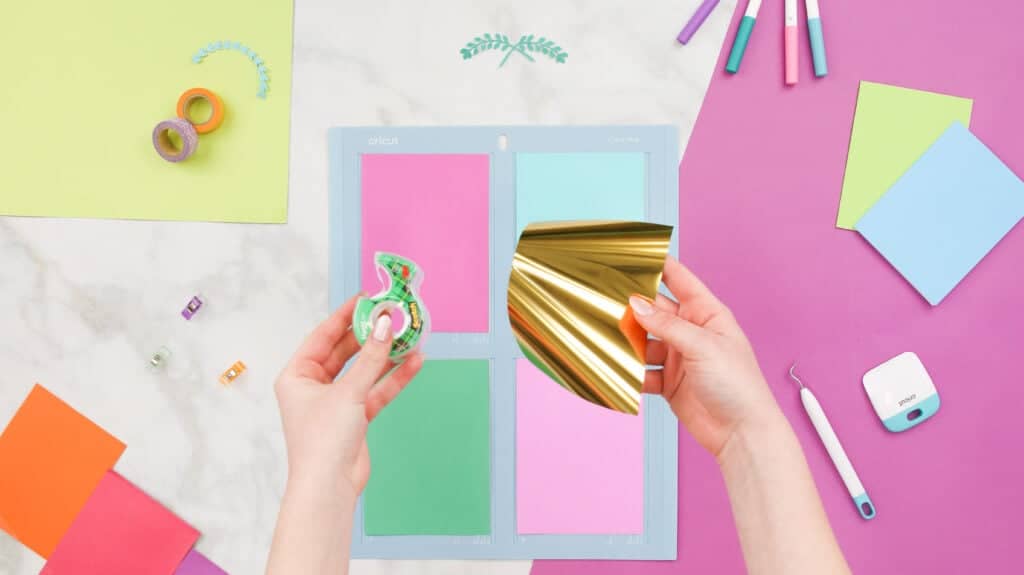
Once the foil is placed, load it into your machine with the foil transfer tool loaded, and press the start. Your computer will let you know when the foil-transferring process is done and will instruct you to remove the foil before cutting.
Step 4: Assemble Card
Once your machine is done cutting, unload from your machine.
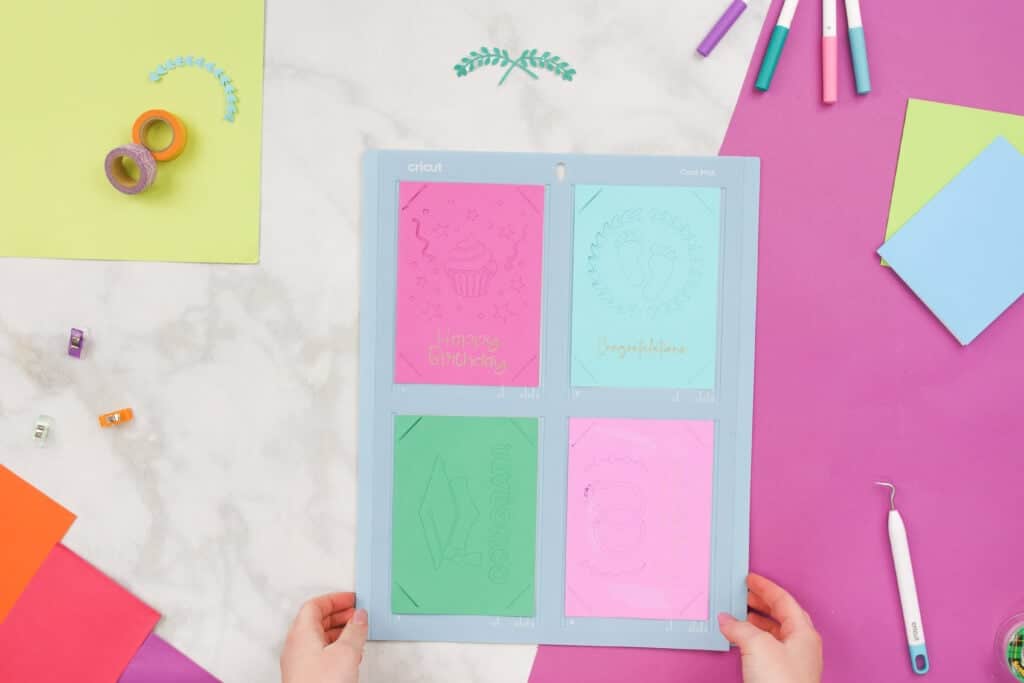
PRO TIP: Usually, I flip my mats over and gently peel the mat away from the material I cut, but for this mat, I recommend taking a spatula or scraper tool to remove the Cardstock from the mat.
Take your scraper tool and gently lift the card off the divider, starting with the corners, then slowly remove the card from the divider leaving the excess cardstock behind and revealing the design.
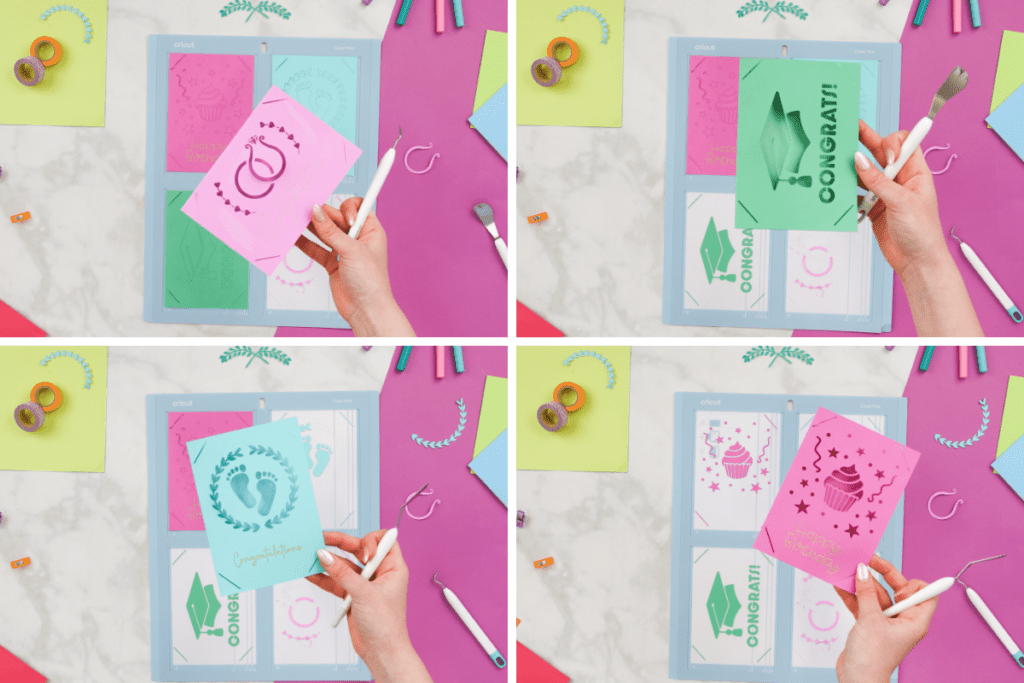
It’s recommended that you scrape towards the top and bottom of the mat rather than scraping towards the sides to avoid getting scraps stuck in the crevices.
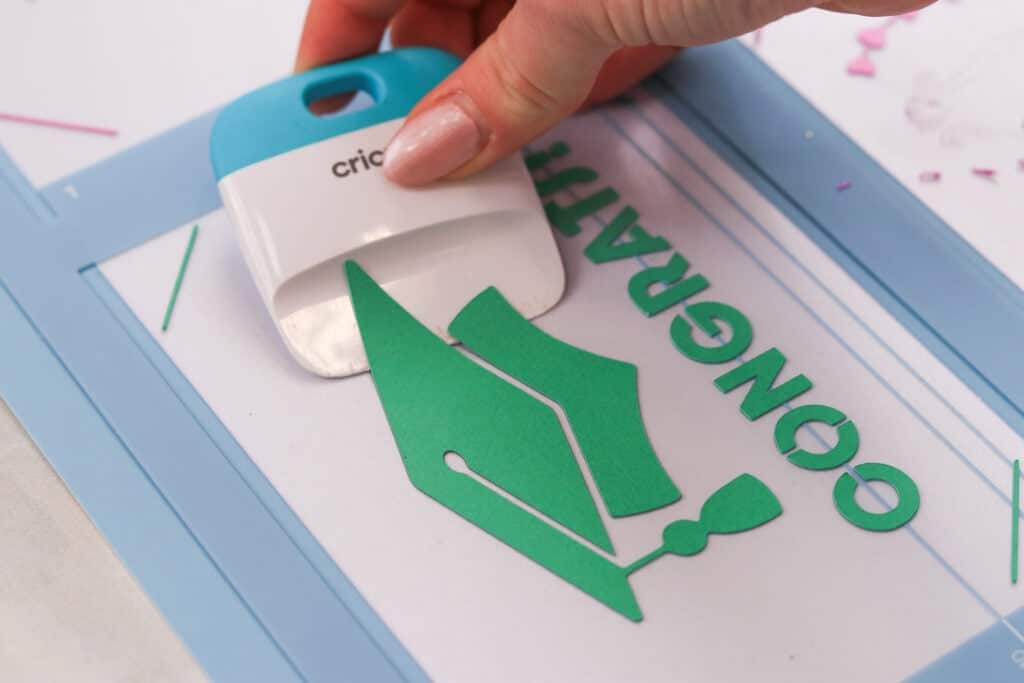
Then, place the protective sheets back onto the mat, glossy side down.
Step 5: Finish Assembling Card
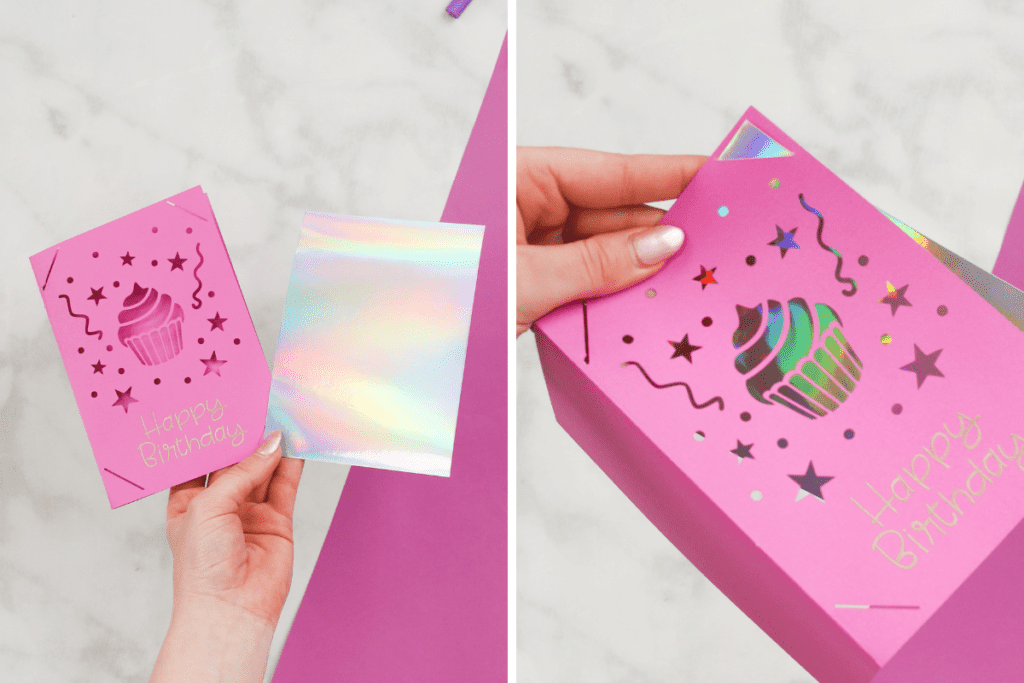
In this next step, you don't need any adhesives! Just take your newly cut card and your insert piece. Then, slide the corners of the insert into the slits, and close your card.
Write or Draw Inside of Card
If you want, you can also write or draw something inside your card on the card mat! All you have to do is fold your card inside out and insert it into the card mat with the inside facing up.
Select the Type tool and type a personalized message, or select an image from one of Cricut Access's many designs!
Change the operation to Pen or whatever material you're using. Select a Cricut pen type from the Drop down menu, then select a color.
Attach your design to your card by clicking Attach in the layers panel.
Then, click Make It.
Reload your material, let the machine write and then unload it.
Finished Cards!
Now you have four finished cards! Repeat this process as many times as you'd like!
Don't want to forget about this blog post? Save it for later! Click here to save to Pinterest.

Wanting to learn more from Sweet Red Poppy? Join my crafting Facebook group where you can show us what you’re making, ask questions, and learn from others!
Follow me on Instagram and subscribe to Sweet Red Poppy on Youtube to watch all my craft tutorials and behind-the-scenes!
Do you want to learn more about the Cricut Joy Card Mat? Click here to learn How to Create One-Of-A-Kind Cards with Your Cricut Joy Card Mat
Wondering which machine you should get? Click here to read my blog post that compares Cricut Explore 3 to Cricut Maker 3 and find out which one works best for you!

Omgosh thank you I just bought the card Matt and I learned soooooo much. Thank you thank you. It’s actually more complicated than I thought. Now I’m anxious to try it out