Gone are the days of running to the store for a last-minute card! With the Cricut Joy and Card Mat, you can create a beautiful card in minutes from the comfort of your own home.

The Cricut Joy Card Mat is designed specifically for creating cards. The mat looks a little different from all of the other Cricut mats.

The top, the clear part is sticky while the blue bottom part of the mat is not, letting you cut the front of pre-folded cards while protecting the back.
Cricut carries its own line of card sets that come with everything you need to make your own custom cards with the Card Mat. The packs come with pre-scored cards, liners, and envelopes.
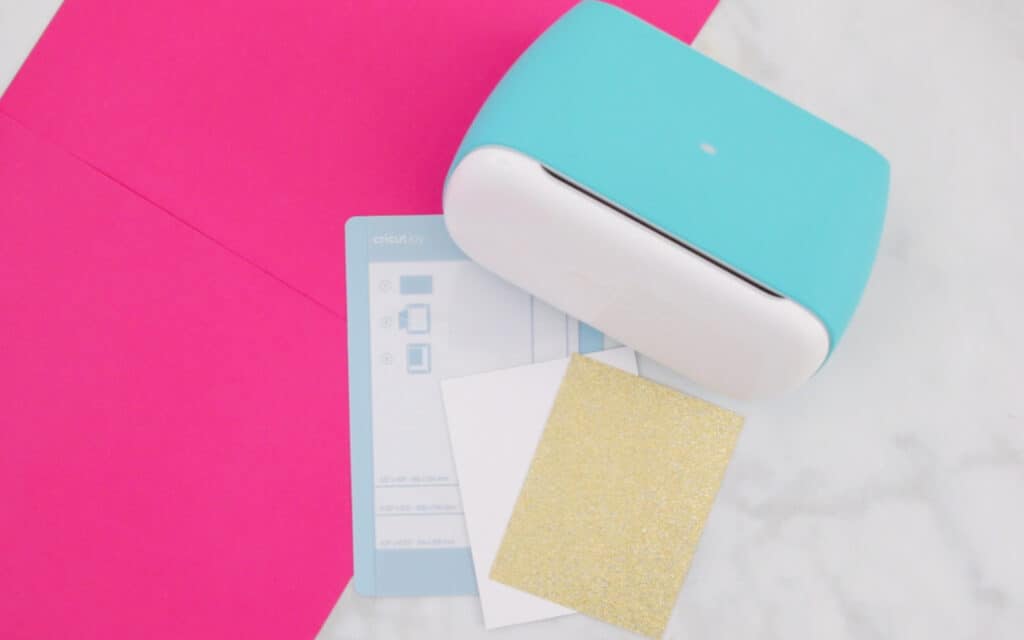
Supplies:
- Cricut Joy
- Design Space Ready-to-Make Project
- Cricut Joy Card Mat
- Cricut Card and Insert
- Scraper
Step 1 - Prepare
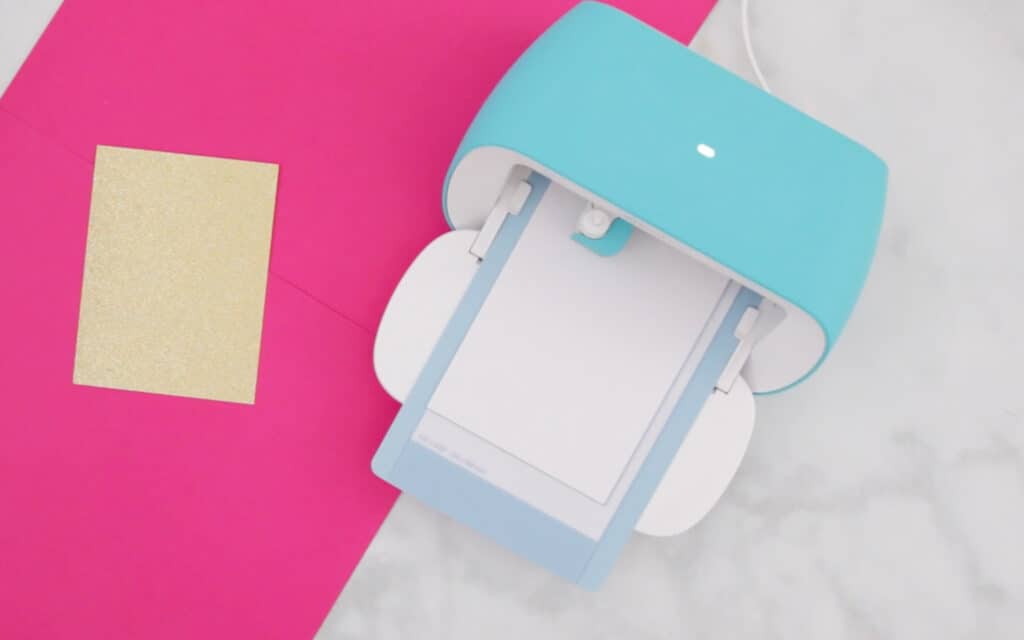
To start, peel the clear liner from your Cricut Joy Card Mat.
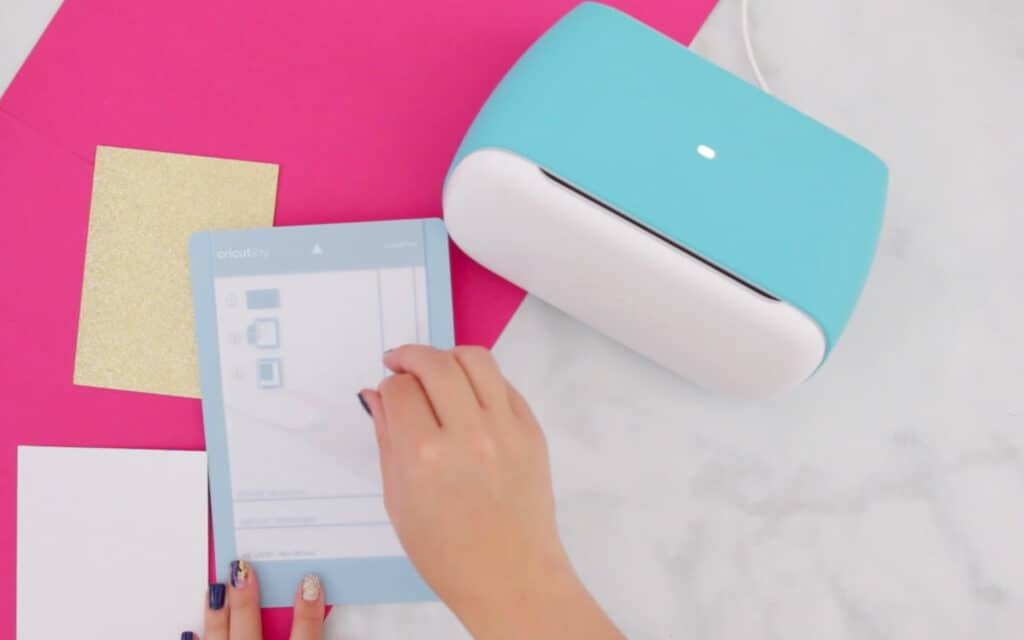
Slip the pre-made card underneath the attached liner and line it up with the guidelines. Use your scraper to make sure the card securely adheres to the mat.
Now that the card is ready to be cut, open up Cricut Design Space.
You can find a variety of ready-to-make cards for your Joy in Design Space.
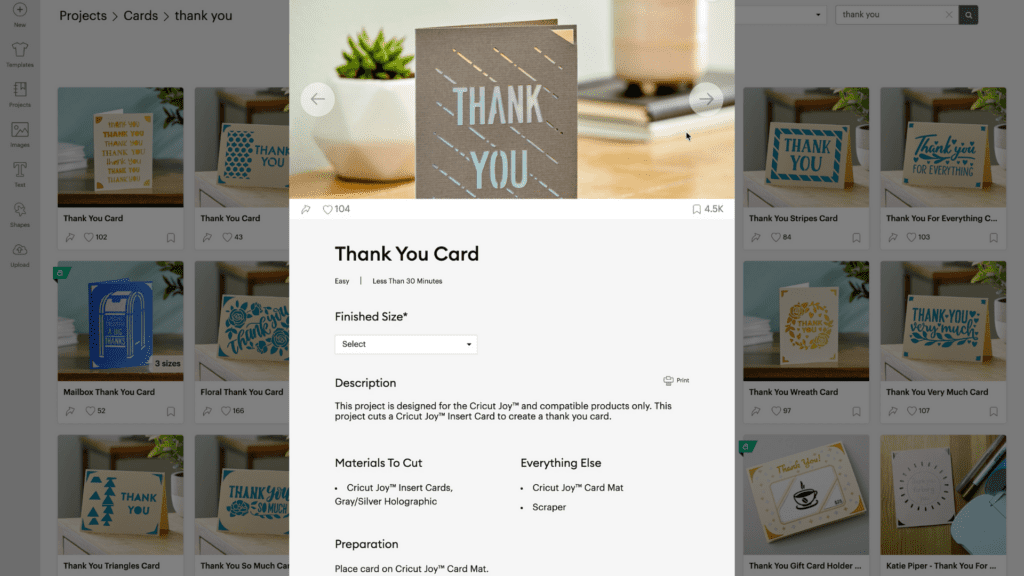
Choose your own design from a variety of pre-designed cards.
Select “Make It.”

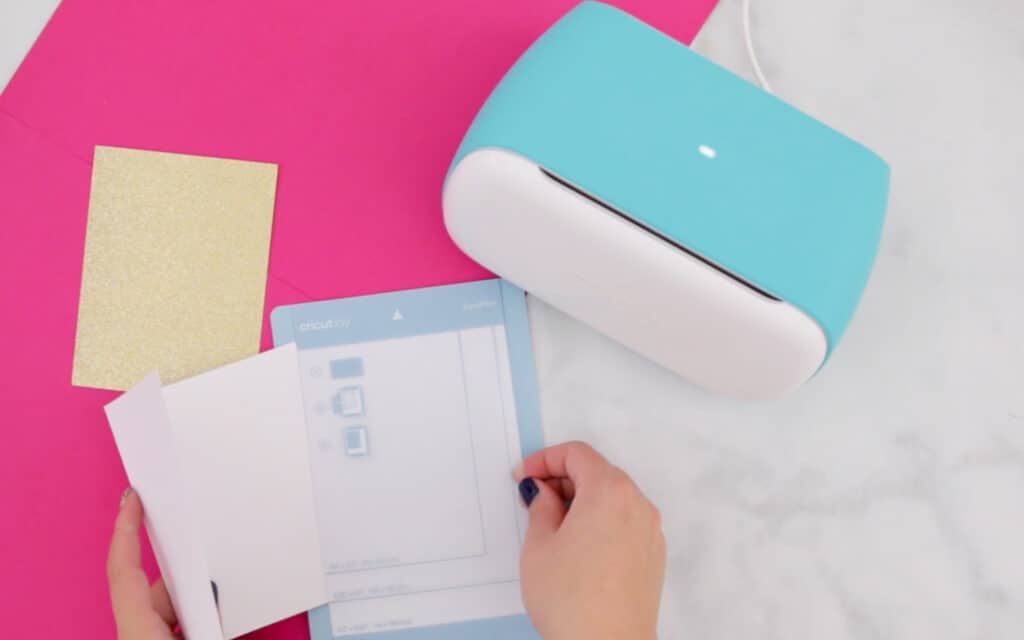
Step 2 - Cut
Press “Go” within Design Space and your Joy will begin cutting.
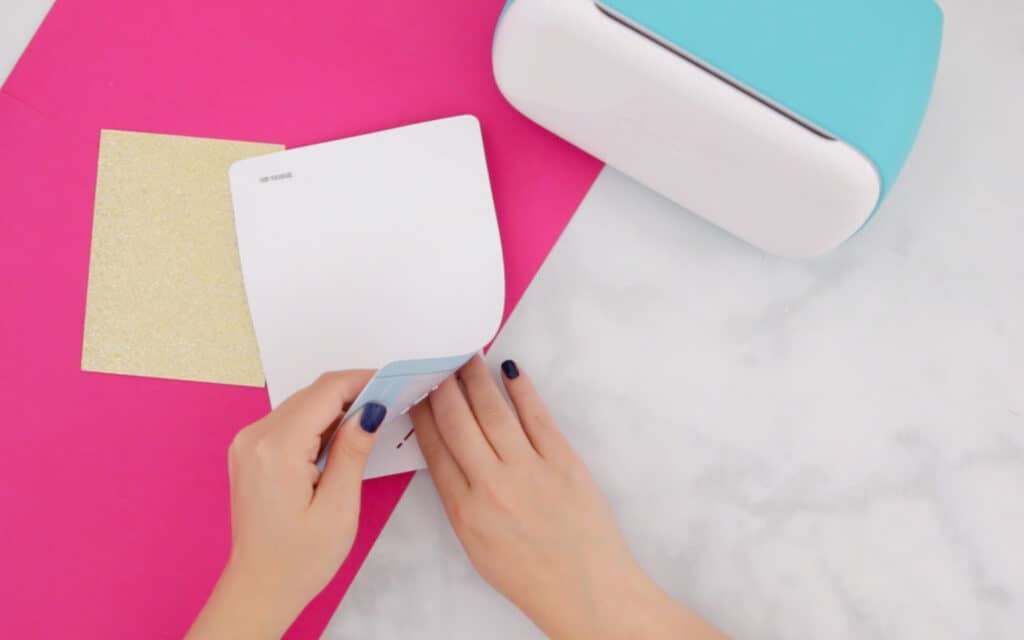
Unload the mat once the cut is complete.

Flip the mat upside down and gently peel the mat away from your card.
Step 3 - Assemble
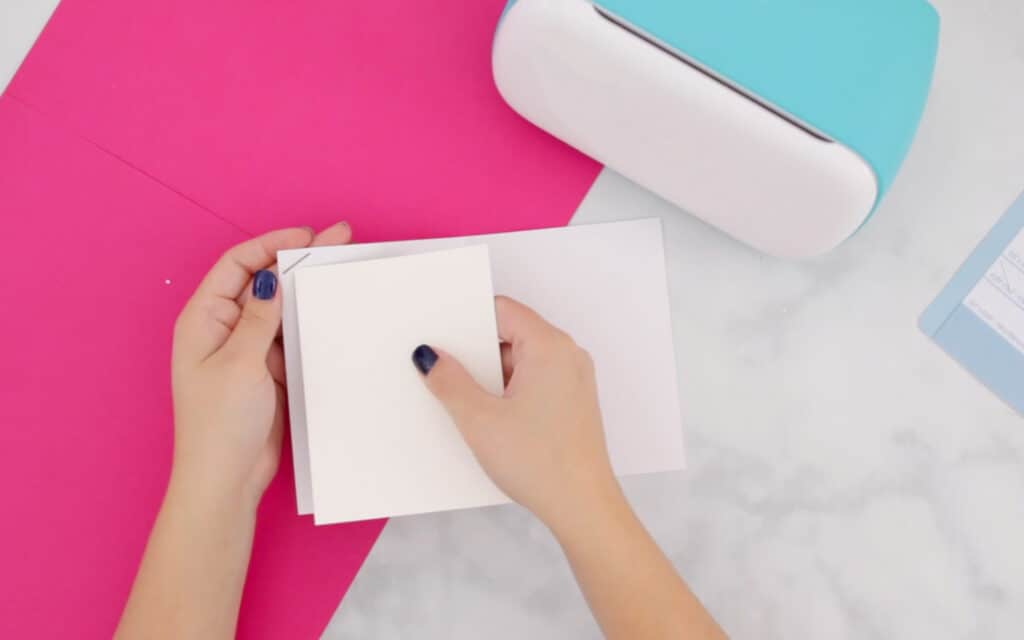
Finally, slide a liner into the four corner slots.
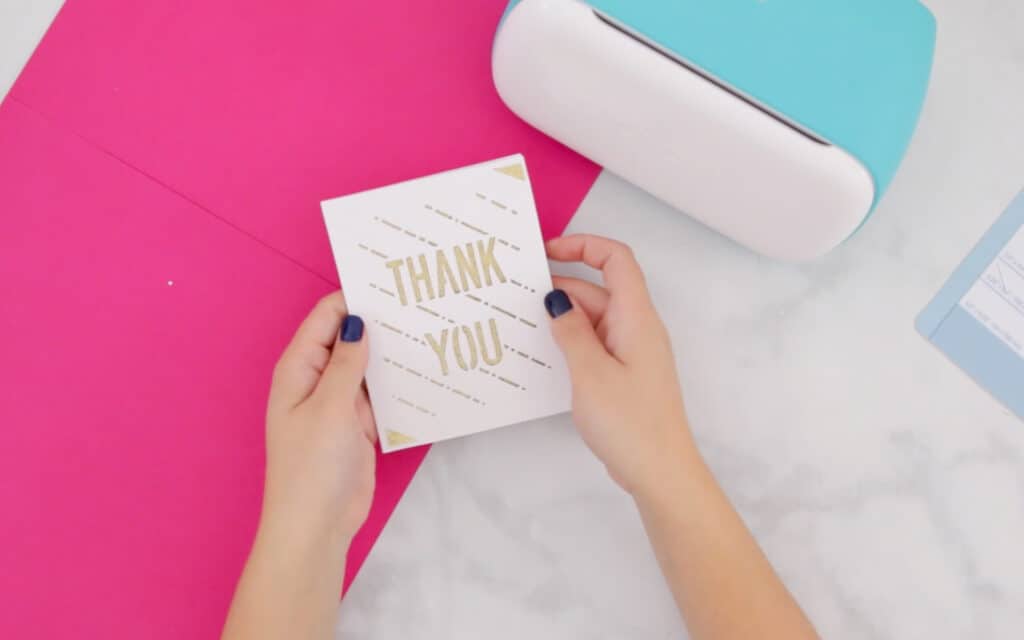
Now you have this cute card! Wasn’t that easy?
I can’t wait to see all of the adorable cards you make with this machine. To learn more about the Cricut Joy, click HERE!
Leave a Reply