Learn How to Sew Pajama Pants for the Entire Family With This Free PDF Sewing Pattern and Tutorial.
Sewing a pair of pajama pants is the perfect beginner-friendly sewing project! In fact, it was one of the first projects I ever made in my sewing classes as a new sewist.
In this tutorial, I’ll be sharing a free downloadable PDF sewing pattern in sizes for men, women, teens, children, and babies. This pattern includes sizes from preemie up to 6X.
I'm also sharing tons of tips and tricks to help you make these pants as well as a step-by-step video that you are going to love! Did I mention that this pattern has pockets?!?

Nothing gets me as excited for the Christmas season as a new set of family Christmas PJ's! Our family likes to start out the month of December with a new set so we can enjoy them for the entire month of December.
The best part about this pattern is it can be reused all year long!
My men's and women's patterns are both size-inclusive and go up to a hip measurement of 60.5" and 71" respectively. The women's pattern features a more curvy fit while the men's pattern is a straighter fit.
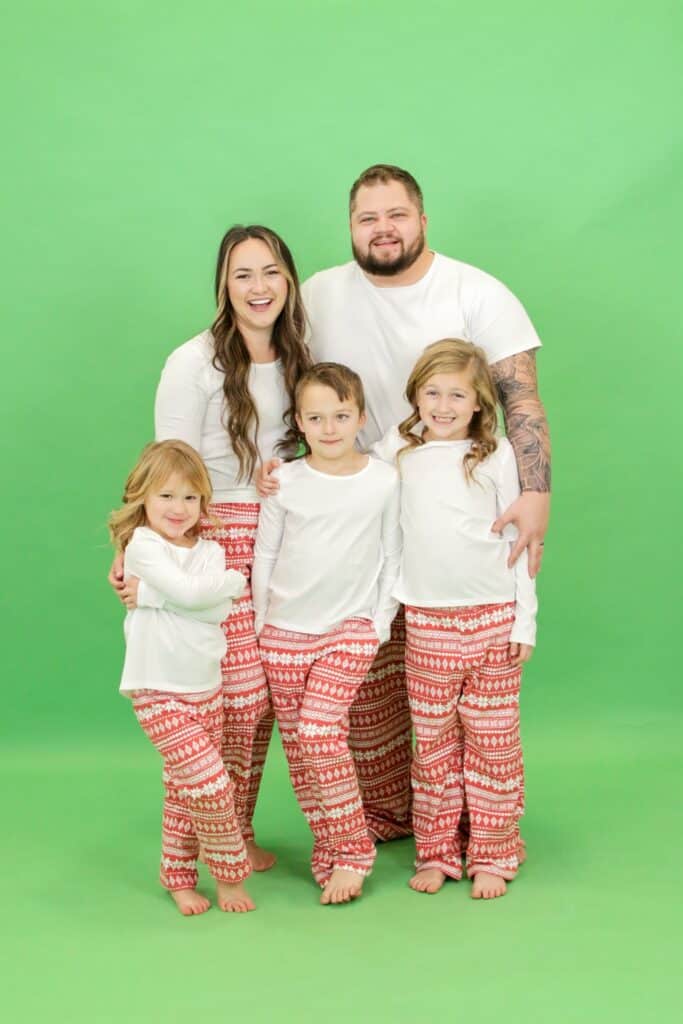
Recommended Fabric for Sweet Red Poppy's PJ Pants
Let’s talk about the fabric you will need for this pattern.
I recommend using a lightweight to medium-weight knit fabric. Look for a two or four-way stretch knit fabric. I recommend shopping the POP! brand of knit fabric from JOANN. This fabric works perfectly with this fabric and it comes in a variety of fun prints for every holiday.
You can also use this pattern with a woven fabric like quilting cotton or flannel because the pattern features 3.5" of ease. I would recommend going up one size to make sure the fit stays loose and relaxed.
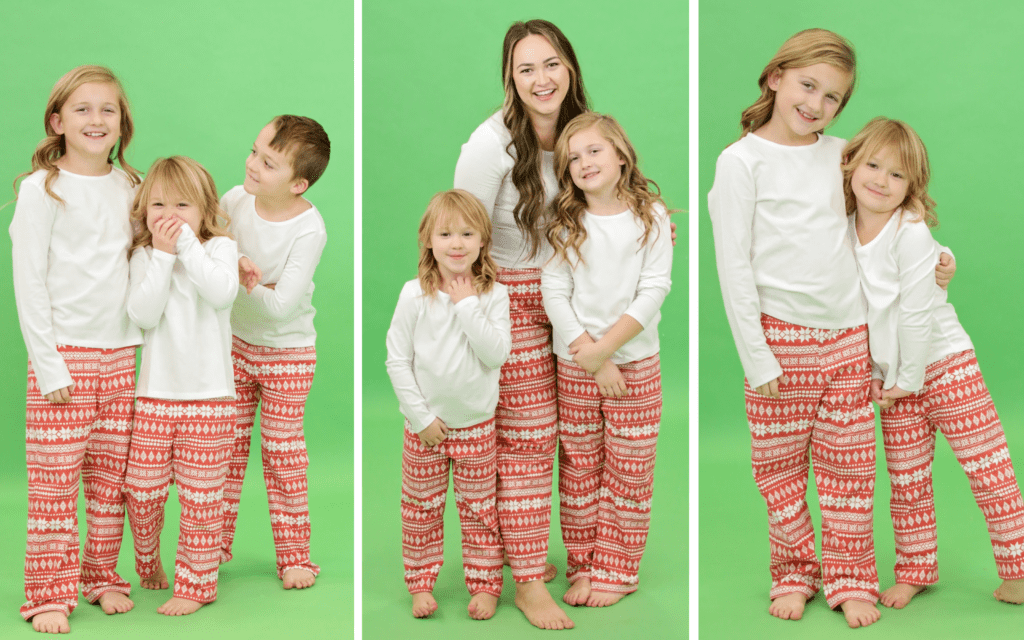
This pattern requires between 1-3 yards of knit fabric depending on the size you are making. Be sure to check the printable instructions included with the pattern download for specifics on your exact size.
I’ll be using a ⅜” seam allowance throughout this tutorial and I’ll be sewing on a serger and a sewing machine. However, this pattern can be made completely on a sewing machine if you don’t have a serger.


Are you ready to get started? Here are the supplies you will need for this project!
Pajama Pant Supplies
Supply List
- 1 - 3 Yards 2-Way Stretch Knit Fabric
- Sewing Machine and/or Serger
- Scissors or Rotary Cutter & Mat
- Thread
- 1" or 2" Wide Elastic
- Knit Interfacing
- Acrylic Ruler
- Pins
- Iron & Ironing Board
- Ballpoint Needle
- Printer Paper
- Tape
Table of Contents
DOWNLOAD THE PDF SEWING PATTERN HERE!
The pattern will download as a zipped file. Unzip the file to access the patterns and the instructions.
Make sure to refer to this blog post for the most thorough guide for this pattern. The pattern instructions that you downloaded have an abridged version.
How to Sew Pajama Pants
Step #1 Take Your Measurements
Taking good measurements is the best way to ensure that you get a good fit. You can refer to the measurement chart included in the pattern instructions download and circle each size that your measurements correspond with.
You may need to grade different sizes and adjust the length to get the best fit. I’ve included instructions for this in my pattern download.
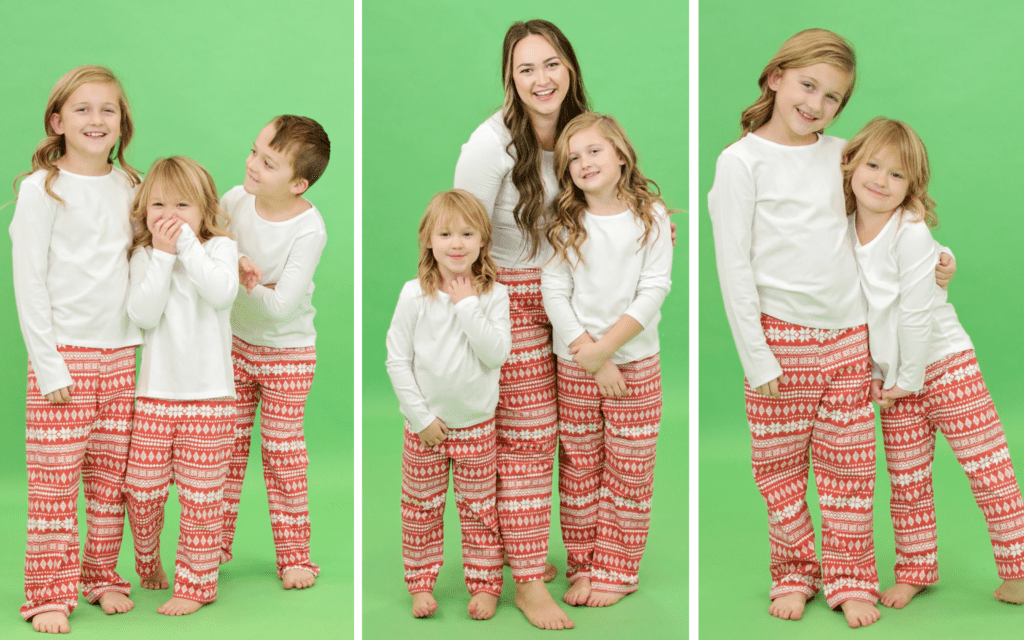
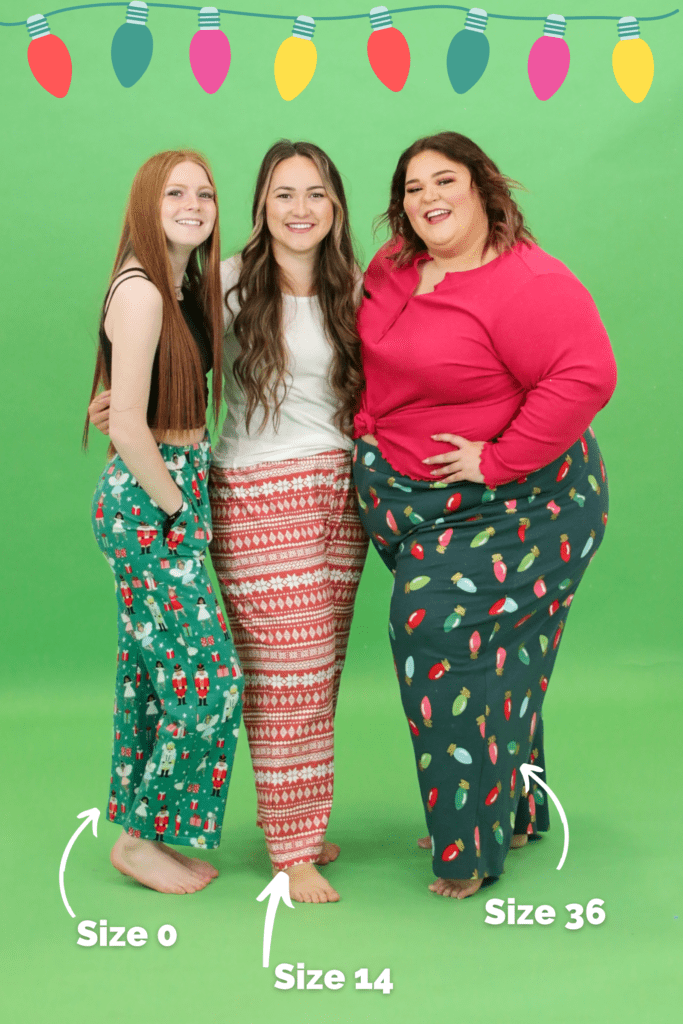
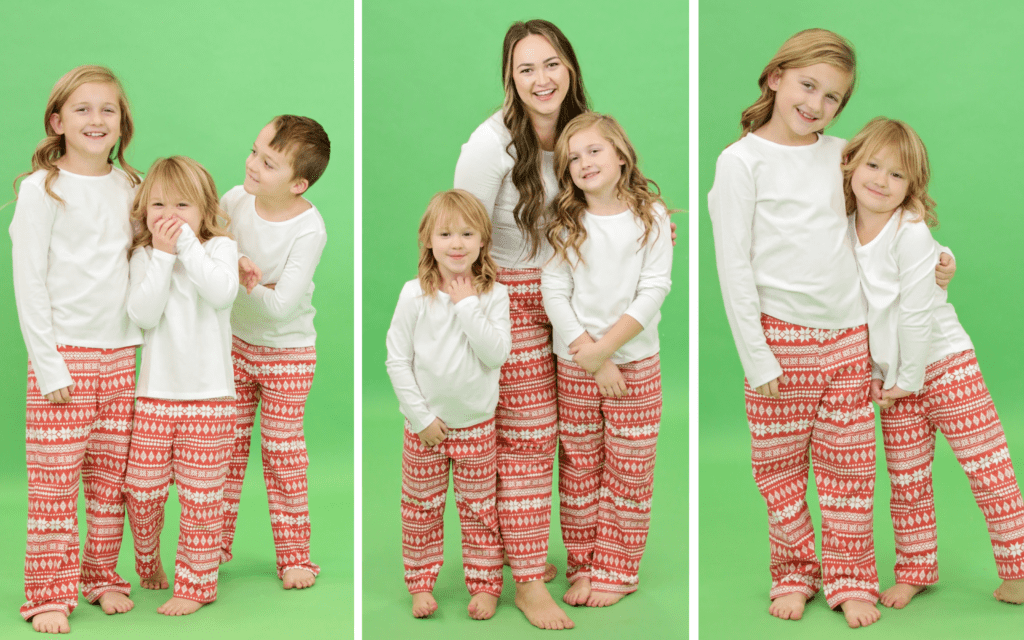
This pattern is meant to fit a variety of sizes and be as size-inclusive as possible! You can see how this pant fits on a variety of different-sized bodies below.
STEP #2: Download the Pattern
Download the pattern to your computer and open up the pattern in Adobe Acrobat. It’s important that you don’t open it in an internet browser as this can change the sizing of the pattern.
If you want to save paper and ink, you can use the layers option. To do this, click on the"paper" icon on the left-hand side of the PDF.
Deselect the sizes you don't want to print leaving only the size you wish to print selected.
Now you can print the pattern at 100% with no scaling.
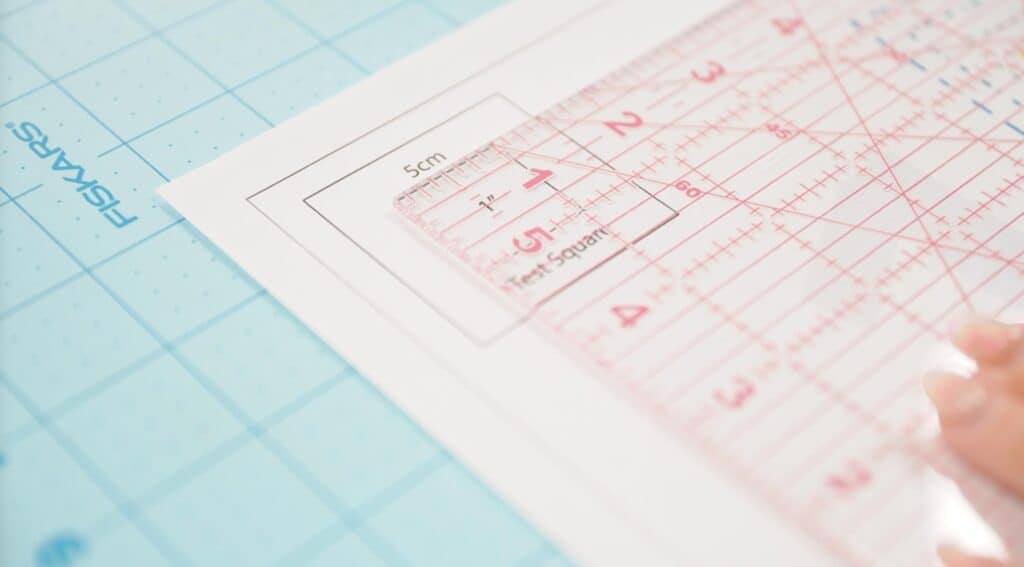
Immediately check the 1” x 1” square to ensure the pattern has printed off correctly. If the 1" square measures larger or smaller the pattern will need to be reprinted for accuracy.
STEP #3: Assemble the Pattern
Align the circles and black lines together as you are piecing the pattern together. You can connect the pieces of paper with tape or a glue stick.
Feel free to trim off the excess from each piece of the pattern or hold the pieces up to the light and align them together without trimming.
Once you reach a paper without any stars on the right-hand side you can move down and start a new row.
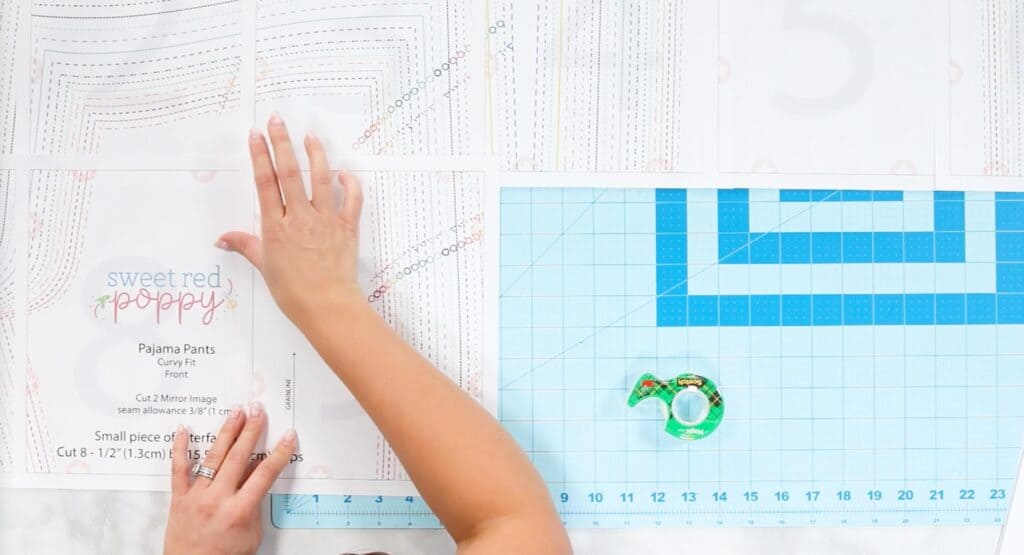
There are three different sizes so they will each go together in a slightly different order.
Refer to the pattern instruction download for a pattern assembly guide.
Once you have everything taped together you can cut out your size. I’m going to use a rotary cutter to cut along the smallest size.
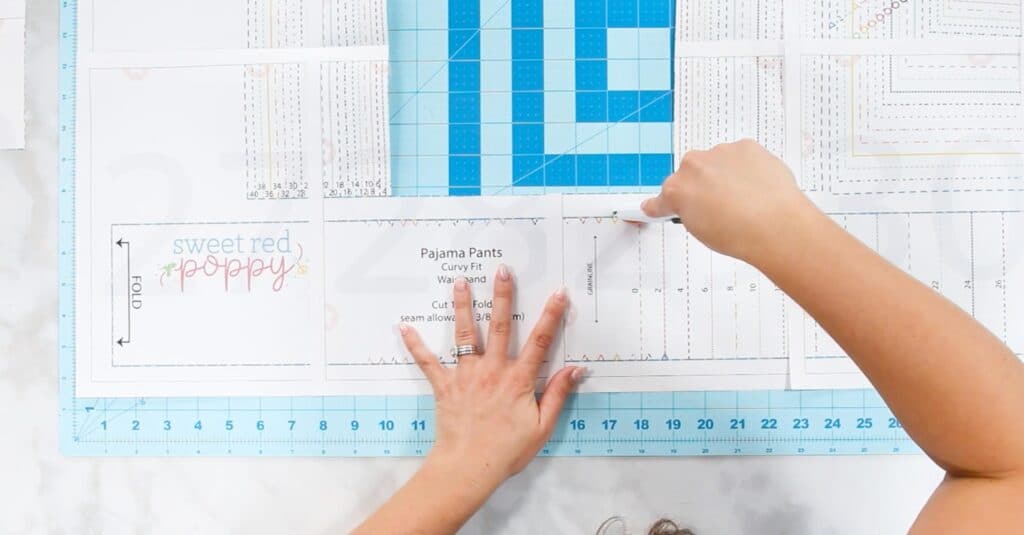
You should have a front, back, pocket, and waistband pattern piece.
STEP #4: Cut Out the Fabric
Let’s move on to cutting out the fabric for our PJ pants.
Your knit fabric should be washed and dried before you cut it out. This will help to preshrink the fabric and prevent the color from running.
Lay the fabric out in front of you. I’m going to start out by cutting out my front PJ pieces. You need to cut two pieces and they should be mirrored images. You can easily do this by folding the fabric in half, laying the pattern piece on top and then cutting it out.
Refer to the pattern download instructions for a fabric layout chart.
Repeat this same process for the back pieces.
Make sure to transfer any marking for the pockets from the front and back patterns to the fabric.
Now, move on to the pockets. You will need 2 sets of mirrored images.
Finally cut out your waistband.
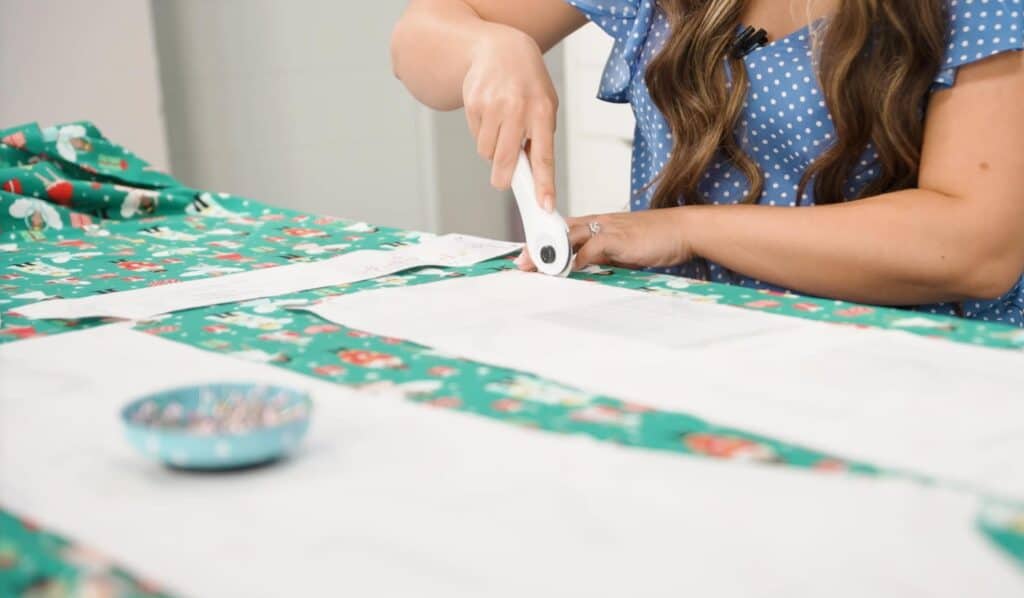
Now that all of your fabric has been cut out, it’s time to cut out your interfacing. You will need 8 strips of lightweight interfacing cut to .5” x 15.5”
Refer to the elastic chart and cut out your elastic. I’m going to cut out 23”.
STEP #5 Press Pattern Pieces
Fold the bottom hem up towards the wrong side 1/4" (.6cm). Press well.
Press the hems 3/4" (2cm) up towards the wrong side and press them.
Next, fold the waistband in half longways, wrong sides together, and press well.
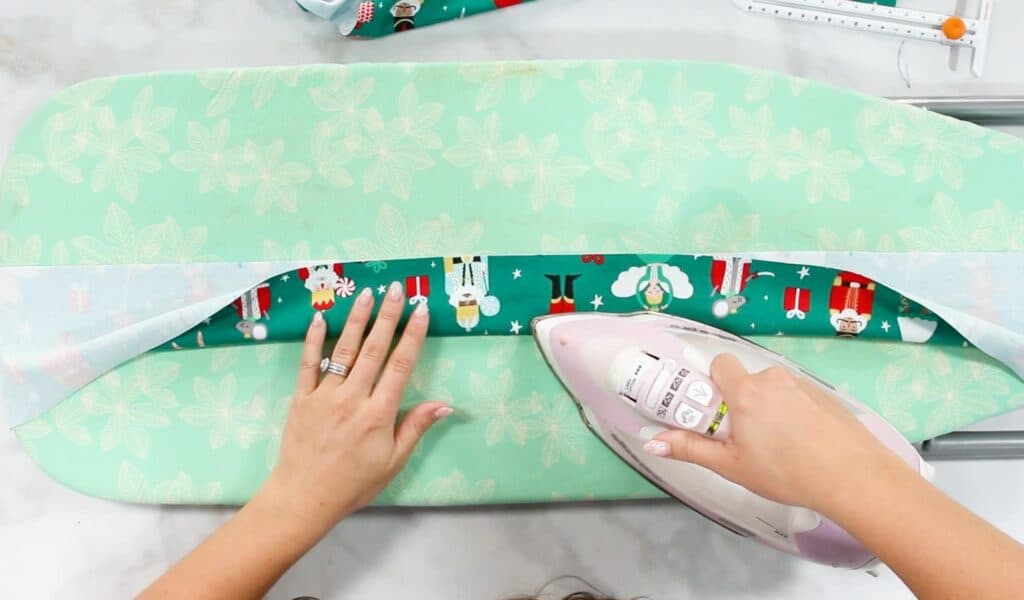
Pin the waistband together and sew along the short edge.
Refer to the elastic cutting chart on the pattern pieces.
Step #6: Sew the Pockets
Press a 1/2" strip of interfacing on the wrong side of the straight edge of the 4 pockets.
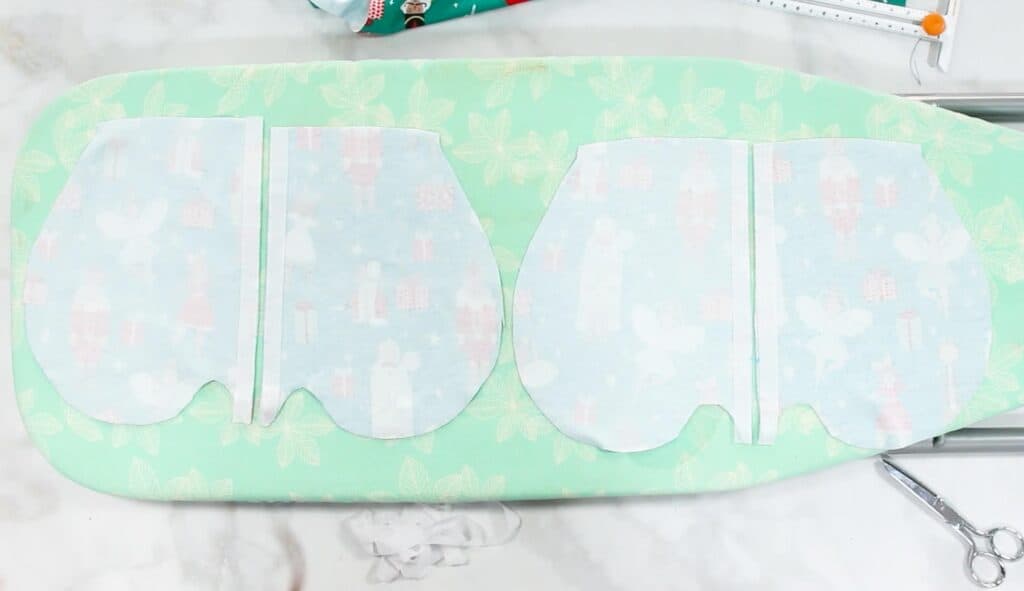
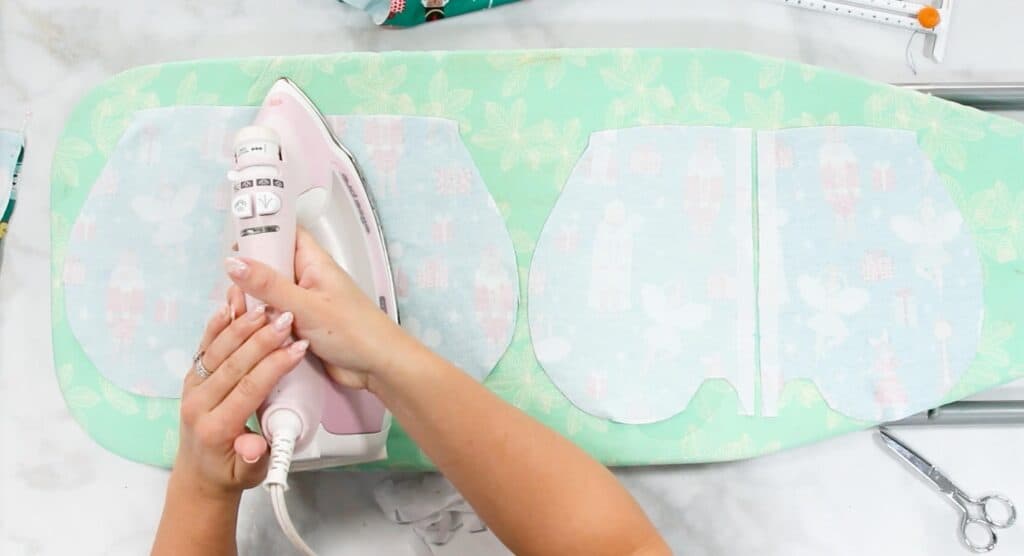
Press 1/2" strip of interfacing on the wrong side of pants between the pocket placements.

Lay the right side of the pocket onto the right side of the pants lining up the markings.
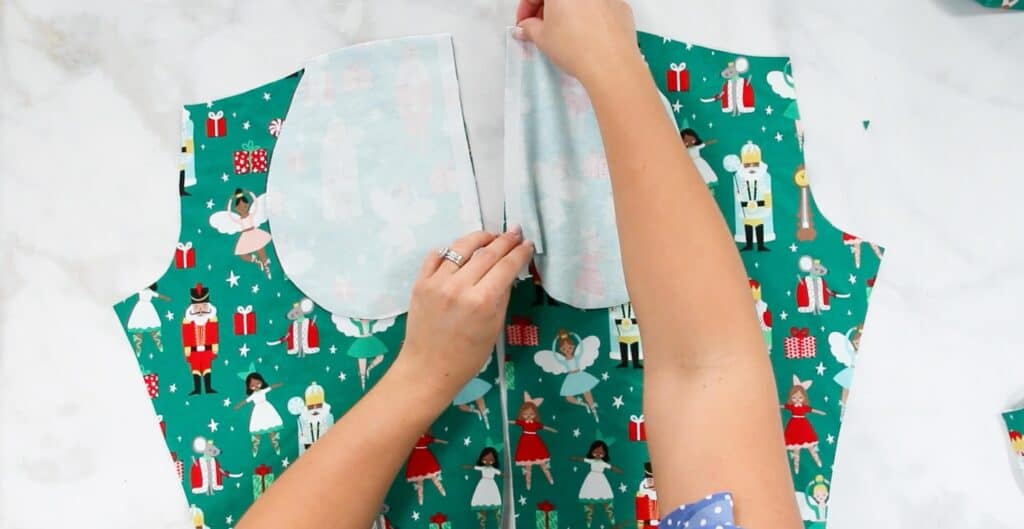
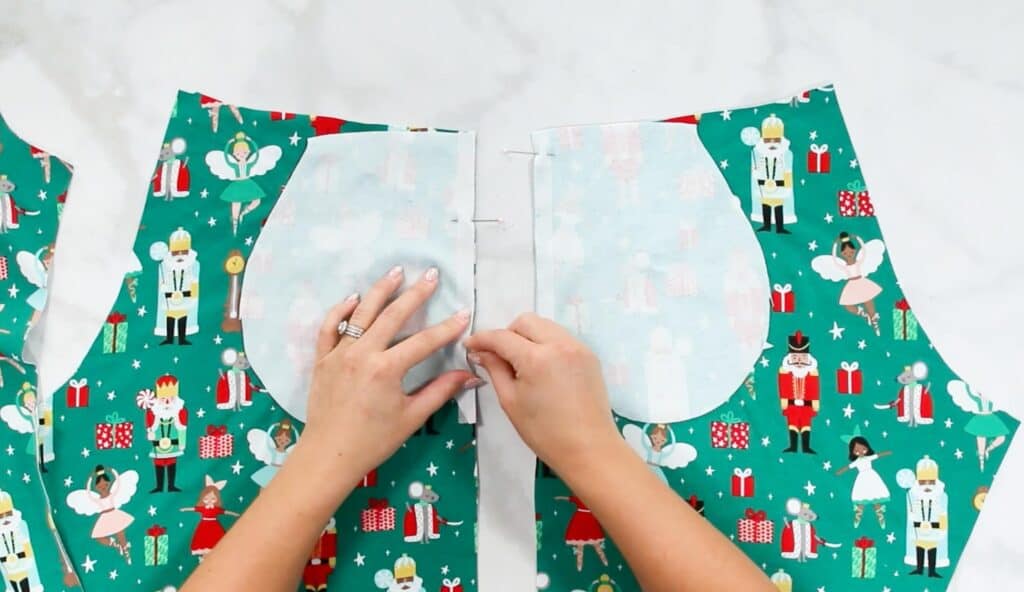
Pin the pocket in place and sew the pocket onto pants. Repeat with other side as well as the back pieces.
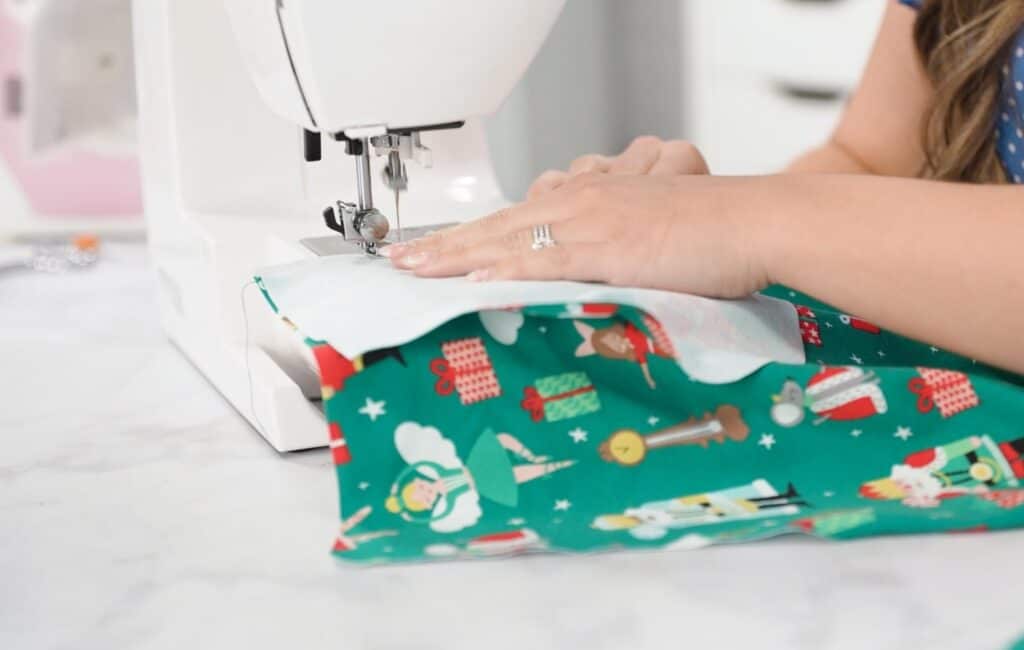
Pull pockets out away from the pants and press seam well. The seam should be facing towards the pocket.

Sew 1/8" from the seam on the pocket. Repeat with the other pockets.
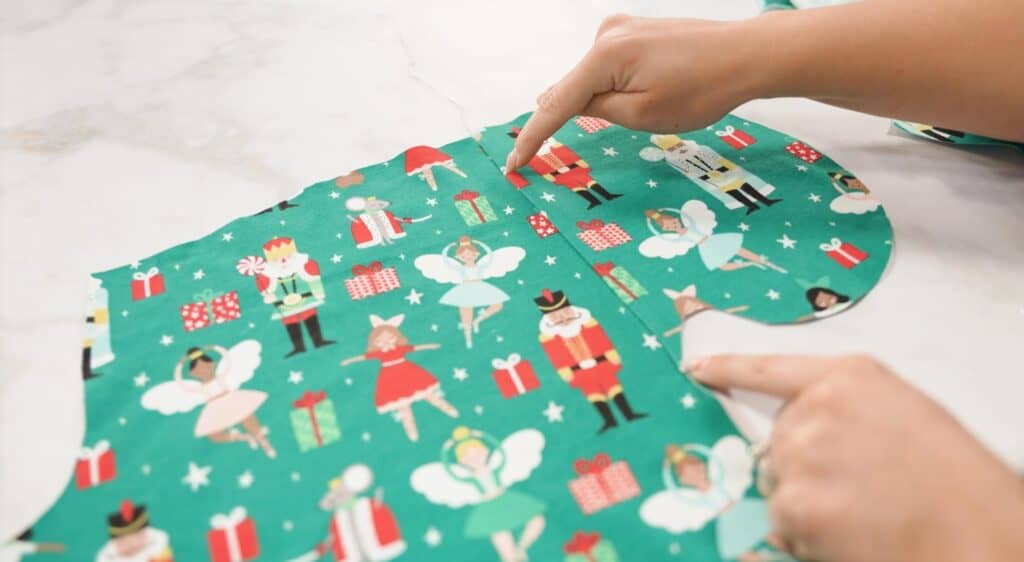

Step #7: Sew the Pants Together
Lay both front pieces right sides together and pin along the crotch seam. Lay the back pieces out and pin the seam.
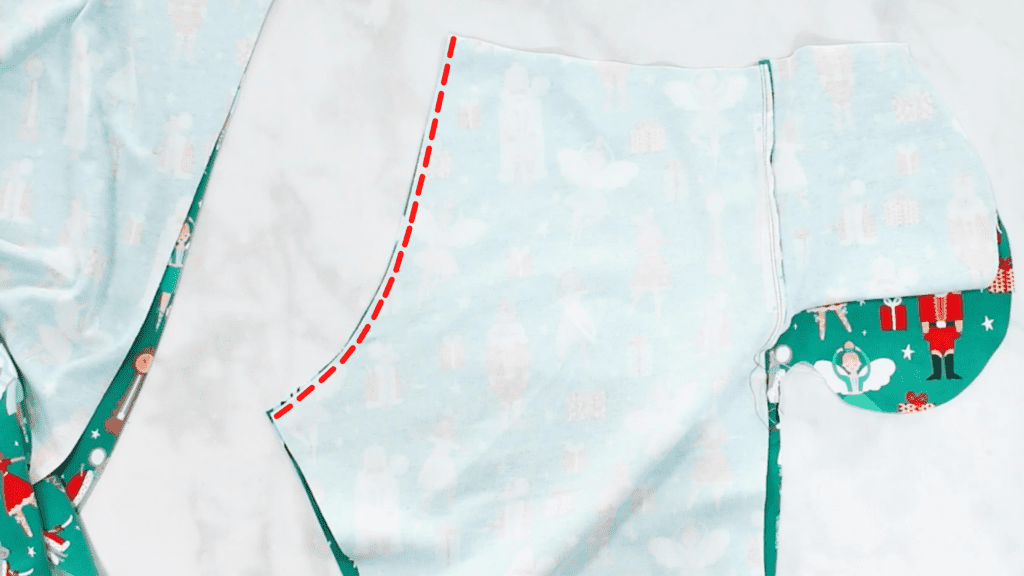
Sew both of the crotch seams.
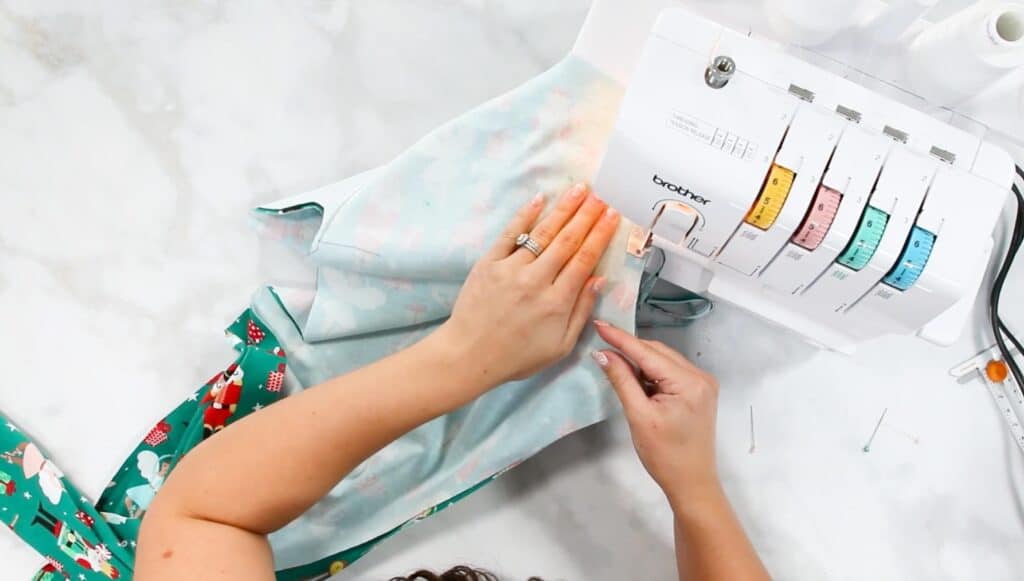
Next, lay the front pieces on top of the back pieces with right sides together.
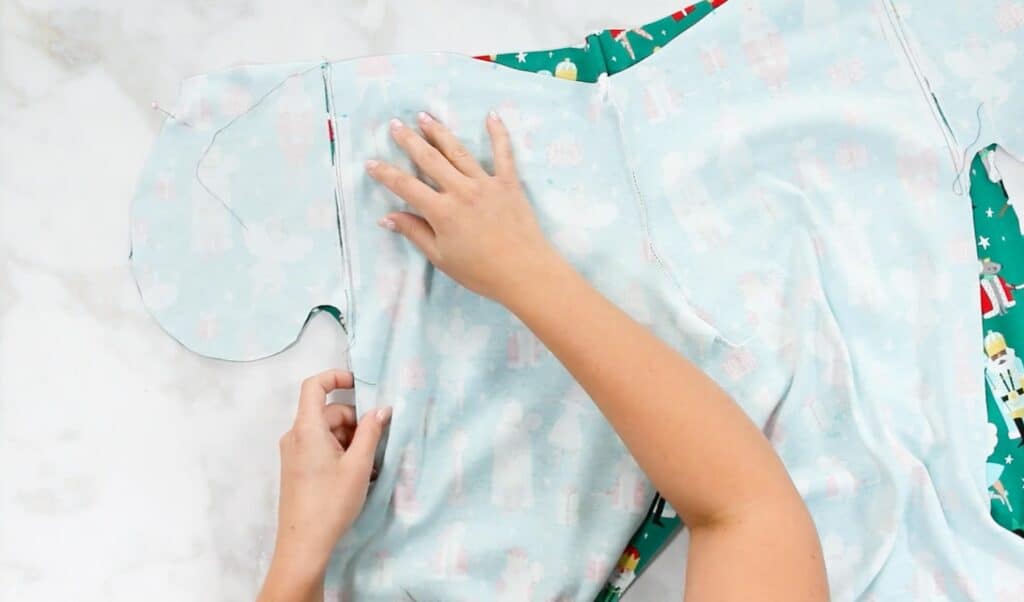
Align the sides and pin everything into place.
Starting at the top of the pockets, sew all around the pockets and down the outside hem.
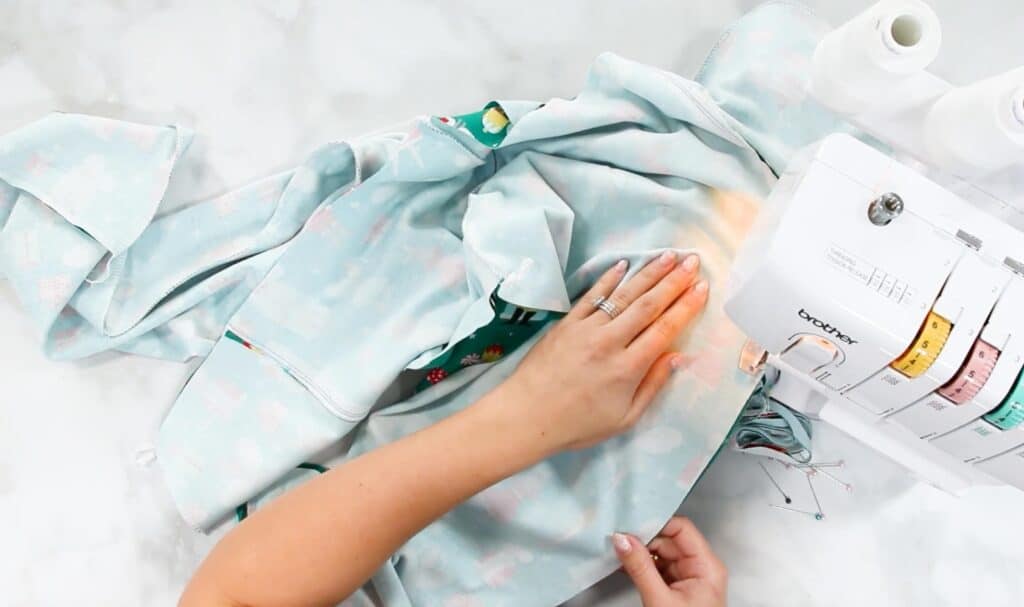
Align side pant seams together and sew 1/4" from the pocket seam from the top to the first circle. Repeat with the bottom of the pocket up to the other circle. Make sure the pocket space is left open.
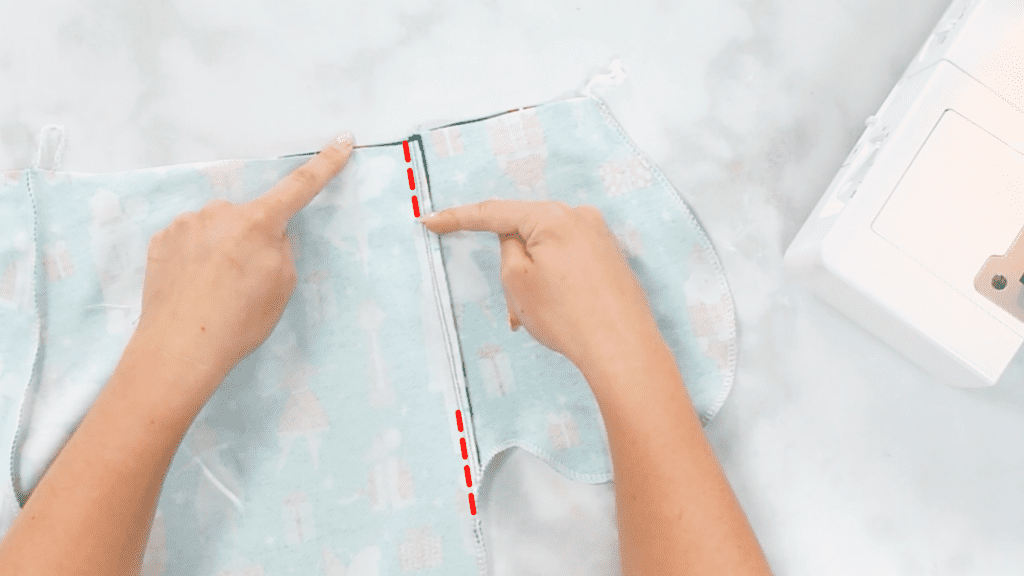
Now, let’s move on to the inseam.
Align the inseam and pin everything in place all the way down each pant leg.
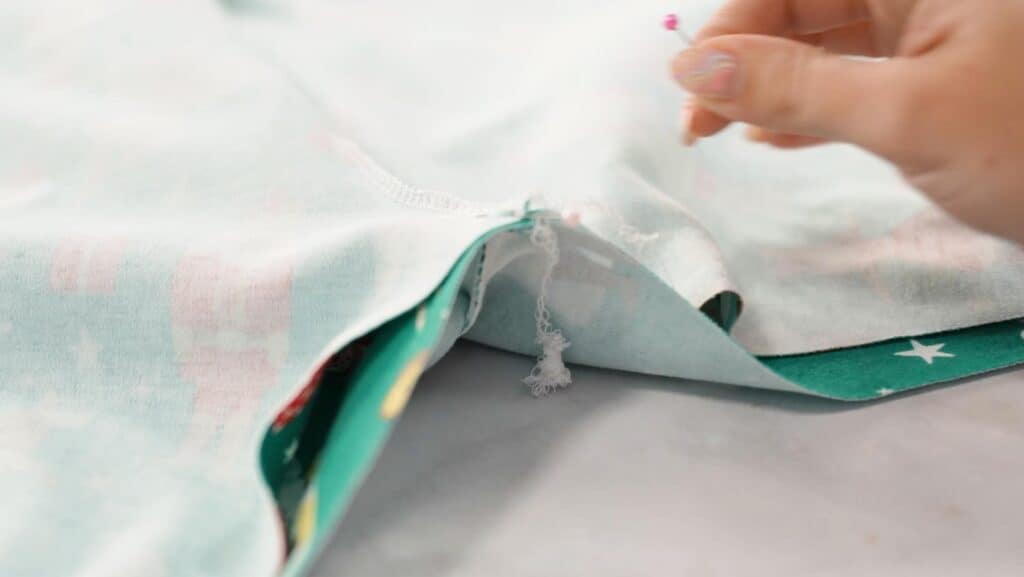
Sew along the inseam. Starting at one hem up towards the crotch and down the other leg.
Step #8: Baste Pockets in Place
Fold pockets in towards the front of the pants.
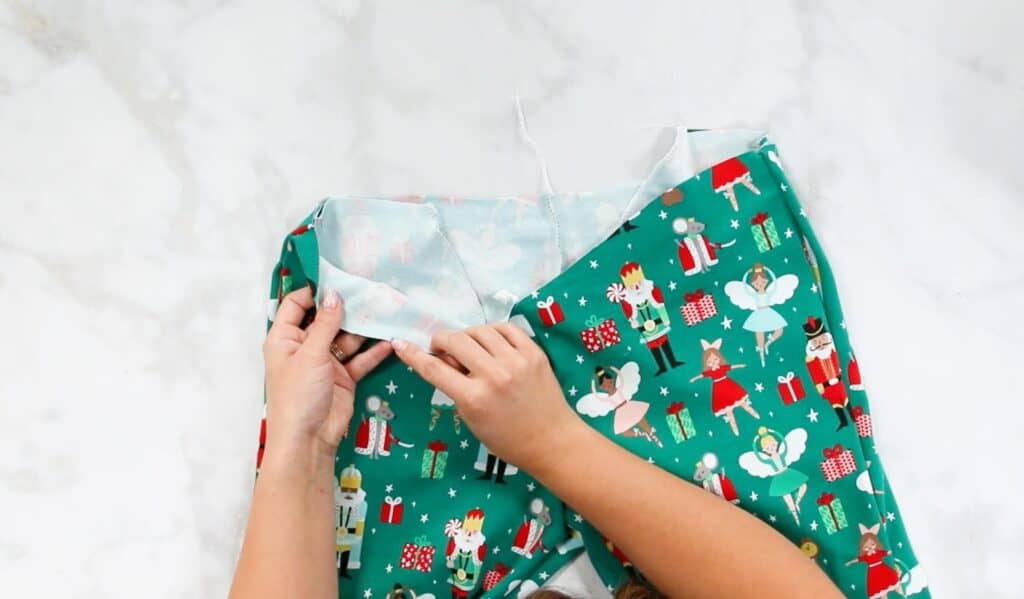
Make sure the back pieces are out of the way and baste the top of the pockets to the front of the pants.
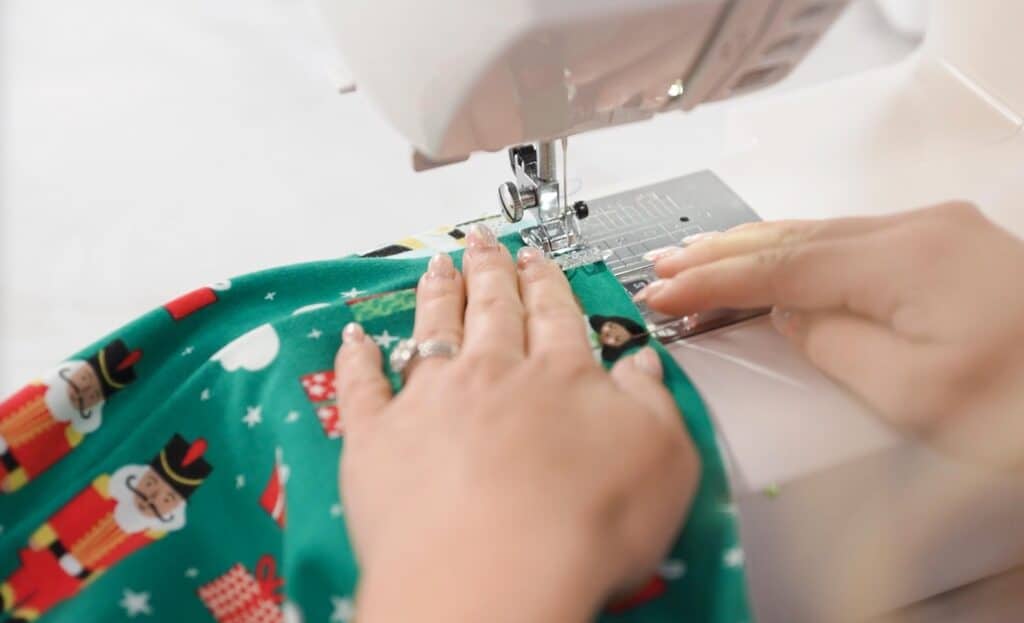
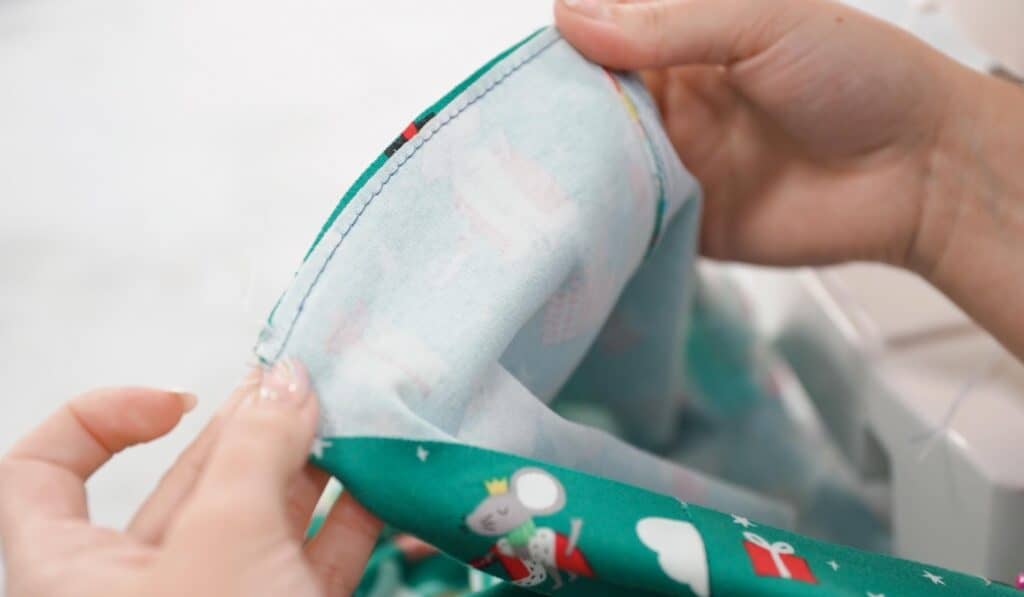
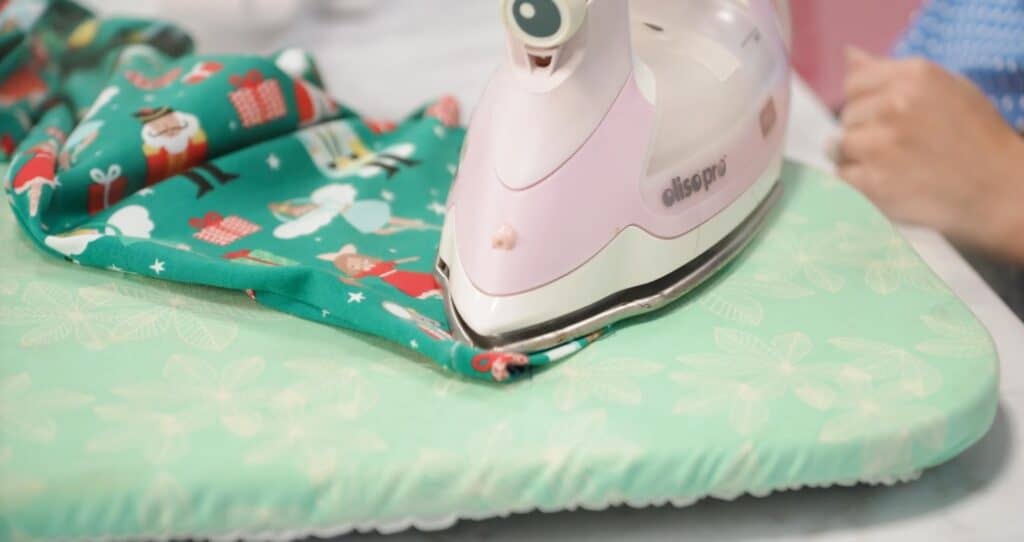
Turn pants right side out and press all of seams well.
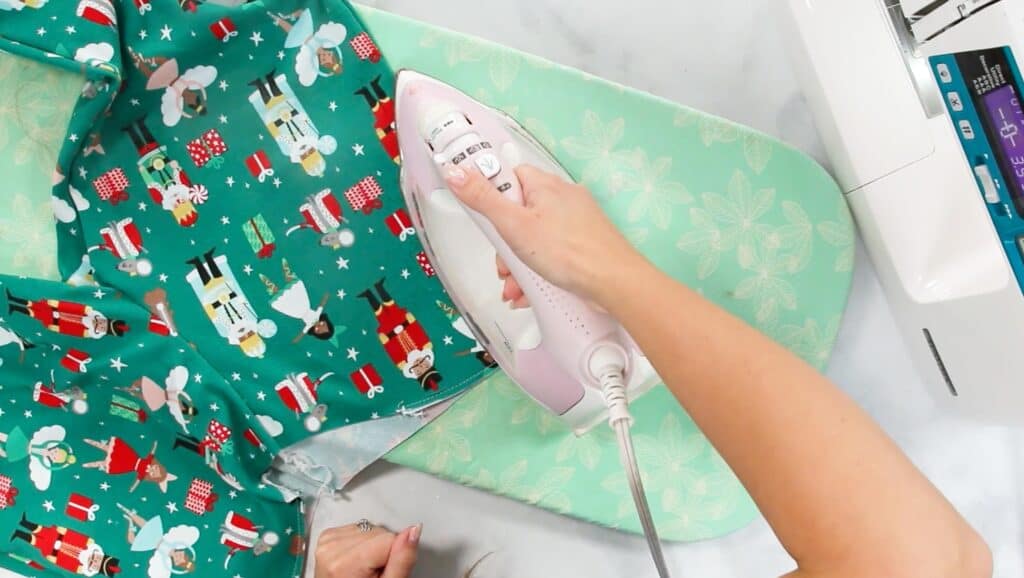
Step #9: Sew the Waistband
Fold the waistband in half with wrong sides together.
Slide the pants inside of the waistband with the right side of the pants to the right side of the waistband.
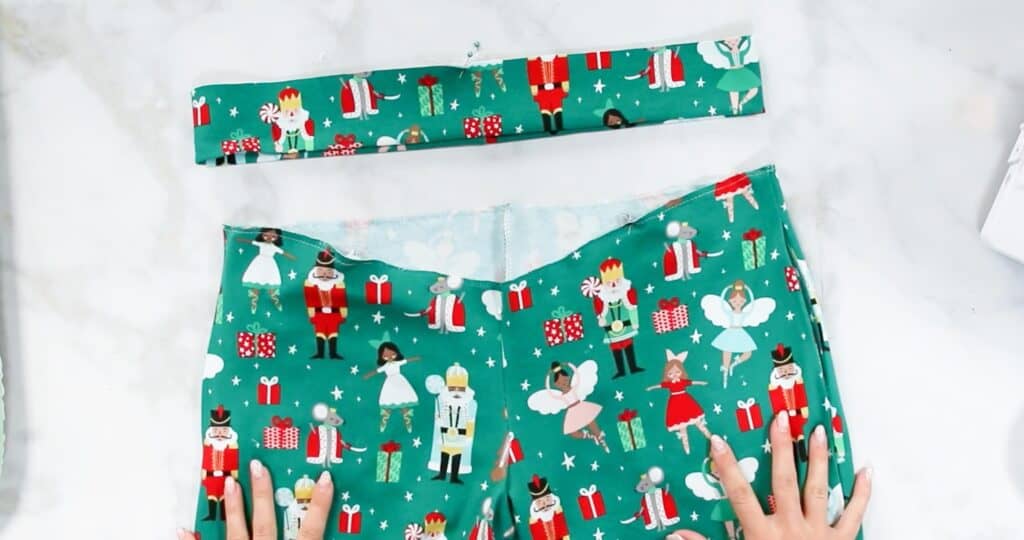
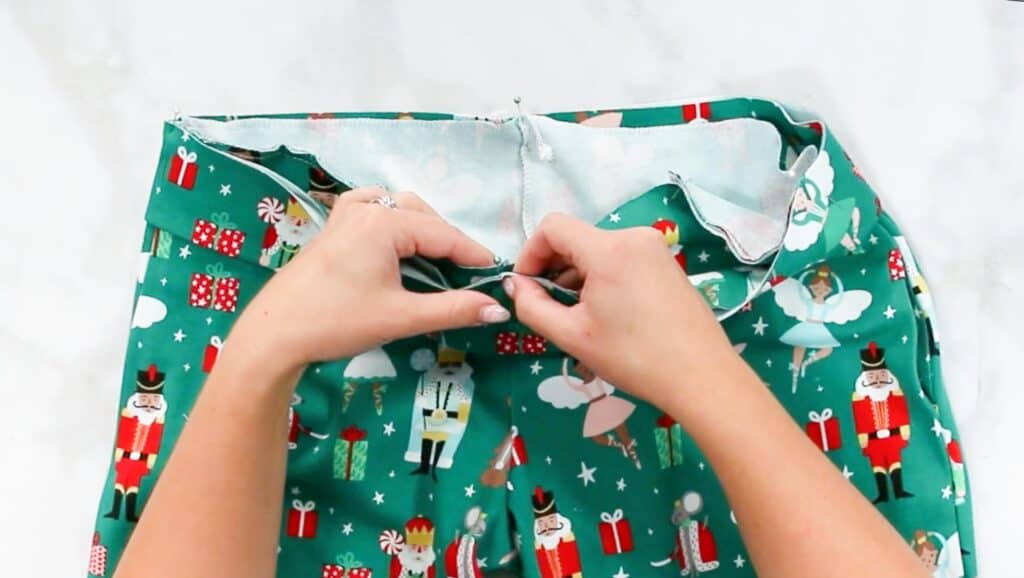
Align center seam with the back crotch seam and side markings of the waistband to the side seams of the pants. Pin everything in place.
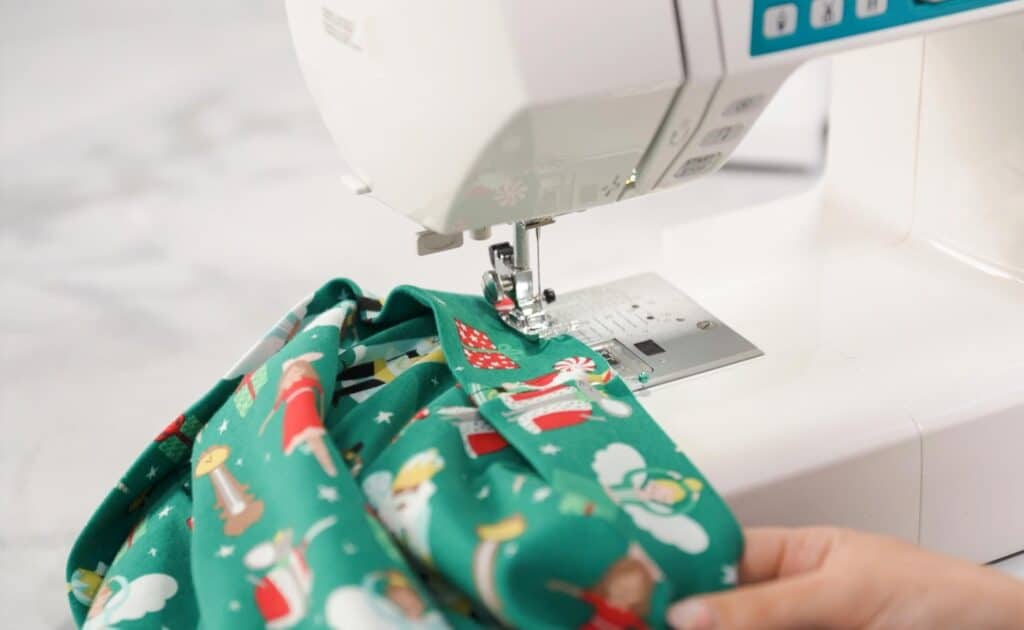
Increase your stitch length and baste all the way around the waistband leaving a 2" opening for the elastic.
Step #10: Insert the Elastic
Attach a large safety pin to the end of the elastic and thread the elastic through the opening until you reach the other side.
Overlap the elastic ends by one inch making sure it's not twisted inside of the waistband casing.
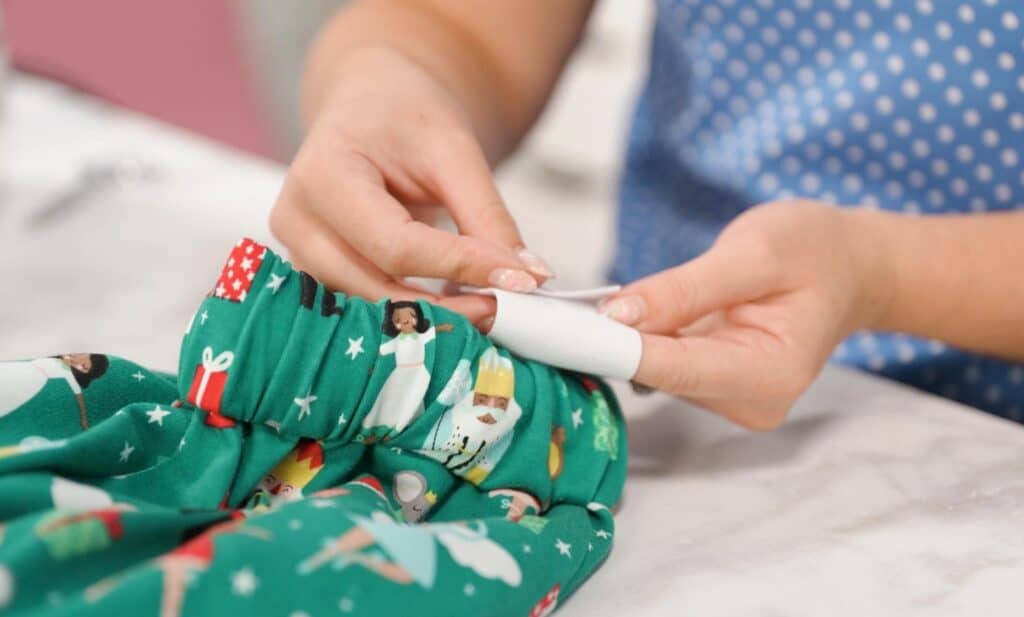
Sew the elastic together with a zigzag stitch and redistribute the elastic inside the casing.
Serge along the entire waistband.
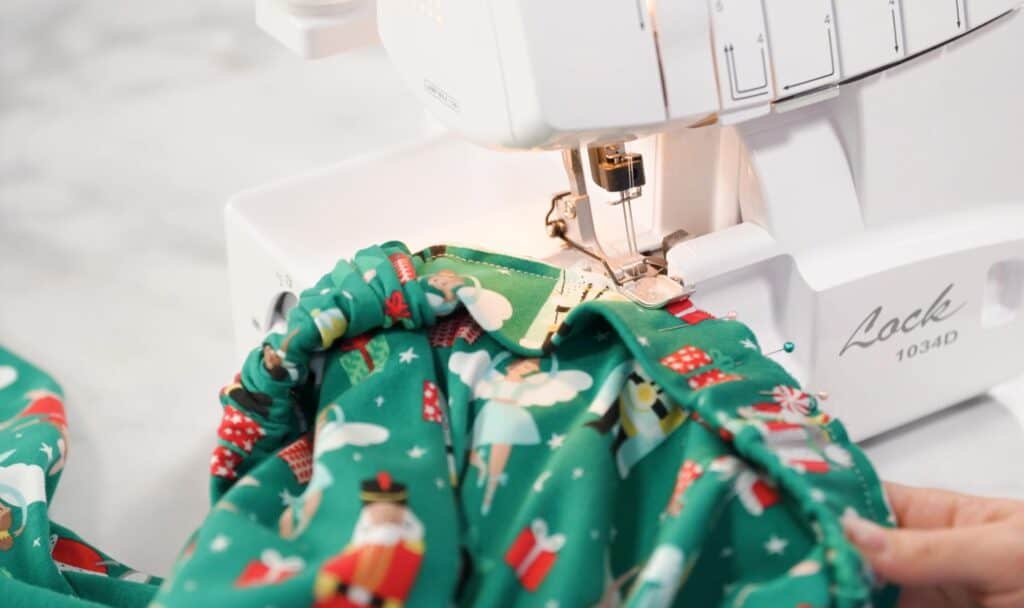
Step #11: Hem the Pants
Press the hems up 1/4" towards the wrong side with a hot iron and plenty of steam. Press the hems up another 3/4", iron, and pin in place.
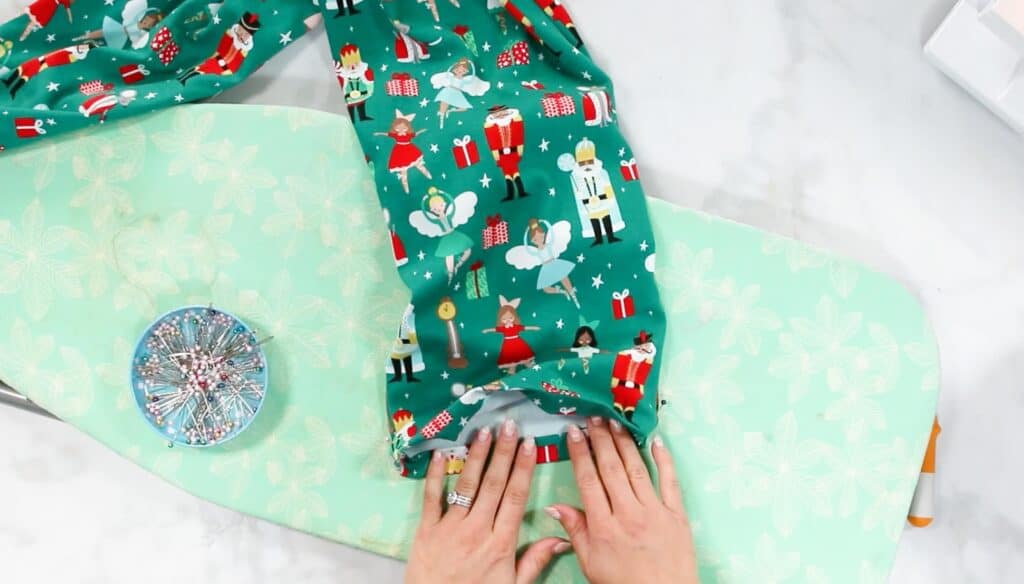
Pin in place and sew all the way around along the top folded edge.
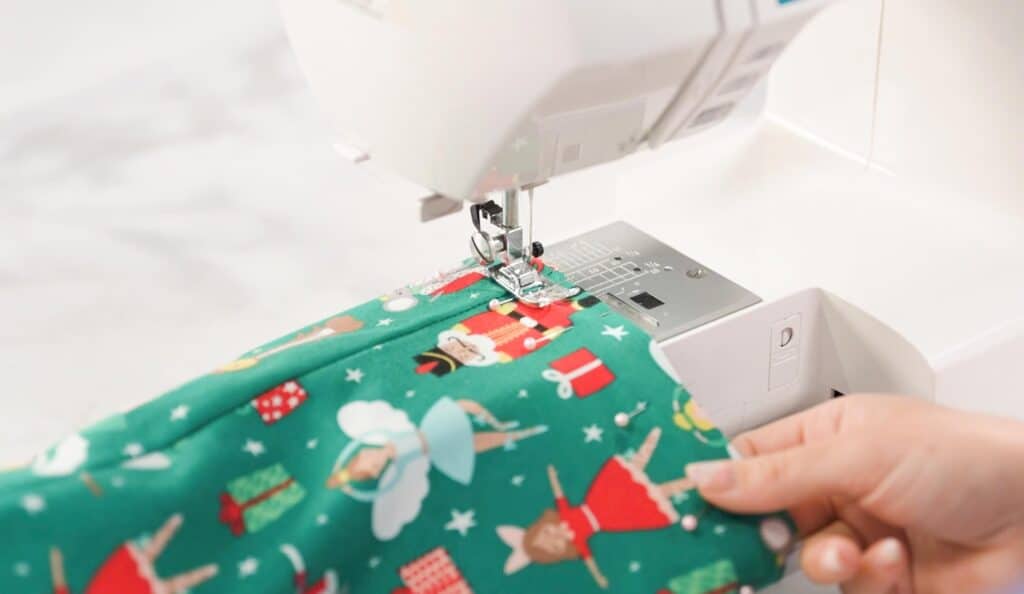
Give your pj pants one final press along all of your seams.
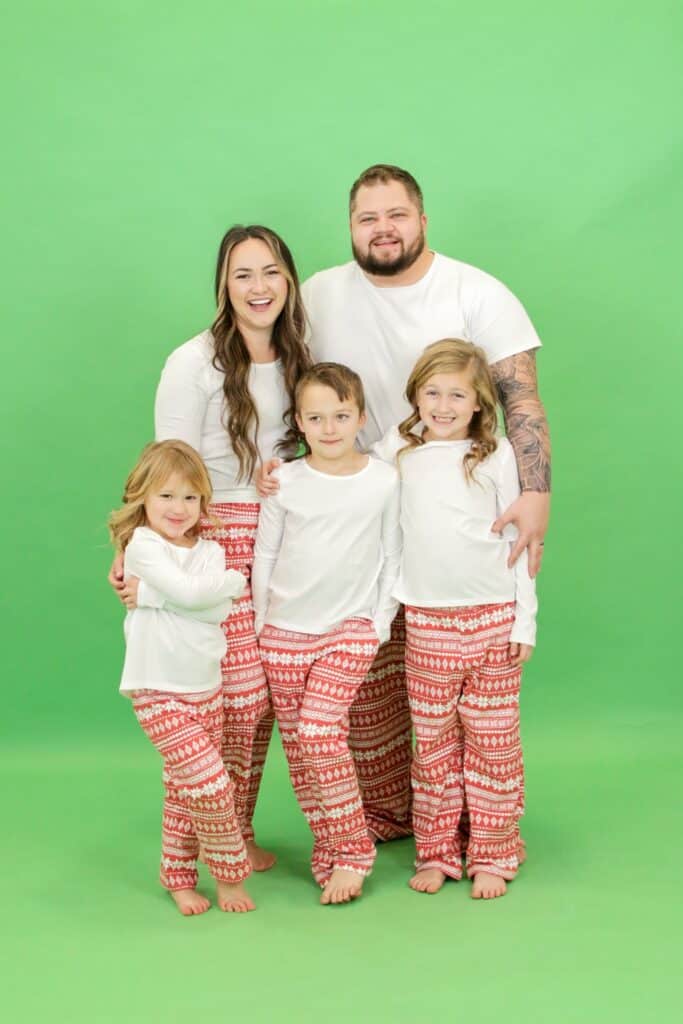
Now you have your finished pair of pajama pants!
Enjoy your wearing your Christmas PJ pants! You can use this pattern for other holidays as well or for everyday pajama pants.
Do you love your Sweet Red Poppy Pajamas?
Share your finished PJ's with us in the Sweet Red Poppy Crafting & Sewing Group!
Looking for more FREE Sewing Patterns? Check out our Kids Circle Skirt, Kids Leggings or Kids Hoodie.
Don’t want to forget about this free template? Save this project for later! Click here to save this project on Pinterest.
Terms of Use:
This is a personal use-only pattern and it may not be shared or resold. You are welcome to sell pj pants made from this pattern from home production only.
All content of this pattern including video, photos, and wording are protected under copyright.

Do you have any questions about this pajama sewing pattern? Let me know in a comment below!

What A lovely gift to us! Thank you so much! Merry Christmas!!
You're so welcome!
PJ pants with pockets! That's a gold ring winner! Thank you so much!
Can flannel or fleece be used? Thank you!!
Does it work with flannel or is it knit only? (so excited, love pajama pants!!)
I would recommend sizing up if you want to use flannel!
Fantastic! Thank you so much. I can't wait to make these!
Wow lots of pages! Do you have a printed pattern I can purchase?
I don't! It needs to be printed off at home.
It’s only sending me the kids pattern. Am I missing something?? Thank you! Can’t wait to get started!
I absolutely love this! I can’t wait to make Pajama pants for my family…for every holiday!!
So excited to make these pajama pants for the whole family! Thanks for all the different sizes! We are a family of 6 and all different sizes.
Absolutely love these...I can't wait to make them formyself, family and friends
I have tried numerous time to download and each time the file does not open once downloaded
when you click the link, it should download automatically your computer as a zip file...It should be in the download section of your files or you use the search bar on your computer and type in sweet red poppy you can find it.
You will also have been sent a email with the file attached. I would check the junk section of your emails in case it was put there by accident.
Just made this for myself. So cute! Next time through I am going to cut several inches off the top. For someone like myself (size 4) the waist goes way too high. Just something to note if anyone else is planning on making this.
I wish I'd seen this earlier! I'm plus size and had the same problem.
Hi, I can't find the link to buy the instructions ad free for the Pajama Pants or the Kids Hoodie
HOW MUCH FABRIC IS NEEDED PER SIZES?
I am looking for this too!
OMGOODNESS these are just adorable. Thank you for sharing your knowledge through you tips and tutorials. Your generosity to share your creative flair inspires me daily to get creative.
Thank you so much for these wonderful patterns! I can’t wait to try them!! I’m trying to view all your instructions here on your website, as you mentioned, but every single picture you’ve posted is being blocked out by an advertisement. I have to keep clicking ‘skip’ and then it shrinks to the bottom of that image but then covers the entire next one until I click again! It’s ridiculously annoying.
Hi, I tried to download the pajama pattern but when I open the zipped files, windows can not complete the extraction. the destination File could not be created.
I have watched so many videos and reviewed patterns. They say to serge seams. But no one ever says which stitch on the serger to use. Can you help me with this?
How do I now exactly how much fabric to buy? The only option is 2-3 yards. Is there not a size chart with the fabric requirements? Thanks!