Are you new to the Cricut Autopress? Click here to read my post, Everything You Need to Know About the Cricut Autopress.
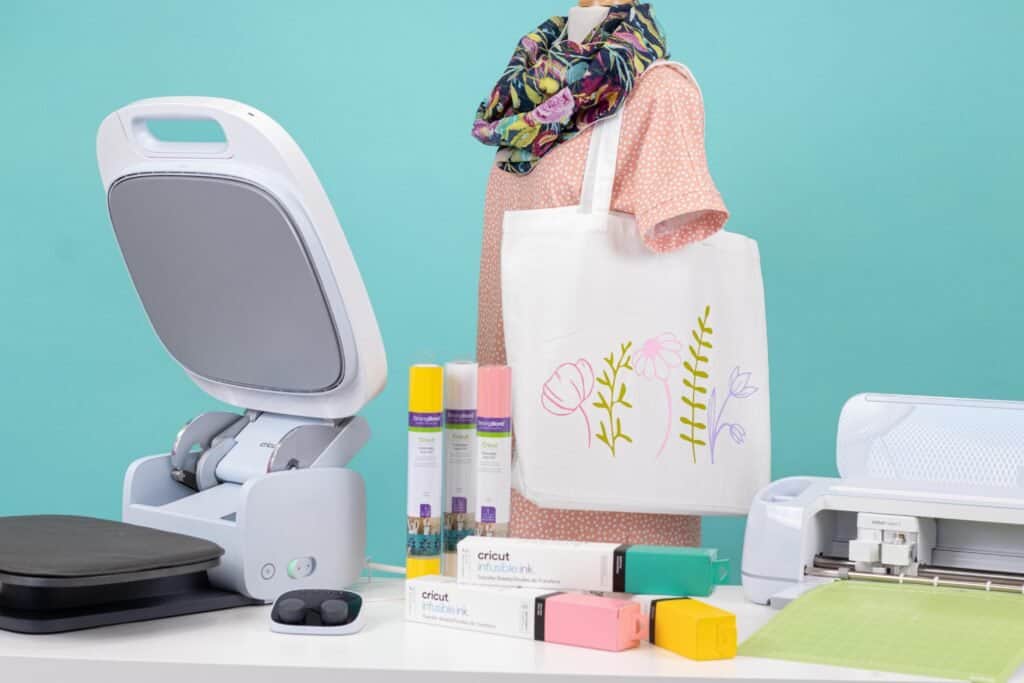
Today, I'm going to be walking you through every step of using the Cricut Autopress with Iron-On to make a customized tote bag.
In case you're new to this machine, let me give you a quick rundown on what makes this heat press unique!
The Cricut Autopress takes the guesswork out of creating by utilizing a variety of automatic features. It auto-adjusts to your project's thickness up to 2”, and it auto releases as soon as the pressing cycle has been completed.
Table of Contents
Purchase the Cricut Autopress Here!
It even comes pre-programmed with built-in presets for the most commonly used bases and materials. The perfect amount of pressure, plus the precise amount of time and the exact temperature all combine for flawless transfer every time!
In addition to automation, the Cricut Autopress was thoughtfully designed to make your job easier and safer!
As a matter of fact, safety was one of the biggest concerns with the Cricut Autopress. This machine uses certified temperature-rated plastics, offers an auto-off feature, and has an extra-wide clearance of 62 degrees.
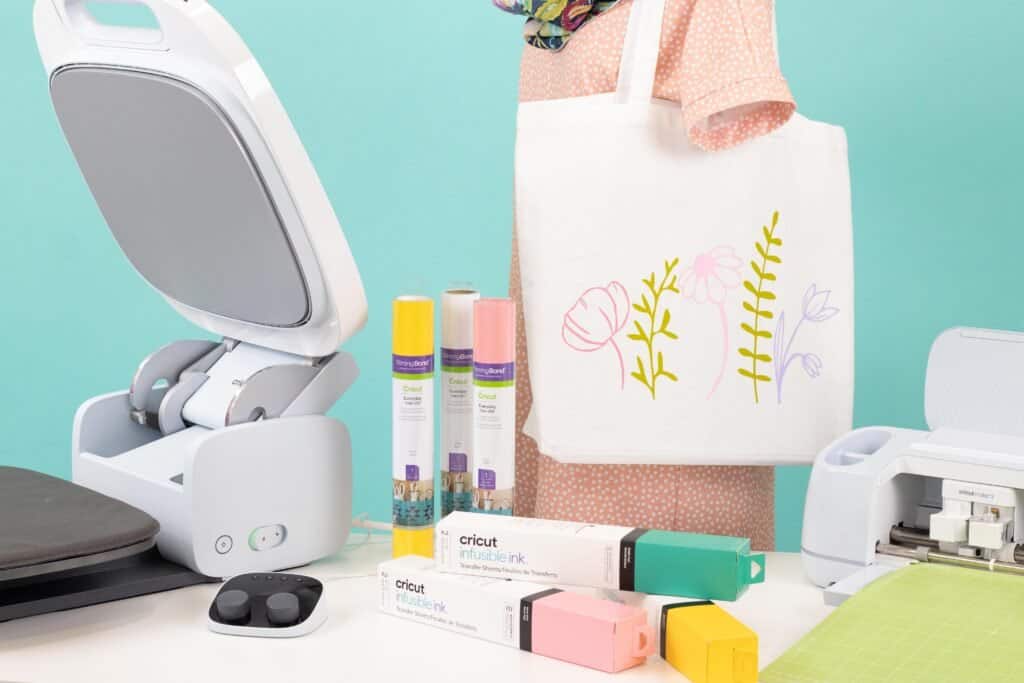
Are you ready to make a project with the Cricut Autopress? Let's get started!
SUPPLIES
- Cricut Everyday Iron-On Vinyl (Use Everyday Iron-On If You are a Beginner)
- Fabric Base (T-Shirt, Tote Bag, or Apron)
- Cricut Machine (Cricut Joy, Cricut Explore, or Cricut Maker)
- A Green Standard Grip Mat
- Cricut Autopress
- A Weeding Tool
- A True Control Knife
STEP ONE: CREATE YOUR IMAGE IN DESIGN SPACE
Click "UPLOAD IMAGE” and then click "BROWSE" to find your file or you can drag and drop the file.
Once you navigate to the file on your device click "OPEN" to add it to Cricut Design Space.
On the “PREPARE TO UPLOAD” screen, you can change the name of the project and add tags which can make it easier to find your image in the future.
Go ahead and click "UPLOAD" at the bottom of the screen.
Once you have the file uploaded, select it from your “RECENT UPLOADS” and click “ADD TO CANVAS” to bring it onto your canvas.
In the top right-hand corner make sure that your experience is being optimized for your specific machine. This will change the options Design Space gives you based on your machine's capabilities.
Next, adjust the size of the design to fit your t-shirt, apron, or tote bag.
For more detailed information on using Iron-On refer to this post.
Once you have your design ready, click “MAKE IT” in the top right-hand corner to view the preview screen.
Be sure to select “MIRROR” when working with Iron-On material.
Next, you’ll be able to select the material you are using. For this project, I am using Everyday Iron-On.
STEP TWO: PREPARE, LOAD & CUT YOUR IRON-ON MATERIAL
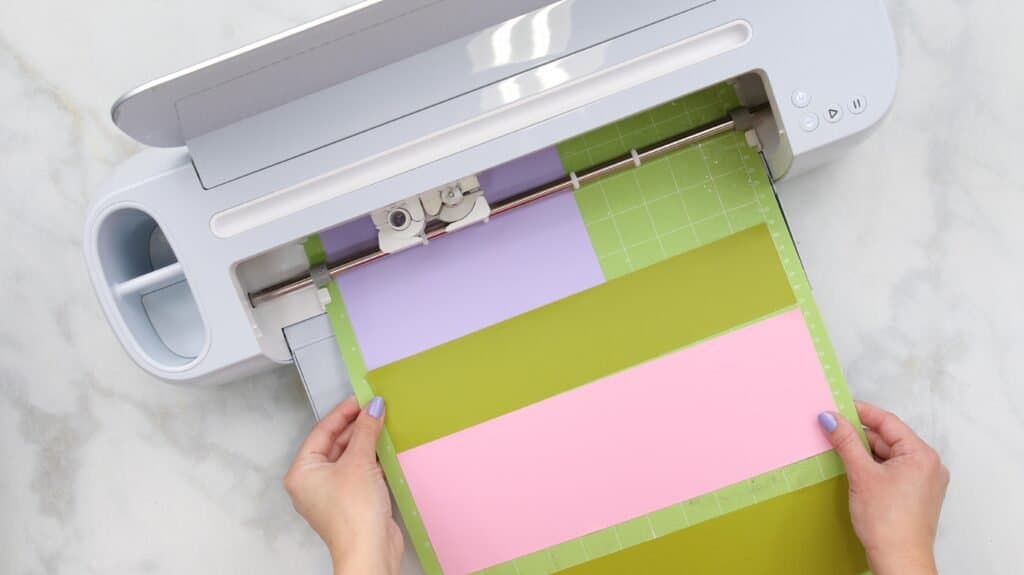
Remove the clear liner from the Cricut Standard Grip Mat and place the shiny carrier face down on your Cricut mat. The matte Iron-On material should be face up.
Next, insert your mat into your machine by sliding it under the white guides and pressing the “LOAD” arrow button.
Press the blinking “PLAY” button (if you’re using an older model this will be a “C”) and your Cricut will begin its cut. Design Space will count from 0 - 100% to let you know how far along you are in the cutting process.
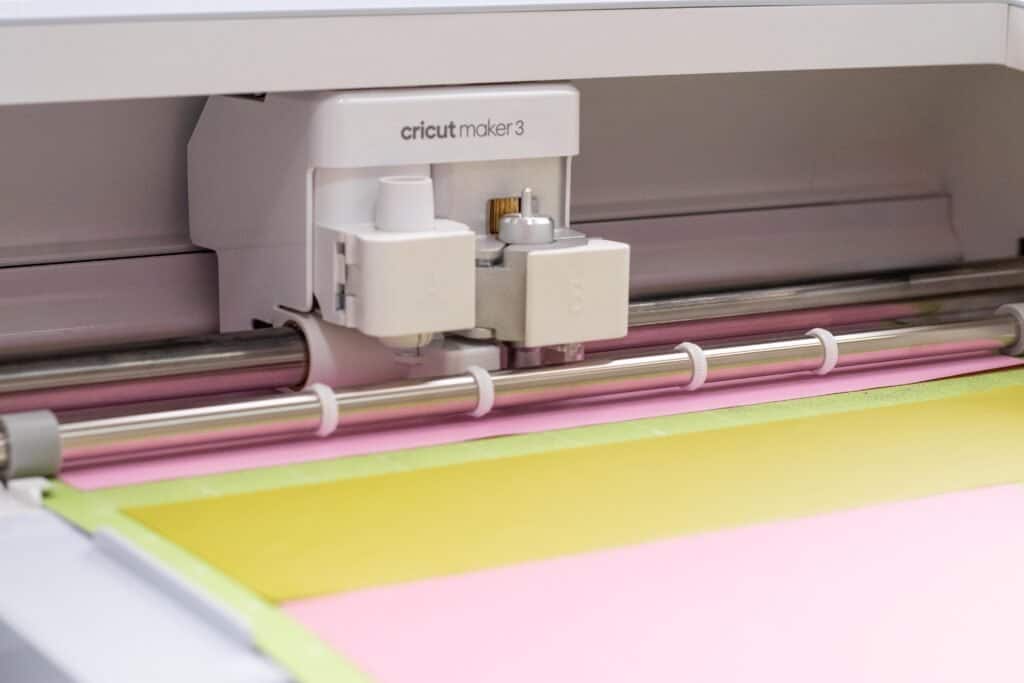
Once it’s finished cutting and you’re happy with the result, press the “ARROW” button to release your Cricut Mat.
STEP THREE: WEED YOUR IRON-ON TRANSFER DESIGN
I like to weed my transfer while it’s still on the mat because it’s secure, and it prevents my material from shifting around or curling up.
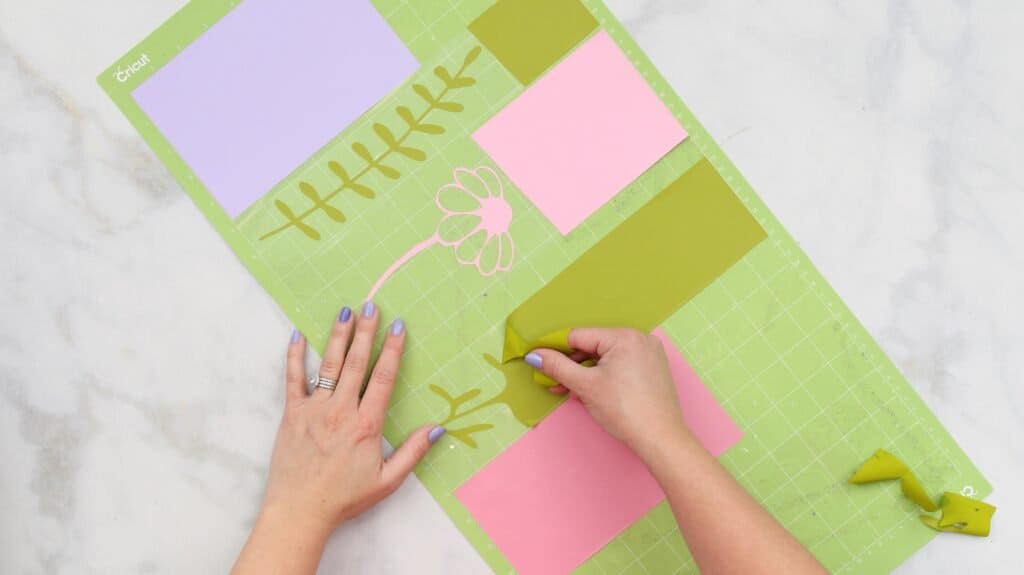
For the more intricate parts of the design like the insides of letters, use your weeding tool to pierce the Iron-On Vinyl and then peel it away from the carrier sheet.
Remove your Iron-On material from your Cricut Mat and trim down the excess carrier sheet.
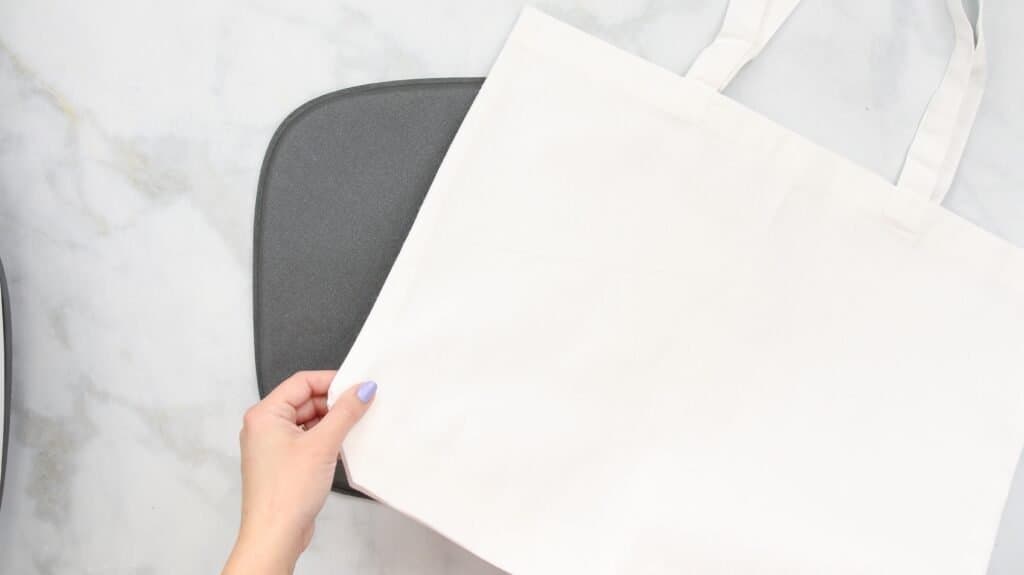
STEP FOUR: PREHEAT AUTOPRESS & TOTE BAG
Now that your design is ready to go, it’s time to heat up your Autopress. Plug your Autopress into an outlet and press the power button to begin preheating. Unlock the machine on the side and open up Autopress.
Turn the control pod dial to your preferred setting. This will preheat the Autopress to the correct temperature and set a timer. I’m using setting number two for Iron-On and Cotton.
Before applying the transfer, it’s important to preheat the blank. This will remove wrinkles and ensure a flat pressing surface. It also removes any possible moisture from the surface which could negatively affect your transfer.
Close the AutoPress to begin the preheat. The timer will countdown to zero, beep, and automatically open the Autopress once the preheating process has finished.
STEP FIVE: POSITION IRON-ON TRANSFER & PRESS DESIGN
You may find it easier to remove the mat from the Autopress and prep your tote bag on a flat surface.
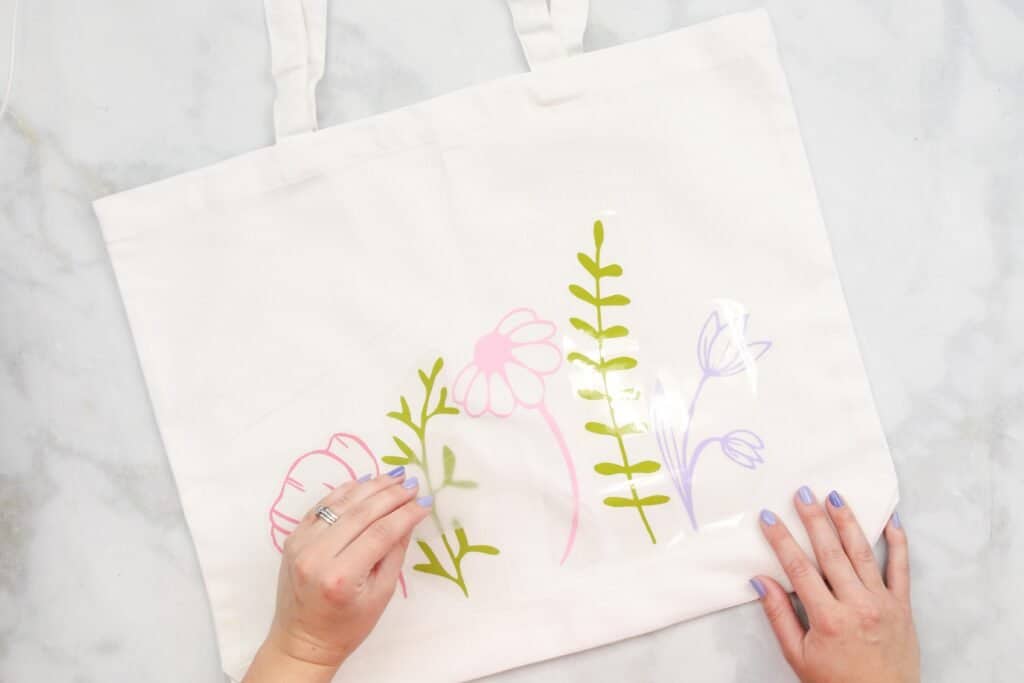
Place your Iron-On transfer onto your base with the sticky side facing downward. Make sure it’s centered horizontally and vertically.
The transfer should be placed a few inches away from the seams of your base for the very best results.
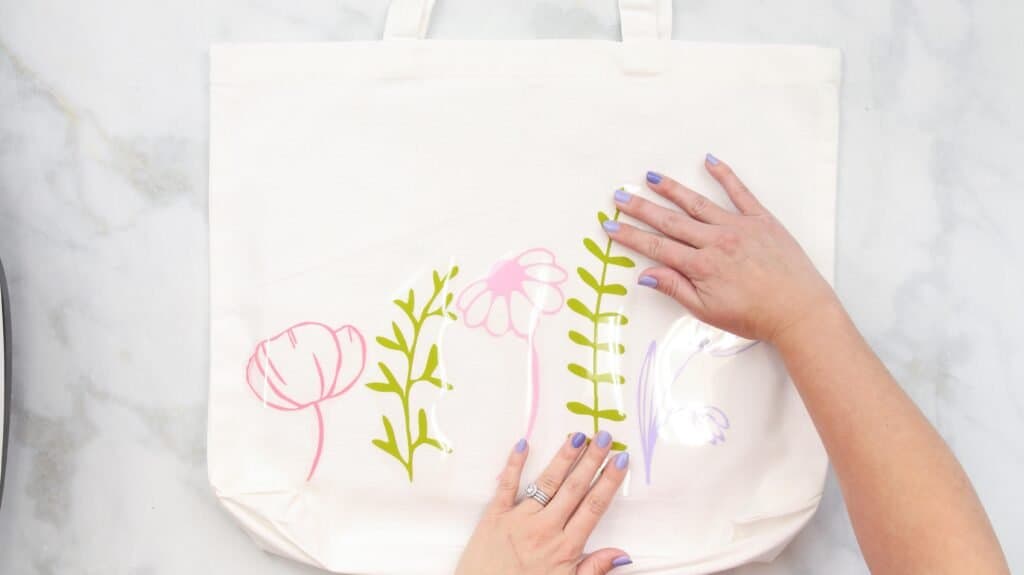
Press down on the carrier sheet and smooth out the transfer to help it adhere to the base.
Place the pressing mat onto the Autopress plate and align the edges of the mat with the metal plate.
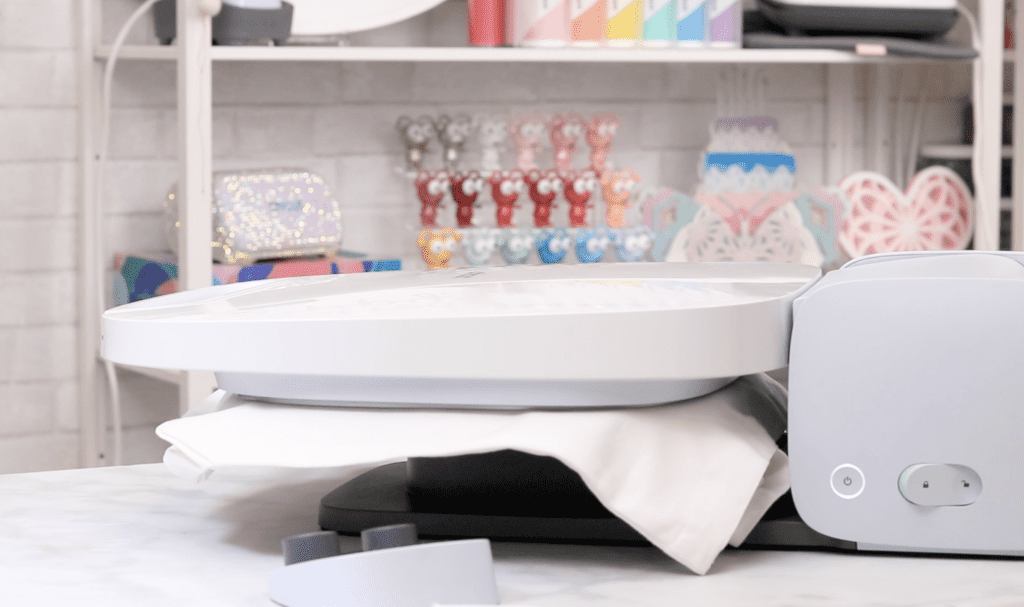
Double-check that your Control Pod is set to the correct temperature and time. Press down on the Autopress handle until it locks into place. The control pod will countdown to zero, beep and automatically open once the press is complete.
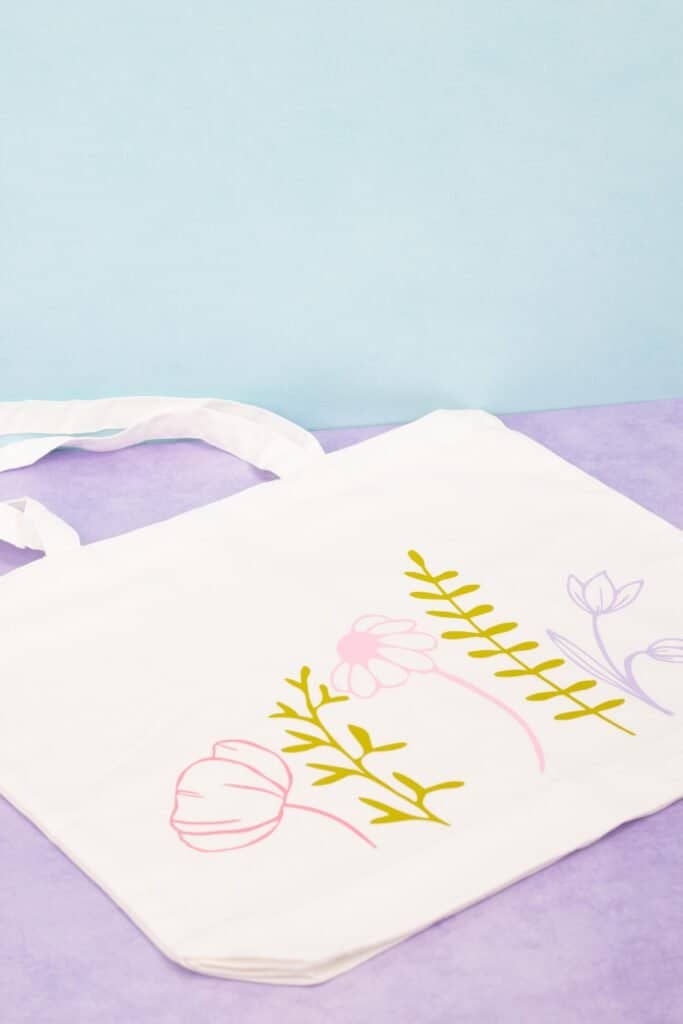
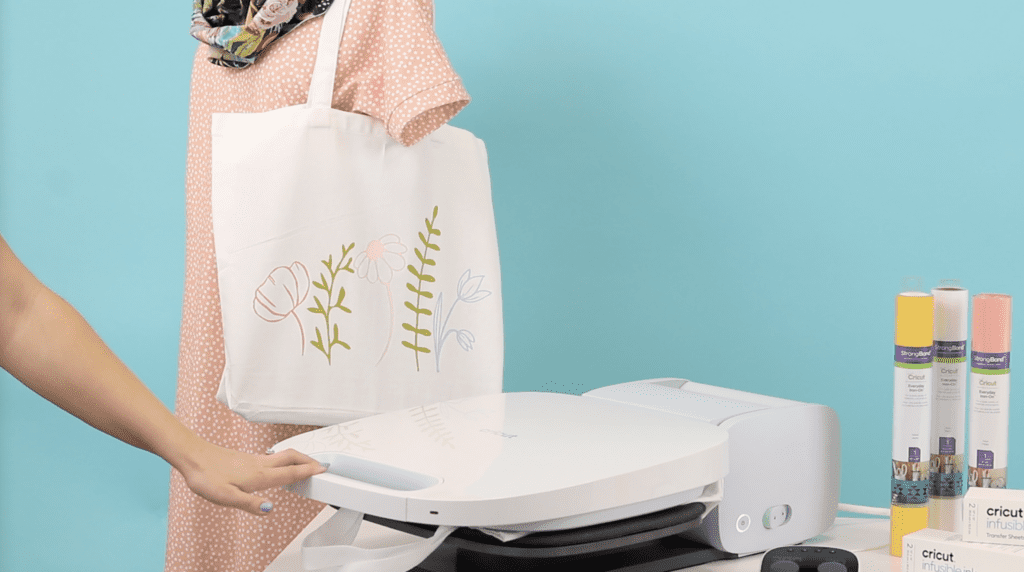
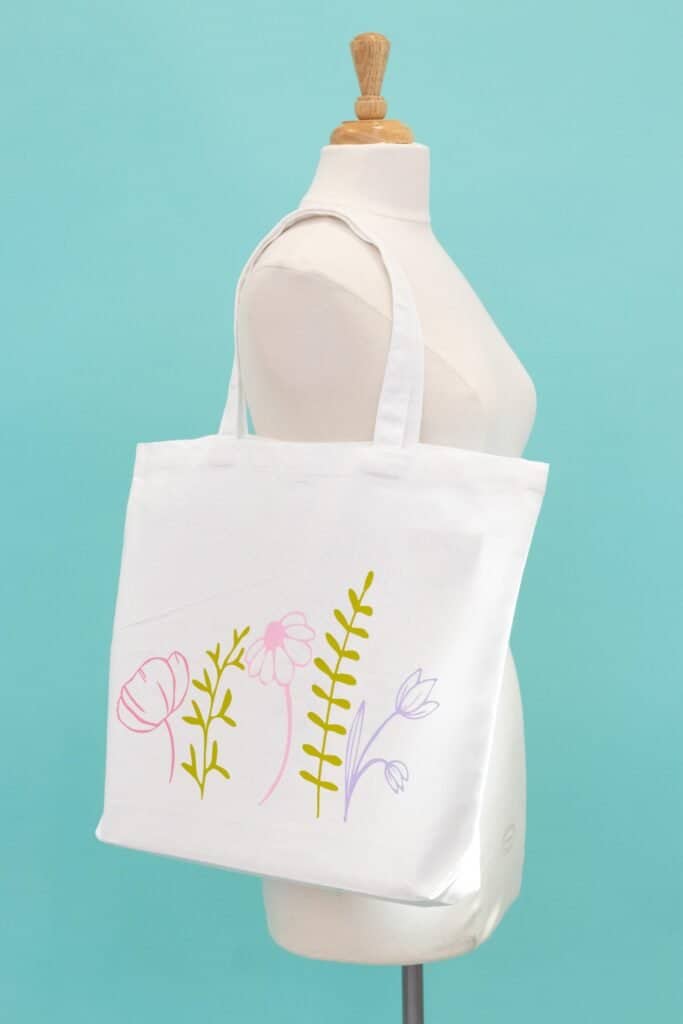
Once the transfer has cooled completed, remove the carrier sheet to reveal your finished design!
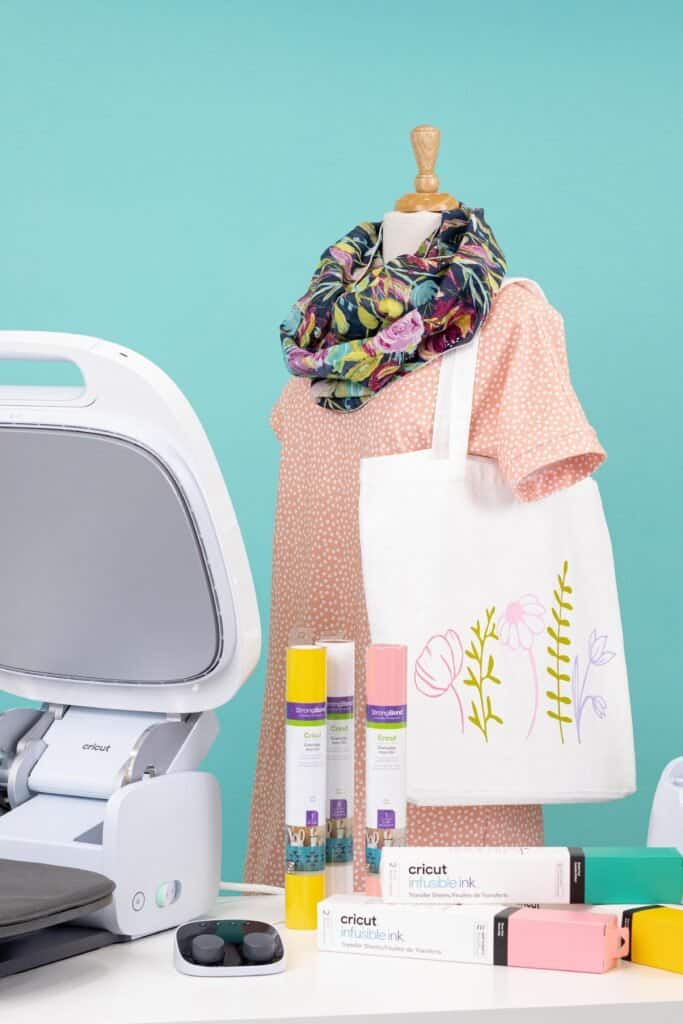
Now you have a customized tote bag!
To care for your customized t-shirt, apron, or tote bag, wait at least 24 hours before washing. You’ll want to turn it inside out and tumble dry for best results.
I hope you enjoyed learning how to use the Cricut Autopress.
You can purchase the Cricut Autopress from Cricut's website or local craft store.
Join my crafting and sewing Facebook group where you can show us what you’re making, ask questions, and learn from others!
Do you have questions about this machine? Leave them in the comments below!
Very cute! Where can I find the flower designs that you used? 🙂