Save money and a trip to the store by prolonging the life of your Cricut Mats with these cleaning and maintenance methods!
Over time, due to the frequency of use, the strength of your Cricut cutting mat adhesive will begin to lessen. This is normal and to be expected!
However, there are a handful of helpful tips and tricks that will help prolong the life of your mats. Let’s dive in!
Table of Contents
When should I clean my Cricut mat?
Doing a light cleaning of your Cricut cutting mat on a regular basis will help prolong the life of your mat. When you notice that your cutting material is not fully adhering to the mat, flipping up around the edges, or moving around during the cutting process, it’s time to clean!
How do I prolong the life of my mat?
Here are a few basic rules of thumb for Cricut Mat Cutting Maintenance:
- After each cut, remove materials from your mat immediately after you unload from your machine. The longer a material sits on your cutting mat, the stronger the seal becomes and the harder it will be to remove.
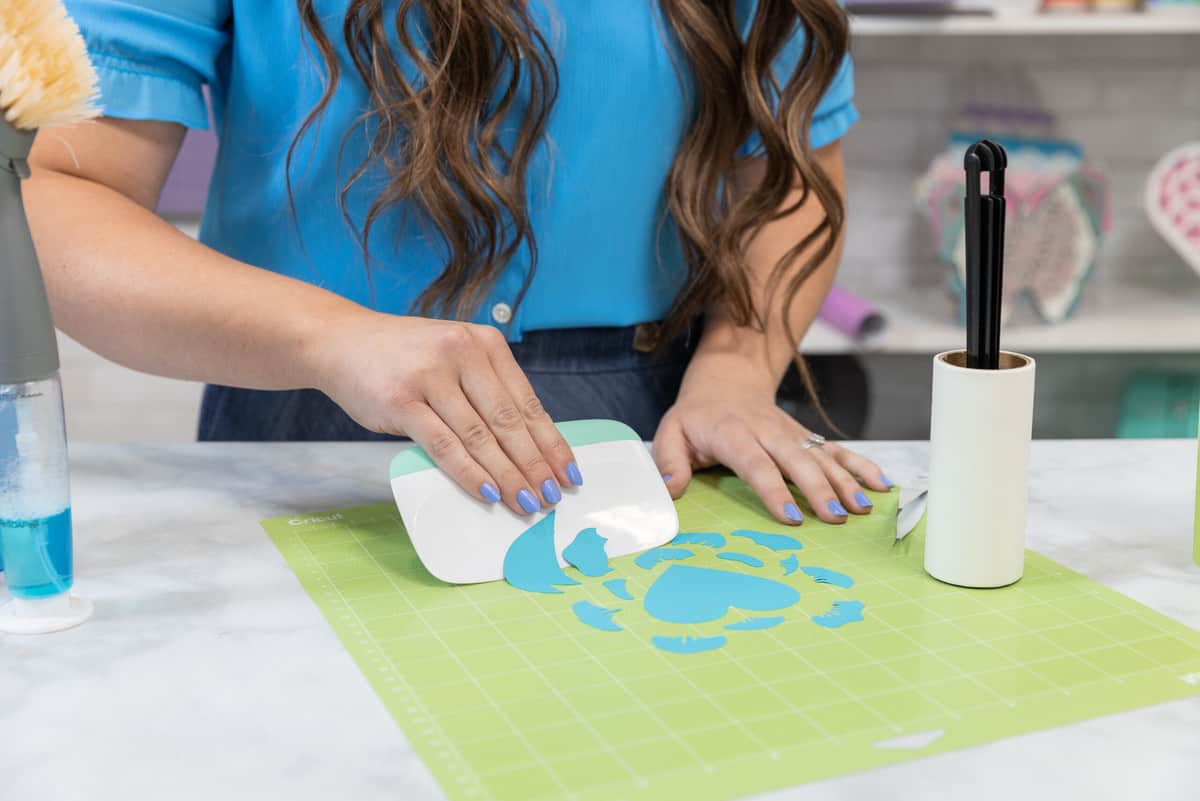
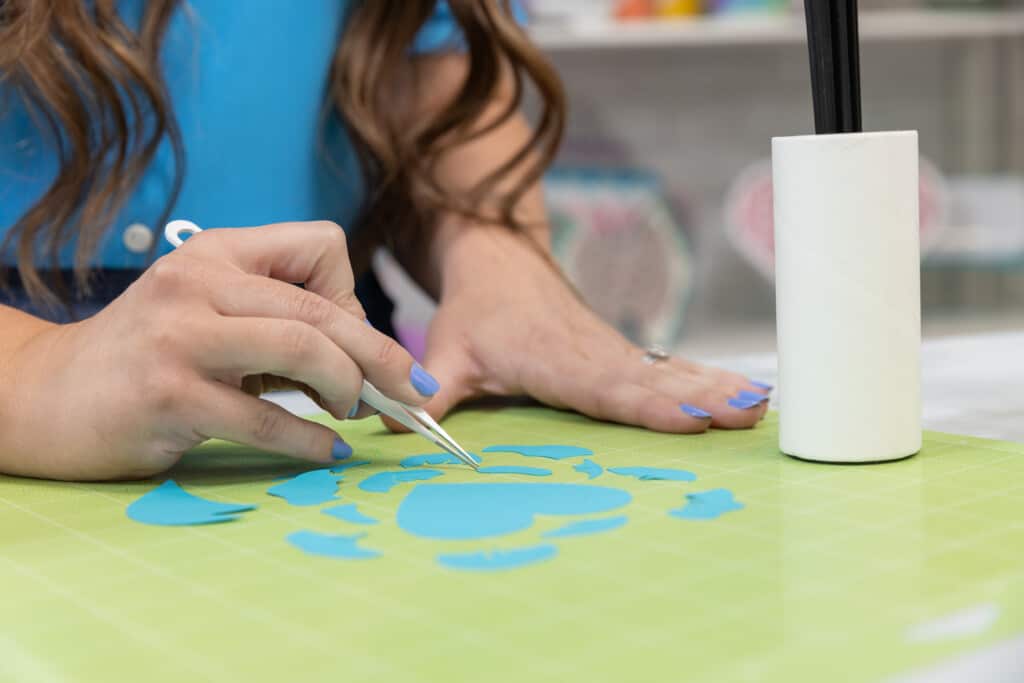
- For remaining small pieces and scraps, use a lint roller, the scraper tool, or tweezers to remove debris.
- Replace the clear plastic cover your mat comes with after every use.
- Use the right materials on the right mats. If you use a very delicate material on a Strong Grip mat, chances are you’ll end up having a very difficult time removing all of the material.
- Avoid touching the adhesive with your fingers, as the oils from your hands can lessen the tackiness over time.

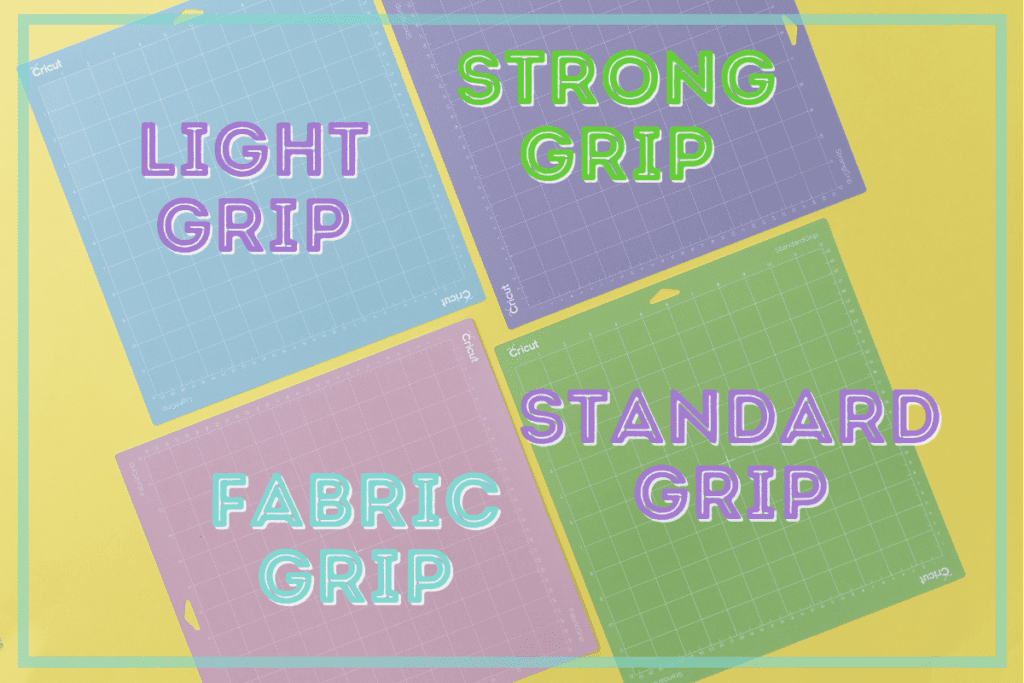
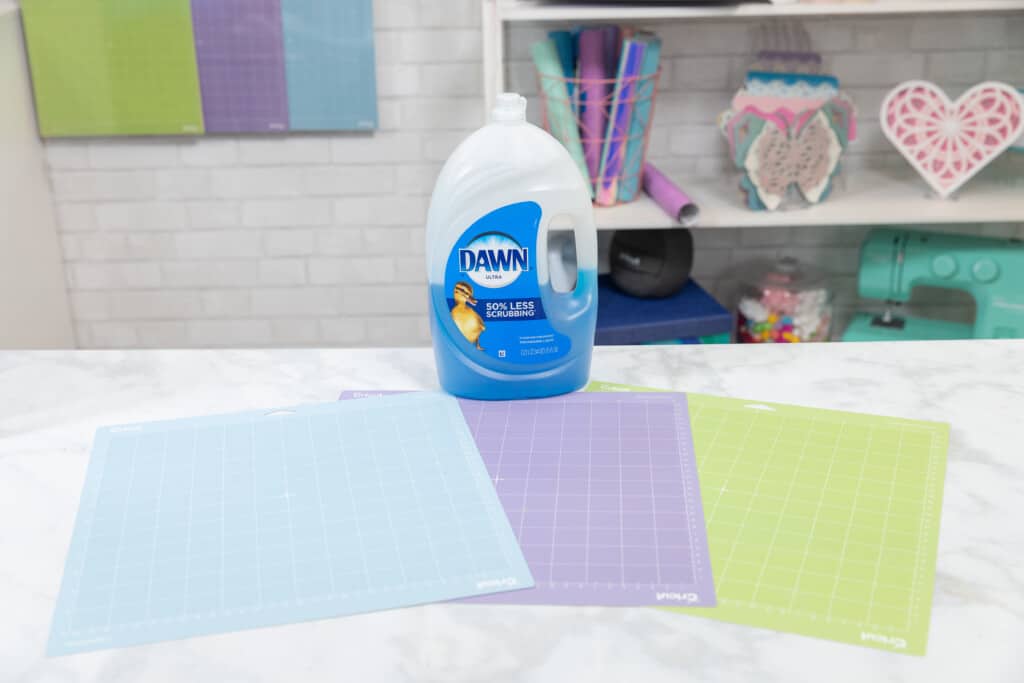
What are the different types of mats:
- Light Grip (blue)
- Standard Grip (green)
- Strong Grip (purple)
- Fabric Grip (pink)
Which mats can I clean?
All Cricut mats can be cleaned in some sort of manner. However, some can withstand a much more intense cleaning than others.
The Light, Standard, and Strong grip mats can be cleaned with water and soap, among other things. I’ll go over the different methods below. But when it comes to the pink Fabric grip mat, you should avoid using any soap or chemicals on the mat. Stick to a lint roller and tweezers to remove debris, and if you must, only use water and a bristle brush to gently remove grit.
When and how often should I clean my mat?
The frequency of cleaning your mat depends upon how often you’re using it and what materials you use. If you’re a fair-weather crafter and primarily stick to vinyl and iron-on material, and maintain basic mat hygiene, you can probably get away with cleaning your mat every 40-50 cuts.
On the other hand, if you’re using your machine daily and often cutting a variety of materials including fabric, felt, wood, and glitter cardstock, you’ll want to clean your mat much more often. Even as often at 2-4 cuts, since those materials can leave so much debris.
What is the difference between the old Cricut mats and the new Cricut mats?
If you’re a longtime Cricut user, you may be aware that Cricut changed the production of their cutting mats within the last few years. The mats still feature the same names and colors, but the old mats feature a floral pattern on them and the new mats are just solid colored. There are mixed reviews when it comes to the difference between the old and new Cricut cut mats. Whatever your feelings are surrounding the new mats, there are some differences in the adhesive formulation that you want to take into consideration before cleaning your mats.
When it comes to using the LA’s Totally Awesome cleaner, It seems to work really well on the older style of mats. However, with the new mat version, many have experienced the cleaner stripping the adhesive from the mats completely. With this in mind, proceed with caution when it comes to using this formula.
Now let’s get into the actual cleaning methods!
Tried and True Cricut Mat Cleaning methods
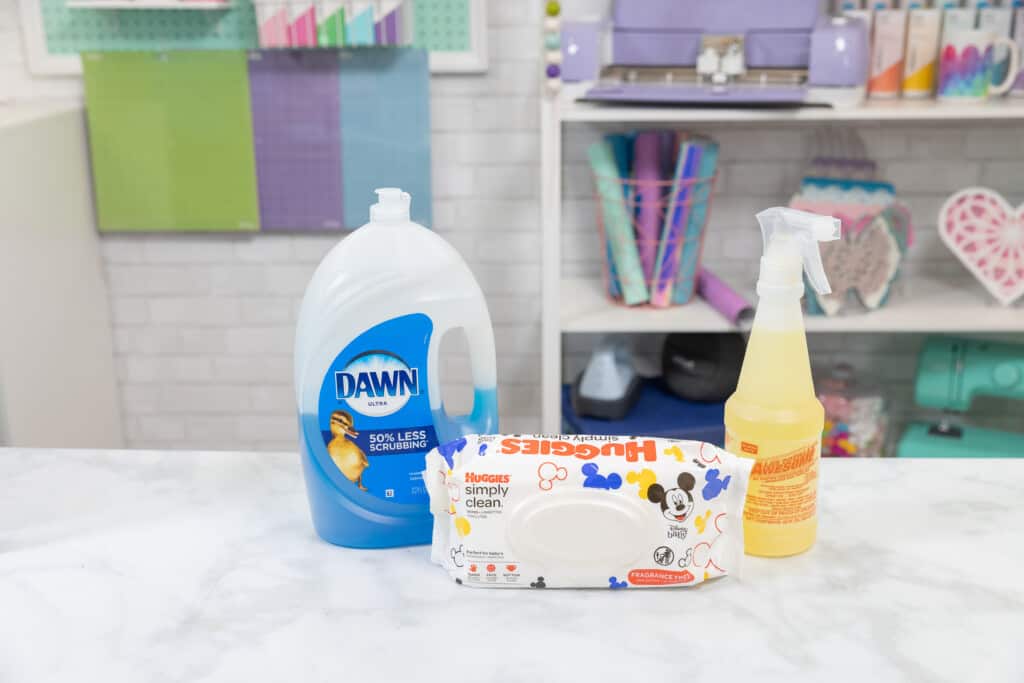
Baby Wipes
The most convenient way to clean your Cricut mat is with baby wipes! They are cheap, don’t require a sink or water, and you might already have some laying around your house. To use, take a wipe and rub in a small circular motion all over your mat. Depending on the state of your mat, this may take multiple wipes. The wipes do a good job picking up dust and small debris like glitter.
Dawn Dish Soap and Water
Another popular method of cleaning your Cricut mat is to use Dawn dish soap. Simply take your mat over to the sink, cover with a thin layer of dish soap, and gently scrub with a soft brush, rag, or even by hand. Rinse with water. This is a good method if your mat is in need of a heavier cleaning than the baby wipe can handle.
LA’s Totally Awesome Cleaner
This last method is perhaps the most controversial. Some people swear by it and others warn against it! From what I’ve found, it works really well on the older version of the Cricut cutting mats. These mats have a floral design on them but are no longer being sold by Cricut. If you have this older version or mat, or you’re willing to risk a newer mat with this method, go for it! Otherwise, I’d stick with the two cleaning methods I mentioned prior.
To clean, begin by spraying the cleaner all over your mat. After letting the solution sit for a few minutes, gently remove debris with a scraper too or bristle brush. The keyword here is GENTLY. You don’t want to scrape off the adhesive coating on the mat, only the debris on top of the mat. Once you’ve scraped or scrubbed your mat, then rinse with warm water to remove the remaining solution. Pat dry.
Which methods does Cricut endorse?
The only mat cleaning method sanctioned by Cricut is in regards to cleaning the Strong grip mat after using the knife blade.
On their website, they say, “Remove large debris with tweezers. Avoid scraping the mat. Scraping will push material debris deeper into the adhesive. Wash the mat as follows: Keep the mat flat supported by a firm surface, and place in the sink. Run lukewarm water over the mat. Use a plastic, hard-bristled brush to gently scrub in a circular motion until the entire surface of the mat has been cleaned. Pat dry with a paper towel. Let mat air dry completely for stickiness to return."
How do I dry my mats after cleaning?
Immediately after you clean your mat, you’ll notice that it will still not feel sticky while it’s wet. That’s okay! The mats need to dry completely before the stickiness returns. As far as how to dry your mats, the best option is to ALWAYS air dry. This way you’ll avoid getting any fibers from towels or paper towels and won’t risk melting the adhesive or plastic with a hairdryer.
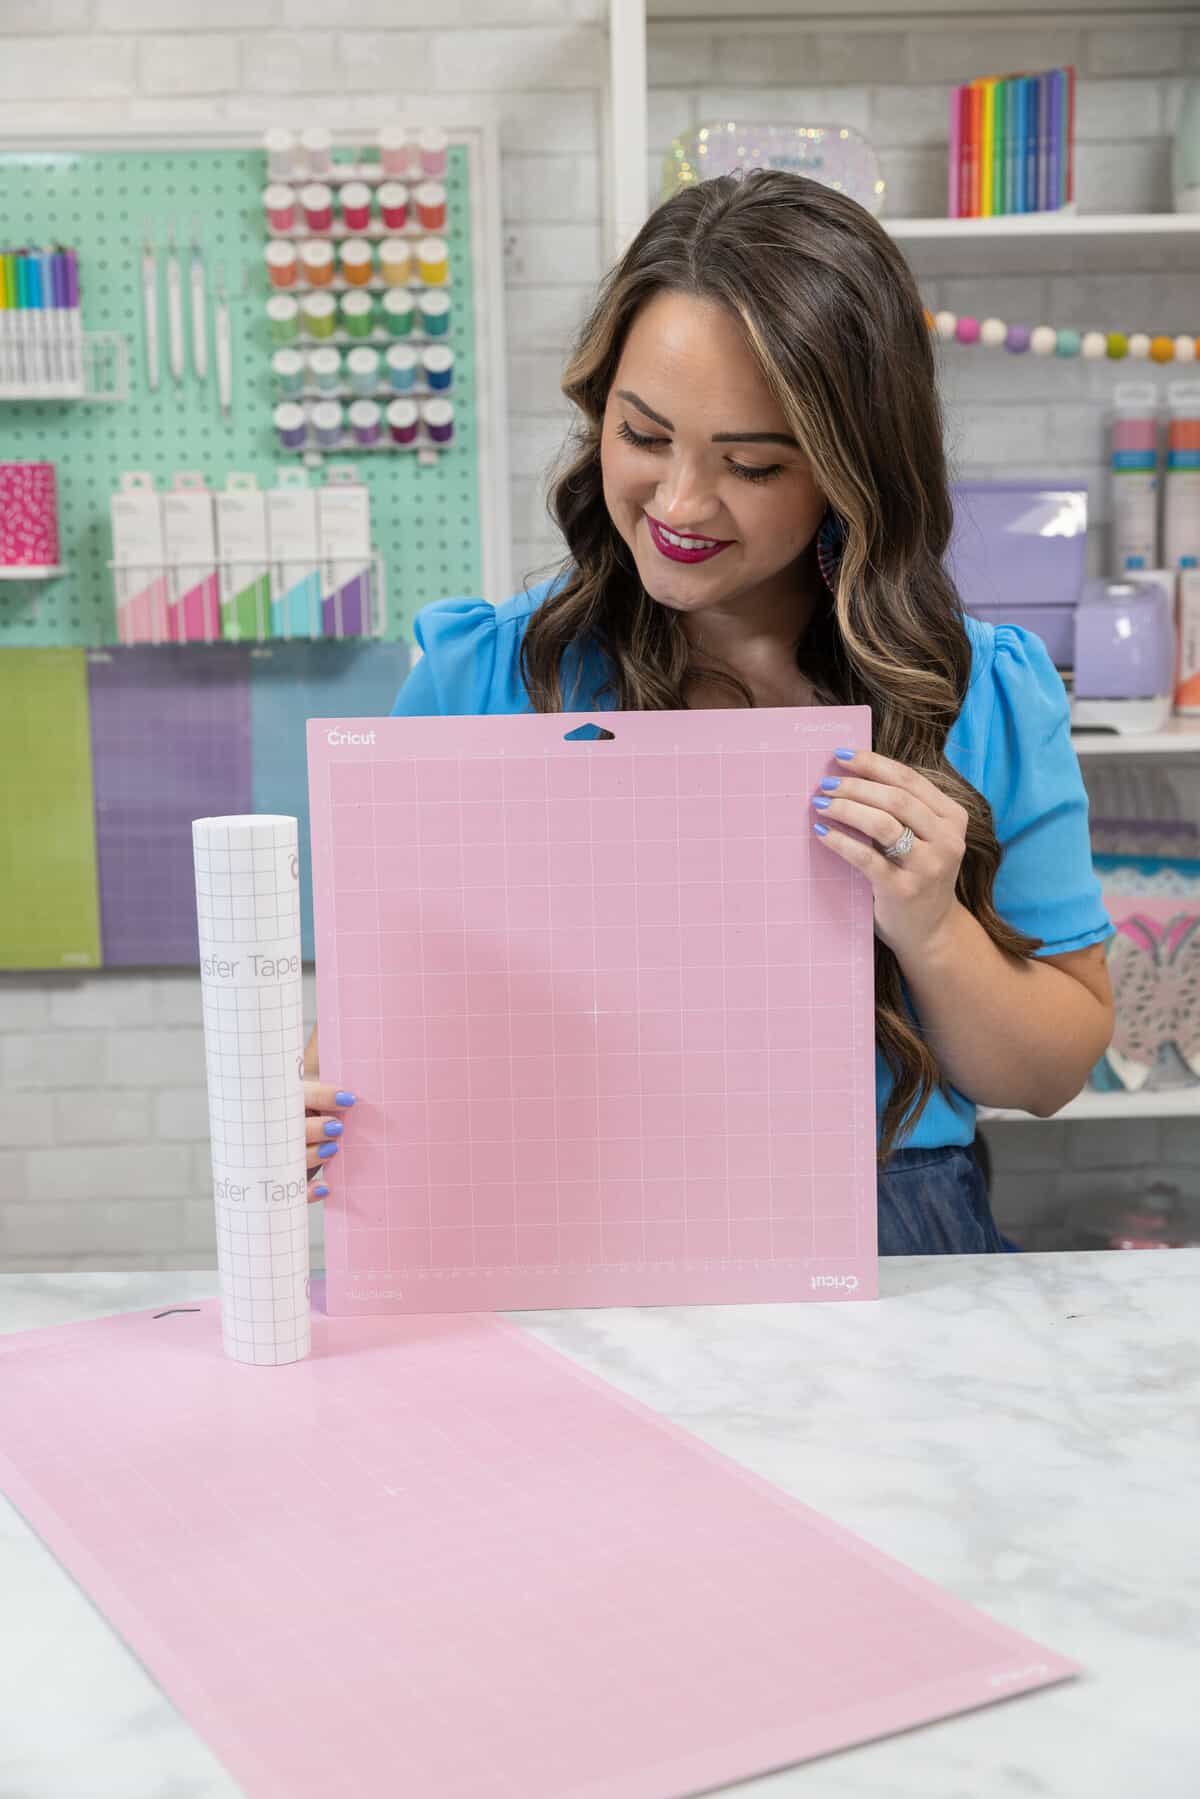
How do I clean the Pink Fabric Grip mat?
With the new Pink Fabric Grip mat, you want to avoid using any harsh chemicals to clean this mat. Rather, stick with simply removing fabric debris with tweezers and a lint roller after each cut. Because fabric and felt have so many loose fibers that are bound to stick to your mat, just anticipate these mats losing their tack a bit quicker than the others if you’re doing a lot of fabric cuts.
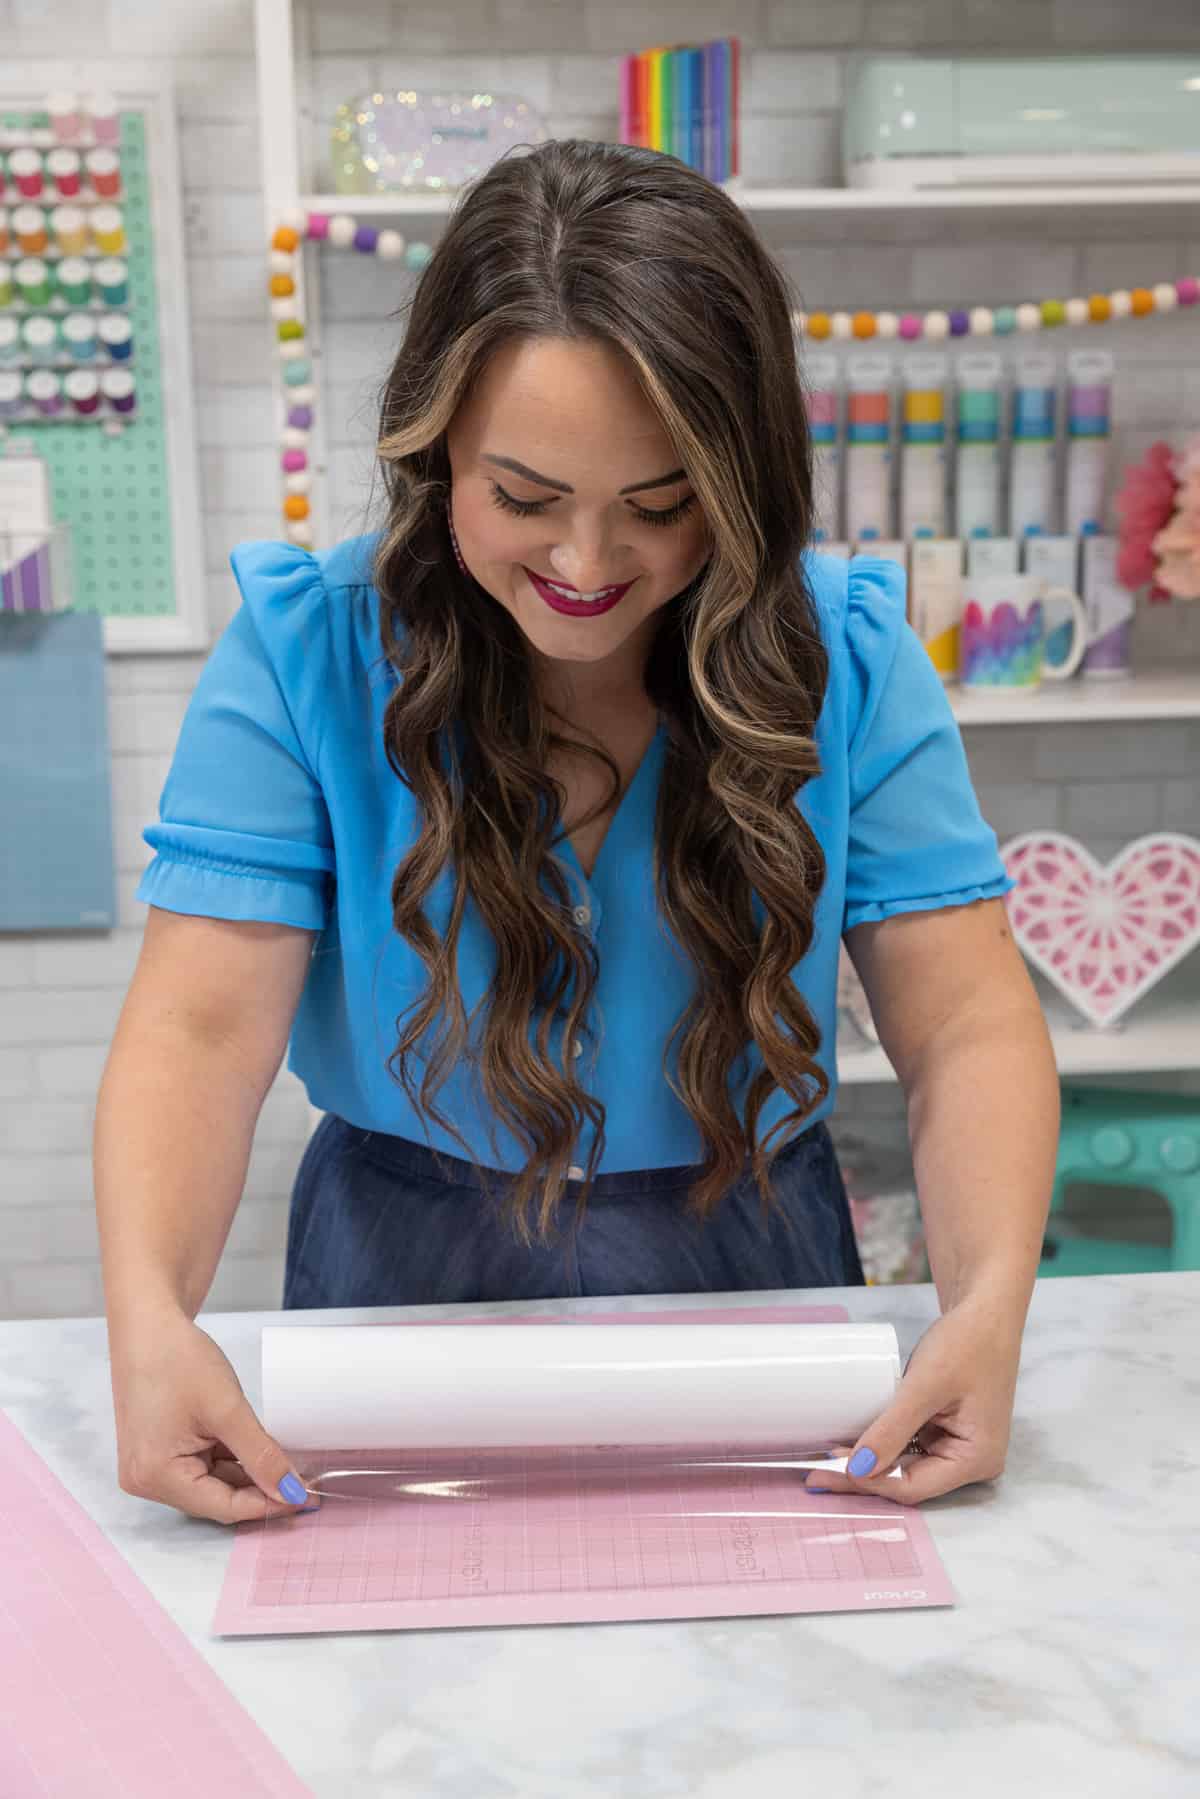
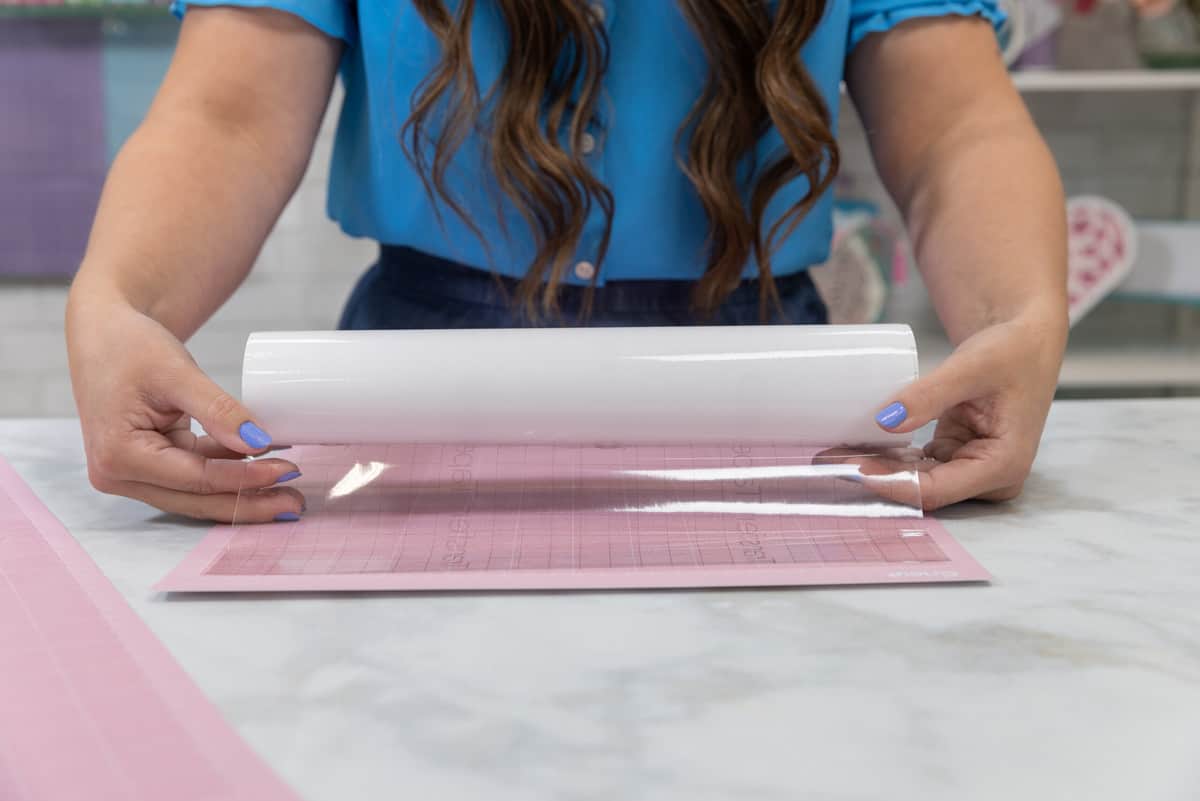
Many recommend using transfer tape to cover your mat and then apply your material. This way you avoid getting any fibers on the mat itself. Simply apply a piece of transfer tape to your mat, remove the liner so the top is sticky, then apply your material, right side facing down, on top of the transfer tape. This obviously uses up your transfer tape quicker, but it's much more cost-effective than purchasing new mats every month.
Can I re-stick my Cricut mats?
The process of “re-sticking” Cricut mats is also one with some mixed reviews. The big issue with “re-sticking” your mat, or applying a new type of adhesive to the mat, is that it could possibly damage your machine and void your warranty. When you load a mat with a DIY adhesive coating into your machine, you run the risk of jamming your machine rollers with the adhesive glue, damaging the machine. However, your Cricut warranty expires after one year, so if you’ve had your machine for a while and want to try out the method, you have less to lose, aside from possibly damaging your machine!
If you want to give this method a try, begin by taping off the edges of your cutting mat with painters or masking tape to protect them from the adhesive. This will keep the edges of your mat clean, and hopefully avoids gunking up the rollers. Then, in a well-protected and ventilated area, spray your mat evenly with a removable spray adhesive.
Some popular options include Spray N’ Bond Basting Adhesive, Sizzix Eclipse Cutting Mat Spray Adhesive, Stencil Ease Repositionable spray, and Krylon Repositionable Adhesive Spray.

Have you cleaned your Cricut Cutting Mat before? What methods work for you? What are you most likely to try? Let me know in the comments below!
Check out some of my blog posts that cover Cricut Blogs, Videos, Tutorial Projects, Free Files & More here!
Don't want to forget how to clean your Cricut mat? Save this post for later! Click here to save on Pinterest.
Join my crafting and sewing Facebook group where you can show us what you’re making, ask questions, and learn from others!
What do you suggest I should replace the clear plastic cover with after each use?