Table of Contents
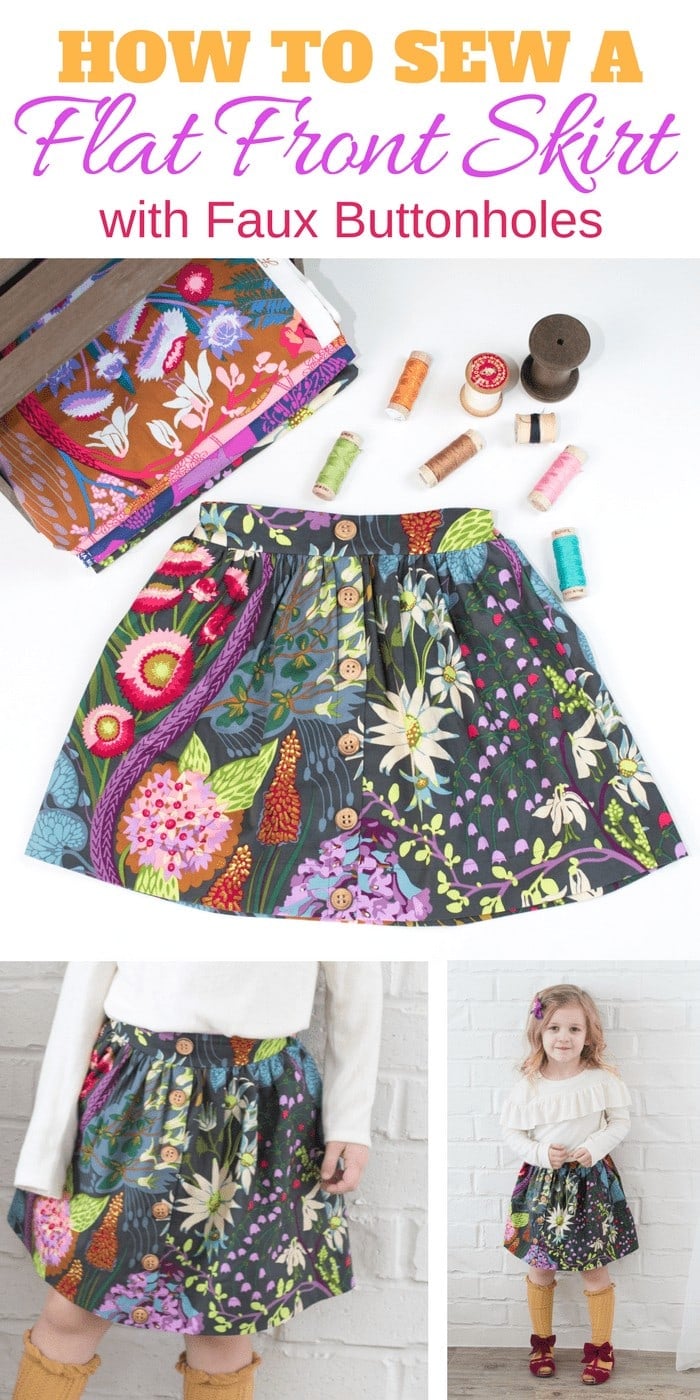
GIRLS FAUX BUTTON FLAT FRONT SKIRT SEWING TUTORIAL
Learn how to sew an adorable flat-front skirt with this step-by-step photo tutorial!
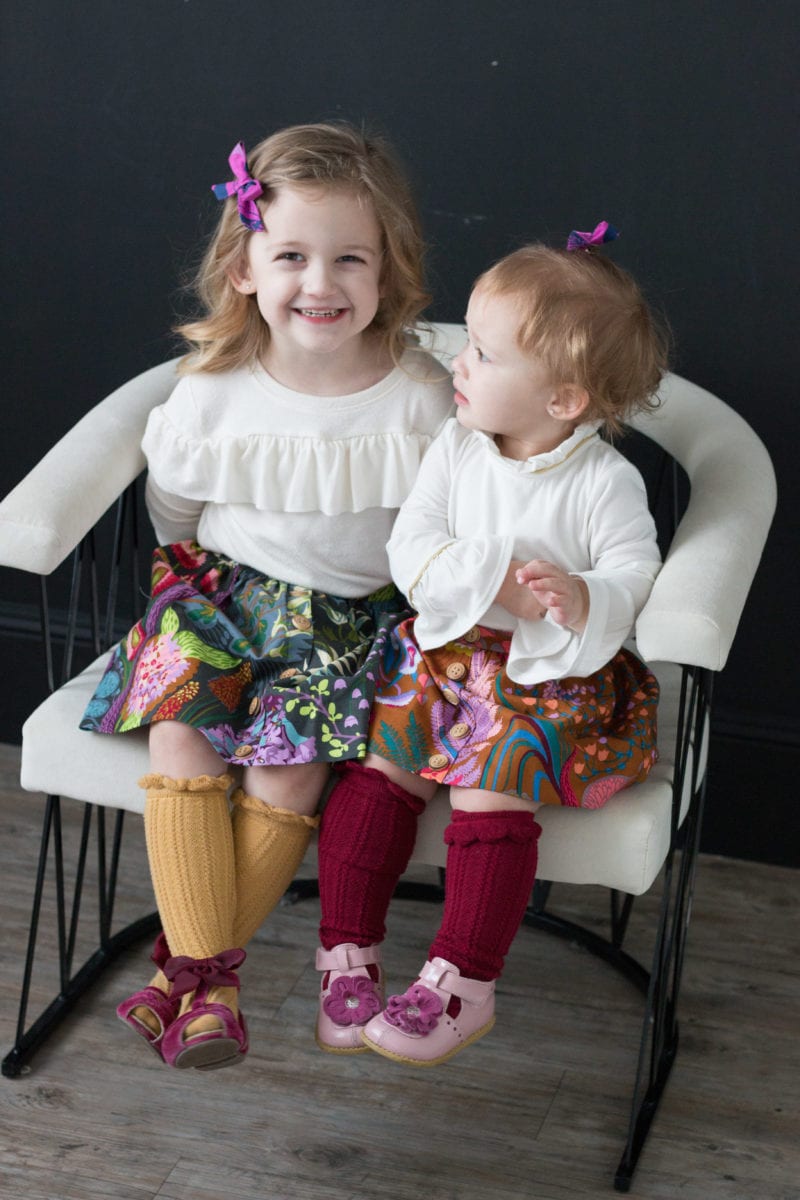
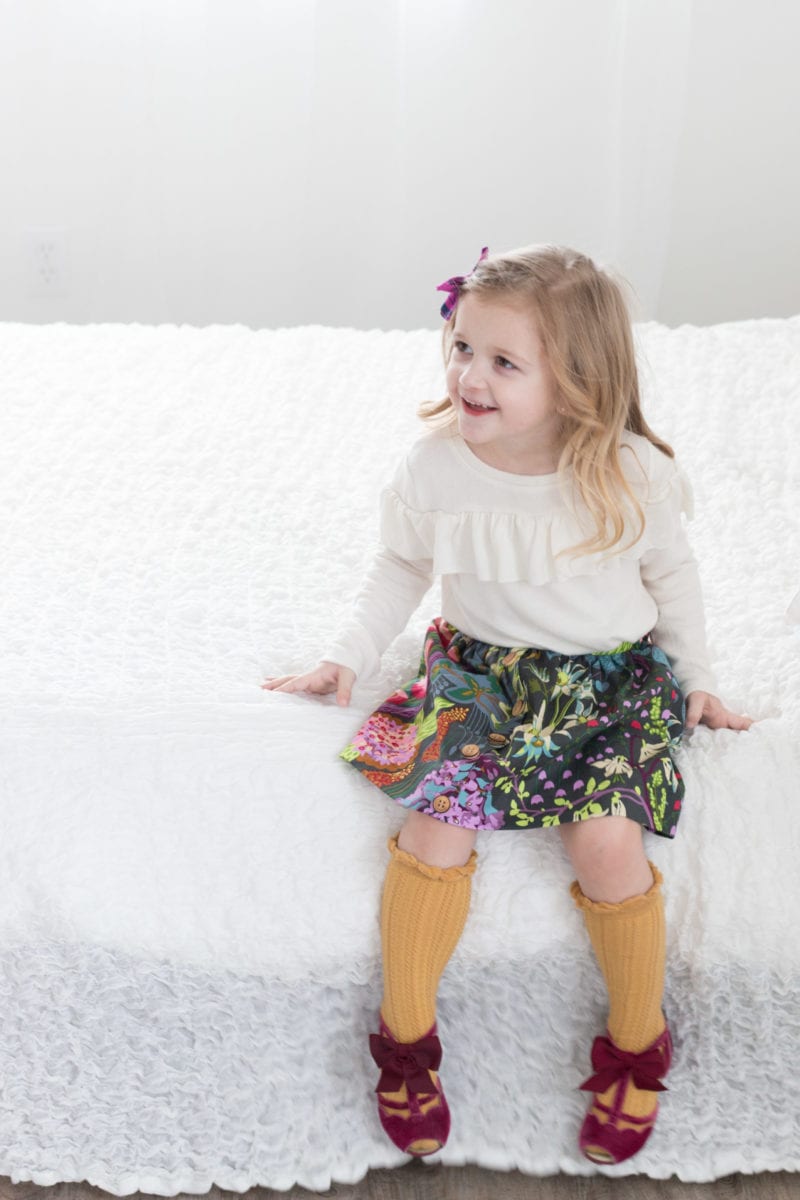
I sewed both skirts out of the print named, “Source Code." This specific print is entirely inspired by Anna Maria's walk through Kings Park Botanical Gardens in Perth.
Isn't it stunning? Now, I'm adding Kings Park Botanical Gardens to my bucket list!!
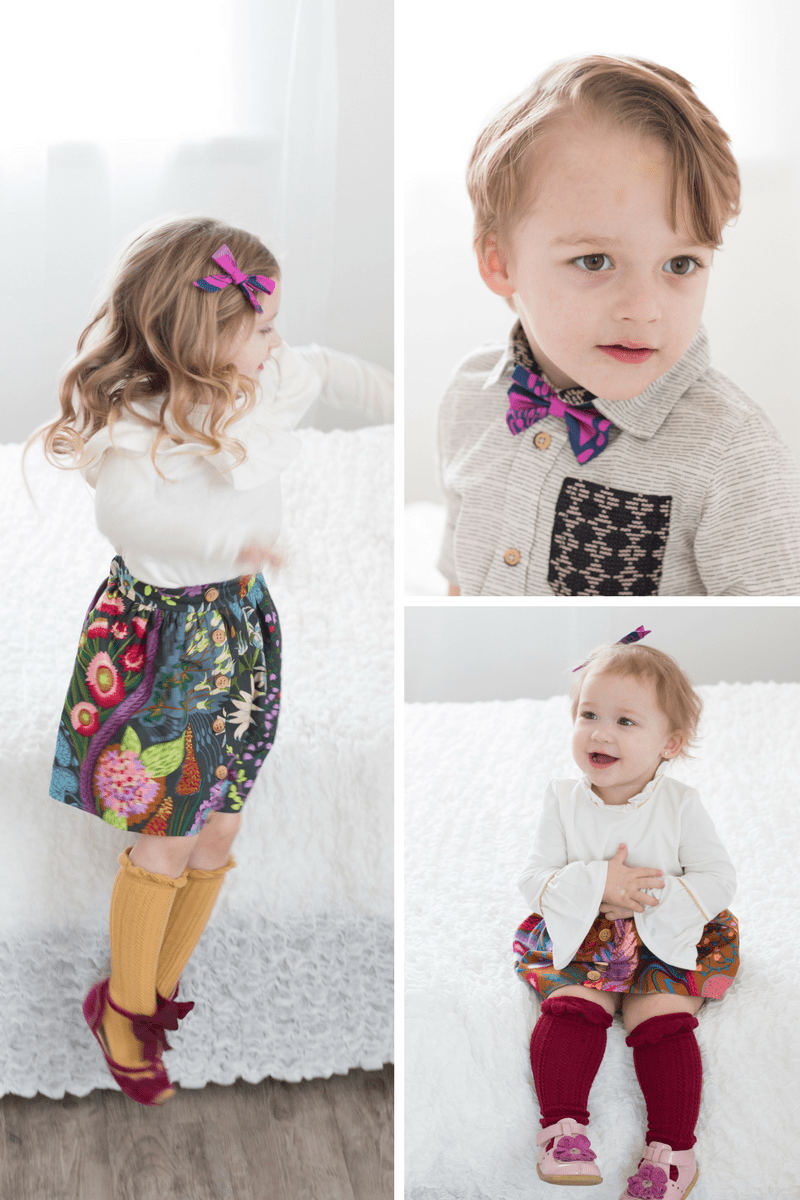
The print I chose for the girls' hairbows and my sons bowtie is named Remains and was designed with the Proteas flower in mind.
I love the contrast of color featured in this print!
GIRLS FAUX BUTTON FLAT FRONT SKIRT SEWING TUTORIAL
Supplies
To begin, you will need to measure your child's waist and height. This will help you to choose the correct size and get the best fit. If your child's waist and height fall into two different categories choose the measurements that correspond best for each measurement.
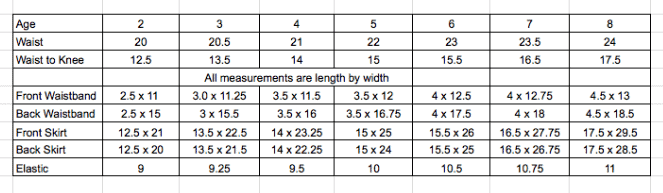
Cutting Chart
Using the cutting chart listed below, cut out all five pieces of the skirt.
Sew Flat Front Skirt
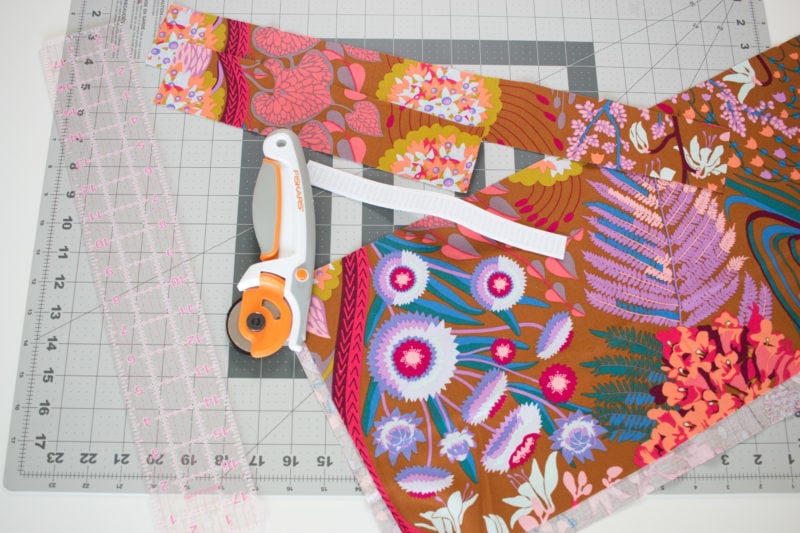
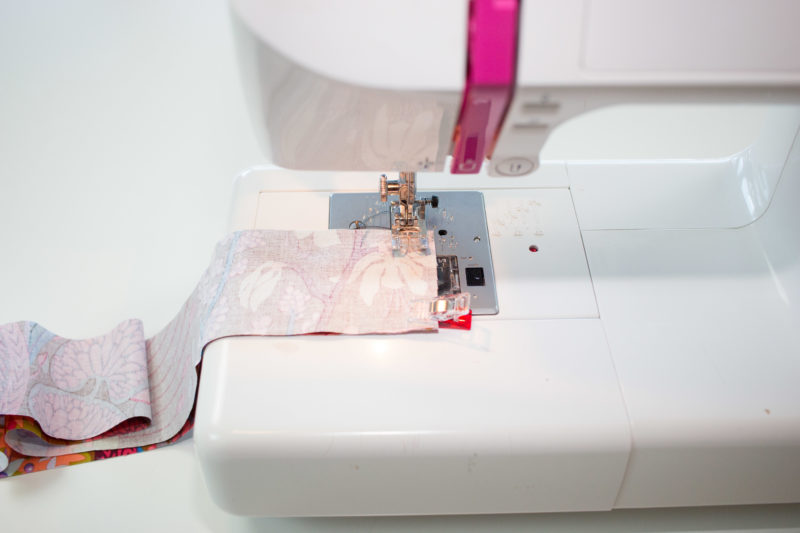
Fold the skirt front in half with wrong sides together and sew down the middle with a 1-inch seam allowance. This will create the faux button placket.
Press the button placket to the wearers left.
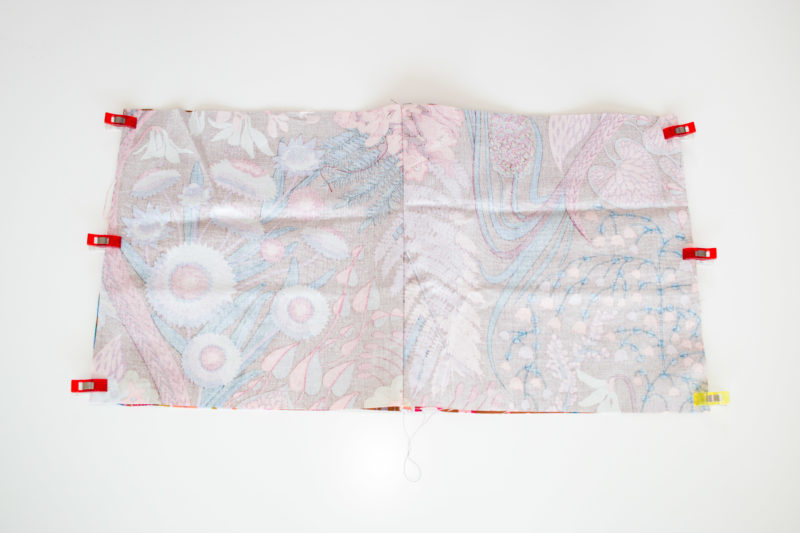
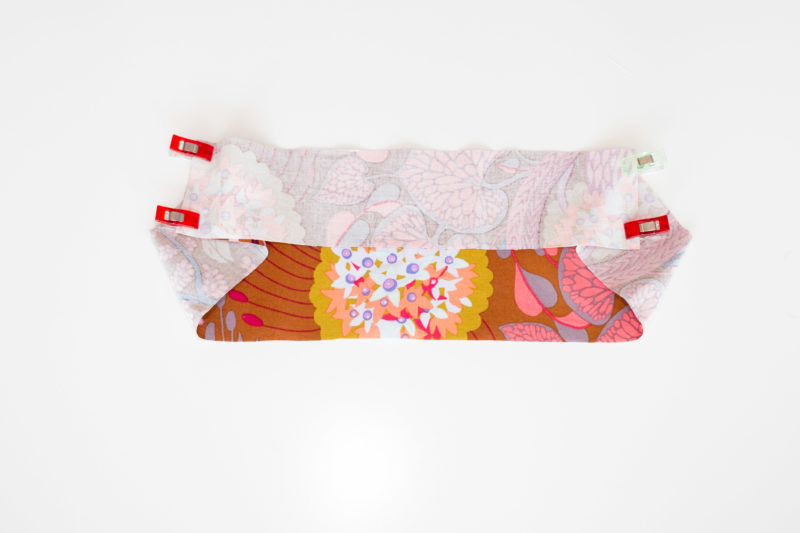
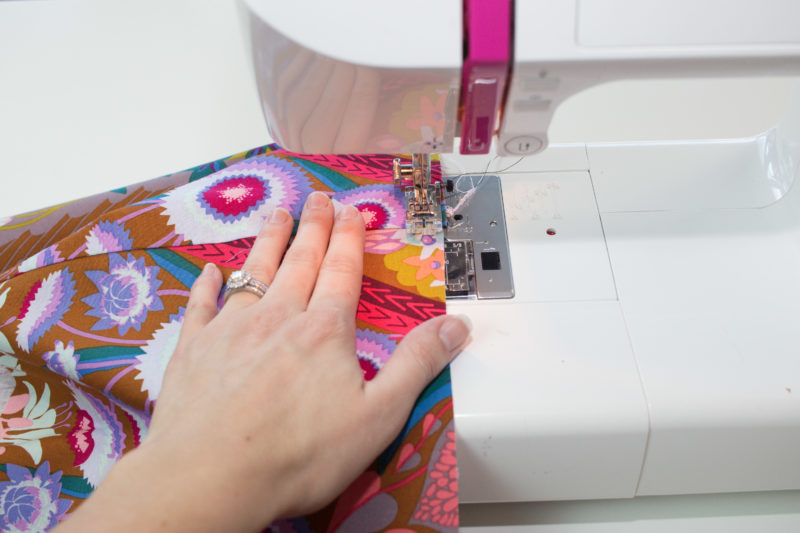
Place the front skirt on top of the back skirt with right sides together and sew down both sides with a 1/2 inch seam allowance. Finish the edges and the hem using a serger or a zigzag stitch.
Fold up the hem up towards the wrong side of the fabric 2 inches and press in place. Sew 1/4 inch below the hem. If it's easier for you, you can do this from the inside of the skirt. I like to wait until the very end to do this step so I can try the skirt on to make sure it's the right length.
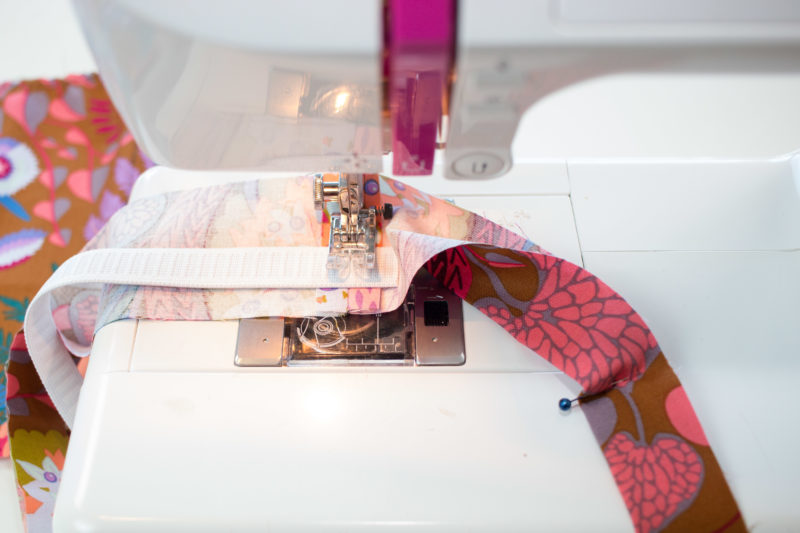
Sew Waistband
Place the waistband pieces on top of each other with right sides together and sew the short ends with a 1/2 inch s.a.
Press the seams to open flat.
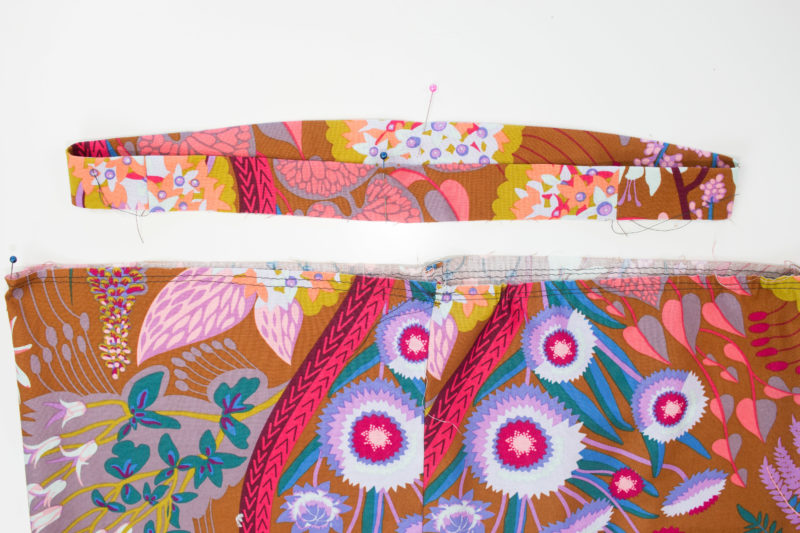
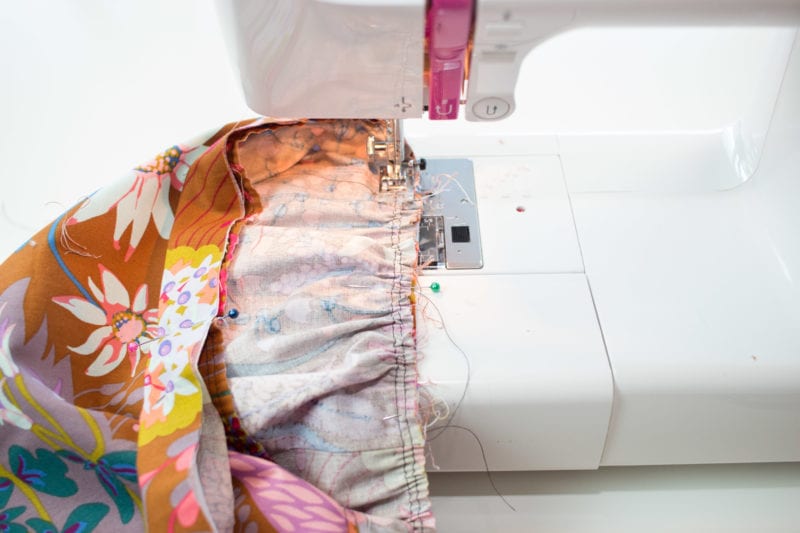
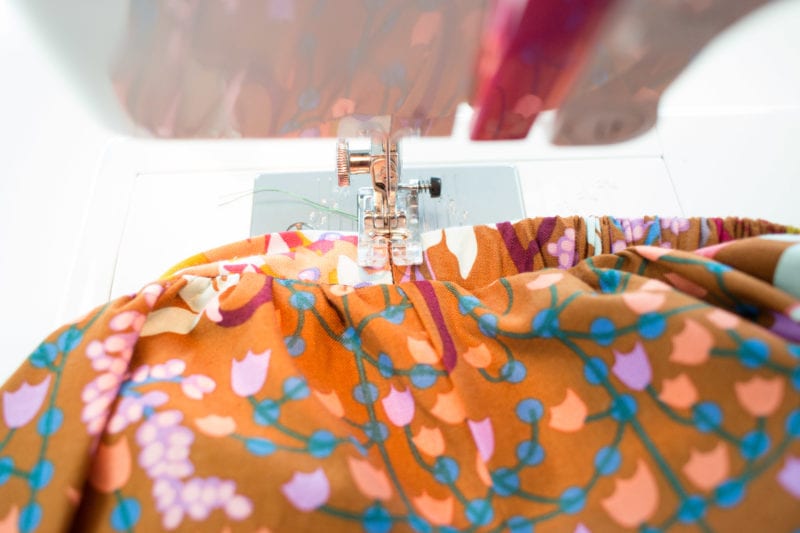
Sew two rows of gathering stitches along the top of the skirt 1/4 inch apart. Sewing two rows of gathering stitches will give you more control over the ruffles and will result in more even looking ruffles.
Mark the middle front and back of the skirt and waistband with a pin or fabric marker.
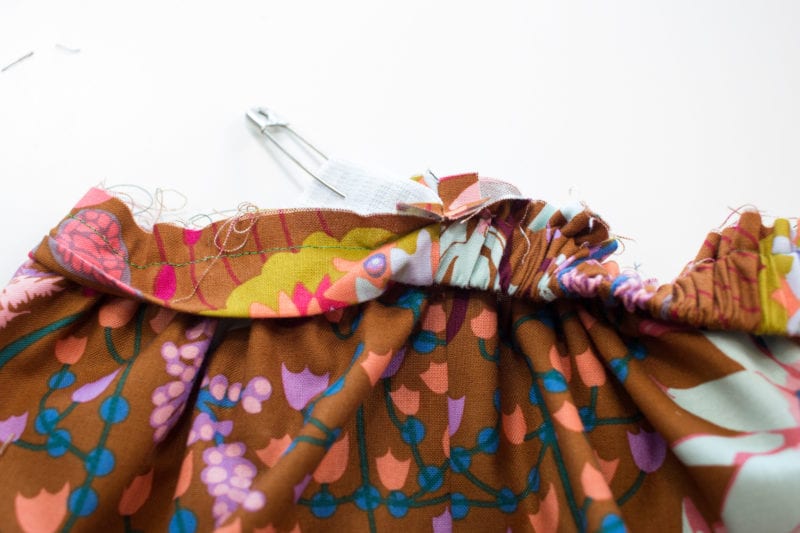
Gather Skirt
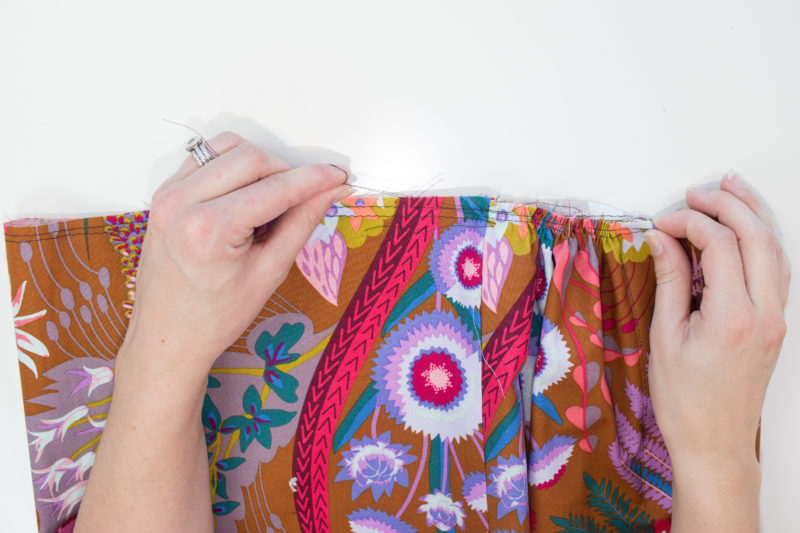
Gather the skirt by pulling on the top two strings with one hand and using the other hand to slide the fabric away from your other hand.
Pull gently and slowly to avoid breaking the thread.
Evenly space the ruffles out and lay the waistband above the skirt as a guide for how much to ruffle each section of the skirt.
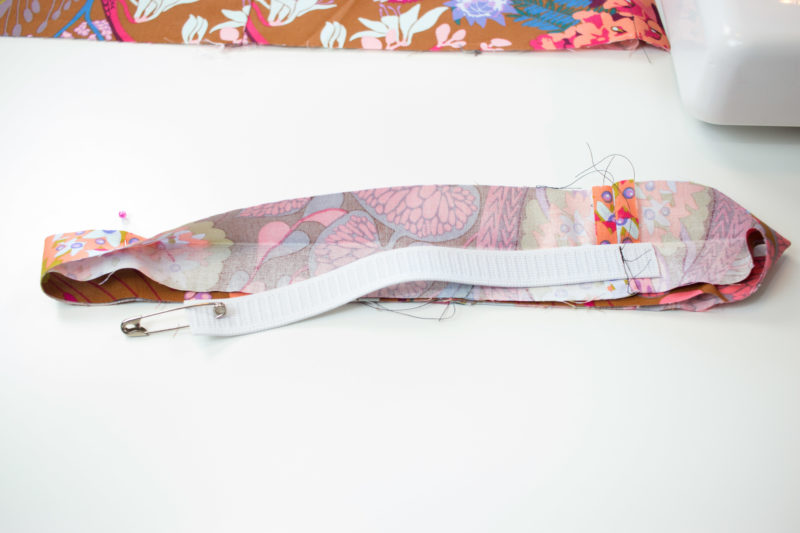
Add Elastic
With the waistband folded in half, place the elastic inside the waistband along the back and sew along the seam with 1 inch of the elastic going past the seam. Place a safety pin on the opposite end. From the outside pin it in place so it doesn't get caught in the seam allowance.
Sew Waistband to Skirt
Place the waistband over the skirt top with the raw edges facing upwards. Align the pins from the skirt and the waistband. This will give you evenly spaces gathers. Adjust the gathers accordingly.
Place the skirt on the sewing machine with the gathers facing upwards so they can easily be adjusted if needed while you sew.
Sew around the skirt leaving a 1 inch opening along the side of the waistband where the elastic has not been sewn.
Wiggle the safety pin and guide the elastic through until it overlaps the seam by 1 inch. Pin it in place and remove the safety pin.
Sew along the seam to secure the elastic. Remove the pin and sew closed the opening.
Stitch in the ditch to secure the elastic.
Finish the raw edges with a serger or a zig-zag stitch.
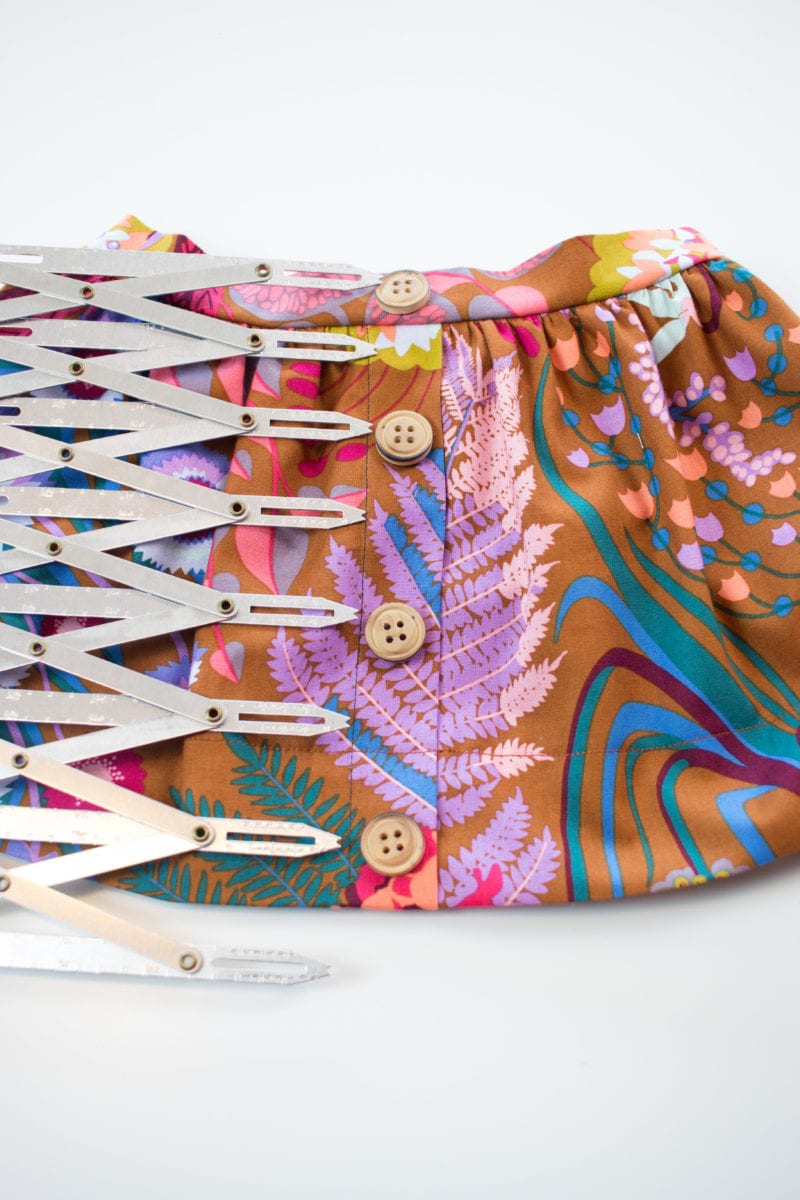
Add Buttons
Now it's time for buttons! I like to use a button gauge to get perfectly spaced buttons. Mark the placement with a fabric marker and hand sew each button.
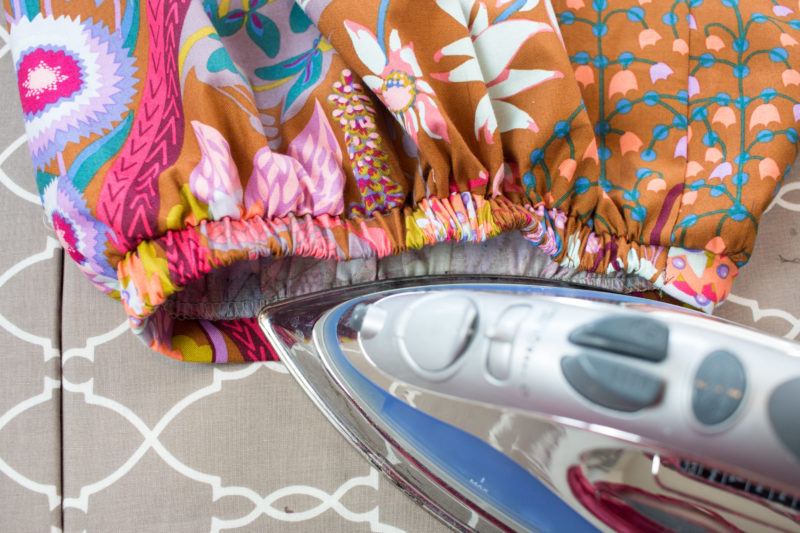
Iron Seams
Iron all seams! I can't tell you how important ironing is when it comes to apparel sewing! Ironing a garment makes all the difference in making something look professionally made!
Don't forget to pin this tutorial to Pinterest so you can find it later!
Hi Kimberly,
I love your work! This little skirt reminded me of the one I made for my daughter when she was just a toddler. So many wonderful memories came flooding back 🙂
Thank you for a great post! Love your photos 🙂
All best!
just made one following your guide! so cute! can't wait to see my grand daughter wearing it
I'm confused. I don't understand this step : Fold the skirt front in half with wrong sides together and sew down the middle with a 1-inch seam allowance. This will create the faux button placket.
Since you made this, could you explain it?
Is there a sewing pattern for this skirt? Maybe I've missed it! Not sure how to cut out fabric pieces.