• Skip to primary navigation
  • Skip to main content
  • Skip to primary sidebar
Sweet Red Poppy logo
  • Cricut
    • Free SVG Files
    • Paper Flowers
    • Mandala
    • Iron-On
    • Vinyl
    • Maker
    • Explore Air 2
    • Joy
  • Sewing
    • Baby
    • Kids
    • Accessories
    • Christmas
    • Blankets
    • Womens
    • Learn to Sew Tips & Tricks
    • Face Masks
  • DIY Crafting
    • Paint
    • Paper
    • Food
    • Kids
  • Holiday Crafts
    • Valentine’s Day
    • Easter
    • 4th of July
    • Halloween
    • Thanksgiving
    • Christmas
  • Books
    • Cricut Printed Book
    • Cricut E-Book
    • Cricut Joy Printed Book
    • Cricut Joy E-Book
    • Paper Flower E-Book
    • Sewing Printed Book
    • Sewing E-Book
    • Face Mask E-Book
    • Mandala E-Book Bundle
    • Mandala E-Book - Inkscape
    • Mandala E-Book - Adobe Illustrator
    • Mandala Printed Book - Inkscape
    • Mandala Printed Book - Adobe Illustrator
    • Baby Pattern E-Book
  • Courses
    • Cricut Course
    • Sewing Course
    • Serger Course
    • Quilting Course
    • SVG Design Course
    • Course Login: Teachable
  • Shop
    • E-Books
    • Printed Books
    • Sewing Patterns
    • SVG Files
    • Baby Patterns
    • Subscribe to Emails
    • Course Login: Teachable
    • Contact
  • Search

How to Make Easy DIY Glitter Ornaments

Written by Kimberly Coffin · This post may contain affiliate links · Leave a Comment

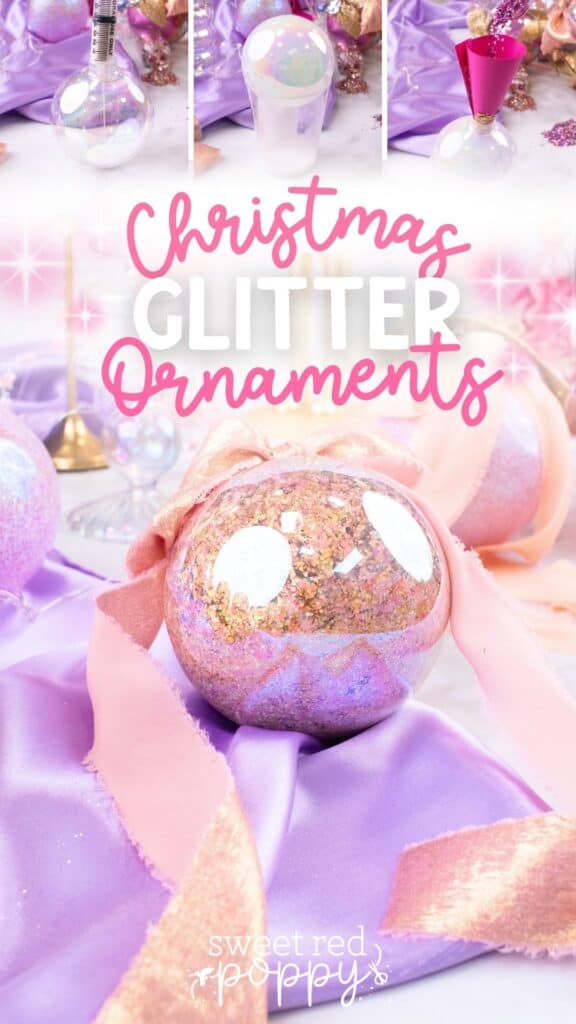
In this step-by-step tutorial, learn how to make Glitter Christmas Ornaments using iridescent plastic ball ornaments.

Looking for a fun, easy DIY project this Christmas? These DIY glitter Christmas ornaments are easy to make with friends and family.

DIY Glitter Ornaments- Sweet Red Poppy 1
DIY Glitter Ornaments- Sweet Red Poppy

In this tutorial, I'll share my tips and tricks for creating one of these glittery ornaments in just two steps. First, let's go over the supplies needed and the best glue and glitter to use.

DIY Glitter Ornaments- Sweet Red Poppy 2

I found these iridescent Christmas ball ornaments and chunky glitter in a variety of colors and sizes to make these ornaments at my local craft store, Michaels. Each of them only took less than a half hour to make!

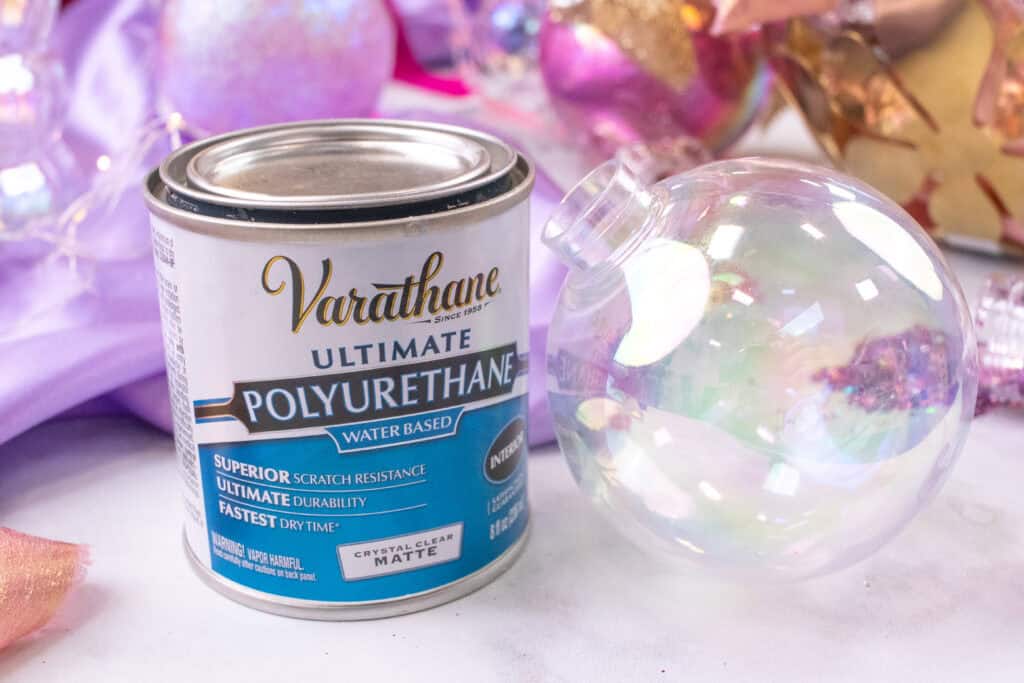
What is the Best Glue to Use ?

For this project, I used Varathane Ultimate Polyurethane, but you can also use Mod Podge water-based glue, Minwax Polycrylic, Beacon Glitter-It, or even floor wax. All are good choices, but I prefer Polyurethane because it dries quickly and stays clear.

Best Glue to Use- DIY Glitter Ornaments- Sweet Red Poppy
Best Glue to Use- DIY Glitter Ornaments

Drying times can vary depending on the type of glue or sealant you're using. Mine took 24 hours to dry completely, but some may take 48 hours. I recommend looking at the directions on the adhesive you chose.

What Types of Glitter Should I Use?

I found the large, chunky glitter made beautiful ornaments and covered the inside nicely. You can also mix and match glitters! Sometimes chunky glitter can leave small patches - adding finer glitter helps cover those bald spots.

DIY Glitter Ornaments- Sweet Red Poppy 4

How to Stop the Ornaments from Flaking

If you notice your ornament is flaking even after waiting for the 24-hour dry time, I suggest using another coat of sealant, such as Mod Podge, to keep the glitter in place.

You can also hot glue the metal lid to the ornament after letting the glitter and glue dry to prevent any glitter from falling out.

Another way to try and stop the glitter from falling is to clean the clear ornament with some alcohol and let it dry completely to prevent any separation from happening due to debris in the future. (Do this before adding adhesive or glitter to the inside of your clear ornament).

DIY Glitter Ornaments- Sweet Red Poppy 5
DIY Glitter Ornaments- Sweet Red Poppy

Table of Contents

  • Supplies Needed
  • Step One: Pour Adhesive into Ornament
  • Step Two: Pour Glitter into Ornament
  • Finished Ornaments
  • Do you want to save this project tutorial for later? Click here to save it to your Pinterest!

Supplies Needed

  • 100 mm Clear Plastic Iridescent Ornaments
  • Varathane Ultimate Polyurethane
  • Chunky Glitter
  • Fine Glitter
  • Syringe
Supplies for DIY Glitter Ornaments- Sweet Red Poppy 6
Supplies for DIY Glitter Ornaments

Step One: Pour Adhesive into Ornament

Begin by removing the metal lid and pour 1-2 tablespoons of your adhesive into the ornament. I used a syringe to pour in my adhesive quickly and without a mess.

Gently swirl the ornament around the coat the entire inside thoroughly. If you have any excess, dump it back into the container.

Pouring Polycrylic into an ornament- DIY Glitter Ornaments- Sweet Red Poppy 7
Pouring Varathane Polyurethane into an Ornament with Syringe- DIY Glitter Ornaments

Place the ornament upside down in a plastic cup to let any excess liquid drip out.

Step Two: Pour Glitter into Ornament

Next, create a small funnel using paper by rolling it up and placing it into the bulb. Pour the glitter through the funnel, and roll the ornament until the inside of the ornament is completely coated in glitter.

Once the inside of the ornament is fully coated, grab a plastic cup and place your ornament upside down to let excess glitter fall out.

Pouring Glitter into Ornament- DIY Glitter Ornaments- Sweet Red Poppy 8
Pouring Glitter into an Ornament- DIY Glitter Ornaments

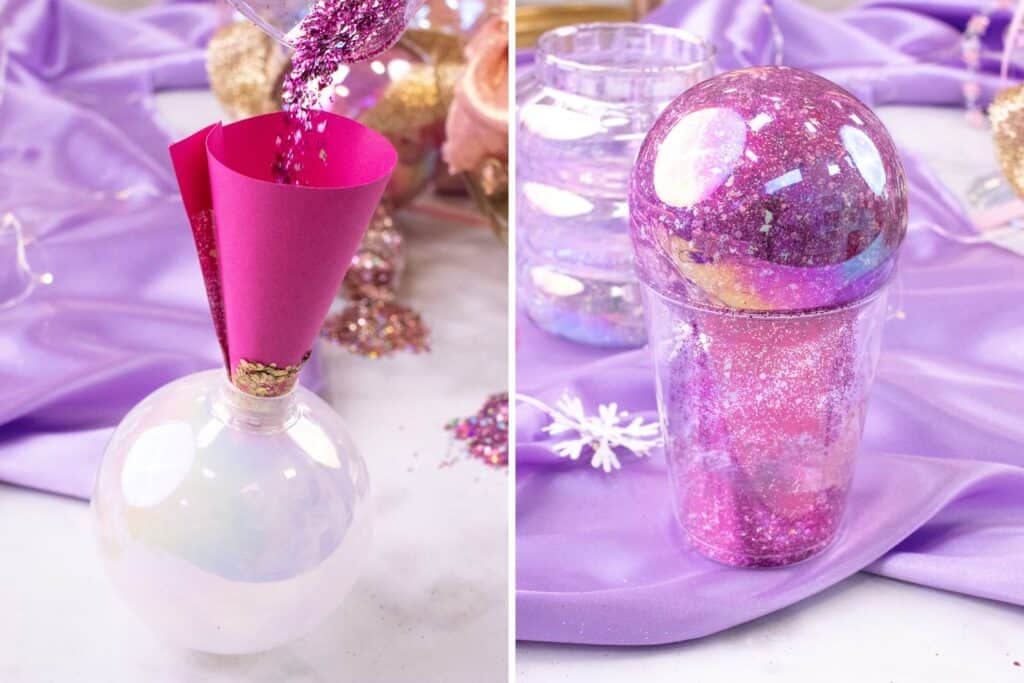
Turn the ornament right side up and et your ornaments dry completely for 24-48 hours. Once it's dried, remove your ornament from the cup and replace the metal lid.

If you see any patches of flaked glitter, add more glitter and seal it into place.
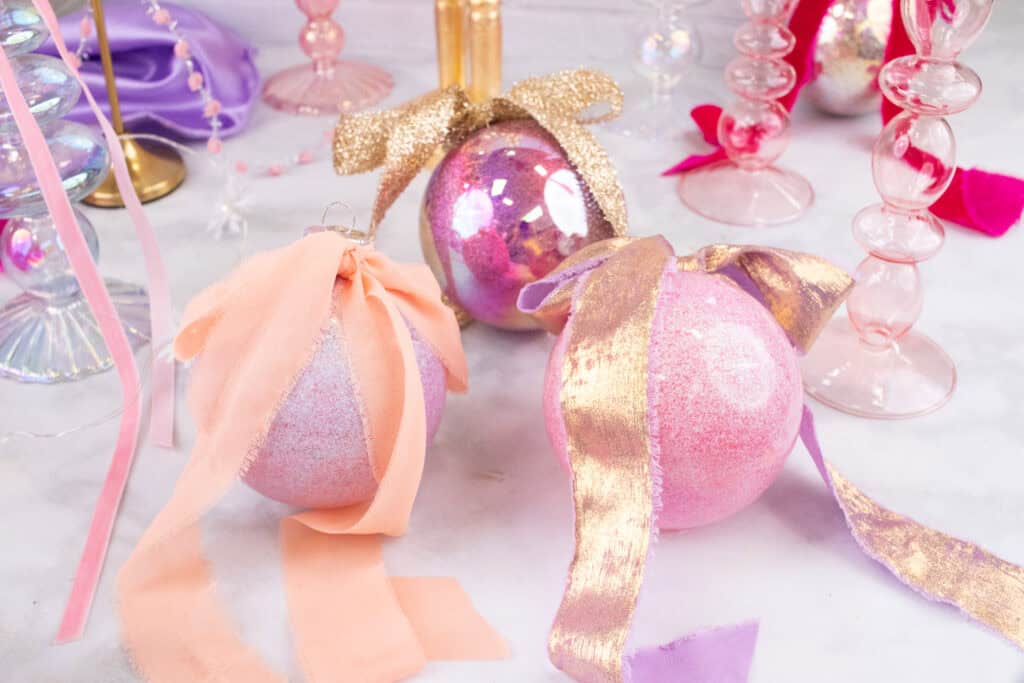
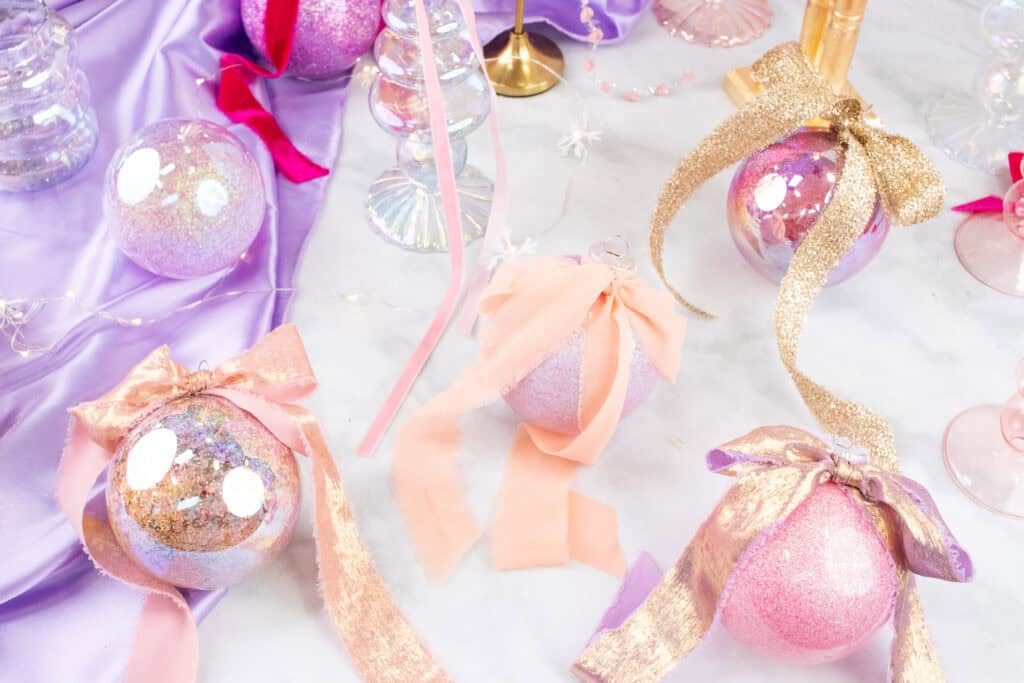
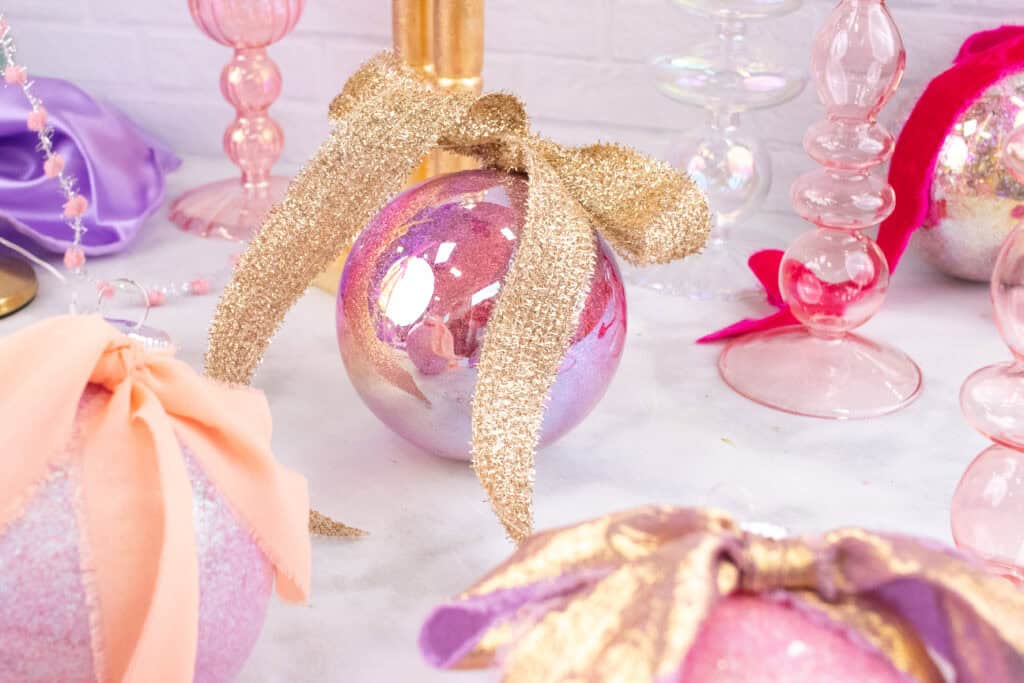
Finished Ornaments

These ornaments turned out beautifully! For the final touch, I tied velvet, chiffon, and sequined bows to my finished glitter ornaments. I can't wait for you to try this easy Christmas craft!

Finished DIY Glitter Ornament- Sweet Red Poppy 9
Finished DIY Glitter Ornament- Sweet Red Poppy

You can personalize these ornaments by adding a name to the back of them with some vinyl, or click here to turn it into a unicorn Christmas ornament by following this tutorial!

Do you want to save this project tutorial for later? Click here to save it to your Pinterest!

DIY Glitter Ornament- Sweet Red Poppy Pin

More Christmas Crafts!

Looking for more crafts to do this holiday season? Check out a few of my other Christmas tutorials:

  • Christmas Crafts and Sewing with Sweet Red Poppy
  • How to Make DIY Dollar Tree Snow Globe Tumblers
  • How to Make Honeycomb Paper Christmas Ornaments
  • Christmas Treat Printable Bag Topper
  • Layered Christmas Ornaments Free SVG Files
  • How to Decorate Clear Plastic Ornaments for Christmas
« Walmart Nutcracker Tutorial
The New Cricut Maker 4- What's the Difference Between Cricut Maker 4 vs Maker 3? »

Reader Interactions

Leave a Reply Cancel reply

Your email address will not be published. Required fields are marked *

This site uses Akismet to reduce spam. Learn how your comment data is processed.

Primary Sidebar

Ready, Set, Sew! An online sewing course for beginners by top US sewing blogger, Sweet Red Poppy.

Hello, I’m Kimberly, the creator of Sweet Red Poppy!

I’m a wife, mother to 3, seamstress, and lover of all things crafty! Sweet Red Poppy is my creative outlet where I find and create inspiration. It’s a place where I can share my never-ending sewing projects and my love of learning!

Read more about me →

The Latest

  • Aeon Mira5 S Sweet Red Poppy
    Aeon Mira5 S Redline Laser: Everything You Need to Know Before You Buy
  • How to Make a Large Crepe Paper Peony
  • The New Cricut Maker 4- What's the Difference Between Cricut Maker 4 vs Maker 3?
  • How to Make Easy DIY Glitter Ornaments
  • Walmart Nutcracker Tutorial
  • DIY Terracotta Pumpkin
    DIY Terracotta Pumpkin with Hobby Lobby

Footer

↑ back to top

Legal

  • Privacy Policy
  • Disclosure

Newsletter

  • Get My Cricut Book HERE
  • Sign Up! For Emails and Updates

About

  • Contact
  • About
  • Home

Copyright © 2024 Sweet Red Poppy