Learn How To Make DIY Dollar Tree Snow Globe Tumblers for the Holidays with this Step-By-Step Blog Post Tutorial and Cute Holiday SVG Files!
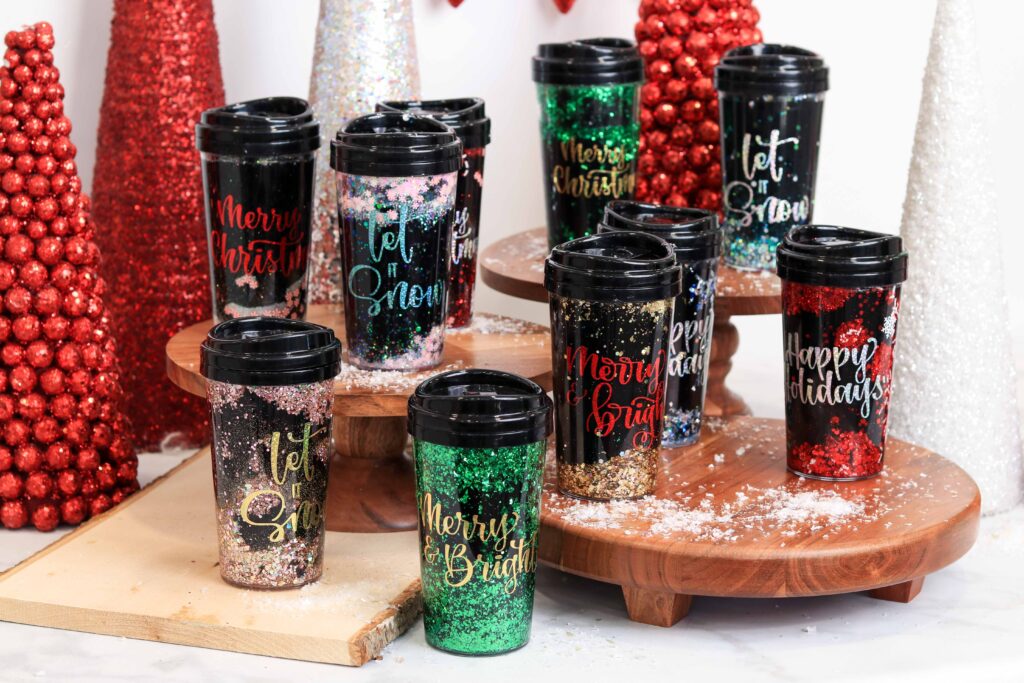
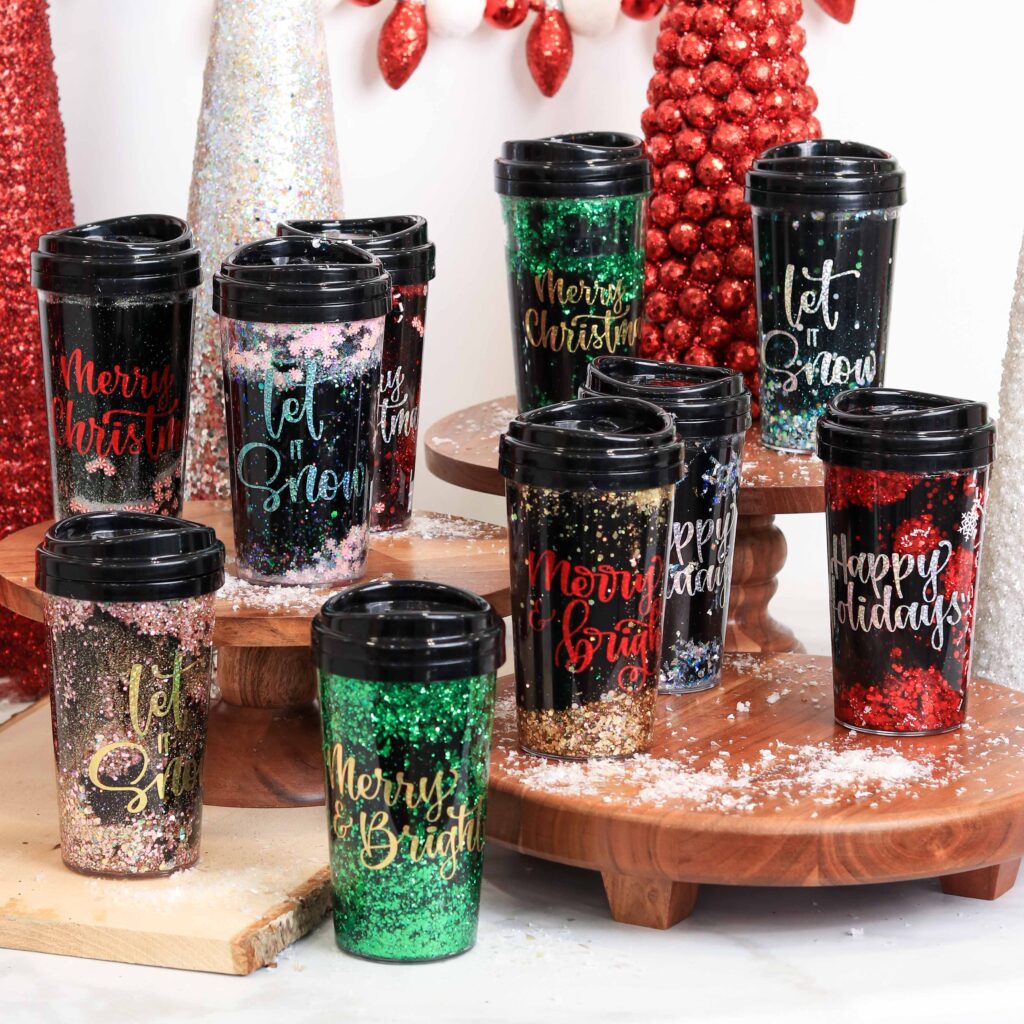
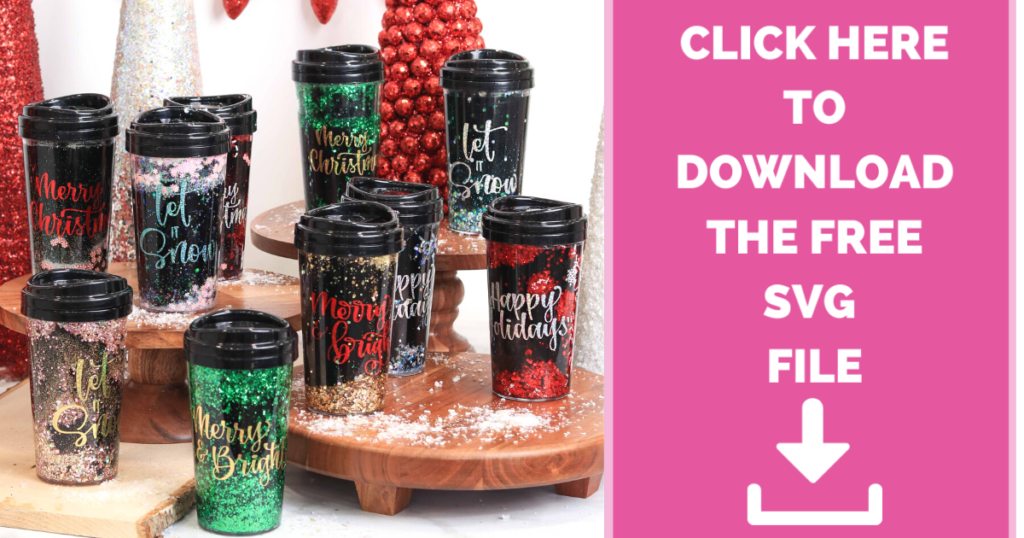
Tis’ the season for snow globe tumblers! Looking for something to put your warm holiday beverage in? These Snowglobe Tumblers are both functional and aesthetically pleasing.
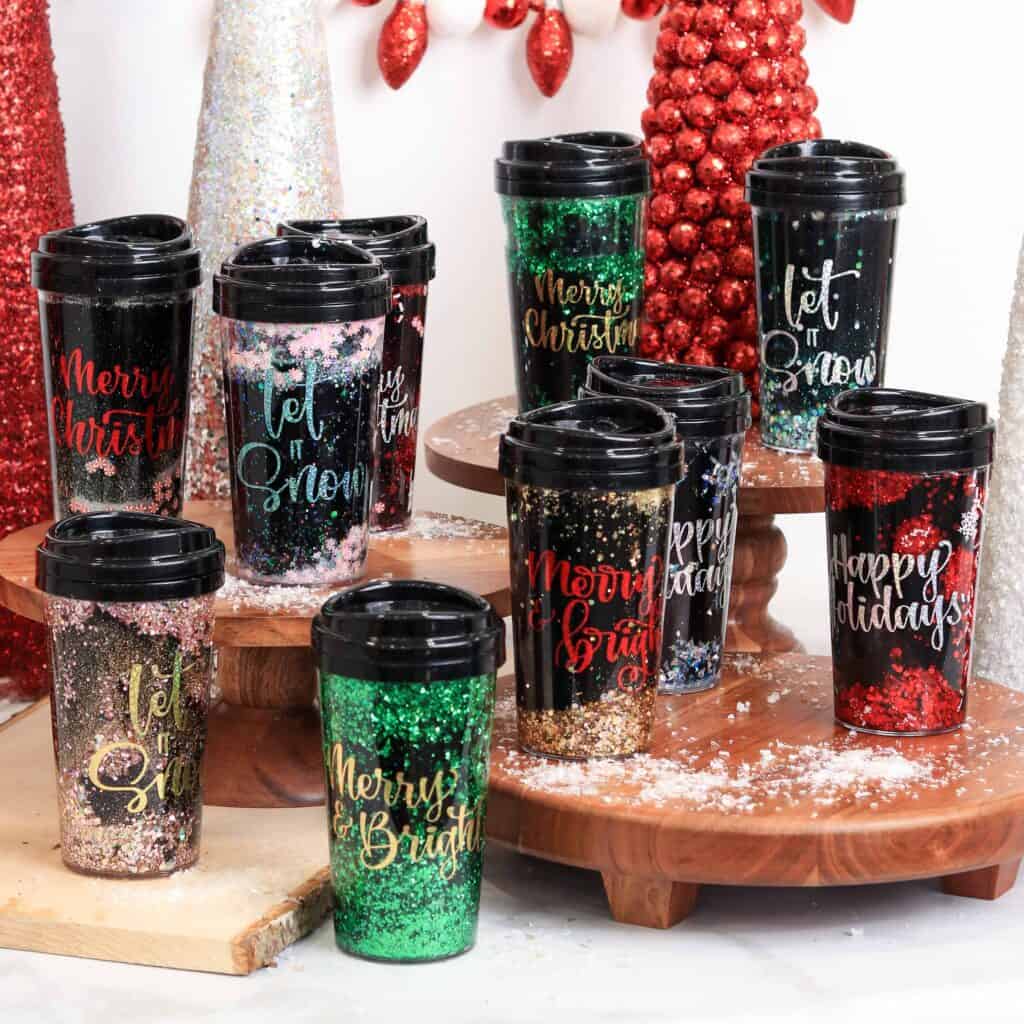
After sharing my original DIY Starbucks Snow Globe Tumbler blog post, I wanted to try to make these snowglobes again with a new spin!
I saw these Dollar Tree Travel Mugs and knew they would be perfect for a less-expensive version! Plus, the black mug against the glitter is just SO gorgeous! I love the contrast that this version offers.
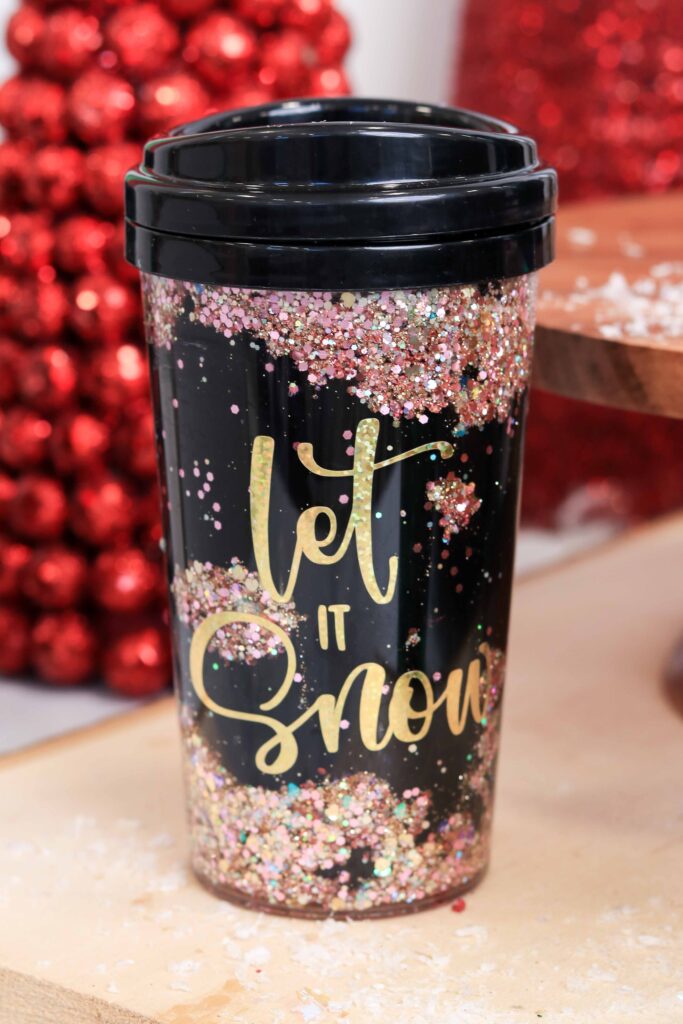
In this DIY Snow Globe Tumbler tutorial, I will be walking you through the step-by-step process on how to make these snow globe tumblers with travel mugs from the Dollar Tree.
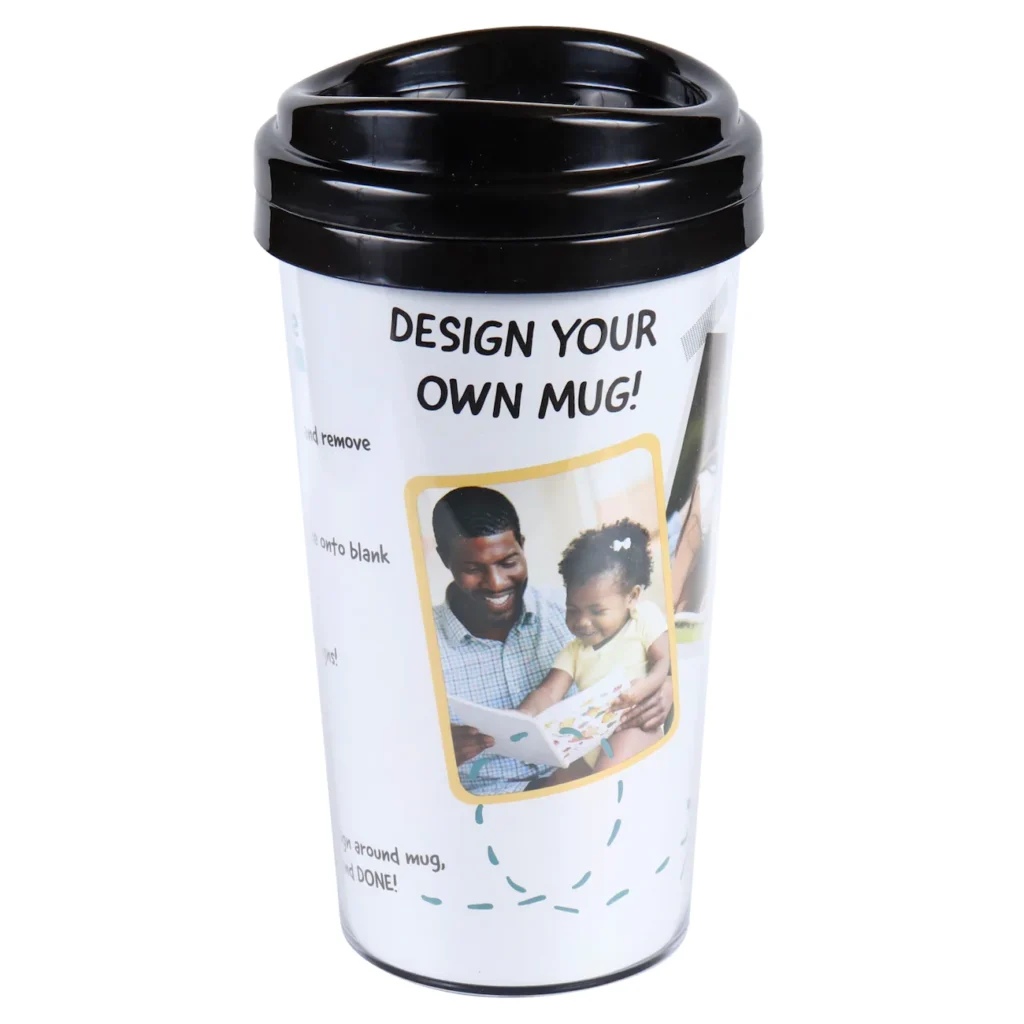
I used the Create Your Own Design 16 oz. Travel Mug from Dollar Tree for this project.
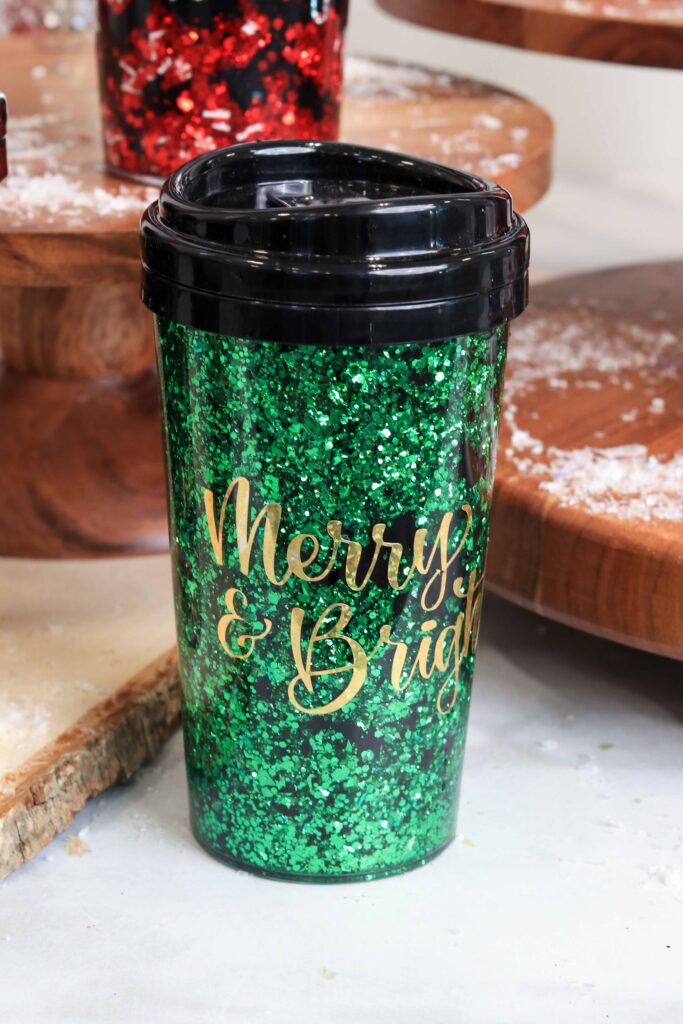
You can find this product in-store or online. I recommend purchasing it online as it doesn't seem to be available in person at all stores. It currently retails for $1.25. If you are purchasing online, there is a minimum quantity of 6 required to order because the product is sold by the case.
I recommend purchasing a few extra travel mugs just in case something breaks or goes wrong as you’re testing out this project.
This cup measures 3.5” in width, 3.5” in length and 6.5” in height.
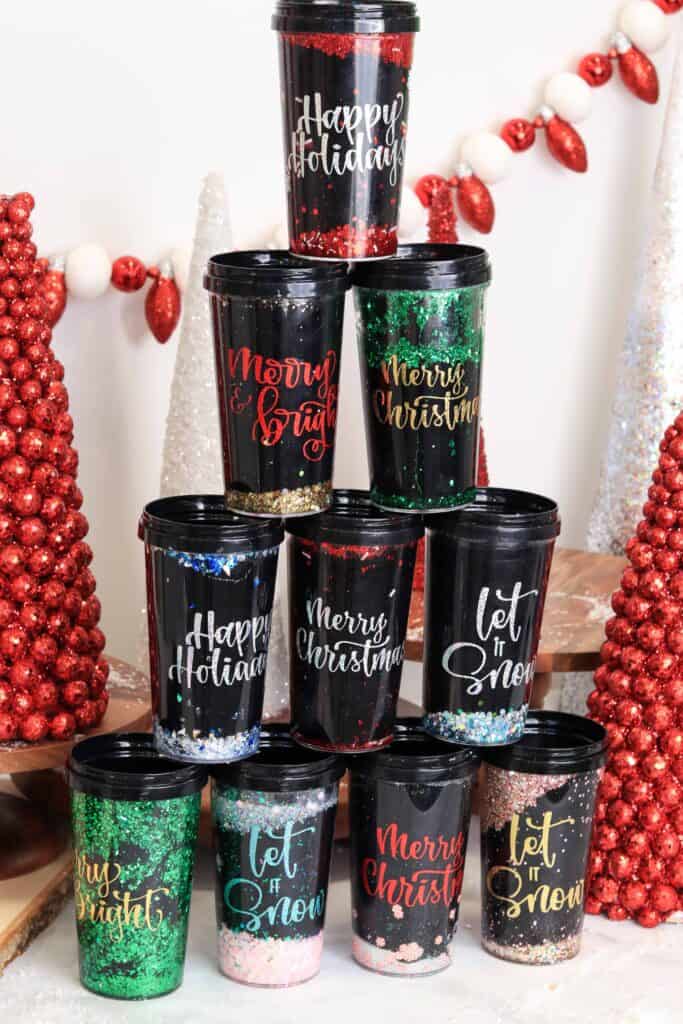
This tutorial also includes SVG files with holiday sayings that you can cut and paste onto your tumbler by using a cutting machine and some vinyl.
What Type of Vinyl Should I Use?
I Recommend using Permanent Vinyl because it has a long-lasting adhesive bond and it is ideal for projects that will undergo more wear and tear. So think of projects like mugs, cups, and even windshields.
Removable Vinyl is ideal for temporary decor. It does not leave a residue behind and can easily be changed out from season to season. It’s great for temporary wall decals or seasonal projects.
If you want to learn more about vinyl click here.
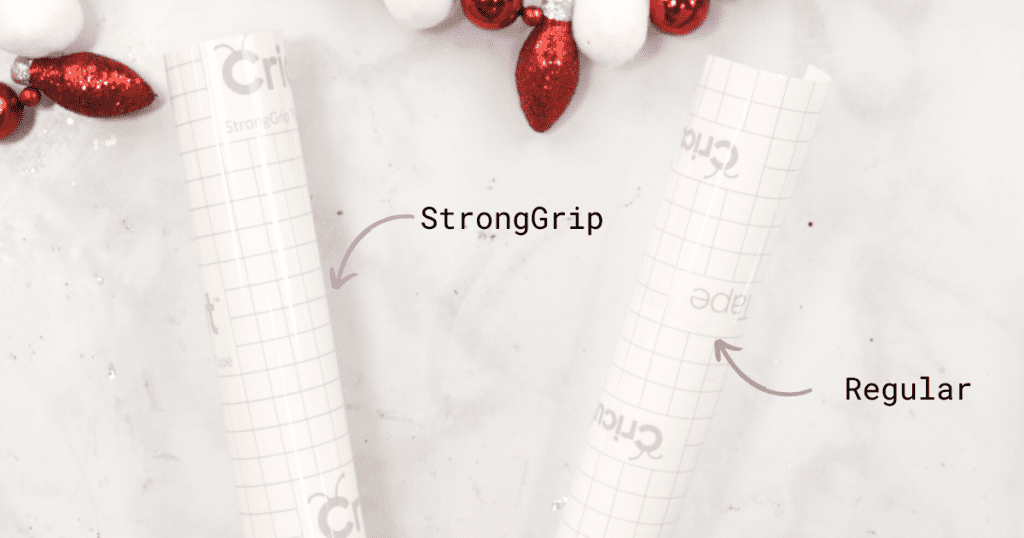
For this project, I used permanent matte and holographic vinyls. If you are using textured vinyls I recommend using strong grip transfer tape; If you're using matte or glossy vinyl, regular transfer tape is best.
Should I Use Glycerin or Clear Glue? What’s the Difference?
Many use vegetable glycerin for this project because it mixes well in the water and will help the glitter fall slowly. Vegetable Glycerin is seen in many cosmetic and health products because of it’s benefits, but also because it prevents hardening.
If you don’t want residue or don't want your snow globe tumbler to harden overtime use glycerin.
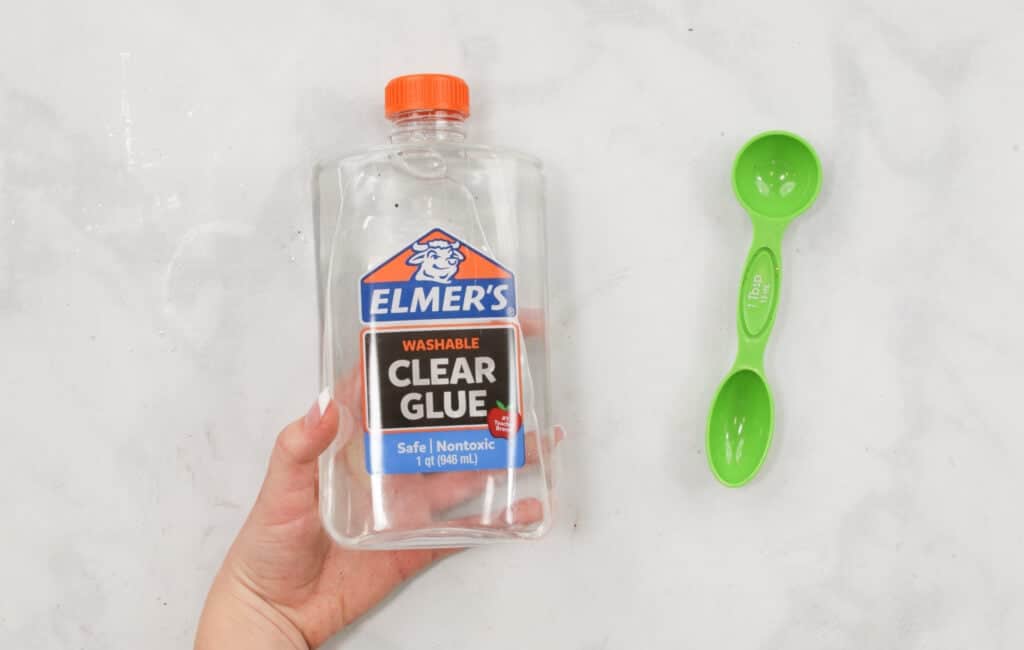
Clear glue is a great alternative to glycerin. The results of mixing clear glue in water is similar to glycerin. The glue will thin, and the glitter will fall slowly but most likely will leave more residue.
What Kind of Water Should I Use? Why Is It Important?
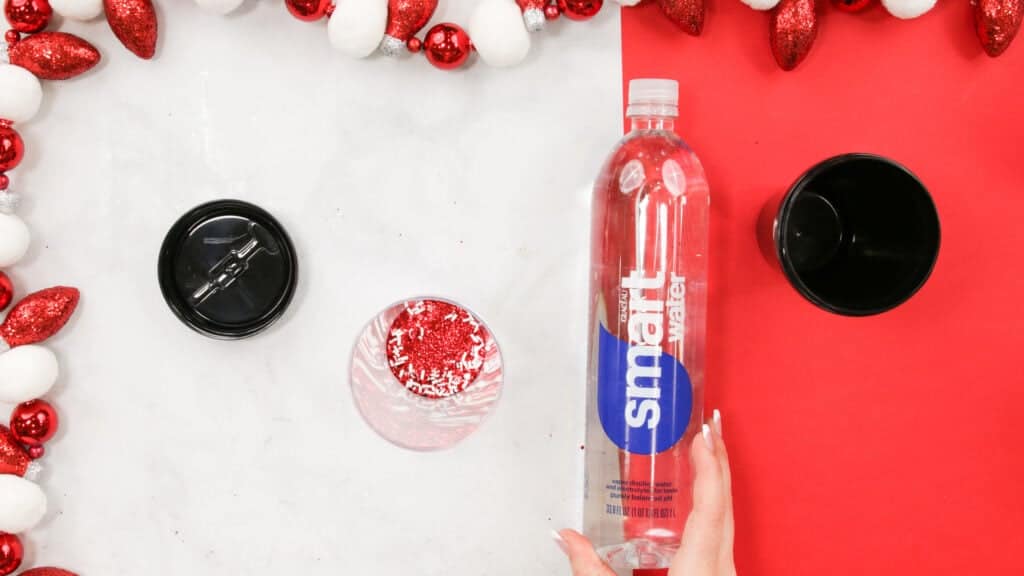
I learned that using normal tap water to make this project can be particularly foggy and turn yellow or mold over time. Many people use distilled water because it prevents rusting and fogginess. But some say bottled water is ideal because it’s clearer.
I used bottled water to make my tumblers, but the kind of water you should use is up to you.
What’s Included In the SVG File?
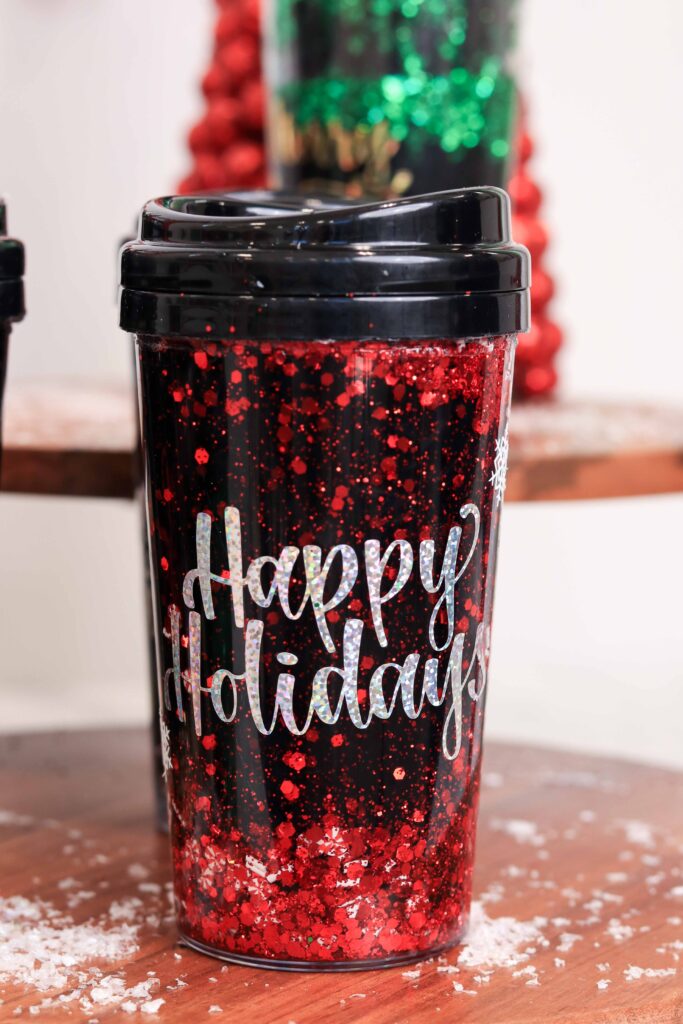
The SVG file includes a variety of holiday sayings in different formats, and styles. There's a Happy Holidays, Merry Christmas, Merry & Bright, and Let It Snow design.
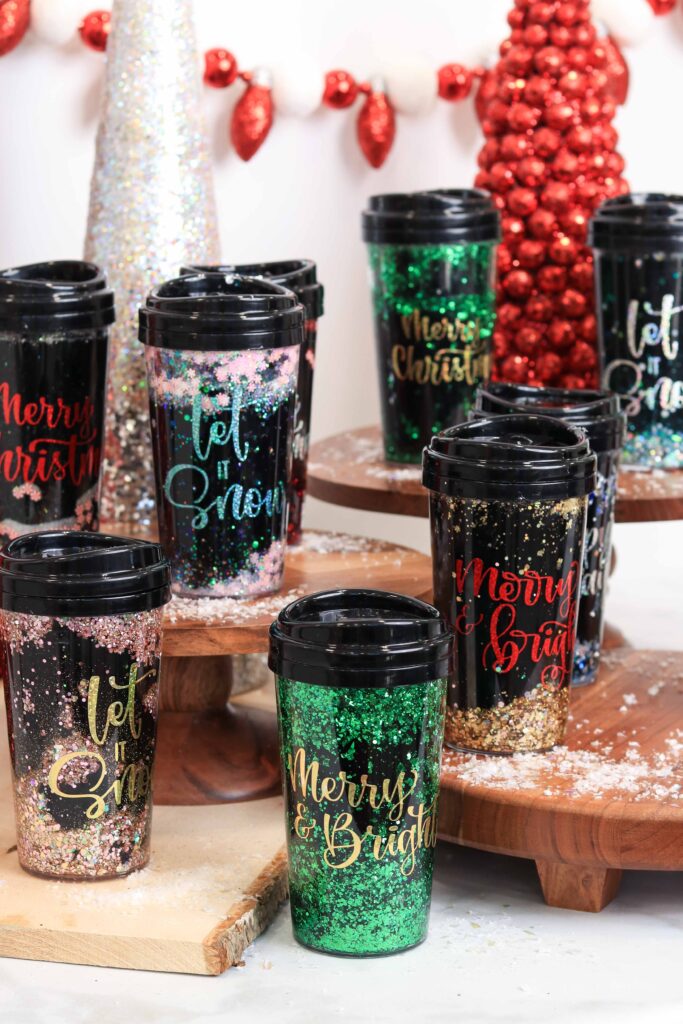
Download the SVG Files Here!
Supplies
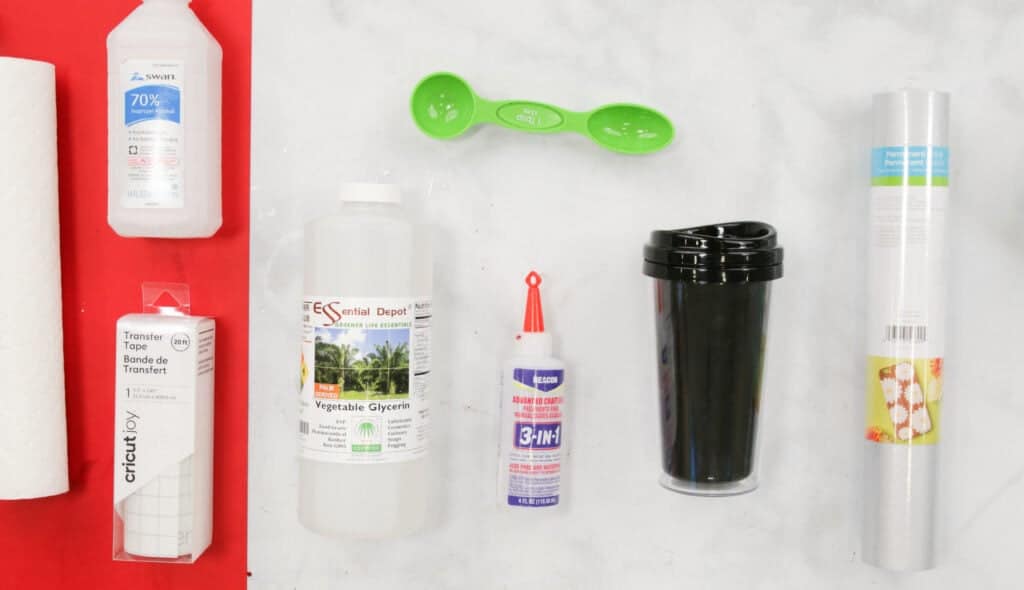
To make this project, grab a variety of glitter, some vinyl, Glycerin, or clear glue; water, measuring cups, and waterproof glue or resin; and some travel mugs from the dollar store.
The Cricut Joy Machine is what I used to cut out my vinyl because it's the perfect size for this project. If you want to learn more about the Cricut Joy Machine click here.
Supply List:
- Cricut Maker, Cricut Explore, or Other Cutting Machine
- StandardGrip Mat
- Fine-Point Blade
- 16 oz Create Your Own Design Travel Mugs
- Vegetable Glycerin or Clear Glue
- Water
- Rubbing Alcohol
- Cricut Permanent Vinyl (Do not use Removable Vinyl)
- Variety of Glitter (I recommend mixing a fine and chunky glitter together)
- My favorite shop for glitter is Peachy Olive Glitters
- 3 in 1 Glue- Waterproof Beacon Glue
- Weeder Tool & Scraper Tool
- Cricut Paper Trimmer
- Transfer Tape- Regular (or StrongGrip Transfer Tape for Shimmer & Glitter Vinyl)
Cut Out Vinyl
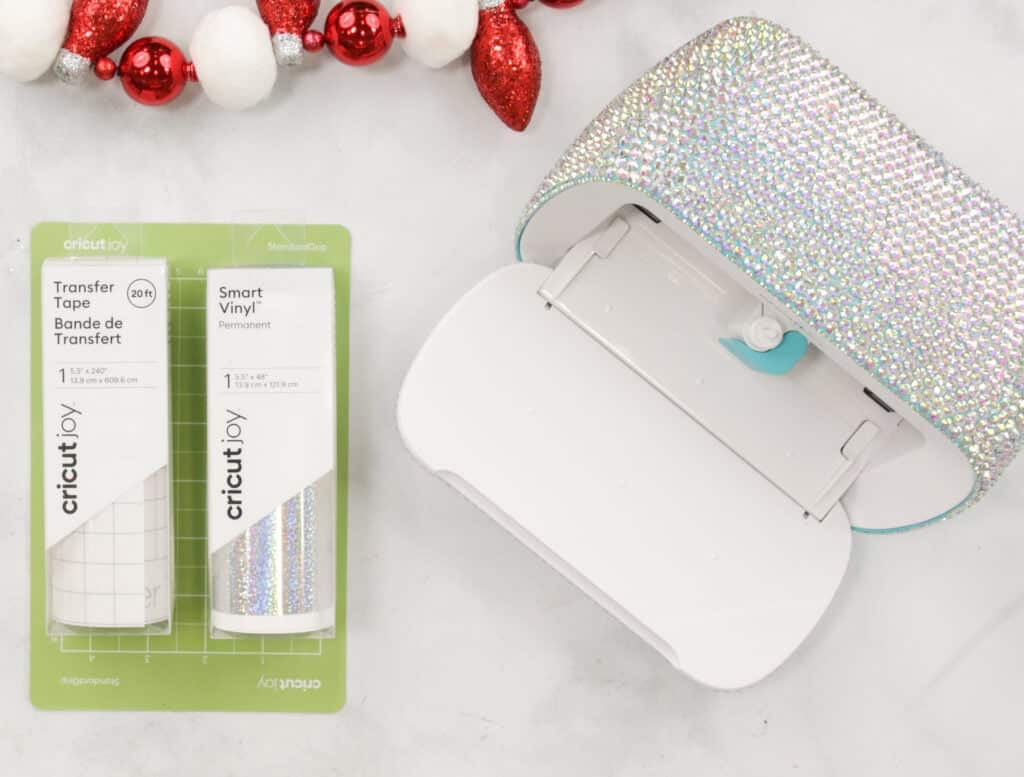
Let's start by cutting out the design from Permanent Vinyl. If you don’t plan on adding vinyl to your snow globe tumbler, skip ahead to “How to Make a Snow Globe Tumbler.”
Upload SVG File to Design Space
In Design Space, Create A New Project and upload the SVG file you downloaded by clicking Upload and select the recently added file. Then, Ungroup the designs in the layers panel, select a holiday saying you want to cut, and Add To Canvas.
Cut Out Design
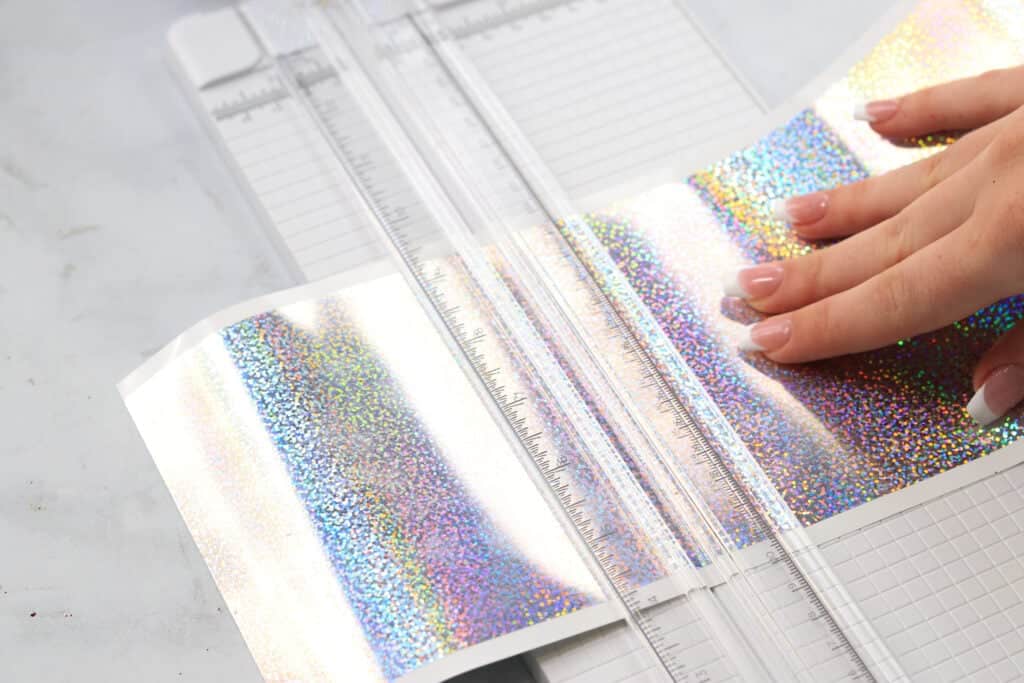
Next, select the specific type of vinyl you’re going to be using and cut a piece of vinyl that’s a little bigger than the design you’ve chosen.
If you are using smart vinyl, you won't be needing a mat. Just slip a piece of smart vinyl into your cutting machine, and let it do the work!
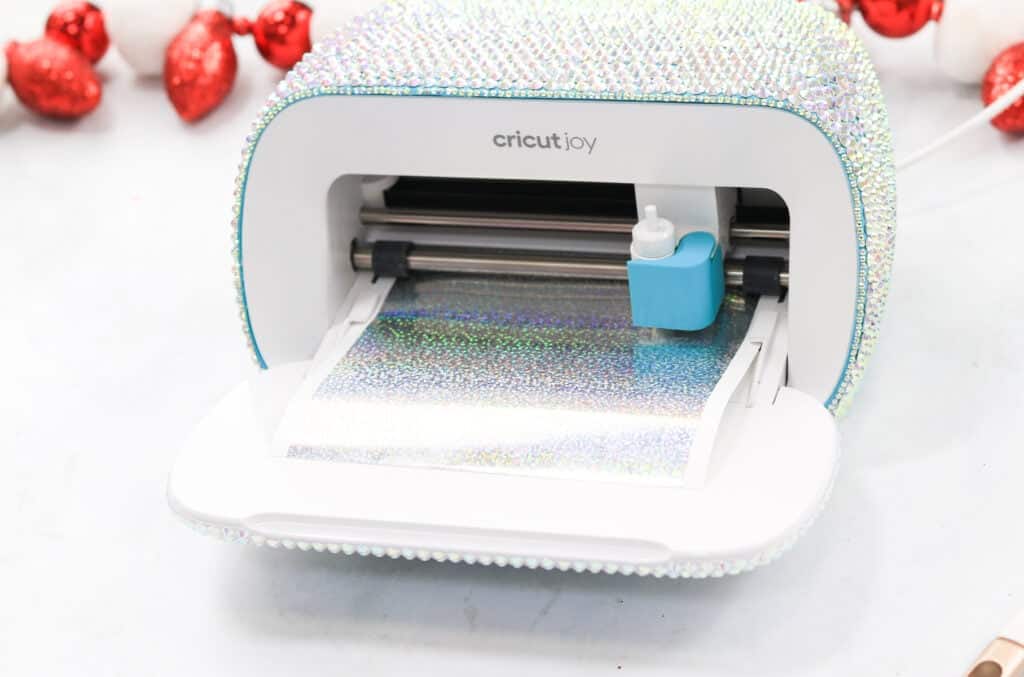
If you are not using smart vinyl, grab a green standard grip Cricut mat and align your piece of vinyl with the corner of the grid along the top of your mat (make sure the paper liner side faces downwards). You can securely adhere your vinyl to the mat with a roller or scraper tool.
Then, connect to your machine, and begin cutting.
Add Design to Travel Mug
Once the design has been cut, flip the Cricut mat upside down and it pull away from the vinyl.
Grab a weeding tool and poke it through the top left corner of the vinyl and gently peel it away from the backing at a 45 degree angle eventually revealing the design.
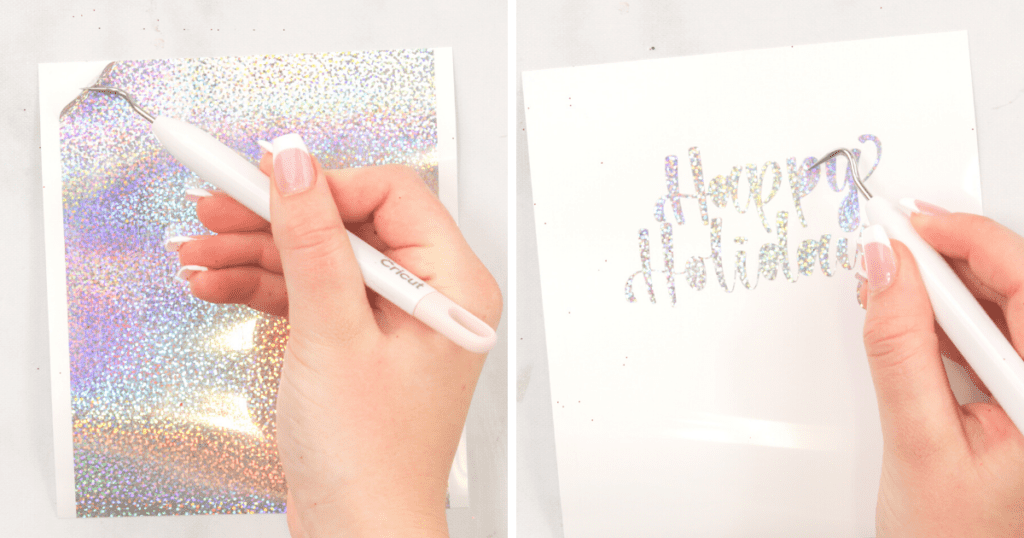
Afterward, cut a piece of transfer tape that’s slightly bigger than the design. Then, place the transfer tape on top.
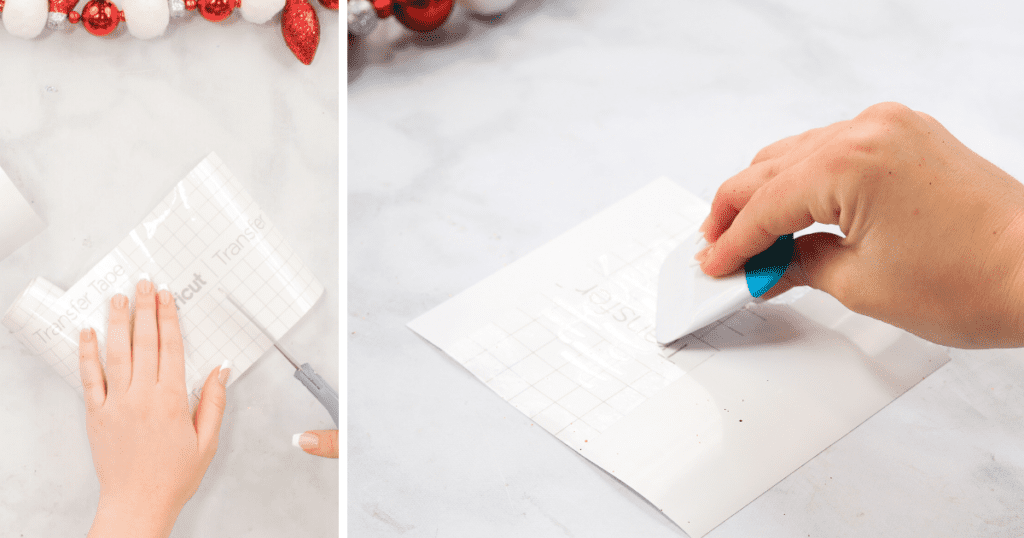
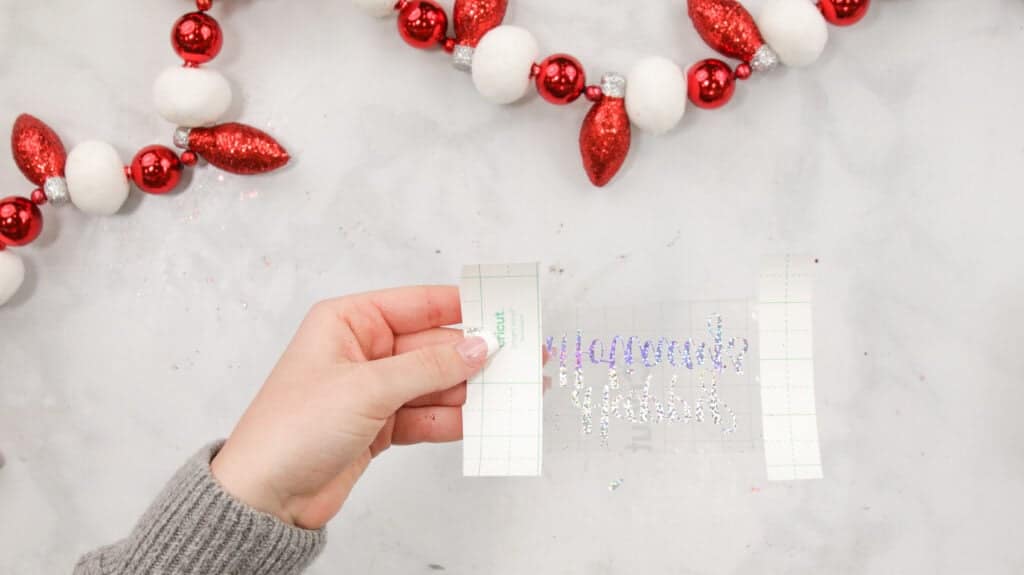
Varnish the image onto the transfer tape with a scraper tool and gently peel away backing from transfer tape at a 45 degree angle.
Pro Tip: Adding two pieces of backing to each side of the transfer tape will help for a smoother transfer process.
Then, make sure the surface is free of dust and debris by adding rubbing alcohol to a paper towel and wiping down the surface.
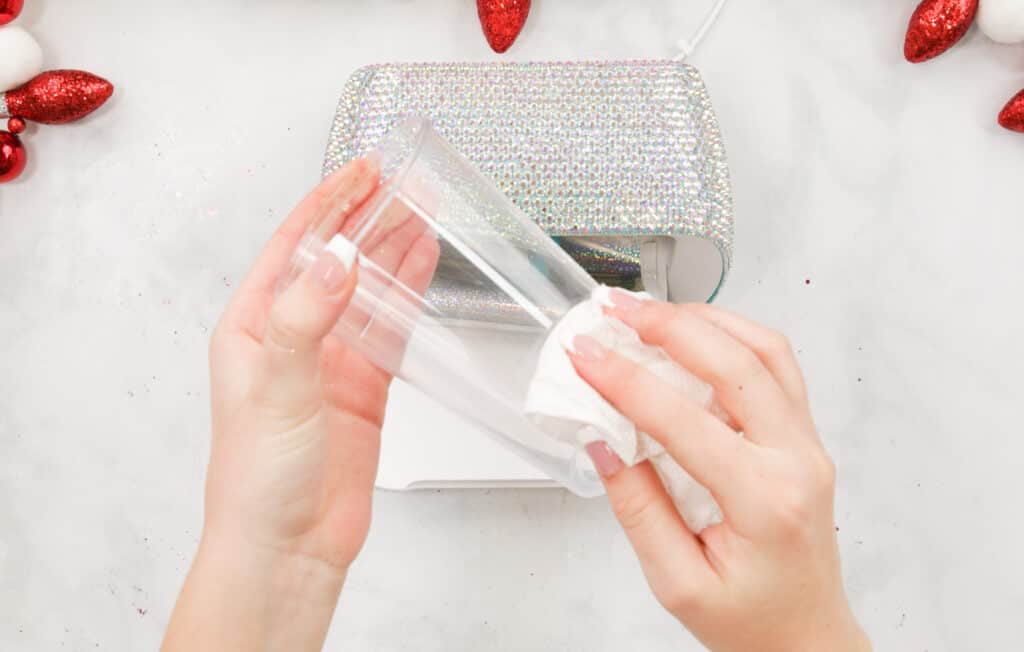
Once your surface is clean, it’s finally time to add the design to the travel mug.
I like to place the middle of the design onto my surface first and make sure everything is lined up.
Take off the backing on one of the sides, and slowly adhere it to the tumbler. Do the same to the other side. Varnish everything in place using a scraper tool.
Finally, peel the transfer tape away from the surface at a 45 degree angle.
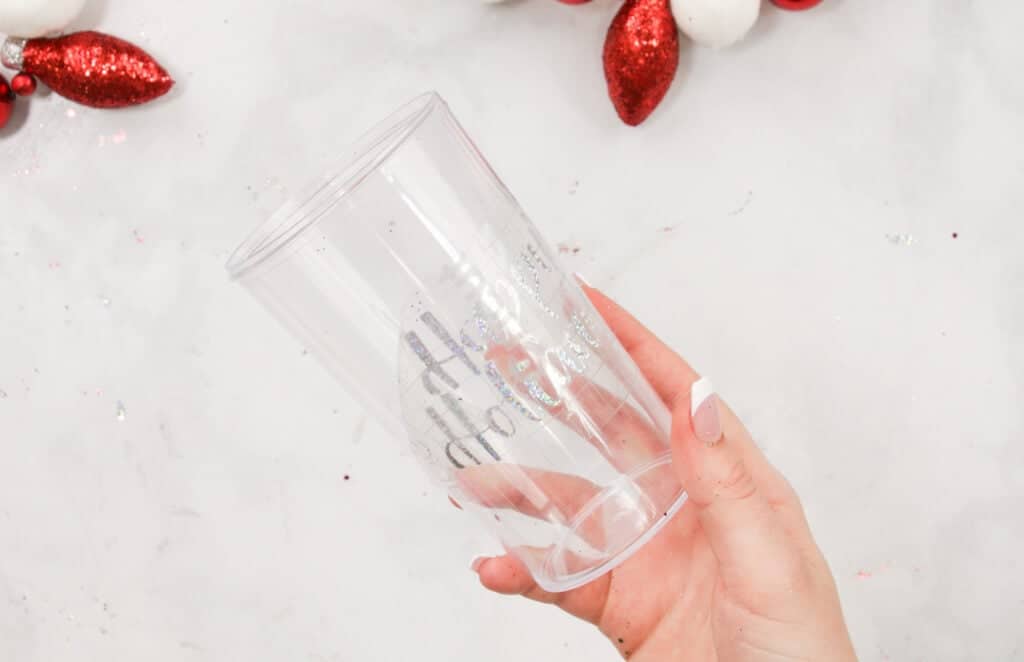
How to A Make Snow Globe Tumbler
Gather your water, glycerin or clear glue, 16 oz Create Your Own Design Travel Mug, and waterproof adhesive.
Unscrew the lid from the mug, and remove the template and sticker. Then, take out the black container. Have the clear plastic cup in front of you because it will be used as the snow globe.
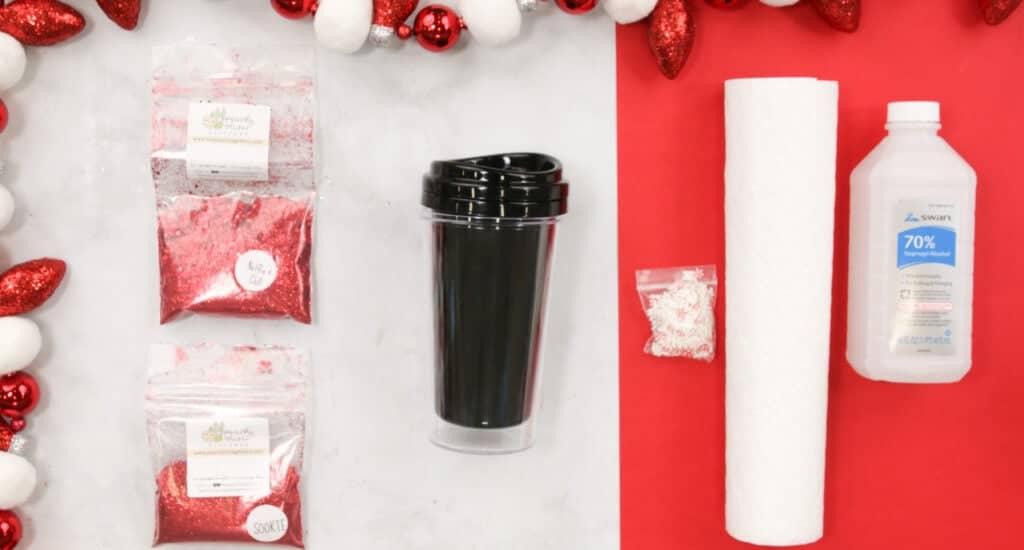
Step One: Add Ingredients to Cup
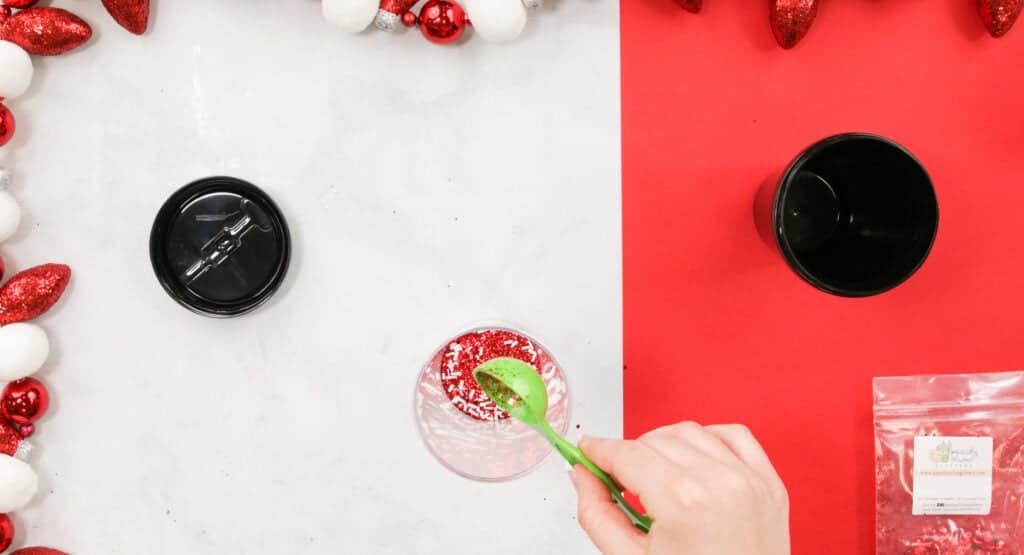
First, pour one tablespoon of glitter into the clear plastic cup. I recommend splitting the tablespoon between chunky glitter and extra fine glitter for this project. A variety of glitter makes the snow globe tumbler come to life! I used red glitter and white sprinkles with cute, mini peppermints.
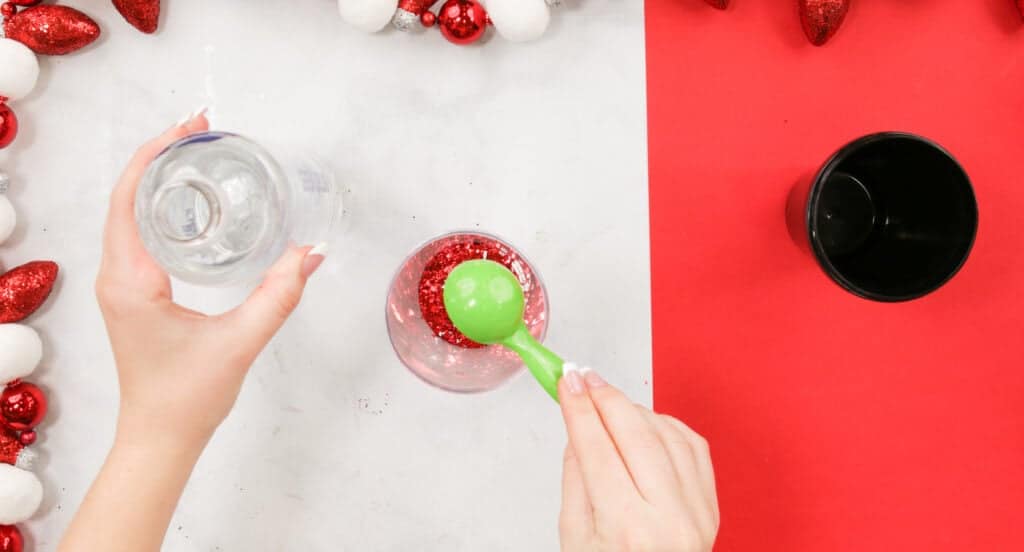
After adding the glitter, pour three tablespoons of water into the cup, and one tablespoon of glycerin or clear glue. Afterward, mix it all together.
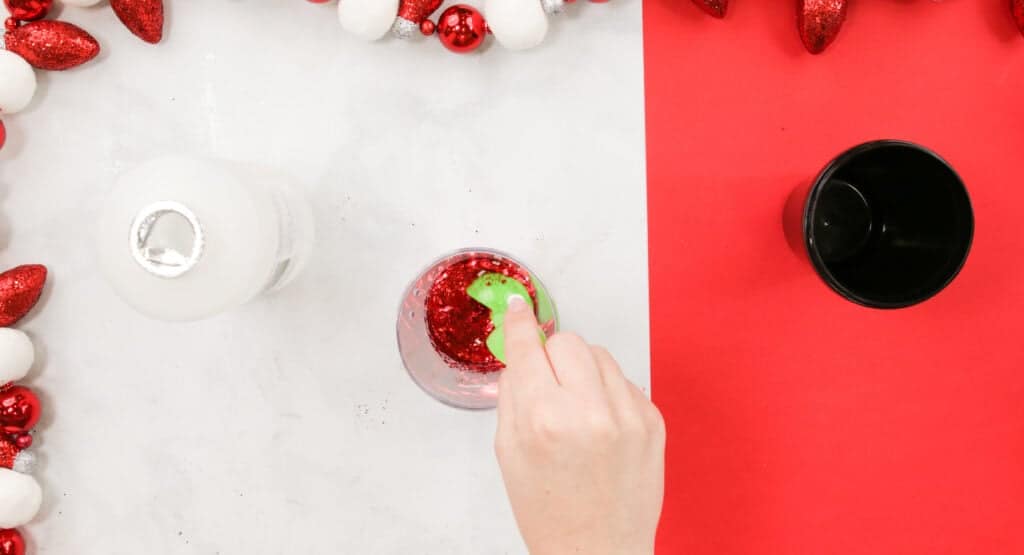
The measurements may not be the same for you, so it’s always a good idea to test and see if it’s the right amount of glitter and water.
I recommend trying out this next step on your tester cup before your final cup to practice the technique.
*PRO TIP - I like to test out the amount of liquid in my cup before I secure the black tumbler in place with glue. To do this, insert the black tumbler into the clear liner and secure the lid completely to double-check that the liquid doesn't overflow.
There should be a small air bubble around the entire tumbler about 1/2" tall for the very best results.This makes sure that the adhesive doesn't come into contact with the water/glycerin/glitter mixture which can negatively impact the adhesion.
If your tumbler doesn't have enough liquid, go ahead and add more and test it again.
If your tumbler overflows, be sure to subtract the liquid until you reached the desired amount.
Step Two: Add Black Tumbler
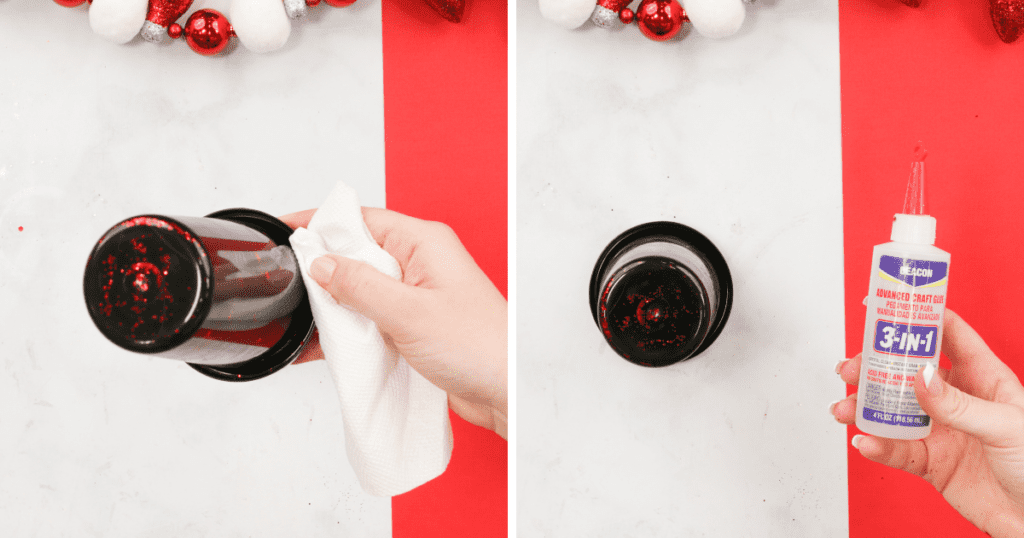
Grab the black tumbler and make sure to wipe off any debris around the rim. Clean the inside rim with rubbing alcohol and let it dry completely. This step is VERY important for proper adhesion. It needs to be completely dry and free of any oil!
Apply a line of waterproof adhesive along the inside edge.
An alternative to the glue would be to use resin- this may help make your project look professional.
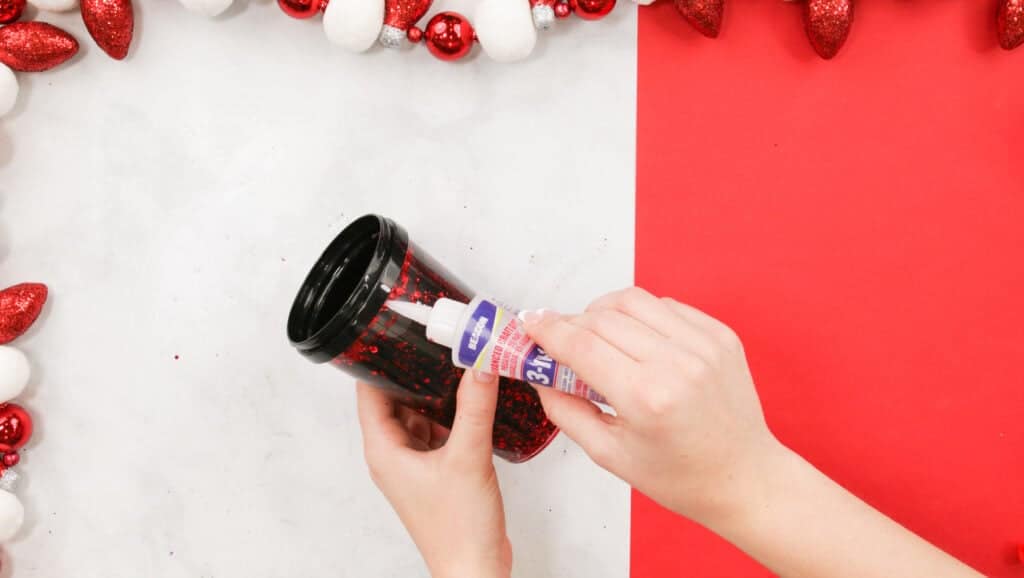
Before adding, wipe the clear plastic cups rim, then slowly insert the black container into the clear plastic cup (making sure the liquid doesn't splash into the black rim) and screw it into place. Allow the cup to dry in an upright position for at least 12 hours.
To prevent any spillage and be extra safe you can apply a small line of glue to the outside of the black tumbler under the edge of the rim. Keep the cup upright as you apply the glue to prevent the liquid from seeping out.
This step is the trickiest to master, and may take a few attempts before you get it just right!
Step Three: Secure Lid
Finally, grab the lid and make sure to wipe it down with some rubbing alcohol and screw it onto the mug.
You have finished your snow globe tumbler using the handy travel mug from the dollar store!
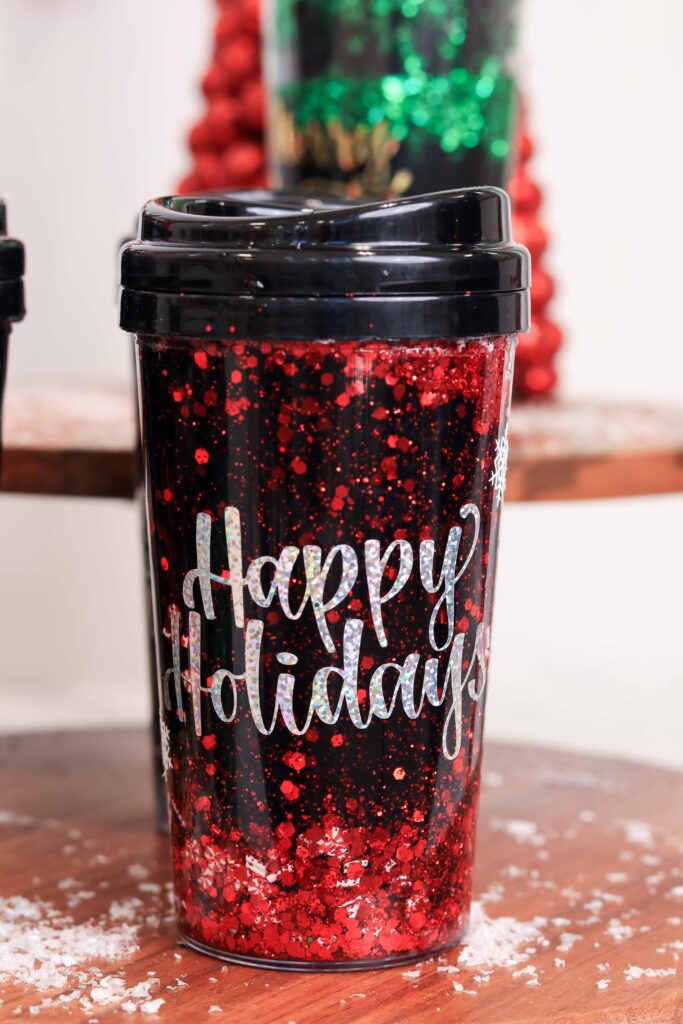
For the best results, let the adhesive on the mug dry completely for at least 24 hours before handling it. You'll also want to allow the Vinyl 24 hours to fully cure before exposing it to any water.
Gently handwash your newly customized travel mug for the best results!
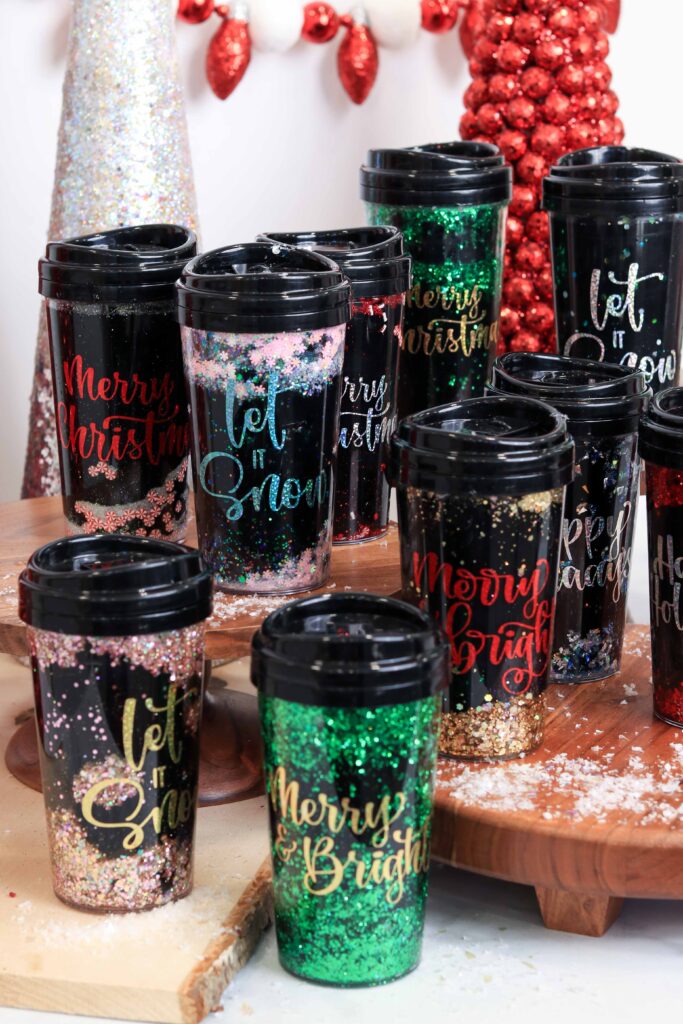
You can make these for any holiday or personalize them with names, images or other sayings. I added cute, small snowflakes to my tumbler.
This project would make a great gift for a friend or family member this holiday!
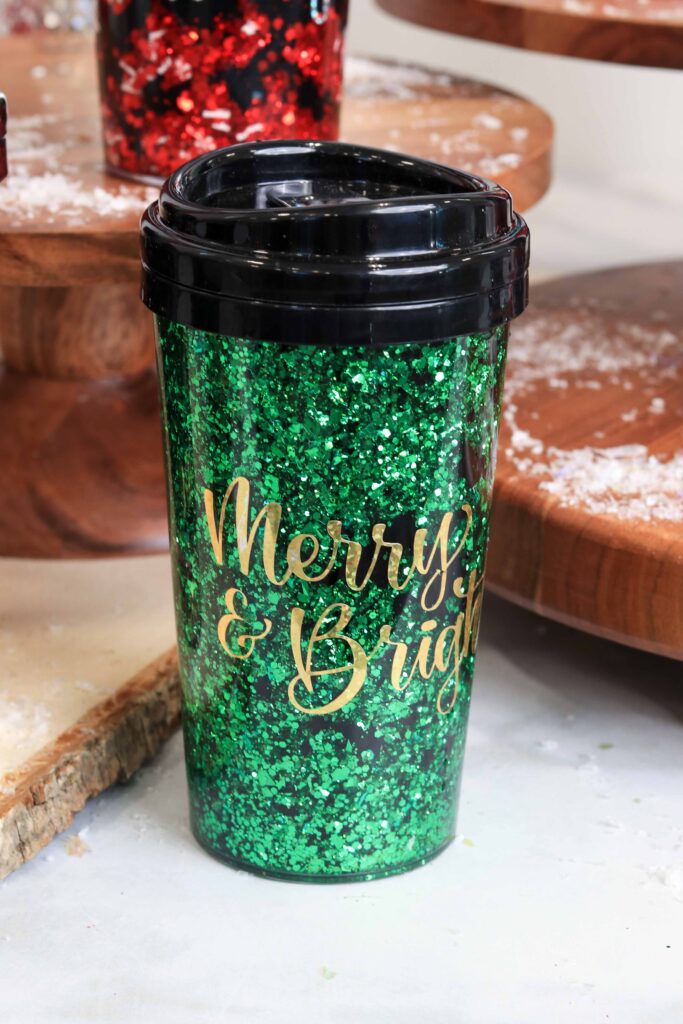
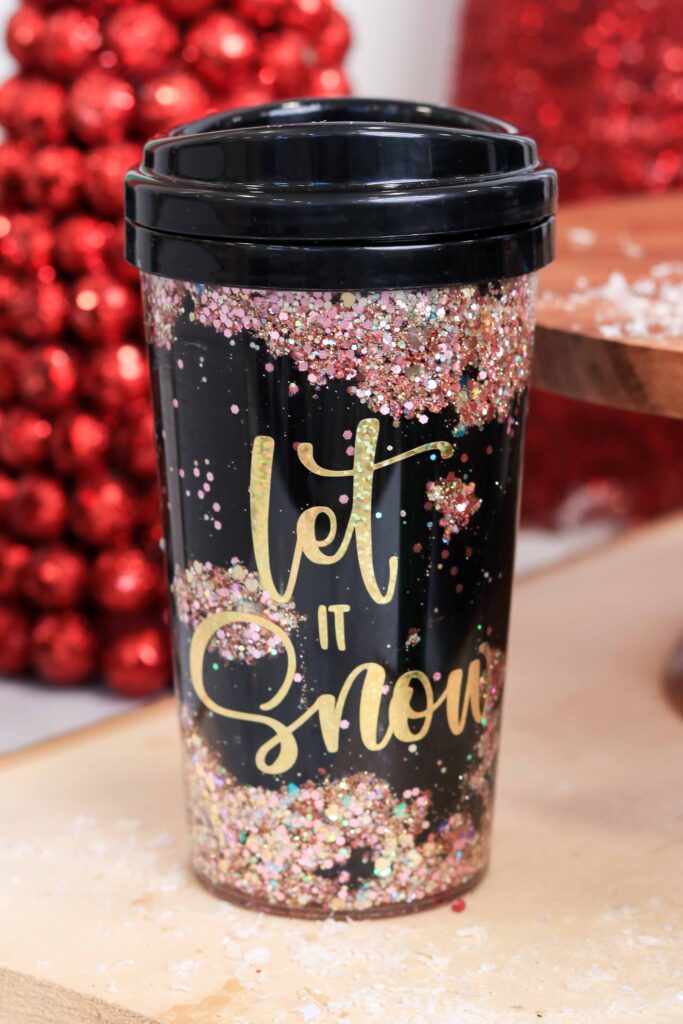
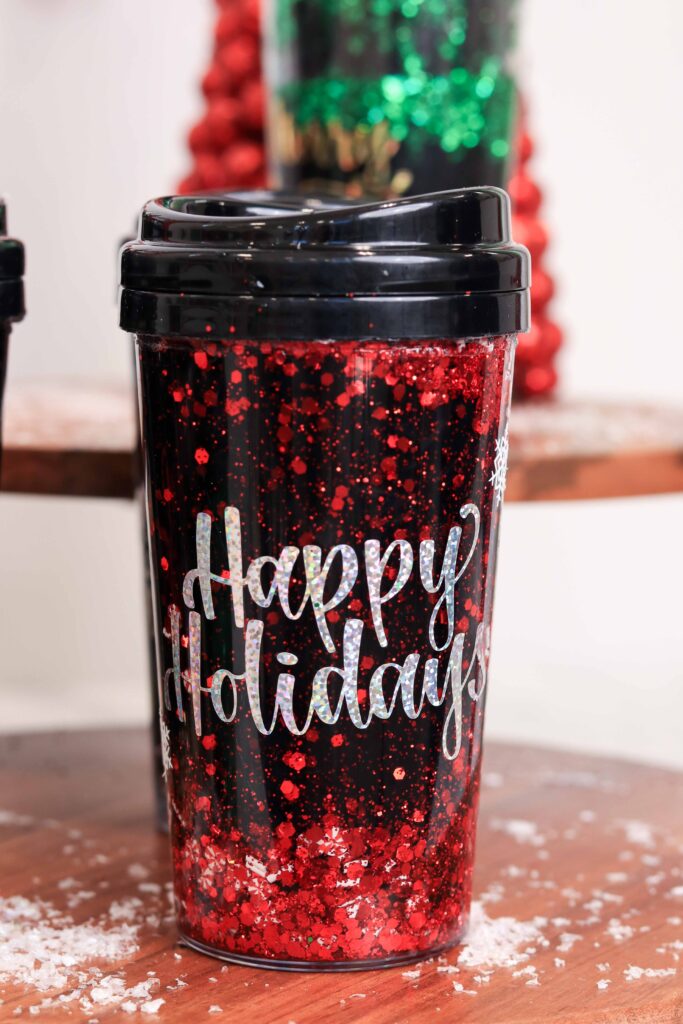
Be sure to get creative with this project and make it your own!
I think it would be so fun to incorporate the original intended use for this mug and laminate a photo, and place it inside. I still need to try out this idea, so if you try it let me know how it works!
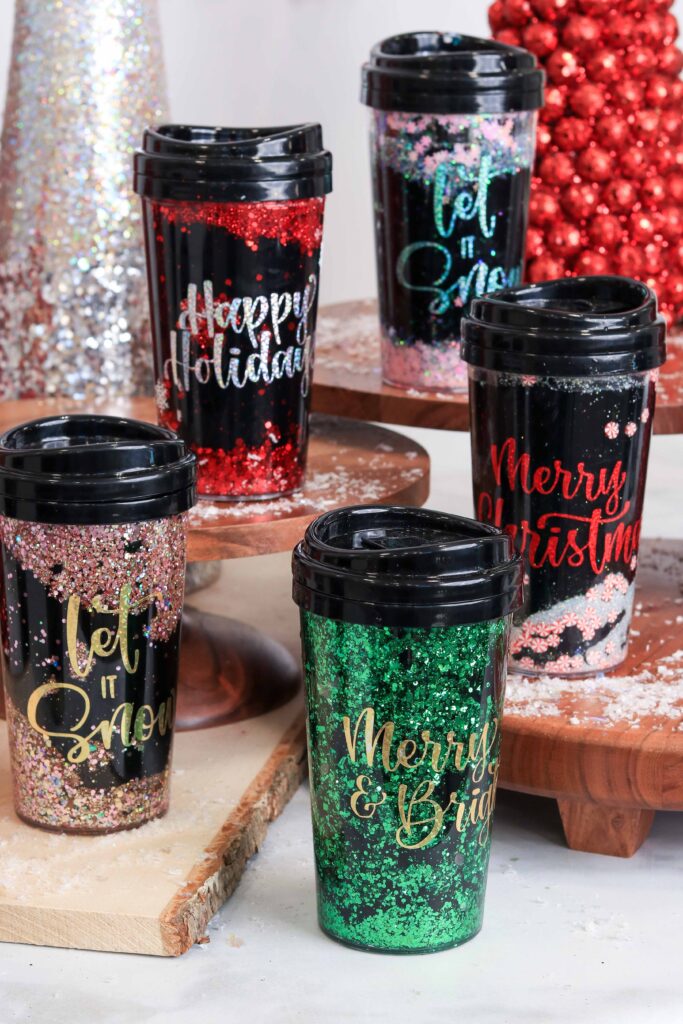
Want to learn how to make these snow globe tumblers using a Starbucks tumbler? Click here to check out the blog post!
Don't forget about this tutorial and FREE SVG Files! Save this pin on Pinterest to come back to it later!
Looking for more DIY holiday crafts? Click here!
Join my crafting Facebook group where you can show us what you’re making, ask questions, and learn from others!

Hi! Do you apply the vinyl to the outside? Or do you think inside the cup facing out would work?
Awesome idea!
The vinyl goes on the outside.
I have not received the email yet with the free download svgs in my mailbox
hi, did you check your spam folder, just in case it went in there.
I just bought a few of these cups last Saturday from dollar tree ... Wondering if I could do this to them!! Then your post pops up on my feed. Awesome job, beautiful and super easy instructions. You knocked it out of the park!!
So glad I read through all the instructions. Your tip for applying some backing strips on either side of the transfer tape is genius. Thank you for sharing this neat project with clear instructions and pictures.
Do you think I could use UV resin to seal the mug? I feel like these are perfect for those who aren't everyday Mug users! Thanks for the tips!