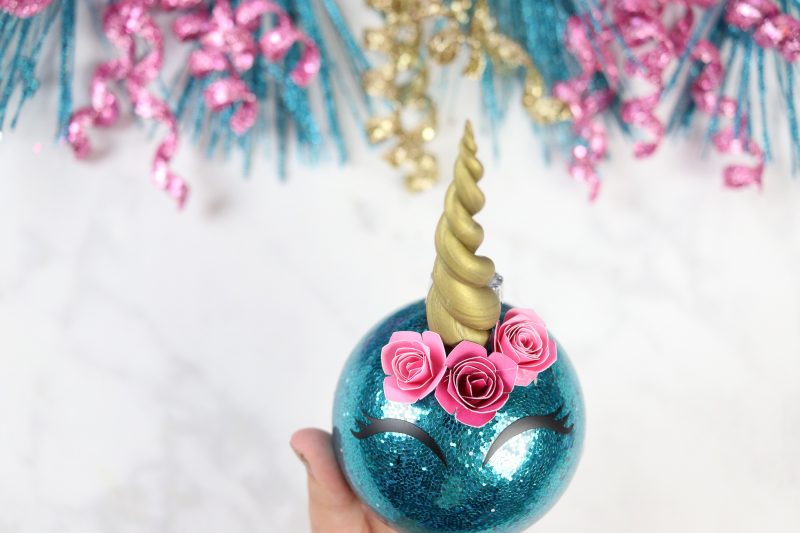
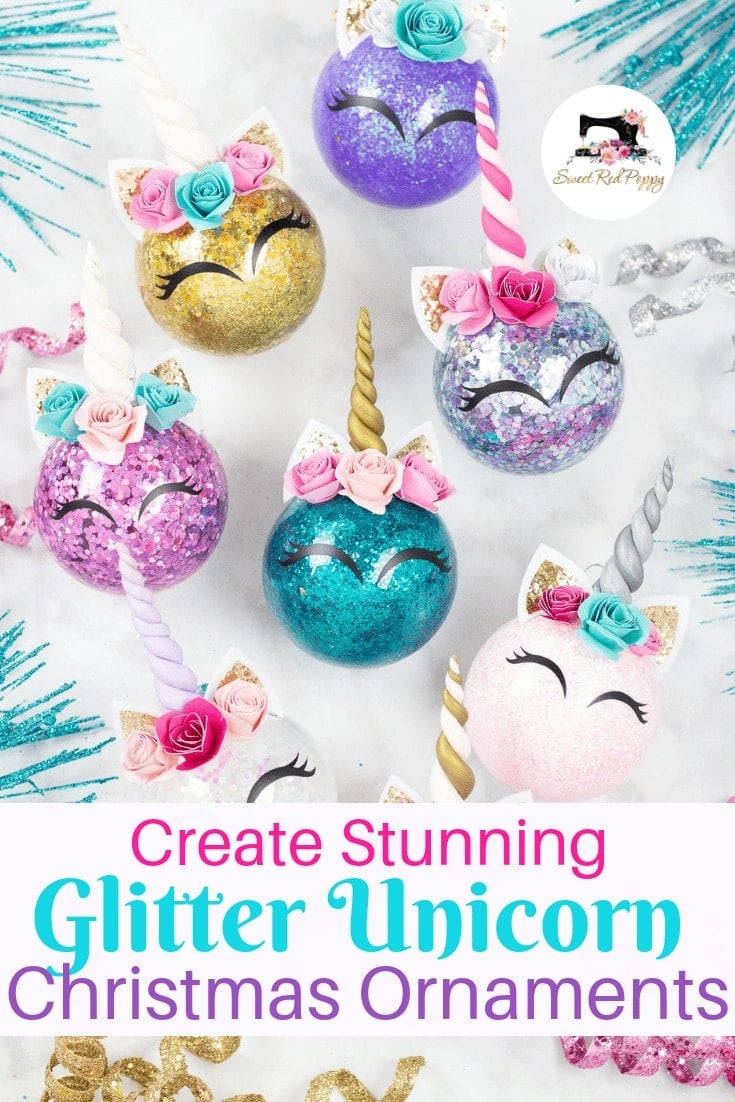
How to Make DIY Glitter Unicorn Horn Christmas Ornaments
My unicorn obsession continues and this time I decided to deck the halls with all things glitter and sparkle. These unicorn ornaments are so fun to make and my daughter has been begging me for them after spotting some last year. I was a little bit nervous to work with polymer clay for the first time but it ended up being way easier than I expected.
I made glitter ornaments a few years ago and fell in love with the process. I did a ton of testing to find the best glue for long-lasting results and I'm happy to report my ornaments are still holding up after a few years!
If you are looking for an item to sell in your Etsy shop or at craft fairs this is a great idea!
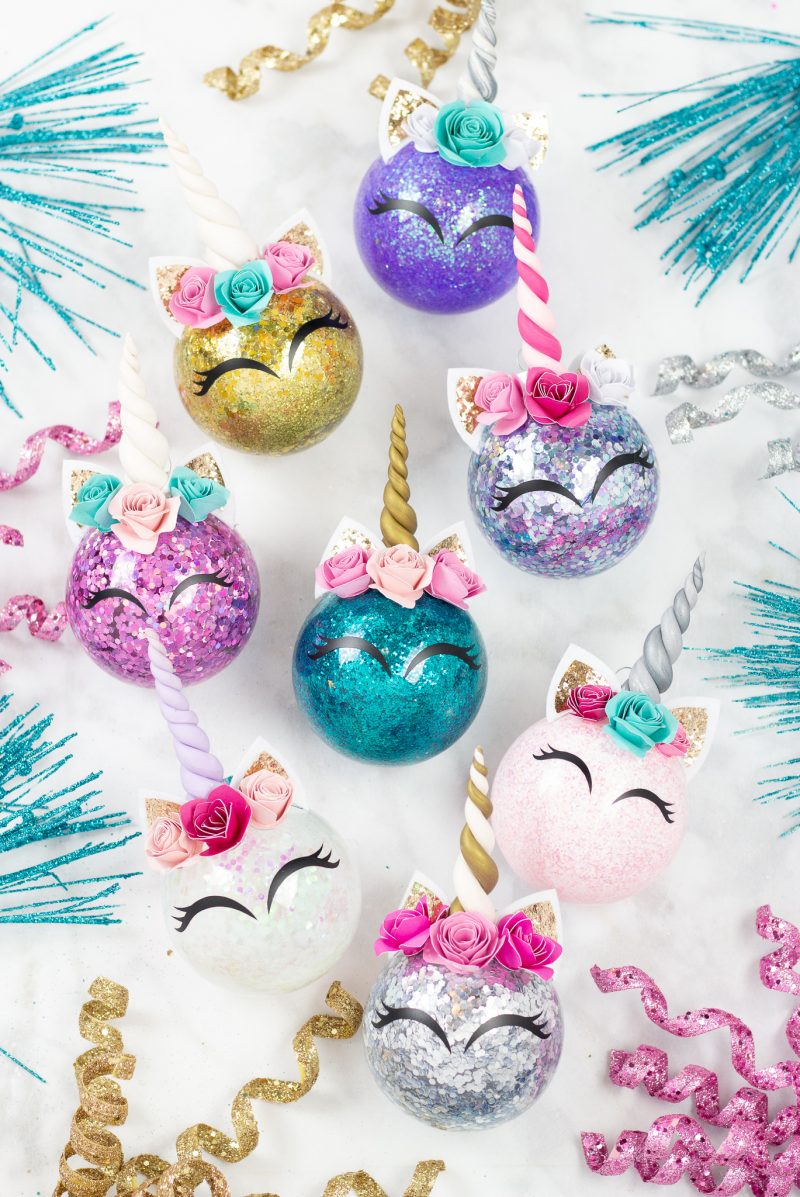
I can barely handle the cuteness of these ornaments!! The best part is each ornament costs under $3 to make.
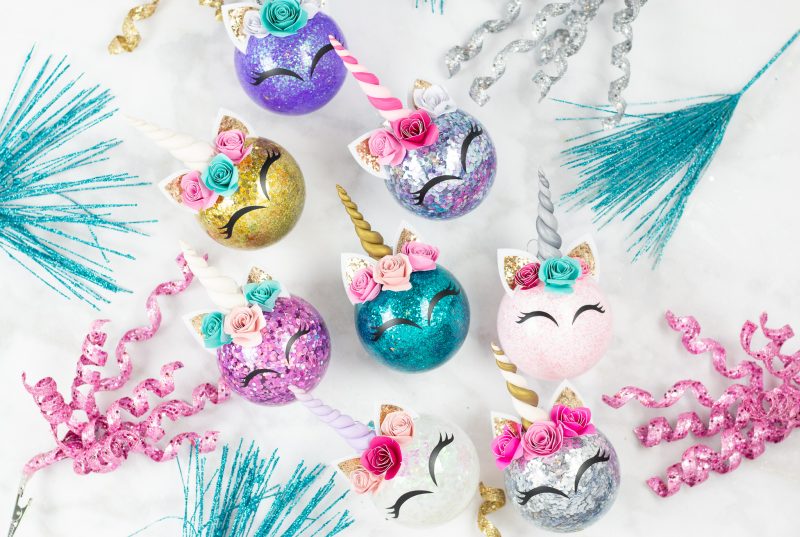
Table of Contents
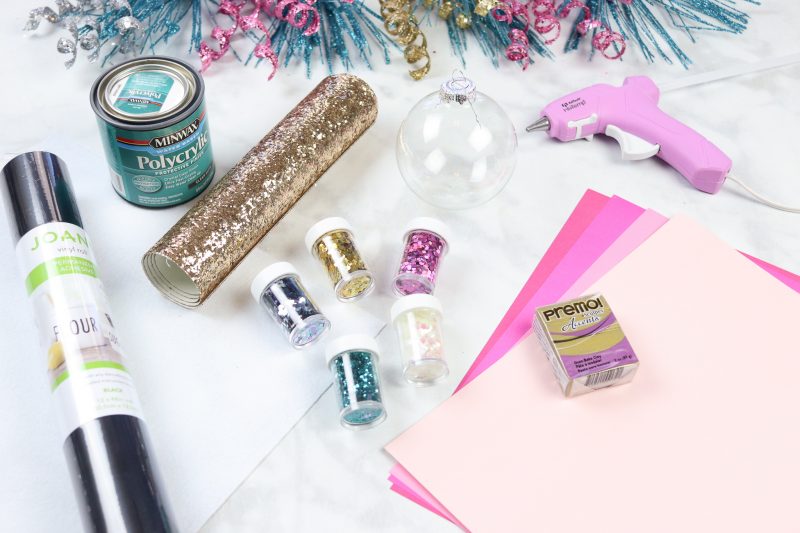
Supplies
Black Vinyl
Polycrylic (this provides a lasting seal inside the ornament)
Gold Glitter Faux Leather
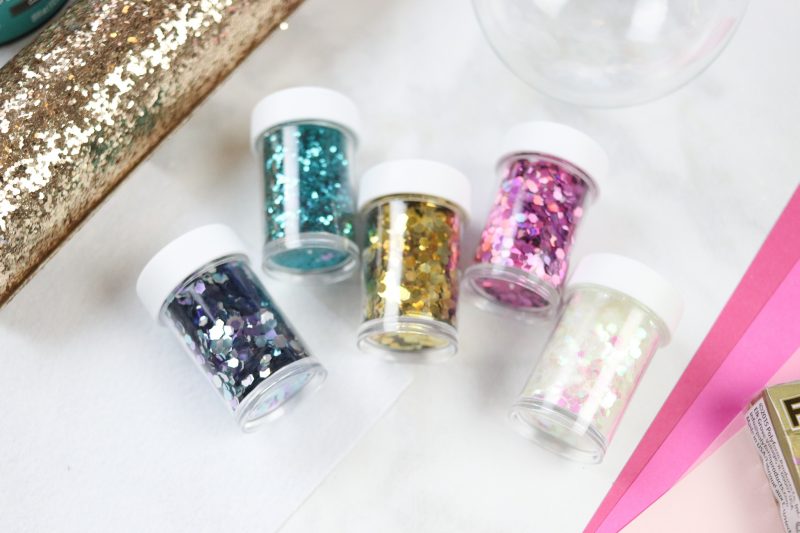
Chunky Glitter
Plastic Syringe
Large Clear Ornaments
Sculpey Clay
Park Lane Pink Paper- 8" x 11" -or- 12" x 12"
Hot Glue Gun and Gorilla Glue Sticks
White Felt
Cricut Explore Air™ 2 machine- On Cricut, Micheals, or Amazon
I found that the large chunky glitter made for really beautiful ornaments! You can use a variety of different sizes to create different looks.
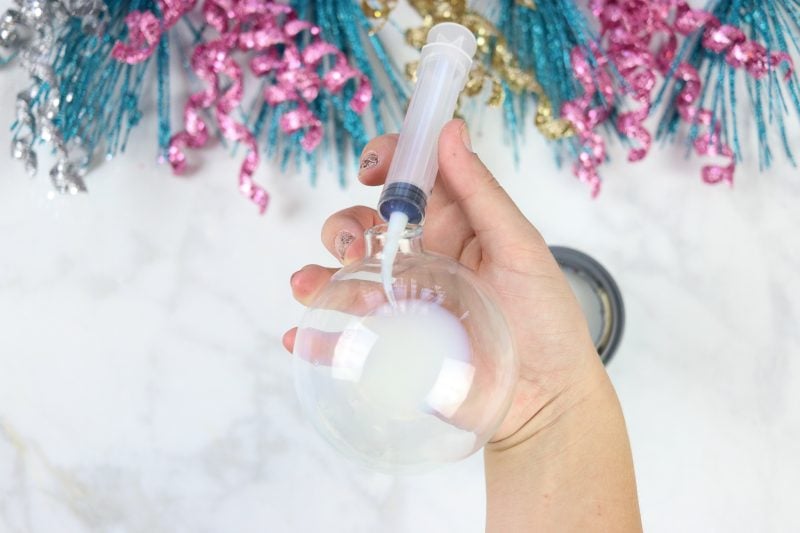
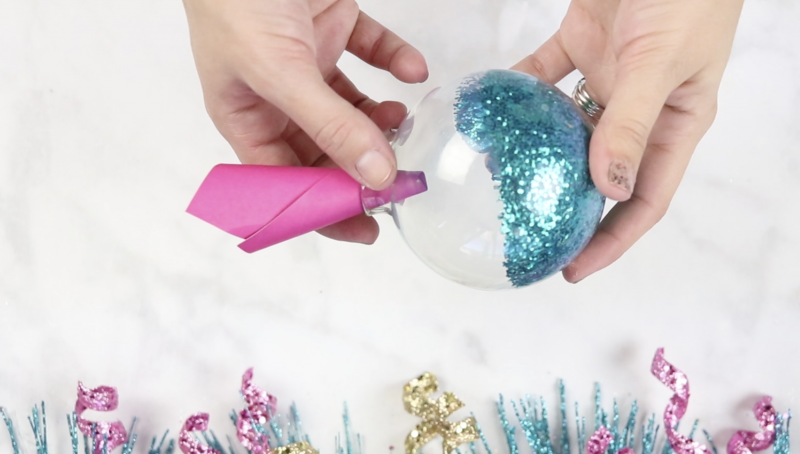
Begin by removing the metal lid and pour one tablespoon of Polycrylic into the ornament. Gently swirl the ornament around the coat the entire inside thoroughly. If you have any excess dump it back into the container.
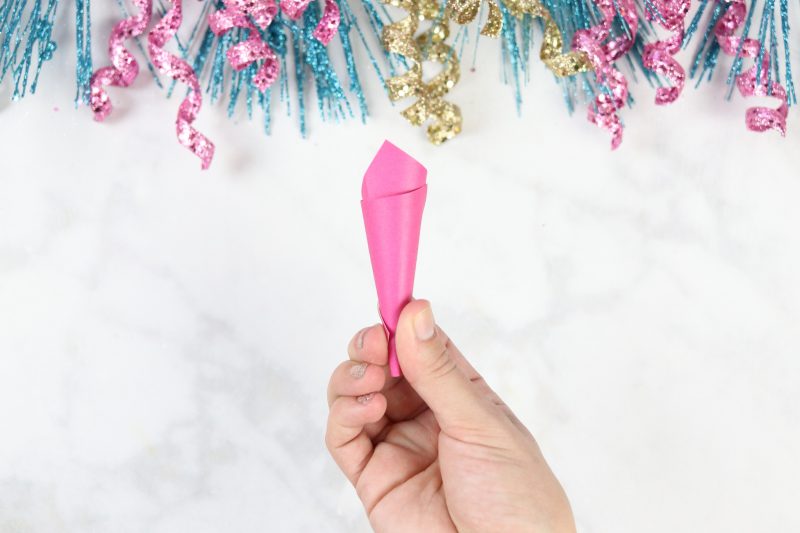
Create a small funnel using paper by rolling it up.
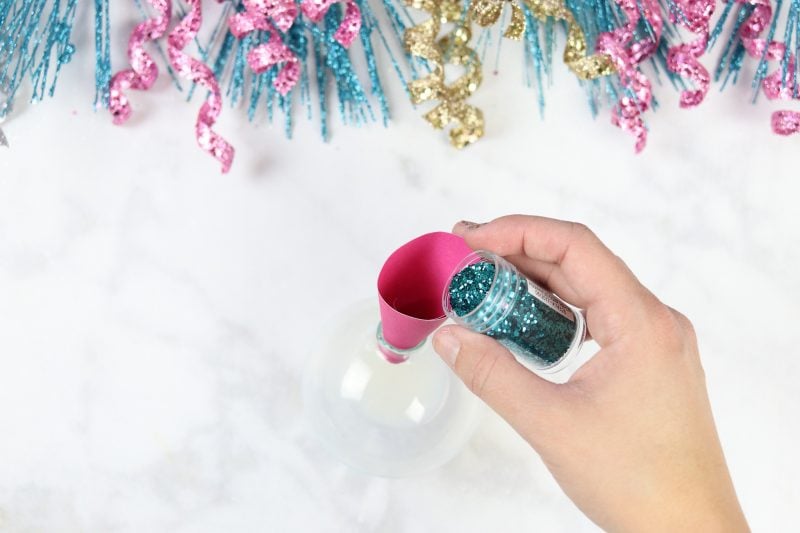
Next, pour the glitter through the funnel, place the lid on the ornament and shake until the inside of the ornament is completely coated in glitter.
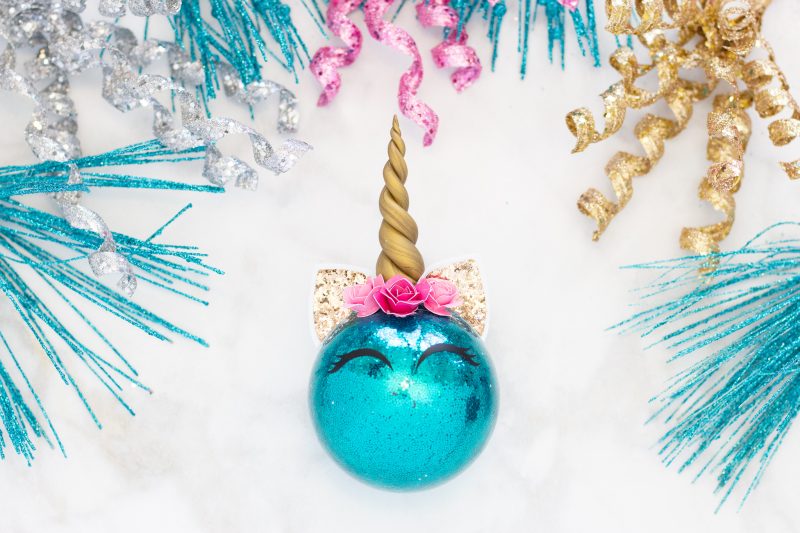
HOW TO MAKE A UNICORN HORN
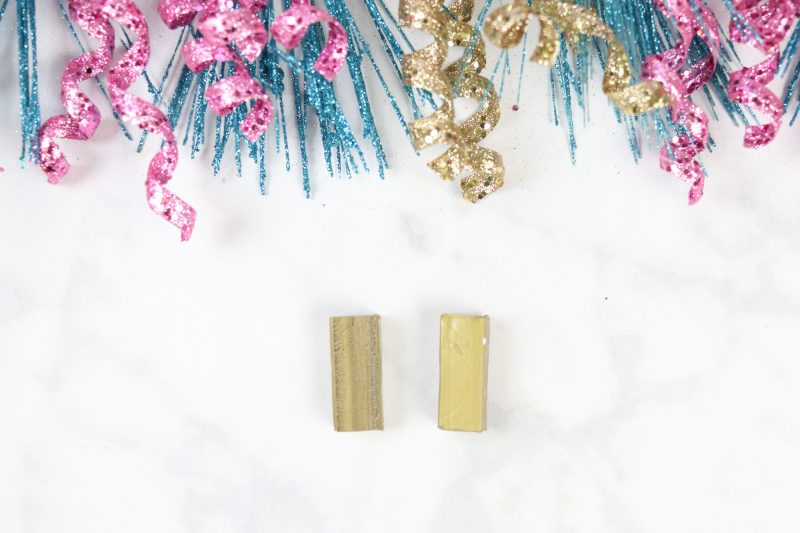
Begin with Gold Premo Sculpey Clay. Break off on sections per unicorn horn. Break the section in half and begin kneading the clay between your fingers until it softens and becomes smooth. Roll it into a ball and then begin to flatten the ball into a cylinder shape.
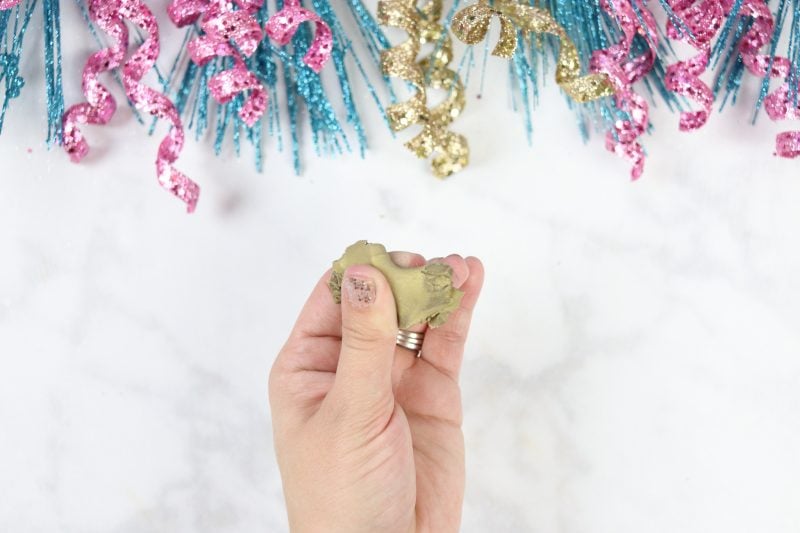
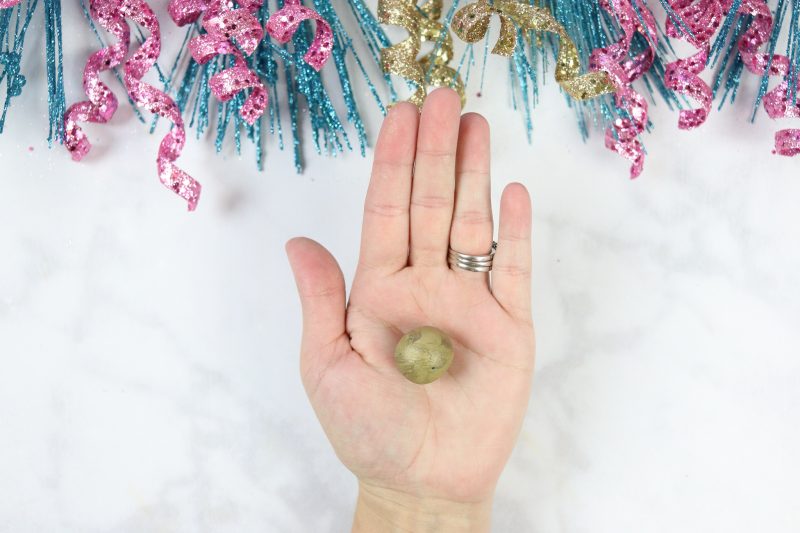
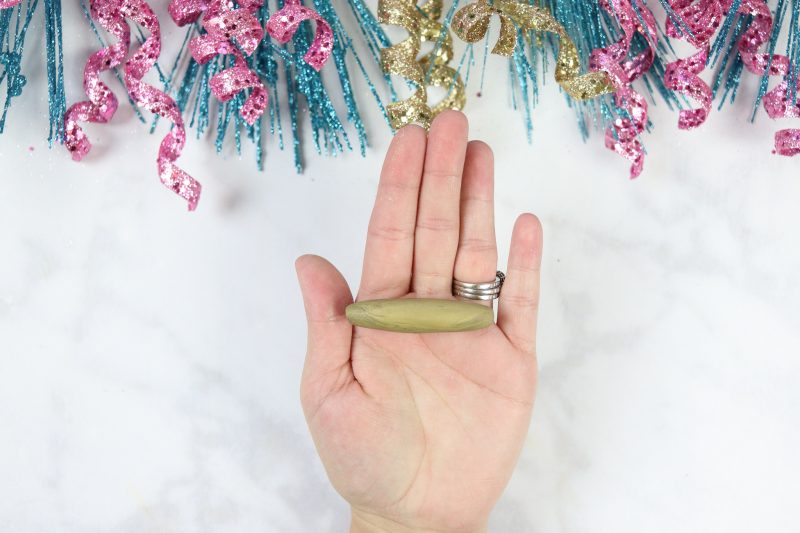
Taper the end of the clay to a point. Use the palm of your hand to remove any finger indentations.
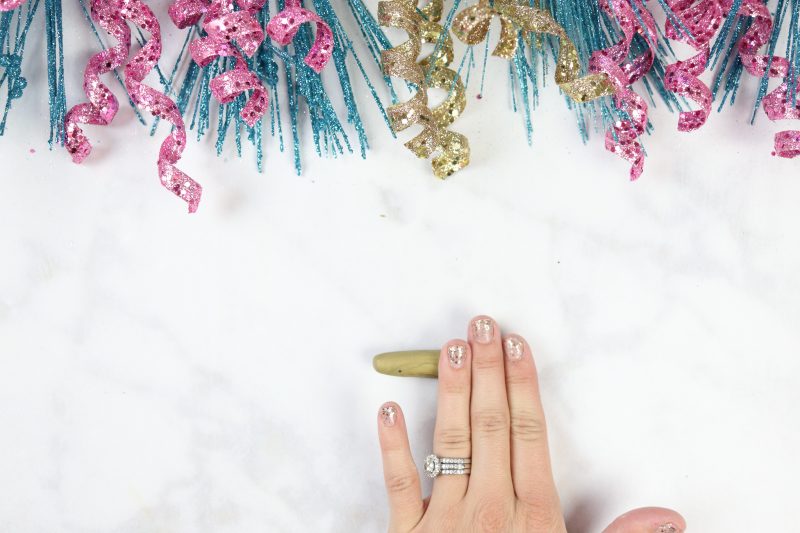
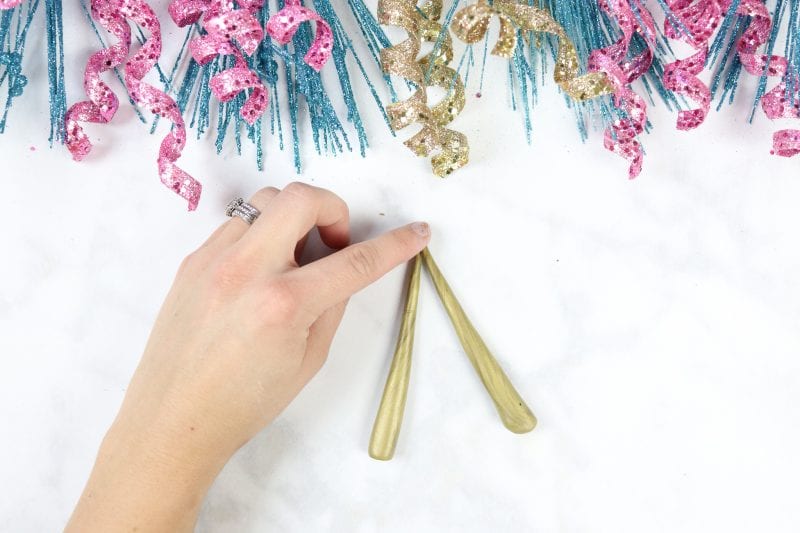
Repeat with the other piece of clay.
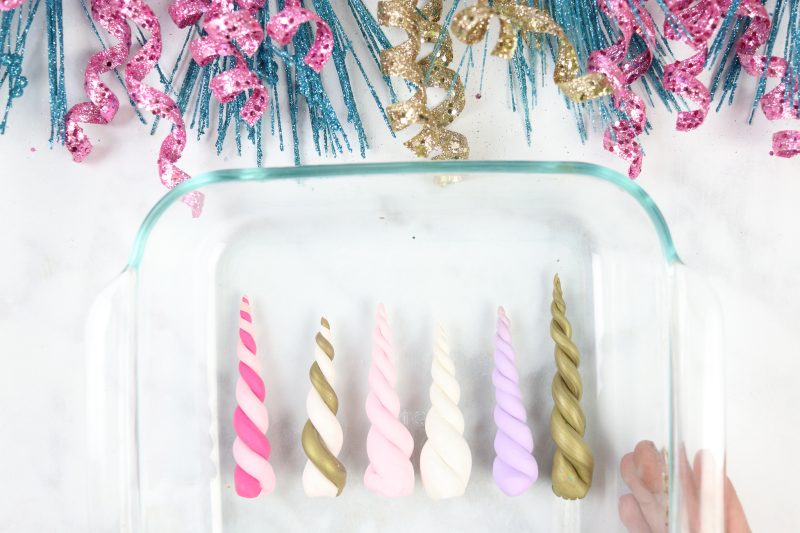
Gently pinch the tips of the horn together at the top. Twist the two pieces of clay together and pinch the bottom together to seal it in place.

Bake the unicorn horns at 275 degrees for 1 hour.
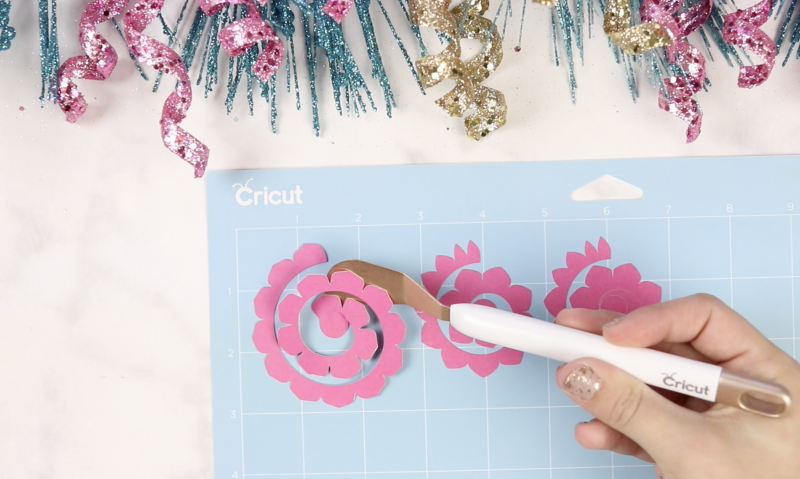
Unicorn Paper Flowers
You can find the templates I used to cut these flowers from Cricut's Design Space here. Resize the flowers according to the size of your ornament.
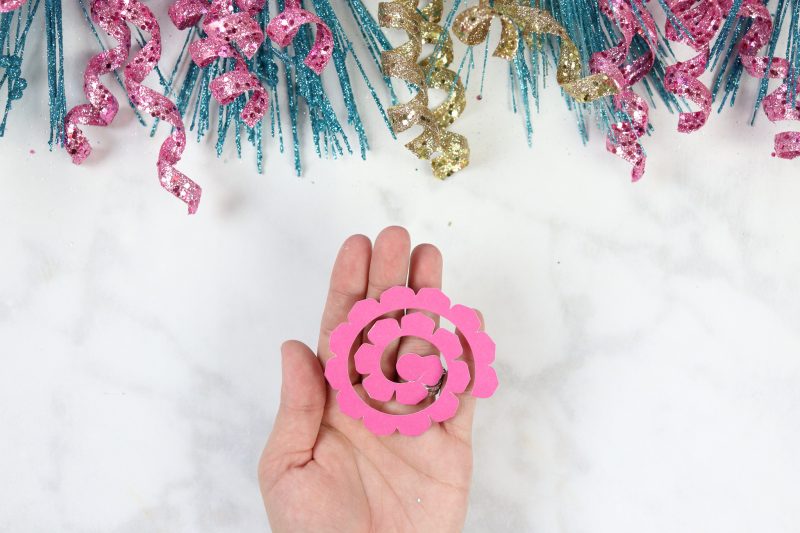
Beginning from the outside of the circle gently fold the petals around and around until you reach the center. You can see this more clearly in the video.
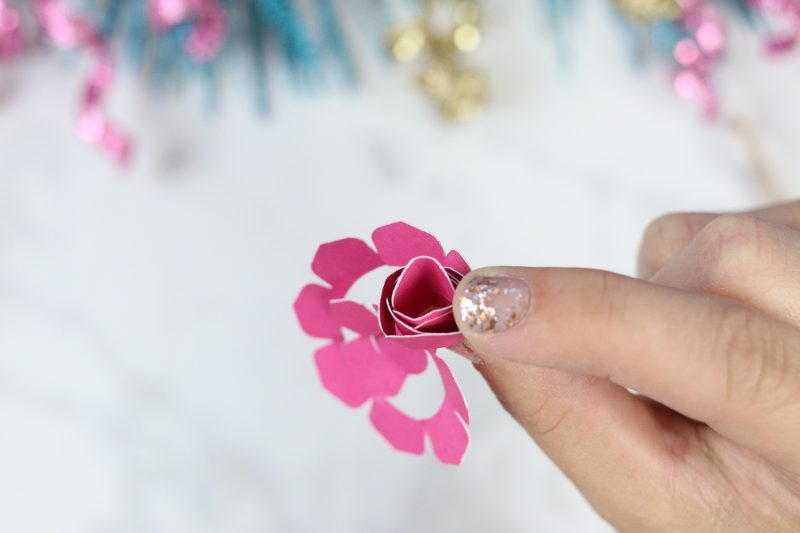
Once you reach the end, place a dot of hot glue on the circle and secure the petals in place.

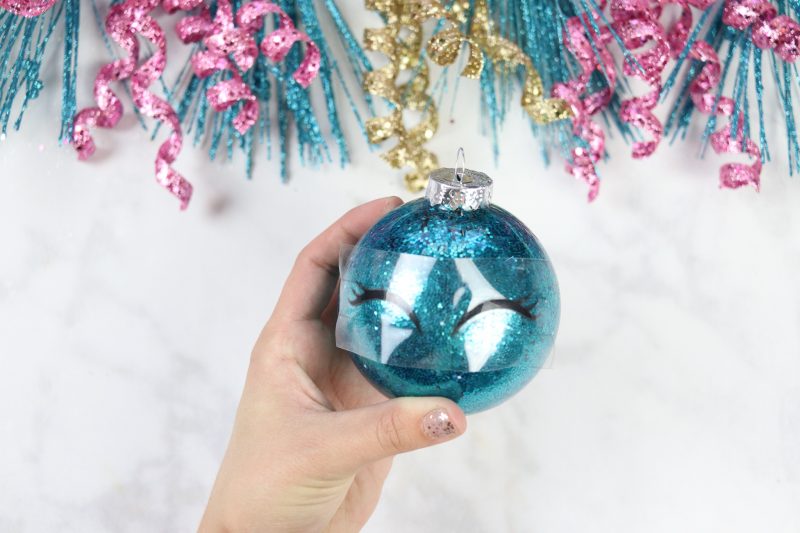
Unicorn Eyelashes SVG File
Cut the eyelashes from black vinyl, weed the excess material and use transfer tape to remove the eyelashes from the paper backing.
Place the eyelashes on the bulb about a third of the way down. Use your finger to rub the vinyl onto the glass until it adheres completely.
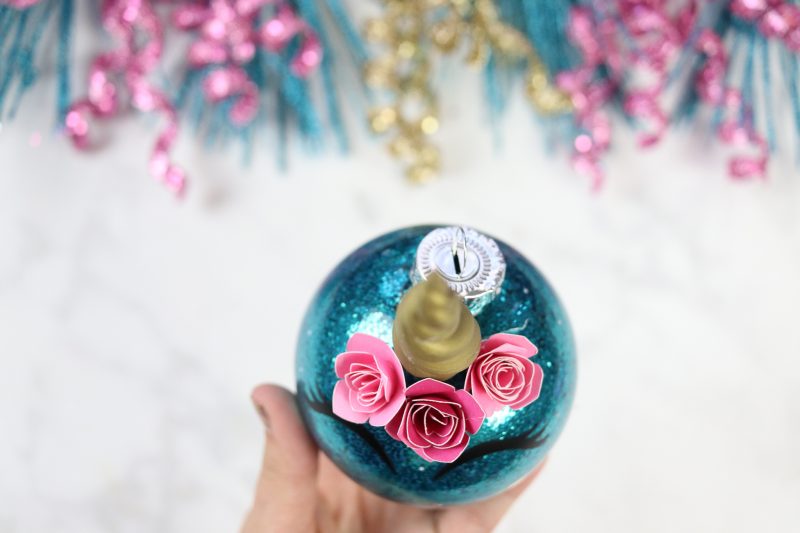
Then, use hot glue to attach the horn and flowers.
Unicorn Ears
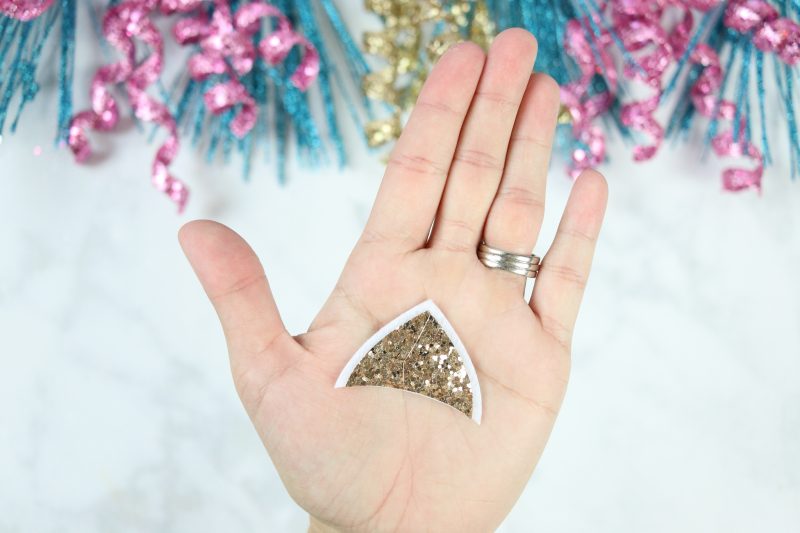
Cut the back of the ear from a stiff felt and the front of the ear from a gold glitter faux leather sheet. Use hot glue to attach the two pieces together.
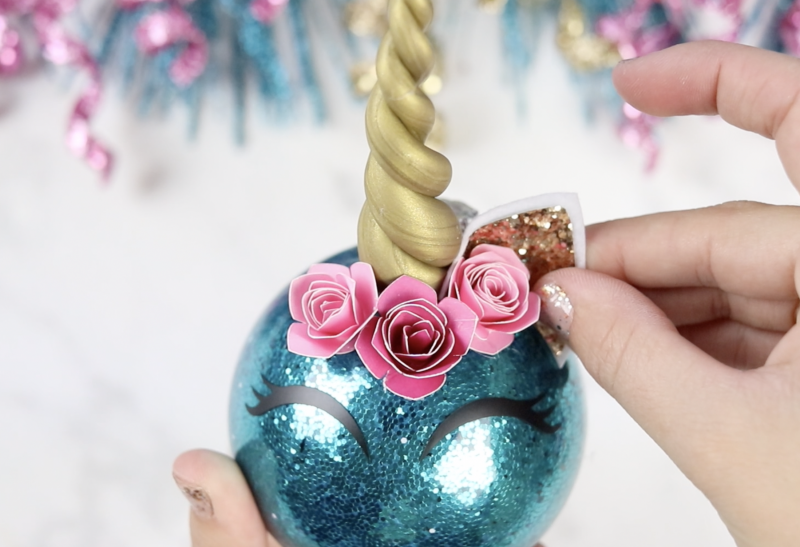
Glue the Unicorn ear behind the flowers and gently pinch the ear to round the bottom of it.
Now you've created beautiful handmade Unicorn Christmas Ornaments! They make wonderful gifts and are perfect for ornament exchanges! You can personalize the ornaments by adding a name to the back of them.
Don't forget to pin this post so you can come back to it later!
These are so cute...cannot wait to make some for Christmas... thank u for sharing!
What a beautiful idea love these
Hi hank you for sharing will be having a go at these
I really enjoy your projects, my grand daughter is going to love the unicorn for Christmas
These are fab! Quick question, I don’t have a Cricut so I would be buying the eyelashes separately. Around how wide are they? 2 inches?? Thank you!
Great video, thank you! Can you please tell me where the link is for the eyelashes? Also, is there a pattern for the ears to be cut? Thanks!
That's my same question, i've been searching every where for a cut file for the ears and I can't find them any where. Only the outline ears but I need the solid 3d type....it's starting to drive me a bit crazy lol
I was struggling using the link listed above. In Cricut Design, I searched for Glitter Unicorn Ornament and was able to find Kim’s page. Hope this helps!
what is black vinyl
What can you replace polycrylic with? I don't want to buy a whole can just did one project :/
They are beautiful.
I really adore these ornaments, just one minor glitch, I can't seem to download the SVG file for the eyelashes and is there a pattern for the ears.
Thanks
Hi I just checked and it downloaded fine. Hope this helps.
Too cute. I've been admiring this type of ornament since I first saw them. Unfortunately, the eyelash file has no link. I know I can Google for the faux leather, but just wanted you to be aware that your Amazon link doesn't work either. Thanks so much for sharing the tutorial.
I love all of your Christmas projects!! You do an amazing job showing your tricks & shortcuts too!!! Thank you for sharing all these great homemade ideas!!!
Do you buy the clay in the color or do you paint them?
It is pre-colored but you could also dye your own clay with mica powders.