Learn How to Make a Beautiful Chunky Blanket Using Only Your Fingers With This Step-By-Step Crochet Tutorial and Video.
Have you fallen in love with the super chunky blankets at every home decor store only to hate the hefty price tag? Me too! I'm here to teach your how to crochet with your fingers to create this beautiful, chunky blanket anyone can learn how to make.
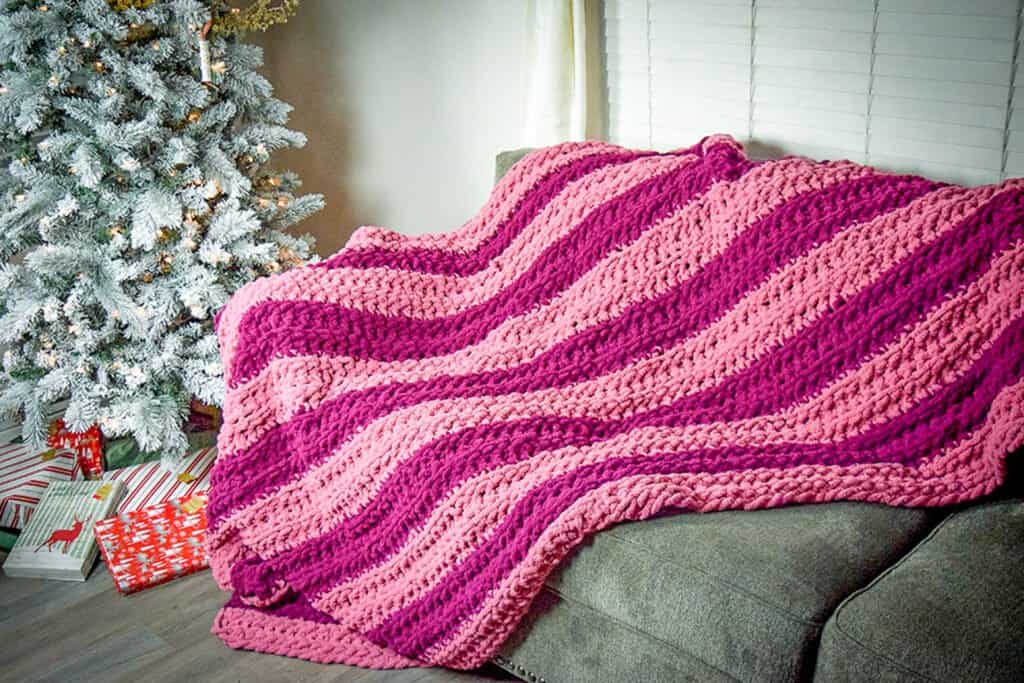
Now, don't worry if you have never crocheted before. This is actually the PERFECT project to start with. Your fingers are basically doing exactly what a crochet hook would do. The benefit of not using a crochet hook, is that there is an easier learning curve with using your fingers. You aren't having to figure out how to hold the hook while also paying attention to the tension of your yarn.
Looking for more beginner-friendly crochet tutorials? You'll love this Christmas Cup Cozy! Or try out this hand-knitted blanket!
Learning how to crochet with your fingers teaches you the very basics of how crocheting works. The hardest thing to figure out is the tension of your yarn. Keep practicing and keep those loops the same size and you will love making this blanket!
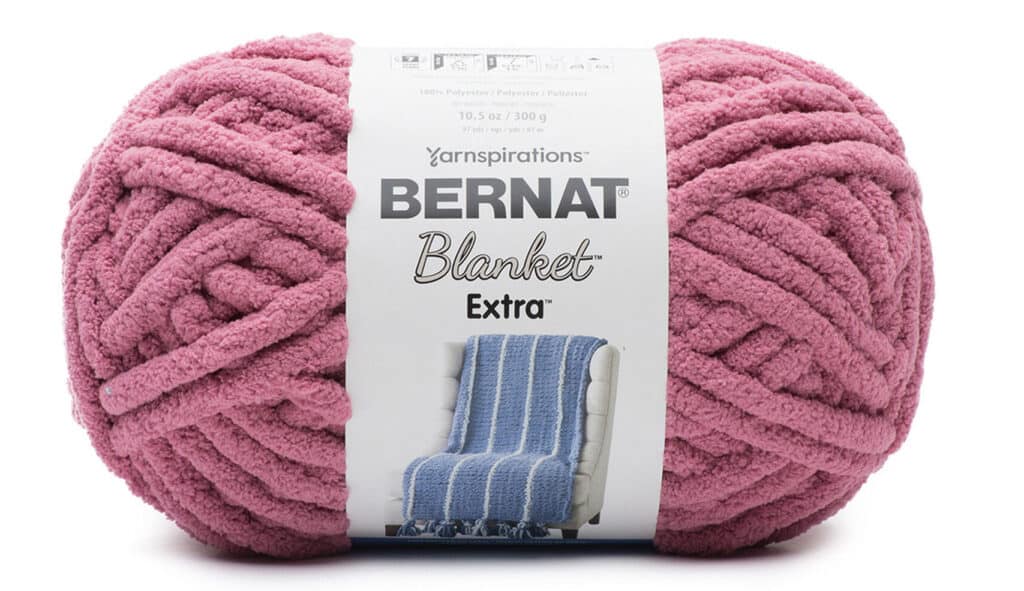
What Kind of Yarn Can I Use?
The bigger the gauge of the yarn, the easier it will be to crochet with your fingers. This yarn is gauge: 7 Jumbo. I do not recommend going any smaller than this. Bernat Blanket Extra is available in 26 different colors from JOANN.com.
Yarnspirations came out with an "Bernat Blanket Extra Thick" version of this yarn that I would recommend for an even chunkier finished look to your blanket.
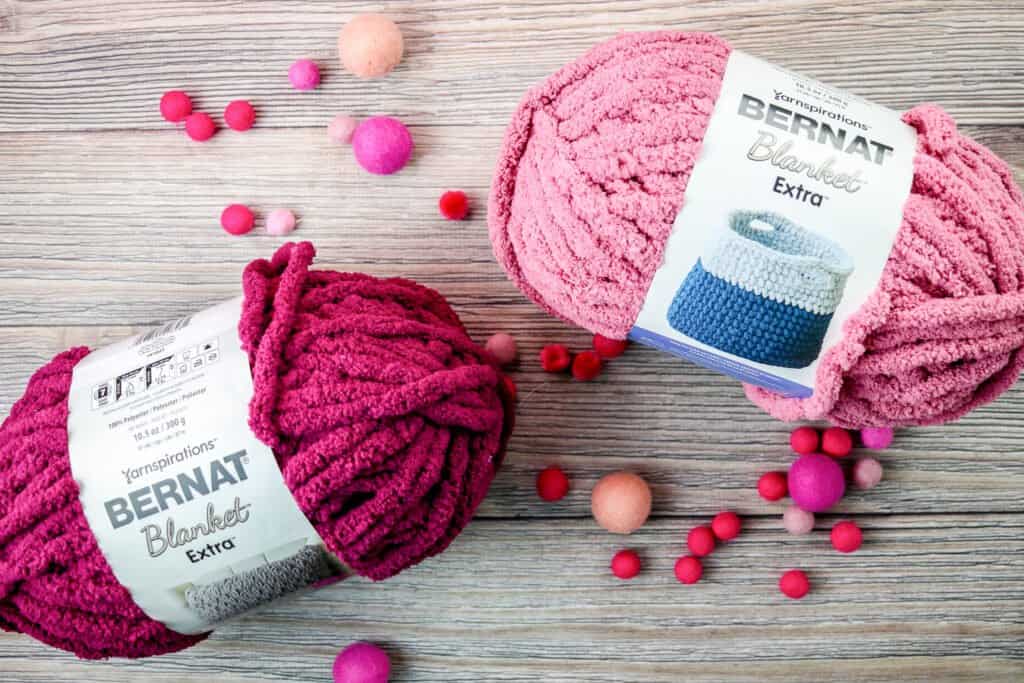
Table of Contents
Materials Needed:
- Scissors
- 6 Skeins of Bernat Extra Blanket Yarn (I used 3 Burnt Rose & 3 Burgundy Plum)
Step One: Start Your Beginning Chain
Start your chain by making a loop and tying it into a knot.
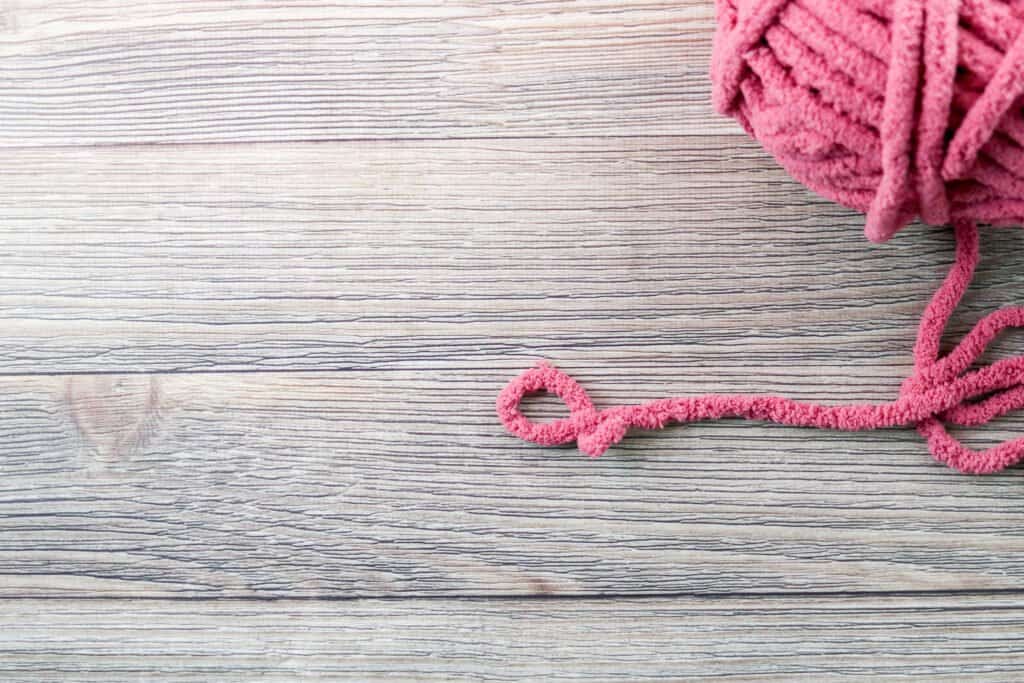
Pull your yarn through the loop to create another loop

Repeat step above 60 times!
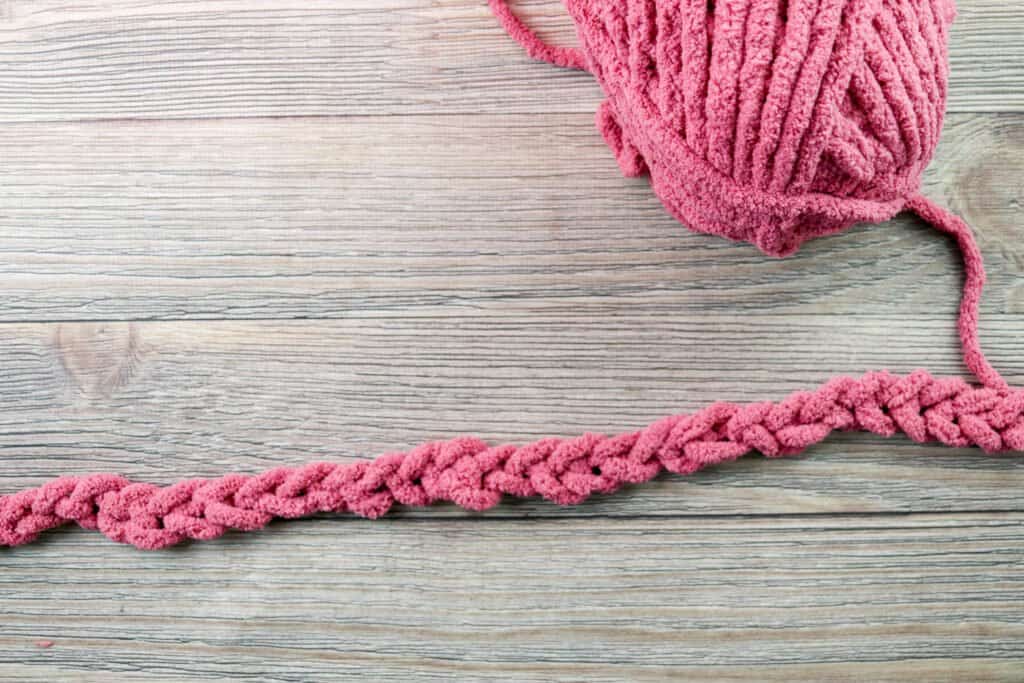
You will end up with a chain of 60! (This is the perfect size for me and I am 5’2″. It ends up being 75 inches long x 65 inched wide ).
Step Two: Create Row One
You are now going to turn the blanket. To start, add an extra loop to your chain. In crochet terms this would be called "chain 1". This is VERY important. If you forget to chain 1 at the end of your rows, your project will start to look more like a triangle than a square/rectangle.
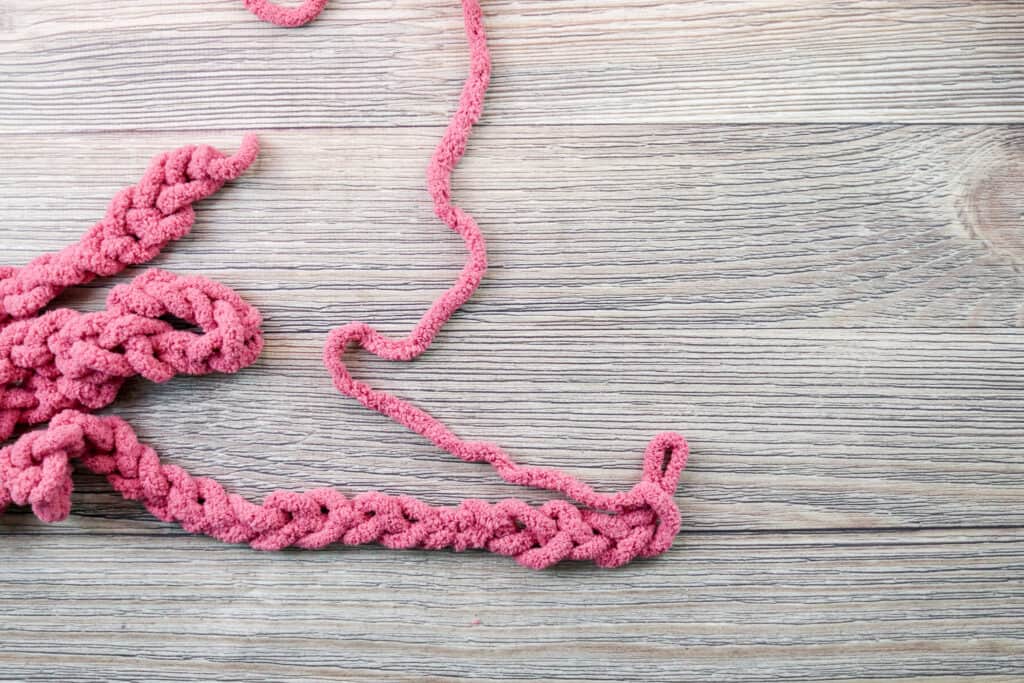
Put your index finger through the loop you just made and grab your yarn.
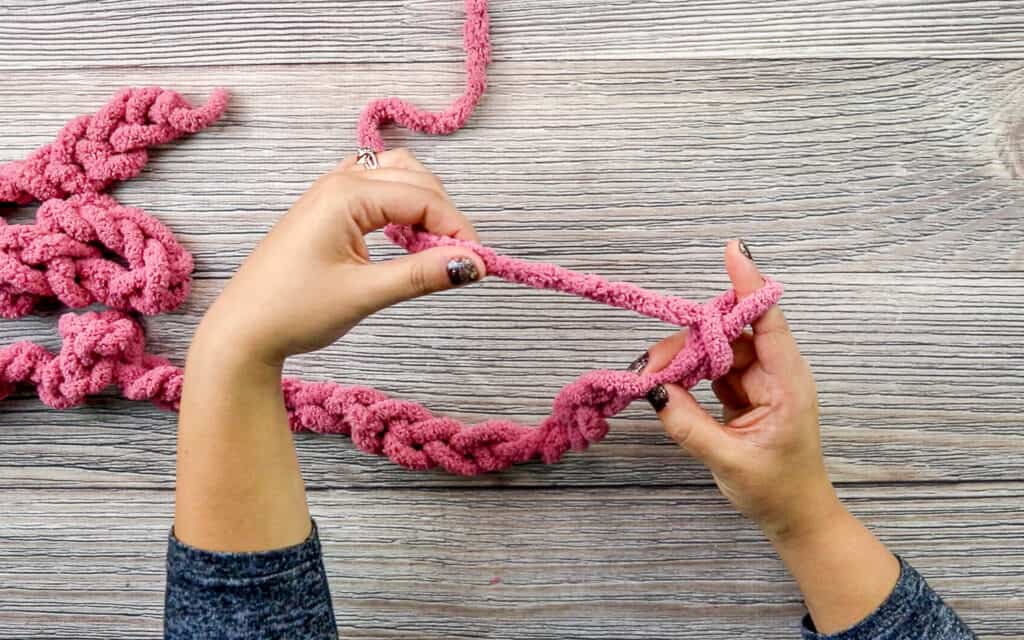
Locate the second chain from the right on your chain row. Find the top part of that chain.
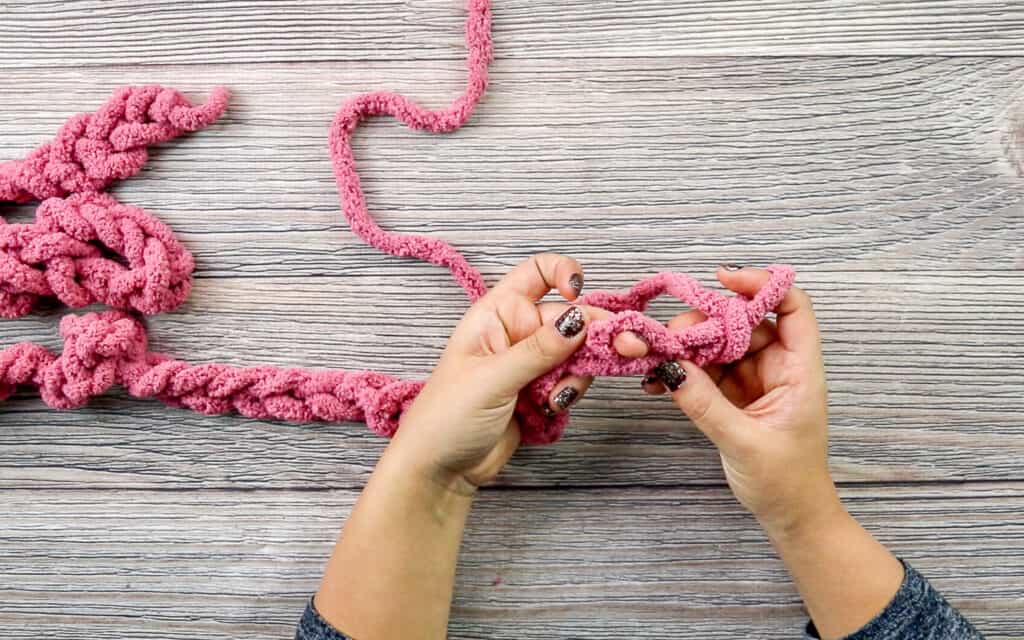
Pull your yarn under the top part of the chain and create another loop.
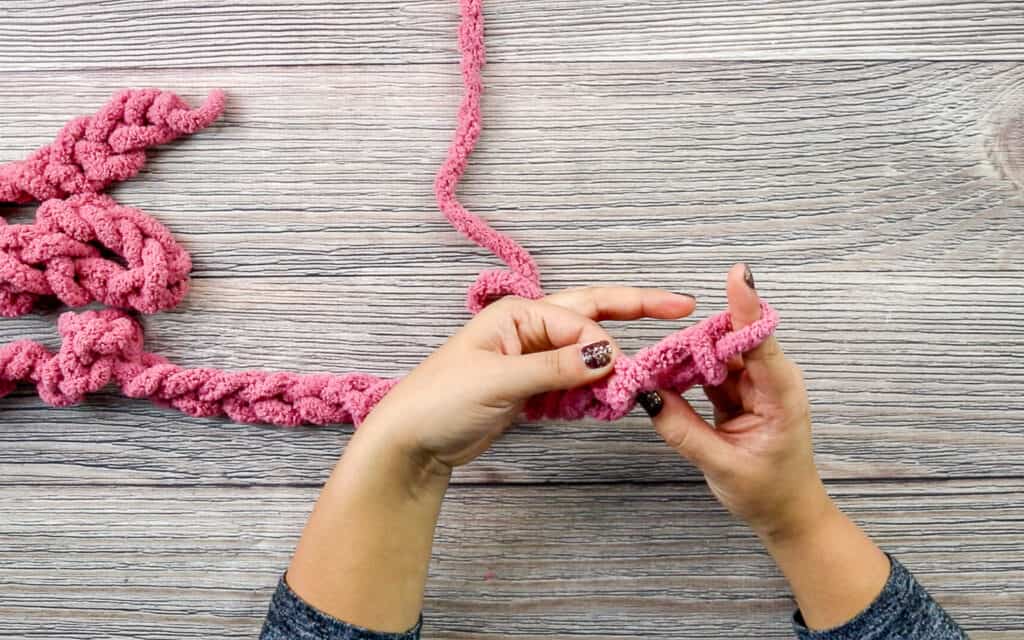
(With tension) wrap it around your index finger. You should now have two loops on your finger.
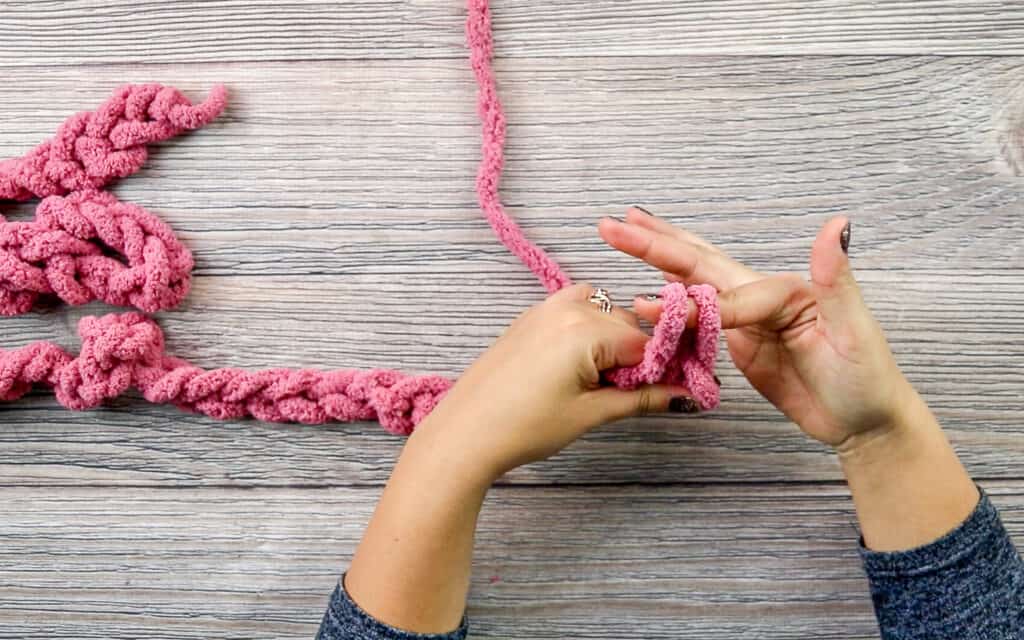
Pull your yarn through both of those loops on your index finger to create another loop.
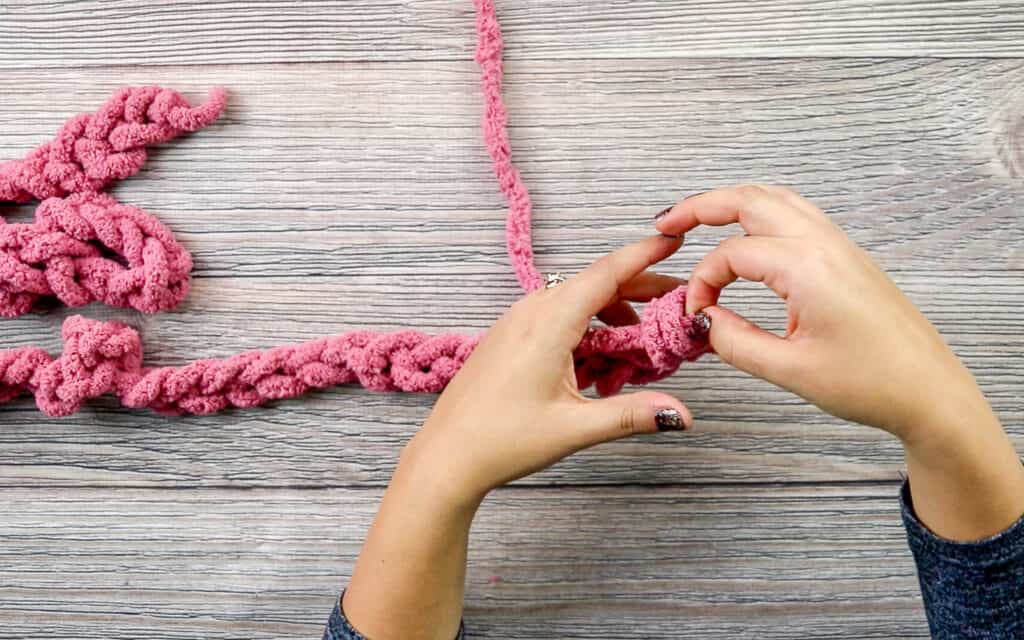
Repeat this process all the way down your row to the very last chain. Be very careful not to skip a loop.
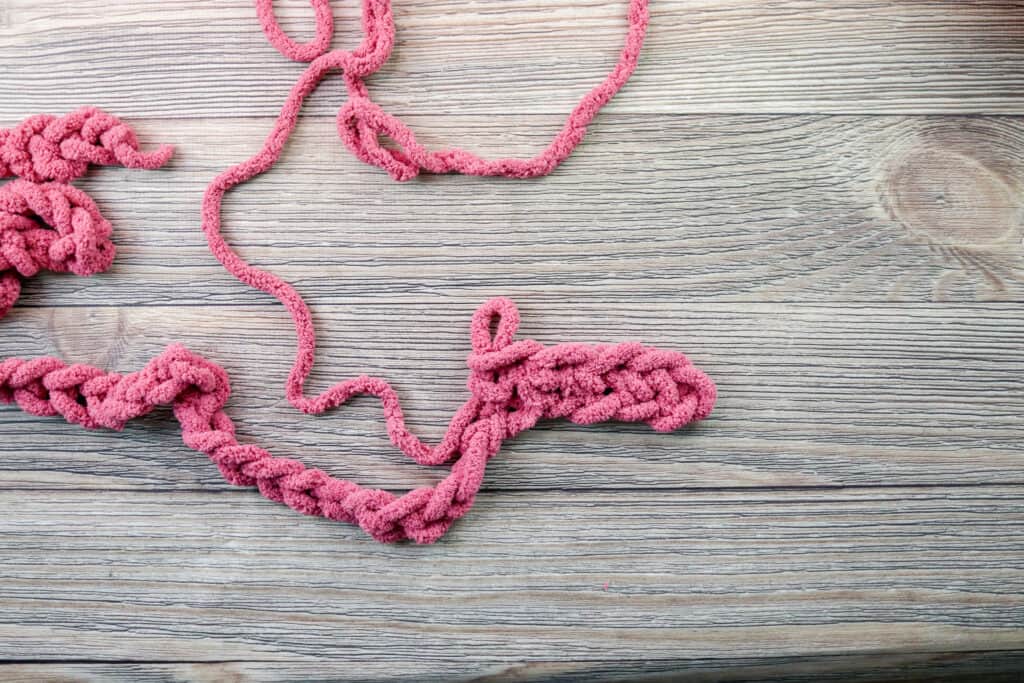
Step Three: Create Row 2
At the end of row 1, chain 1. (Remember, this is your turning loop! Do not forget to chain 1!)

Turn the blanket over so that you will not be working right to left.
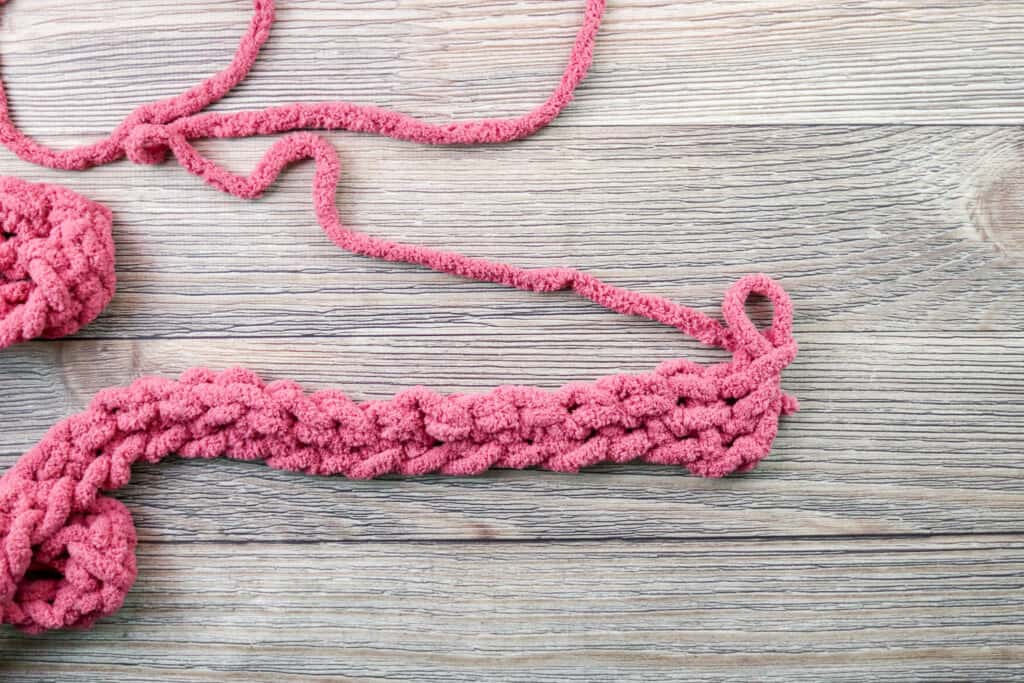
With your index finger through that extra loop you created to turn, locate the second stitch from right. There will be a front loop and a back loop. (The back loop will be farther away from you). We will only be using the BACK LOOP.
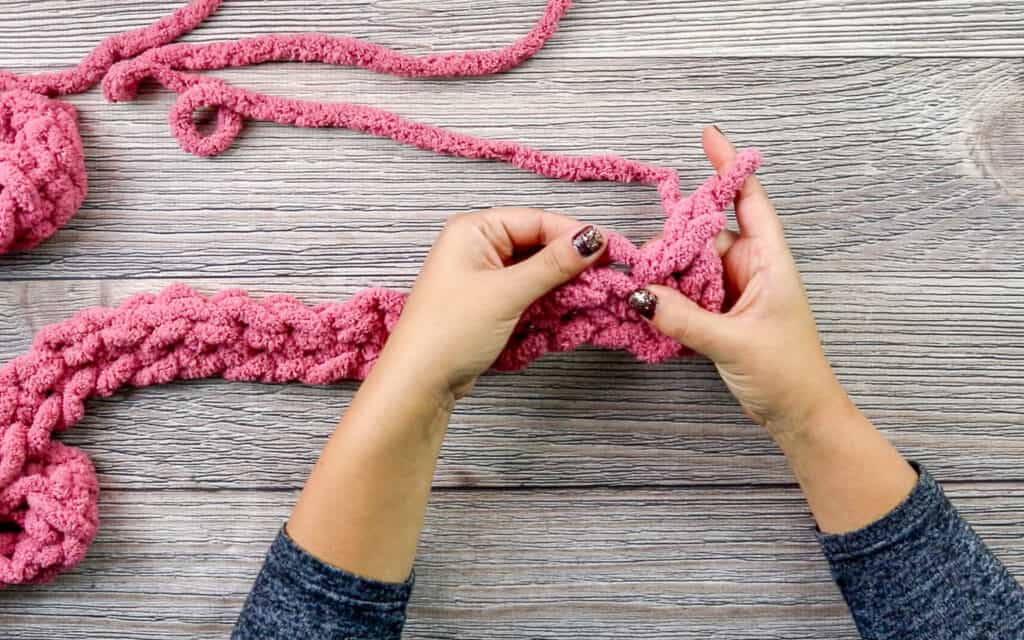
Pull your yarn through that back loop and repeat the steps above all the way to the end of the row.
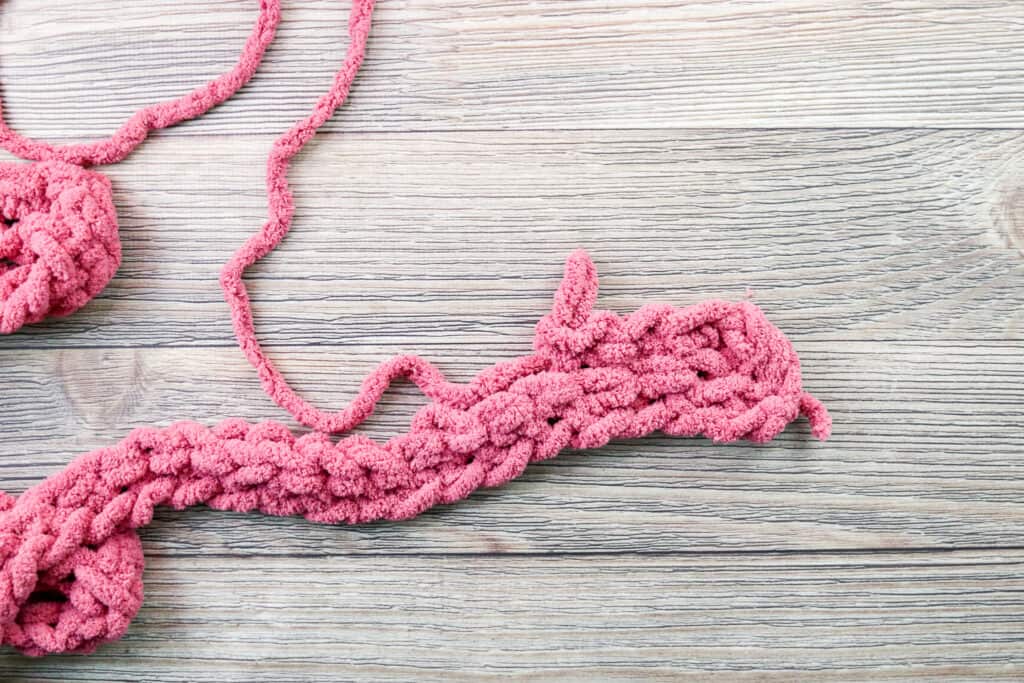
Step Four: (OPTIONAL) Switch Colors
To switch colors, tie the new color to the first color when you are about to make the extra loop to turn the blanket.

Continue to the next row by chaining 1 and then turning your blanket. Repeat the steps above to form your next row with your new color.
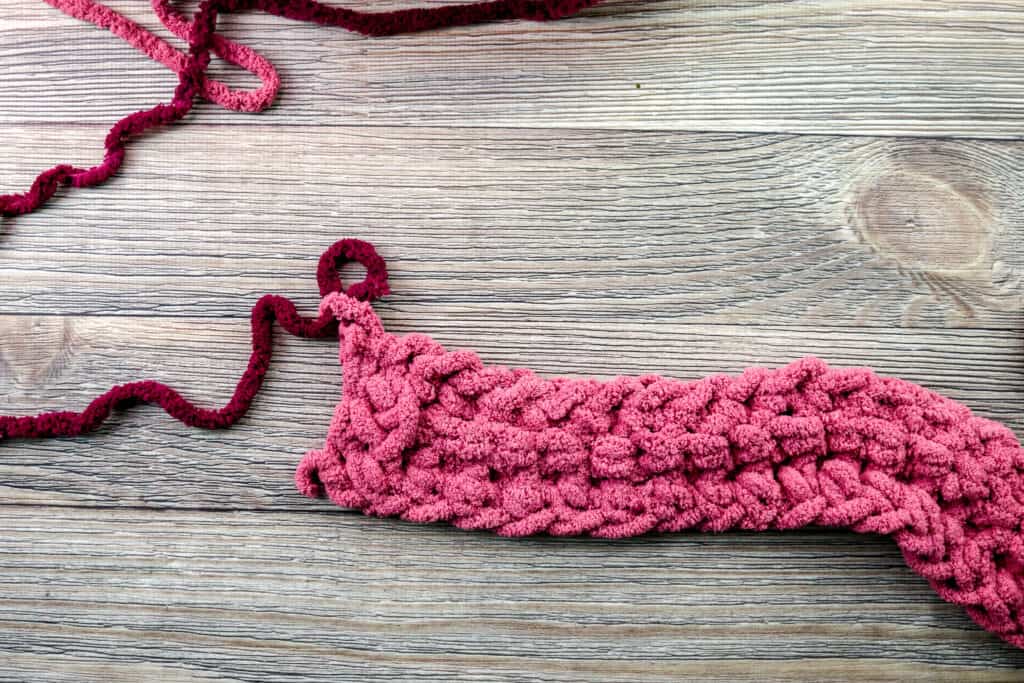
Either cut off the excess yarn or weave it through the blanket. (If you are doing one solid color for the whole blanket, just tie a knot at the end of the skein to connect it and then continue your blanket.)
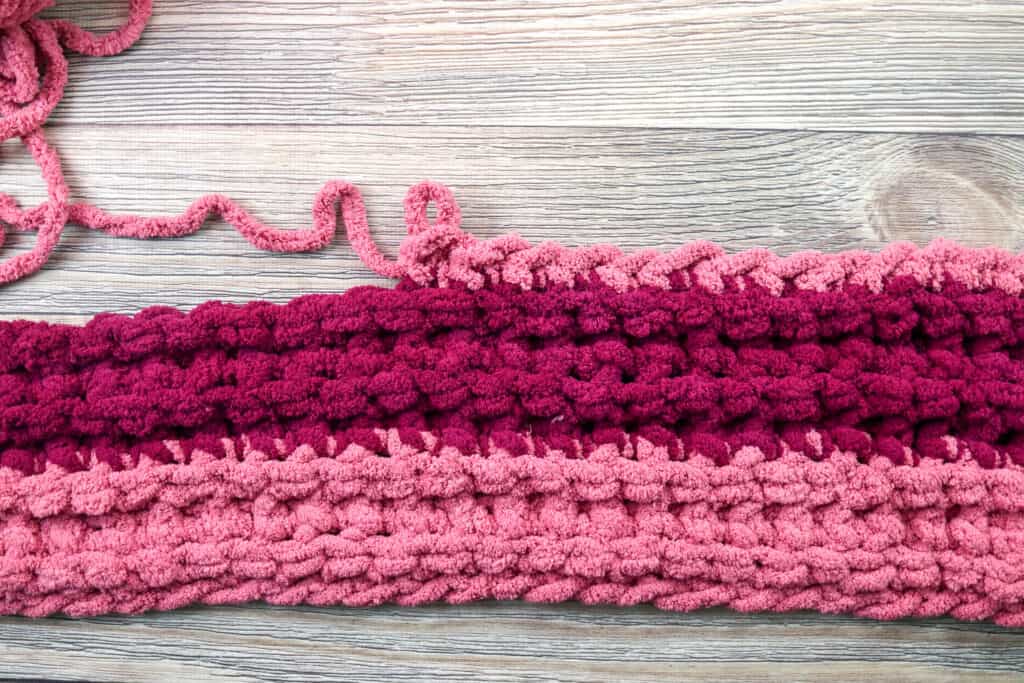
Repeat the process above to complete the entire blanket! (This blanket has 4 row of one color before I switch to another color).
Step Five: Tie Off
To finish, cut the yarn with a little excess and pull it through the last loop to create a knot.
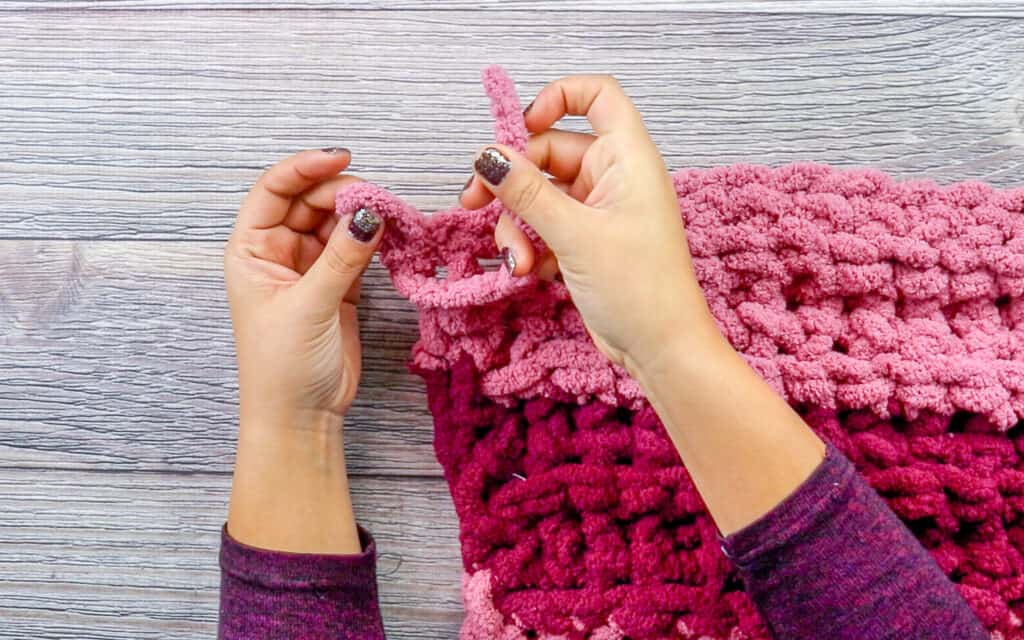
Weave it through the top of the blanket.
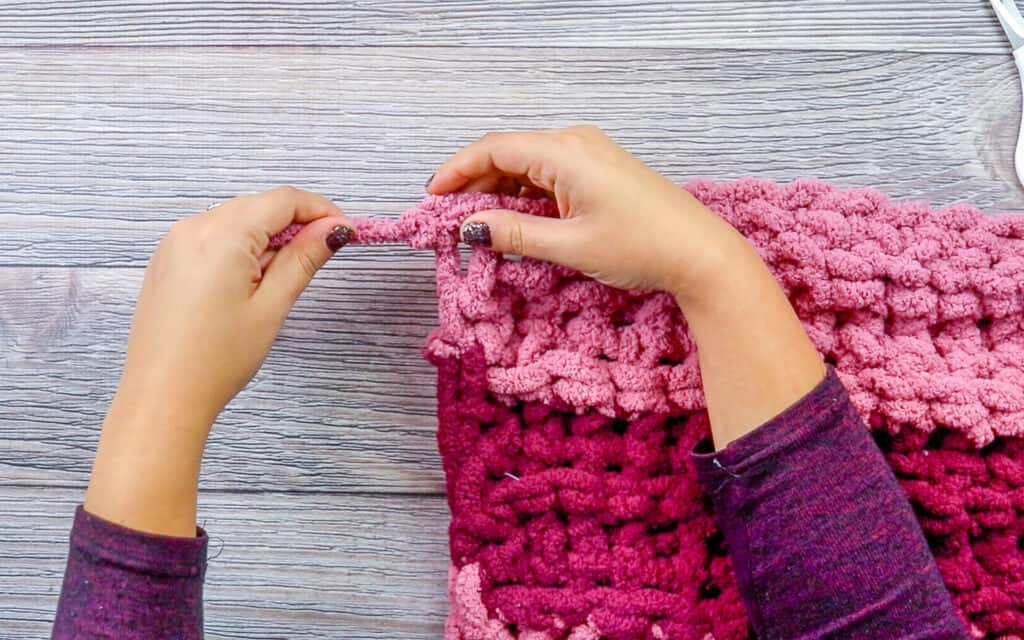
You're finished! I hope you learned a new skill today and fall in love with crocheting like I did!
Looking for more beginner-friendly crochet tutorials? You'll love this Christmas Cup Cozy! Or try out this hand-knitted blanket!
Join my crafting and sewing Facebook group where you can show us what you’re making, ask questions, and learn from others!
Looking for more blankets tutorials and projects? Click HERE!
Click HERE to pin this project on Pinterest!


Thank you for you great tutorials
Love all the neat Christmas idea’s!!Would love to try to accomplish the finger crochet blanket, when I click on the video . The no sew faux fur tree skirt video shows! Not for sure why ? Thank you Katy
Thank you for all the neat ideas! I can’t find the link for the tutorial for the finger crochet blanket, the link provided is the no sew faux fur skirt. Thank you for your help!
Thank you for all the neat ideas! I can’t find the link for the tutorial for the finger crochet blanket, the link provided is the no sew faux fur skirt. Thank you for your help!