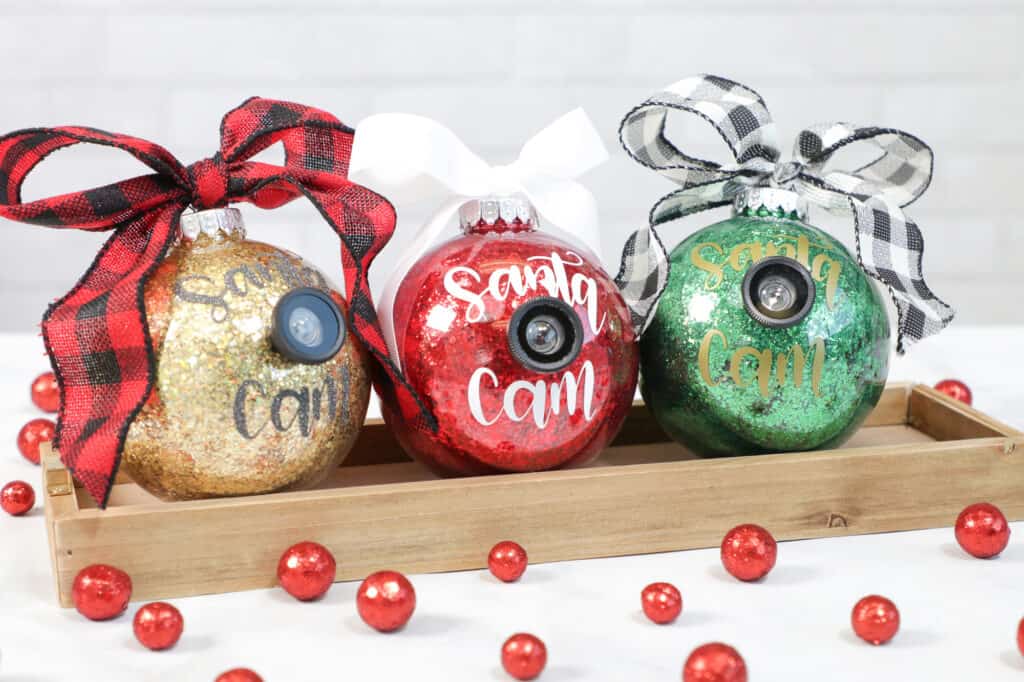
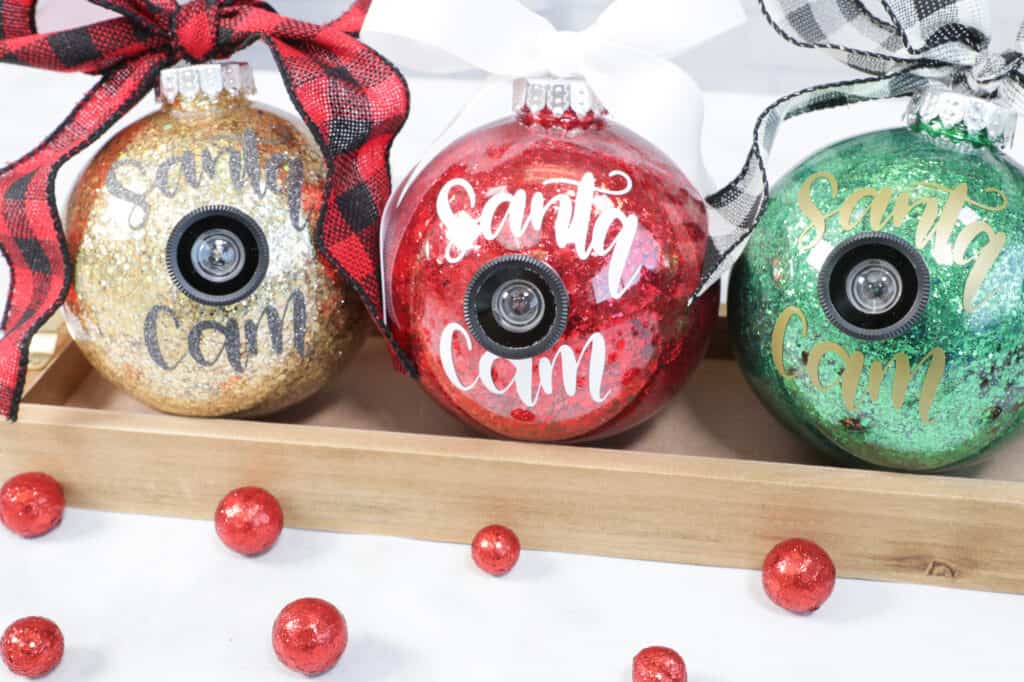
Monitor who is naughty or nice on your Christmas tree by making an adorable Santa Cam with supplies from Dollar Tree and your Cricut Joy!
"He sees you when you're sleeping, he knows when you're awake! He knows if you've been bad or good, so be good for goodness sake!" Have you been singing that to your kiddos this time of year? The perfect solution to track who is naughty or nice is a cute little Santa Cam ornament that looks like a real camera straight from the North Pole!
These Santa Cam’s are really easy and super fun to make.
Supplies Needed for this project:
- Plastic Round Ornament
- Glitter
- Polycrylic
- Syringe
- Lens- From Dollar Tree
- Cricut Machine: Cricut Joy, Cricut Explore Air 2, Cricut Explore 3, Cricut Maker or Maker 3 or will work.
- Smart Vinyl
- Transfer Tape
- Weeding Tool
- Small Funnel
- Glue- or permanent adhesive
- Piece of Ribbon to tie on the top (Optional)
Once you have all of your materials, we can get started in Design Space! Let’s open up Design Space.
Here we have our canvas, click on the images tab on the left-hand side, it will open up a search bar.
Type in Santa Cam. A bunch of images pop-up, but we will be using the first image. Insert the image into your canvas.
Since we will be using a physical lens, we don’t need the lens on the image. If you aren’t able to find the lens at your local Dollar Tree, then you can keep the image how it is.
Select your image and then click ungroup on the right-hand side of your page.
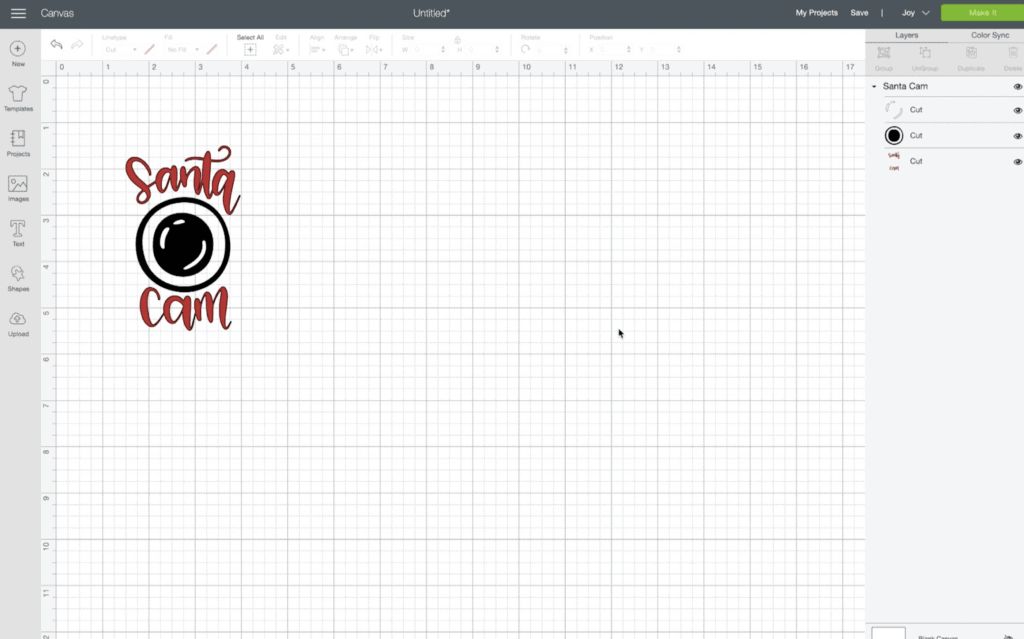
Now you will be able to select the lens and delete it. Make sure to delete both the black and white parts. You will be left with just the words, Santa Cam.
We now want to make a template of our ornament. Go back to the shapes button on the left, and insert a circle. We are going to resize the circle by using the resize tool or inputting numbers at the top where it says size. We are going to type in 4 in the Width section because we measured our ornament and it’s about 4 inches across.
Now we have a circle that is roughly the size of our ornament. We are going to change the color of our circle up at the top left next to Linetype- cut, we are changing ours to red, because we are making a red ornament.
We can also change the color of our words, by selecting the words and changing the color to white. Changing the color helps us visualize our ornament. We are going to add in one more circle, again use the shapes tool on the left. This time we are going to change the size of the circle to the size of our lens which is 1 inch.
Since our lens is black we are going to change the color of our small circle to black.
You can place this small circle on top of your ornament circle, we want our lens in the middle so we are placing our circle in the middle of the ornament template.
Since our ornament is about 4 inches, we want the words quite a bit smaller because we want the words to show up well on the front. We are resizing our words to 2.5 inches in width. Just select the image and resize it.
Now move your words to the front, by selecting it, right-click, then select send to the front, about halfway down the list. This will allow us to place our words on top of our ornament template.
Adjust your words to where you want them on your ornament. Just remember that your ornament is round, so you may need to adjust the placement of your lens and words.
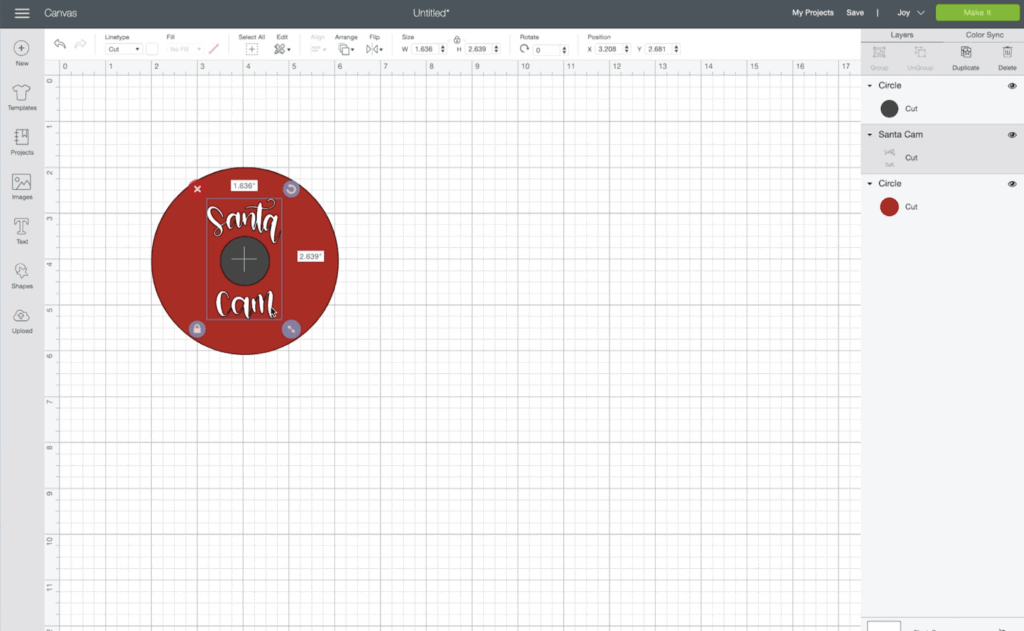
And we now have a rough visual of what our ornament will look like. Let’s cut it out!
First, make sure to hide your circles because we don’t want to actually cut them out, you do this by clicking on the eye on the right-hand side.
We are only wanting to cut out our words. Once you are left with the words, we can move on.
Remember to make sure you have your correct machine selected at the top, next to the green “Make It Button” today we are using our Cricut Joy.
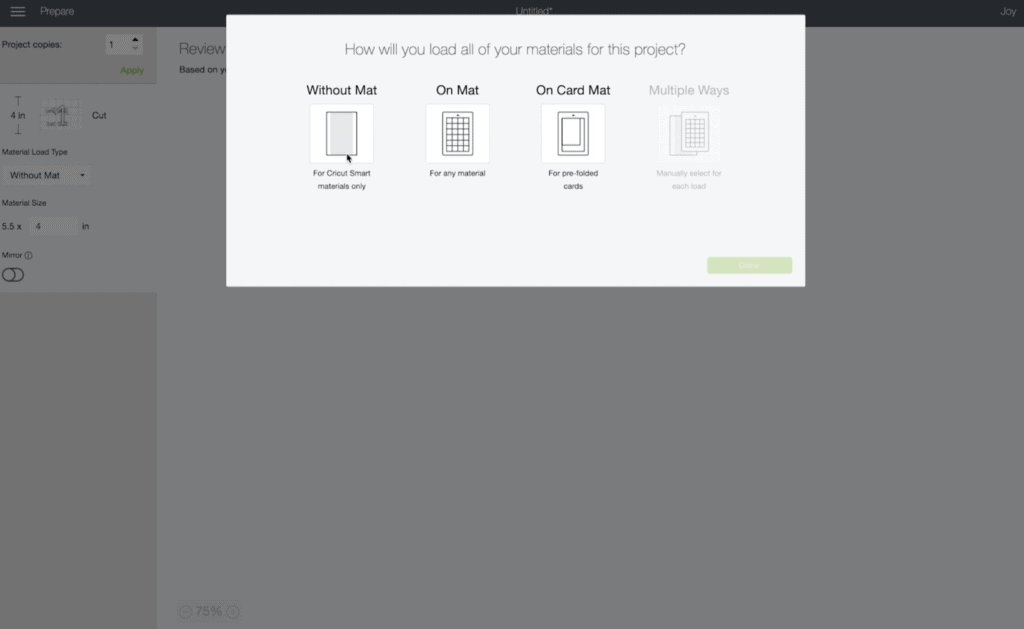
Now click on “Make It”
We are then going to click “Without mat” because we are using the Smart materials, which don’t need a mat.
You can leave the layout how it shows up, and click “continue”
Make sure you have your fine point blade inserted into your machine, and select “Smart Vinyl- Permanent” on the materials list.
Your screen will prompt you when to load the machine and click go.
Cut your material.
When it finishes, unload it and cut off excess material. Then you can set it aside for a minute.
Now, it’s time to clean the surface that you’ll be applying the vinyl to. It’s important that the surface is free of debris or any oils that could compromise the adhesion of the vinyl. I like to use rubbing alcohol for this along with a paper towel to thoroughly dry my base material.
Now we can weed our vinyl! To weed your vinyl, you’ll want to use a weeding tool. This is a tool with a sharp end that helps you to remove the negative pieces of vinyl from your design.
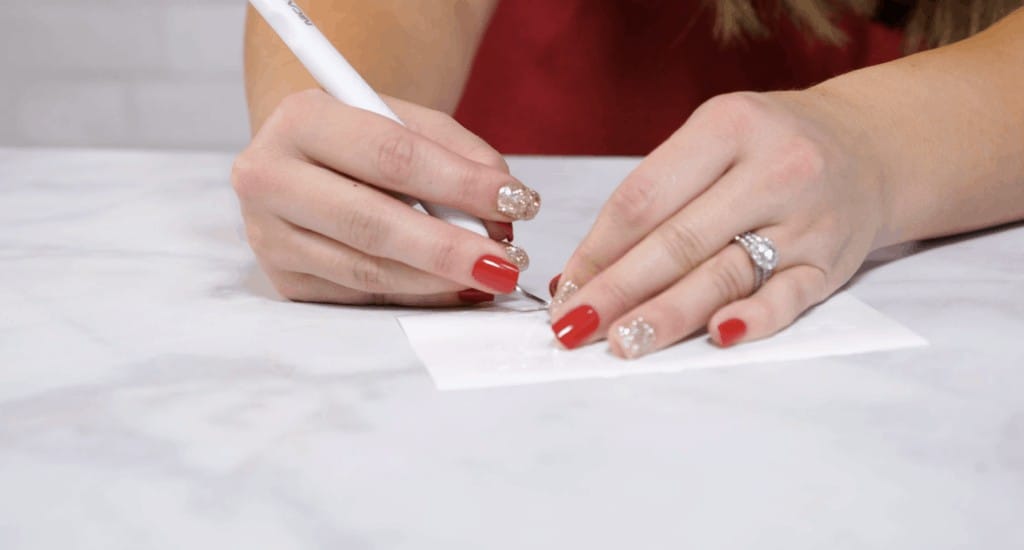
Cut a piece of regular transfer tape about the same size as your image. Remove the paper liner from the back of your transfer tape and lay the tape on top of the image. Make sure to use the grid lines as a guide for lining everything up.
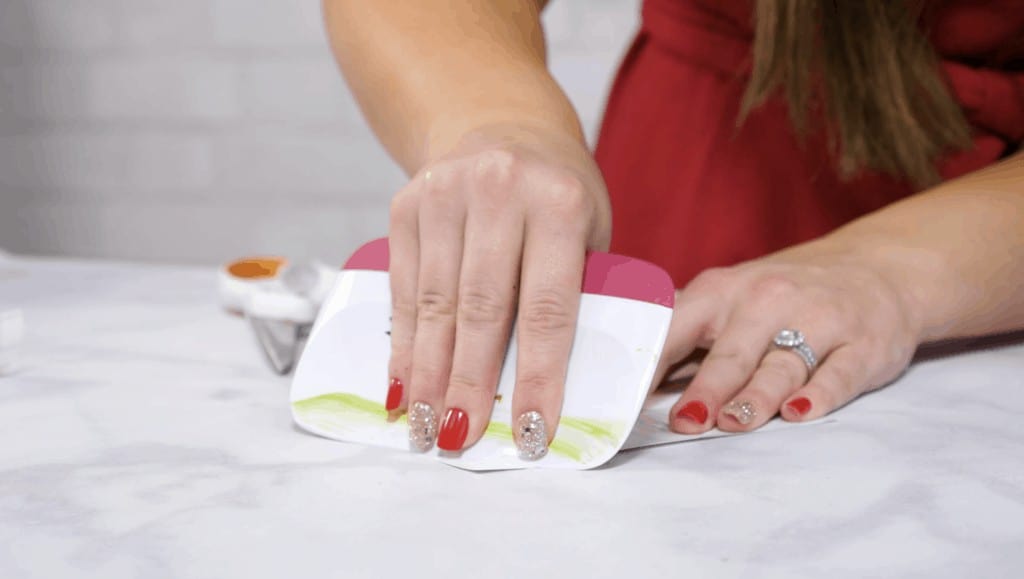
Using a scraper tool burnish your image onto the transfer tape. Then trim away as much transfer tape as you can from the words. Gently peel the transfer tape from the paper backing at a 45-degree angle. If the vinyl does not transfer to the tape, lay it back down and burnish it again.
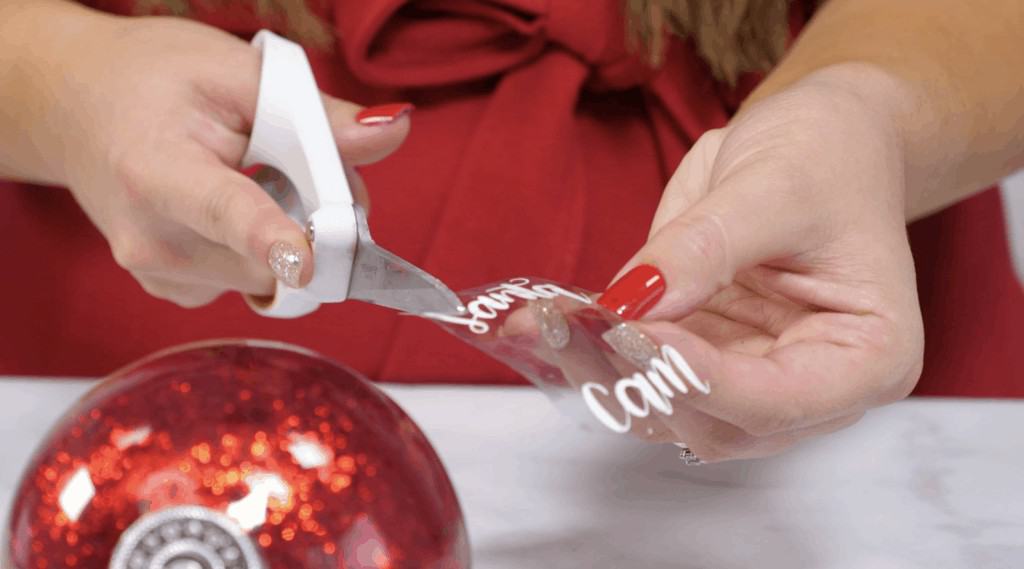
Cut darts in between each letter, this makes it easier to transfer your design to round surfaces.
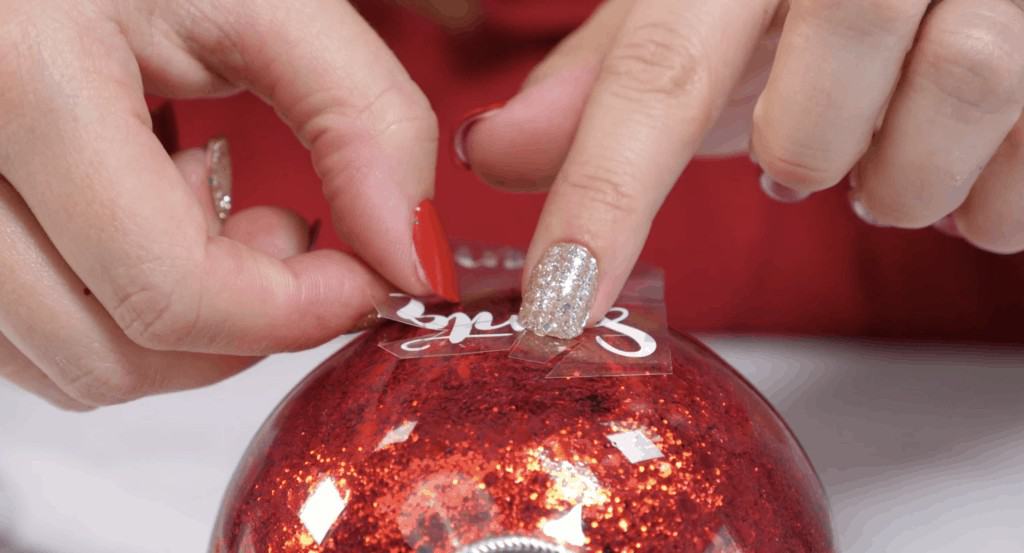
Place the transfer tape onto the item you are transferring it to. Take extra care to make sure that the transfer is straight and aligned exactly where you want it to be.
Using your scraper tool to burnish the design to the base. This helps the sticky backing to fully adhere to the surface.
Your transfer tape won’t lie flat, just make sure that your words lay flat.
Carefully pull the transfer tape away from the image at a 45-degree angle to reveal your finished design! Repeat these steps for both of your words.
Allow your vinyl to fully cure for 24 hours before washing it or exposing it to water. This will help the backing to fully adhere to the material it’s been placed on and create a long-lasting result.
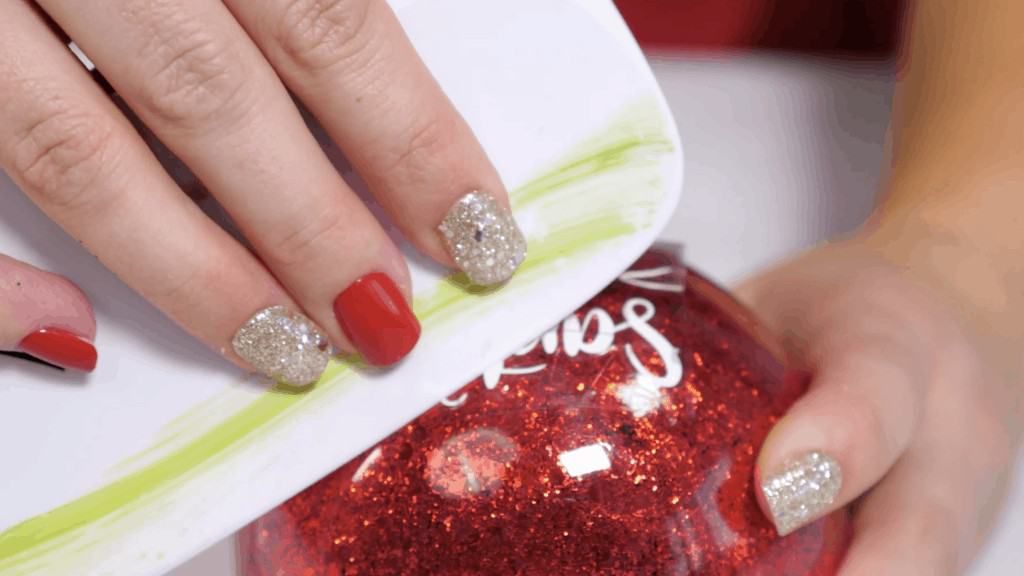
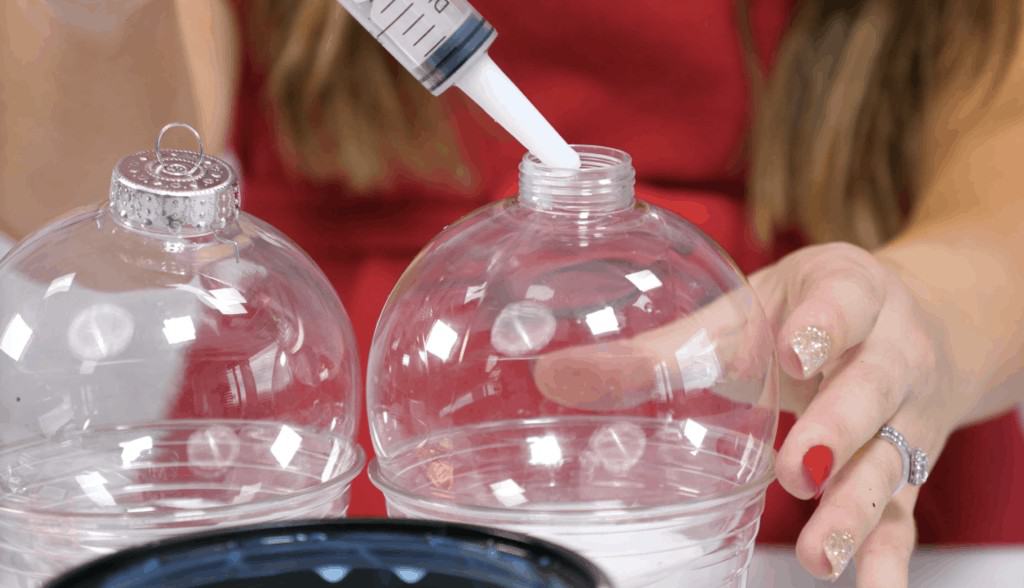
Remove the metal lid of your ornament, and fill your syringe with Polycrylic, the amount of polycrylic you will need depends on the size of your ornament. Squeeze the polycrylic into the ornament.
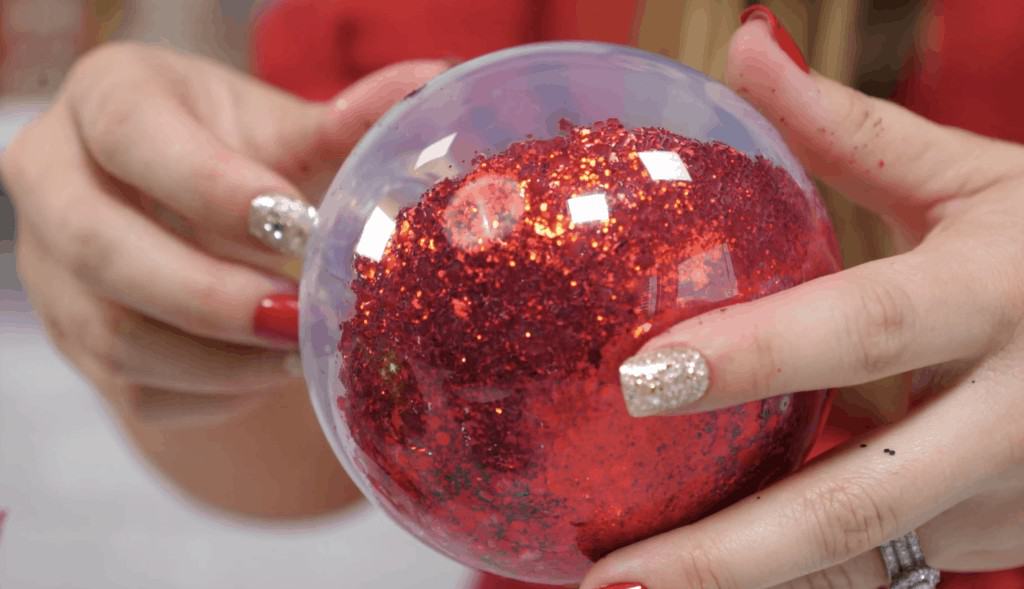
Gently swirl the ornament around to coat the entire inside thoroughly. This is important because you want the glitter to stick on all of the surfaces.
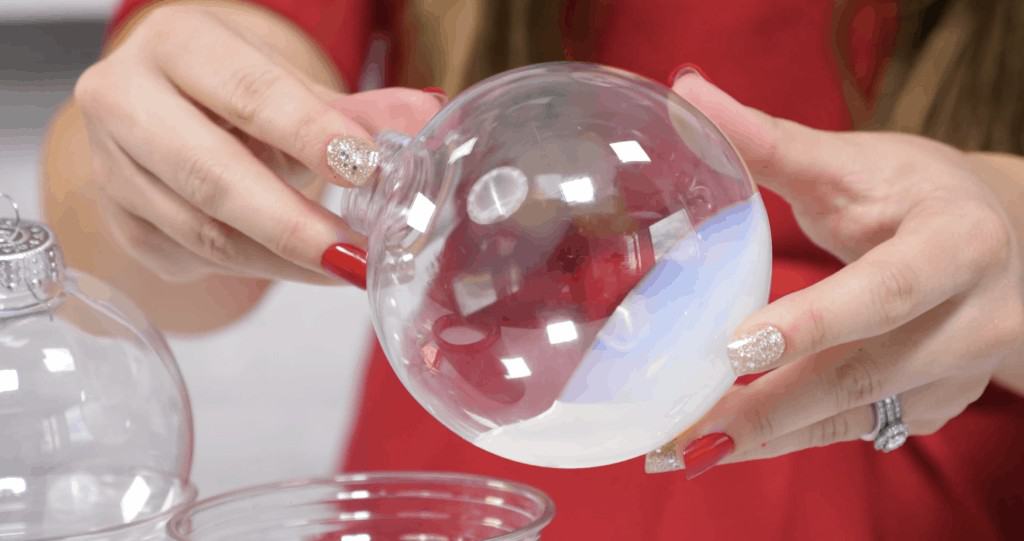
If you have any excess dump it back into the container.
Next get a small funnel or you can make one by rolling up a piece of paper. Pour the glitter through the funnel, plug the end with your hand or some other material.
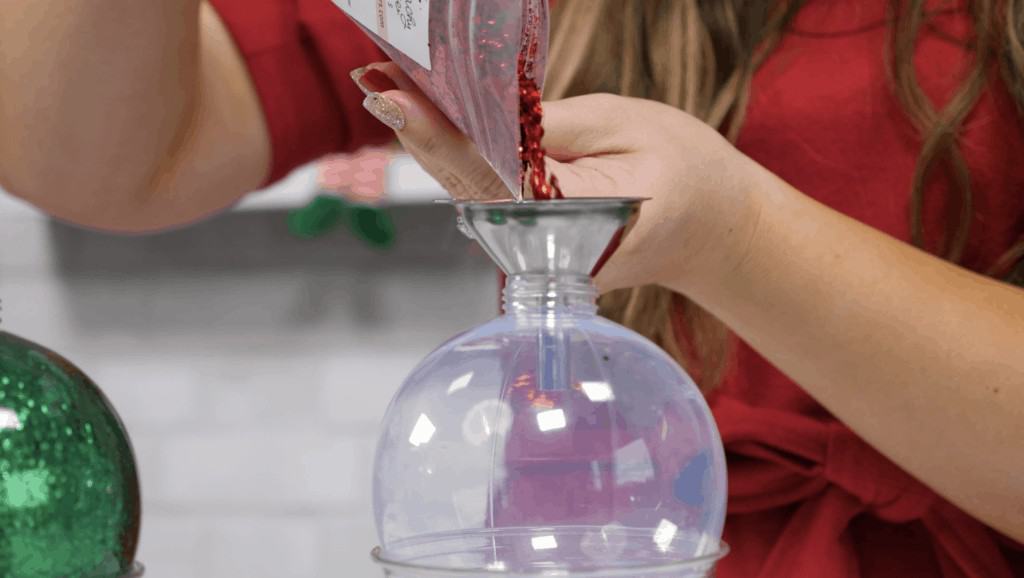
Shake until the inside of the ornament is completely coated in glitter.
You can discard the excess glitter or save it for another project.
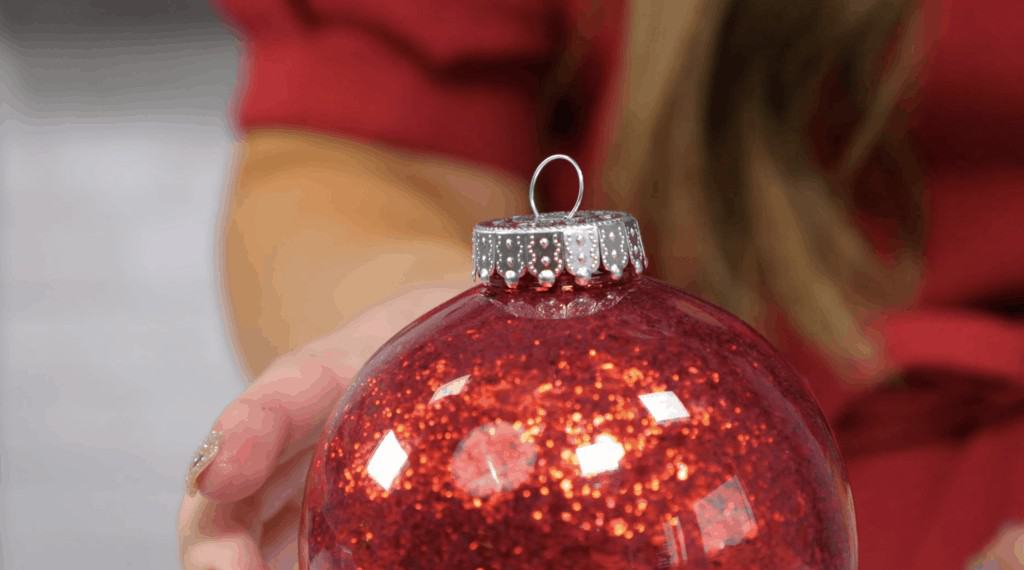
You can now replace the metal lid.
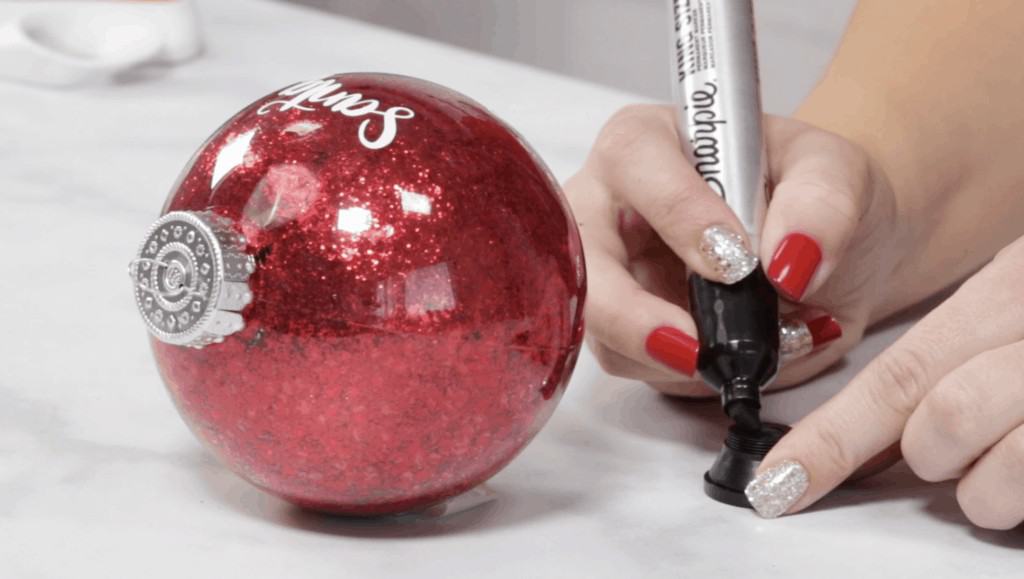
Now let’s get your lens, it is attached to a little clip, just unscrew the lens from the clip.
Use a sharpie to color in the back of the lens so you don’t see the glitter through it.
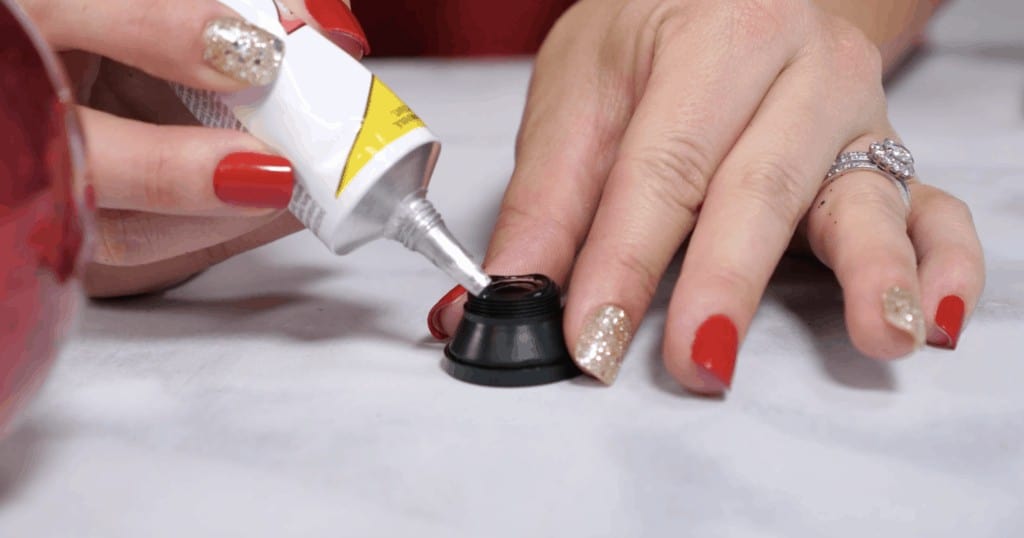
Decide where you want your lens on your ornament, and use your permanent adhesive to adhere it. Hold it down to make sure it sticks well. We have also seen that people like to cut a hole in the ornament to put the lens in, so that is an option that you can do as well.
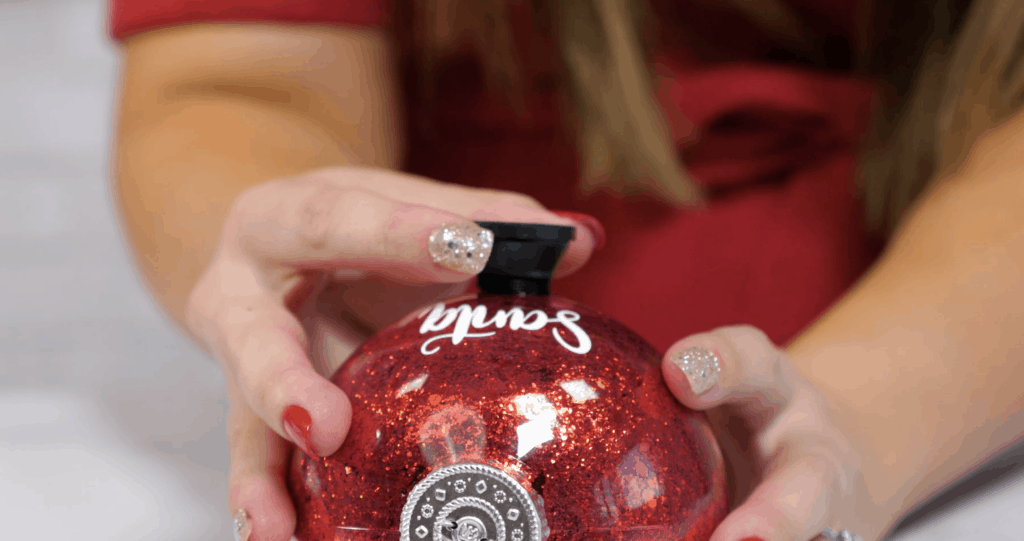
If you want to add a little extra to your Santa Cam you can personalize the back with a name/date/message etc.
If you are wanting to sell these Santa Cam’s the price ranges from 8-15 dollars on Etsy, depending on the detail.
The Santa Cam’s and the Christmas Elves make the perfect gift when paired together. You can put them together in a cute box and have a special delivery from the North Pole. I just love how these projects turned out and I can’t wait to see what you make with this tutorial.
Be sure to tag me on Instagram when you use this tutorial so I can see what you’re making and share your photos in my stories.
I do not have the "Santa Cam" where can I get it?
I am making the Santa cam for my grandson, the lense had a rough spot on it. I went out into the garage to sand the little spot off, I dropped it. Could not find it, tomorrow I’m going back to dollar tree and buy a dozen of them Thank you so much for sharing your talent.
I love the way you explained this project!! you not only explained how to make the Santa cam, but you also walked me through using design space. With very simple words that I actually could understand and follow along .
I will definitely be looking out for more of your very helpful posts!!!