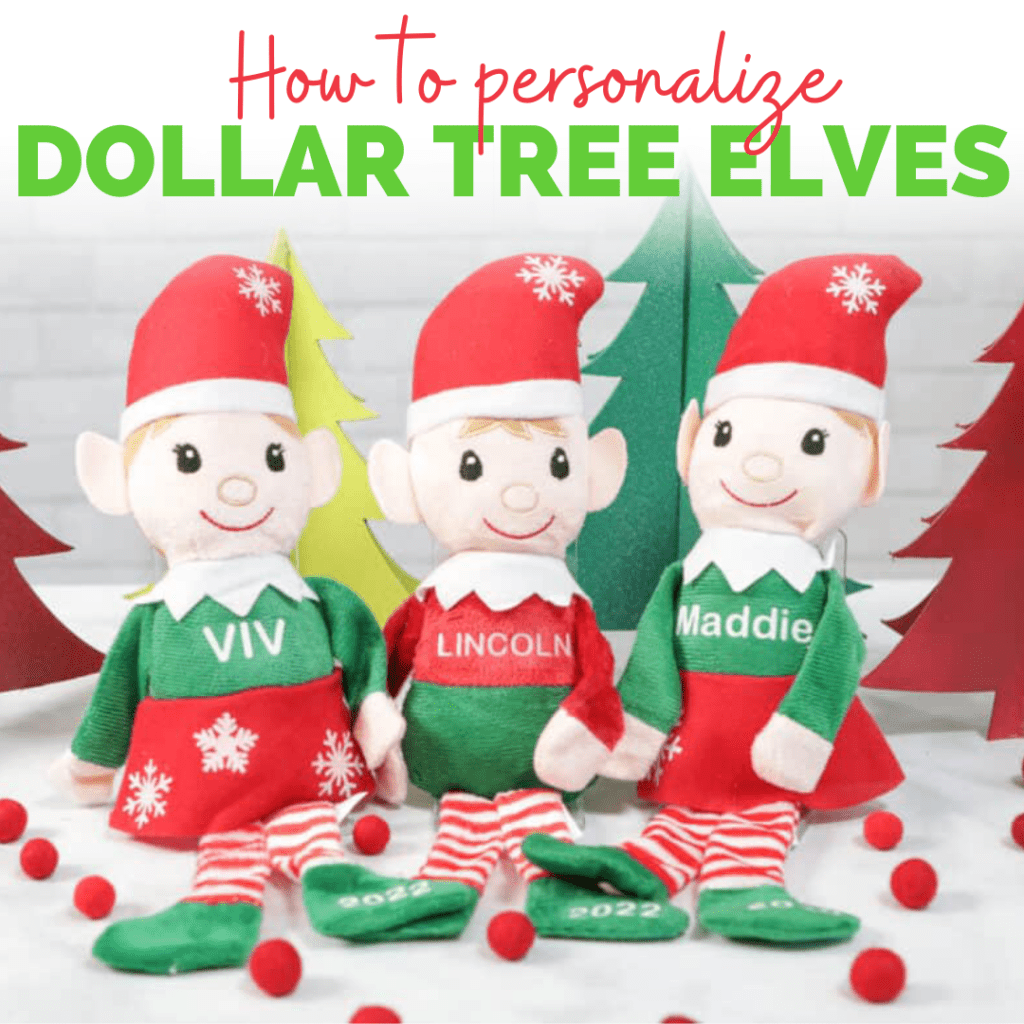
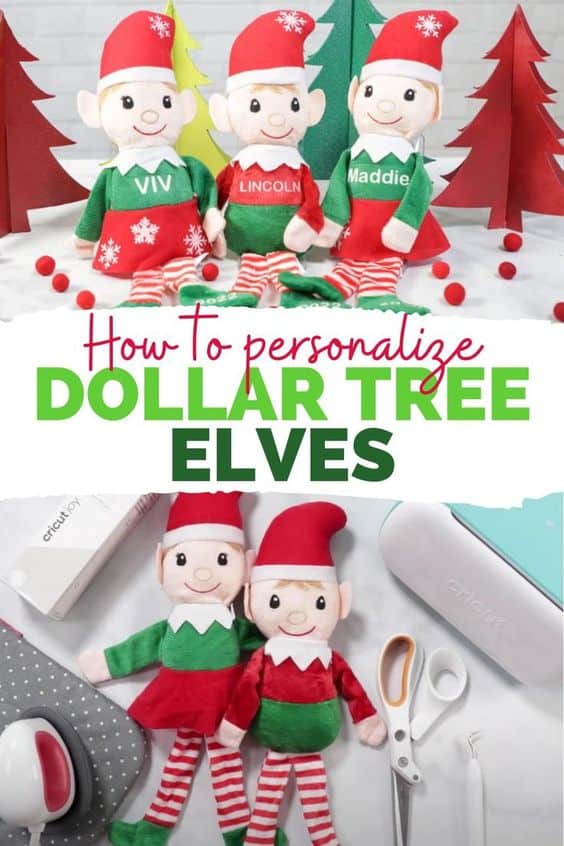
Make Dollar Tree Elves Personalized with Iron-on Vinyl and your Cricut Joy For Holiday Decor or to Give as Gifts This Easy and Simple Step-By-Step Tutorial.
During the holidays, I am always looking for ways to save money. When you can use a little bit of vinyl to dress something up from the dollar store, it's not only easy, but very inexpensive! Today, I wanted to share how you can personalize Christmas elves from Dollar Tree using the Cricut Joy. This is a project that has been requested over and over and I'm so excited to finally share it with you on my blog!
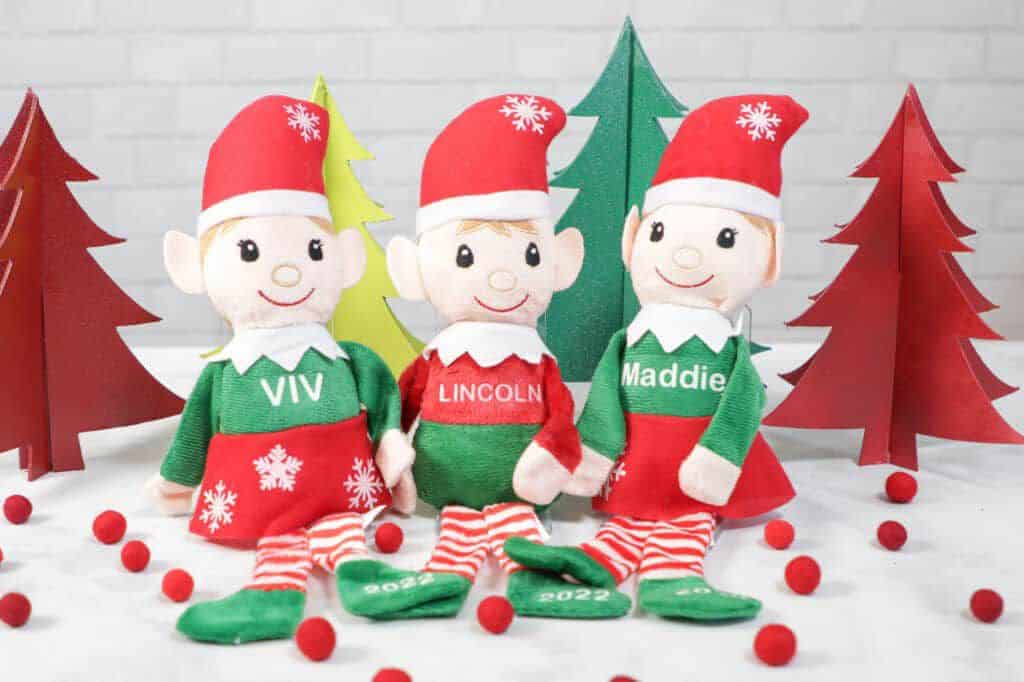
These cute little elves are great as gifts for large groups of people, and they are huge sellers at craft shows. They look adorable in your holiday decor, to use as place settings on your holiday table or even on top of a wrapped gift. They are also so fun to make if you have kids!
In this tutorial I'll be showing you with my Cricut Joy, but you can certainly use any cutting machine. The Cricut Joy is the smallest of the Cricut machines and it's perfect for this project! If you would like to learn more about the Cricut Joy, I have a blog post that teaches all about it here.
Are you ready to get started?
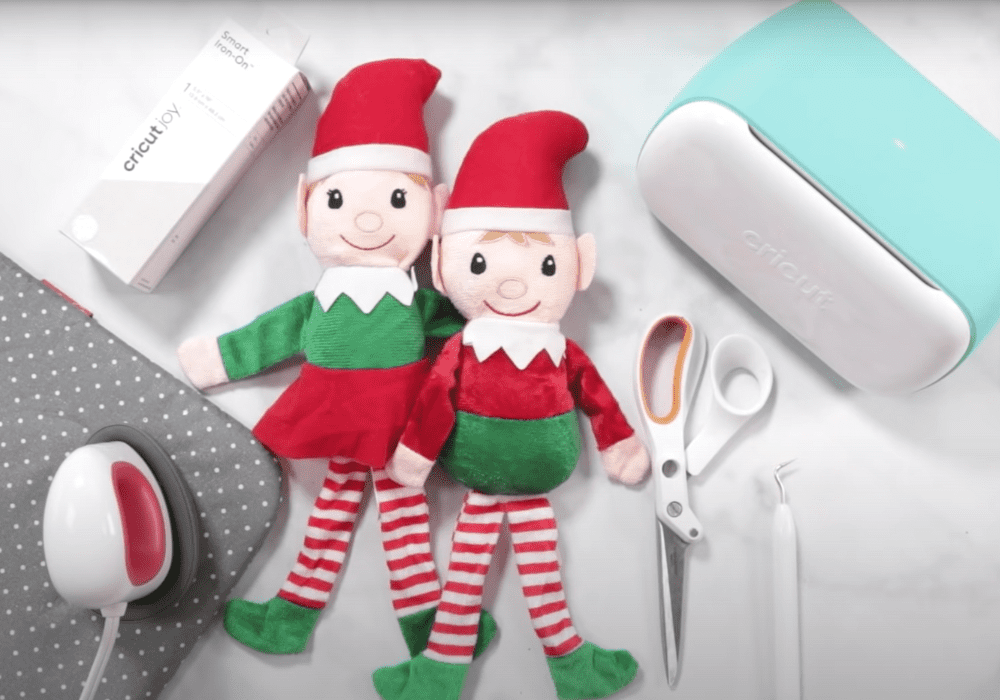
For the Christmas Elves project you will need:
- Dollar Tree Elves: Fair Skin Tone Elves, Medium Skin Tone Elves, African American Elves, Deep Skin Tone Elves
- Cricut White Iron-On Vinyl
- Cricut Machine: Cricut Joy, Cricut Explore Air 2, Cricut Explore 4, Cricut Maker or Maker 3 or will work.
- Fine-point Blade
- Cricut EasyPress Mini or Small Iron
- Standard Grip Mat
- Weeding Tool
- Ironing Board or Mat
Open Up Cricut Design Space
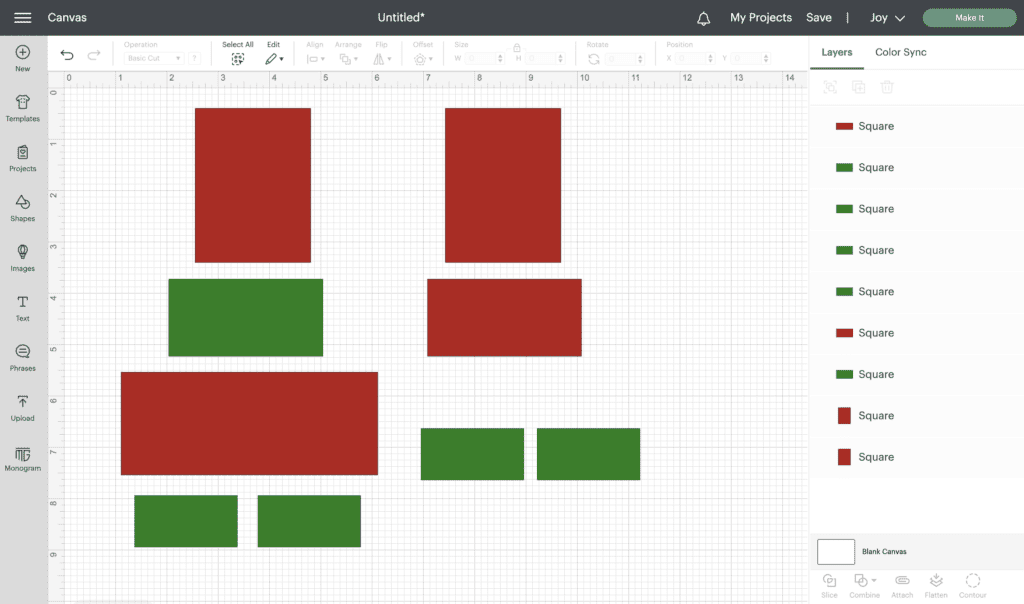
We are going to start by opening up Design Space. Using the Shape tool on the left-hand side, select the square.
We are going to resize them to the measurements on the Elves.
- 2 Squares: 2.25x3 for the Hats
- 2 Squares: 3x1.5 for the Chest
- 4 Squares: 2x1 for the Feet
- 1 Square: 5x2 for the Skirt
Start by duplicating the square until you end up with 4 squares.
We will need a total of 9 squares, but since we have multiples of the same size, you can just duplicate them after we’ve sized them correctly.
When resizing make sure you unlock the lock on the left-hand side of your shape, this allows for your shape to change to a rectangle rather than stay a perfect square.
You can either drag the resize button to the desired size or enter the numbers in Width & Height on the top under the section “size”.
Once you have all of your shapes sized correctly, we can use these as our templates for what we want to put on our Elves.
A little tip that can make it easier, is to change the colors of the templates so you are working with the right colors- we are changing the shapes to red & green. Green for the shoes and chest. Red for the chest, skirt, and hats. I like to group the images so I can change the color with one click. Don’t forget to ungroup them once you’ve finished.
Here we have arranged our templates in the order of the elves. We have a hat, chest, skirt, and then shoes for the girl. Same for the boy minus the skirt.
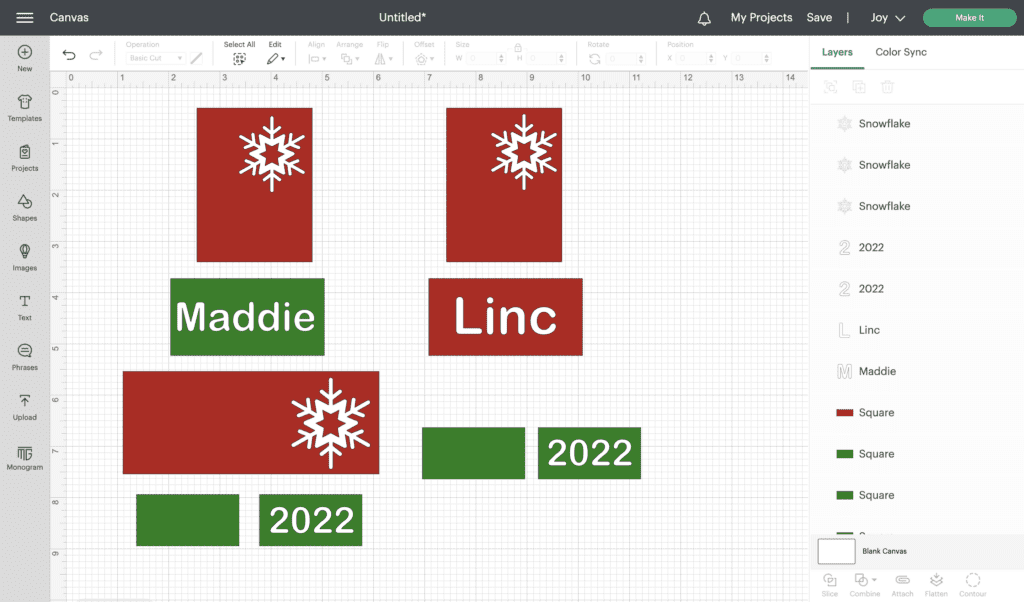
You can cut out whatever designs you would like to put on your elves, but today we are going to cut out names, a date for one of the feet, and a few decorations for the skirt and hats.
Let’s add the names to our canvas.
On the left-hand side, we are clicking on the text tool, and then enter the name you want.
If you click on your text an option for font shows up at the top left. Scroll through the fonts and pick out which one you like. Bold fonts are sometimes easier to work with and show up better but feel free to choose which one you like best.
Today we are using: Arial Rounded MT Bold
Now that we have our font, we can resize our name to fit into our template for the chest. Again you can use the resize tool or input the numbers at the top. We are going to use the resize tool.
You will want to reduce your image a little bit so it doesn’t fill the whole template because the bodies are rounded and you want to be able to see the name well.
Again since we are using white iron-on we changed the color of the font to white. Now we can add the date to the foot template,
Add another textbox and type in what you want, we are going to type in the year 2022. You can resize this to fit into the foot template, just remember to take into account the shape of the foot.
Next, we will add a little detail to the hats and the skirt. Click on images on the left-hand side of the page, we are going to add some “snowflakes”.
Type in Snowflake into the search bar, it will show thousands of results, we can narrow it down by clicking on the ownership tab on the left and selecting “free” from the dropdown.
We are going to select the first snowflake image because it is simple and cute. Select the image and then insert the image into your canvas.
Now we can resize the snowflake to fit where we want it I’m going to make it about 1” wide. We are going to add a snowflake to each hat, and the girl’s skirt. The resize tool is the easiest to use for these. We are sizing them fairly small for the hats, and a little bit bigger for the girl's skirt. Again we changed them to white.
Now we have all our names, dates, and shapes all sized to how we want them.
Let’s get cutting!
First, we are going to hide our shape templates since we don’t want to cut those out.
You can hide them by clicking on the eye next to each shape on the right-hand side.
Then click on the little drop-down menu at the top right, next to the Make It button to select which machine you are using. Today we are using the Cricut Joy.
Next click Make It!
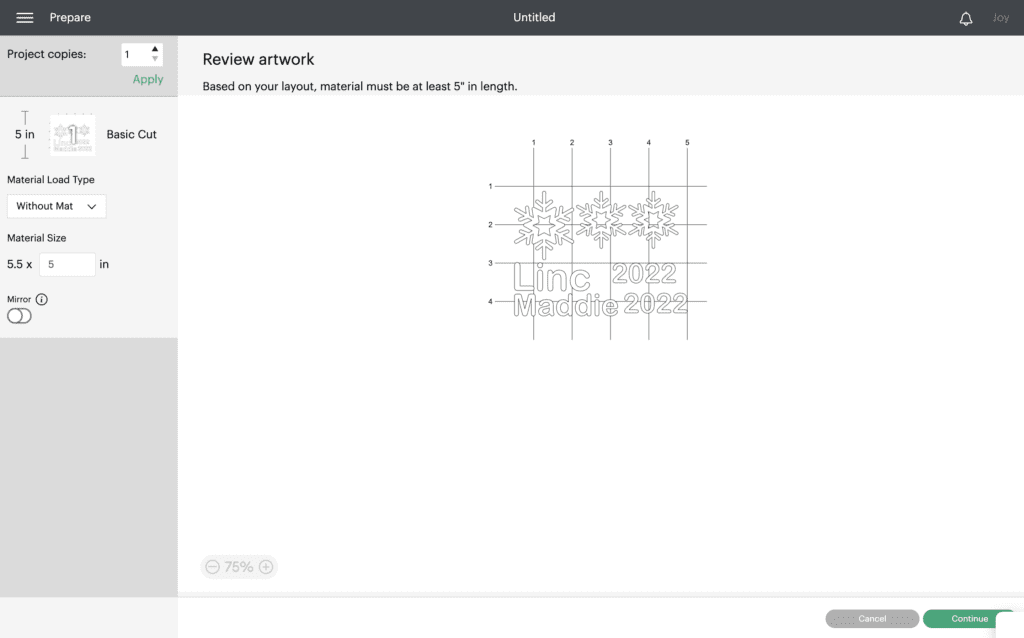
Since all of our images are white, they are all on the same mat. I’m going to be using a matless Cricut Joy Smart material.
The next step is critical, make sure Mirror is turned on, click the button on the left side under mirror - It will turn green.
And your words will go backward on the mat, this is just fine!
You can spread out your words and snowflakes so there is more space between them, this will make them easier to cut apart later on.
Click "Continue" and select your machine.
Then click "Browse All Materials" and find "Everyday Iron-On." The Everyday Iron-on is versatile, durable, and user-friendly - it’s my go-to Iron-On material.
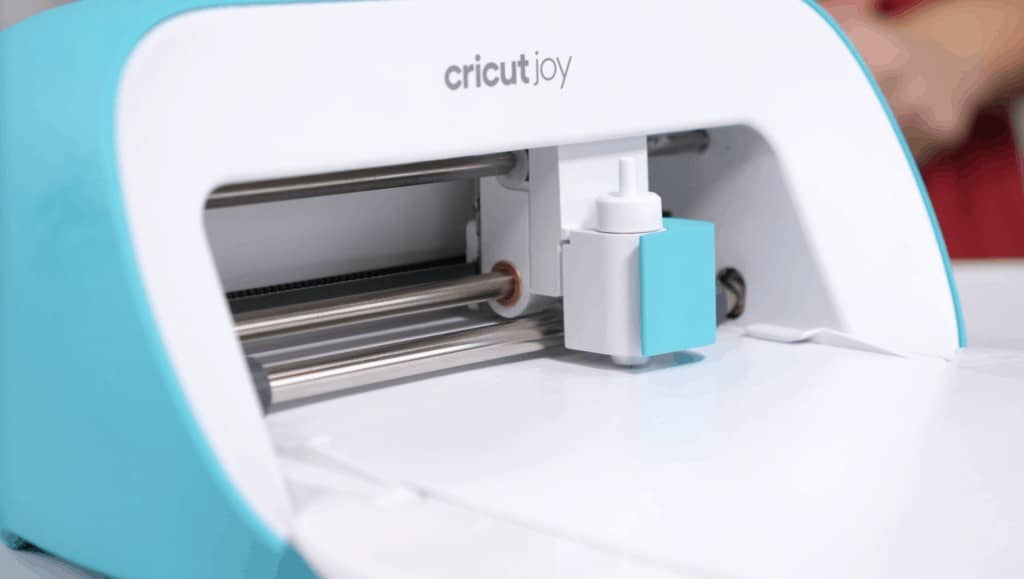
Make sure your fine point blade is inserted into your machine. Now you are going to get your mat ready to cut.
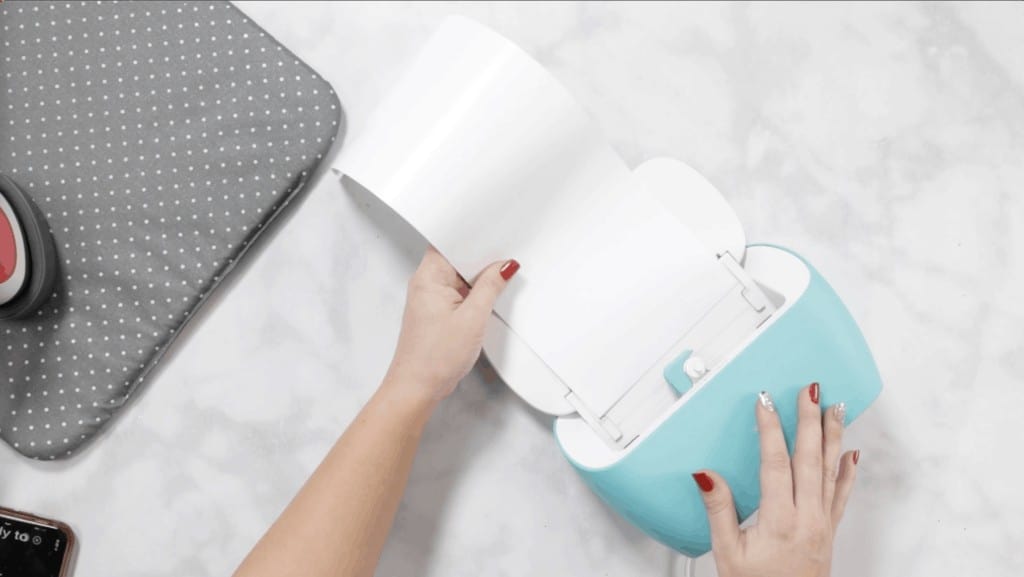
Get a piece of your white Iron-On and feed it into your machine. Once it is done cutting, unload your mat and click finish.
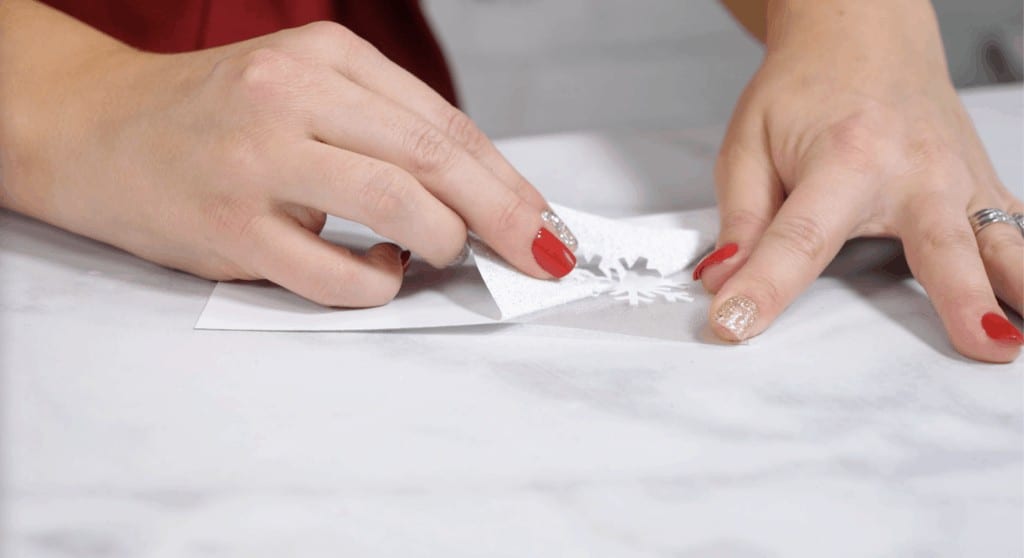
I am going to be removing all of the Iron-on that I do NOT want to transfer to my project.
I like to start weeding in the corner of my project. You can use your weeding tool to make it easier to pull the material away from the backing. Once I have the corner up, I like to use my fingers to gently pull away the material.
Use a 45-degree angle to slowly pull the excess material away from your project, being careful not to rip anything in the process.
I like using my weeding tool to get the more intricate parts of my design up, like the insides of letters.
If you need help seeing which parts of your design you need to weed, you can either hold it up to the light or use a lightbox. The light shows through the cracks, making it easier to see (especially on more intricate projects)
Flip over your design to make sure everything looks perfect. Now is the time to see if you weeded everything correctly. We are going to use a pair of scissors to cut apart our designs, so we can place them on our Elves.
Apply Vinyl to the Elves
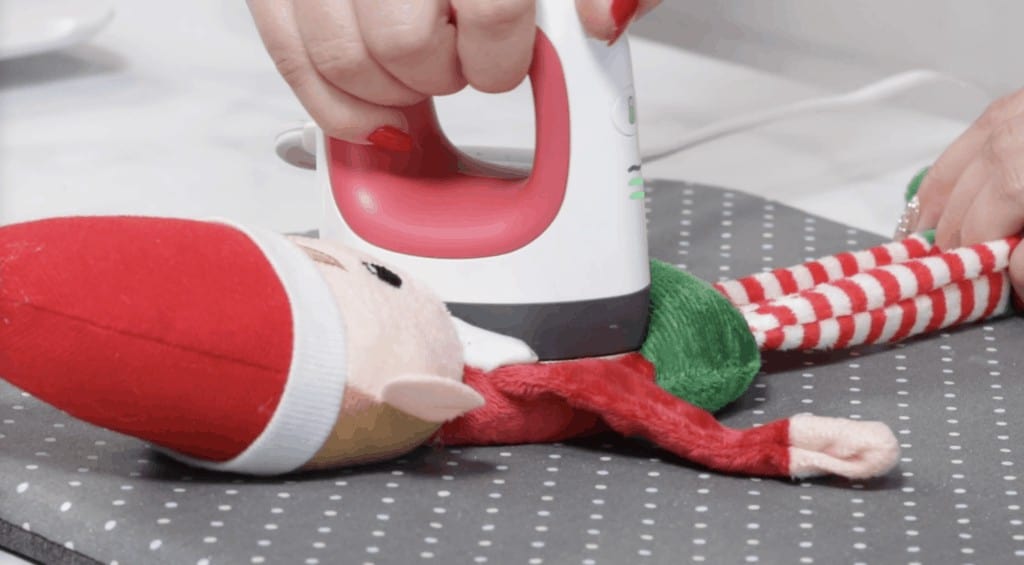
Now that our design is ready to go, it’s time to heat up either your Easy Press or iron.
If you are using an iron, set it to high heat with zero steam. Make sure the water basin is empty, otherwise the steam could ruin your transfer.
Cricut has an amazing online guide to tell you exactly what temperature, time, and pressure you need to press your iron-on at so I always refer to that. The exact settings vary depending on the type of iron-on you are using and the material you are transferring it to. Also, be sure to check if your iron-on is warm or cool peel - this lets you know whether you should peel your backing sheet when it is warm (just a few seconds after pressing) or cool (about 1-2 minutes later).
For this project, we are going to be heating the Cricut EasyPress Mini to Medium or two of the little waves on the front- they will turn green when ready, and pressing for about 25 seconds.
Before pressing my design, I like to lay out where I want the designs to go. We are going to start with the name on the chest of the Elf.
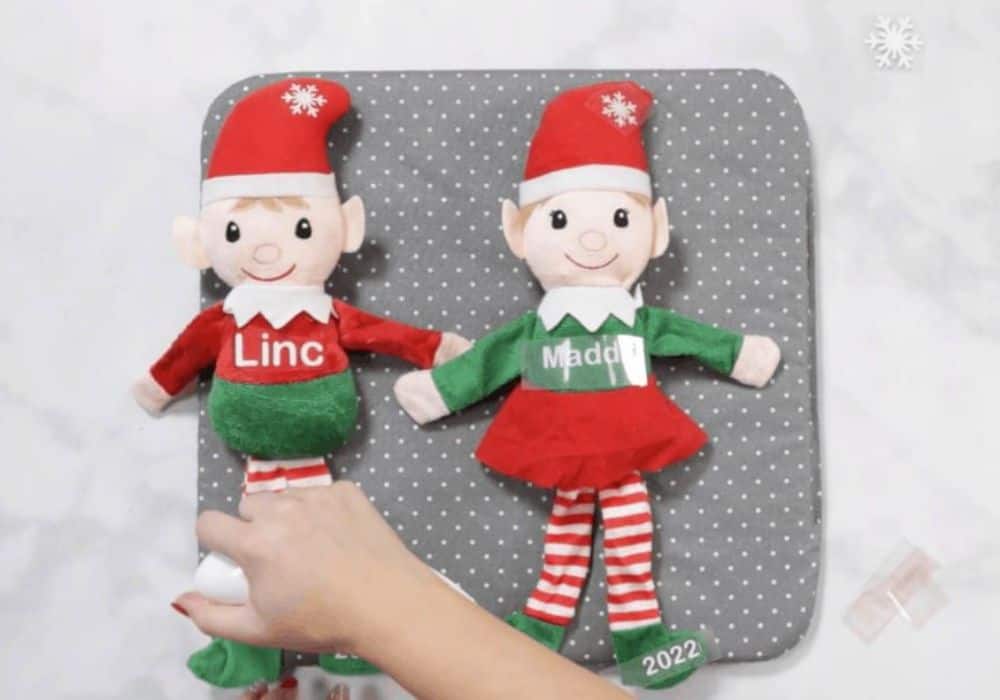
Following the instructions in the heat guide, it says to preheat the area for 5 seconds- this removes moisture, helps flatten the surface, and prepares the surface for the application.
Next, place your decal sticky side down where you want it to go. Once you are happy with its placement, press your design.
Double-check to make sure your EasyPress is heated to the correct temperature before you begin pressing.
According to the Heat Guide, we need constant movement with light pressure for 25 seconds. Gently move around your EasyPress to cover all parts of the design.
The Cricut EasyPress Mini doesn’t have a timer, so you will need to keep track using a timer like on your phone or count to 25.
Our iron-on is a cool peel, allow the design to cool before peeling off the backing.
When your design is ready to be peeled, slowly peel it away from the shirt at a 45-degree angle. I like to start peeling from the corner of my design
As you begin peeling, be sure to check to see if your design has completely transferred.
Follow this same process for the rest of your designs.
Now, you might be wondering how much to sell these elves for. On Etsy, these personalized elves sell for anywhere between $3 and $10 and they sell like hotcakes on Facebook and at craft fairs! Because the cost of the supplies is really low and it doesn’t take a lot of work to personalize these items it’s a great item to sell during Christmas time.
These cute little elves are the perfect gift and would be adorable in a gift box with delivery from the North Pole.
Be sure to tag me on Instagram @sweetredpoppy when you use this tutorial so I can see what you’re making and share your photos in my stories!
Don't want to forget this tutorial? Be sure to save it on Pinterest by clicking HERE!
Neat
I want to give this a try, they so cute. Thanks for the lesson!
With 6 grandkids this would be a life saver
I don't have a cricut joy but would love to have one with the mini press....would be awesome to have for being able to travel with crafting items. Bigger isn't always better lol.
Cute idea
Very cute! Grandkids would love these
Too cute. So many ways ya can glam up
These are really cute! Thanks for the tips!
These guys are adorable!
You are so creative! I love these
Such a great gift idea!! Thanks!
These elves are cuties!
I was happy to see more buildings to go with the church.
Thank you
Shouldn't you do a prelininary pressing to make sure your iron-ons go on without a wrinkle under them? Nothing more frustrating than that when you've gotten everything else right.
Love it
Customizing dolls is brilliant
I think this is such a lovely idea for your children or grandchildren or your friend’s children!!
Thank you for the detailed instructions!!!
I think this is a great way to bring your family together one night, kind of like a game night!! Either way it is precious and greatly detailed!! Thanks!!
These would be great for classroom gifts! I am retired now but I sure would have used them in my Special Ed classes.
Love that they can be personalized. Each child can have their own!
Wow, really great idea to spark your creativity
Thanks!
These dolls are a perfect Christmas gift.
these are so cute
love them
So cool!
Thank you for the tutorial.
THAT IS SO COOL!!
A cricut Joy is on my wish list for Christmas
Nice!
This looks easy and adorable. Just in time for Christmas. 🙂
This is such a fun & easy project. I love it! Thanks for the post.
Such an easy and cute idea. I will be making some of these for my grandkids. I know they will love them!!!
They're so cute! I wish I had some littles in my family to make for but they're all grown up now 🙁 Great tutorial, you make it look so easy!
I love seeing your different project ideas because I am still new to the circuit and have no idea what projects to do.
Very cute
Cute little elves
I see that there are many people that also don’t have a cricut and I I’ve been thinking of getting one. Even if I don’t win this giveaway I think I will be getting one and I will try all this fun free templates. This is so great that there are free projects for beginner like me 🙂 Thanks sweetredpoppy
Yes!
I make these every year for my grandkids and nephew!
I make these every year for my grandkids and nephew!
So Adorable! I need to make this for my grandkids!
Awww! These are cute! I love personalized items.
I wonder if these would make a great elf on the shelf for very little ones who might have difficulty finding the smaller official elf?
Awesome idea, I'm sure my kids will love this. Thank you so much.
Great craft for several children to make them their own
Very cute idea
The elves are adorable! Everyone likes to receive personalized gifts-these are perfect for children!
Great idea! Hope to find some elves and whip these out!
Yay!
Those are pretty nifty - I love how much more meaningful they become
these are adorable!
Great way wqy to make $1.25 look great
I bet the kids will love this!
These are just too cute
My kids are too old for these but they are cute.
Very nice. Also works for those tooth fairy dolls in the dollar store.
Elves!
These are so cute
these are really cute! Is there a PDF for this tutorial?
love making these
I love you!
Great idea !!
Lovely idea!
They are so cute my grandson would be constantly playing with them!
I cannot wait to make these! I do not have a Cricket machine so I will be making these the old fashion way.
I never knew how these were made. 5 years ago when I had my daughter a lady from our church and my husbands old bosses wife made our daughter one for her NICU bed at the hospital and we still have it to this day and it stays out all year long and our daughter just loves it. Super cool how they are made I’ve been wanting to try some crafts like these but I can’t afford to repurchase a cricut machine the one I had broke and it was how I made extra money for my family to get by since my husband only gets paid every 2 weeks. I’ve been looking at second hand machines but even those are priced too high for me to purchase makes me super depressed but love all your content thank you for making the content you do
Great ideas!!!
Great idea. The grandkids would love a personalized elf. We aren't into Elf on the Shelf, a little too pricey for us. The elf we have now we call Elfie and play hide and seek with him.
Love all your ideas. This is especially cute.
Can’t wait to get a Cricut and make these for my kiddos!
These are a great idea to make some personalized gifts for Christmas I'm going to make some of these neat elves when or if I get a Cricut machine
Great idea and really creative. We would love to have a Cricut to have fun with!!
Couldn't find any of these elves at our store.
So cute, can’t wait to try these!