Create a Crochet Cup Cozy in under an hour, perfect for a last-minute neighbor Christmas gift.
A crochet Cup Cozy is such a thoughtful and warm gift to give during the holidays. These Cup cozies are a quick project to work up and they make for the perfect last-minute present!
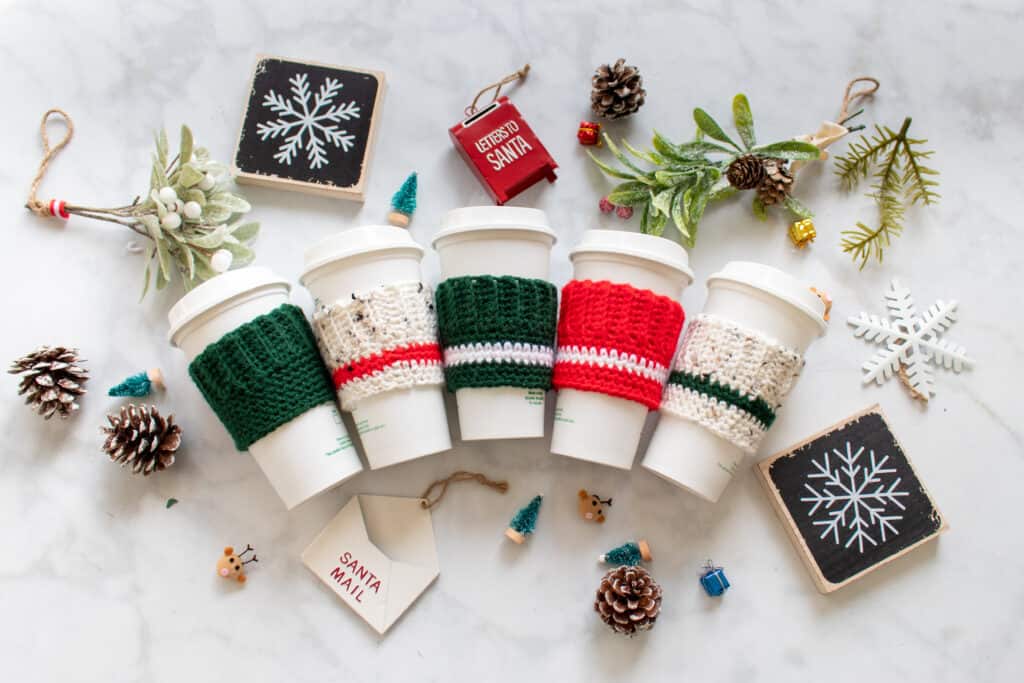
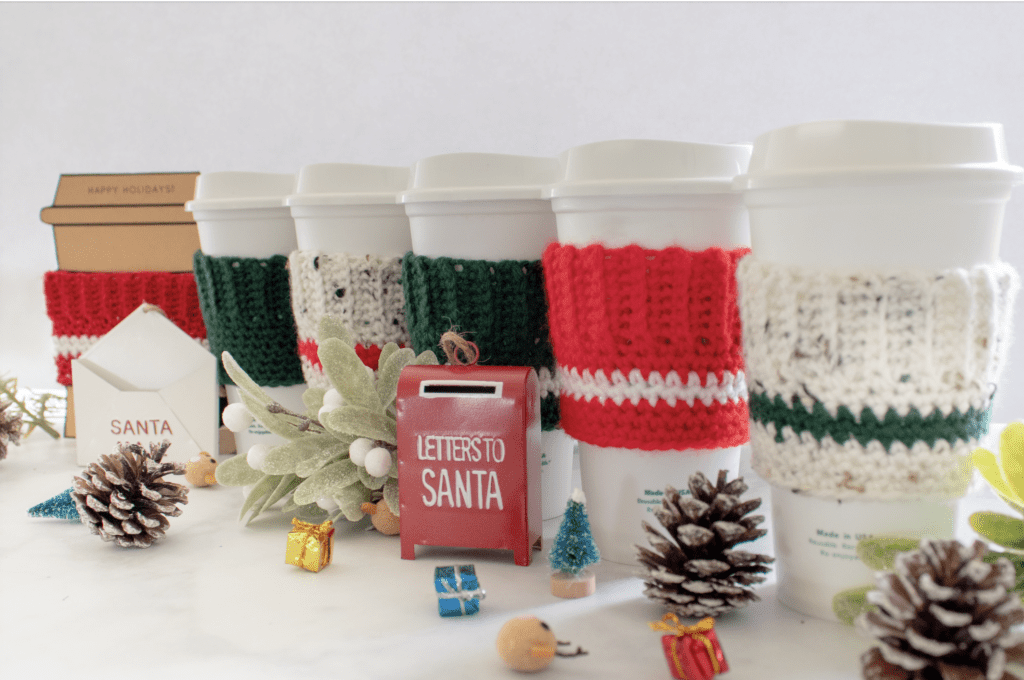
I wanted to create a crochet project meant for beginners and I knew this cup cozy would be perfect! All you need to know how to do is a Single Crochet to create this project which I will walk you through step-by-step in photos and a video tutorial below.
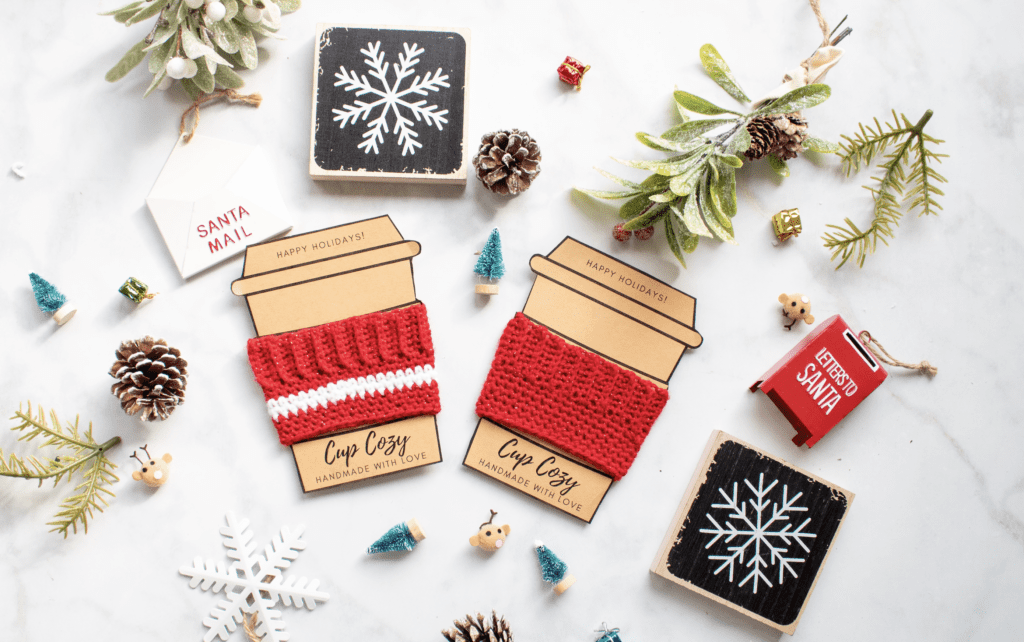
I've also included a free printable to include with your cup cozy. If you plan on selling them or giving them as a gift this is a great way to showcase them!
Level: Beginner
Time: Less than an hour
Supplies:
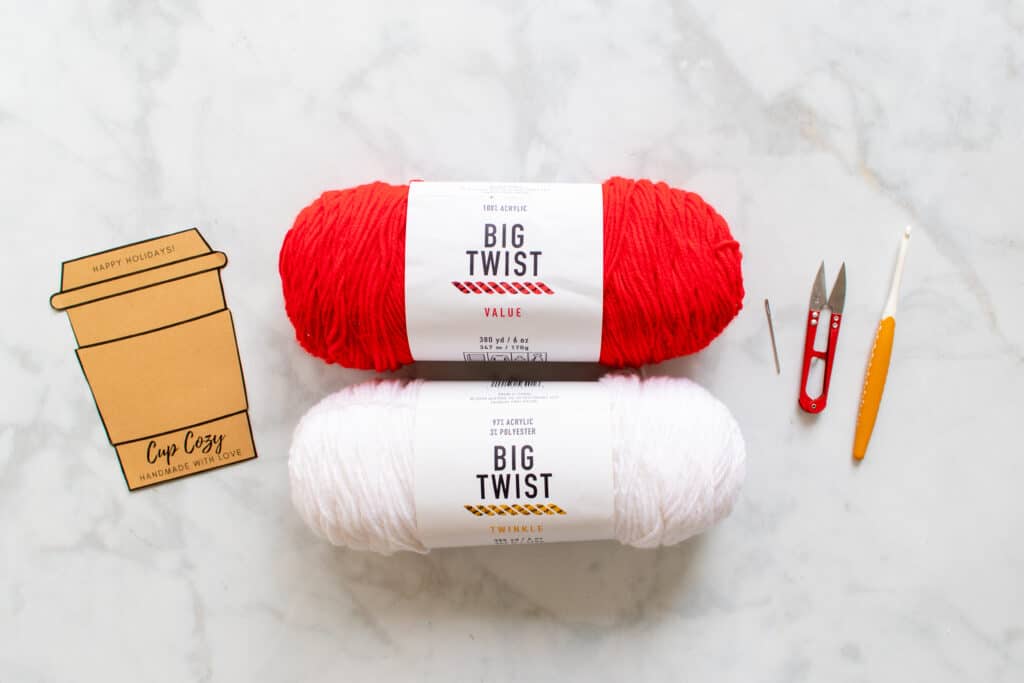
- 1 skein of Medium Weight Yarn (Red or Green)
- 1 skein of Medium Weight Yarn (White)
- 5.5 mm Crochet Hook
- Scissors
- Tapestry Needle
- Cup Cozy Printable
You can order online or pick up in store all of the supplies for this tutorial from your local JOANN.
Click Here To Download The Free Printable

Download the printable PDF file, print it off on cardstock, and cut around the black line. Each time you print it, you'll end up with two cup cozy cards.
Need a little extra help? Be sure to watch the video tutorial!
Stitch Key:
SC = Single Crochet
CH = Chain
SL ST= Slip Stitch
RST = Right Sides Together
Let’s get started!
Creating the Brim:
Make a slip knot with a medium-length tail.
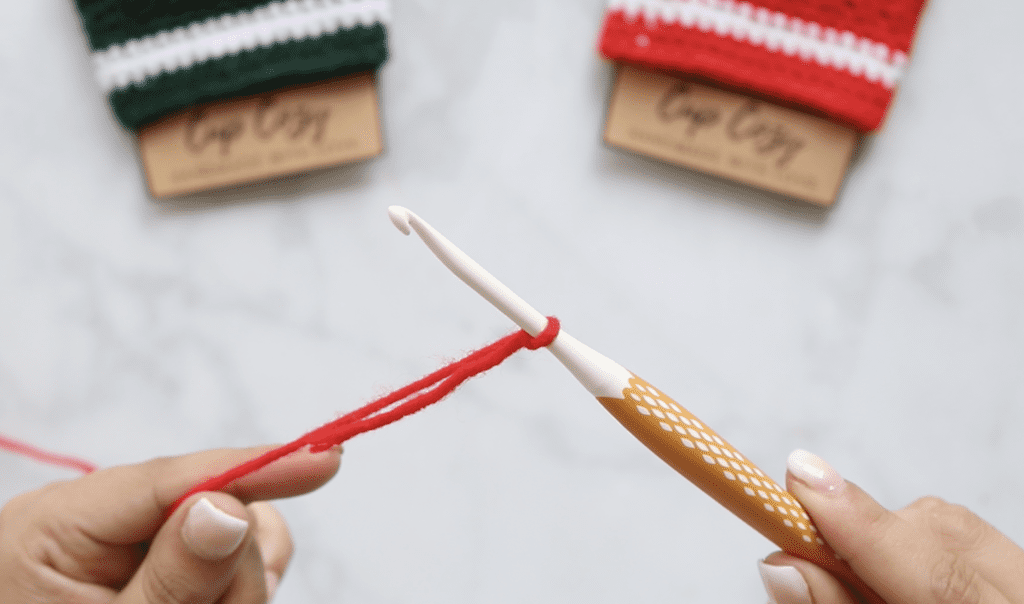
CH 8.
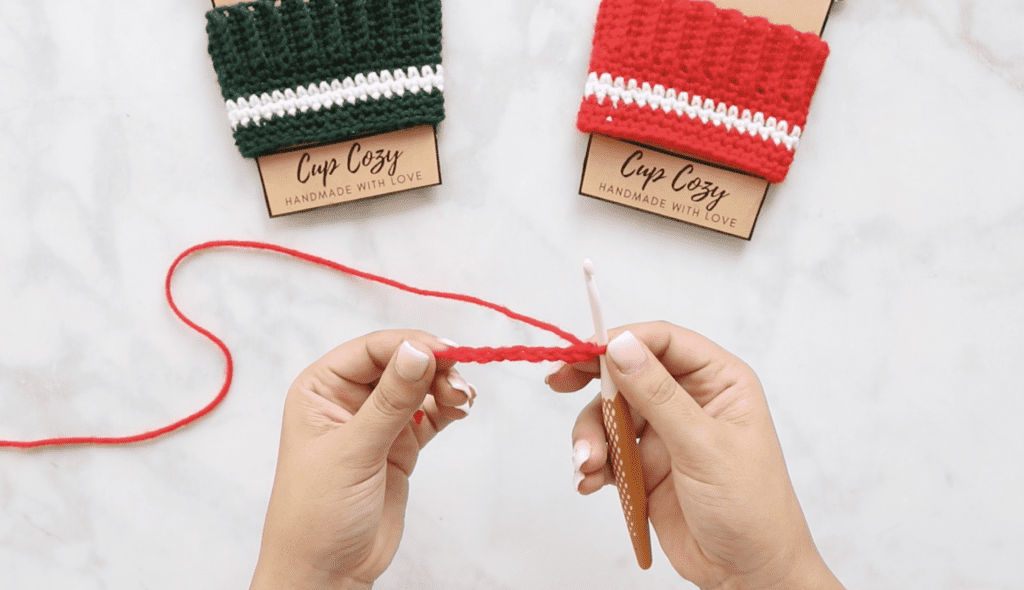
Row 1: SC into the second chain from your hook and continue to SC down the chain for a total of 7 times. CH 1 and turn your work.
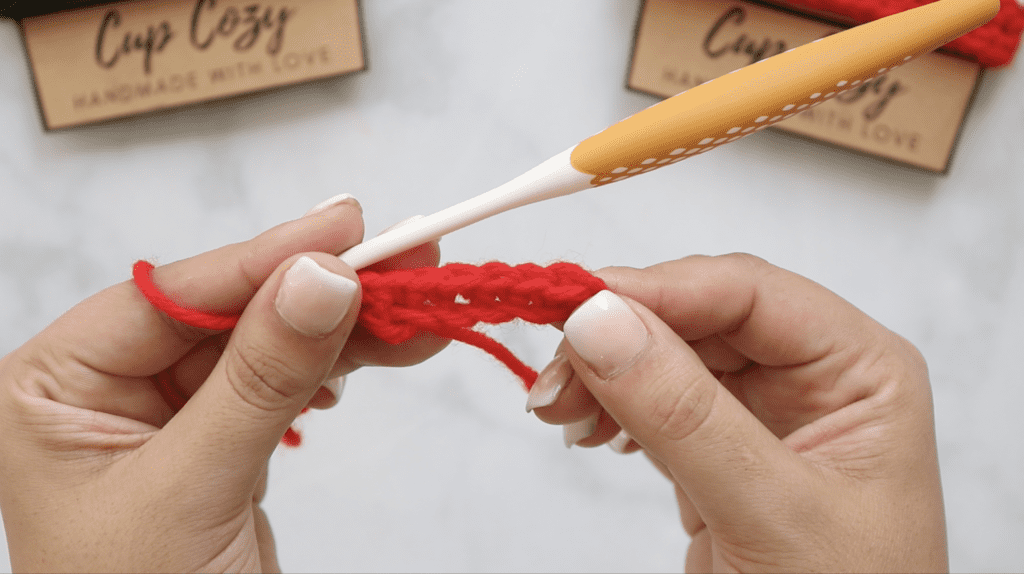
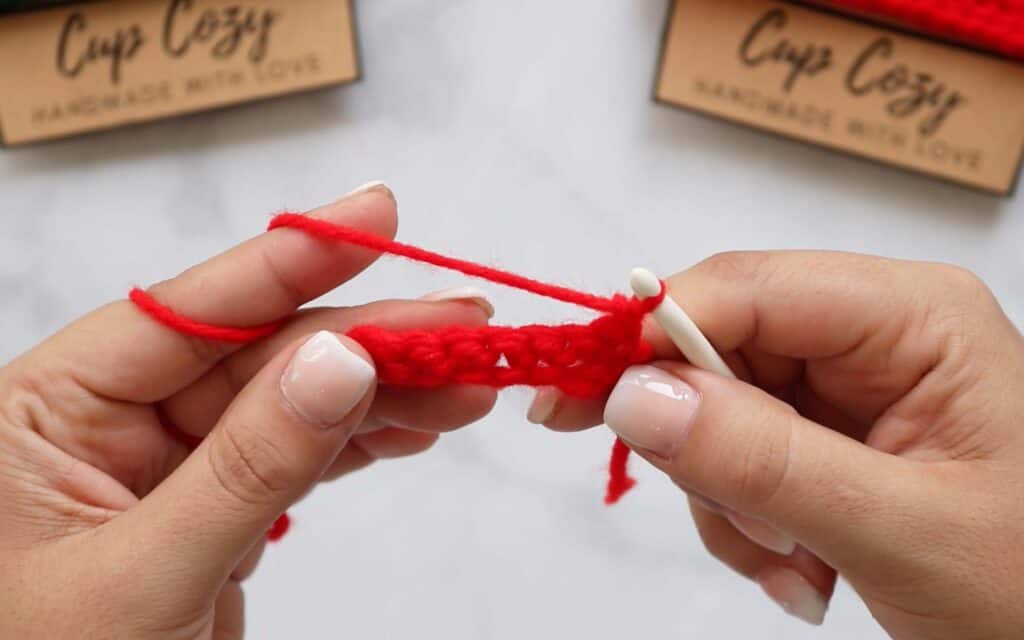
Row 2-34: SC into each back loop from the previous row for a total of 7 times. CH 1 and turn your work. It should measure around 8.45-9" when finished.
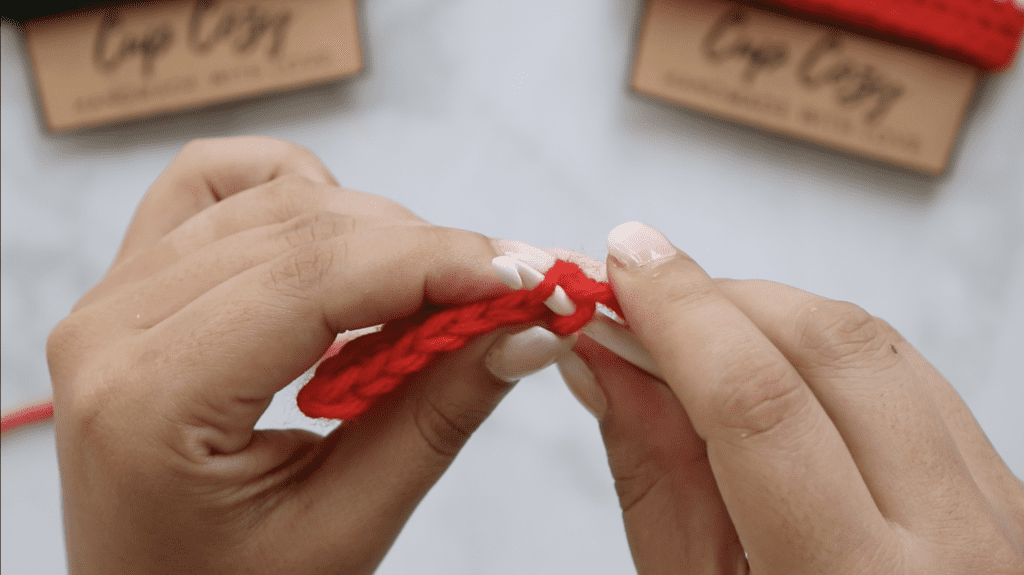
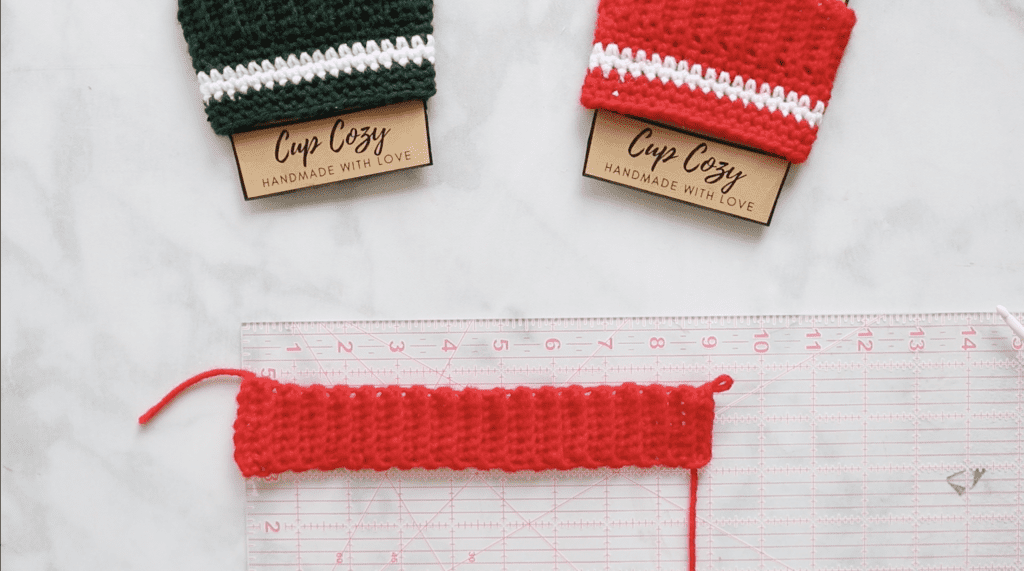
Join the ends of your work RST and insert your hook into the first stitch in Row 34 and Row 1. SL ST. Repeat this in each stitch for a total of 7 times.
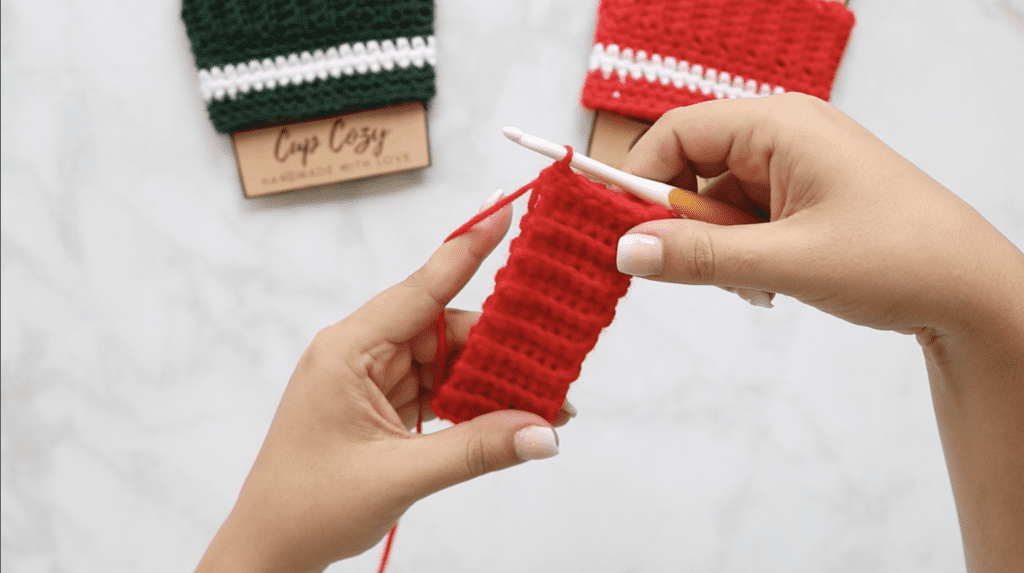
CH 1 and turn your work right side out. You have now finished the brim!
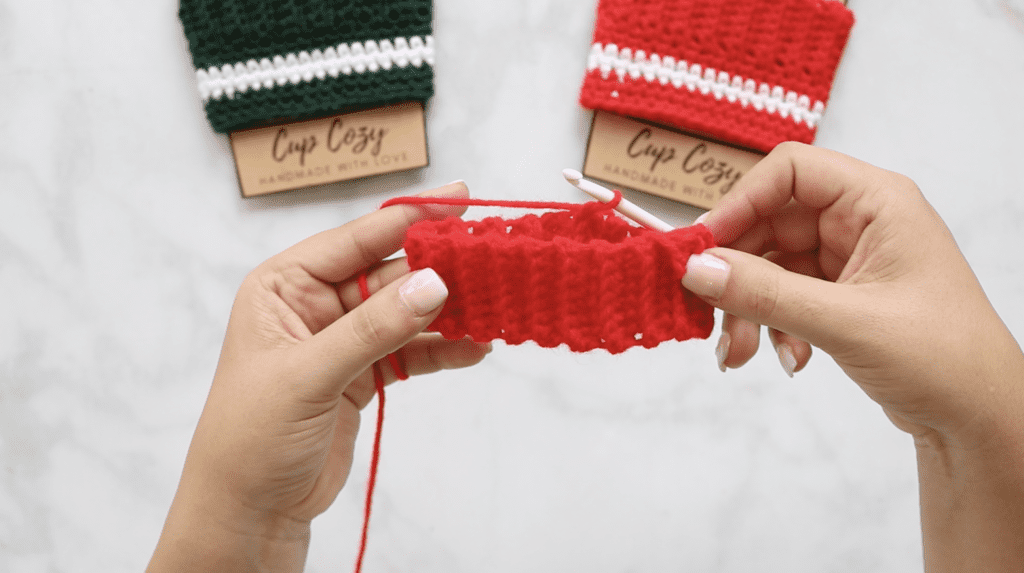
Creating the Body:
Row 1: SC into each row/column around the brim. You will have to create your own space in the row/columns that don't have a hole since we are working into a raw edge. You should end up with 34 SC.
SL ST into the first SC and CH 1.
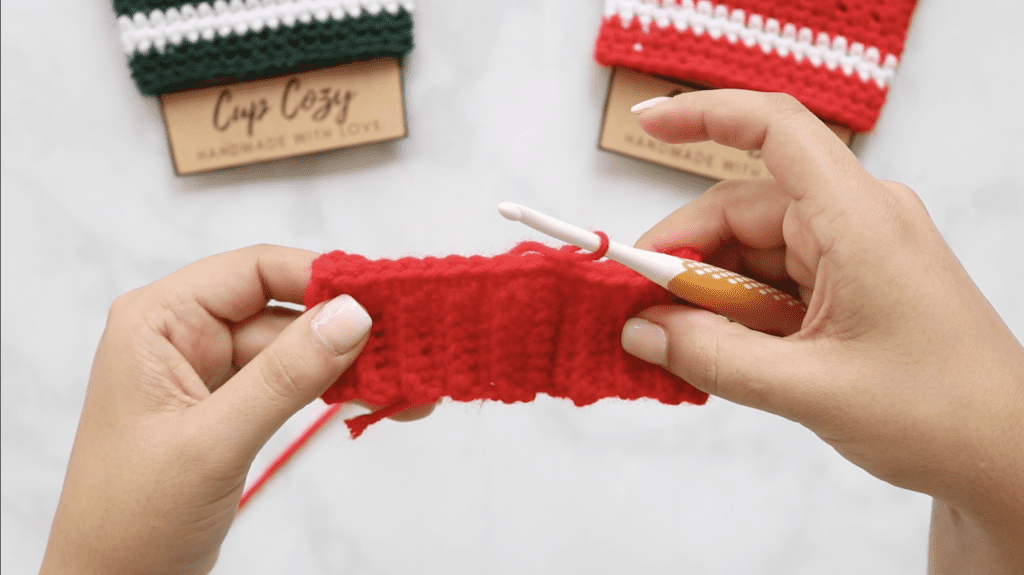
Row 2: SC 33. On your 34th SC change yarn colors by pulling the white yarn through your two red loops on your hook. SL ST with the white to finish the row and CH 1.
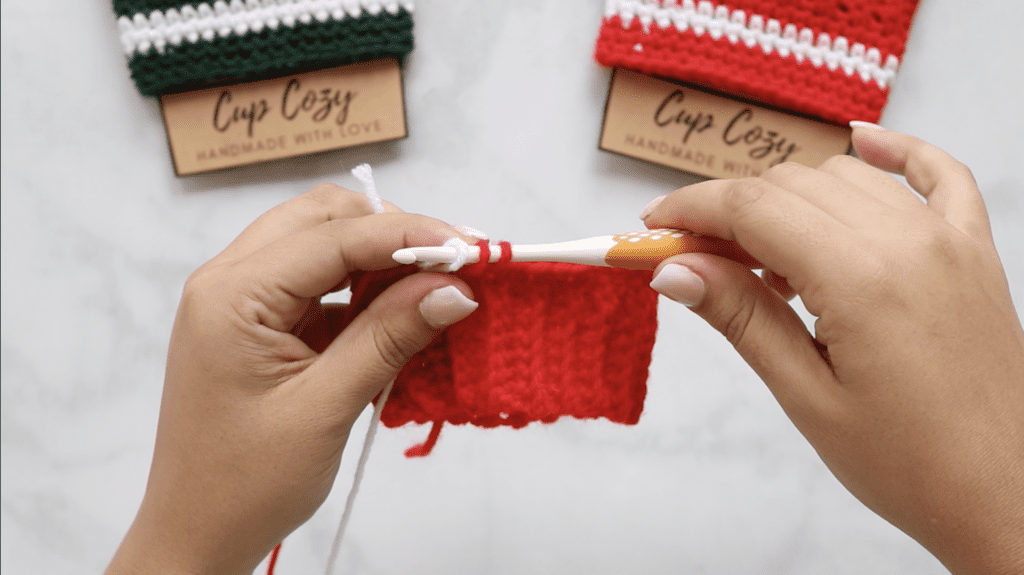
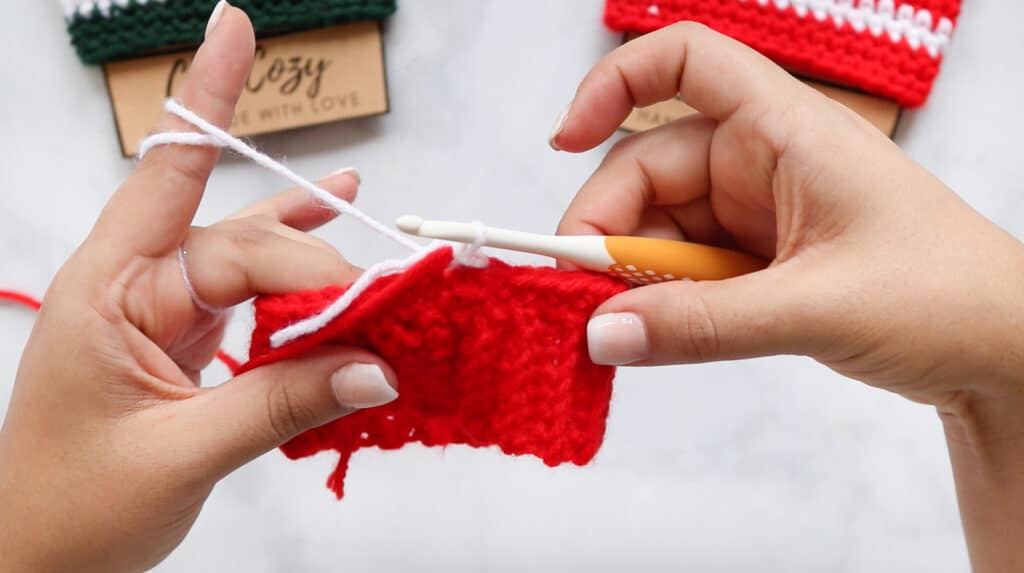
Row 3: SC 34. SL ST into the first SC from that row and CH 1.
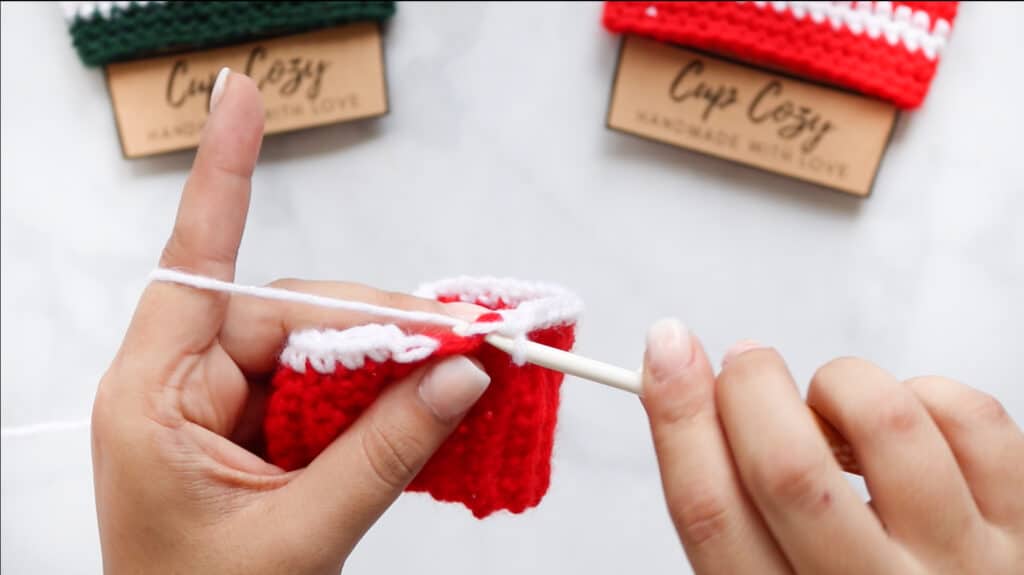
Row 4: SC 33. On your 34th SC change yarn colors by pulling the red yarn through your two loops on your hook. SL ST with the red to finish the row and CH 1.
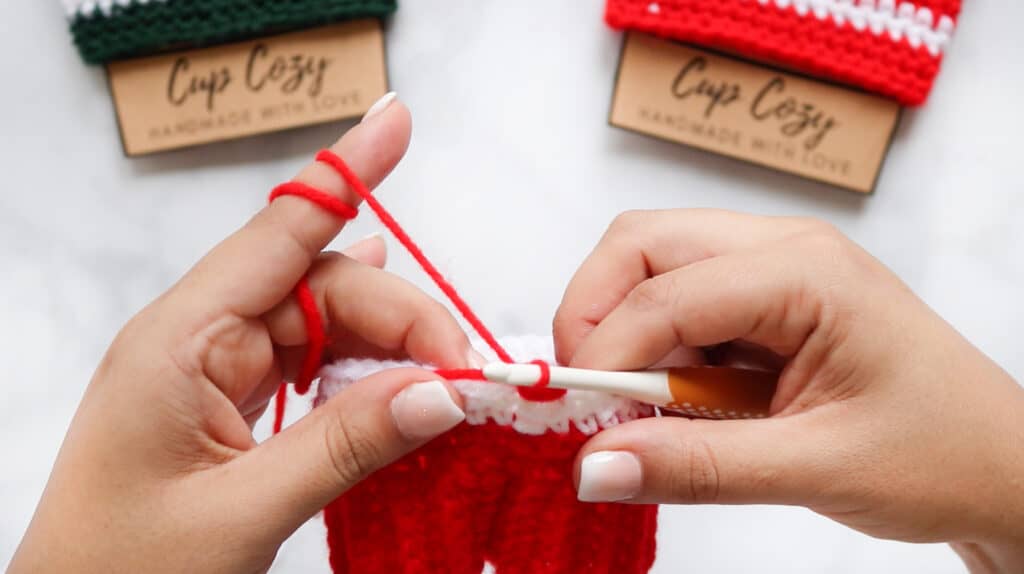
Row 5-7: SC 34. SL ST into the first SC from that row and CH 1.
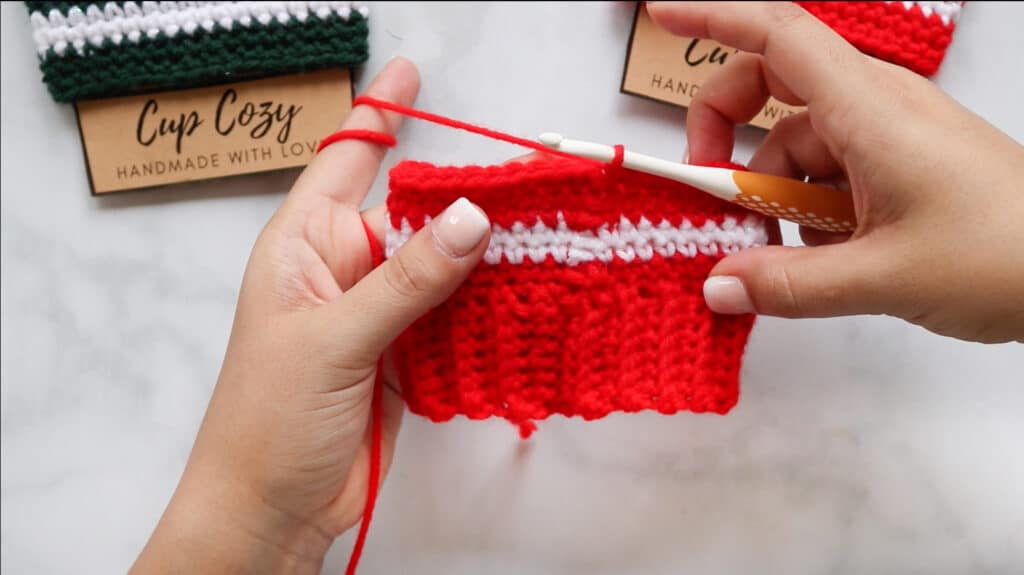
To finish, cut your yarn to create a tail and make a knot at the end of your work.
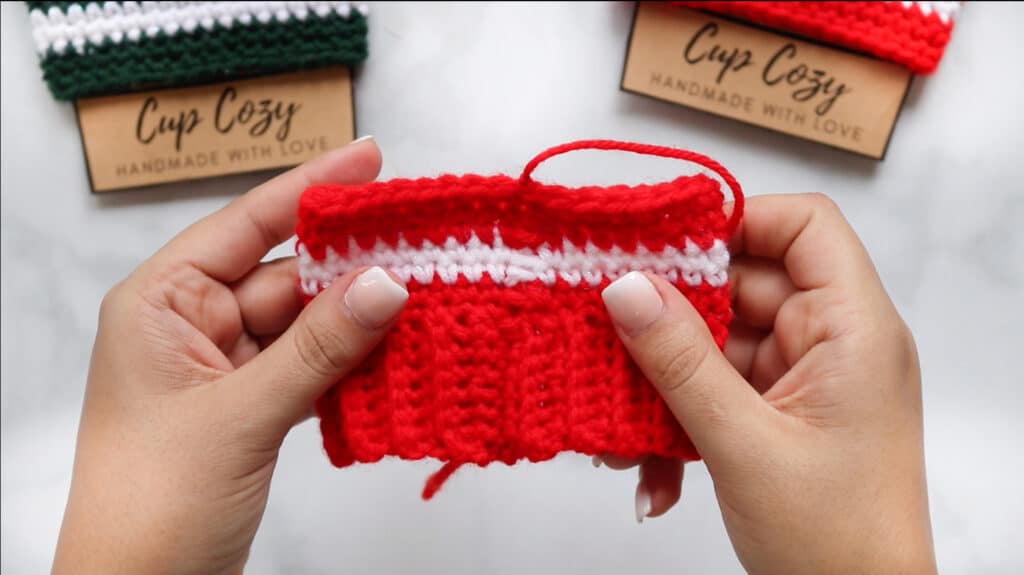
With your needle, weave the ends of your yarn into the cup cozy.
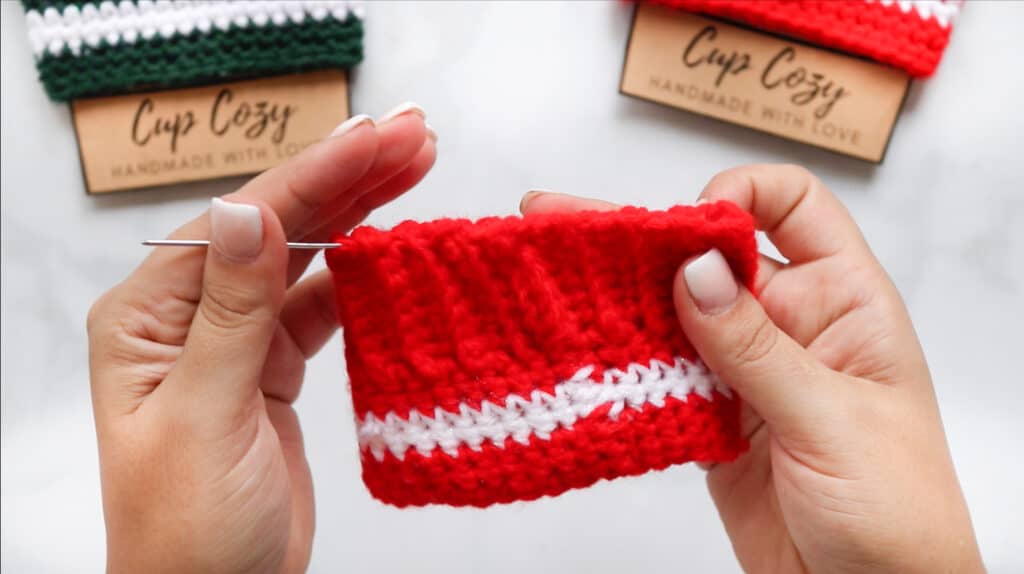
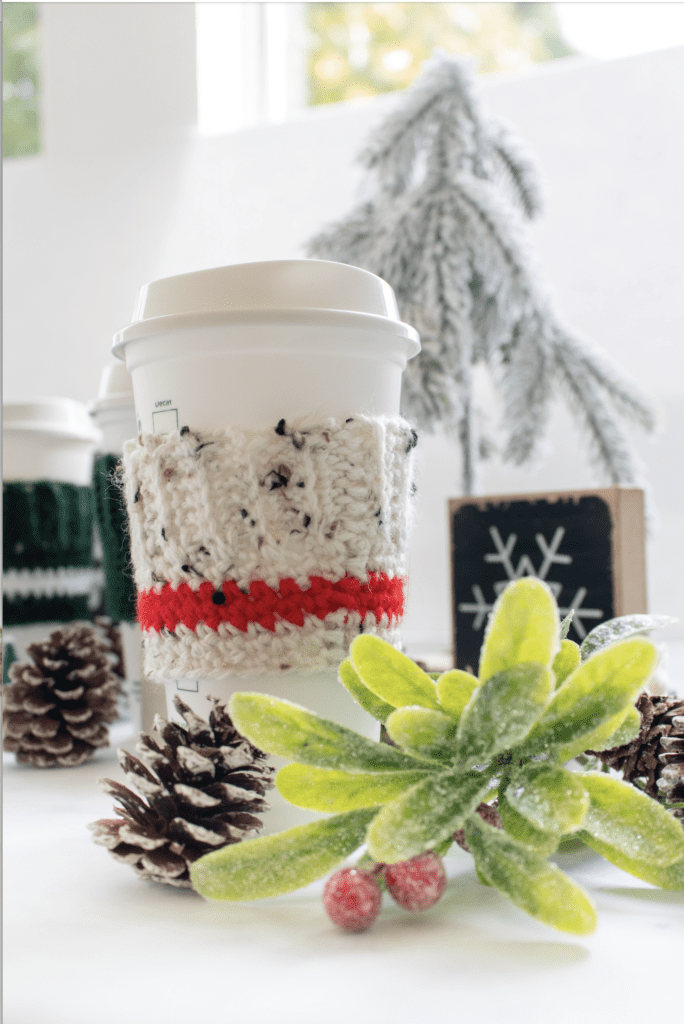
Now you have a finished Christmas Cup Cozy ready for giving!
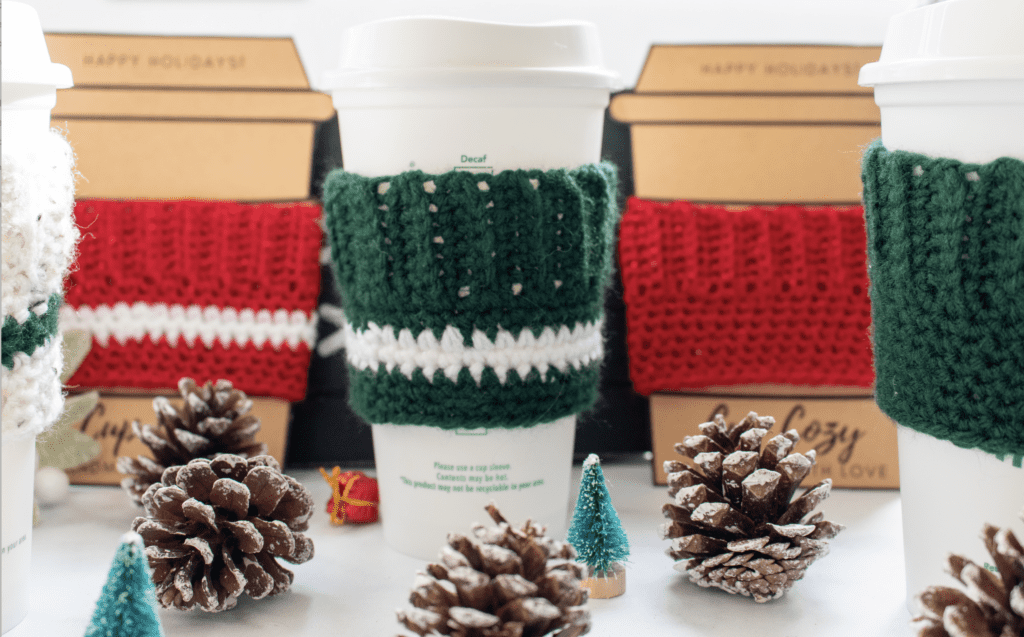
Don't forget to order or pick up all of the supplies for this tutorial from your local JOANN.
Join my crafting and sewing Facebook group where you can show us what you’re making, ask questions, and learn from others!
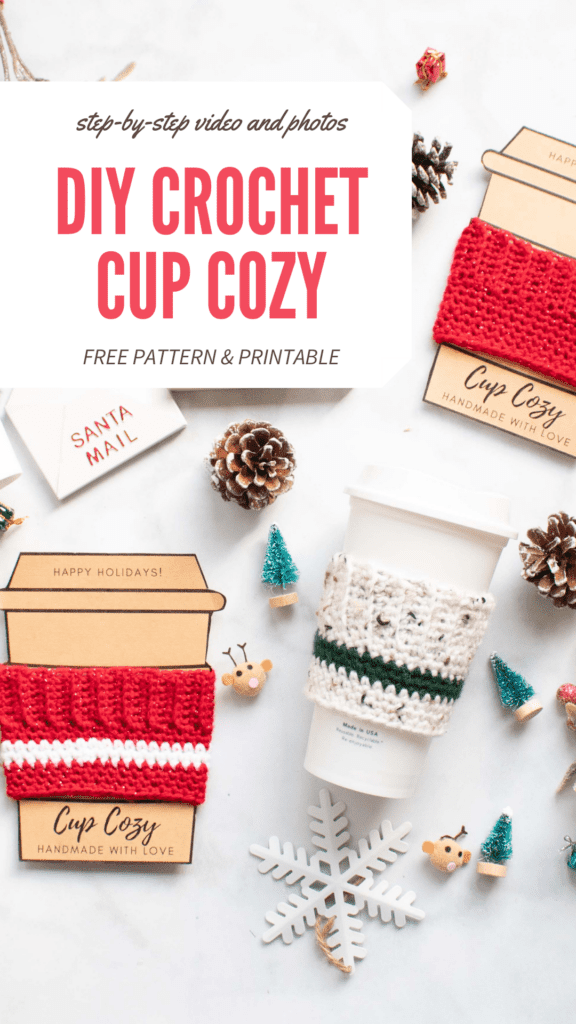
Don’t want to forget about this free template? Save this project for later! Click here to save this project on Pinterest.

Him how do I print the cup cozy crochet pattern
Going to an area I do not have a signal at all
Thank you for all your fun things Bren
The pattern for the cozy cup is underneath the download on this post. You could take a screen shot of the post and print it out. I hope this helps you.
Looking for it also.
Love these! Do you know if they slip off the cups easily ? Could you put a few layers of puffy paint of the inside to prevent them from slipping ?
Thank you
Hi, they stay on the cups fine, but if you want to put the puffy paint on the inside that would be fine. I hope this helps you.
I’d like a printable pattern, please!
Hi, The crochet pattern for the cup cozy is underneath the download for the cup cozy printable.
Mahalo so much for sharing your "talents!"
WAY too many ads on this page. Makes it really hard to read. And I won't share it because not everyone is tech savvy enough to watch out for themselves. I know you need to make $$, but pages with this many ads just pushes me away.