• Skip to primary navigation
  • Skip to main content
  • Skip to primary sidebar
Sweet Red Poppy logo
  • Cricut
    • Free SVG Files
    • Paper Flowers
    • Mandala
    • Iron-On
    • Vinyl
    • Maker
    • Explore Air 2
    • Joy
  • Sewing
    • Baby
    • Kids
    • Accessories
    • Christmas
    • Blankets
    • Womens
    • Learn to Sew Tips & Tricks
    • Face Masks
  • DIY Crafting
    • Paint
    • Paper
    • Food
    • Kids
  • Holiday Crafts
    • Valentine’s Day
    • Easter
    • 4th of July
    • Halloween
    • Thanksgiving
    • Christmas
  • Books
    • Cricut Printed Book
    • Cricut E-Book
    • Cricut Joy Printed Book
    • Cricut Joy E-Book
    • Sewing Printed Book
    • Sewing E-Book
    • Face Mask E-Book
    • Mandala E-Book Bundle
    • Mandala E-Book - Inkscape
    • Mandala E-Book - Adobe Illustrator
    • Mandala Printed Book - Inkscape
    • Mandala Printed Book - Adobe Illustrator
    • Baby Pattern E-Book
  • Courses
    • Cricut Course
    • Sewing Course
    • Serger Course
  • Shop
    • E-Books
    • Printed Books
    • Sewing Patterns
    • SVG Files
    • Baby Patterns
    • Subscribe to Emails
  • Search

DIY Necktie Scarf

Written by Kimberly Coffin · This post may contain affiliate links · 1 Comment

72 shares

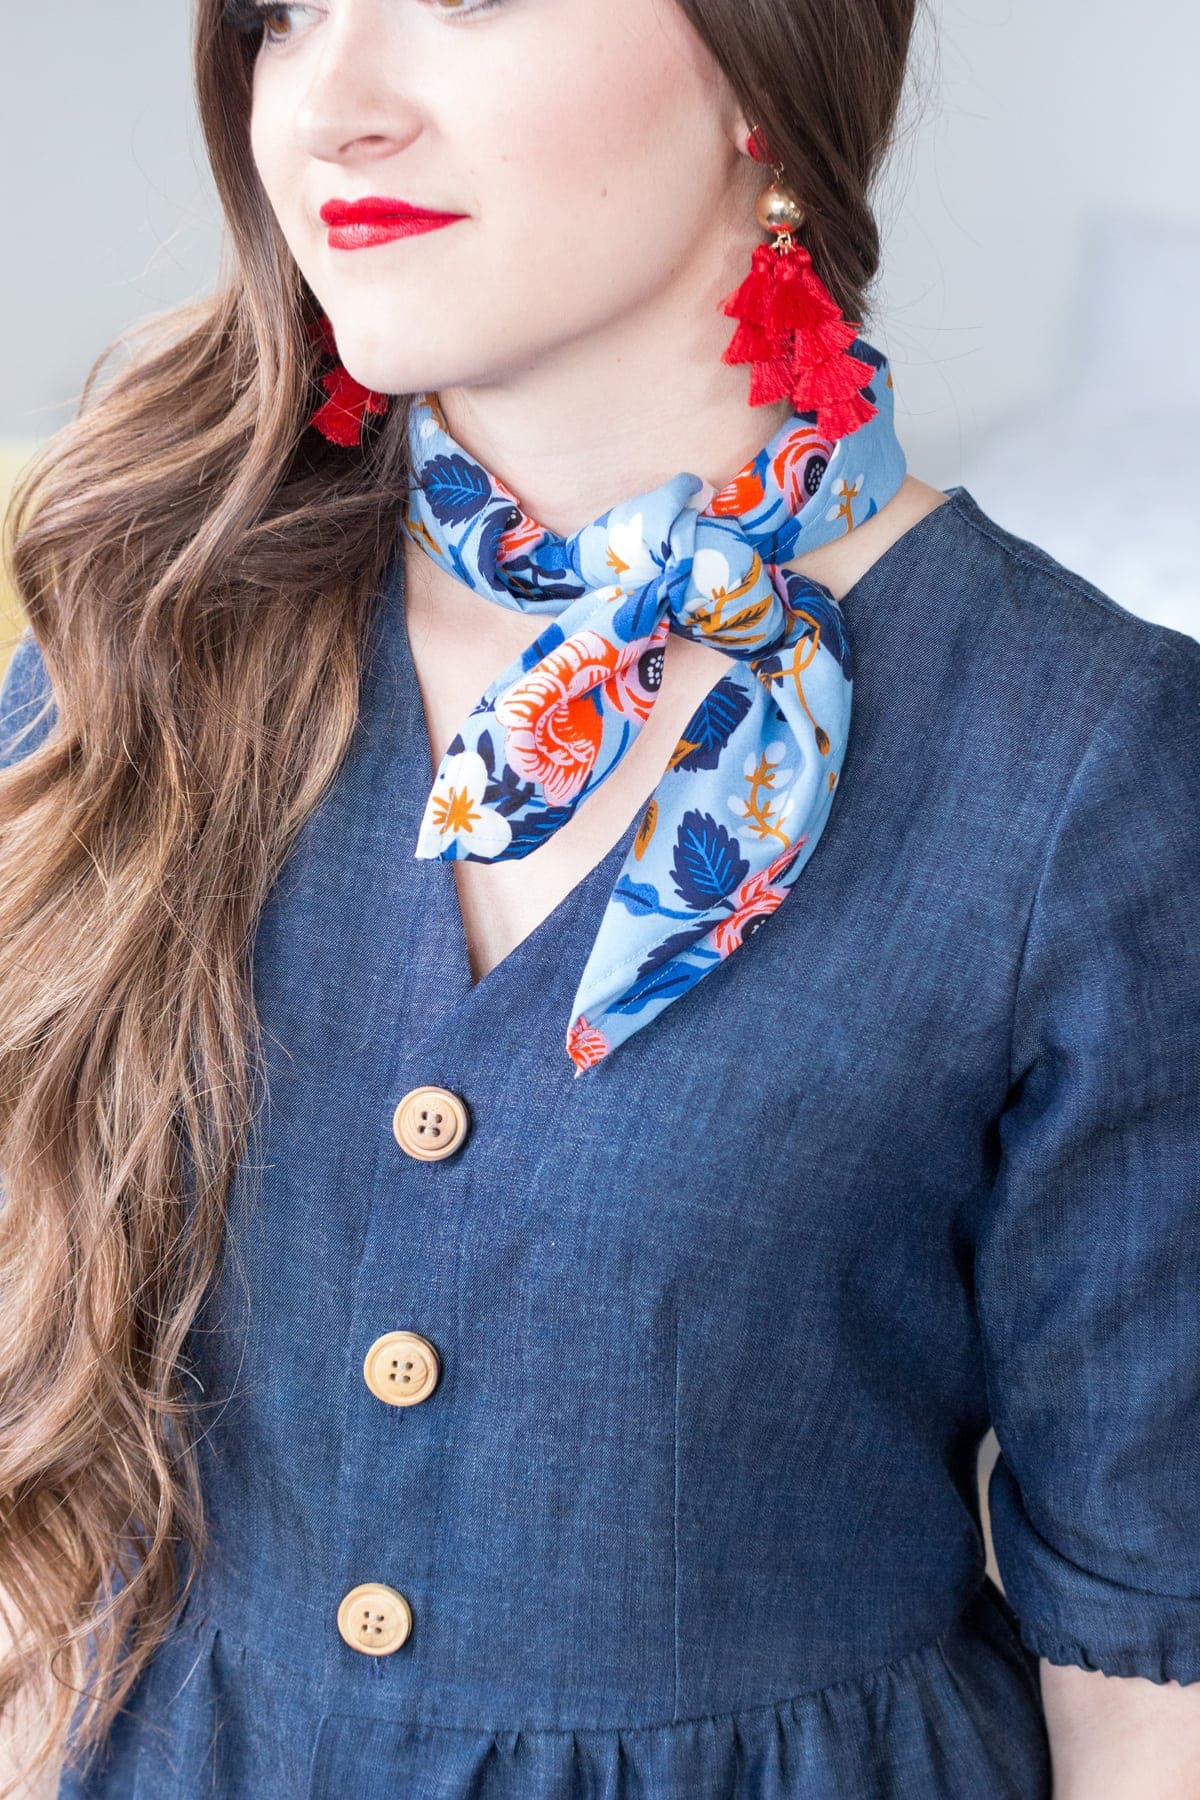
I’ve been dying to try out the scarf necktie trend and after making a skirt out of this fabric I had just enough left over to create a fun necktie.

IMG_9886

This tutorial is incredibly simple and it yields the most
adorable results! Are you ready to get started?

Supplies

1 Yard of Fabric

Scissors or Rotary

Ruler

Sewing Machine

Iron

For the necktie to work best, you need a fabric that’s lightweight and has a bit of drape to it.

Fabrics that would work well for this project include silk, chiffon, voile, and rayon challis.

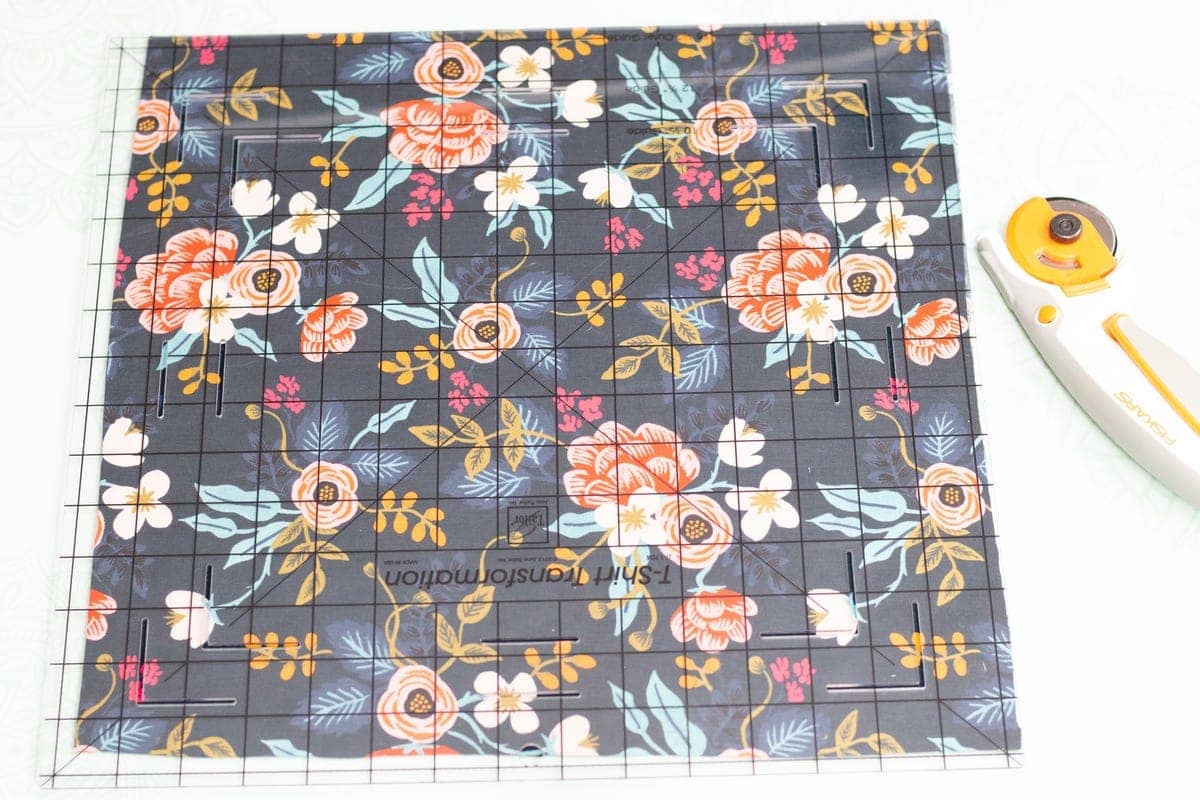
Begin by cutting your fabric 30 inches by 30 inches.

IMG_0063

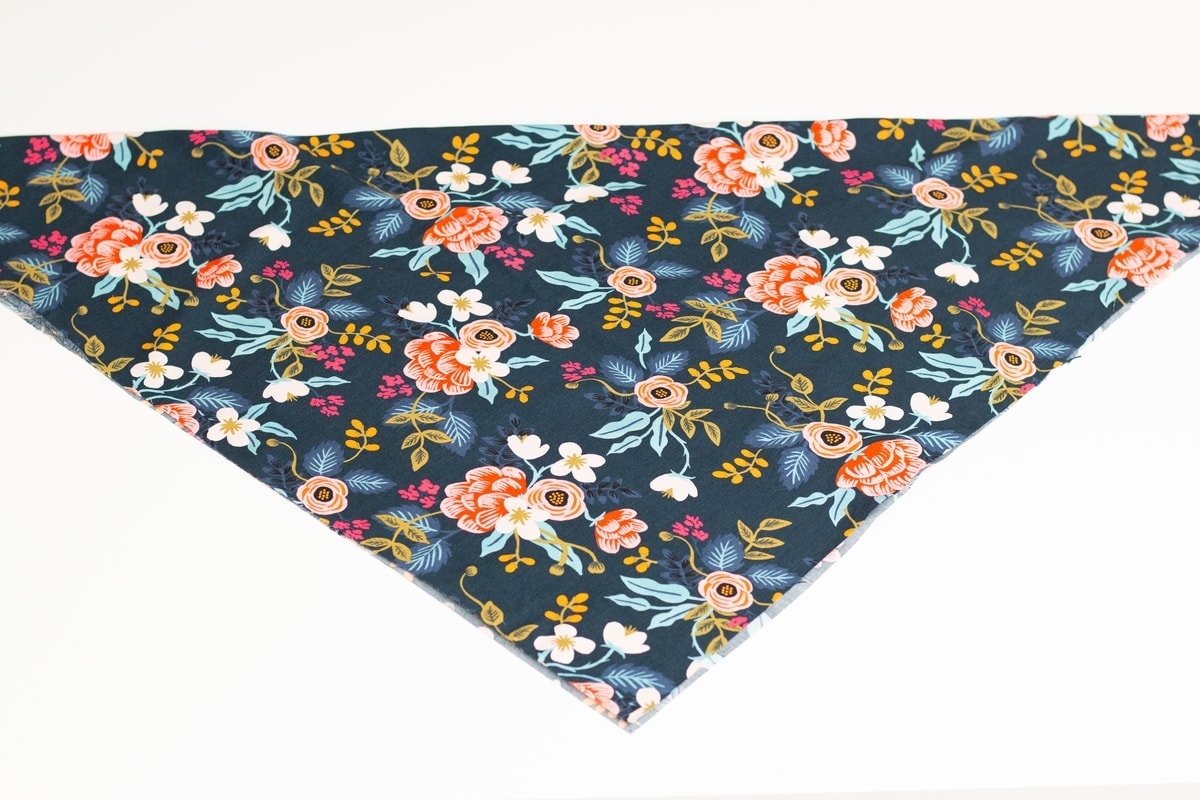
You can double check the length of the scarf before you begin sewing it by folding it in half into a triangle. Roll the scarf up and then tie it around your neck with a loose double knot. At this point, you can get an idea if you need to shorten it or not.

IMG_0064
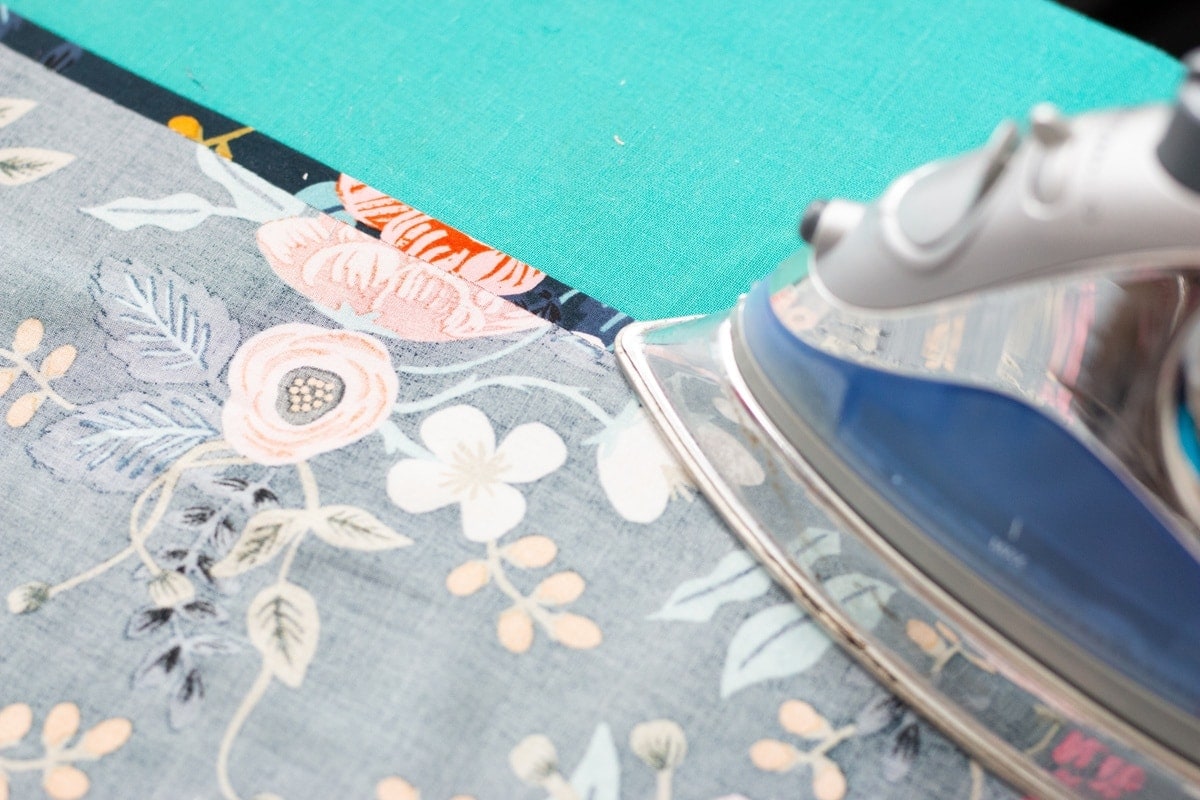
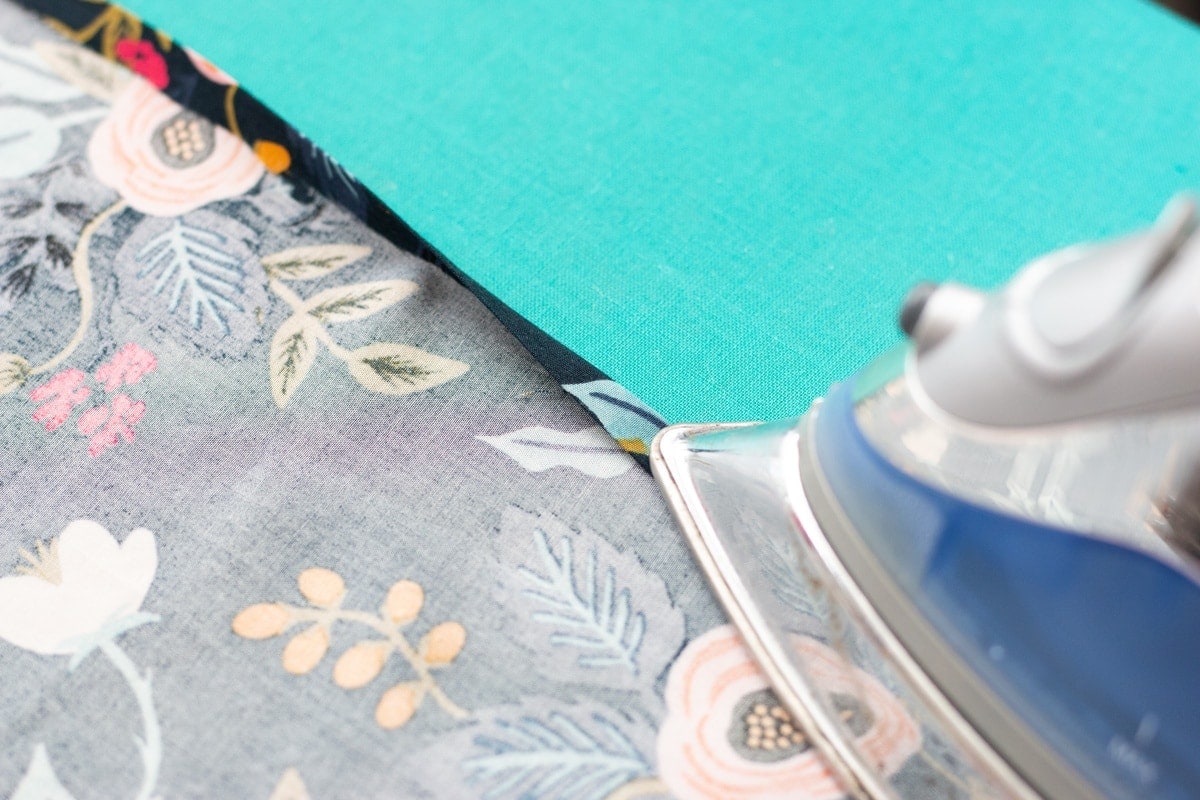
With the wrong side of the fabric facing upwards press a 3/8th-inch seam allowance along all four sides.

Use an iron with plenty of steam to set the hem. Repeat the process again to
completely enclose the raw edges of the hem.

IMG_0065
If your fabric is slinky or harder to work with you can sew a basting stitch 3/8th inch from the raw edge and use this as a guide to help you get an accurate and consistent hem.

Pin the hem in place and sew along the hem 1/4th inch away from the edge of the fabric.

IMG_0066
When you come to the corner put the needle in the down position, raise the presser foot and turn the fabric.

Once the entire scarf has been sewn, press it again with a hot iron.
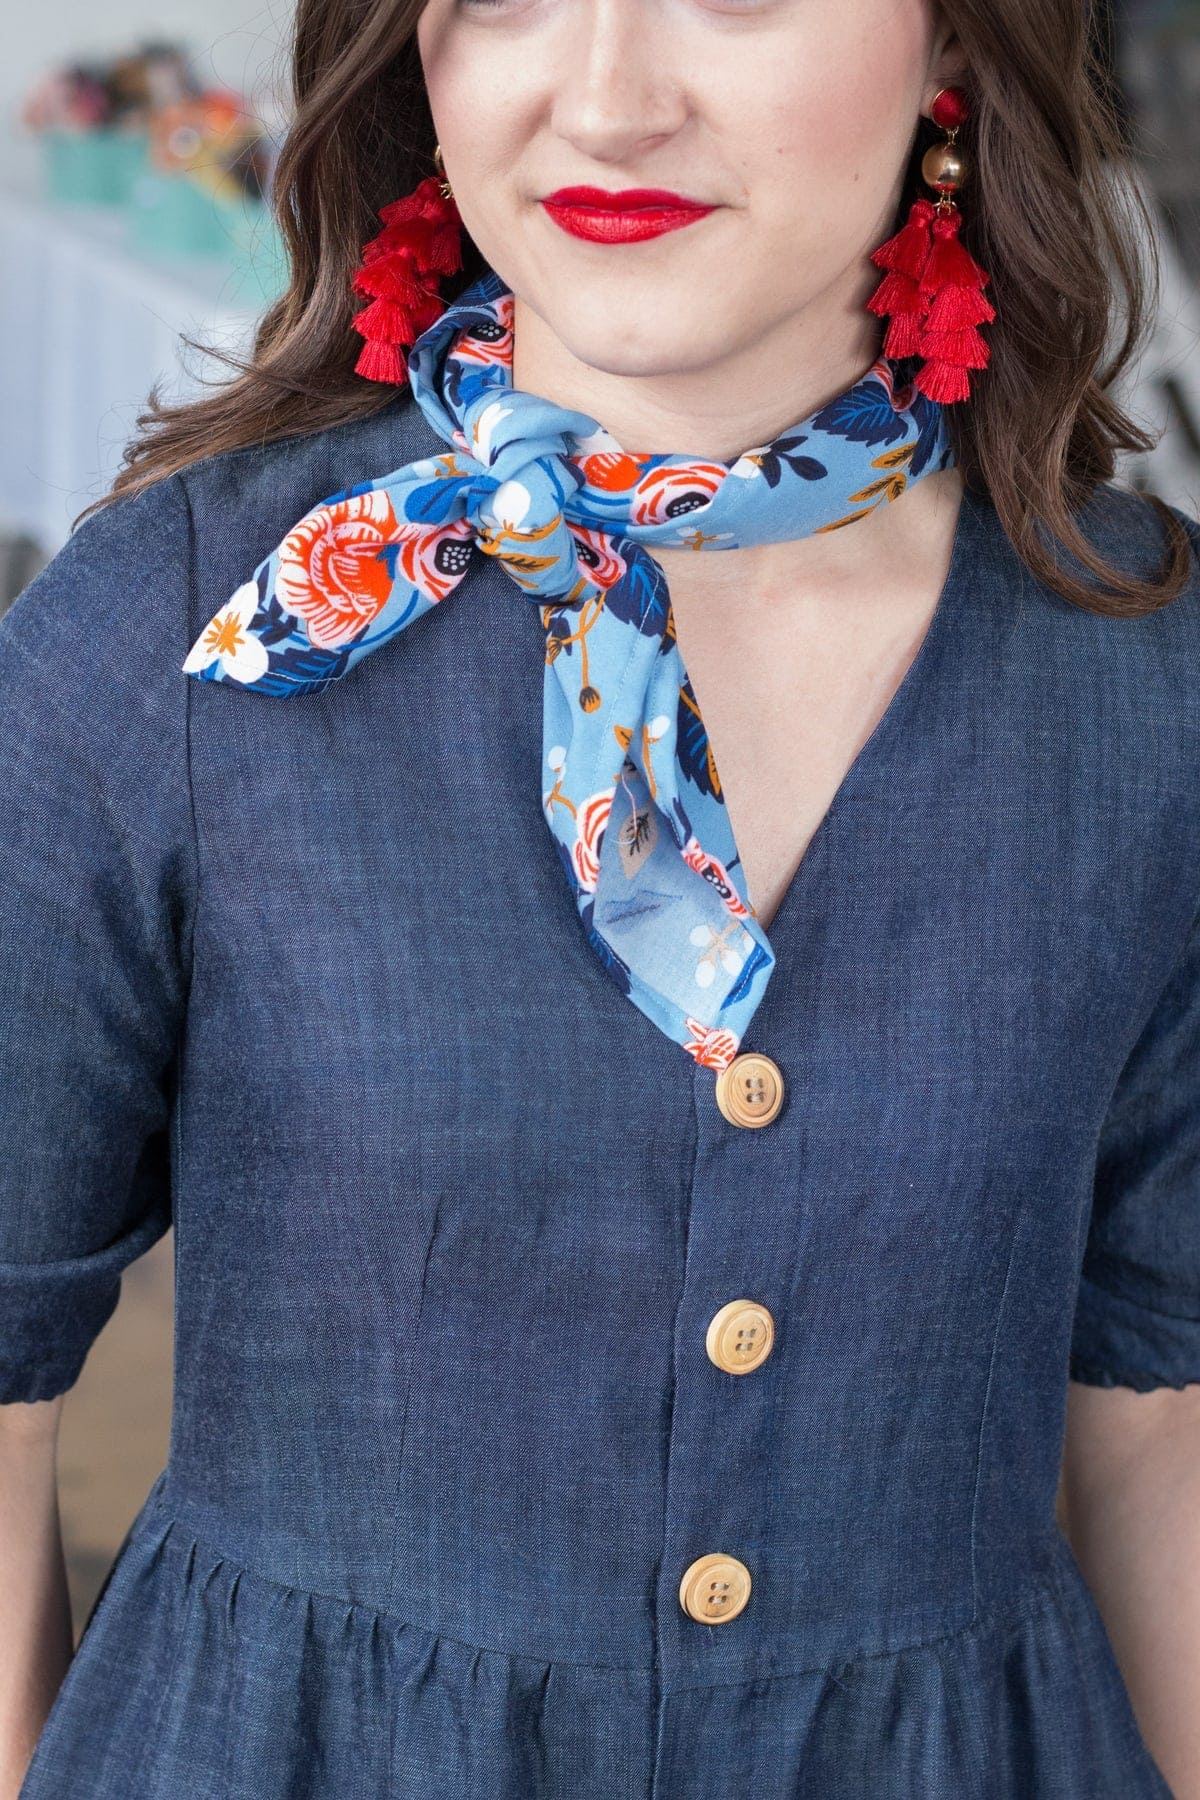
To wear it, fold it in half to create a triangle. Roll up the triangle beginning at the widest part. Tie around your neck using a double knot.

IMG_9879-2

I hope you enjoyed this quick and easy scarf tutorial!
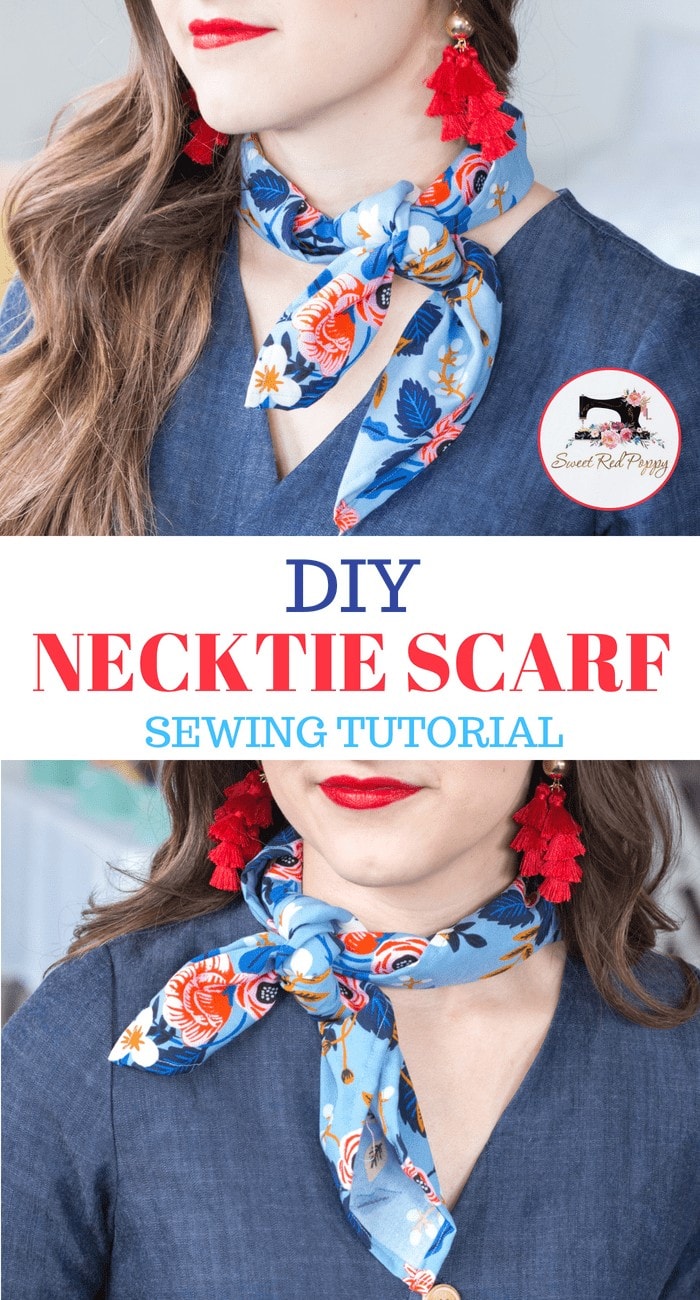
Tassel Earring Tutorial

https://sweetredpoppy.com/diy-layered-tassel-earrings/

Tasseled Scarf Sewing Tutorial

https://sweetredpoppy.com/tassel-scarf/

Cricut Hacks

https://sweetredpoppy.com/cricut-hacks/

« Sweet Red Poppy Sewing Blogger Party
Thermoweb Heat N Bond Soft Stretch Lite »

Reader Interactions

Comments

  1. Erika says

    May 19, 2022 at 4:04 am

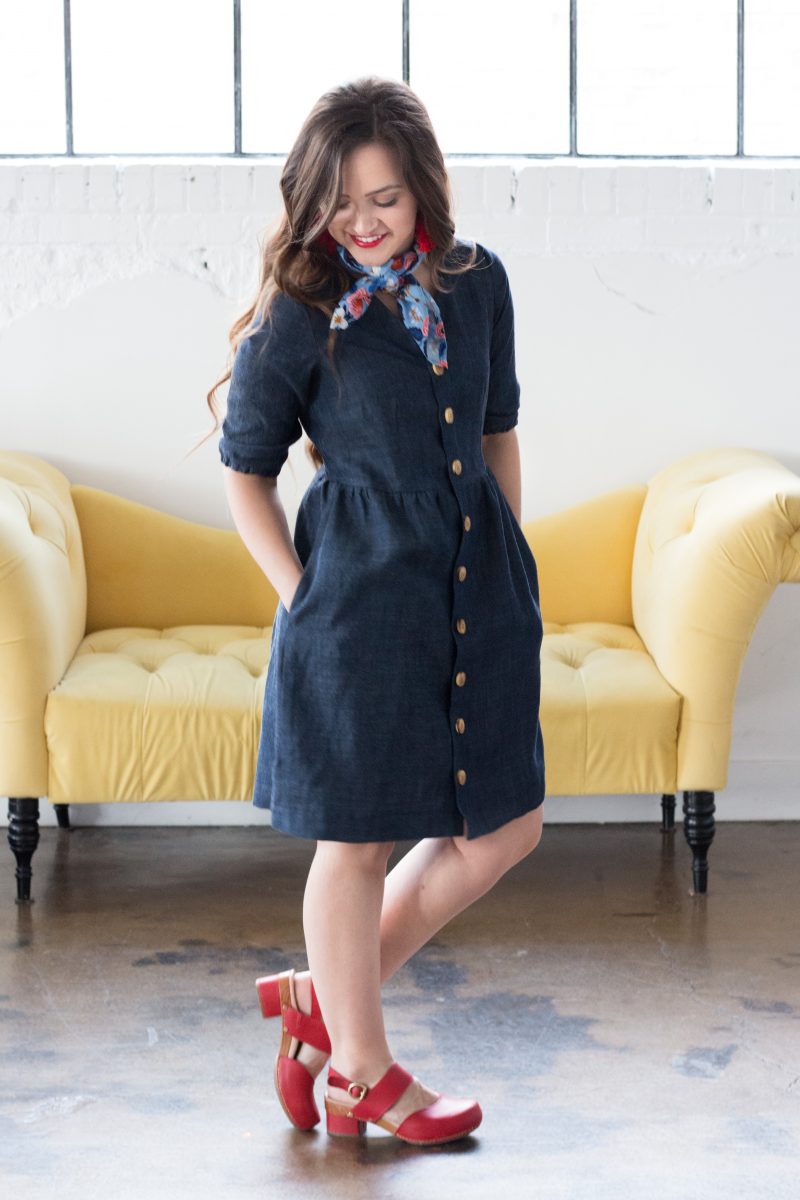
    I love the dress you are wearing in these pics! Did you make it? What pattern did you use? Thanks for the great scarf tutorial

    Reply

Leave a Reply Cancel reply

Your email address will not be published. Required fields are marked *

This site uses Akismet to reduce spam. Learn how your comment data is processed.

Primary Sidebar

Ready, Set, Sew! An online sewing course for beginners by top US sewing blogger, Sweet Red Poppy.

Hello, I’m Kimberly, the creator of Sweet Red Poppy!

I’m a wife, mother to 3, seamstress, and lover of all things crafty! Sweet Red Poppy is my creative outlet where I find and create inspiration. It’s a place where I can share my never-ending sewing projects and my love of learning!

Read more about me →

The Latest

  • 5 Useful Tools to Help You Organize After the Holidays with JOANN
  • How to Make Christmas Gift Tags with Your Cricut Machine
  • How to Make Sock Gnomes
  • How to wrap a gift step by step
    How to Wrap a Gift - Four Ways
  • How to Make Perfectly Painted Wood Signs with Cricut Vinyl Stencils
  • 5 Cricut Gift Box Template SVG Files

Footer

↑ back to top

Legal

  • Privacy Policy
  • Disclosure

Newsletter

  • Sign Up! For Emails and Updates

About

  • Contact
  • About
  • Home

Copyright © 2022 Sweet Red Poppy