DIY TASSEL EARRING TUTORIAL
I've been obsessing over tassel earrings for a few months now! Unfortunately, most of the tassel earrings I had my eye on were completely out of my budget. I guess I'm guilty of having champagne taste on a beer budget.
After realizing that the cost of the pair I had my eye on would buy approximately 789 diapers, 5 packs of wipes and ten gallons of milk (how's that for being practical?) I figured it was time for a DIY! Off to Joann, I headed as a woman on a mission! Of course, even with my laser focus I still got distracted by just about every single aisle in Joann. I think there should be an award for people who go in and come out with only what they set out for! Haha!
Anyways, let's get started on this simple Tassel Earring DIY Tutorial! It will cost you a whopping $10 to make yourself. And if you're thrifty and you never leave home without a coupon (like me) it will be even less!
Tassel Earring DIY Tutorial
Supplies Needed for your Tassel Earrings
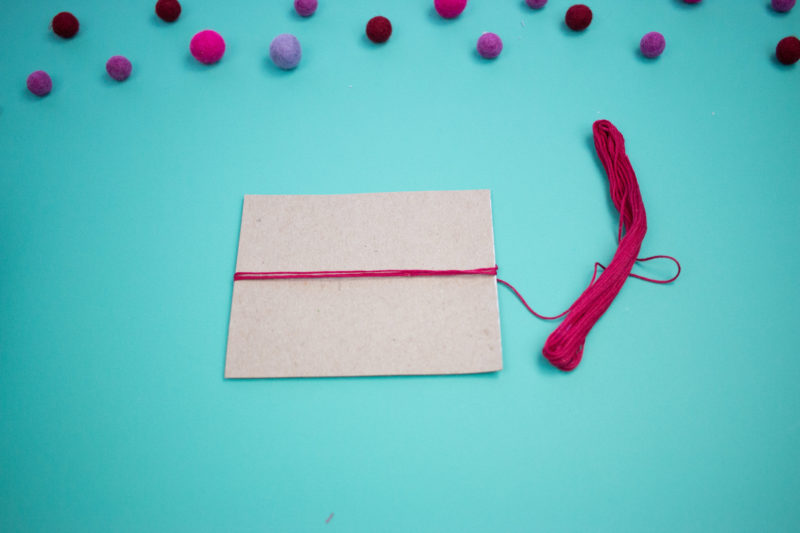
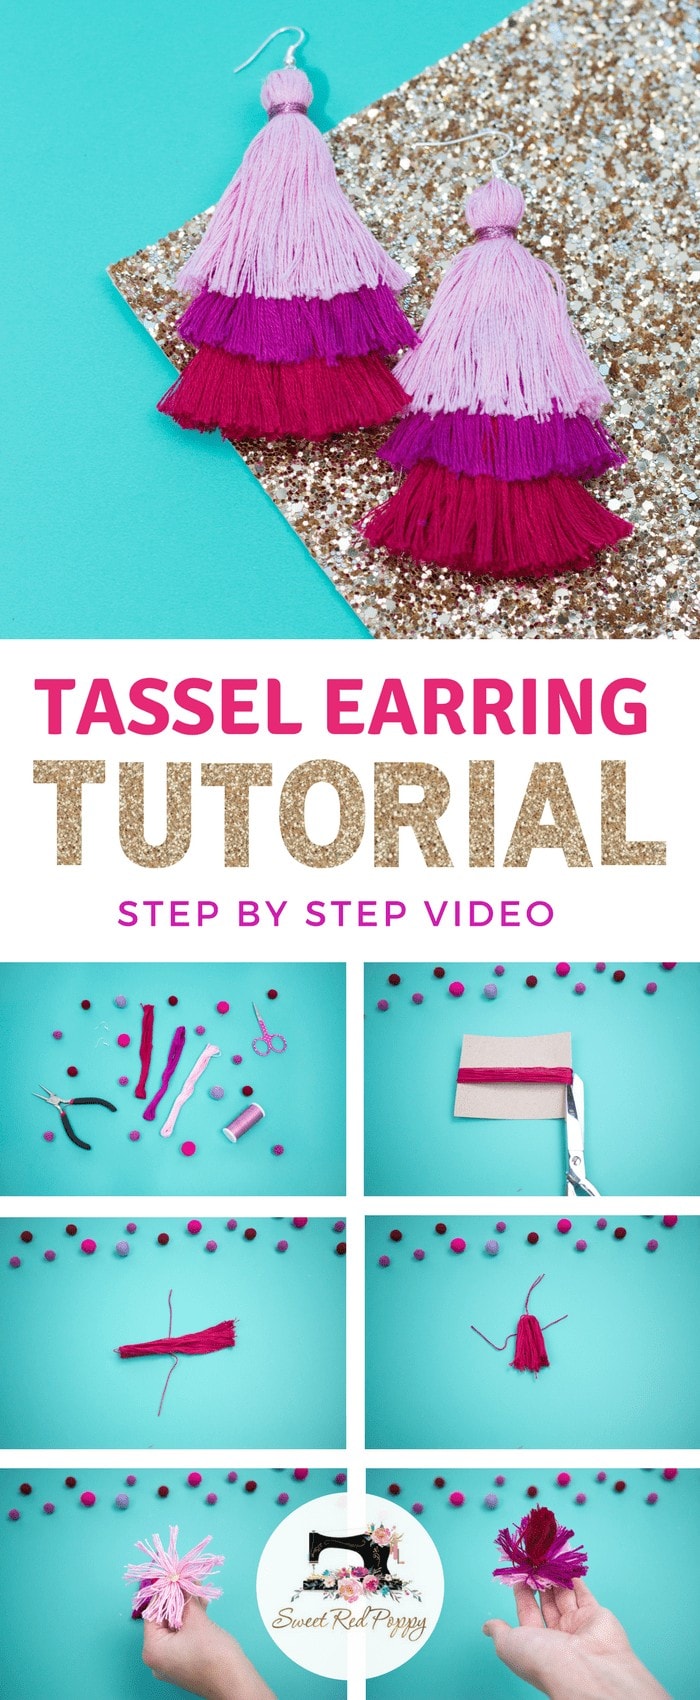
Cut a 5 x 5 inch square from cardboard. This will give a finished length of 2.5 inches per tassel. You can make this longer or shorter depending on the length of your neck.

Wrap the embroidery floss around the cardboard until you have used up the entire skein.
Snip both sides of the embroidery floss along the edge of the card. Make sure to put a light amount of pressure on the thread as you cut it so it doesn't jump.
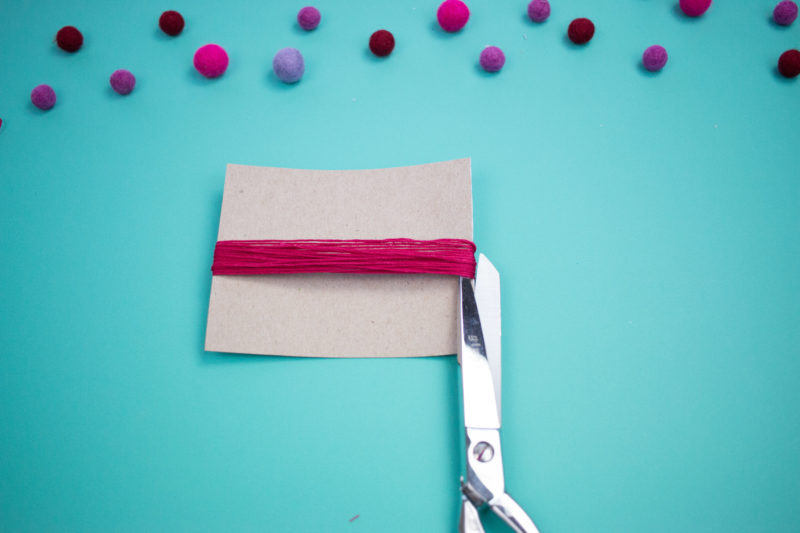
Lay the two stacks of thread on top of each other.
Center a piece of floss vertically underneath the horizontal stack of threads.
 Tie the vertical thread into a single knot.


Fold the threads in half. Place a piece of floss underneath about 1/2 inch from the top of the tassel.
Wind both ends of floss around the tassel in opposite directions about 5-6 times.
Tie a tight double knot on the back. Clip the remaining floss.

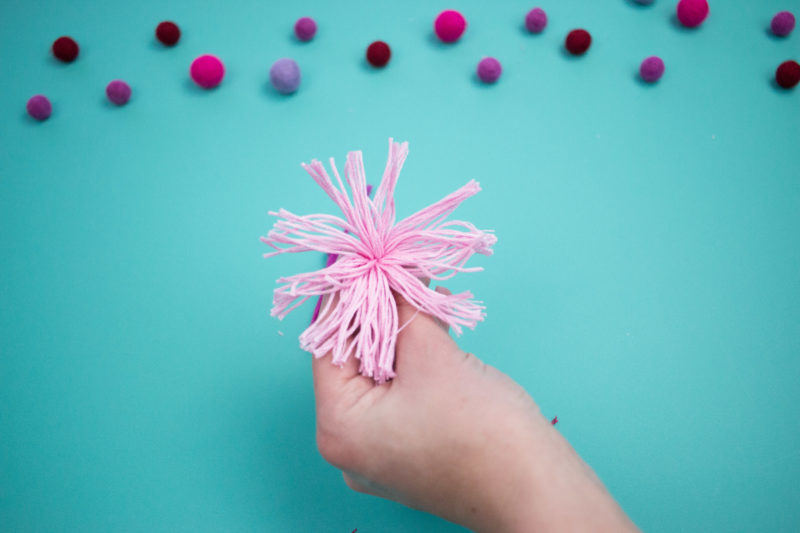
Gently comb through the tassel with a wide-tooth brush. With a short piece of tape wrap up the tassel like a sushi roll.


Cut along the lower edge of the tape to straighten the tassel. Carefully unwrap the tassel.

Repeat this process with two different colors of embroidery floss.
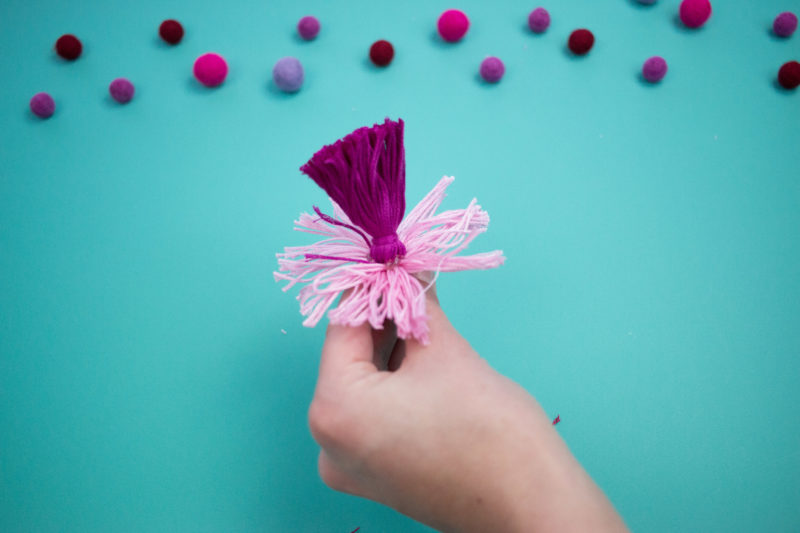
Open the top tassel and place a small dot of hot glue in the very center.
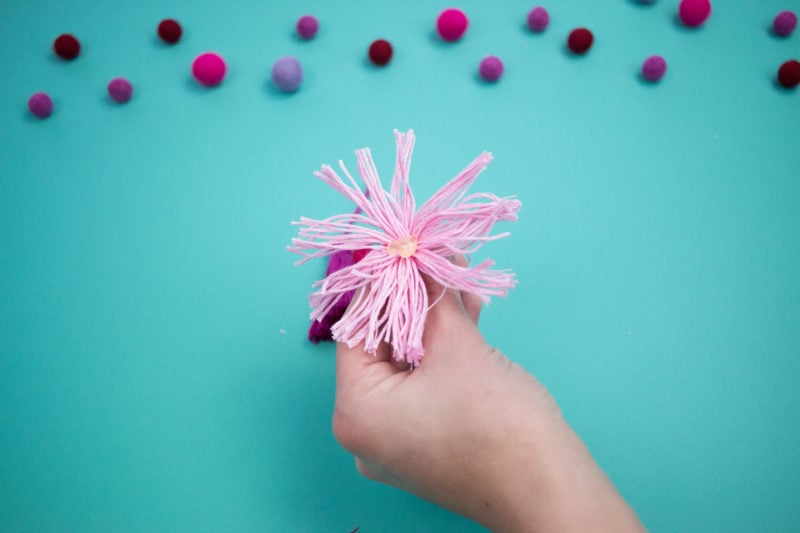
Place the top of the second tassel on top of the tassel and allow to cool. Repeat with the next tassel.
Open the end of an earring and hook it around the tie at the top of the tassel. Secure it closed and trim the remaining thread.
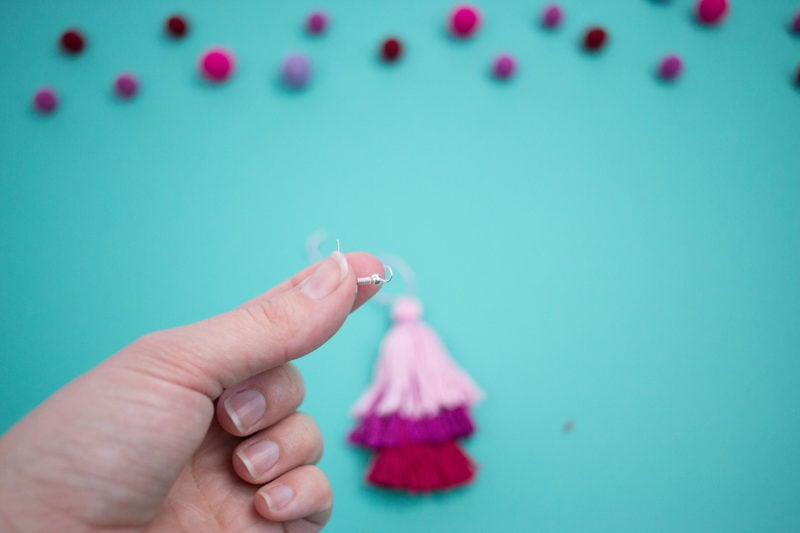
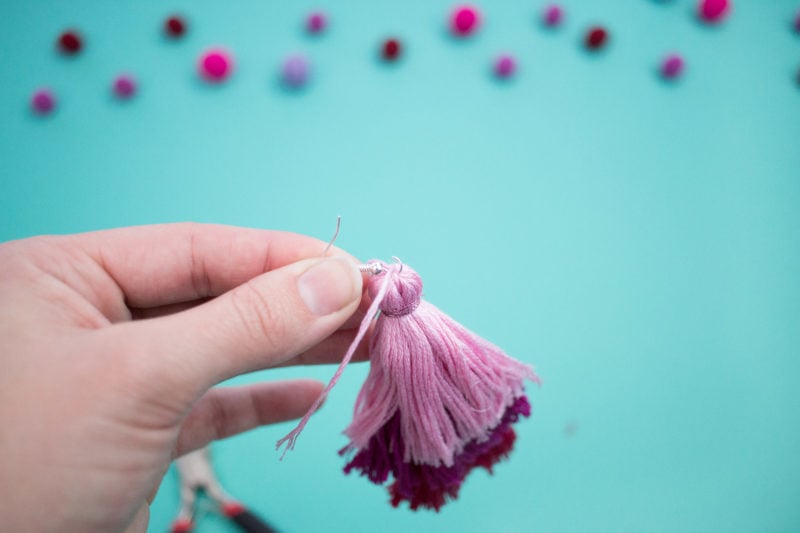
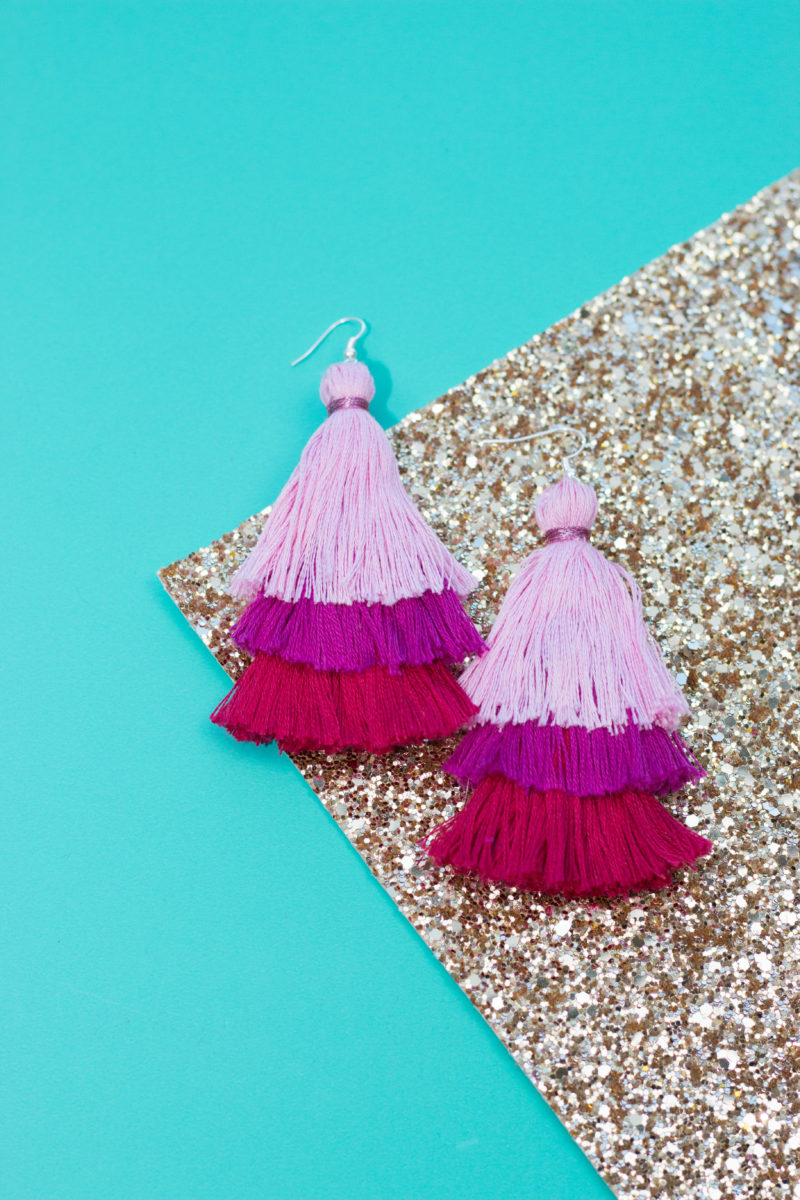
Now you have your very own layered tassel earrings! Make sure to share a photo of your earrings on my Sweet Red Poppy Facebook page or tag me on Instagram!
I can't wait to see what you make!
Don't want to forget about this project? Save it for later! Click here to save it to Pinterest.
You might also enjoy these tutorials:
How to Make Hair Bows: Stacked French Hair Bow Tutorial
DIY Plaid Flannel Blanket Scarf Tutorial




https://bjdkgfsfhidhgvudbfjeguehfwhsfug.com
Mkfdkfjwsldjeifgheifnkehgjr
vndkfhsjfodkfc;sjgjdgokrpgkrp
bndljgoedghoekfpegorig
fihfowhfiehfoejogtjrir
Yndkfvhdjkfhke nkfnslkfn klfnklf
Oljgvkdfkndjvbgdjffsjdnkjdhf
Nkfhofjeojfoegoero ogeoegfeougeihigoohge igjeigheiogheiogheih giehdgoiehifoehgioheighe hfioeehfieohgeiodgnei hioehgioehfdkhgioehgi eodghioedhgieghiehgeuo
Nihdigheifjojfieui iihfishfiwsfhiwhfowhfh hfsdfhkdcndjkfhe klchsiofhwifhdvjdnj hkfhsfhifheuhguegheflkhe
Yfhsfheifhei hfhdfiehfiejfk fjeogjeogj ojgoedjodjvsclksfhszghLhekjb; ;dh jdjvndkjdfjsofjsofjosjfi fojsjdoskfsjfodgjdsghoi sdjfpfgspegjsodjvdhvgisd
Mfjefjojgidhvshg ihidhgiodhgirhgir hioihgdioghrigrigh ihgiogherihgirodvdks jsdjfsopejfovgjdksjosj joesjfoesjfsj;ifsjg
Ndjsfhjifekfhekdghior highdiofhidogheioghei gijhgoiehgiehgieh jfiheigheihgioe
I really love trying diy projects and therefore this one has helped me a lot.Thanks