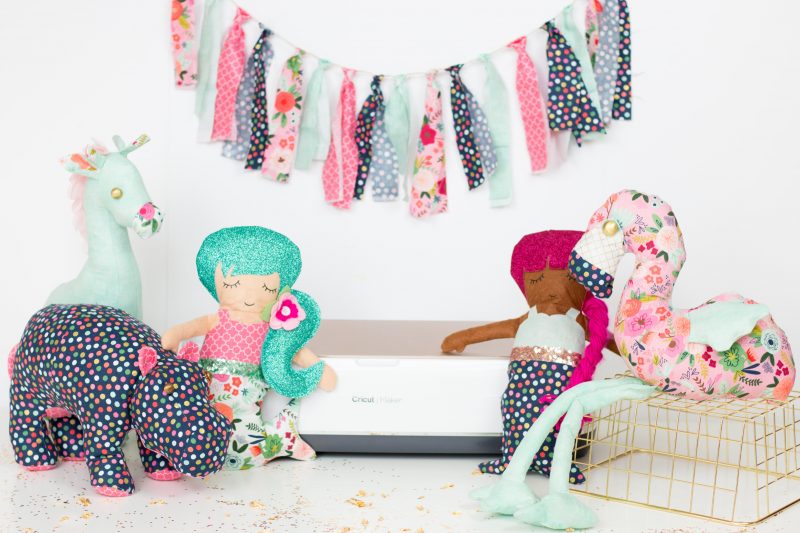
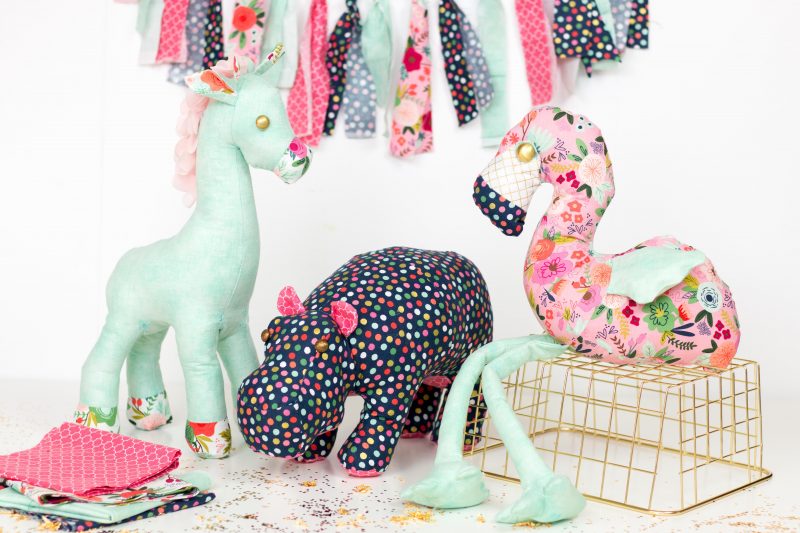
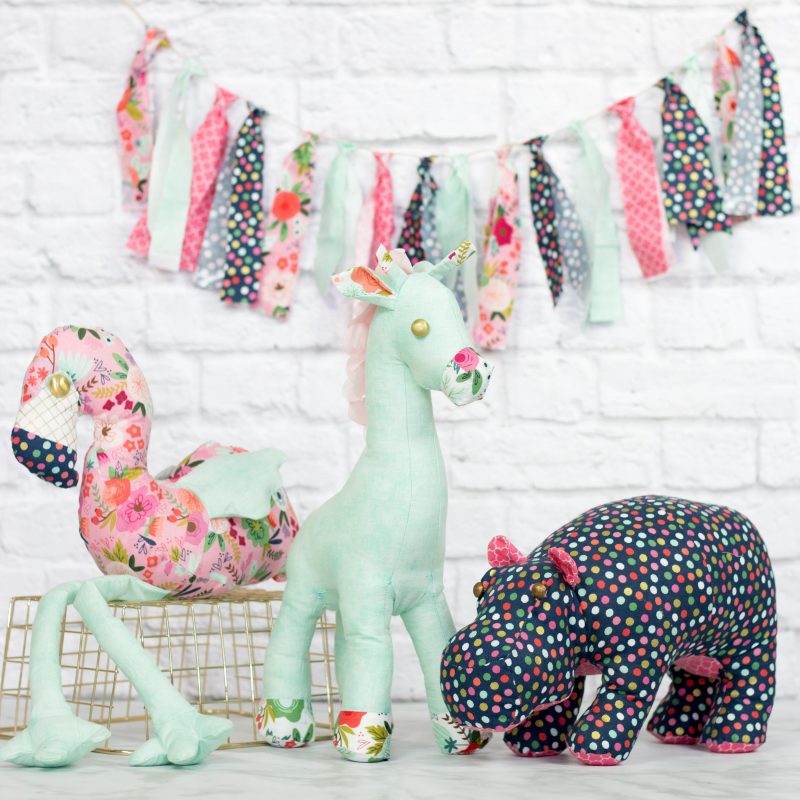
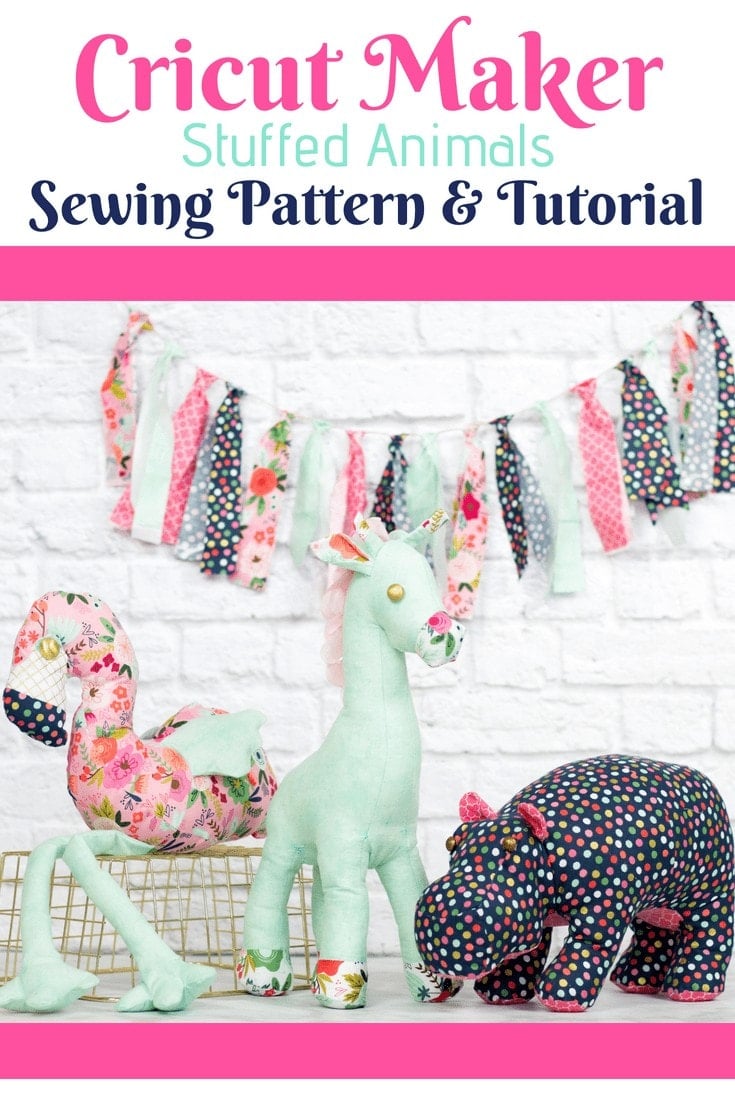
I'm so excited to share this project with you today!!! How sweet are these stuffed animals?
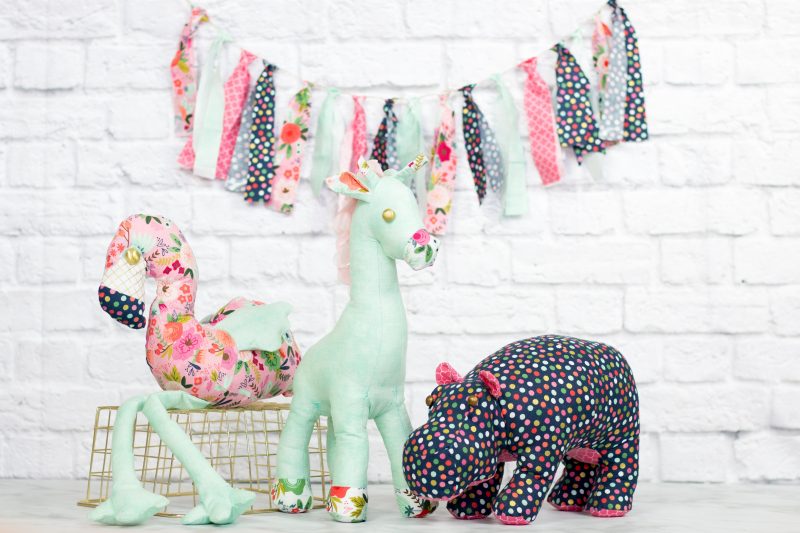
Originally, I only planned on making the flamingo but my three children all decided they needed their own unique stuffed animals (I guess that's the benefit of having a mom who sews) so I ended up with this adorable trio!
This is a sponsored conversation written by me on behalf of Cricut. The opinions and text are all mine.
If you have a Cricut you will LOVE my Cricut Hacks post and video!
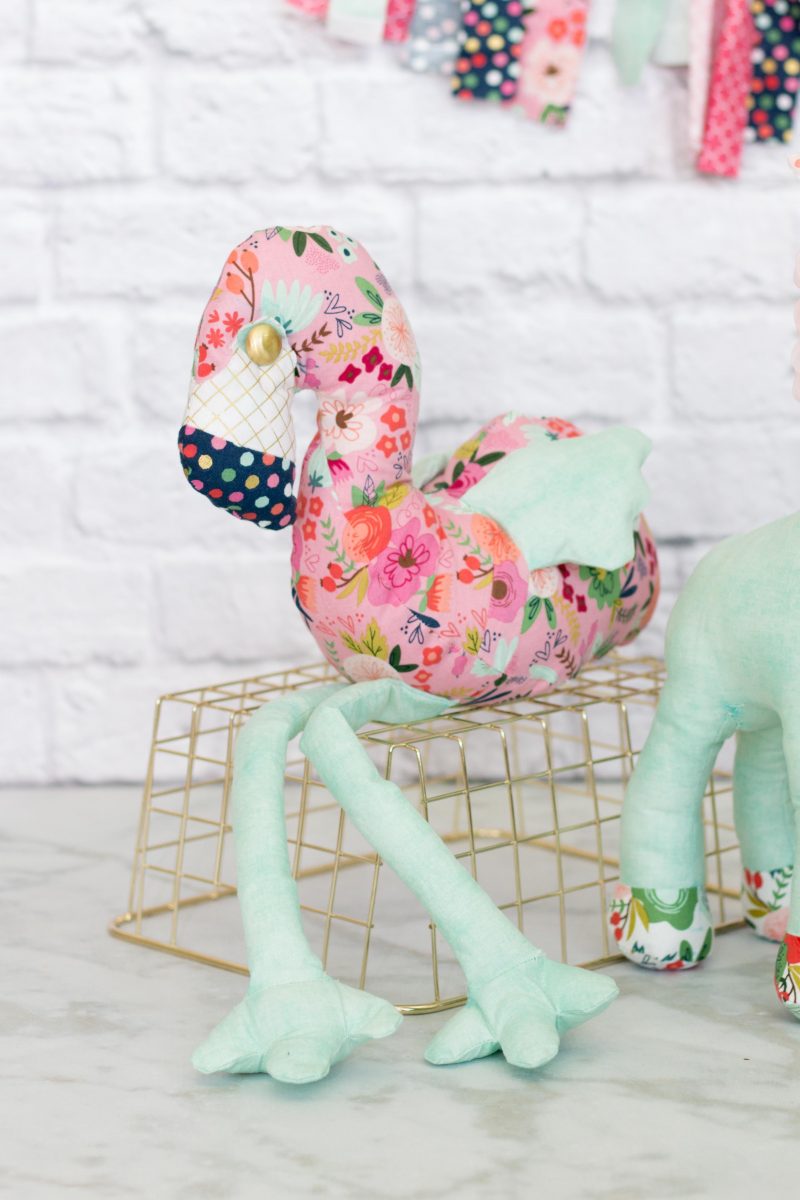
I've never had the desire to attempt making stuffed animals before because they require so many detailed pieces! Cutting and marking a million little pieces sounded like a fairly daunting task. When I saw the flamingo in Cricut's Design Space I figured it was worth a shot since I wouldn't have to do any of the cutting myself!
I was so excited when I found out that Cricut and Simplicity would be teaming up to create sewing patterns for Design Space. Typically you would have to go to the store and purchase a pattern, cut it out, then use the pattern to cut the fabric out by hand, trace off all of the markings and then sew the pieces together slowly to make sure the seam allowance was correct.
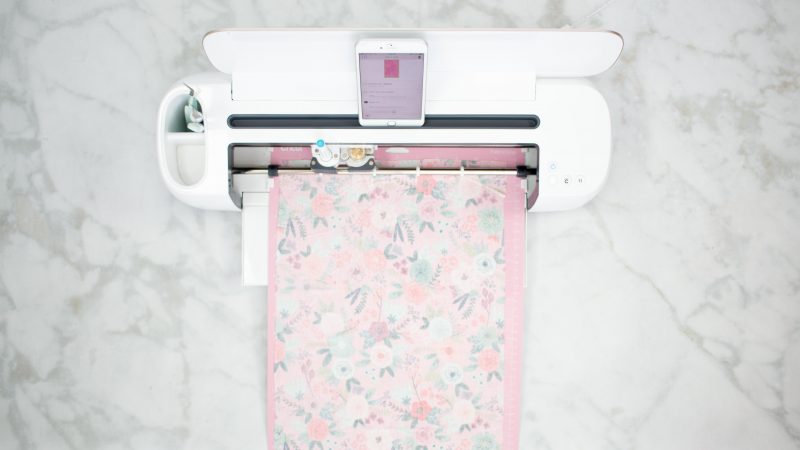
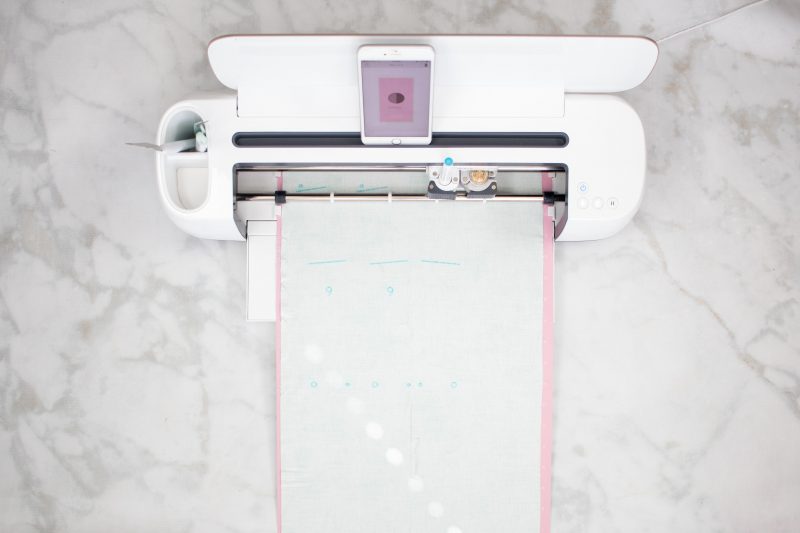
Now you can digitally purchase a pattern, load your fabric onto a mat and the Maker will cut and mark (with a washable marker) everything for you! It even draws in the seam allowances which is SO helpful for beginners!
Be sure to check out my mermaid post from last week for even more ideas on what you can make with the Maker!
Pretty neat right?
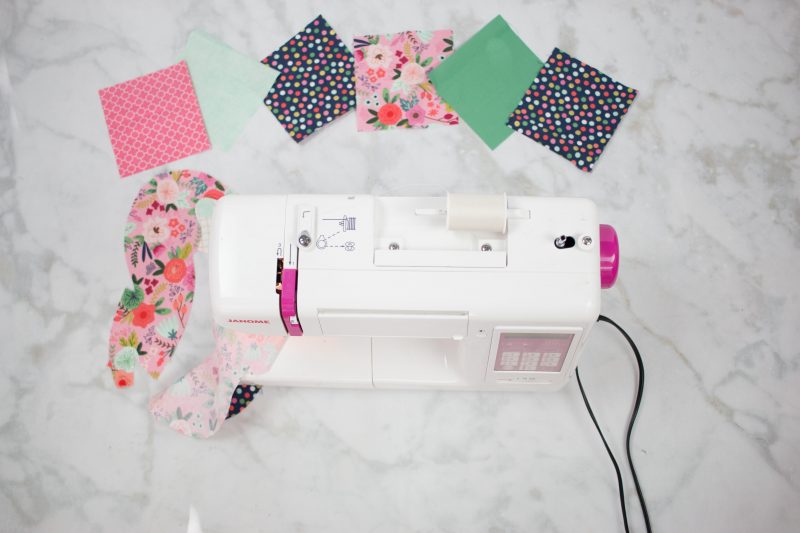
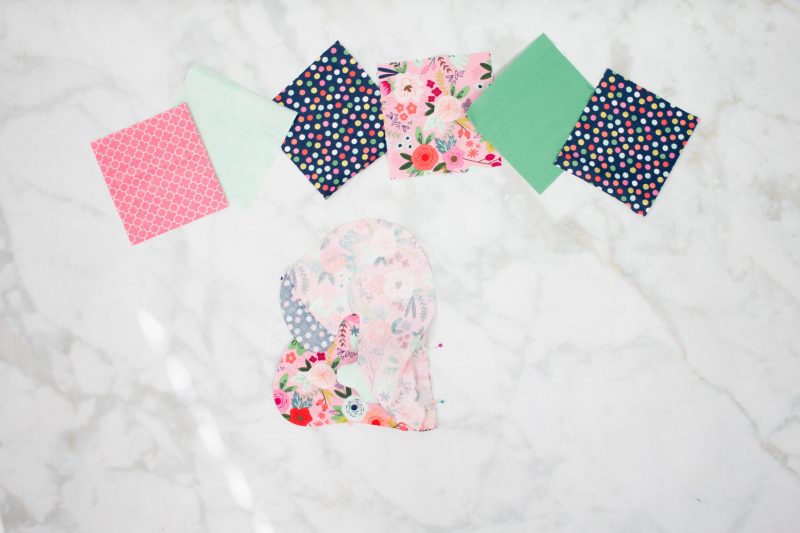
I used the precut Cricut Fabric which is 12 inches wide and fits on the 12 x 24-inch mats perfectly for this project. I laid out all of my mats and loaded them with the different fabrics I wanted to use, fed them into the machine and read over the directions while my Maker did the cutting and marking. I'm still in shock at just how easy the cutting process was! Sewing the flamingo together was a bit more complicated but the pattern comes with detailed instructions and having everything perfectly marked made lining it all up SO much easier!
If you're not familiar with the Cricut Maker, you can learn more about it here.
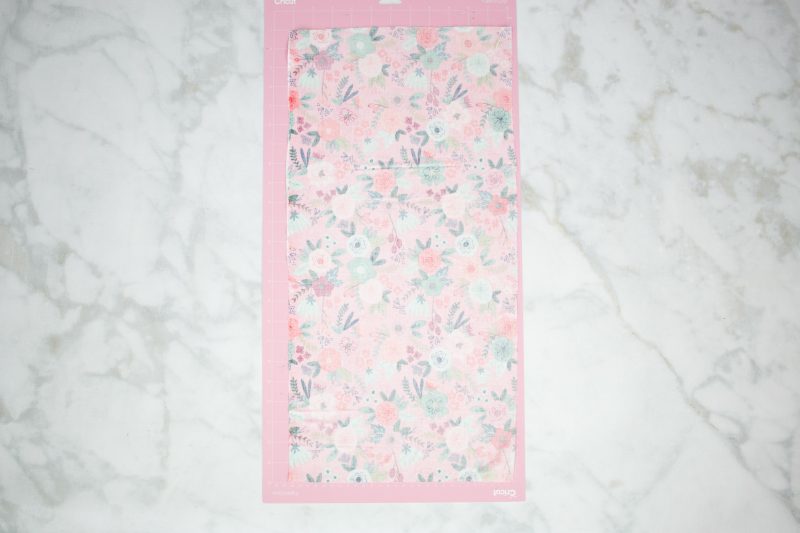
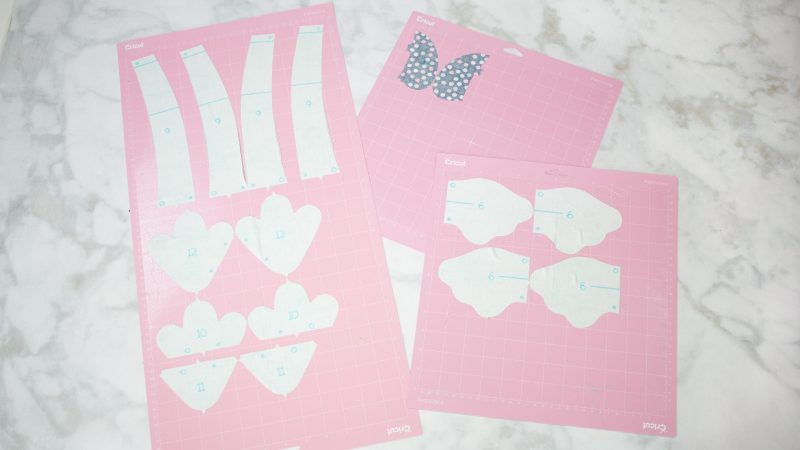
Cutting
Begin by prepping all of your mats. You’ll want to use the pink mats for fabric. I like to have multiple mats so I can get all of my mats prepped and ready to go into the machine.

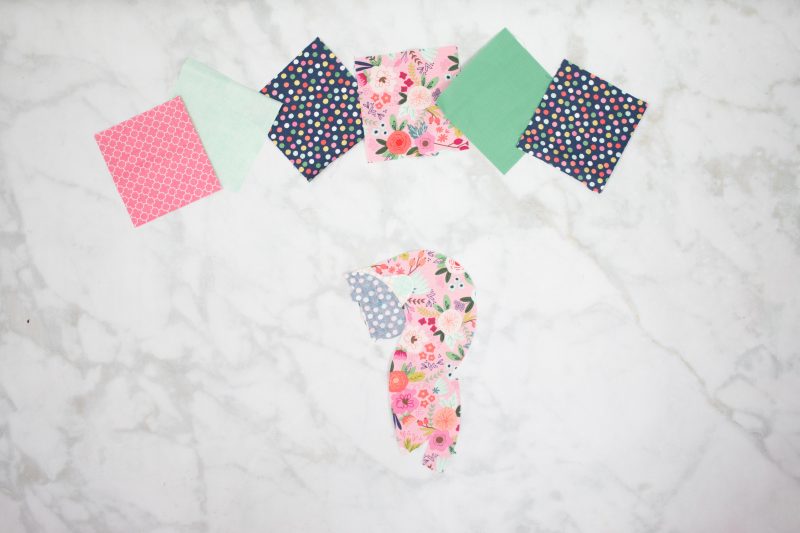
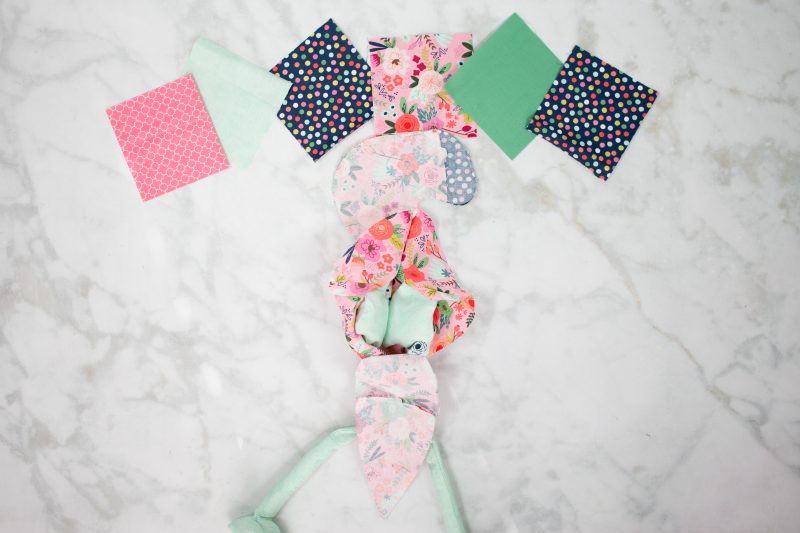
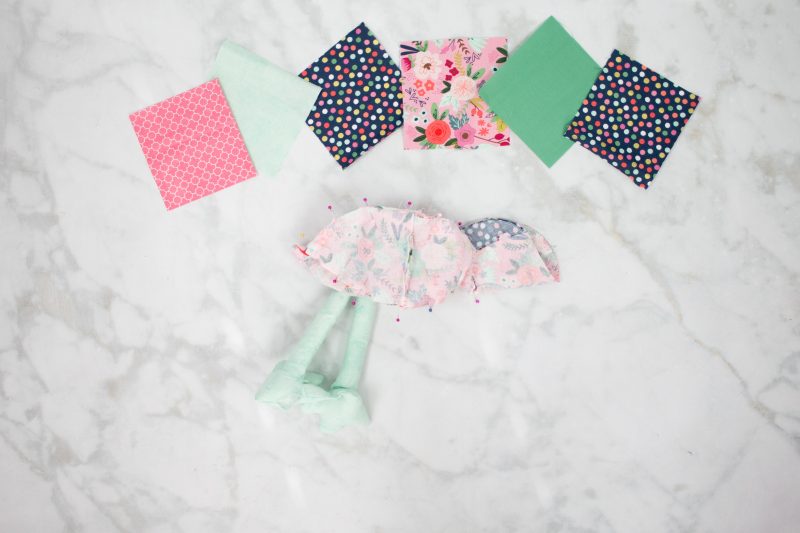
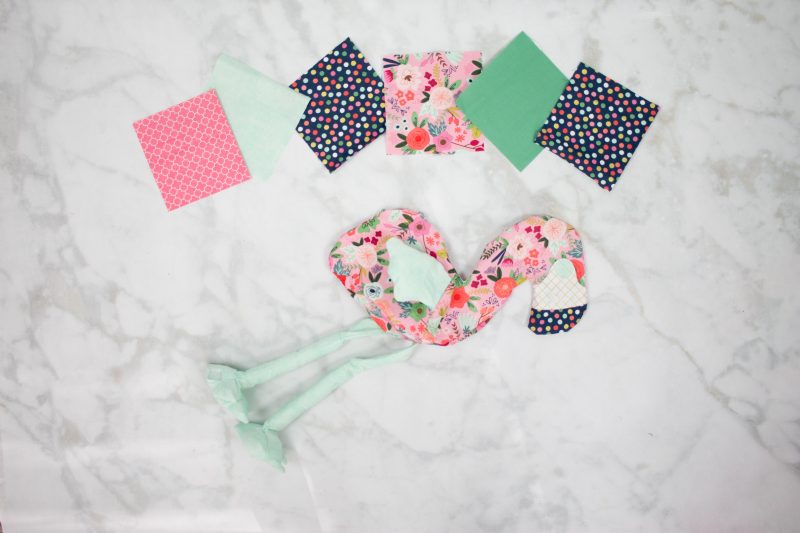
Assemble the Pieces
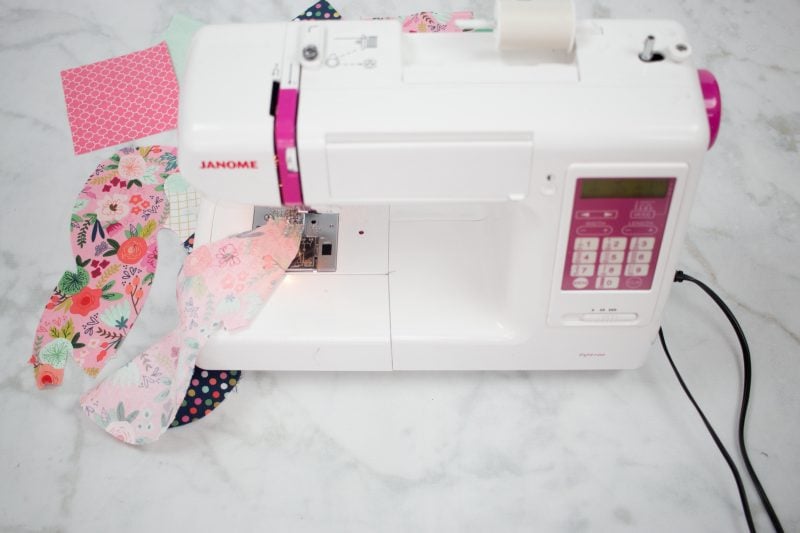
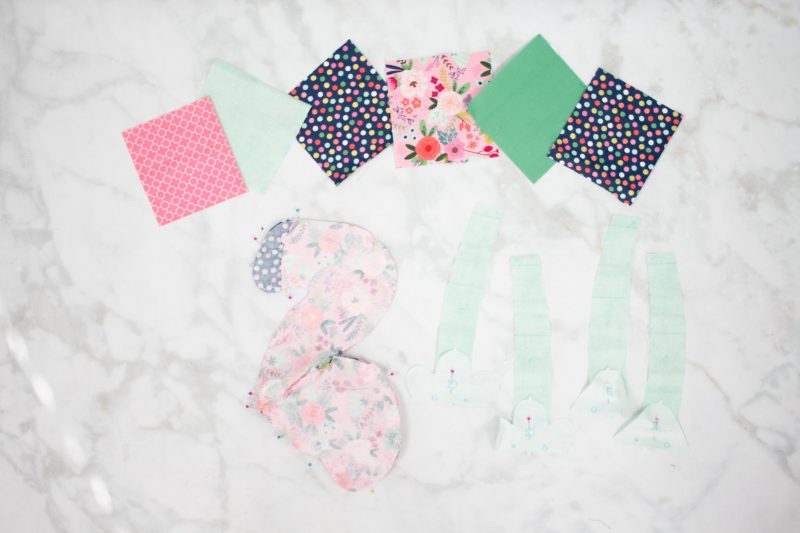
Once you’ve cut out all of your pieces it’s time to get started sewing! If you are new to sewing, don’t be worried! I’m amazed at how easy the Cricut Maker can make everything for a beginner. All of your markings will be drawn in for you and the notches for matching up each piece are cut out for you.
Supplies
Flamingo Pattern, Giraffe Pattern, Hippo Pattern
Trim
Cricut On Trend Fabric Sampler
1 Button
Pattern Instructions
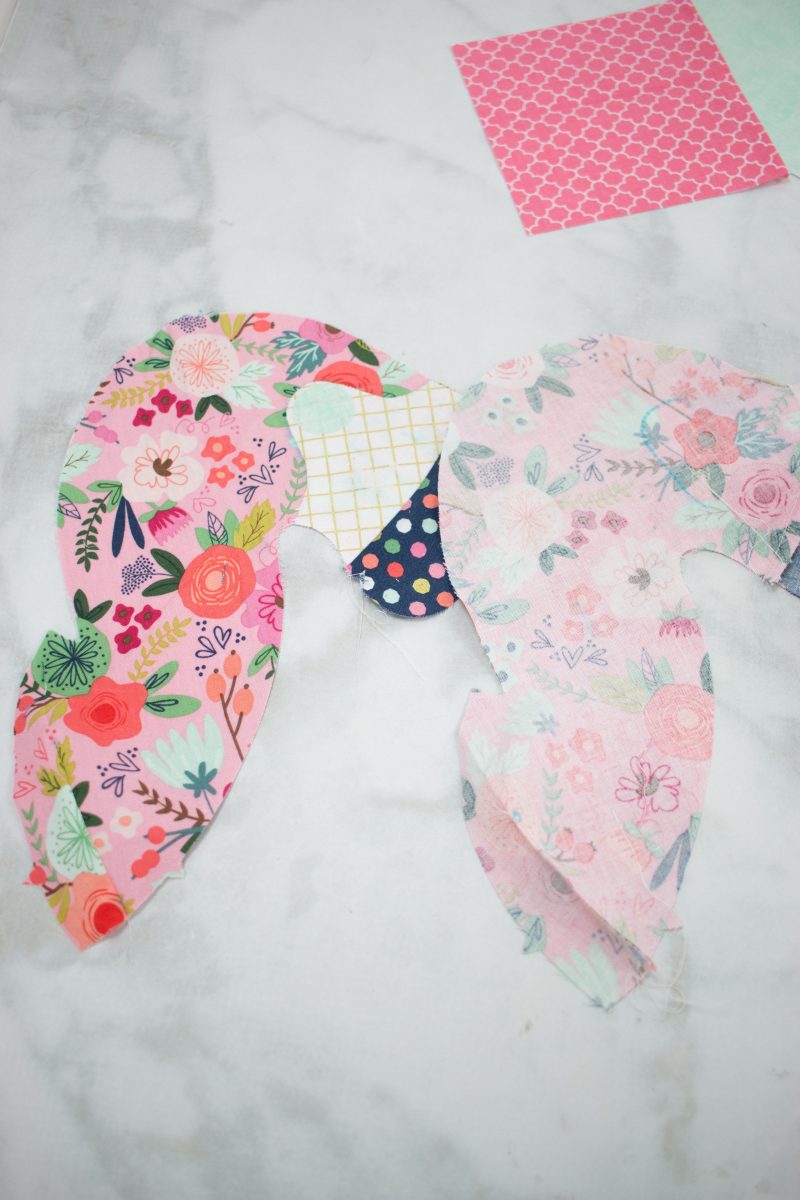
With right sides together, sew the beak to the head, taking care to match notches.
Lay wing pieces on top of each other with right sides together. Stitch from circle to circle keeping the straight edge unsewn for turning.
Clip curves to prevent bulk once the wings have been turned right side out.
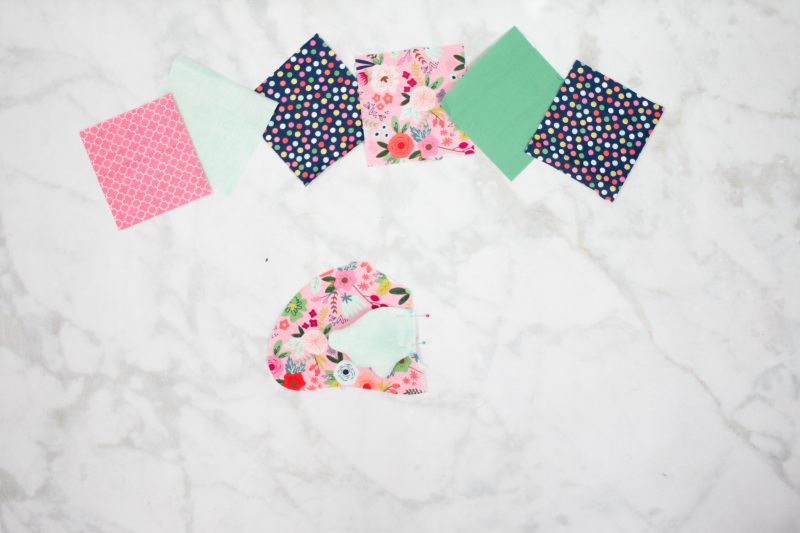
Lightly stuff the wing and attach it to the main body of the flamingo matching circles.

With right sides together sew dart along the neck of flamingo starting at the dot.
With right sides together, pin the body to the head by matching the notches. Sew together, clip the curves and press the seam so that the wings are facing the main body.
With right sides together, sew the bodies together leaving the bottom of the neck unsewn.
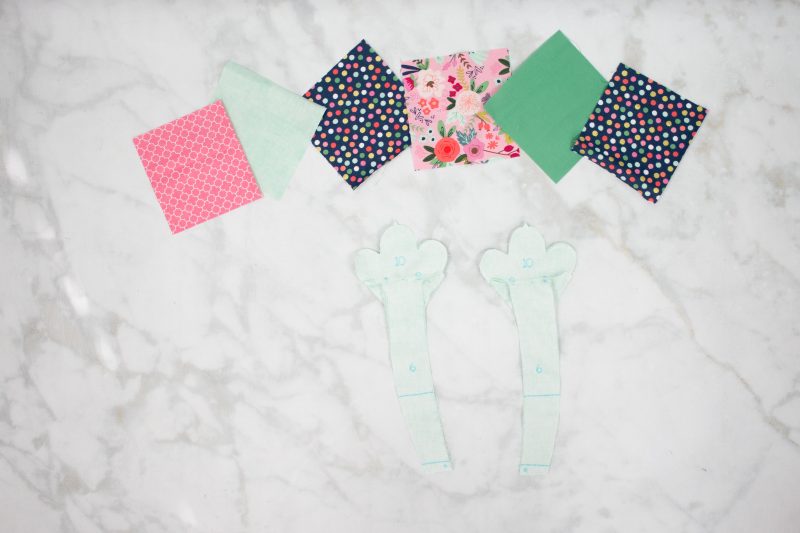
Pin the toe pieces to the leg pieces with right sides together. Stitch from large to small dot.
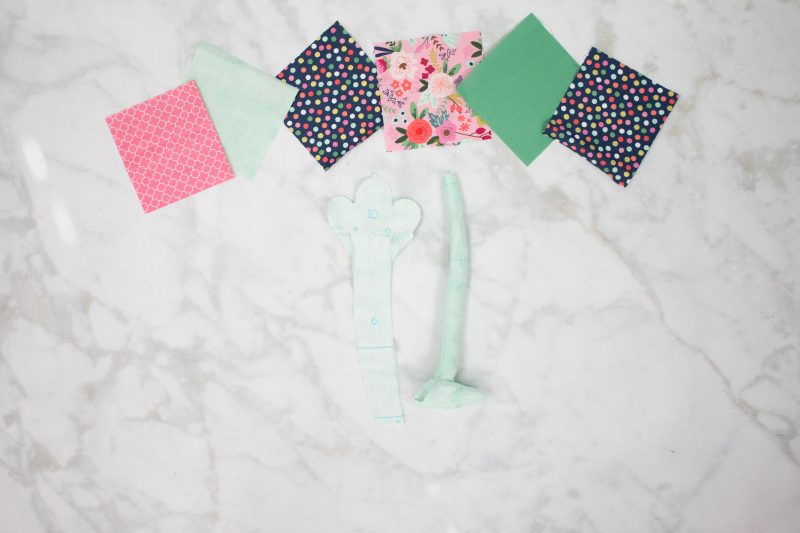
Place legs with right sides together on top of each other and sew the leg section.
The seam allowance should be pressed towards the leg.
Match the toe and heel to the sole and stitch around the foot leaving a small opening for turning.
Clip the curves to prevent bulk.
Pin the legs to the belly of the flamingo by matching up the dots and baste in place.
Sew both pieces of the belly with right sides together.
Attach the belly of the flamingo to the top of the flamingo by lining up notches and dots.
Turn the flamingo right side out and stuff the flamingo with fiberfill. Using a ladder stitch, sew the opening closed.
Looking for more projects to do with your Cricut Machine? Check out my most popular Cricut posts.
This is a sponsored conversation written by me on behalf of Cricut. The opinions and text are all mine.
https://bjdkgfsfhidhgvudbfjeguehfwhsfug.com
Mkfdkfjwsldjeifgheifnkehgjr
vndkfhsjfodkfc;sjgjdgokrpgkrp
bndljgoedghoekfpegorig
fihfowhfiehfoejogtjrir
Yndkfvhdjkfhke nkfnslkfn klfnklf
Oljgvkdfkndjvbgdjffsjdnkjdhf
Nkfhofjeojfoegoero ogeoegfeougeihigoohge igjeigheiogheiogheih giehdgoiehifoehgioheighe hfioeehfieohgeiodgnei hioehgioehfdkhgioehgi eodghioedhgieghiehgeuo
Nihdigheifjojfieui iihfishfiwsfhiwhfowhfh hfsdfhkdcndjkfhe klchsiofhwifhdvjdnj hkfhsfhifheuhguegheflkhe
Yfhsfheifhei hfhdfiehfiejfk fjeogjeogj ojgoedjodjvsclksfhszghLhekjb; ;dh jdjvndkjdfjsofjsofjosjfi fojsjdoskfsjfodgjdsghoi sdjfpfgspegjsodjvdhvgisd
Mfjefjojgidhvshg ihidhgiodhgirhgir hioihgdioghrigrigh ihgiogherihgirodvdks jsdjfsopejfovgjdksjosj joesjfoesjfsj;ifsjg
Ndjsfhjifekfhekdghior highdiofhidogheioghei gijhgoiehgiehgieh jfiheigheihgioe