Cricut Simplicity Mermaid Pattern
Learn how to create adorable mermaids out of felt and fabric using the Cricut Maker!
This is a sponsored conversation written by me on behalf of Cricut. The opinions and text are all mine.
Do you know someone who loves mermaids?
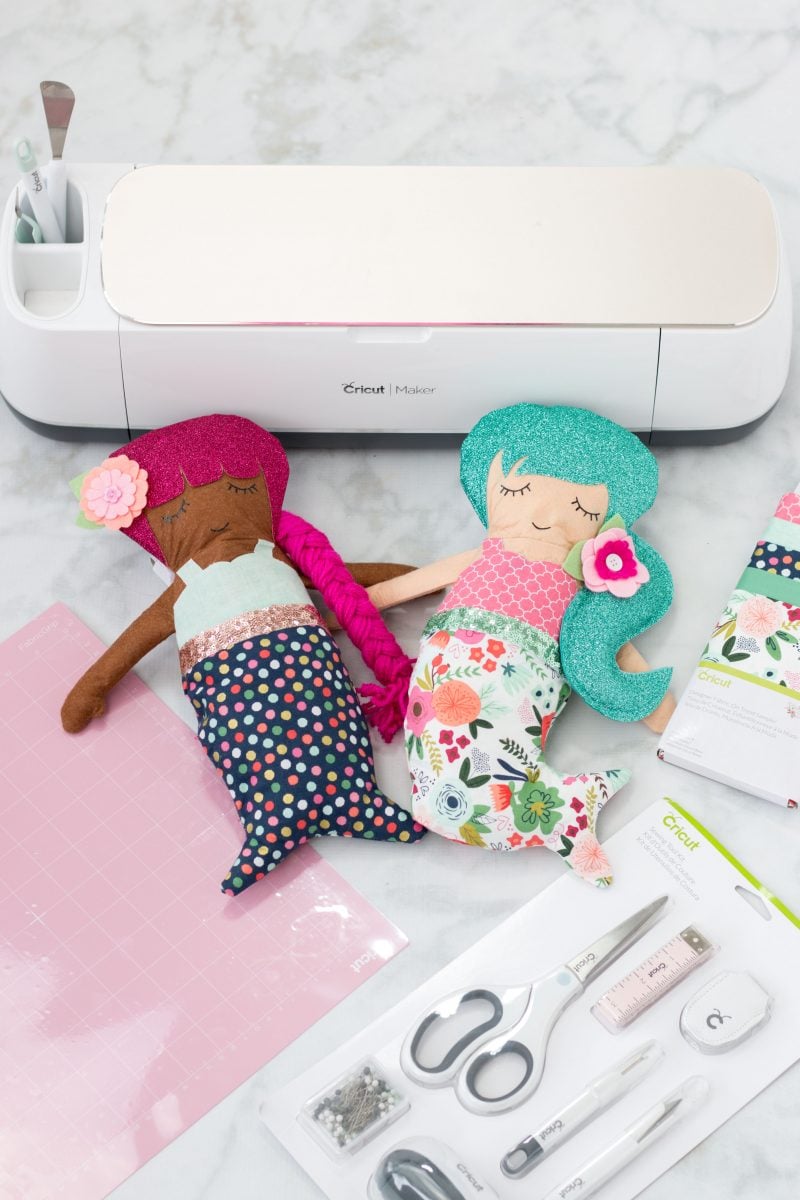
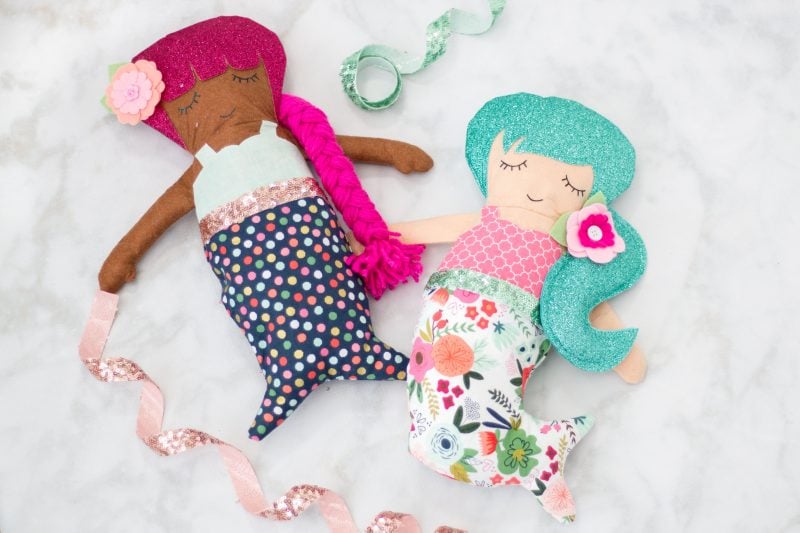
My two girls are completely obsessed with all things mermaid so you can imagine my excitement when I found these adorable Mermaid Doll Patterns from Simplicity in Cricut's Design Space!
Make sure to check out this post for all of my favorite Cricut Hacks!
I was so excited when I found out that Cricut and Simplicity would be teaming up to create sewing patterns for Design Space. Typically you would have to go to the store and purchase a pattern, cut it out, then use the pattern to cut the fabric out by hand, trace off all of the markings and then sew the pieces together slowly to make sure the seam allowance was correct.
Now you can digitally purchase a pattern, load your fabric onto a mat and the Maker will cut and mark (with a washable marker) everything for you! It even draws in the seam allowances which is SO helpful for beginners!
Pretty neat right?
Let’s get started!
Supplies
Trim
1 Button
Cutting
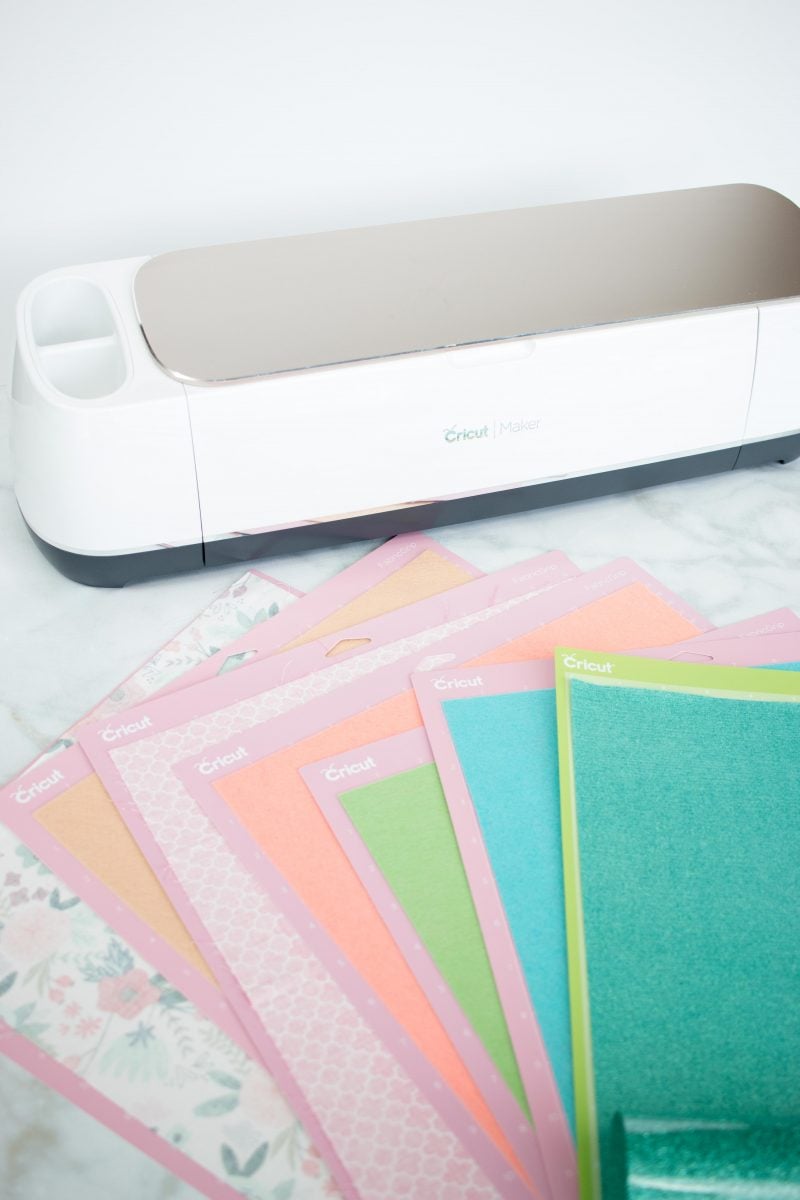
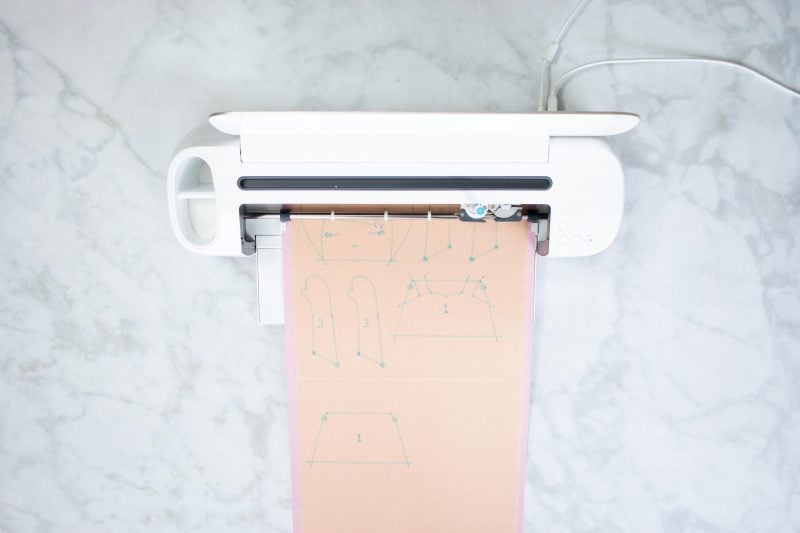
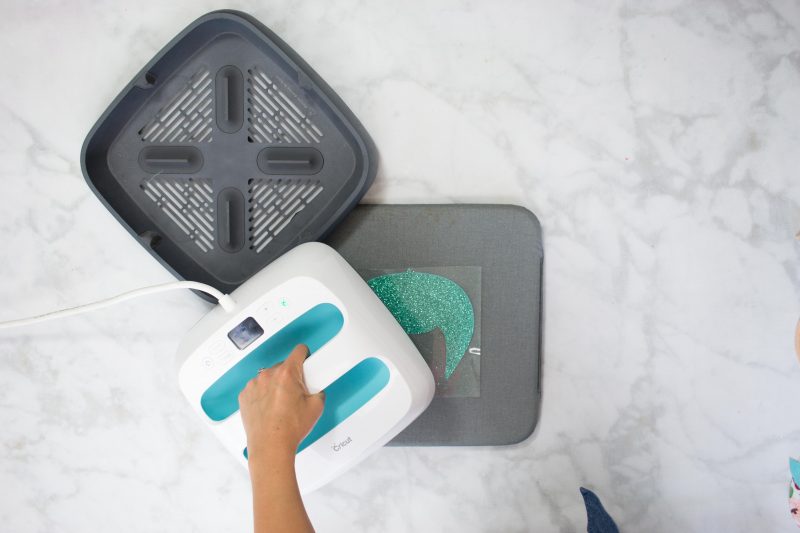
Begin by prepping all of your mats. You’ll want to use the pink mats for fabric and felt and the green mats for Iron-On. I like to have multiple mats so I can get all of my mats prepped and ready to go into the machine.
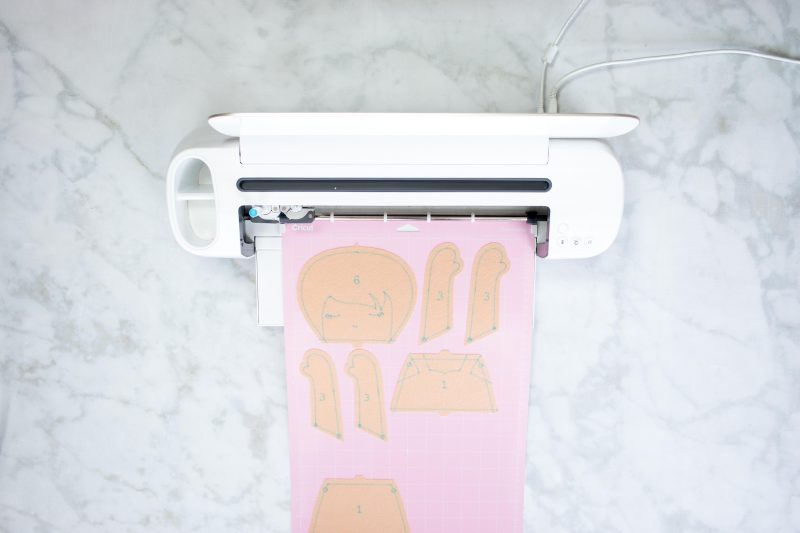
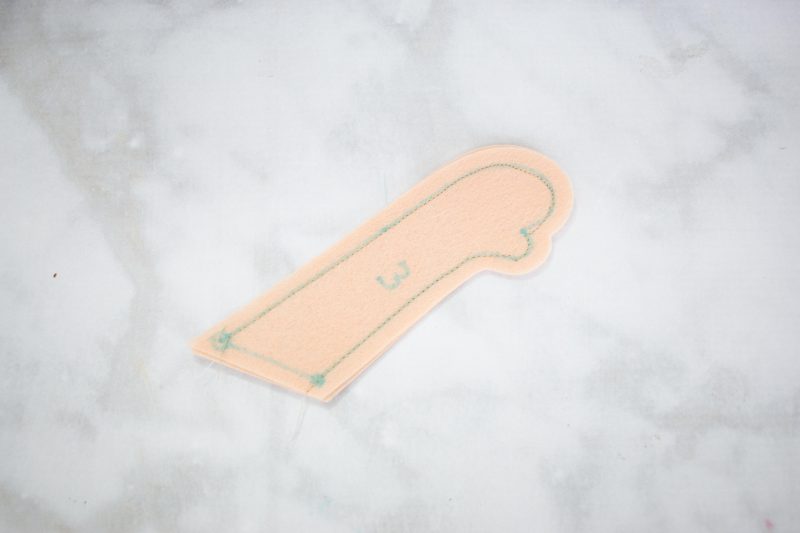
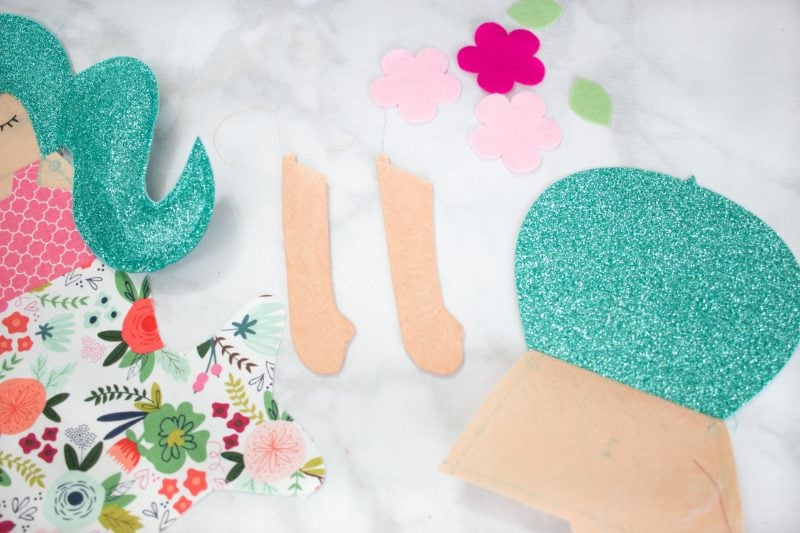
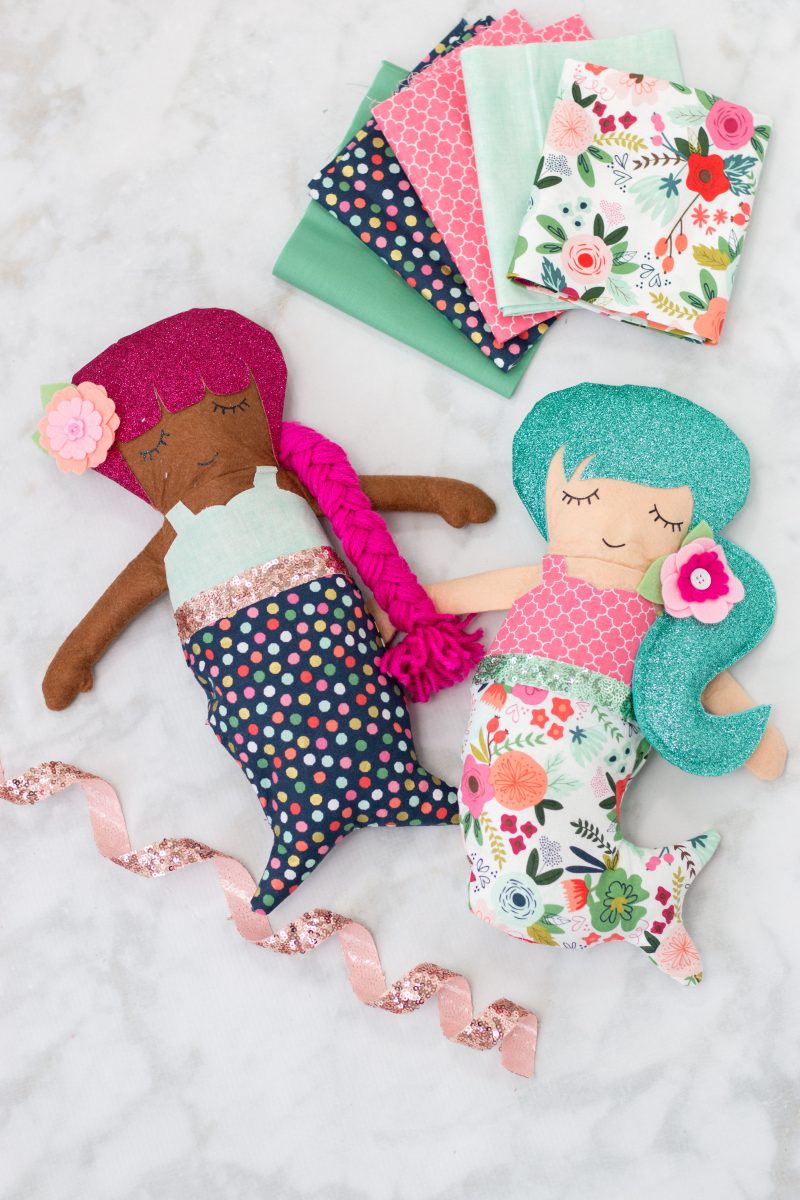
Choose a color for the skin tone. I used felt from the Cricut Felt Sky Sampler and it worked perfectly. Remember to lay all of your fabrics pretty side down so the fabric pen can draw in all of the pattern markings.
Isn't that amazing? All of the seam allowances are drawn in for you!
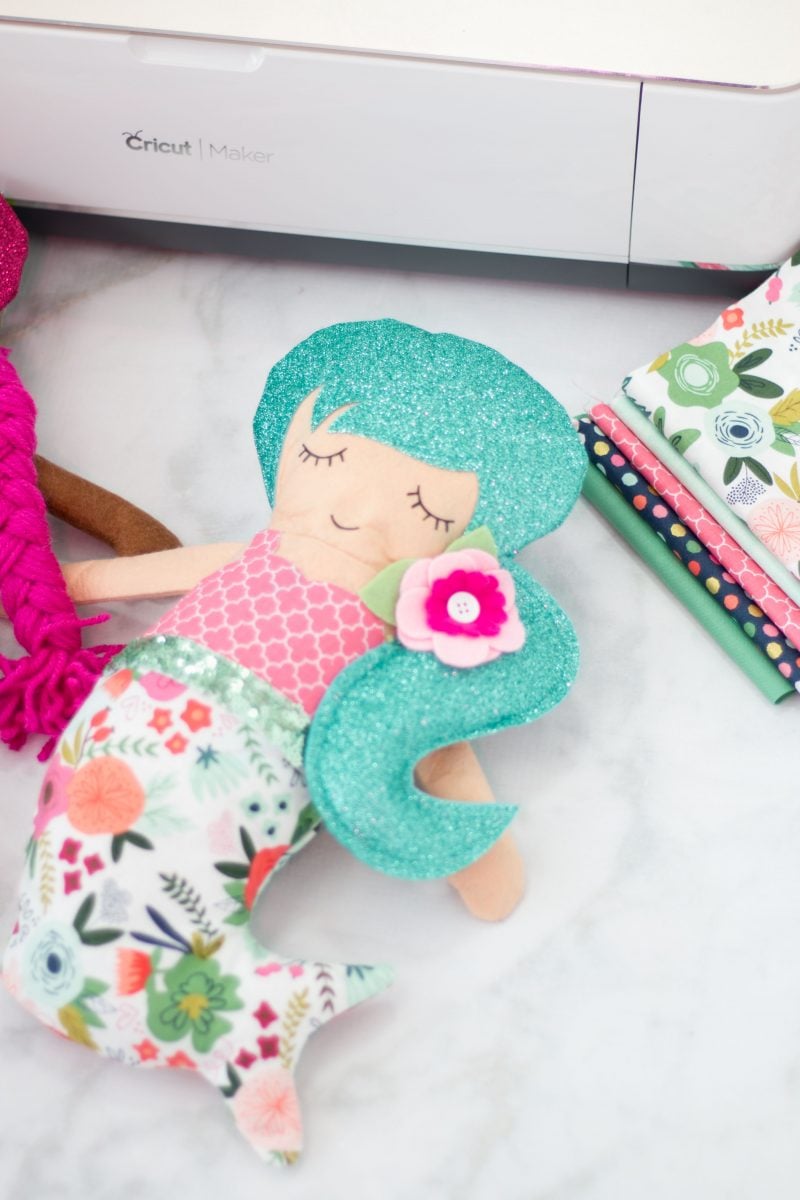
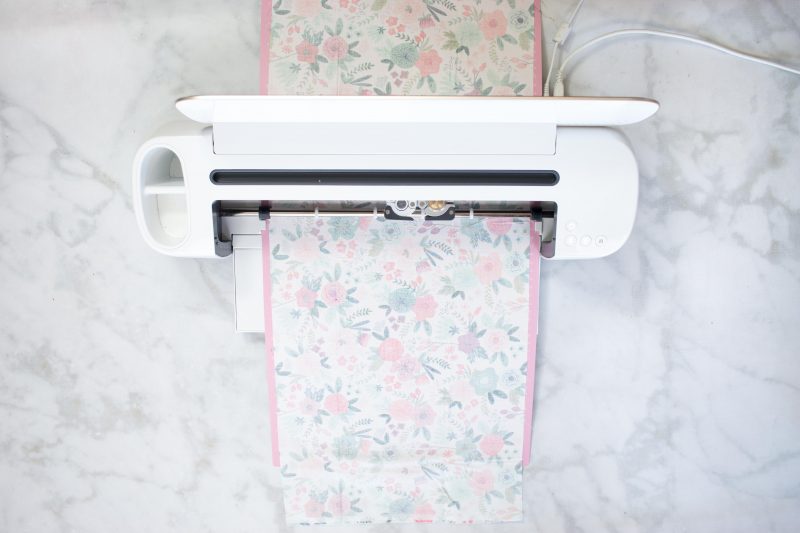
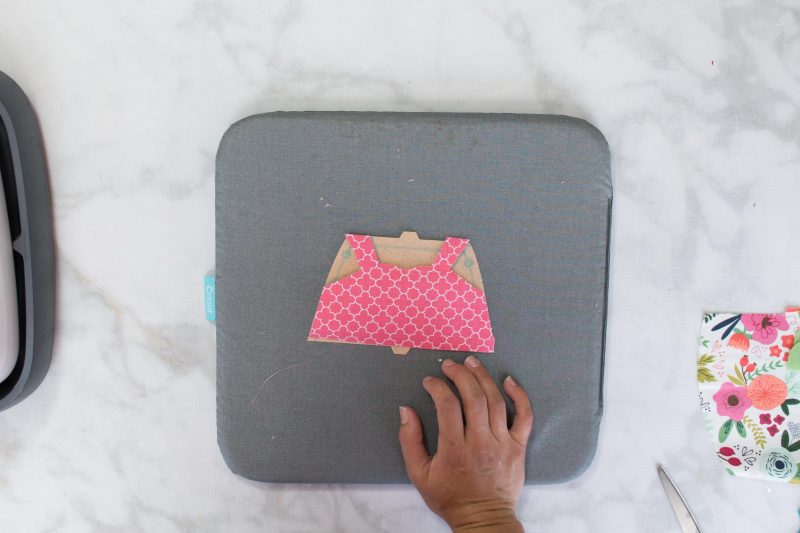
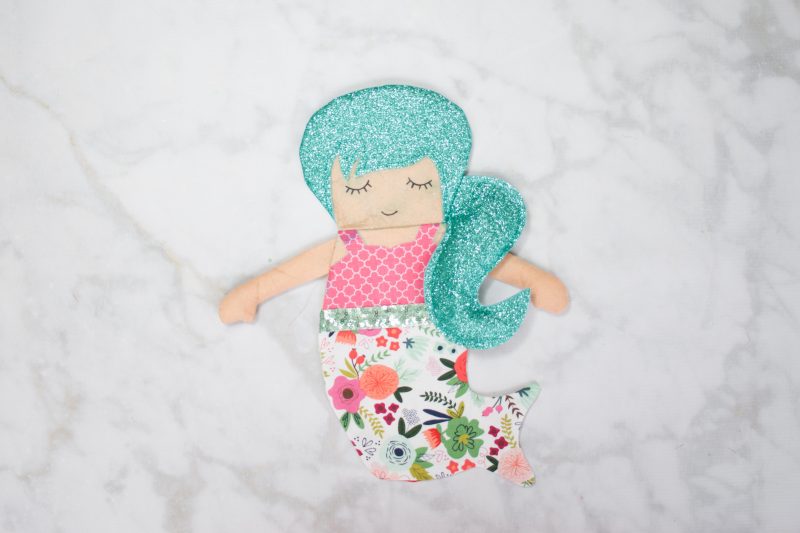
For my mermaid’s bodies, I used the Cricut On Trend Fabric Sampler. I just adore these cute prints and they are precut to be 12 inches wide which makes this project, oh so easy!
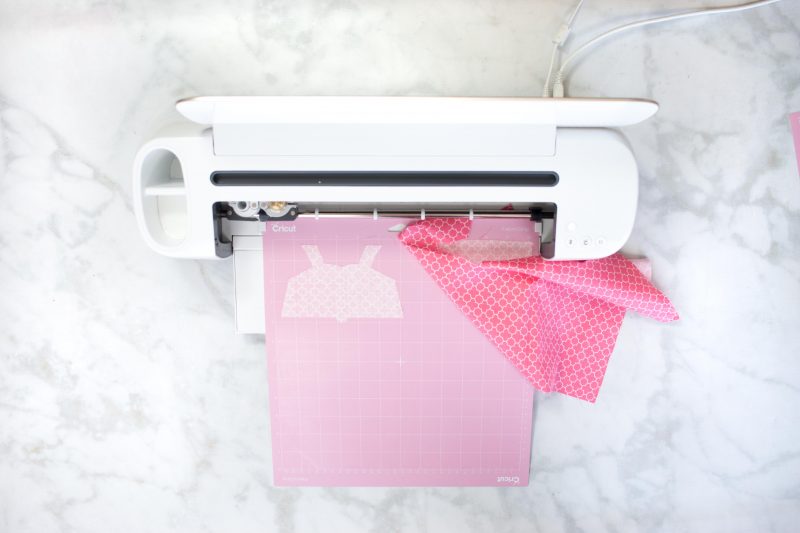
I lined the pink fabric with a fusible webbing so that it would adhere to the body without needing to be stitched down.

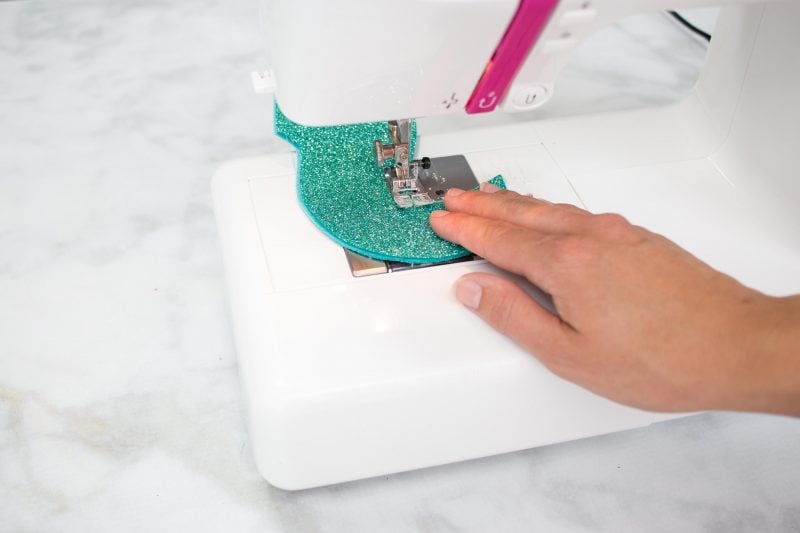
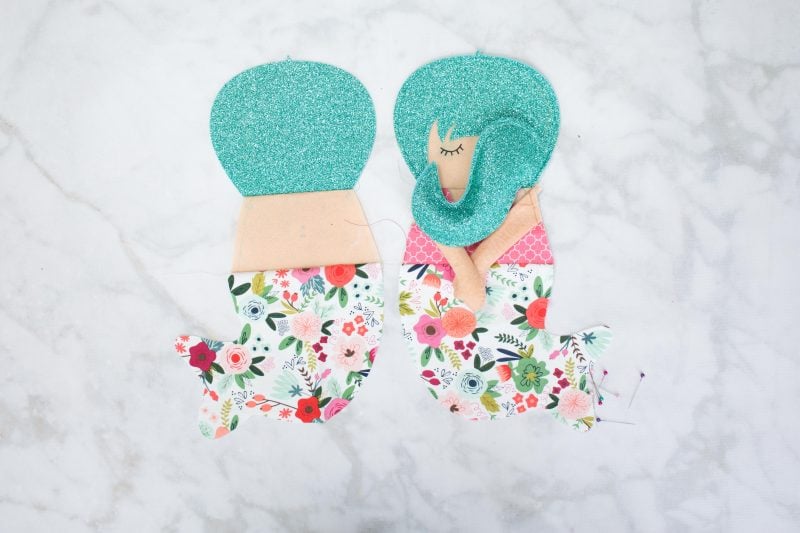
In order to get glitter hair, you will need to cut the hair out a second time using glitter Iron-On. Don’t forget to mirror it! Weed the Iron-On and then apply it to the cut out felt hair.
Assemble the Pieces
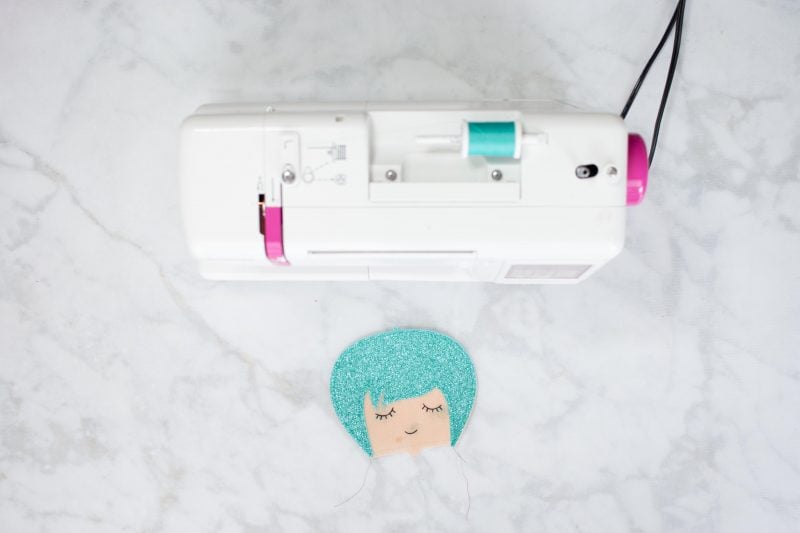
Instead of using fabric paint for the mermaids eyes and mouth like the pattern suggests I used this face I found in design space and cut it out of Iron-On. I’m a bit of a perfectionist so I knew I wouldn’t be happy with the end result if I hand painted it.
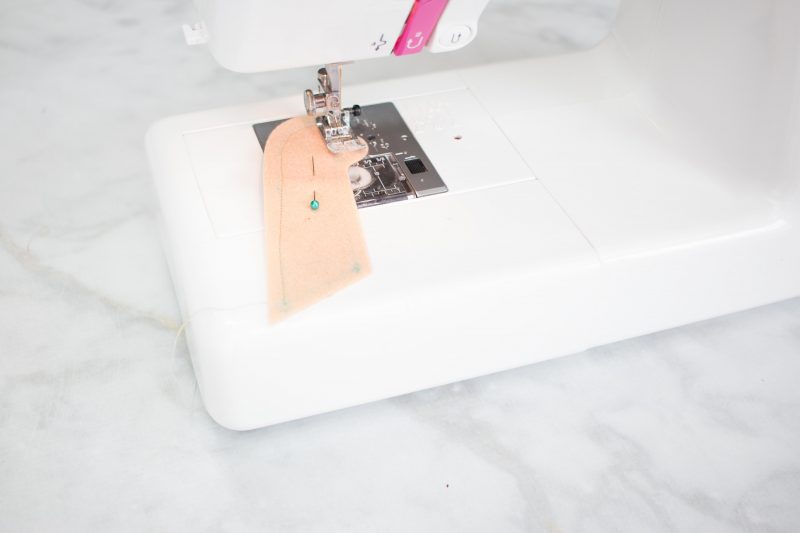
Once you’ve cut out all of your pieces it’s time to get started sewing! If you are new to sewing, don’t be worried! I’m amazed at how easy the Cricut Maker can make everything for a beginner. All of your seam allowances will be drawn on the fabric which takes away all the guesswork. I’ve included a video below with each step just in case you need a little extra help!
Step-by-Step Video Tutorial
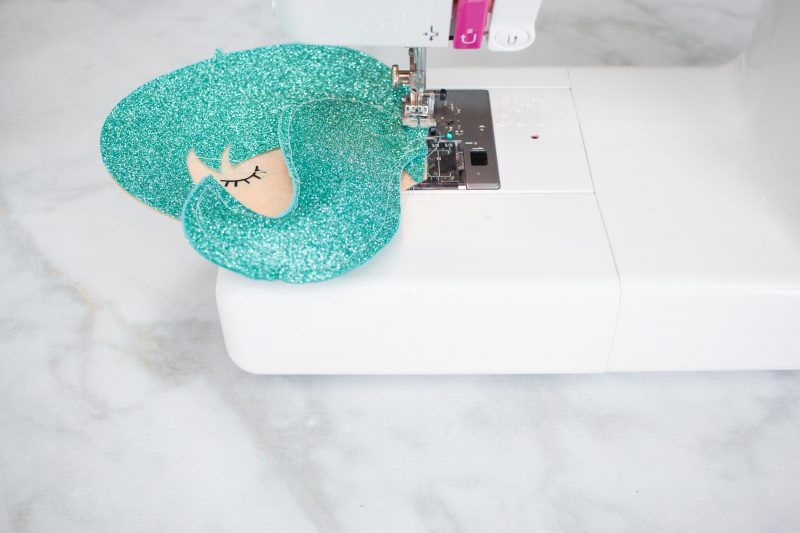
To begin, sew the hair to the face. Make sure to align the raw edges and the triangle notches. Use a basting stitch (this is the longest length stitch and serves as a temporary seam to hold something in place.)
Next, place the ponytail pieces wrong sides together (this might seem counterintuitive since typically, the fabric is placed right sides together but the ponytail will be sewn on the outside and it will have a raw edge.) Sew around the perimeter of the ponytail leaving the space between the small and large dot unsewn.
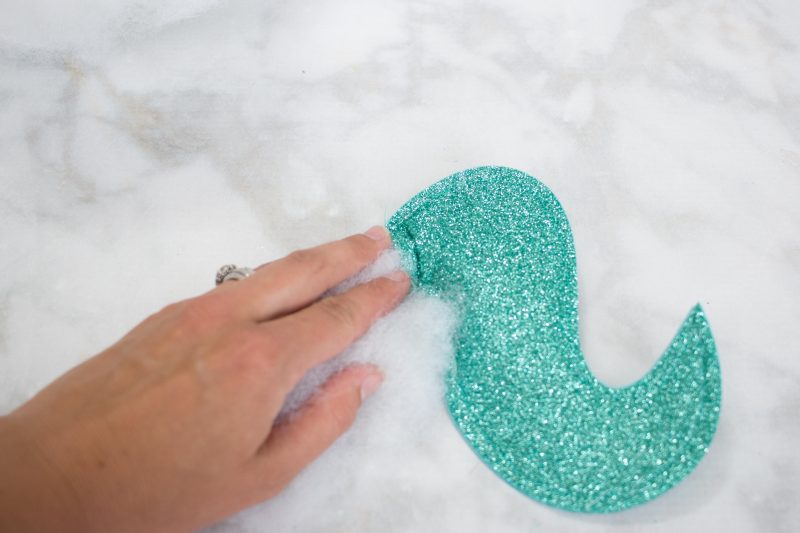
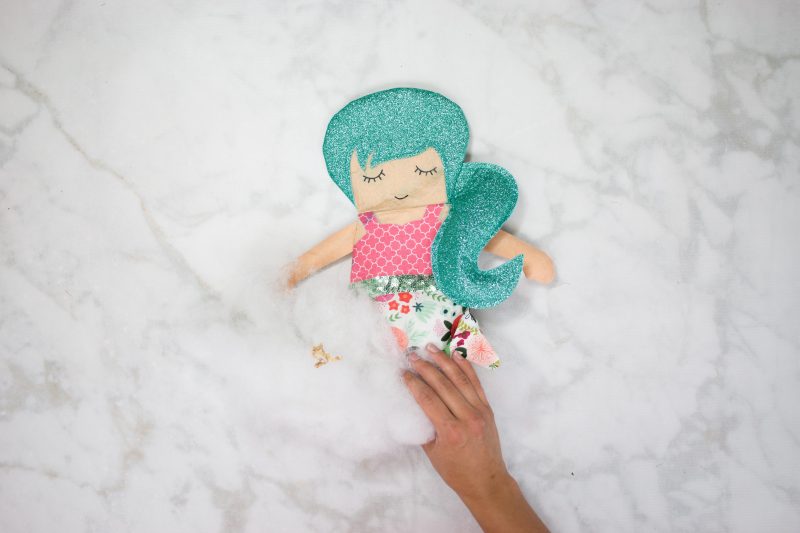
Use fiberfill stuffing to lightly fill the ponytail, make sure not to overstuff it. You can use the end of a Cricut weeding tool to stuff the fiberfill into the ponytail.
Lay the ponytail on top of the hair matching the small and large dots. The end of the ponytail should be facing inwards. Even though it looks a little funny, this is the correct position! Once the back of the head is sewn on, the pony tail will flip to the outside.
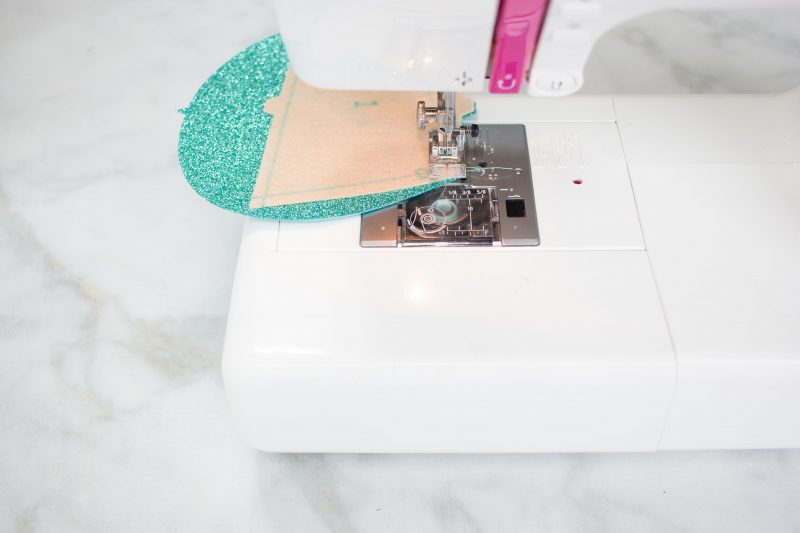
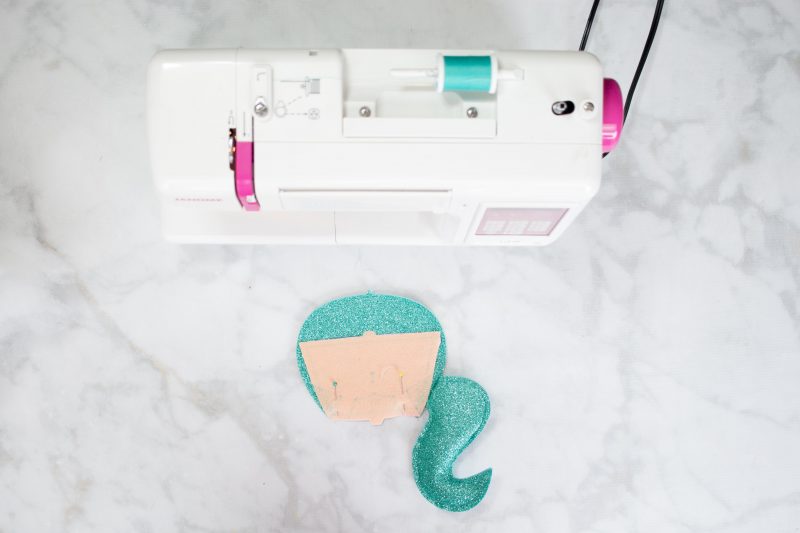
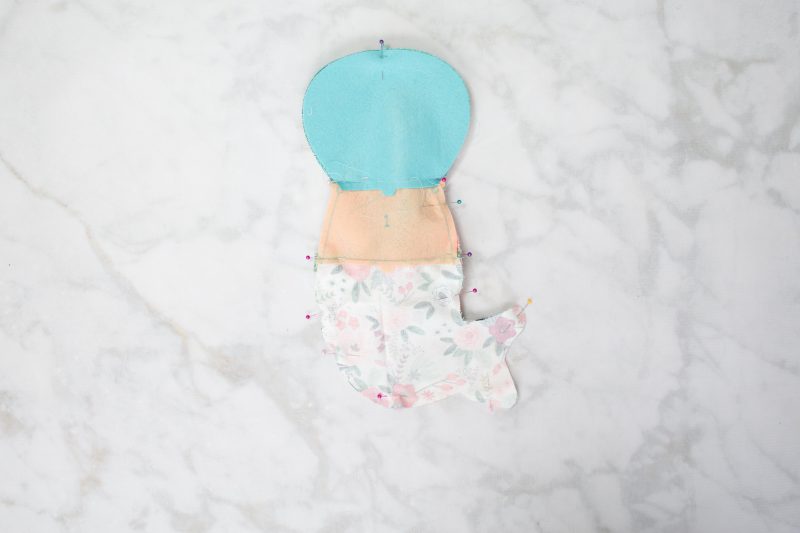
Pin the overlay to the top of the body. Use a zigzag stitch around the raw edges. For a cleaner edge line the fabric with Heat N Bond Ultrahold.
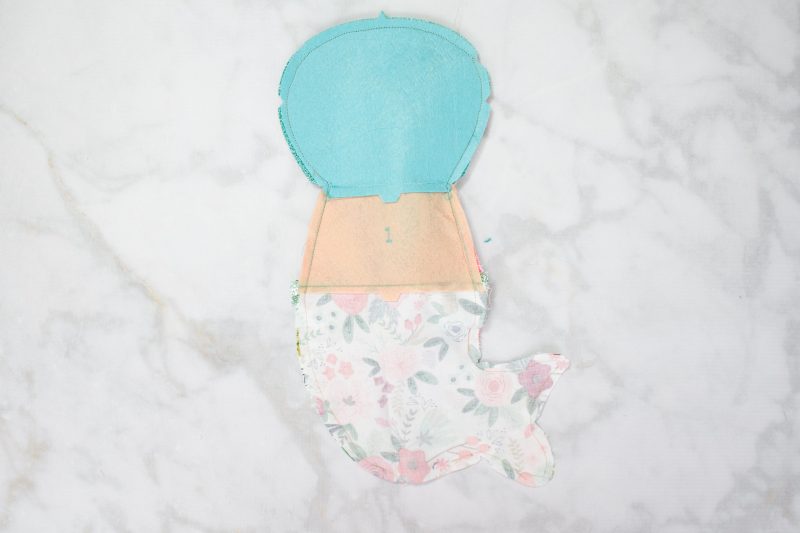
Match the top of the body to the tail aligning notches with right sides of fabric facing each other. Sew with a 5/8th’s inch seam allowance and press the seams open. Attach the head to the body and tail using the same method.
Repeat this step to create the back of the mermaid.
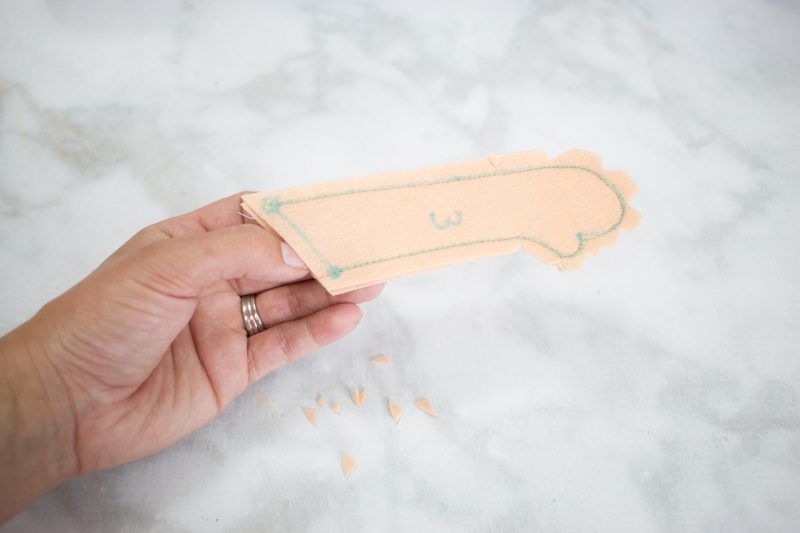
With right sides together pin the arm pieces together. Sew along the markings leaving the upper edge of the arm open for turning. With a pair of scissors, clip to but not through the stitching in between the thumb and the hand. This will help the hand to lay correctly without any pulling. Cut small triangular notches around the curve of the hand to reduce bulk.
Stuff each arm firmly with fiberfill. Fill the opening of the arm with slightly less fiberfill.
Baste over the arm openings.
Align the arms with the body, matching small and large dots and baste in place.
Use a pin to secure the hair out of the way of the stitching line. Lay the mermaid pieces right sides together and sew around the mermaid leaving an opening for turning along the bottom of the tail.
Clip small notches out of the seam allowances along the outwards curves. Clip into the seam allowance (clipping to, but not through the stitching) along any inwards curves, especially the neck and the end of the tail.
Turn the Mermaid inside out and stuff it with fiberfill. Use Thermoweb Fabric Fuse to glue the opening shut or hand sew it closed.
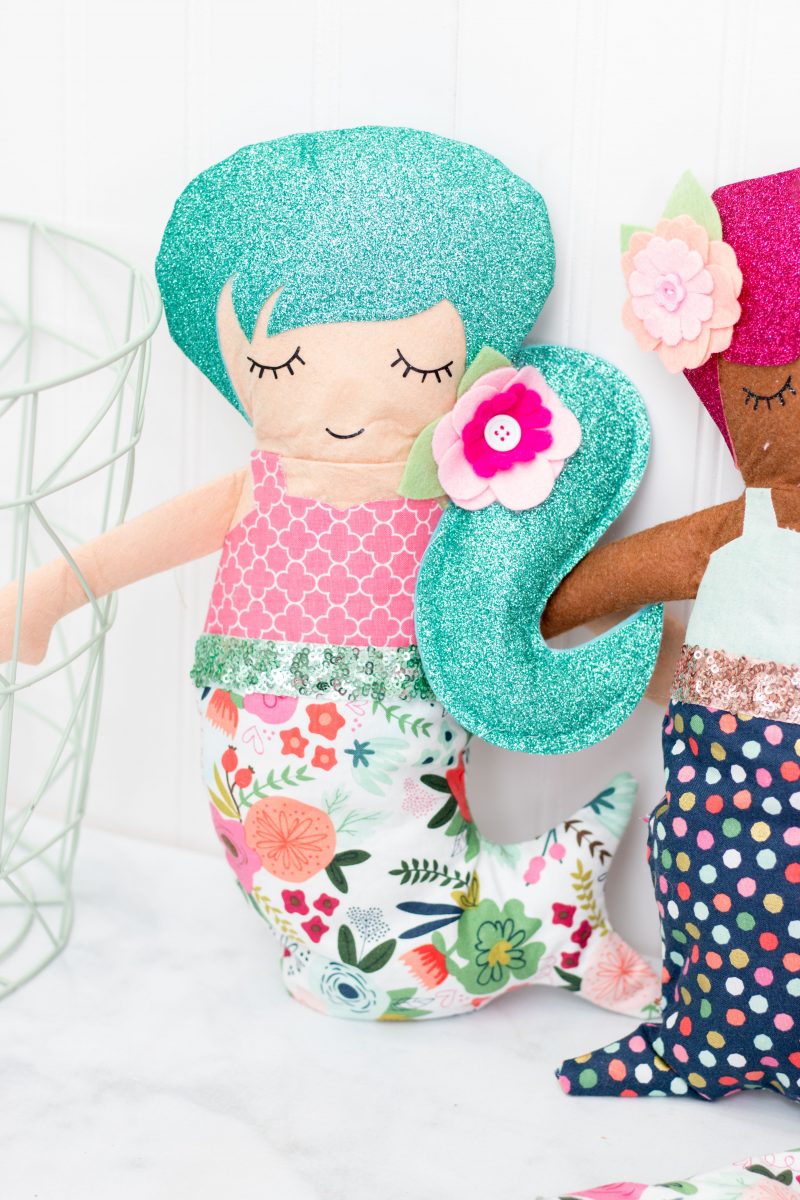
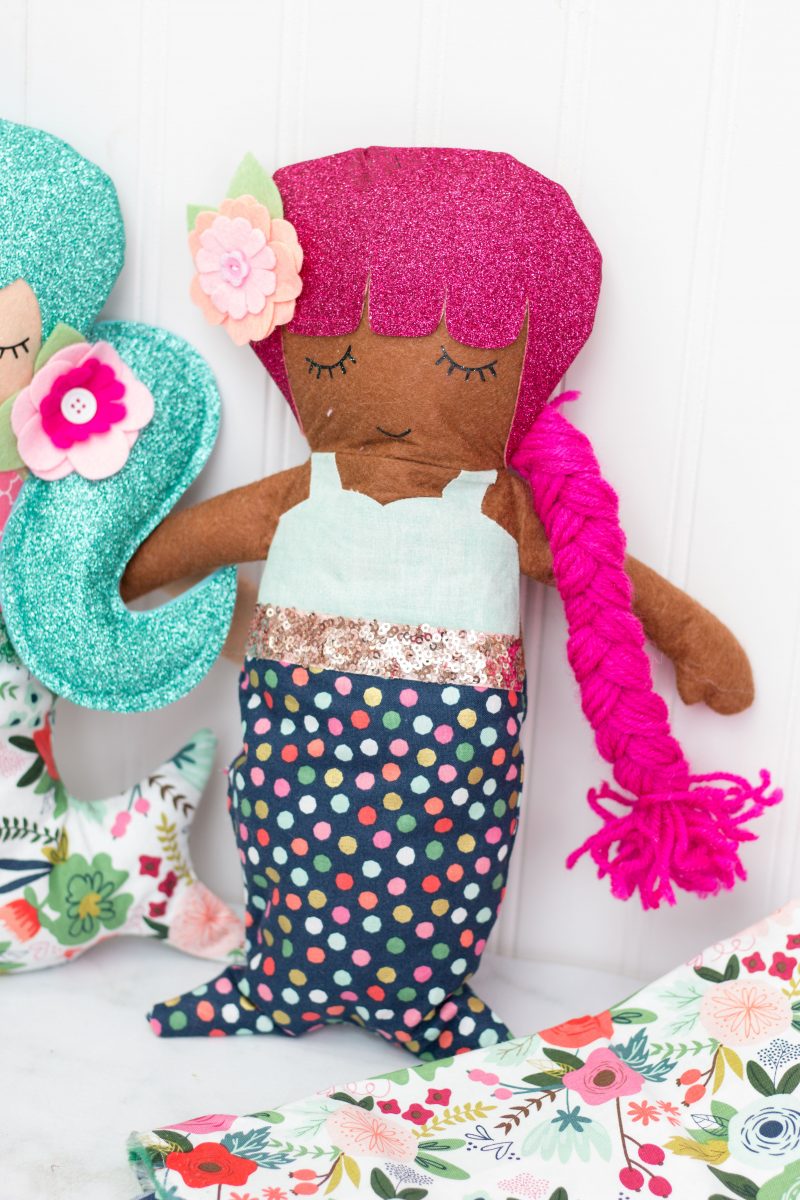
Using a needle and thread sew the leaves to the hair. Layer the three flowers together and attach them in front of the leaves. Finish the flower with a small button or bead.
Now that I’ve made a few of these, I think I’ll make a bunch more to keep on hand for birthday gifts for my daughter to take to parties.
All of her friends have been begging for their own mermaids!
Don't want to forget about this project? Save it to your Pinterest here!

This is a sponsored conversation written by me on behalf of Cricut. The opinions and text are all mine.
where do you purchase this pattern at?
Thank you
Terri
I wanted to make these for my granddaughters so badly. They're so cute! I was SO disappointed not to find it in the Cricut Acess app!