Learn How to Sew a Makeup Brush Roll Bag
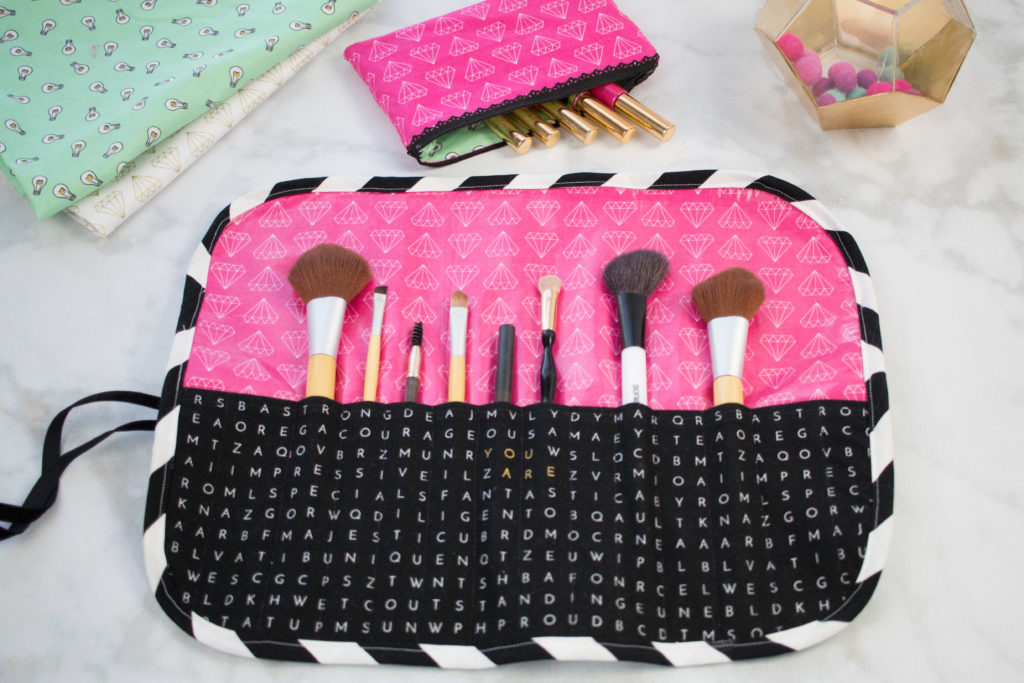
This step-by-step tutorial will teach you how to create a beautiful Makeup Brush Roll Bag with a laminated interior. Roll it up and take it on the go, because it's perfect for traveling!
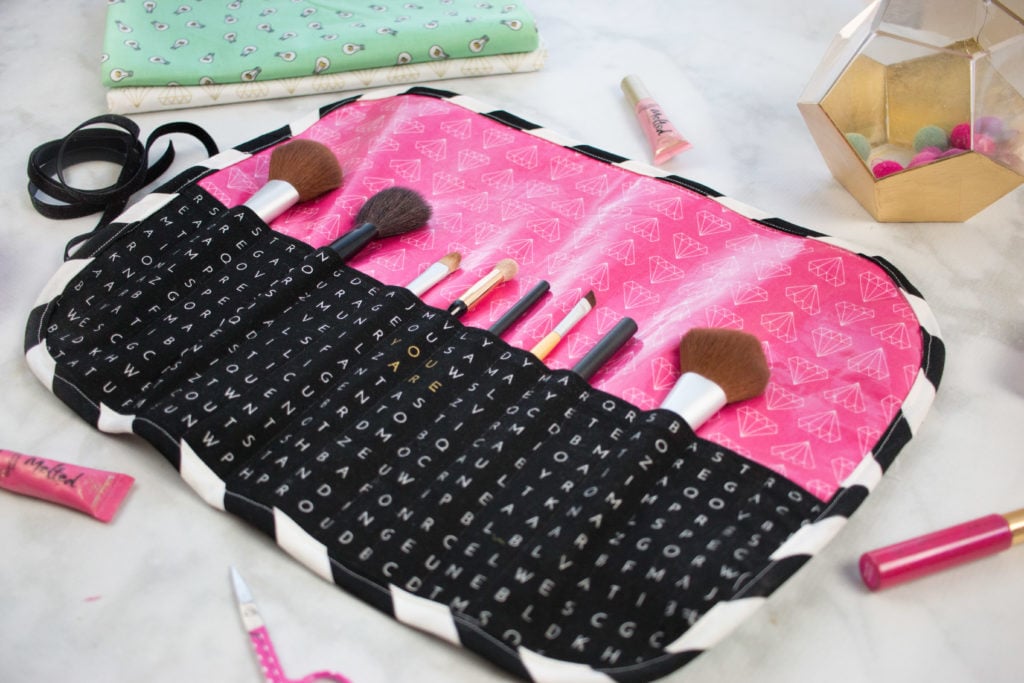
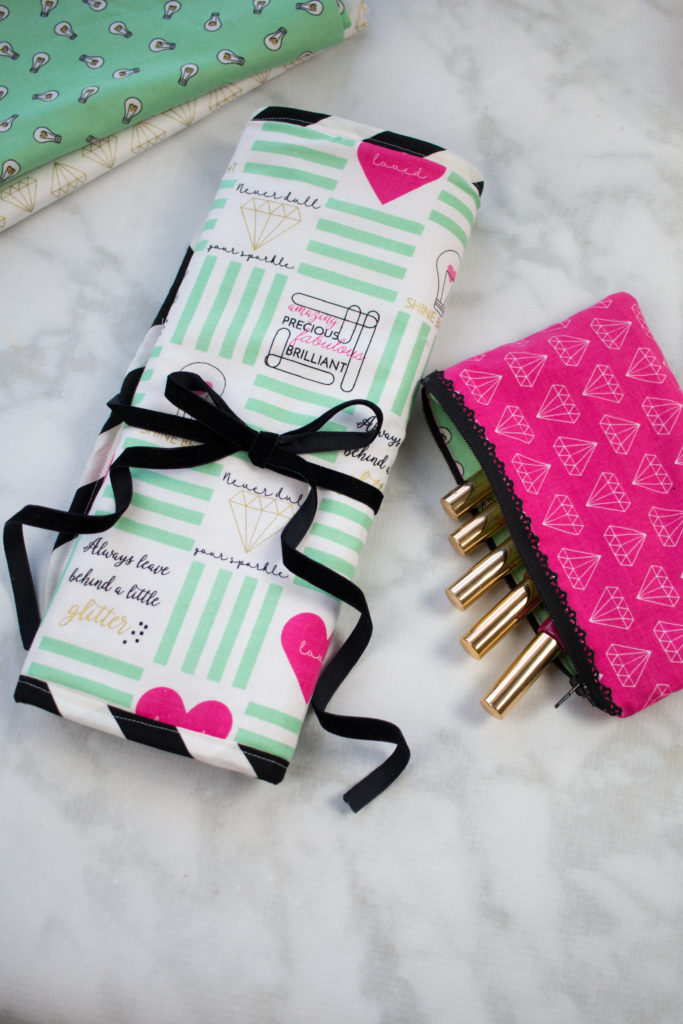
This makeup brush roll-up bag makes for a wonderful gift! I made a few for Christmas gifts this year and they were a big hit! They are easy to sew and absolutely adorable!
They perfect for organizing all of my makeup brushes and I always take this with me when I'm traveling! It pairs perfectly with my Zipper Pouch Tutorial.

1 Roll Velvet Ribbon
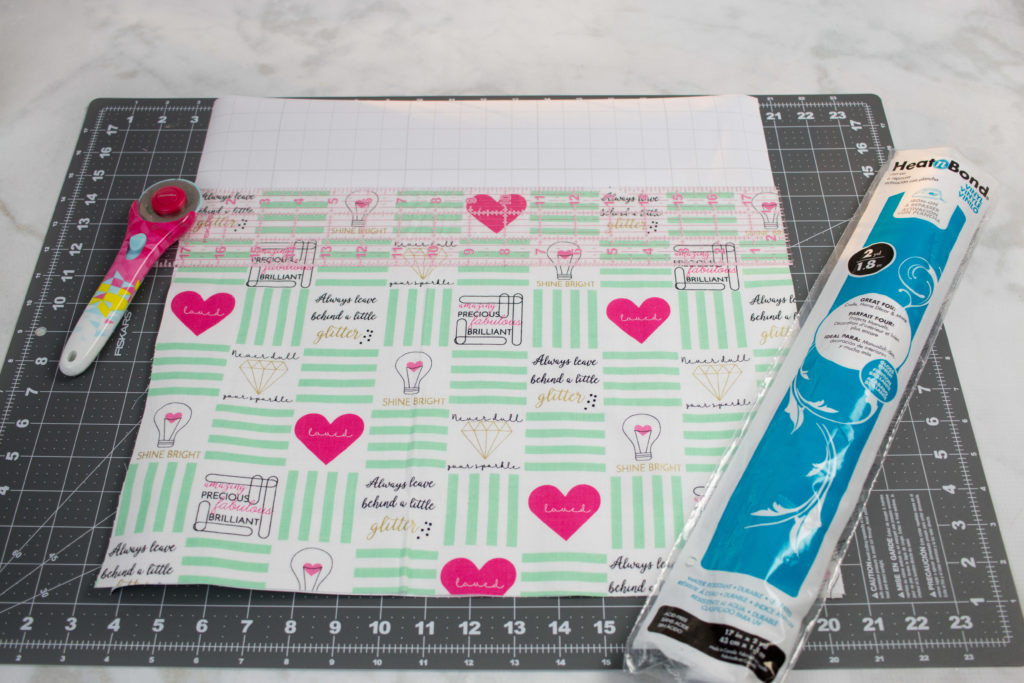
Thermoweb High Loft Fusible Fleece
Clear Iron-On Vinyl
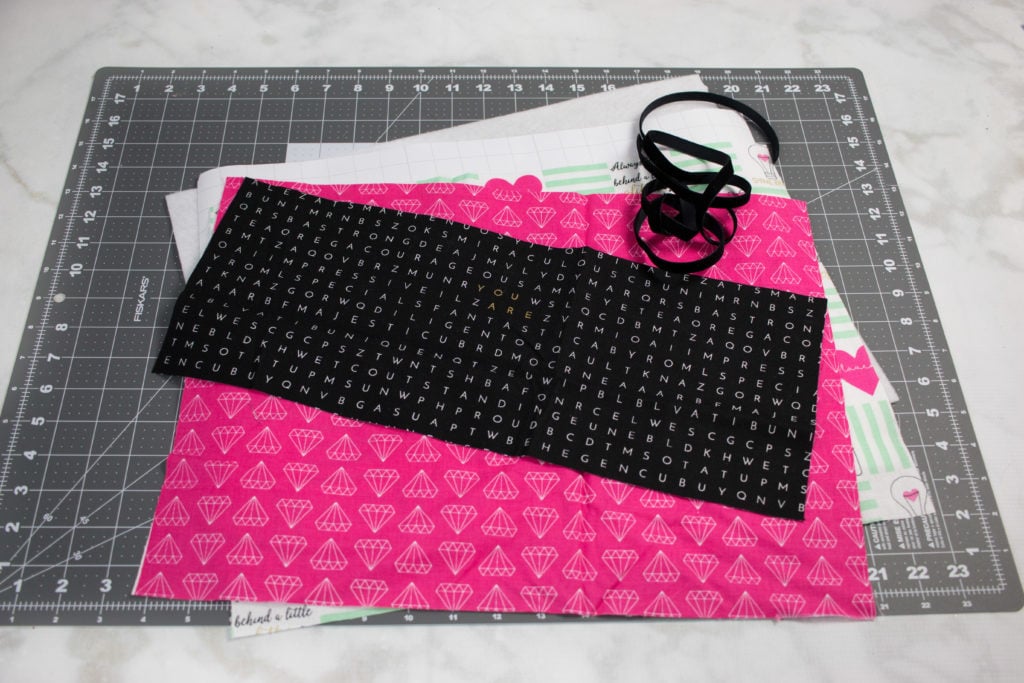
Main, Lining, Lining Iron-On Vinyl, Lining Fusible Fleece 17" x 13"
Lower Lining Brush Holder 17" x 7"
Ribbon (Cut 2) 23"
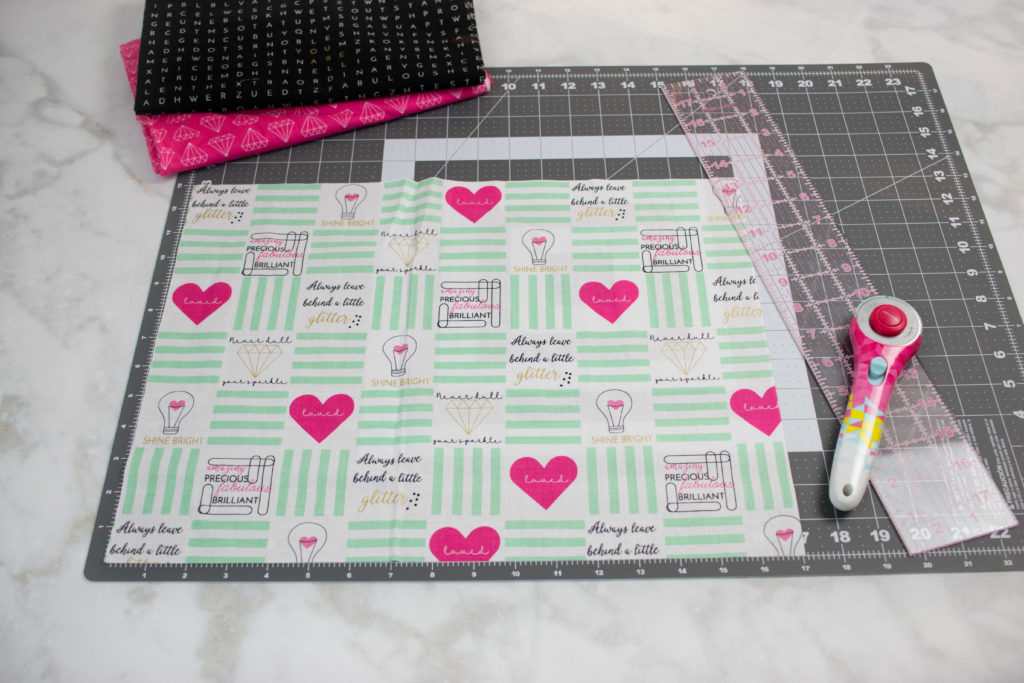
Let's get started!
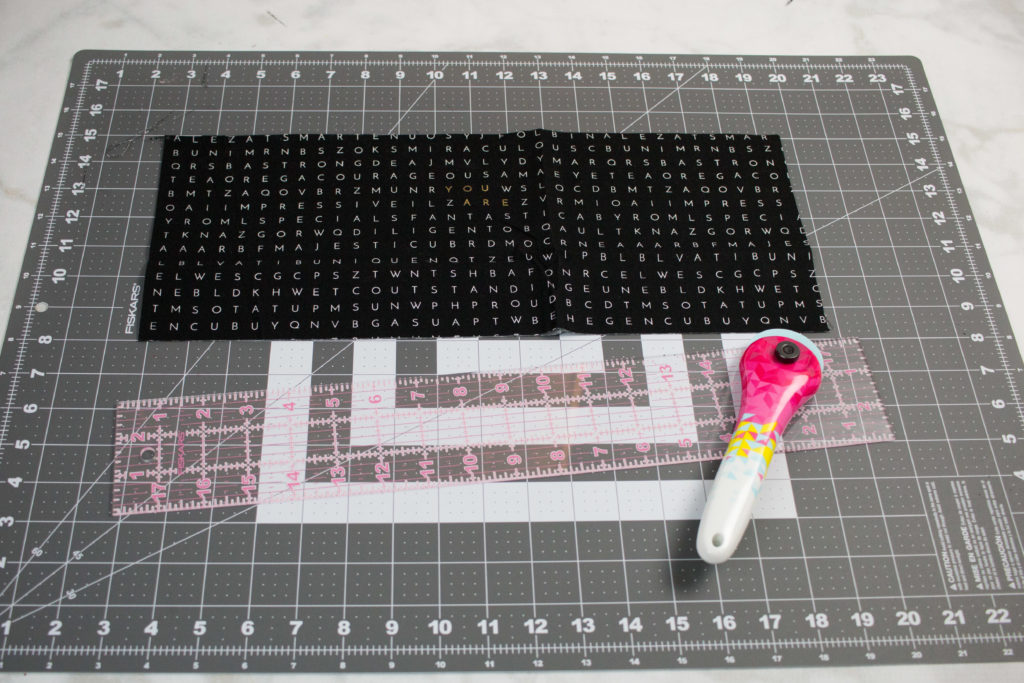
Cut out all of the pieces listed in the cutting chart above.
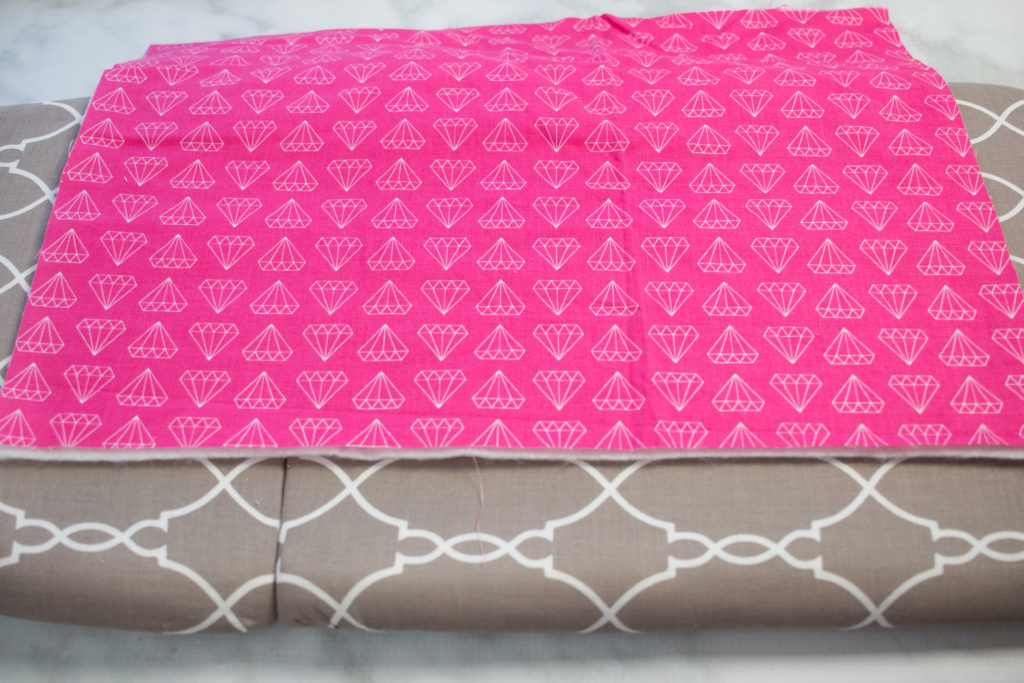
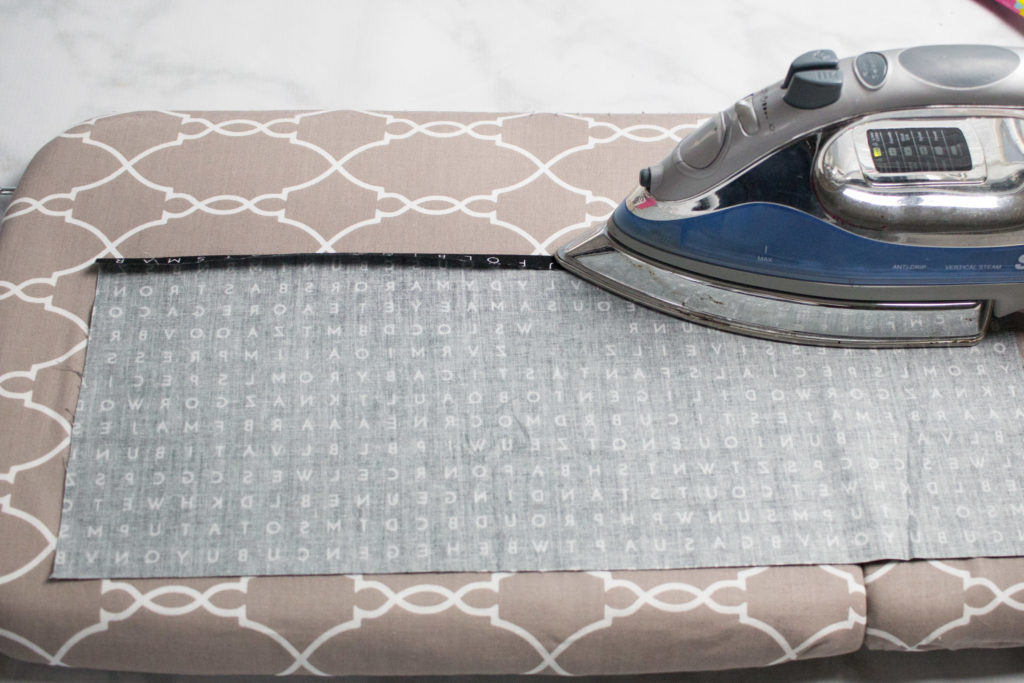
Place the sticky side of the fusible fleece against the wrong side of the lining fabric. From the right side of the lining fabric, press with a hot iron to fuse the fleece to the fabric.
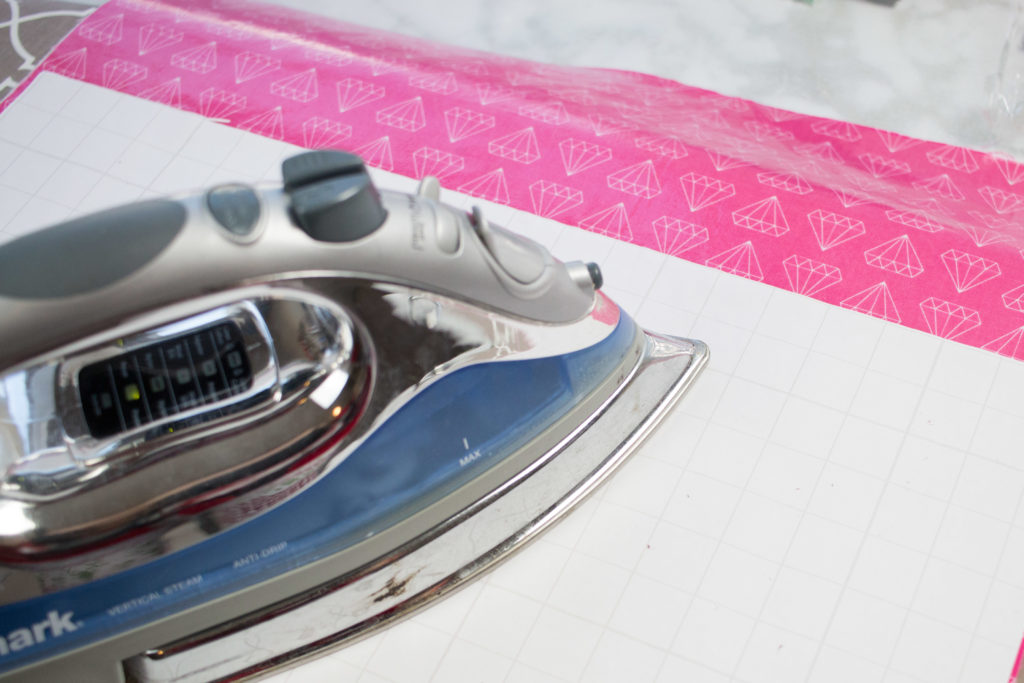
Pull back the paper lining from the clear vinyl and place the sticky side on the right side of the lining fabric. Cover the vinyl with the paper liner and press according to the directions listed on the packaging.
The clear vinyl will create a barrier between the fabric and the brushes making for easy clean up if the brushes have any makeup left on them.
Allow the vinyl to cool completely.
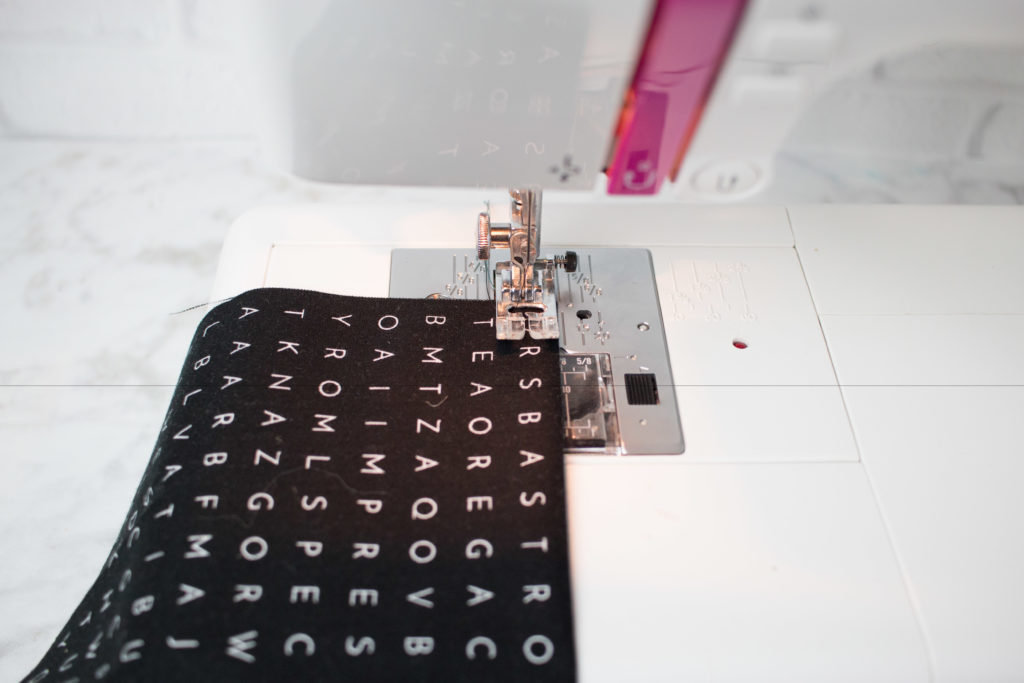
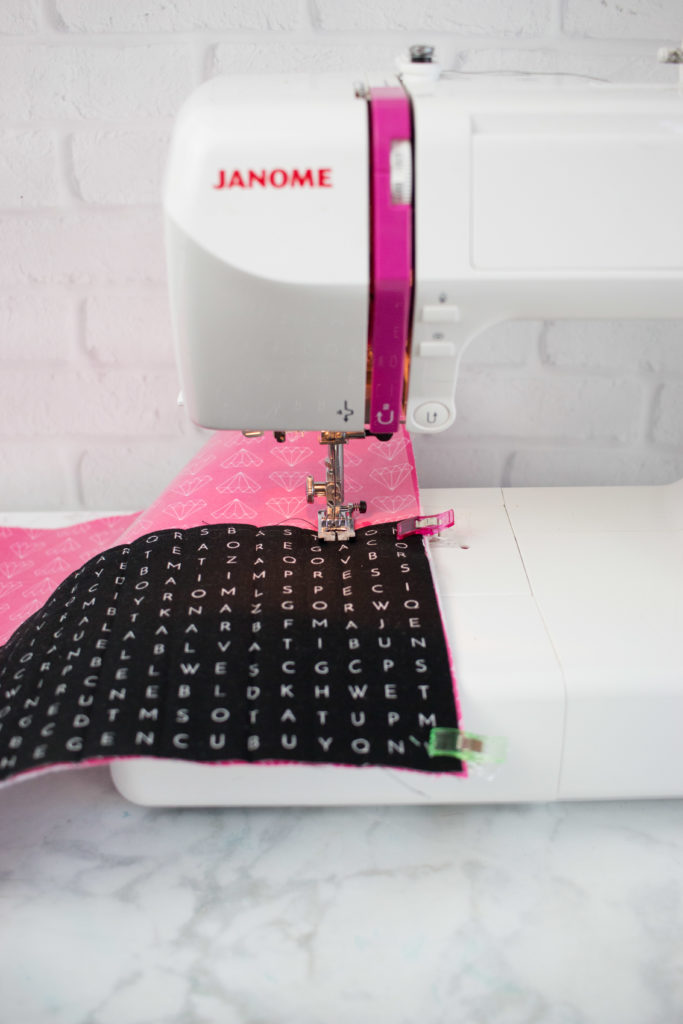
Take the lower lining and fold the top edge back 1/2 inch and press. Fold back 1/2 inch and press again. Sew 3/8ths inch from the folded edge.
Fold the lower lining in half and in half again. Iron the lining to make vertical creases.
From this point, if you would like smaller pockets you can fold each fourth in half again or leave some of the pockets larger.
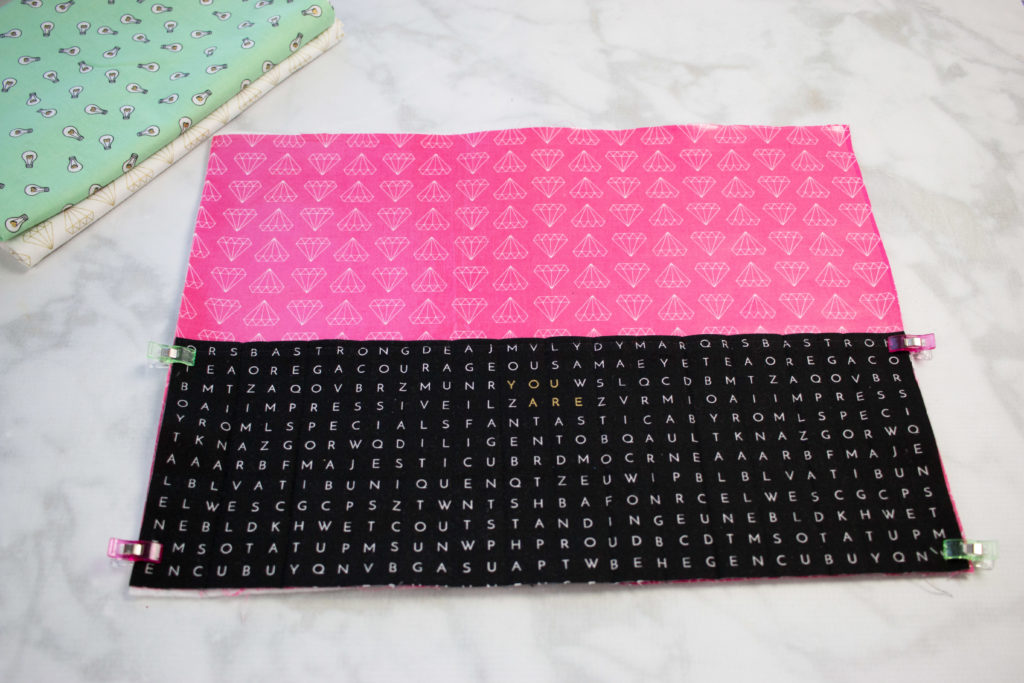
With the lining right side up, lay the lower lining on top aligning the edges and the bottom.
Sew along the markings, making sure to backstitch at the beginning and the end of each seam.
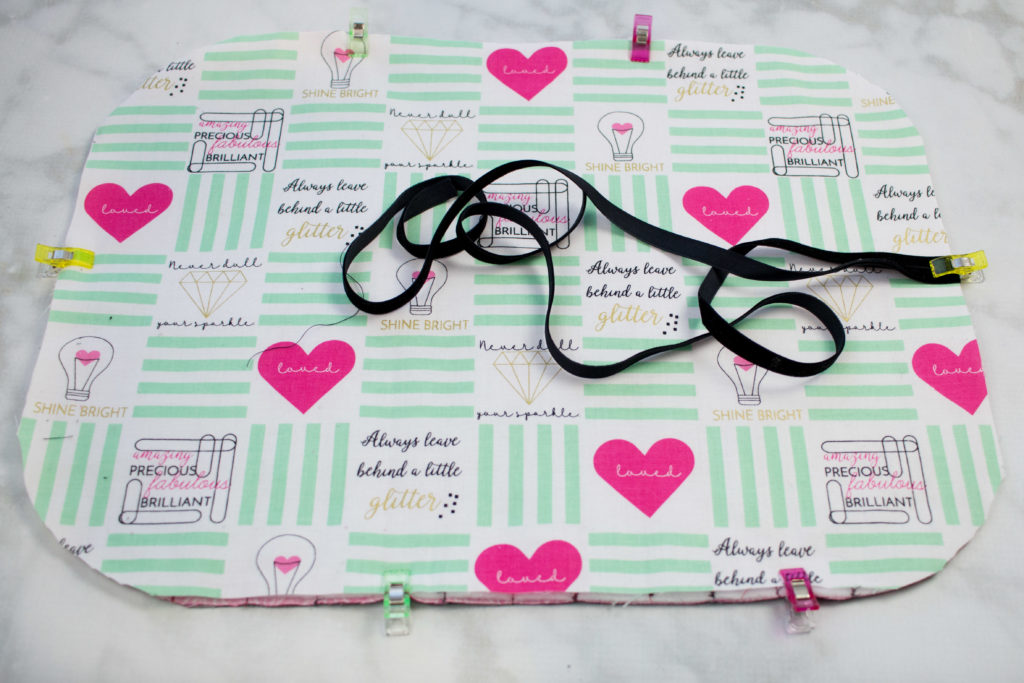
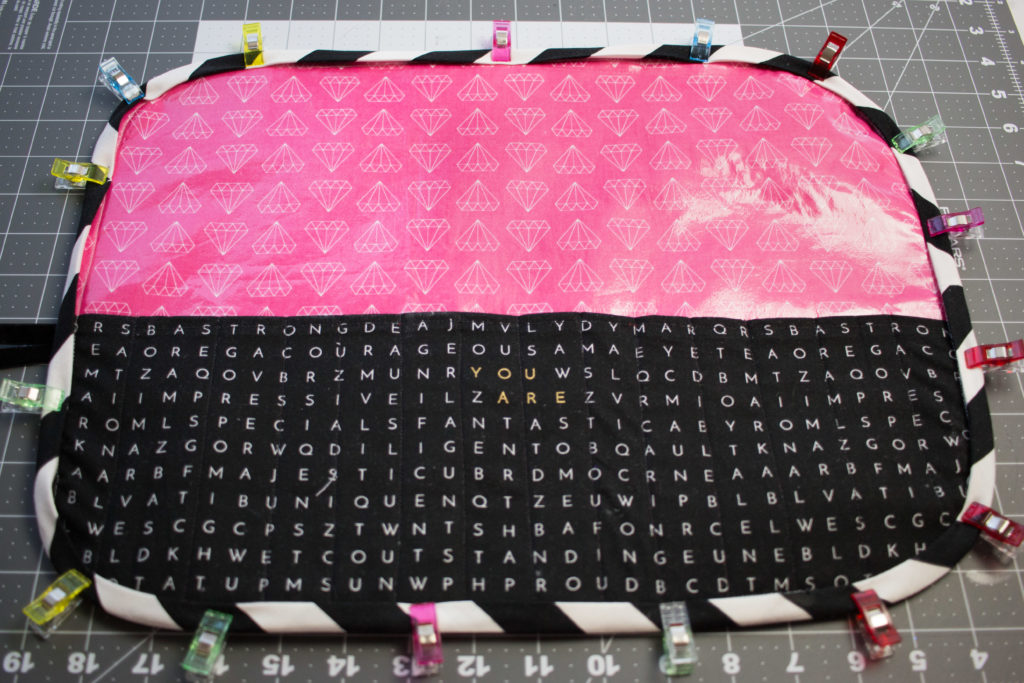
Place the wrong side of the main fabric against the Fusible Fleece. Using Craft Clips, clip the sides together.

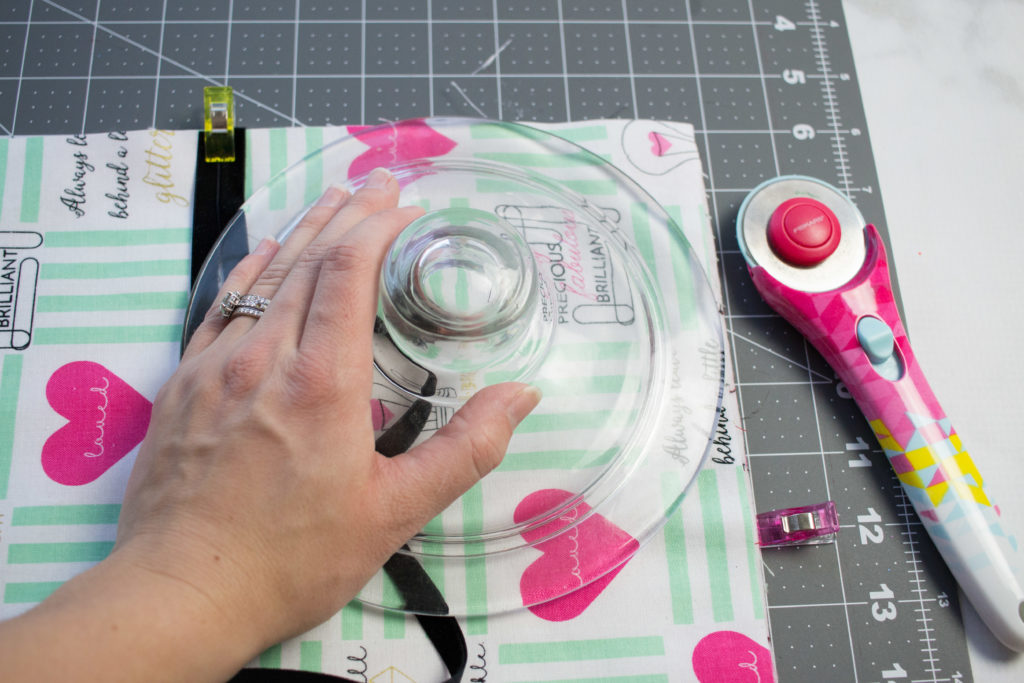
Use a large plate as a template to create a rounded edge on each corner. Place the plate face side down against the corner and trim around each edge.
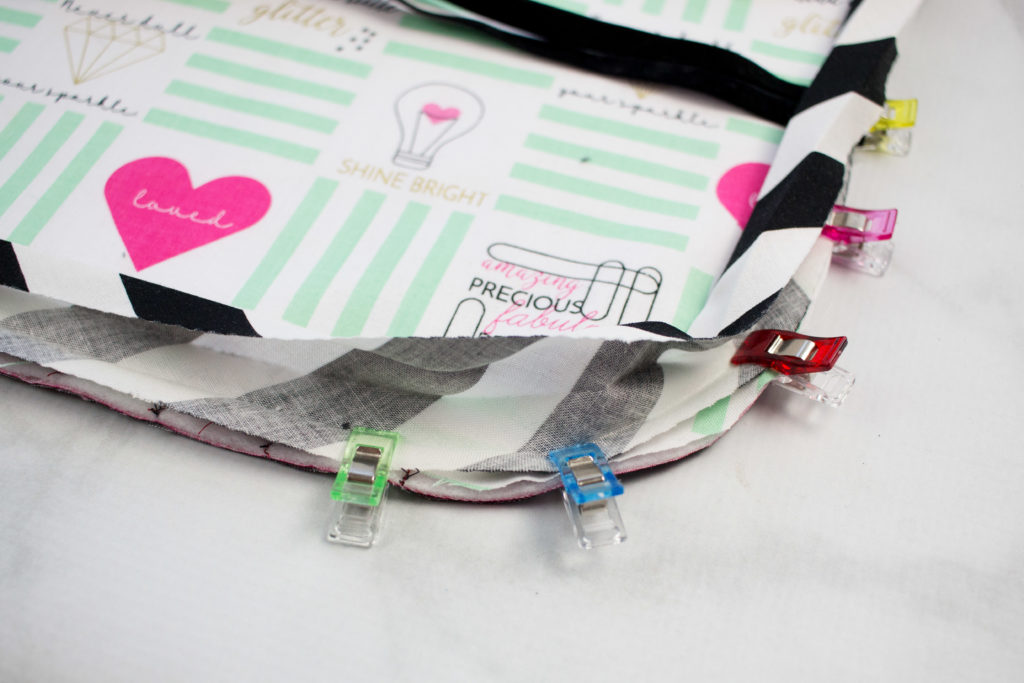
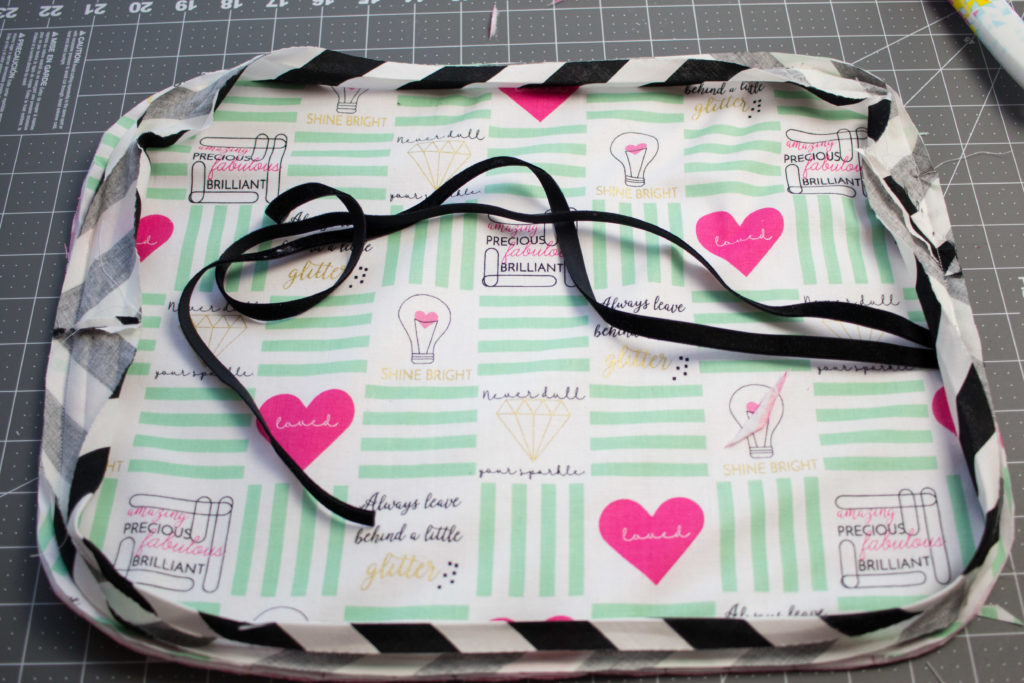
Clip the two pieces of ribbon against the main fabric halfway down the shorter edge with the ends facing inwards
Open up the bias tape so that the wrong side is facing upwards.
Stretch the bias tape ever so gently around the corners.
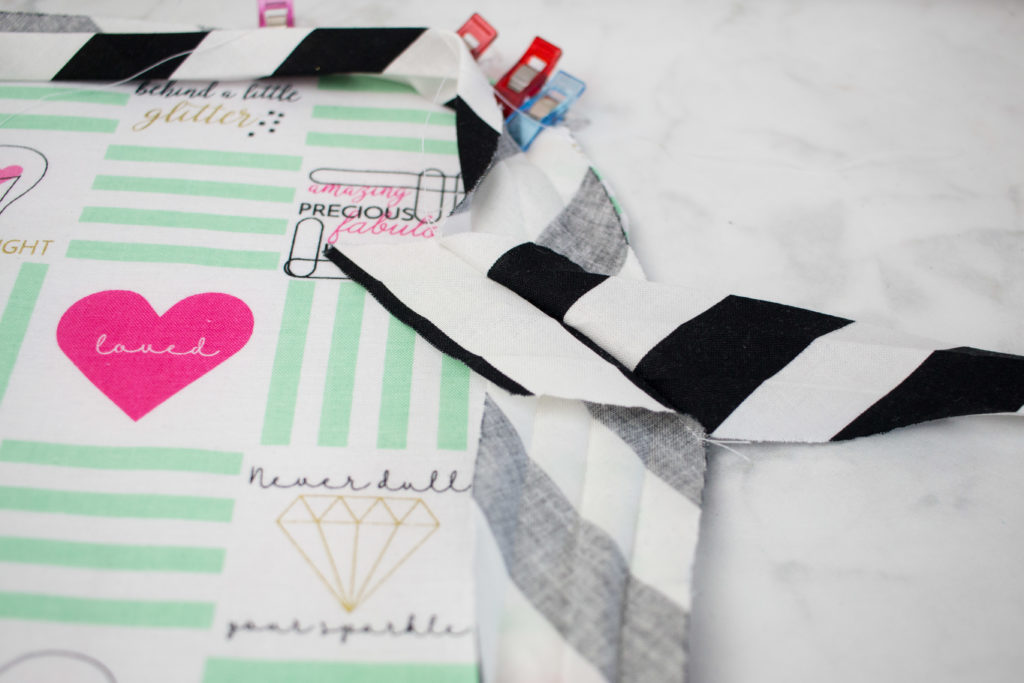
Once the bias tape has been clipped around the entire outside edge, take the ends of the bias tape and place them right sides together at
a 45-degree angle. Sew from the top corner to the bottom corner. This will create less bulk than sewing the binding together with a straight seam
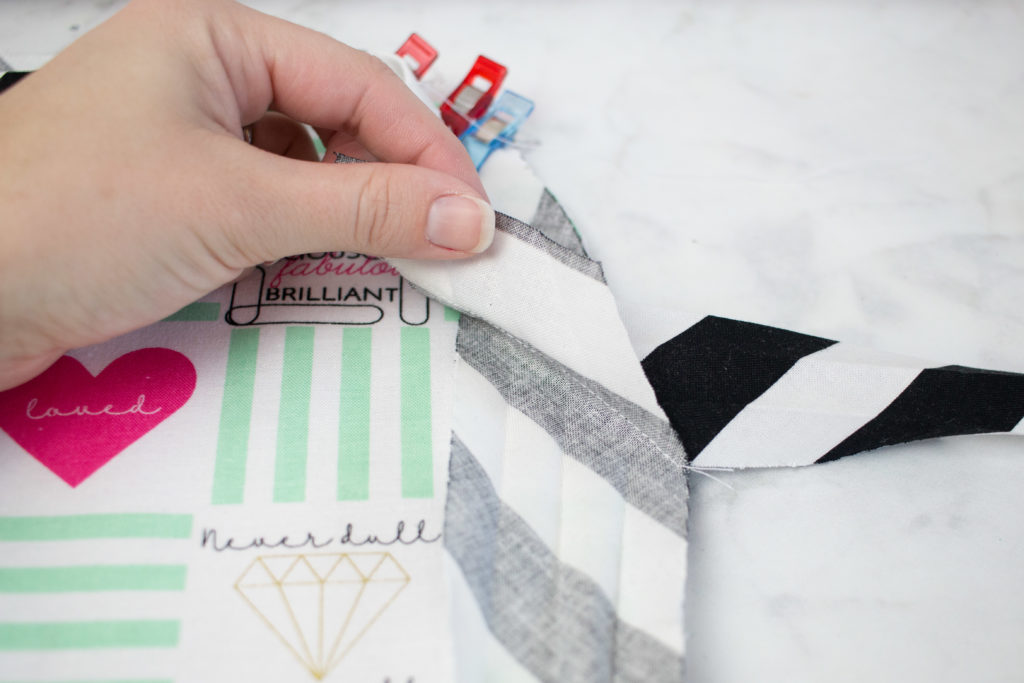
Trim the excess.
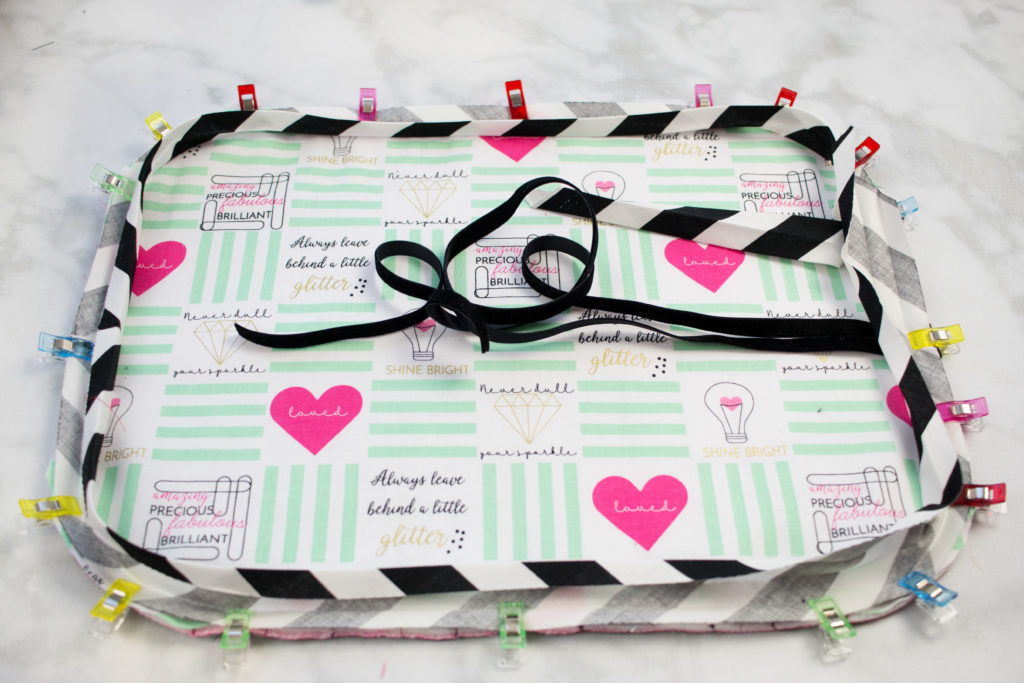
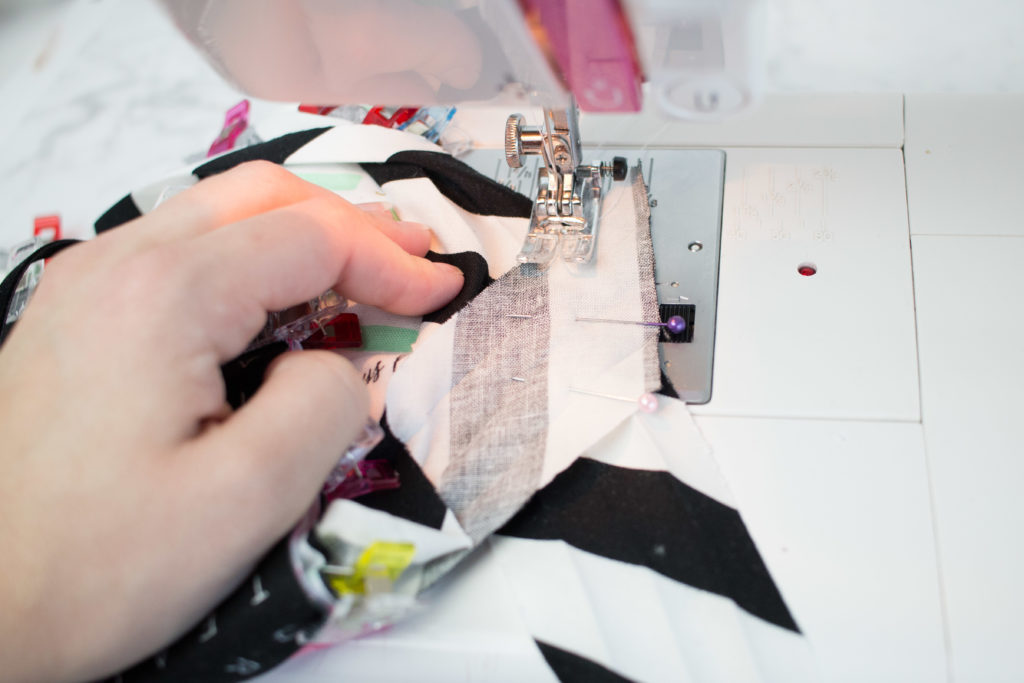
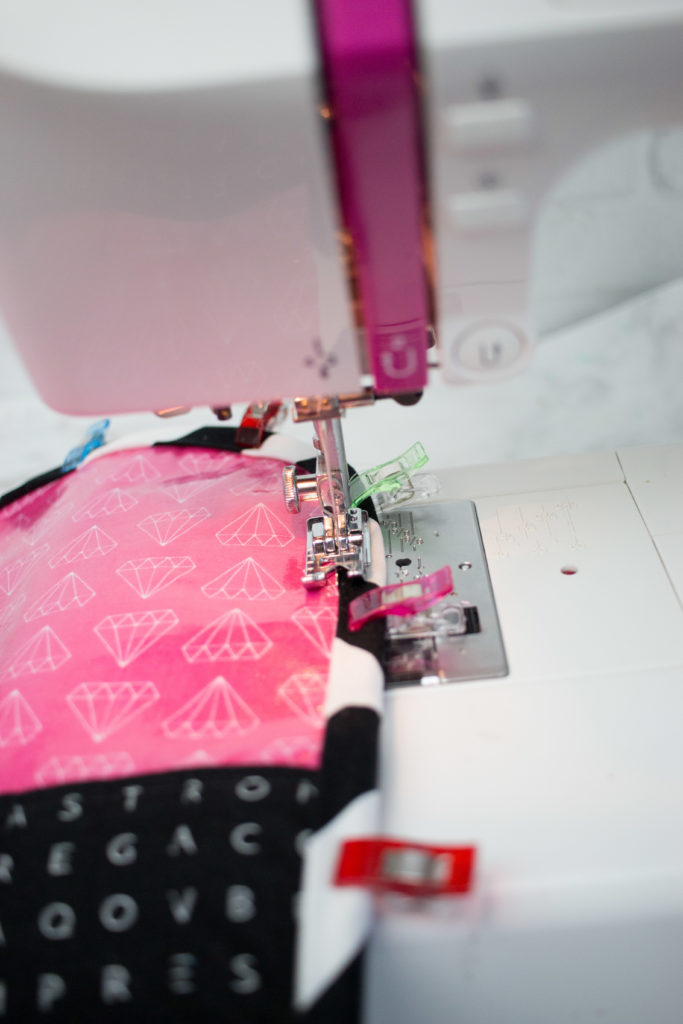
Sew along the first fold closest to the edge all the way around the bias tape.
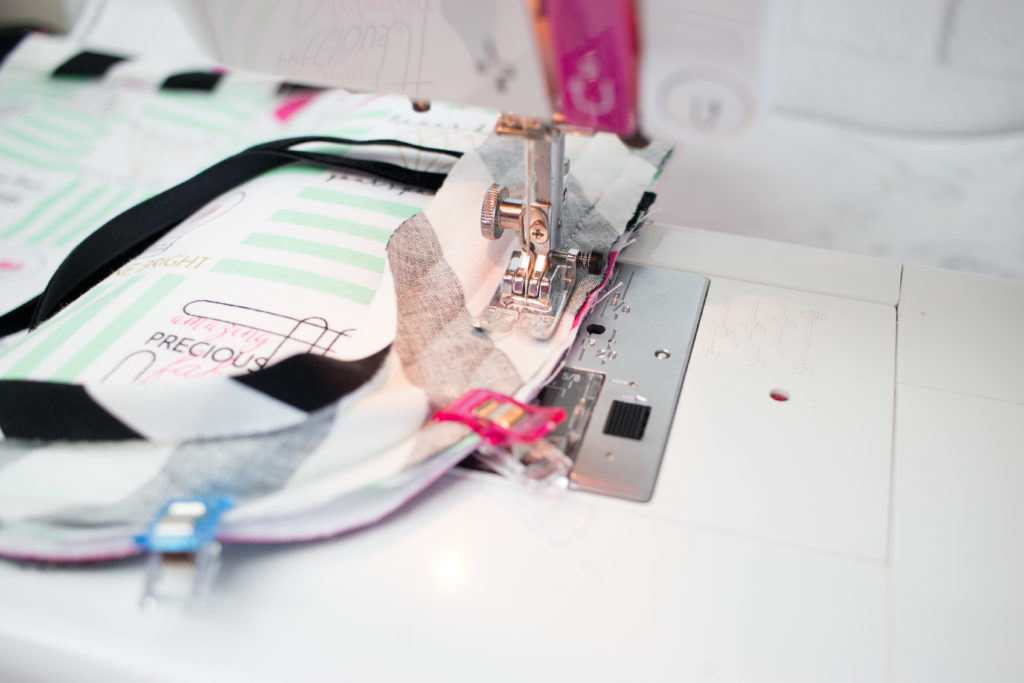
Press the bias tape away from the bag so that it wraps around to the other side. Clip the bias tape around the entire bag making sure that the bias tape is even on both sides.
Top stitch around the entire bag.
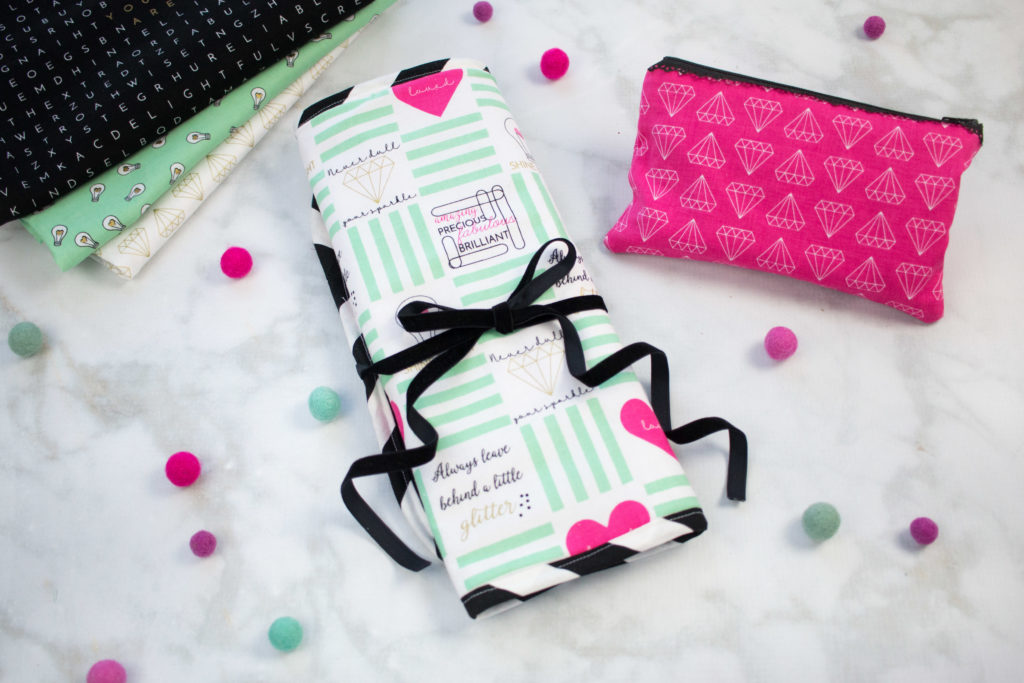
Wasn't that easy? I've already made a few of these bags for Christmas presents! Grab the tutorial for the matching lipstick zipper bag here.

If you enjoyed this tutorial you may also enjoy these tutorials.
https://sweetredpoppy.com/sewingtips/
https://sweetredpoppy.com/easy-laminated-fabric-zipper-pouch-tutorial/
https://sweetredpoppy.com/the-brand-new-cricut-maker-cutting-machine/
Is there any way to,download or print a copy of this without all the ads? I would be happy to pay for such a convenience.