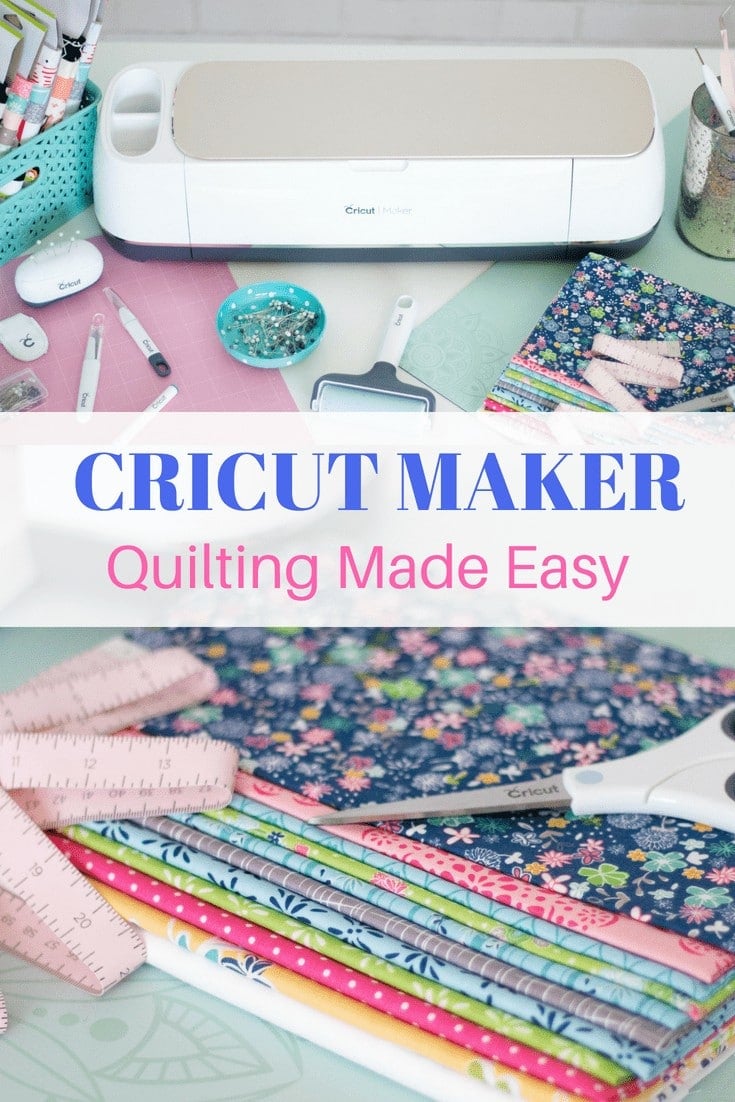
How to Cut and Sew a Quilt with Your Cricut Maker + Riley Blake Fabrics Quilt Kit
This is a sponsored conversation written by me on behalf of Cricut. The opinions and text are all mine.
Raise your hand if you would be a quilter if you never had to cut out all those little snippets of fabric? Wow!! So many of you! Well, I'm here to make your day! Last week I shared about the process of choosing a quilt pattern and quilt kit with Cricut and Riley Blake Fabrics. (You can read last weeks post here.) This week I'm cutting out all of the fabric using my Cricut Maker and walking you through the process step-by-step.
If you aren't already familiar with the Cricut Maker read this post, first!
Are you ready to get started?
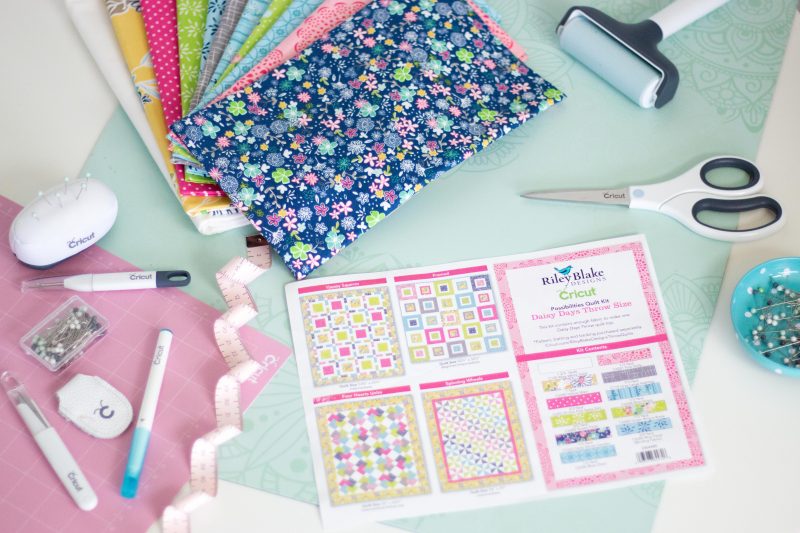
First off, you'll need to select your quilt kit. If you haven't done so already take a look at this post from last week. It will take you through the process of selecting a quilt kit and a coordinating pattern.
Supplies
- Riley Blake Quilt Kit
- Cricut Maker
- Cricut Fabric Mat
- Cricut Rotary Blade
- Cricut Sewing Kit
- Thread
- Quilt Batting
- Quilt Backing

Cutting the Fabric
To begin your quilt, open the PDF that corresponds with the quilt pattern. This can be accessed through Cricut Design Space. I used the Happy Squares pattern which can be found here and the quilt kit for this project is called Daisy Days.
Read through the PDF and any instructions completely before beginning to cut into the fabric. (You may be tempted, but don't skip this step! It will save you time in the long run!) For this specific quilt, a few of the larger fabrics will need to be cut down to 12 inches wide. The strips will be longer than 24 inches in length, but the excess can hang off of the edge of the mat.
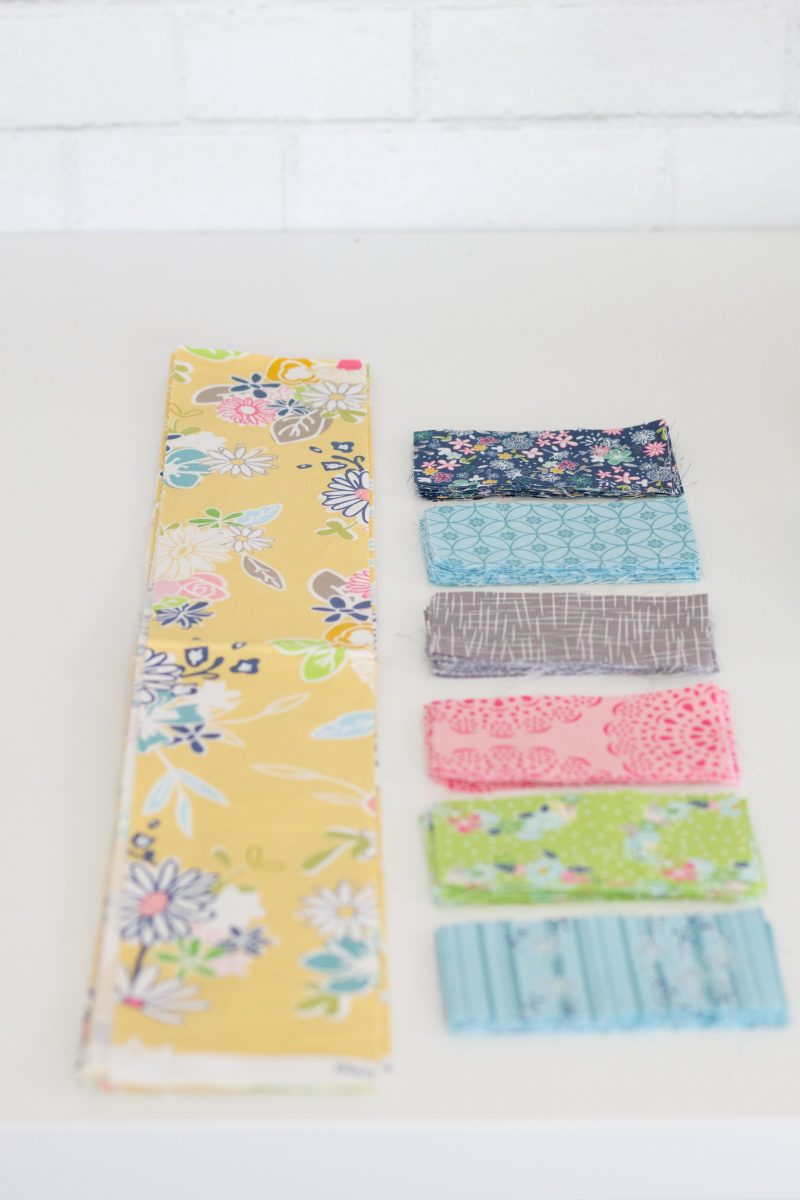
Before cutting into the fabric, take a minute to label each color so that you know which fabric coordinates with each part of the pattern.
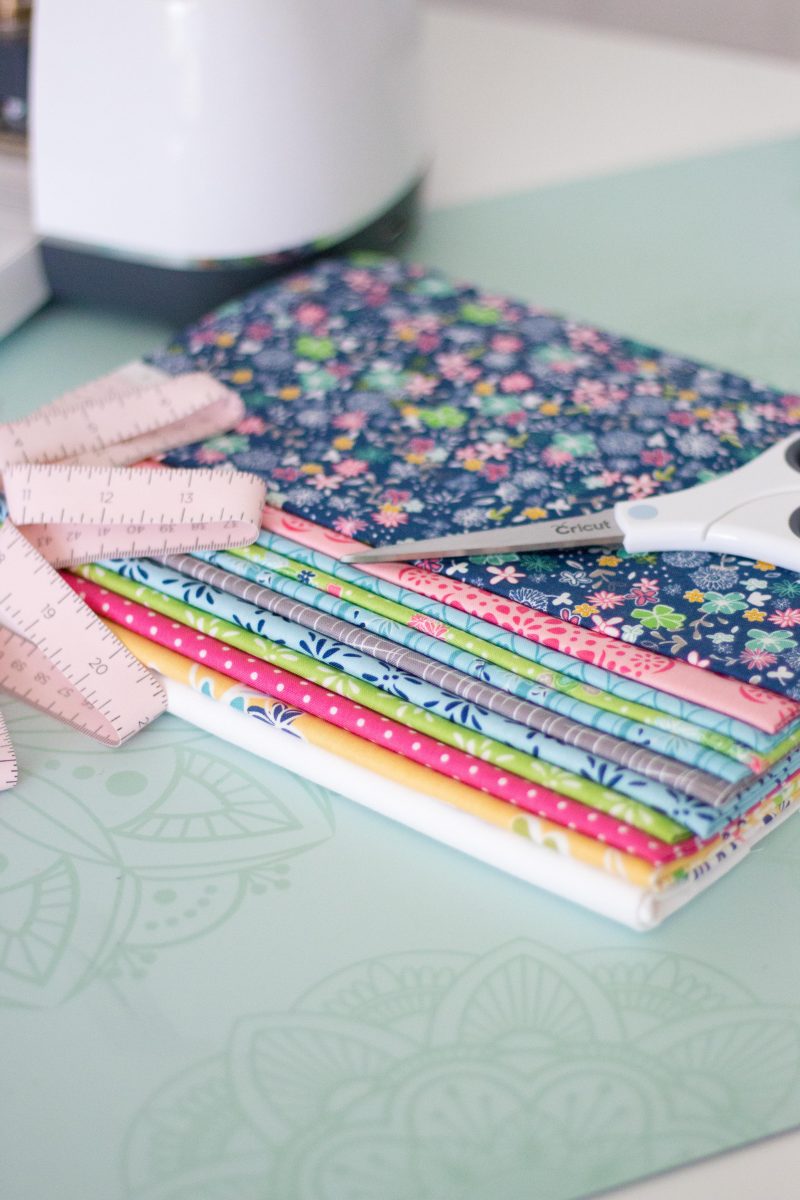
To speed up the process, prepare multiple mats with fabric so that they can be inserted into the machine without large breaks in between. I found this made a huge difference in cutting down the amount of time the Maker spent cutting out my fabric.
Prepare the Mats
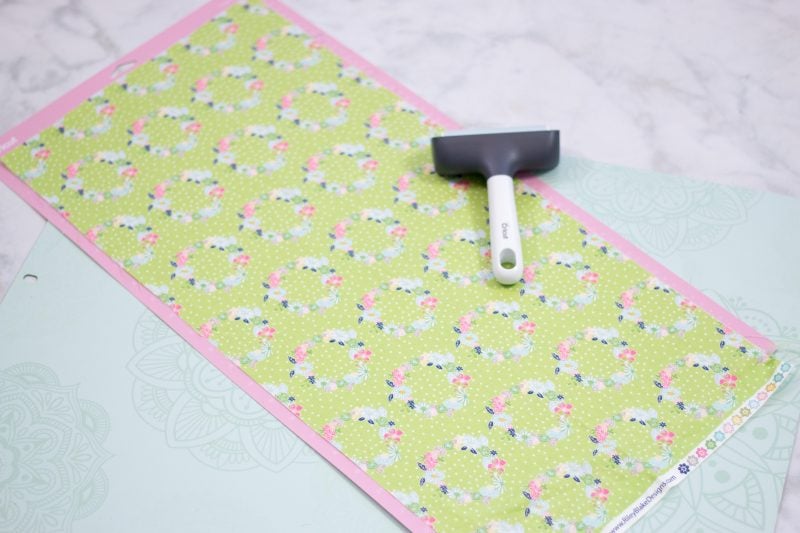
Remove the clear liner from the pink fabric mat. You'll notice that the mat is sticky. Lay the fabric out on top of the mat using your hands to gently smooth any wrinkles from the fabric. Try to avoid pulling the fabric or stretching it to fit the mat. The grain of the fabric should be aligned with the mat so that all of the pattern pieces are cut on grain.
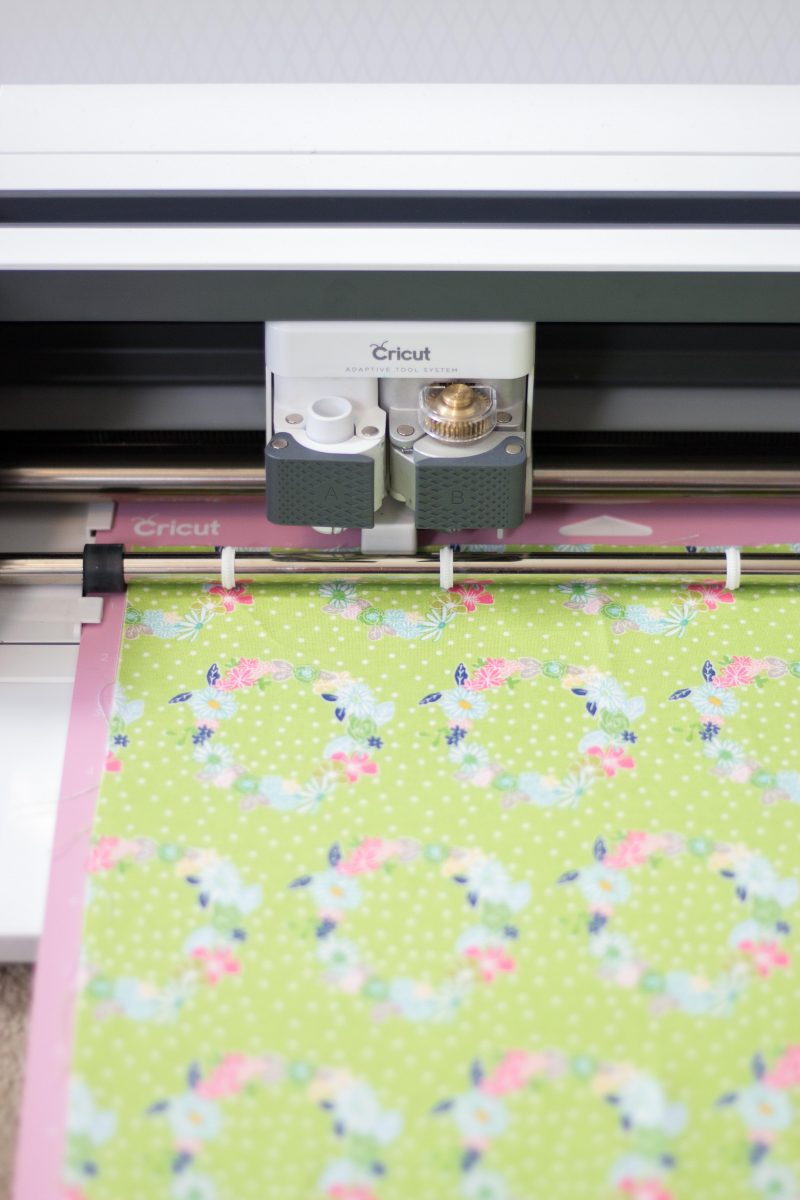
Cut the Fabric
Insert the Cricut Fabric Mat into the Maker. Ensure that the Rotary Blade is loaded into the adaptive tool system and select Cotton as the material to be cut.
The Maker has the unique ability to cut thru virtually any type of fabric without needing a backing material. The Rotary blade is able to roll and glide thru fabric just like any hand-held rotary blade, but with even greater precision.
I don't know about you, but I'm all for precise cuts!

Caring for the Fabric Mat
You'll notice after using the Cricut mat several times it will begin to lose some of its stickiness. Use the Cricut Brayer to fully adhere the fabric to the Cricut mat so that the fabric doesn't shift during the cutting process.
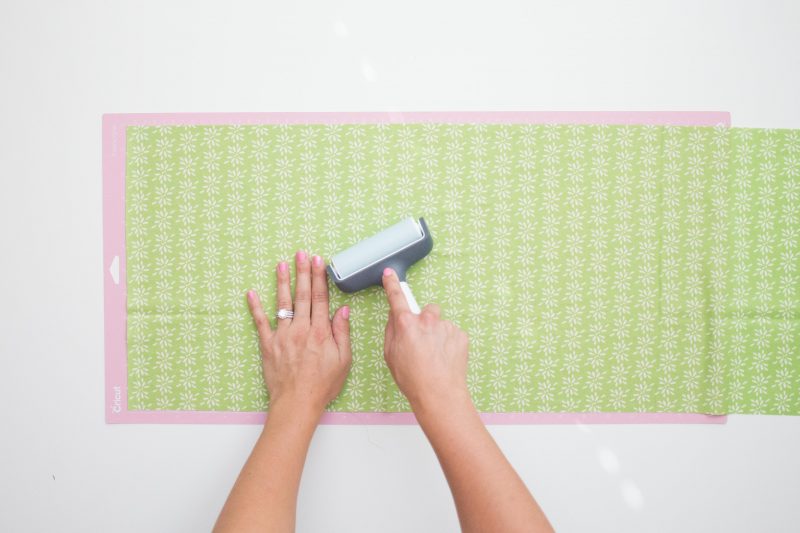
If you end up with loose or stray threads on the mat, use the tweezers to pull them up or just leave them there. The Rotary blade will be able to cut right thru them, so they won't inhibit the cutting process if they are left on the mat. I find I'm able to complete multiple projects with each mat before the stickiness begins to fade.
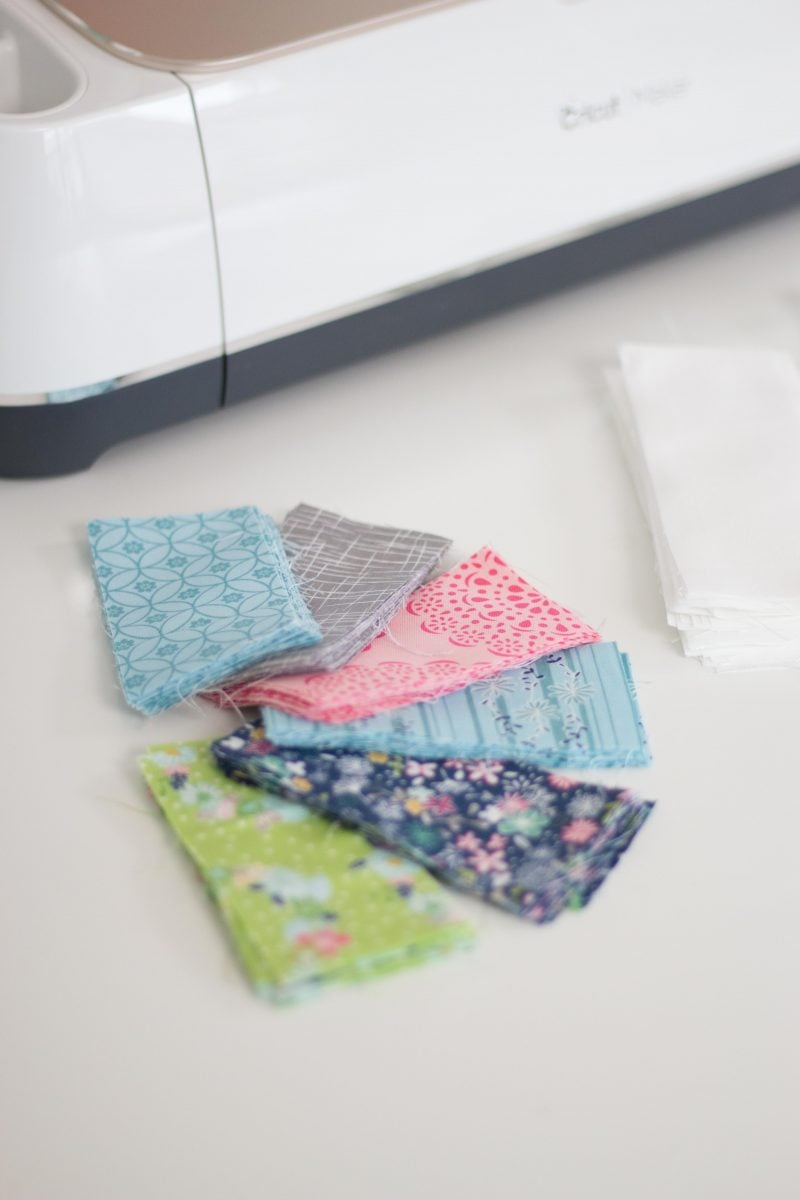
Organize the Fabrics
Unload the mat by clicking the flashing arrow. Carefully peel back each piece of fabric and keep them sorted by color.
Design Space will prompt you with what you need for each step of the process. Once you remove a mat from the Maker move to the next mat in Design Space and make sure that your fabric coordinates with what needs to be cut next.
The Maker does all of the hard work for you by telling you exactly which fabric to cut and how many mats to prep.
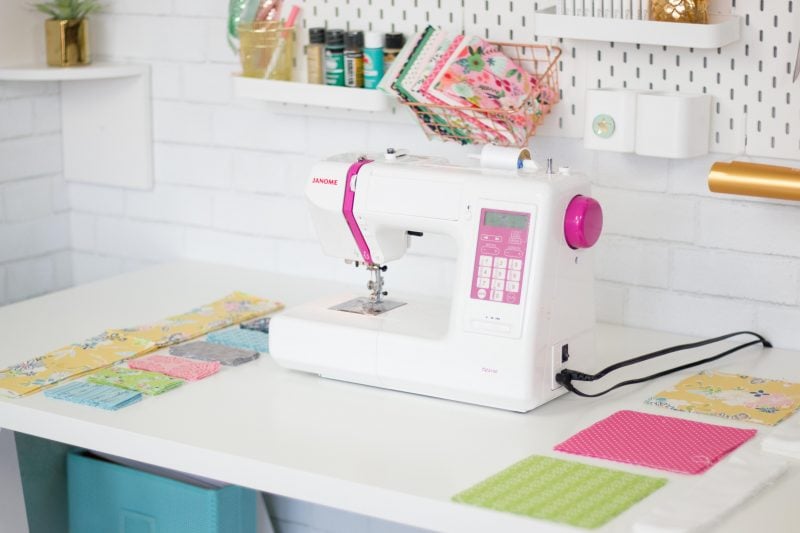
The cutting process for this entire quilt was just under an hour and all of the pieces are cut perfectly. Now I can spend more time doing what I love!
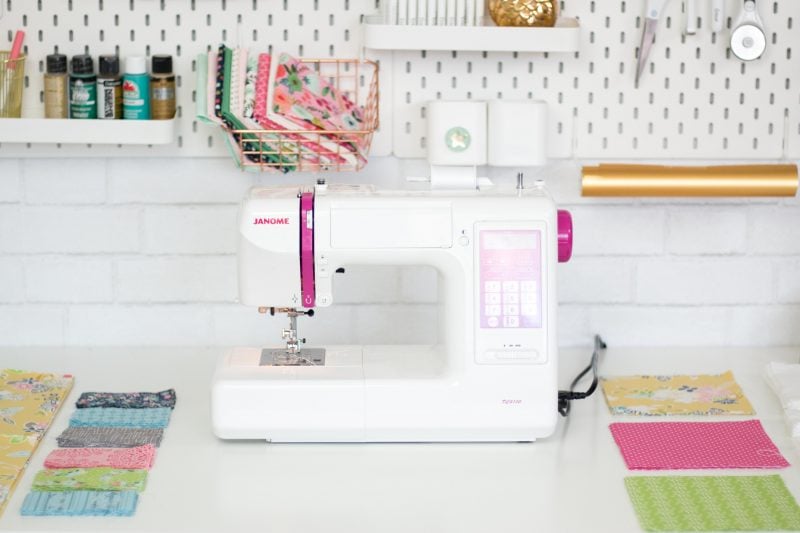
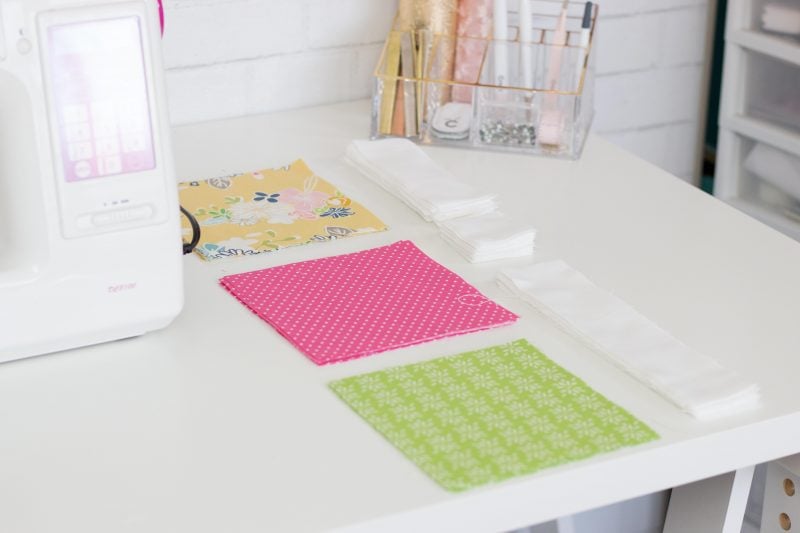
Once you organize all of your fabrics by color, you are ready to start sewing your quilt!
Can you believe that all of these little pieces were cut by my Maker?
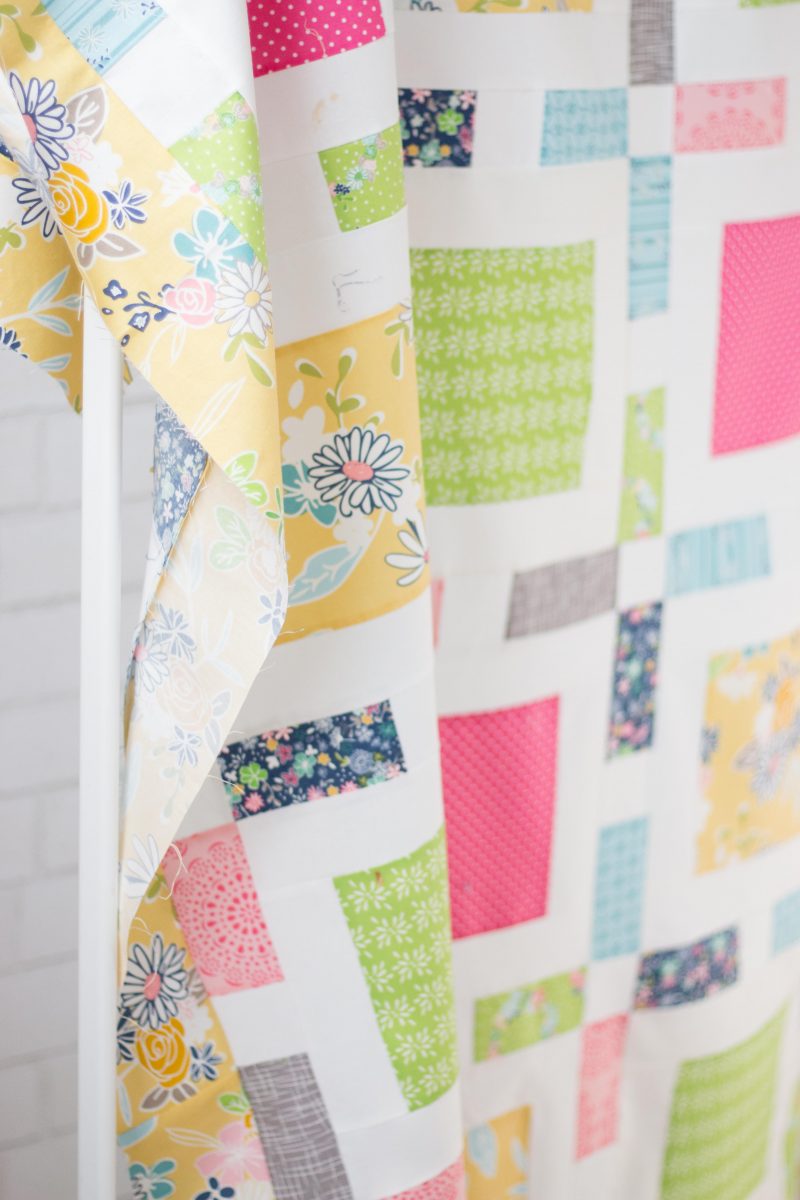
Here's a little peek of what's to come next week! Aren't you excited to see the finished quilt?

This is a sponsored conversation written by me on behalf of Cricut. The opinions and text are all mine.
Leave a Reply