Quilting Made Easy with the Cricut Maker
This is a sponsored conversation written by me on behalf of Cricut. The opinions and text are all mine.
Can I tell you about my first quilting experience? I was in college at the time and decided to sew a rather complicated design. Of course, at the time I had no idea just how large of a bite I had just bitten off! I spent countless hours meticulously cutting teeny-tiny squares and rectangles. I hadn't been introduced to a rotary blade yet, so I sat on my couch hand-cutting them with scissors.
It took an incredible amount of time to cut everything out, my hands were aching and by the end of it, I realized I still had to sew them all back together.
Once I finally started sewing the pieces together I realized how imprecise my "meticulously cut squares" were. 7 years later the quilt is still sitting in a bag waiting to be finished. Obviously, I never worked up the courage to finish it!
Enter the Cricut Maker!
If you aren't already familiar with the Maker read this post!
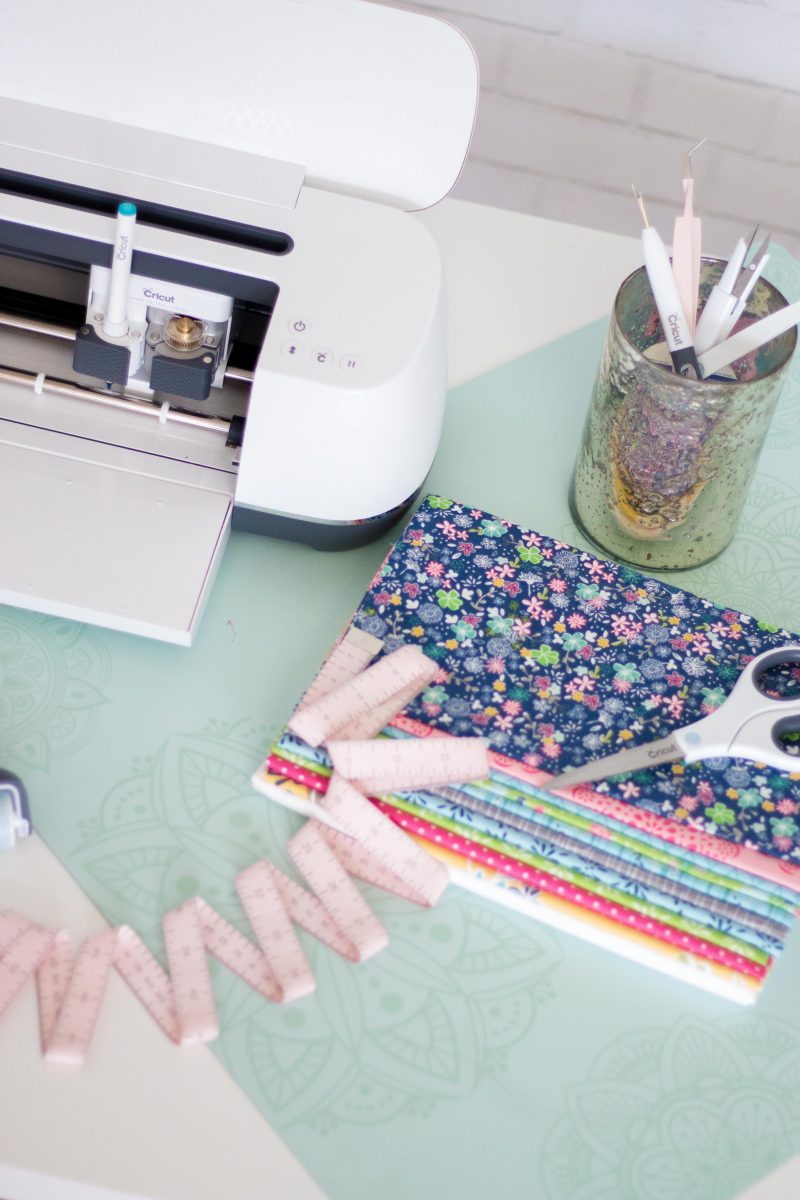
When Cricut asked me if I would be willing to create a quilt using their Cricut Maker I knew I had to try it! I love using my Cricut for fabric projects. Cutting out fabric has always been my least favorite part of sewing and anything that eliminates the cutting process or simplifies it worth it to me!
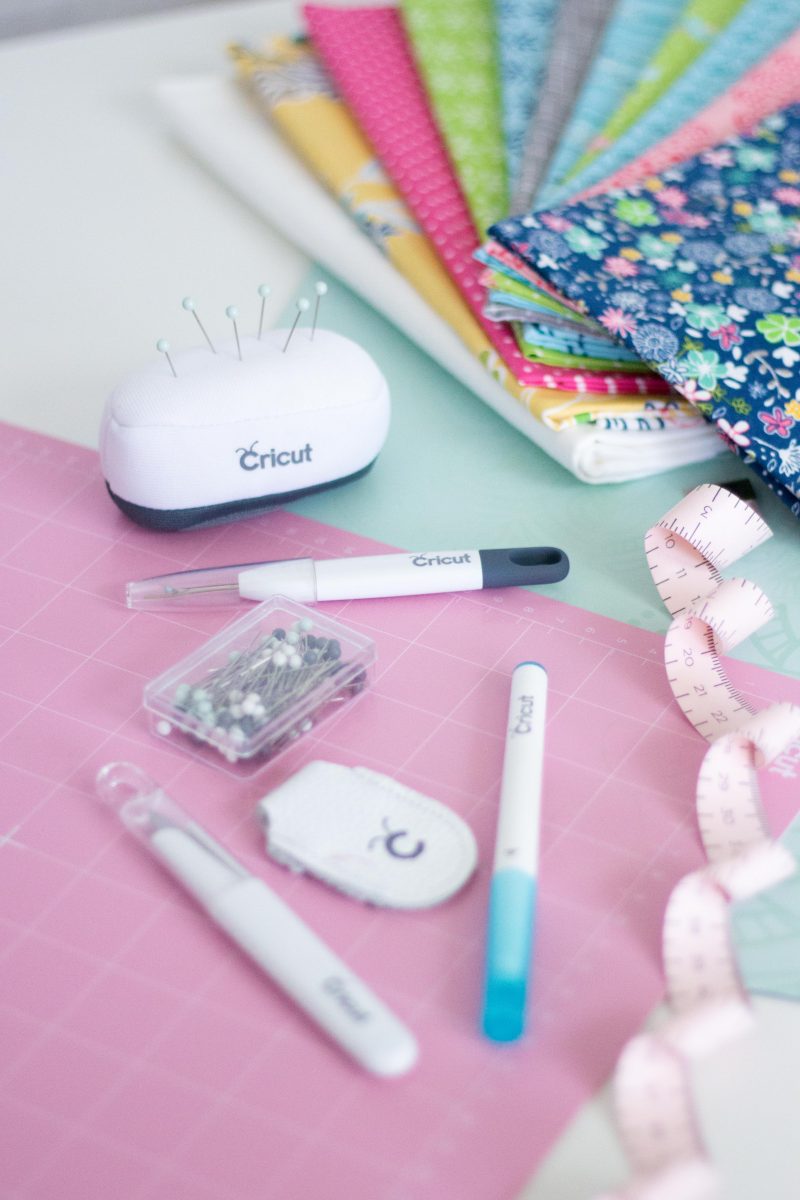
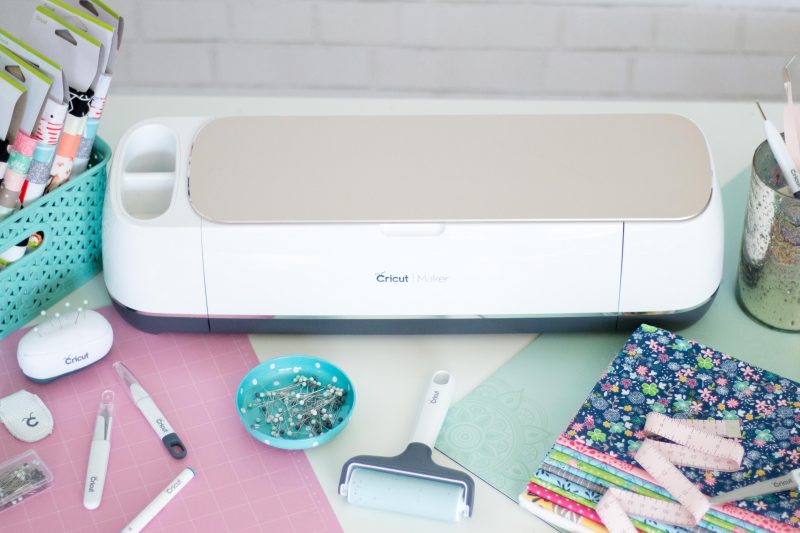
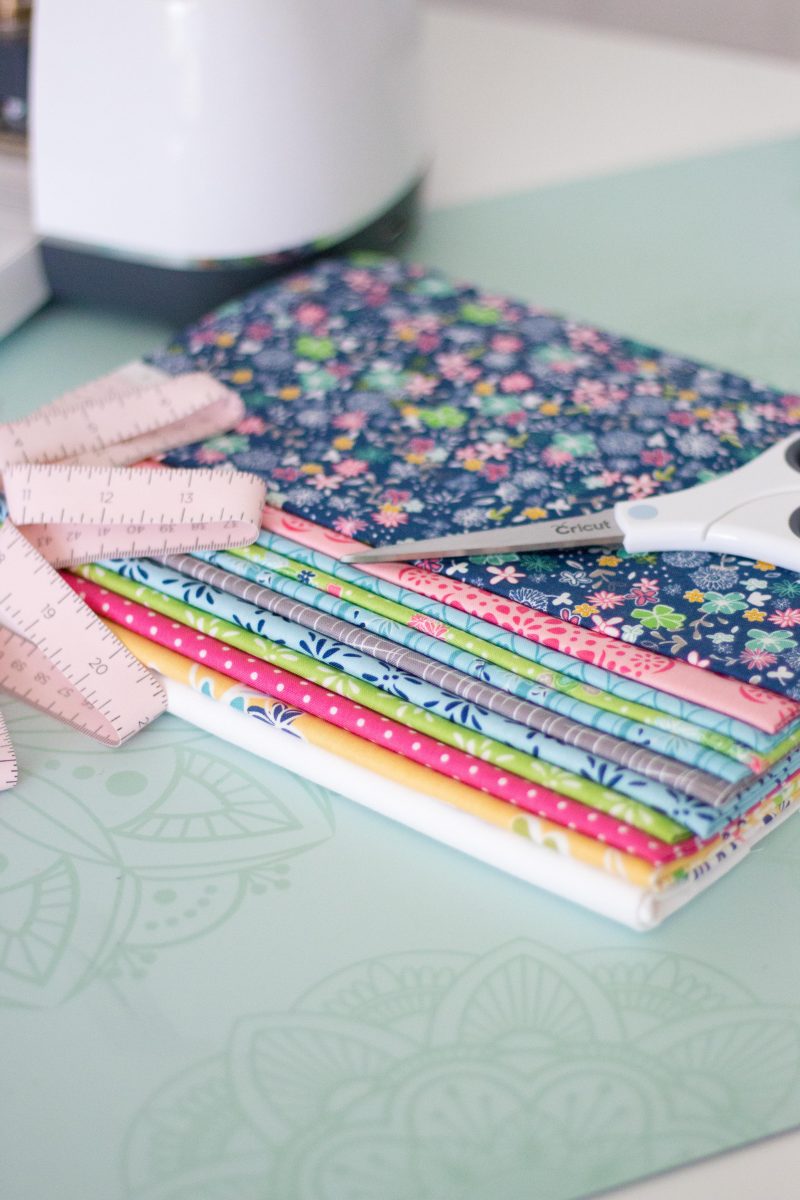
Get the Cricut Sewing Kit pictured above here.
Off to Cricut's website, I headed in search of the perfect fabric! Did you know that Cricut sells fabric? They partnered with Riley Blake Fabrics which is a (local to me) fabric company that manufactures wonderful quilting cotton. You've probably heard me share my love of all things RBD's if you've been a long-time reader of Sweet Red Poppy.
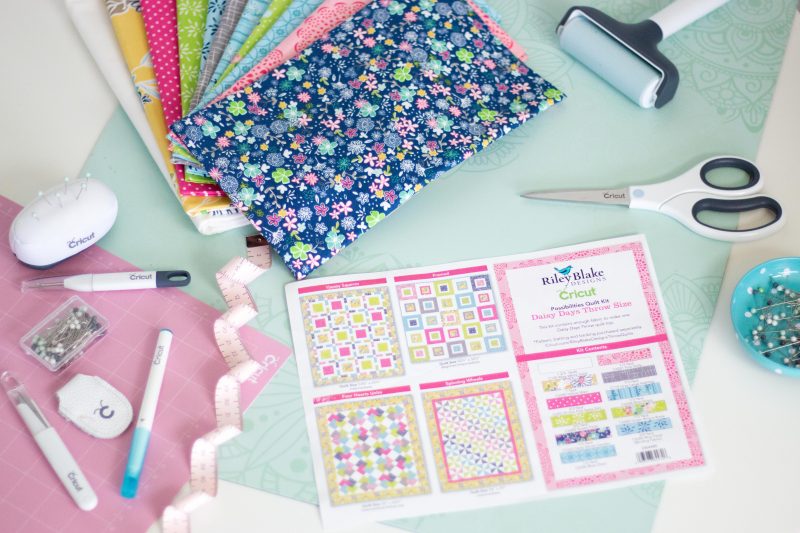
What's even better is Riley Blake Designs has imported a variety of their quilting patterns into Cricut's design space. Yes, you heard me right, digital quilting patterns! You can easily choose a quilt kit which comes with a variety of coordinating cuts of fabric perfect for the quilt design. Once you've selected a quilt kit you can also select which quilt pattern you would like to make. There's a variety of quilts that work with each kit.
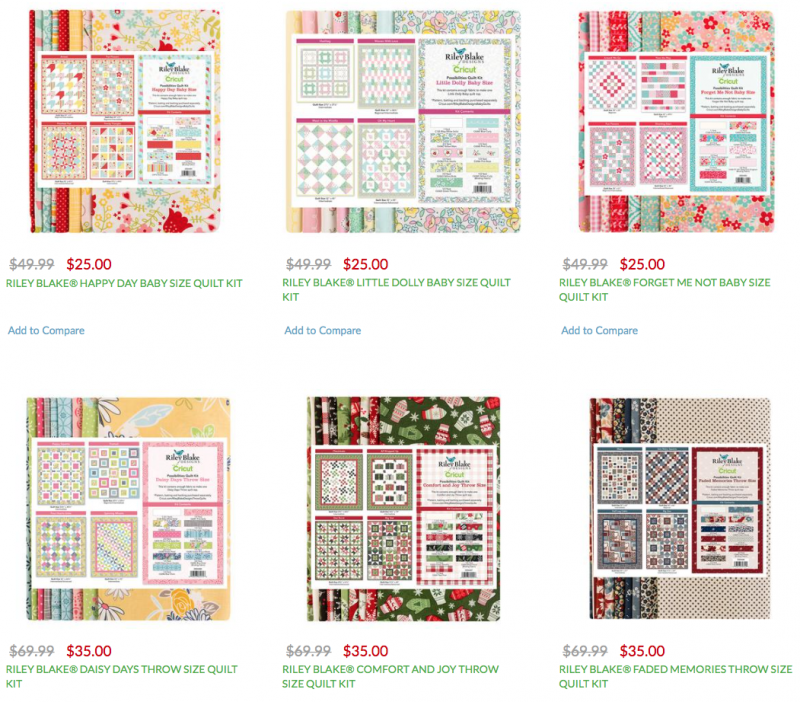
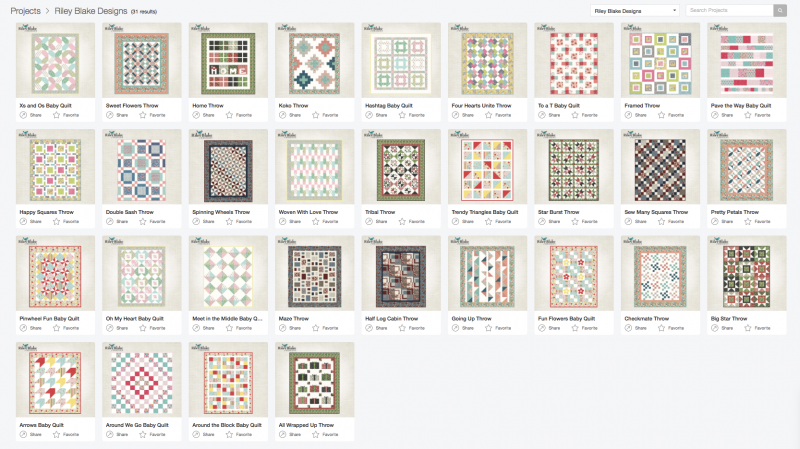
Below is a variety of the quilt kits available on Cricut.com
Once you've decided on a quilt kit, launch Design Space and click "New Project". On the far left-hand side click "Projects", then select the drop-down menu on the right-hand side of the screen. Scroll down to "Riley Blake Designs" and select it. All of the Riley Blake Design quilt pattern choices will appear. You can click on a specific pattern to view the difficulty level and the estimated time it will take to create. It will provide you with a list of the supplies that you need in order to complete the project as well as directions. Select "Make It" and begin prepping your mats!
Here is a sample of the variety of quilt patterns available from Riley Blake Designs in Cricut's Design Space.
Here's a screenshot of the digital pattern named Happy Squares Throw that I chose for my quilting project. I think it will be perfect for a baby shower gift!
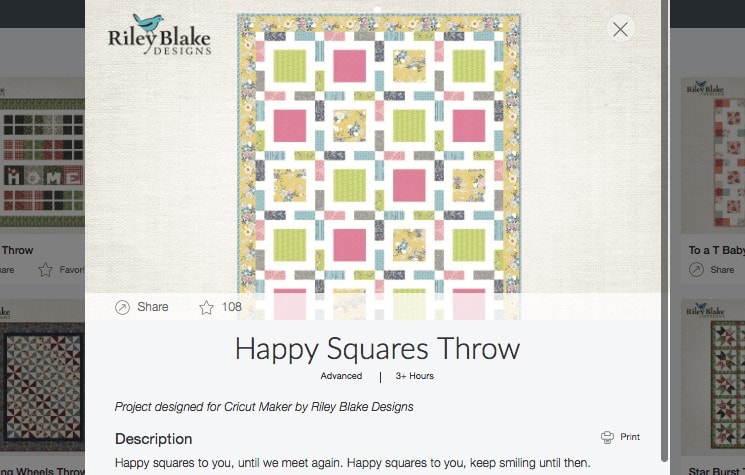
Instead of spending hours prepping and cutting my fabric, I'll let my Maker do the work for me so I can get straight to sewing! Sounds pretty nice, right?
How to Prep the Cricut Fabric Mat for Quilts
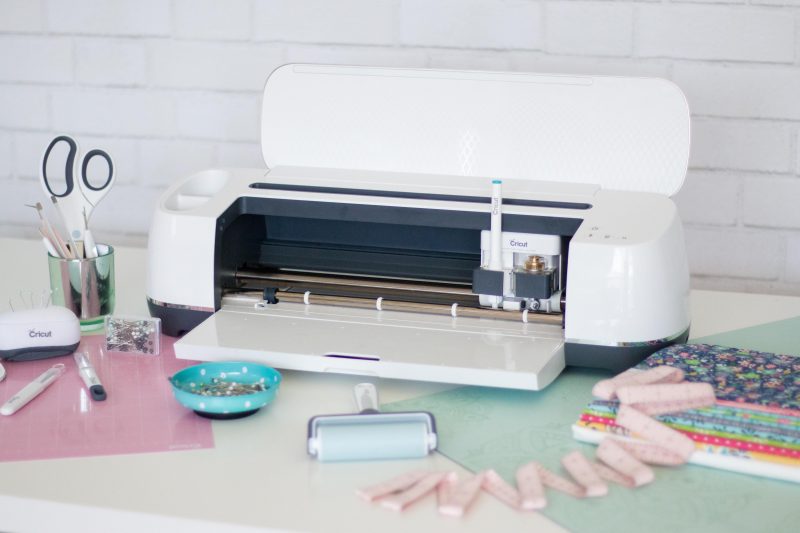
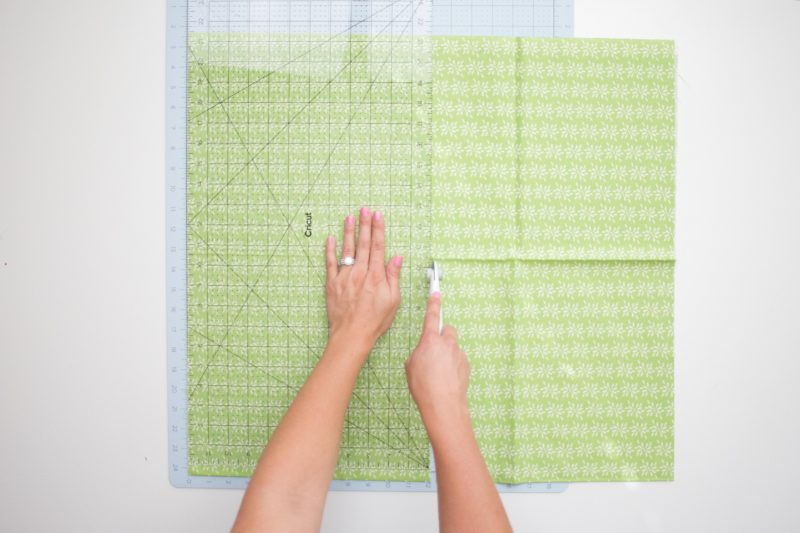
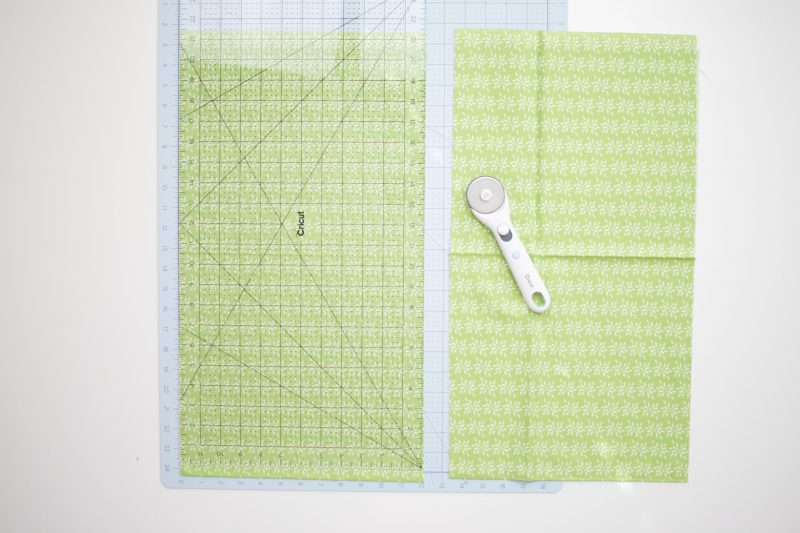
In order to prepare the fabric for the Maker, it needs to be cut to 12 inch wide lengths. Some of the fabrics in the kit will come precut, but a few of them will need to but trimmed down. I used the Cricut Rotary Blade, Self-Healing Mat, and Acrylic Ruler to cut my fabric. I was impressed by the 12-inch wide ruler and the special markings on the mat that made it incredibly easy to cut the fabric down to size.
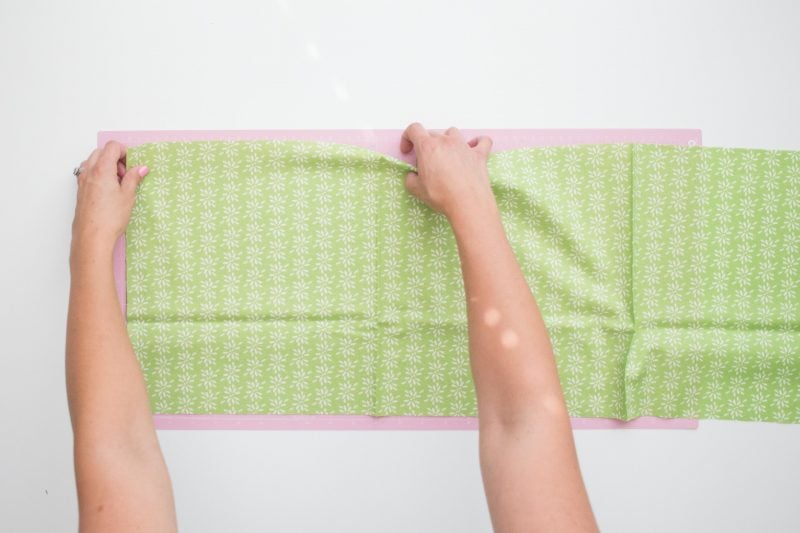
Once you've cut the fabric into 12 inch wide sections you can apply it to the pink Cricut mat.
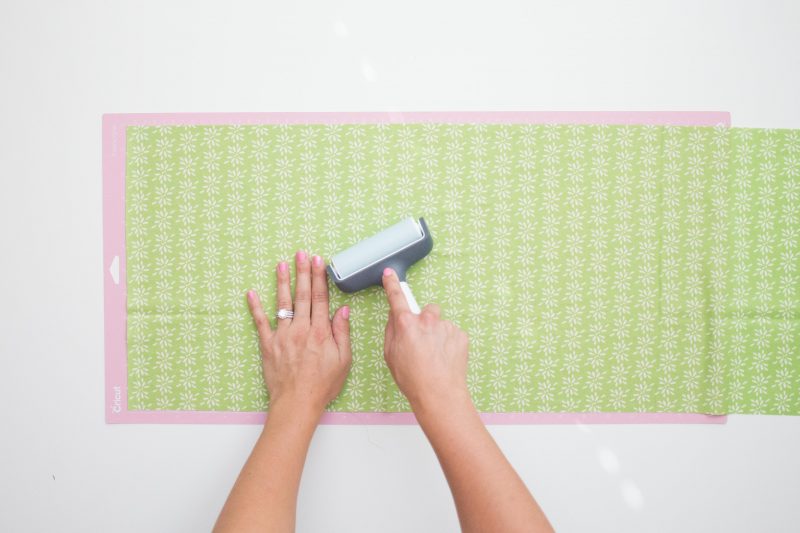
Lay the fabric on the mat and smooth out any wrinkles with a brayer. Now your fabric is ready to be loaded into the Maker.
Check back next week to see how easily the Cricut Maker cuts all of the fabric for my quilt! I can't wait to share my results with you!
This is a sponsored conversation written by me on behalf of Cricut. The opinions and text are all mine.
I bought a Cricut yesterday and searched for these designs. They are not in Design Space, nor can they be found on cricut.com or rileyblakedesigns.com - am I missing something?