Create Adorable Baby Bibs using the Cricut Maker and Hand Towels in this Beginner-F
When it comes to sewing, I always love making things for babies. There's something extra special about creating handmade gifts for a baby shower or a friend who's expecting! With my Cricut Maker baby gifts are now even easier to make!
*This is a sponsored post written on behalf of JOANN. All thoughts and opinions are my own.
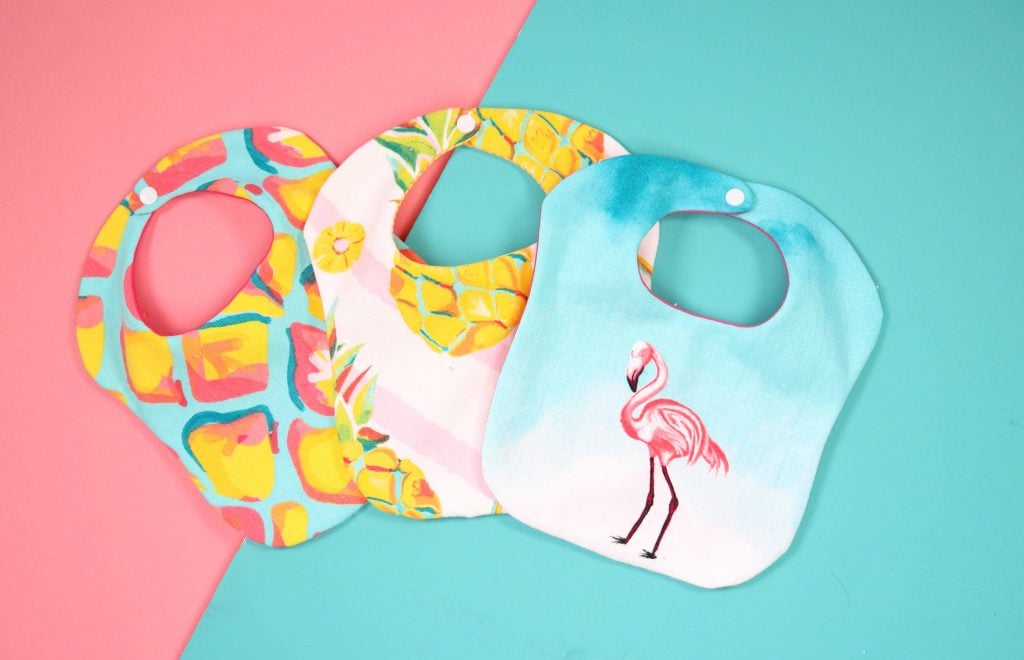
Recently, I converted all of my baby sewing patterns to SVG files after many requests! I'm so excited to show you how to use my newest baby bib pattern today and show you my brand new Cricut Maker in Mint that's available from JOANN.
The Cricut Maker is the ultimate smart cutting machine. It has the tools to cut hundreds of materials quickly and accurately, from the most delicate fabric and paper to matboard and leather. It's a game-changer and I consistently use my machine for a wide-variety of projects.
If you're not familiar with the Cricut Maker, start by reading this post!
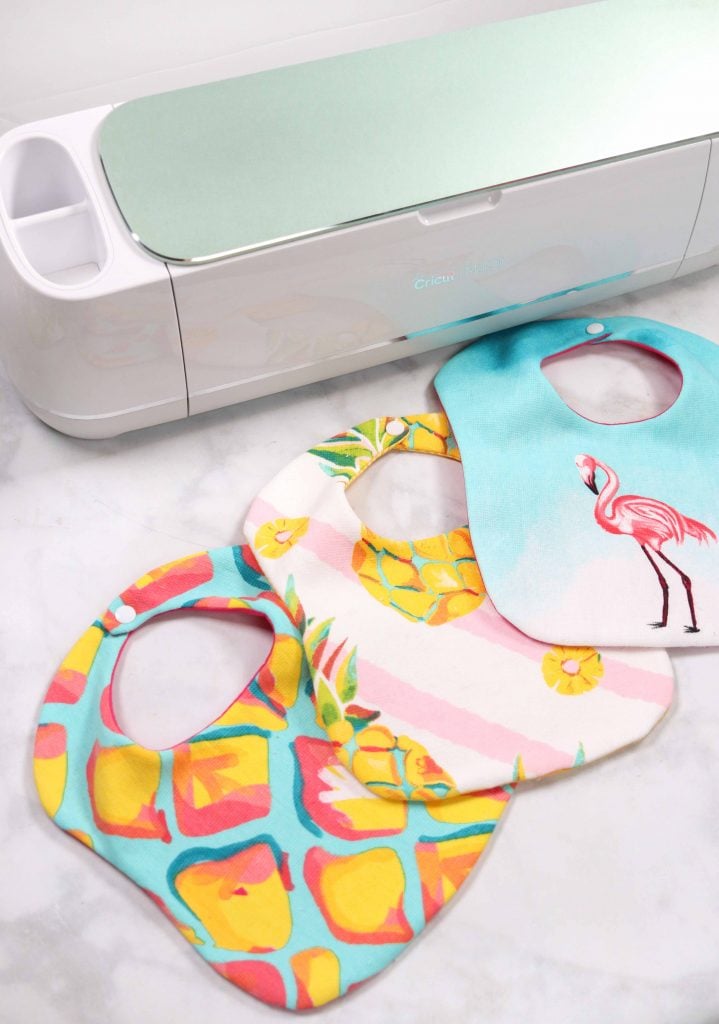
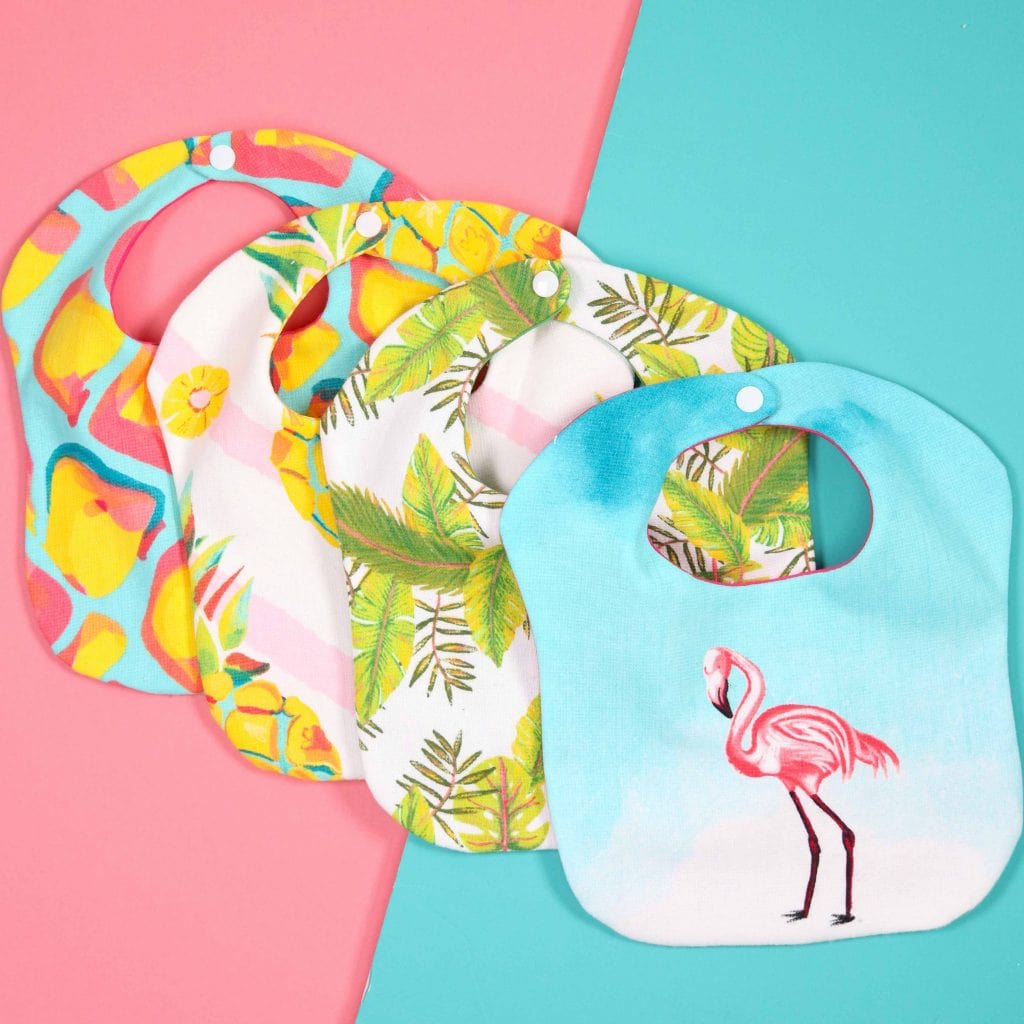
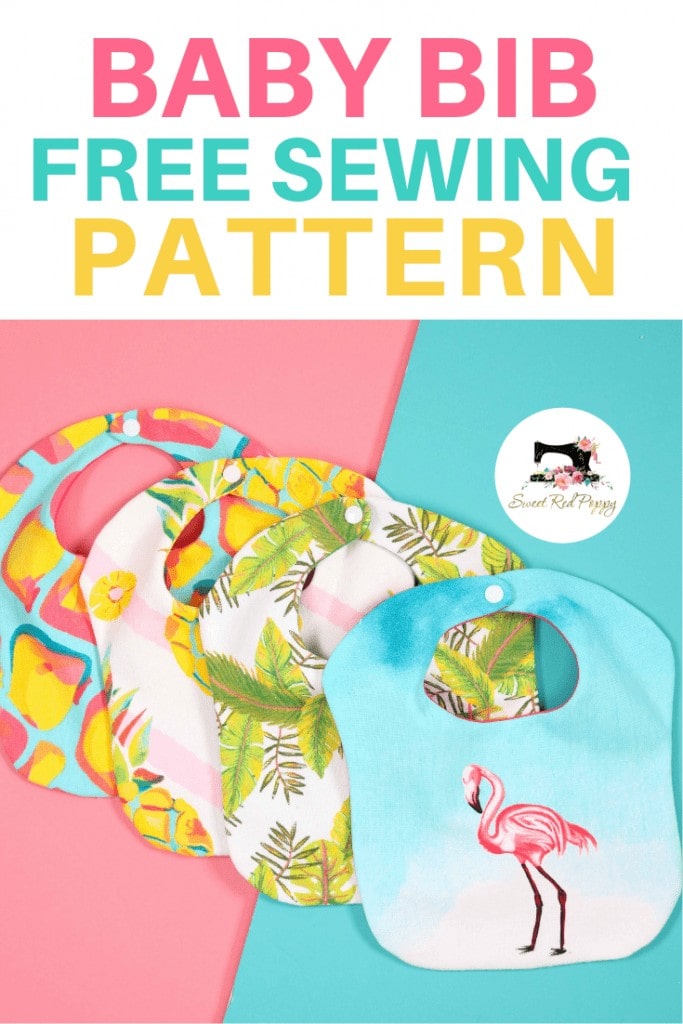
On my latest trip to JOANN, I stopped in the spring decor aisle and fell in love with all of the tropical hand towels! This set of hand towels is full of flamingos, palm tree leaves, waves, and pineapples. Who can resist all of the fun prints and the bright color palette?
I knew this project would be the perfect fit for my Cricut Maker.
Did you know you can use towels for baby bibs? It actually makes them super absorbent so it’s the perfect fabric for spills. JOANN always has a great selection of hand towels so this project works all year long!
Supplies
- Hand Towels or Cotton Fabric
- Mint Cricut Maker
- Cricut Fabric Mat
- Sewing Machine
- Thread
- Scissors
- Iron & Ironing Board
- Snaps
- Snap Pliers
- Beacon Fabric Glue
Table of Contents
Subscribe to Sweet Red Poppy to download the FREE files.
Are you ready to get started? Gather all of your supplies and let's get sewing!
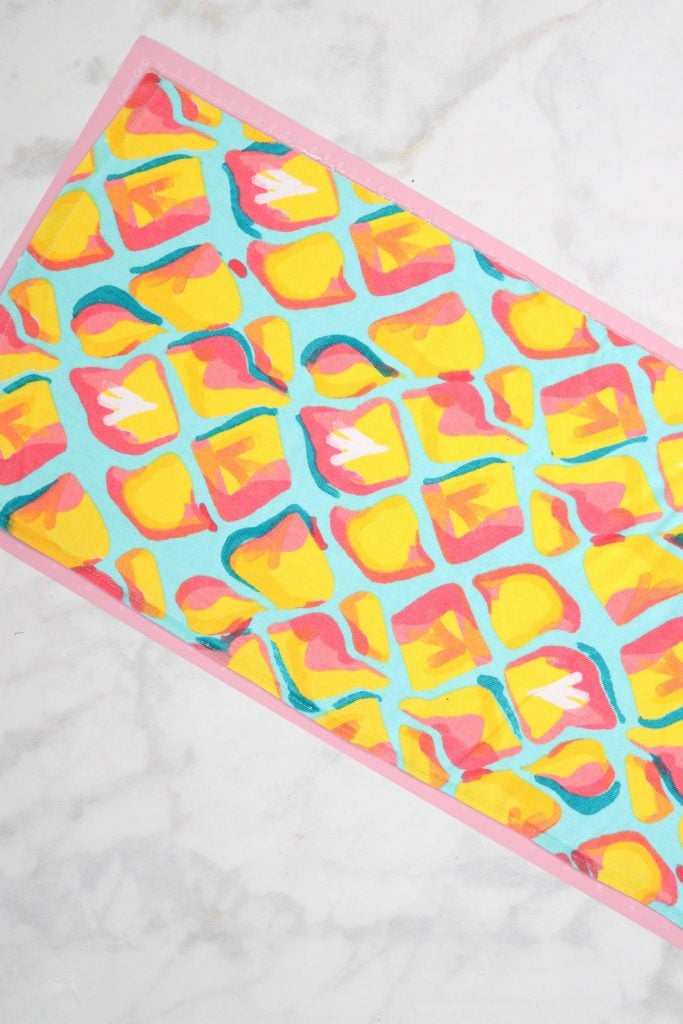
Start by removing the clear protective liner from the 12” x 24” pink Cricut fabric mat. Lay the hand towel out on the cutting mat and trim it to size to fit onto the mat so that is measures 12” x 24”. If it's longer than 24" just let the extra fabric hang off of the edge but make sure to cut down the width to 12".
You can read this post for additional information on using the Cricut Fabric Grip Mat.
Cut out the Baby Bib
Upload the SVG files into Cricut Design Space. The smaller bib is designed for 6-18 months, and the larger bib is designed to fit 2T-3T.
If you don't have a Cricut Maker, download the printable PDF pattern and cut it out by hand.
Insert the mat into the Cricut machine and select "Terry Fabric" in Design Space. I like to set it to "More" pressure whenever I cut thicker fabrics to ensure that it cuts all the way through.
*New to using the Cricut Maker Rotary Blade? Make sure to read this post!
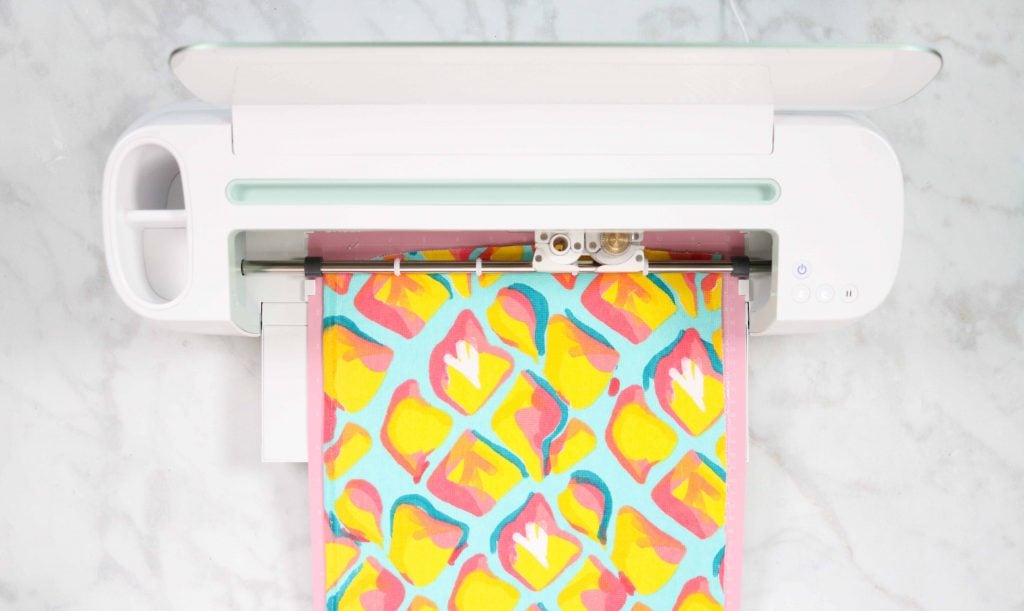
Once the Maker has finished cutting the fabric, unload the mat and remove the excess fabric. There will be fibers left on the mat after you've removed the bib. Just leave them alone as they won't impact the ability to cut fabric on the mat.
Now it's time to cut out the second piece of fabric. You can use quilting cotton or another piece of terry cloth.
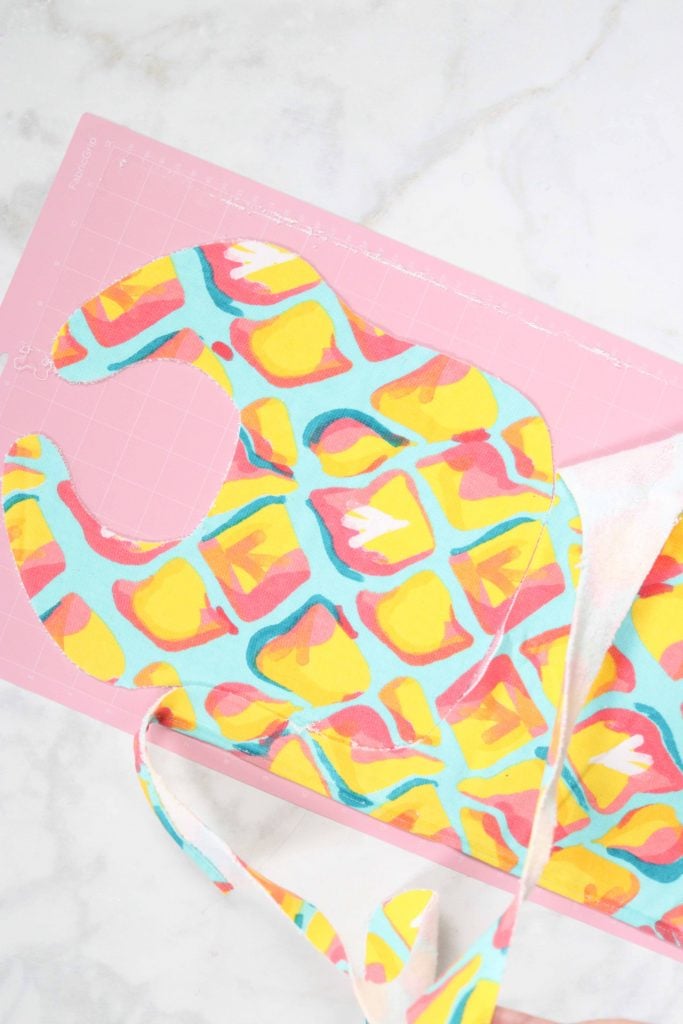
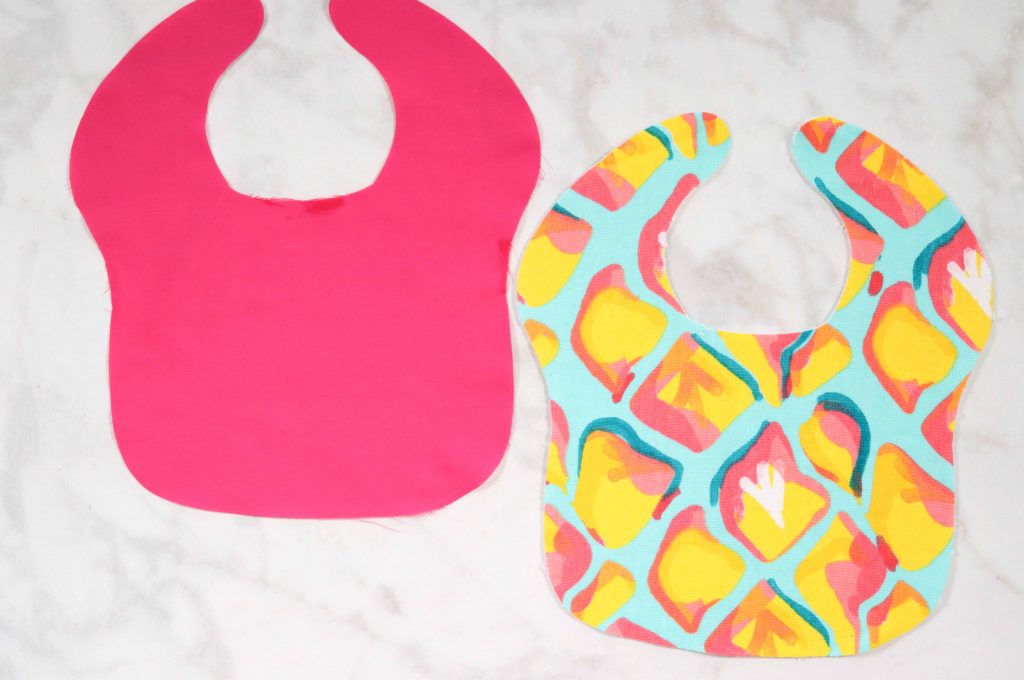
Lay the two bib pieces on top of each other with right sides facing together.
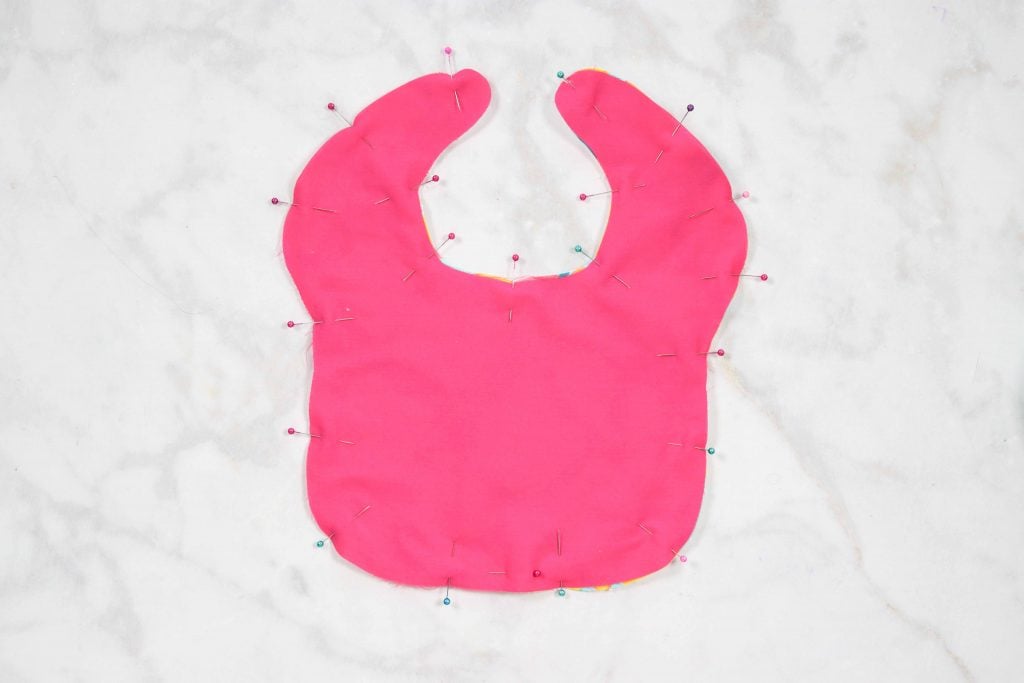
Pin around the outside edges of the bibs aligning all raw edges. Leave a 2” opening along the bottom of the bib for turning. I like to mark the opening with an extra pin going in the opposite direction so I don't accidentally sew the entire bib closed.
Sew the Baby Bib
Using a 3/8th’s inch seam allowance sew the bib together along the raw edges. Don’t forget to backstitch at the beginning and end of your seams, otherwise the seams will pull apart when you flip the bib right side out.
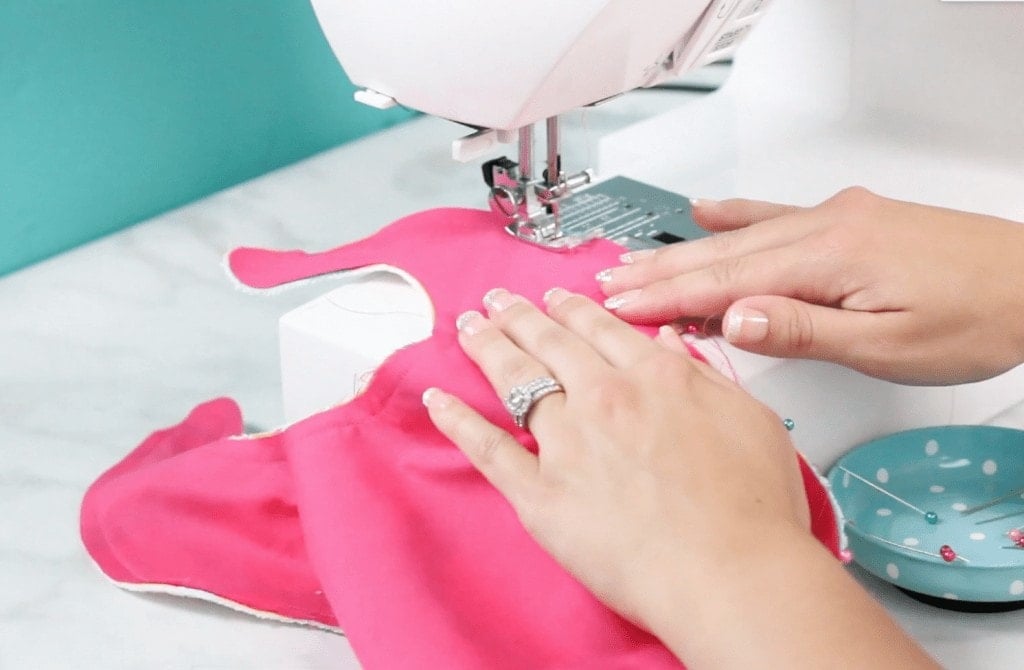
Clip the curves of the bib. This helps the fabric to lay flat once you turn it right side out and prevents any bunching.
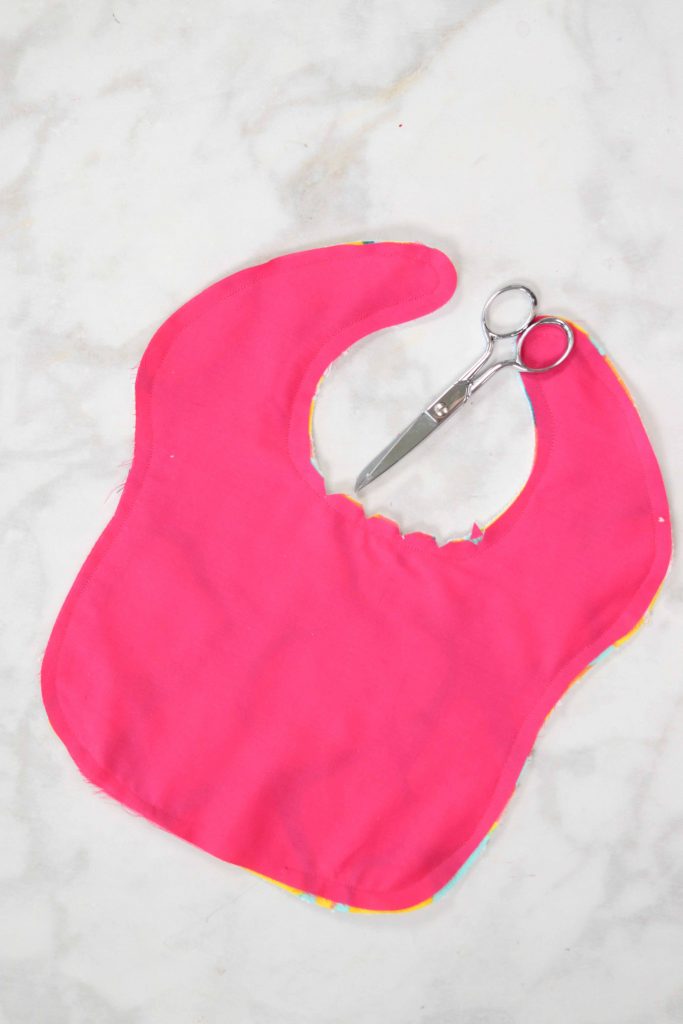
Turn the bib right side out and use a turning tool to push out the seam allowances along the top of the bib. A chopstick or a pen (with the lid on) works in a pinch.
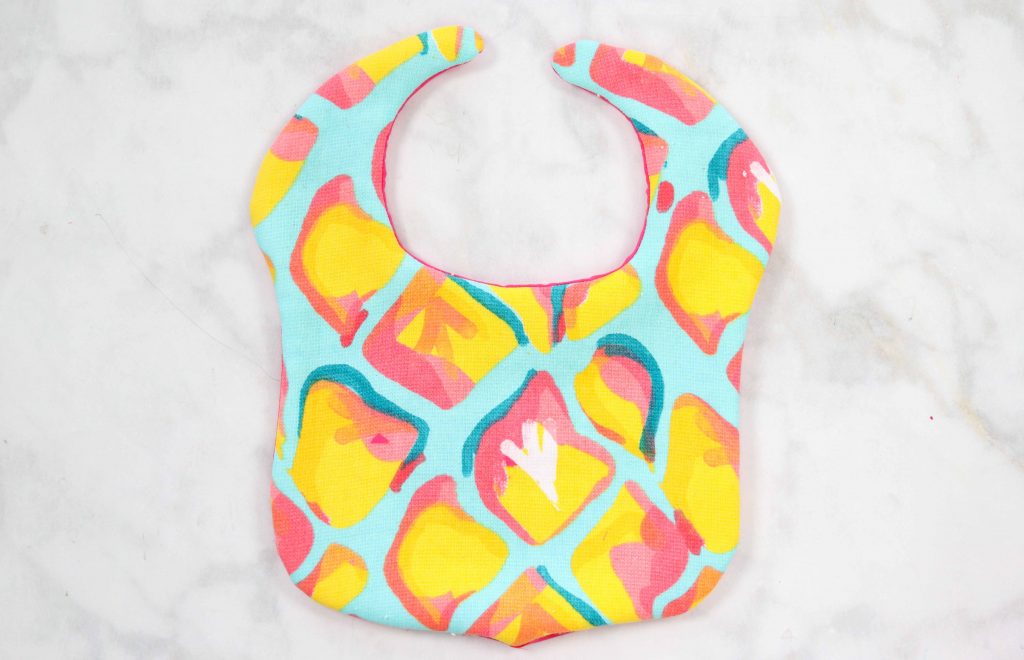
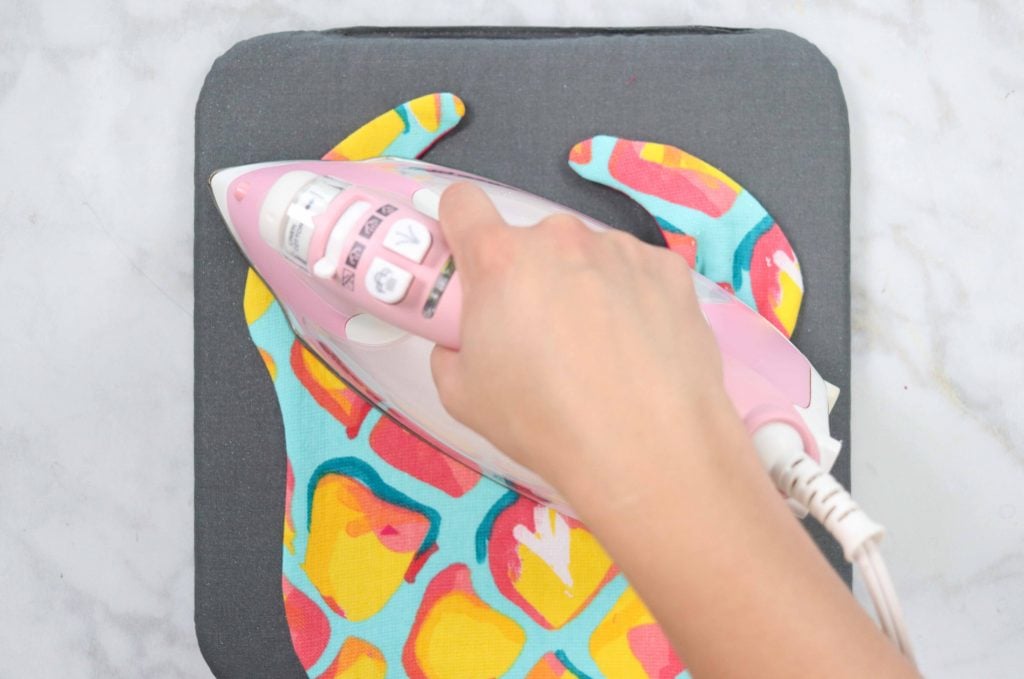
Using plenty of steam, iron the entire bib to create a crisp professional looking finish. Using your thumb and pointer finger roll the seam allowances outwards along the edges of the bib.
Attach Snaps to the Baby Bib
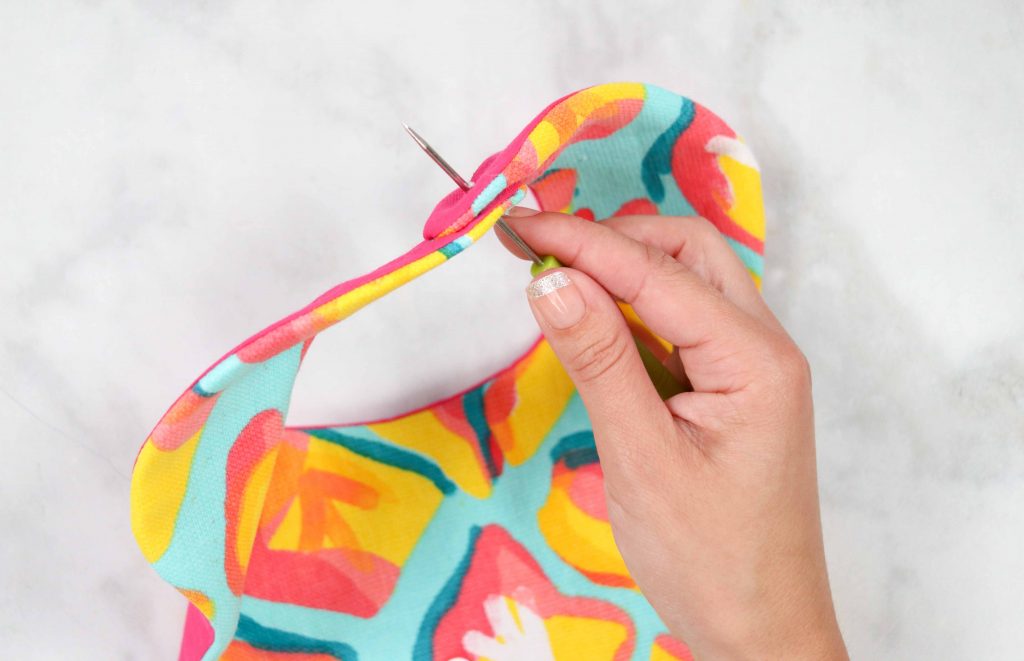
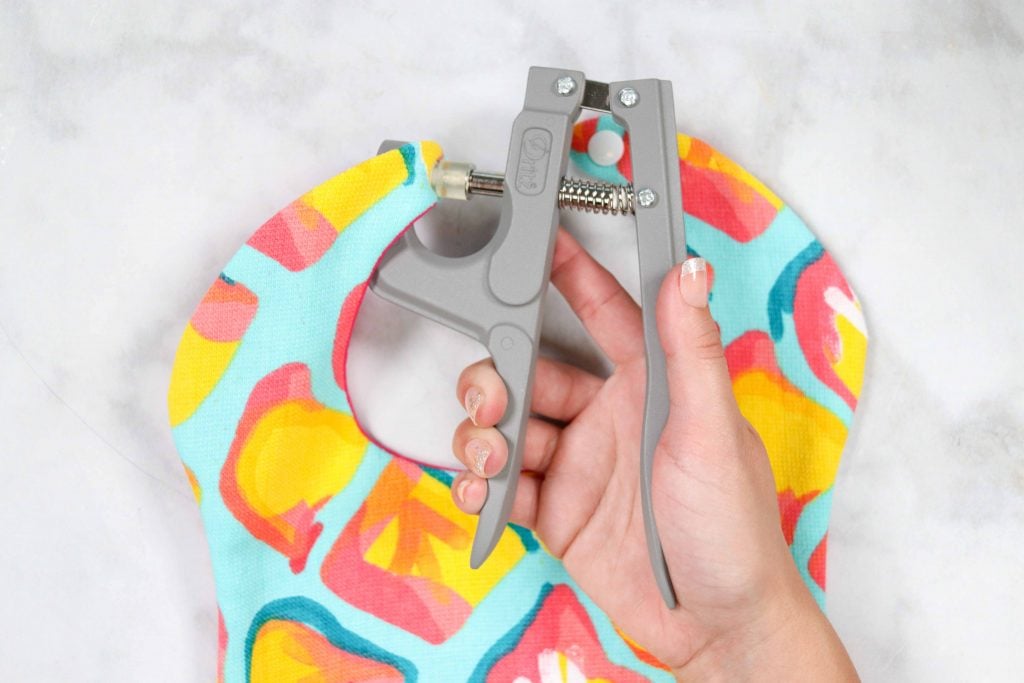
Apply two snaps to the top of the bib using a set of snap pliers. Follow the instructions listed on the packaging for the best results.
Don't forget to make sure they are facing opposite directions so they will be able to snap shut.
Close the Baby Bib
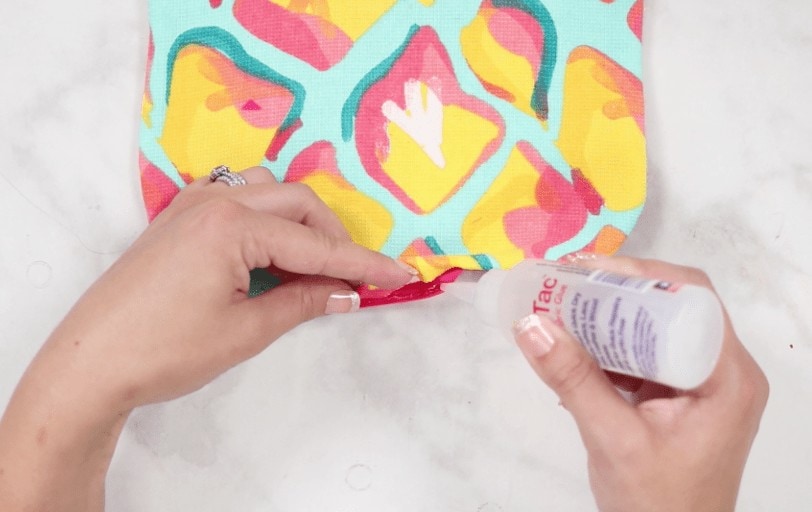
Fold the unsewn fabric inwards along the bottom edge of the bib.
Close the opening at the bottom of the bib using a fabric adhesive such as Beacon.
Ta-dah!! Now you're finished and you have an adorable, super absorbent baby bib!
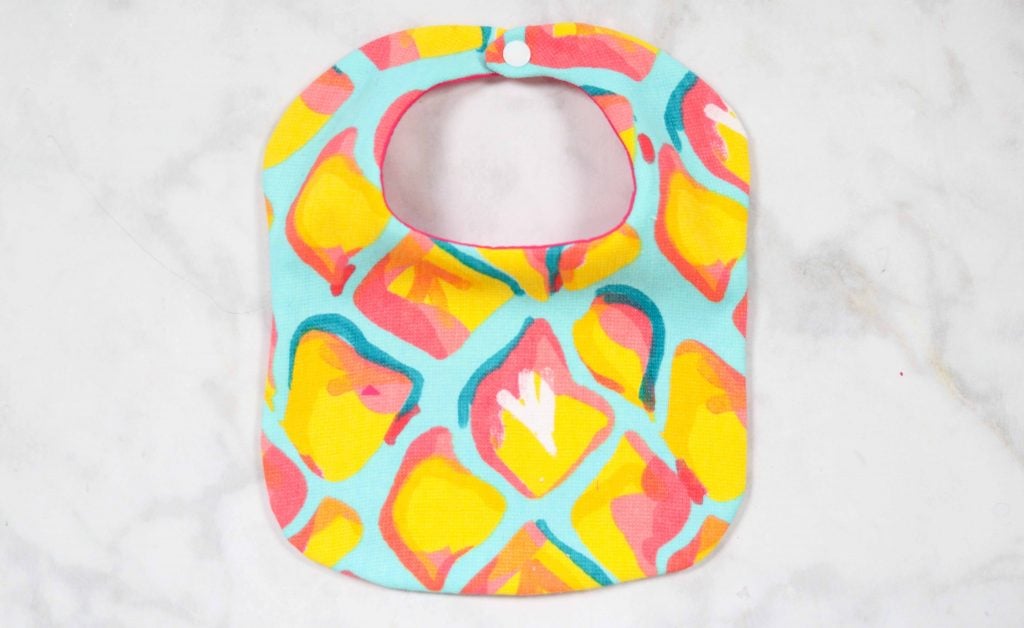
I can't wait to see what you make with this free pattern!
Make sure to join my Crafting & Sewing FB group and share what you are making with us!
Get even more free Baby Sewing Pattern SVG files here.

Get the Cricut Maker in Mint from JOANN here.

Looking for even more Cricut projects? I have over 50 Cricut tutorials!

YES! I've been looking for more SVG files like this for sewing. I love the paper cutting but fabric is my main reason buying the Silhouette Cutter!
Where do I find the PDF pattern?
I downloaded the SVG files and the PDF pattern was within there
I can’t seem to find the PDF pattern...
Avg file for bibs please
Where is this file? I've spent way too much time checking all of the free patterns, SVG files and baby patterns. Thanks to anyone who can help me.
The files are under the table of contents.
You need to click the pink underlined words that say, “Subscribe to Sweet Red Poppy to download the free SVG files.”
Click that, and then the link should open in a separate tab, or it will open in the Files app.
I hope this helps!
Sorry, Free pattern, not SVG.
Great idea. But since I do not own a Cricut but a different cutting machine I am not able to download the pattern because design space will not allow me to transfer design to my machine.