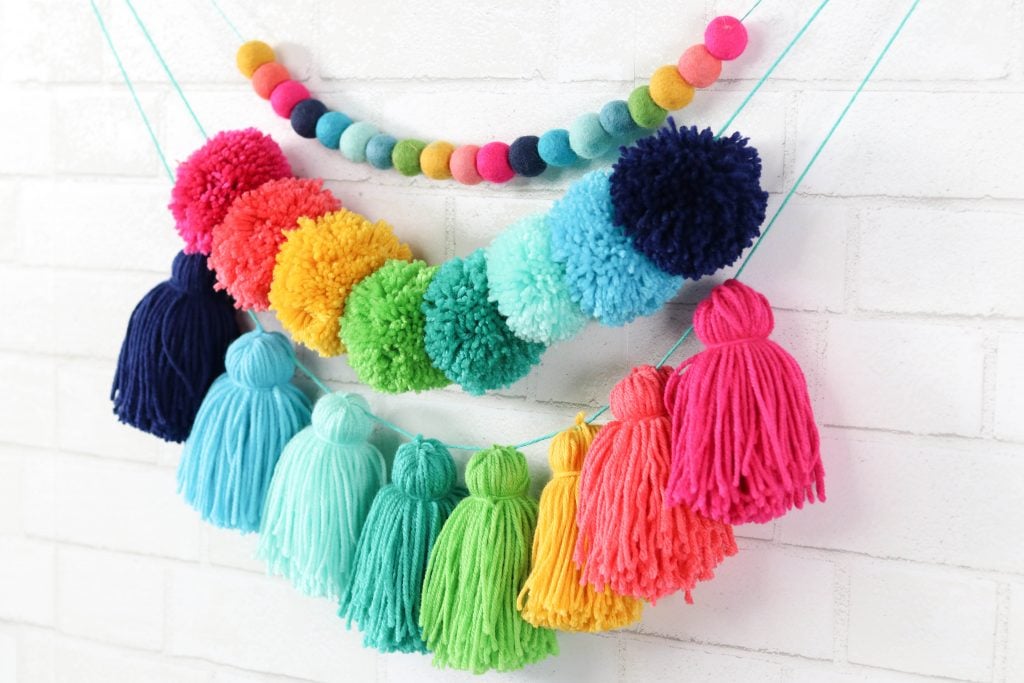
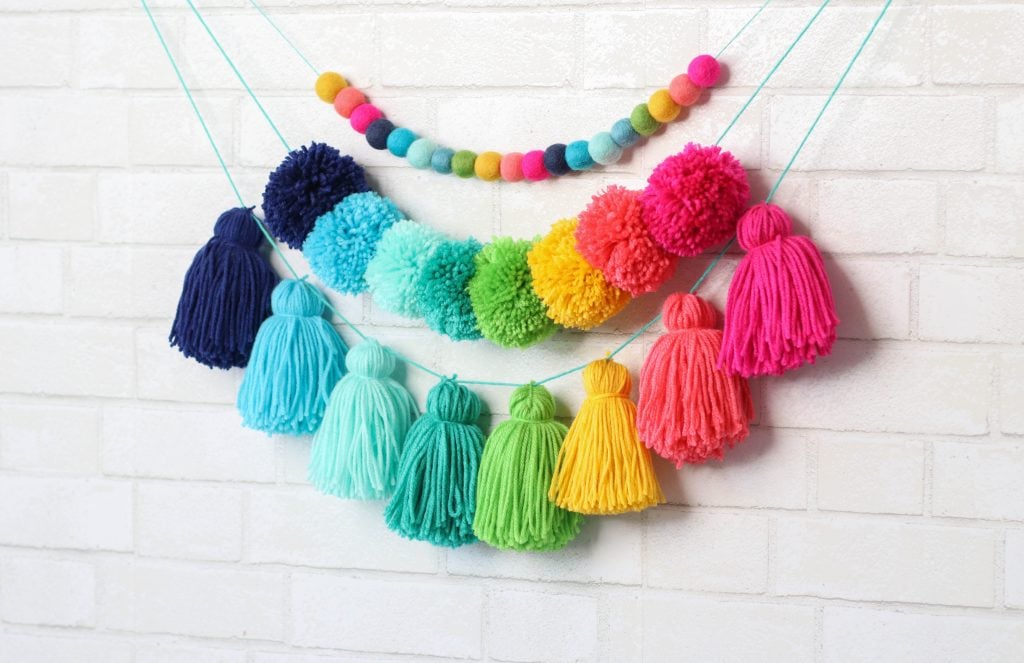
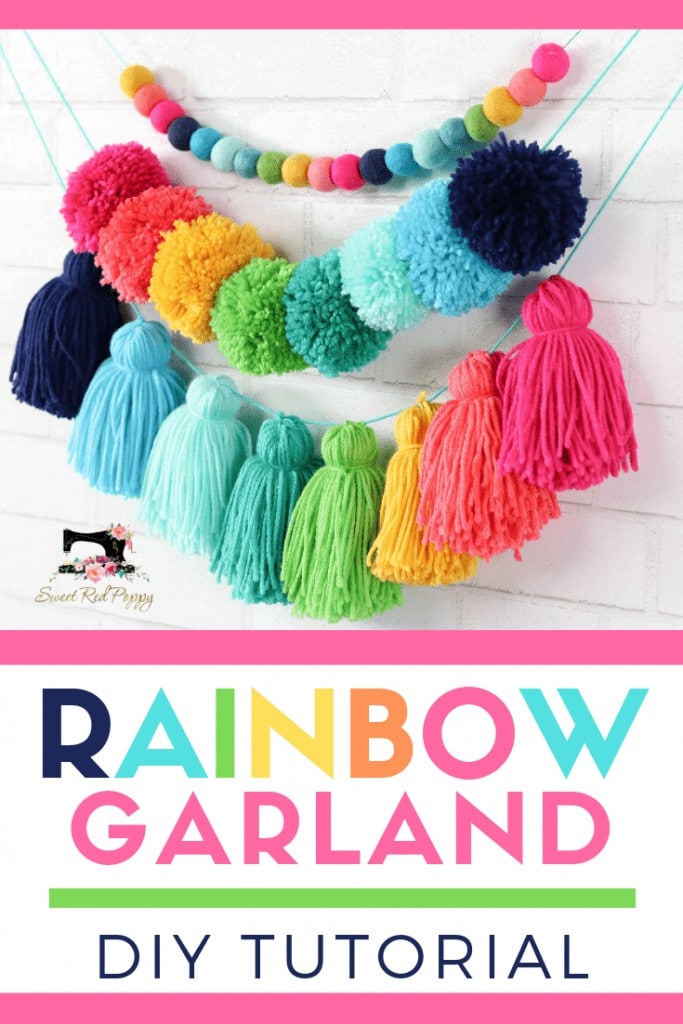
Rainbows make everything better and this adorable garland is sure to put a smile on your face every single time you see it!
I'm teaching you how to make a felt ball, pompom, and tassel garland with this step-by-step tutorial, and it may just be the most fun I’ve had in a long time!!
I'm not much of a knitter or a crocheter, but I'm always drawn to the yarn aisle whenever I'm at the craft store and somehow I've accumulated quite a stash of yarn over the years.
This project was the perfect way to use up my stash, and I just adore the cheerful color palette!
Supplies
- Rainbow Variety of Yarn
- Scissors
- Heidi Swapp Pom Pom Maker- Similar
- Needle
- Cardboard
- Felt Balls
Let's go ahead and get started!
How To Make an Oversized Yarn Tassel Garland
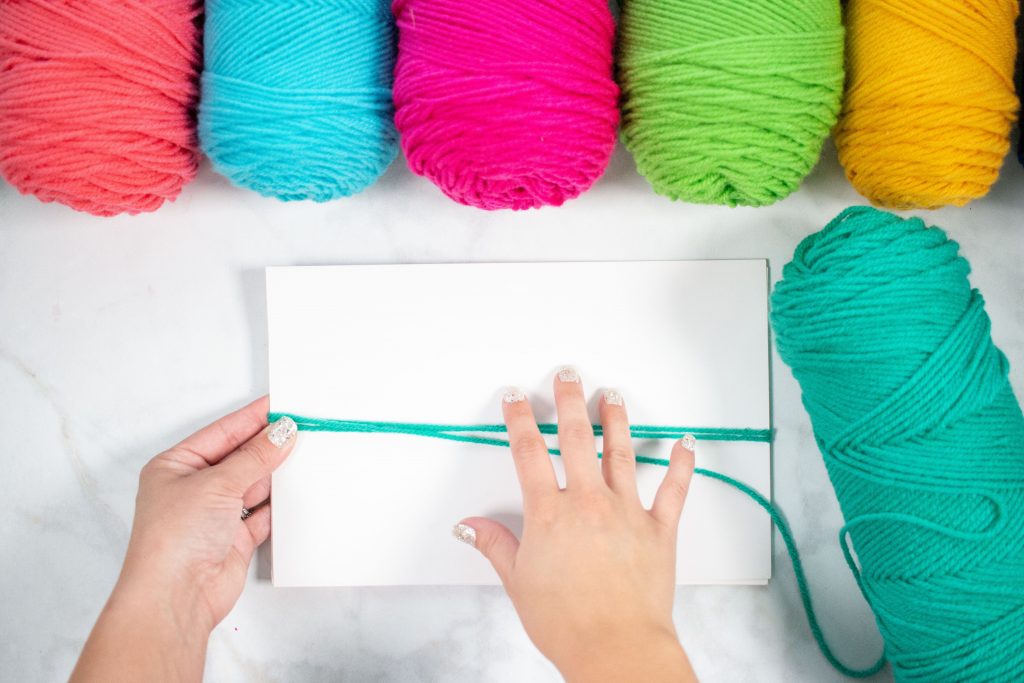
Wrap the yarn around a 10 inch wide piece of cardboard maintaining the same amount of tension the entire time.
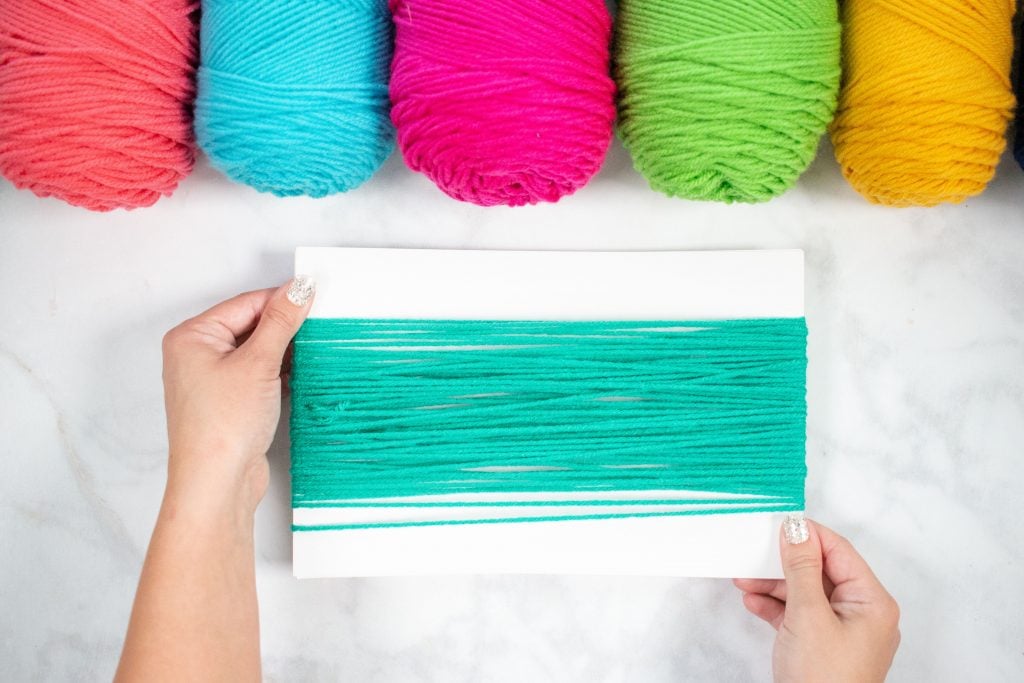
Wrap the yarn around the cardboard about 40-50 times. Keep in mind that the final tassel will be double the thickness.
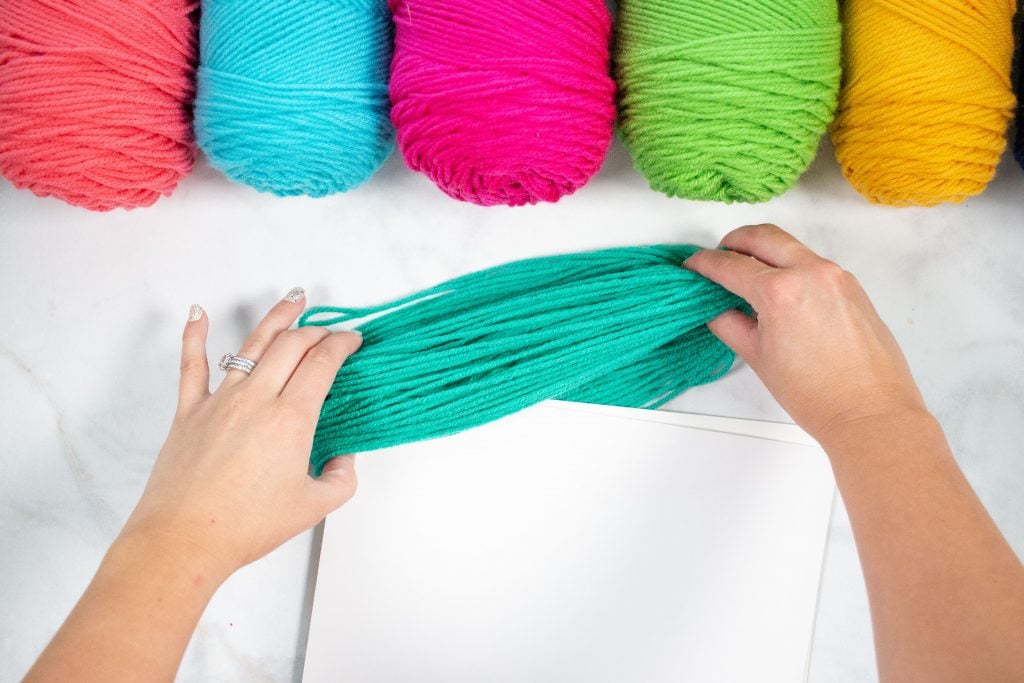
Wiggle the yarn off of the edge of the cardboard so it’s laying flat on the table in front of you.
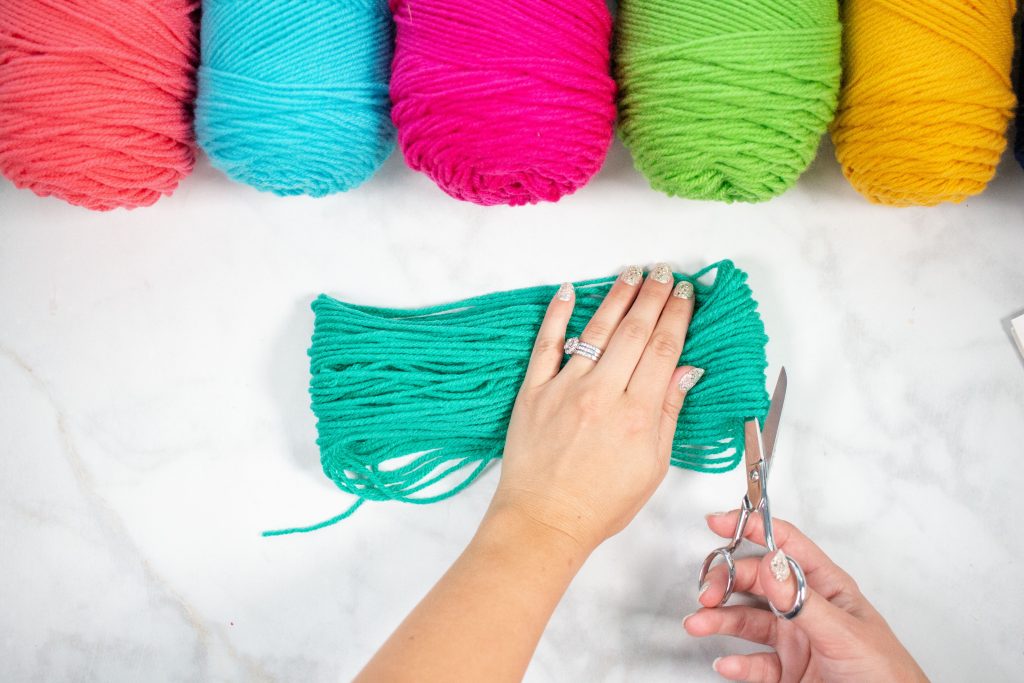
Cut both sides of the yarn to create a pile of strings.
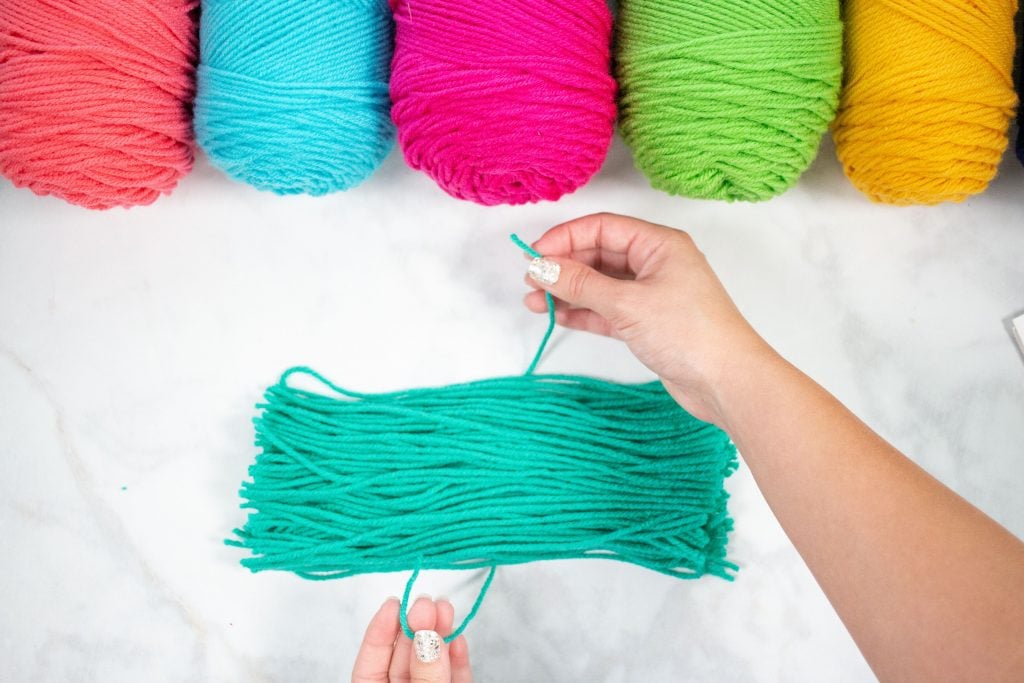
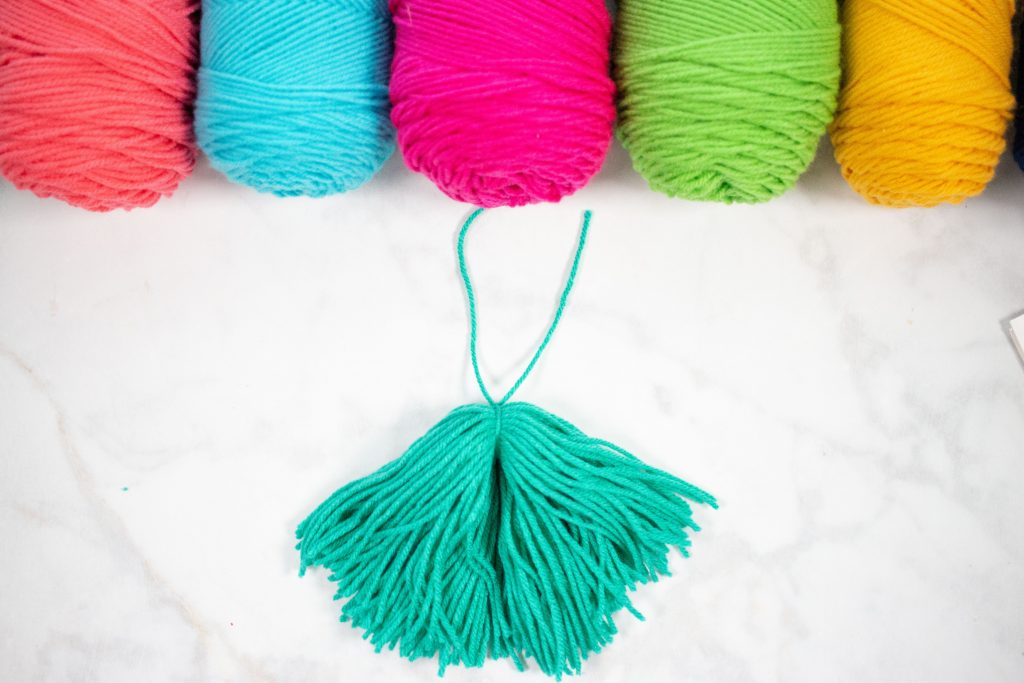
You should now have a large pile of evenly cut yarn. Use one of the pieces to tie a knot around the center of the bundle.
Using both hands, grab the edges of the bundle and bring them together.
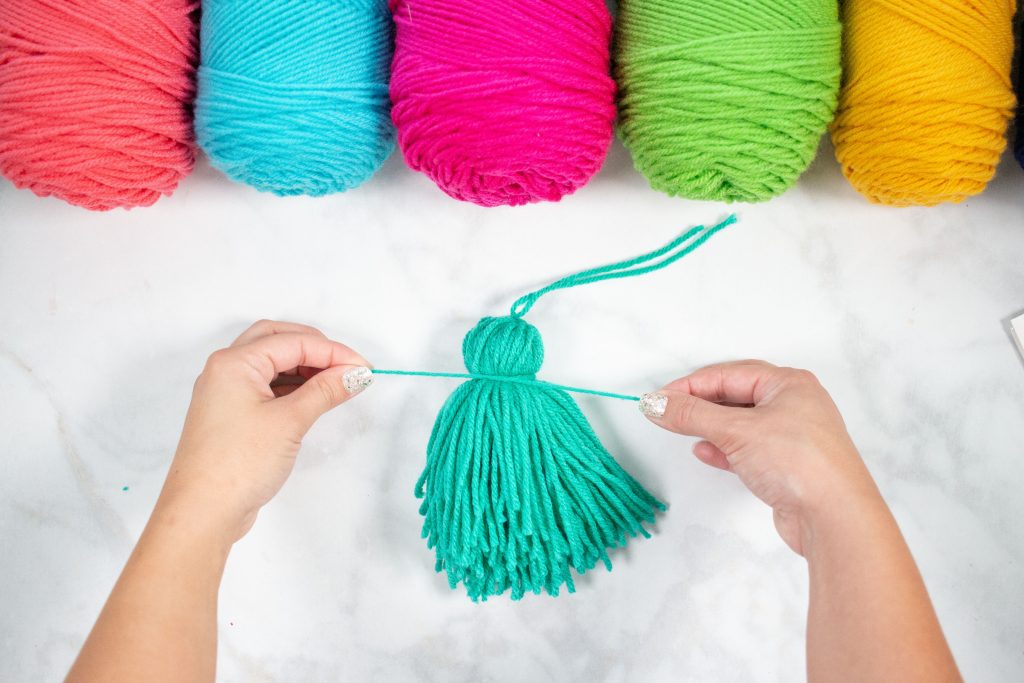
Use a small hair elastic to keep all of the yarn together.

Tie a string around the elastic to cover it completely.
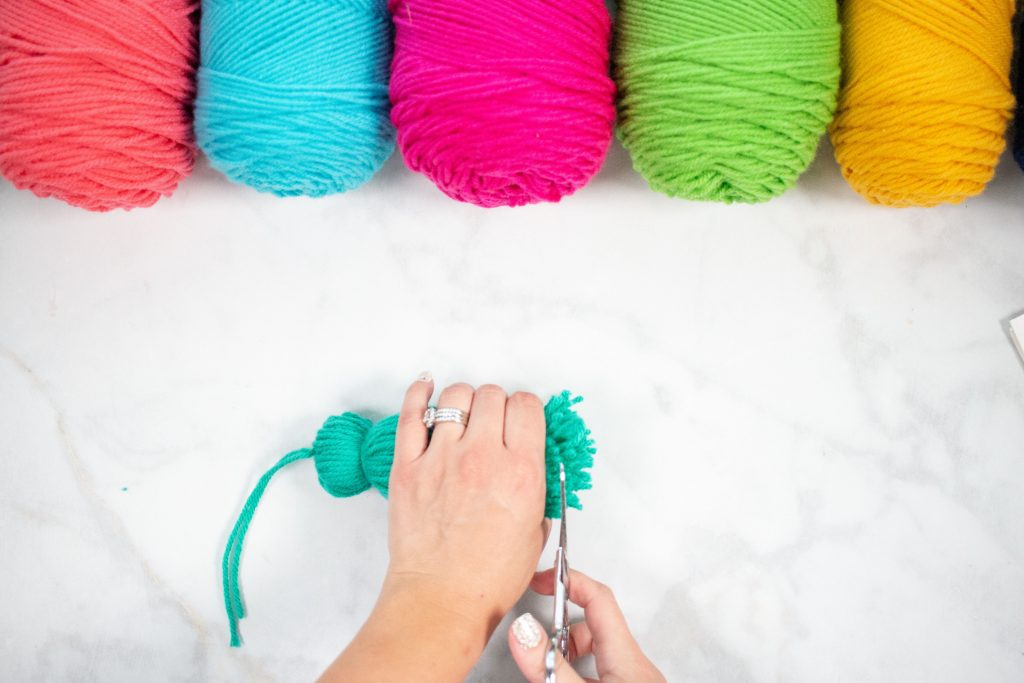
Holding the tassel in one hand, cut off the excess yarn to even the ends of the tassel.
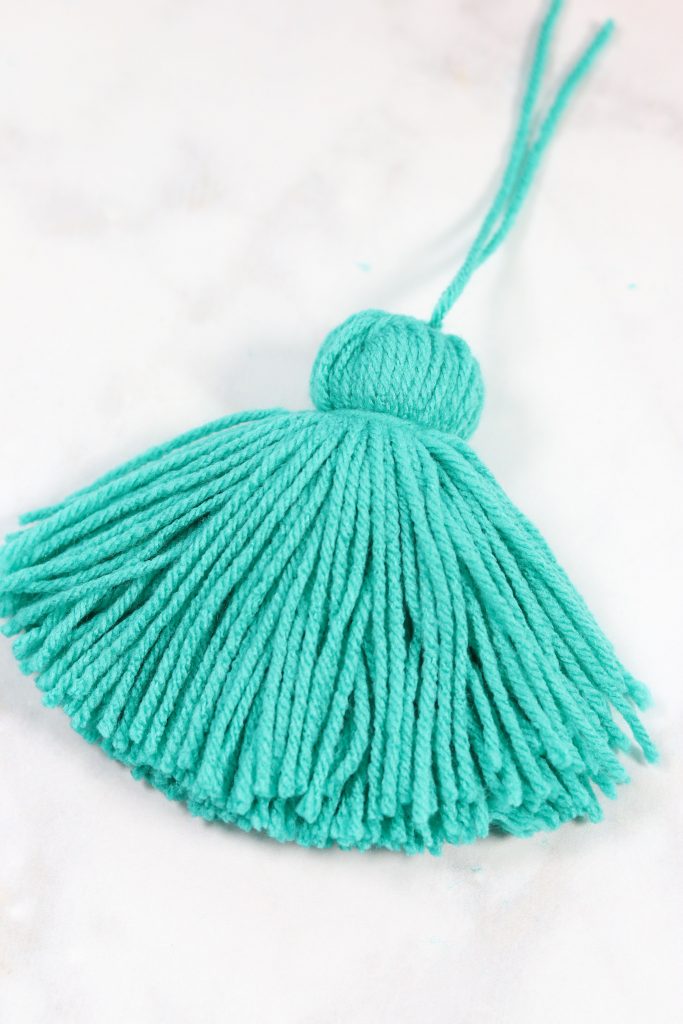
If your yarn is wrinkled, hover an iron with plenty of steam over it and smooth out any wrinkles.
Repeat this process until you have a variety of different colored tassels.
String all of the tassels onto a long piece of yarn and set aside.
How to Make a Yarn PomPom
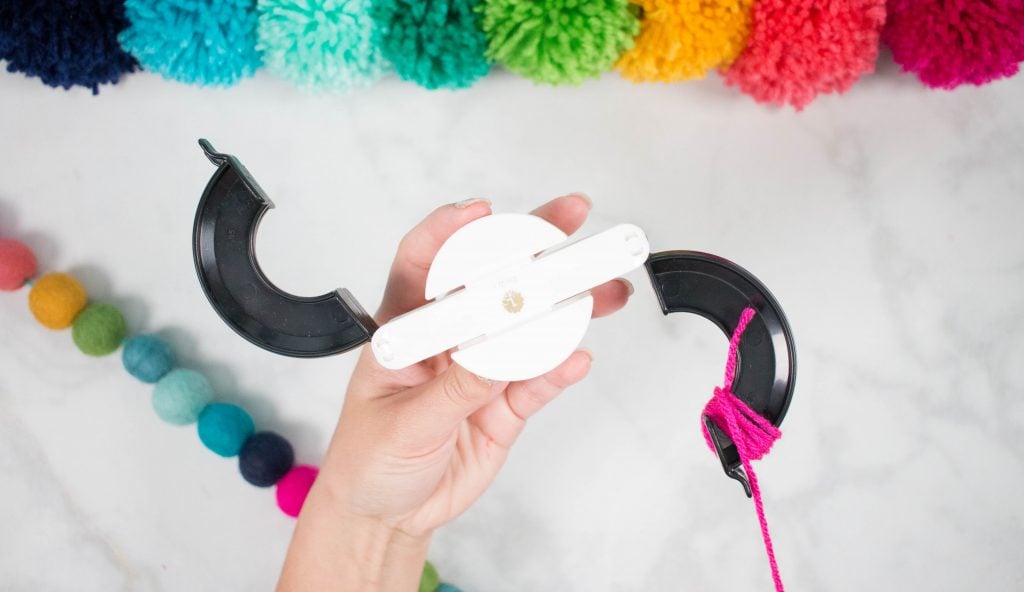
Open both arms of the pom pom maker until they are fully extended.
I used the Heidi Swapp Pom Pom Maker.

Wrap the yarn around the arm of the pompom maker until it’s completely covered. For a fuller pompom wrap a second or even a third layer of yarn.
Repeat this process on the opposite side.
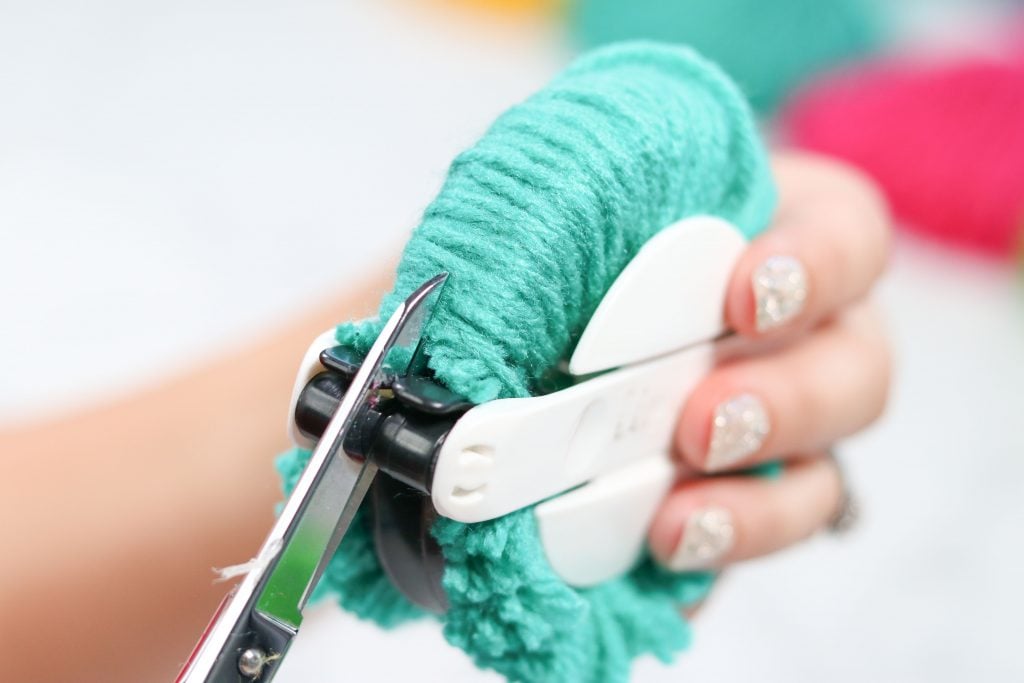
Using a pair of sharp scissors, cut along the middle of the yarn all the way around the entire pom pom maker.
Tie a piece of string around the pompom maker to secure the threads into place. (This step is demonstrated in the video.)
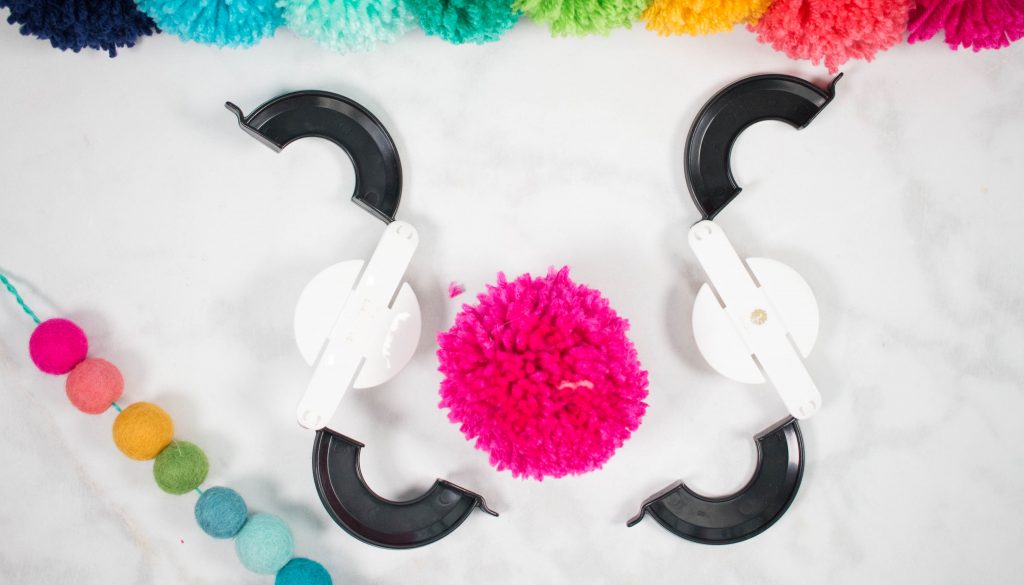
Pull the pompom maker apart to reveal the finished pompom and trim any uneven threads.
String all of the pom poms together on a long piece of yarn.
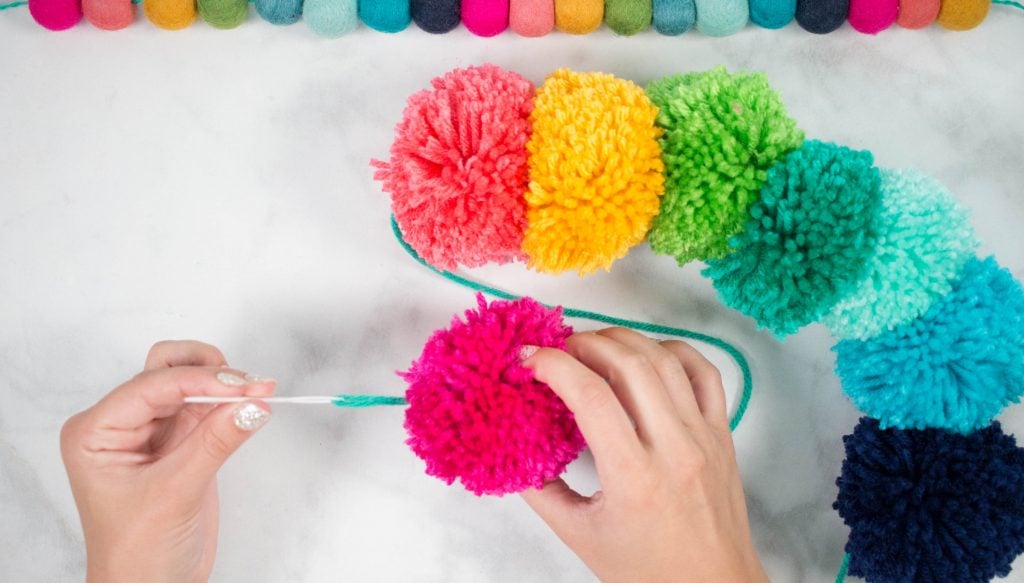
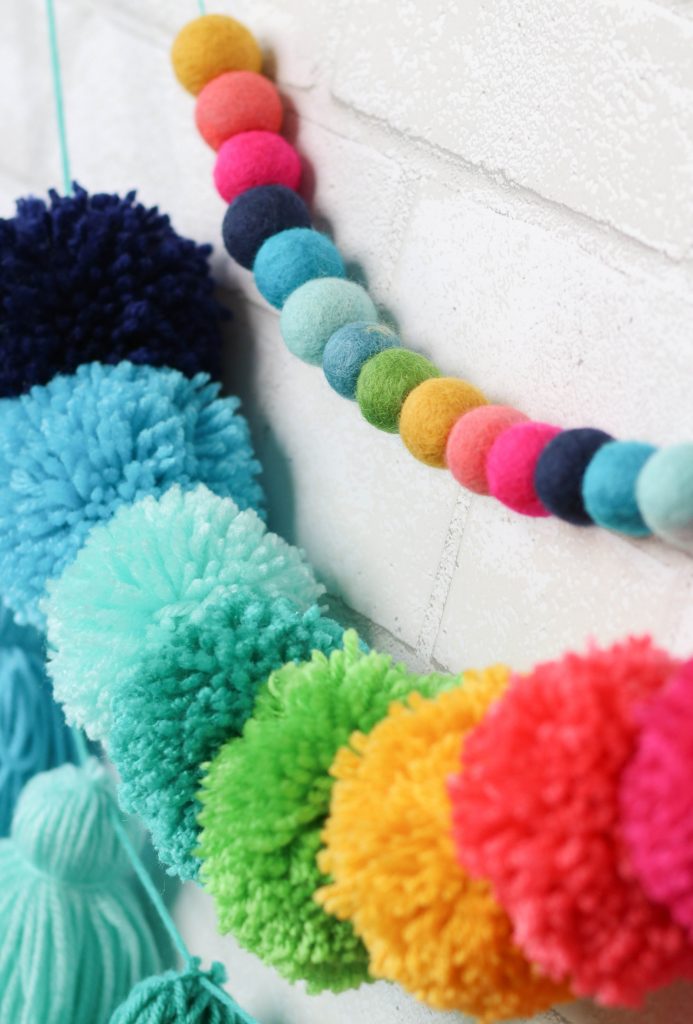
How to Make a Felt Ball Garland
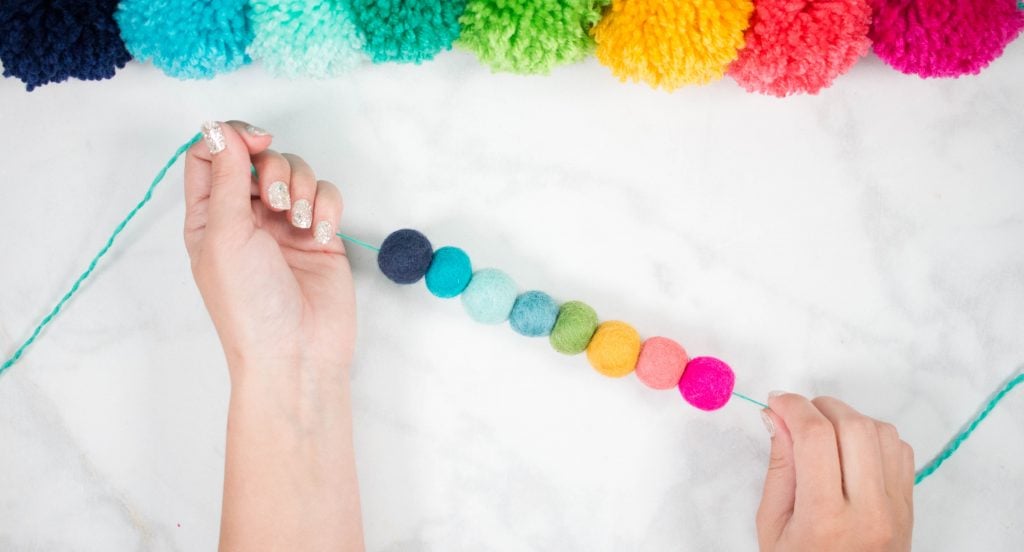
Lay out a rainbow of felt balls. Thread a needle with a long piece of yarn and insert the tip of the needle into the middle of the felt ball, pushing it completely through.
Repeat this process until all of the felt balls have been strung.
Move all of the felt balls to the center of the string.
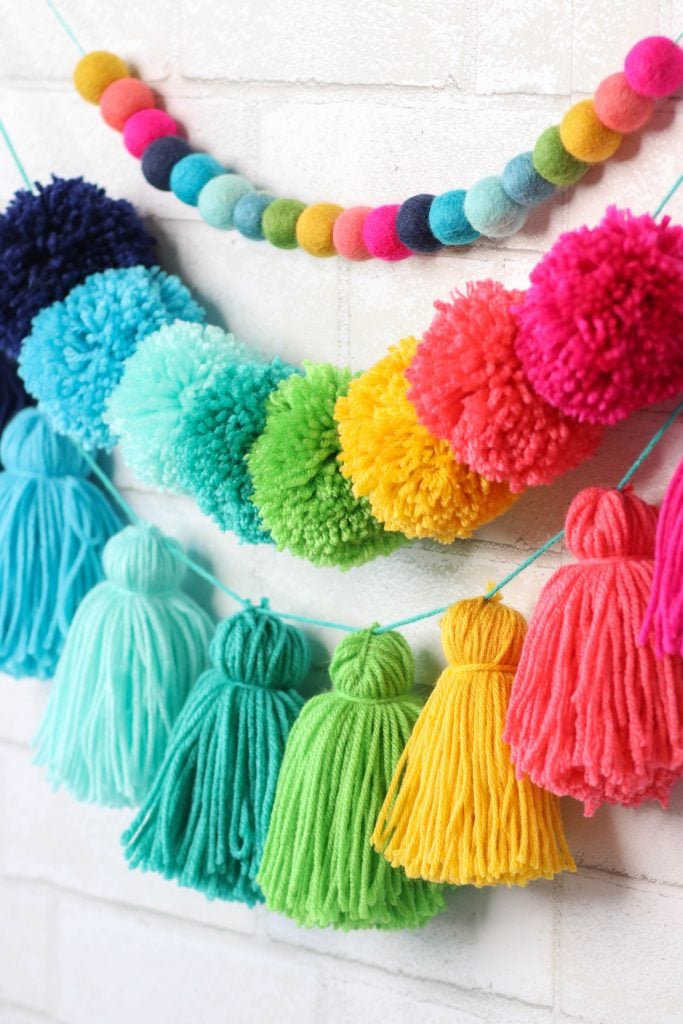
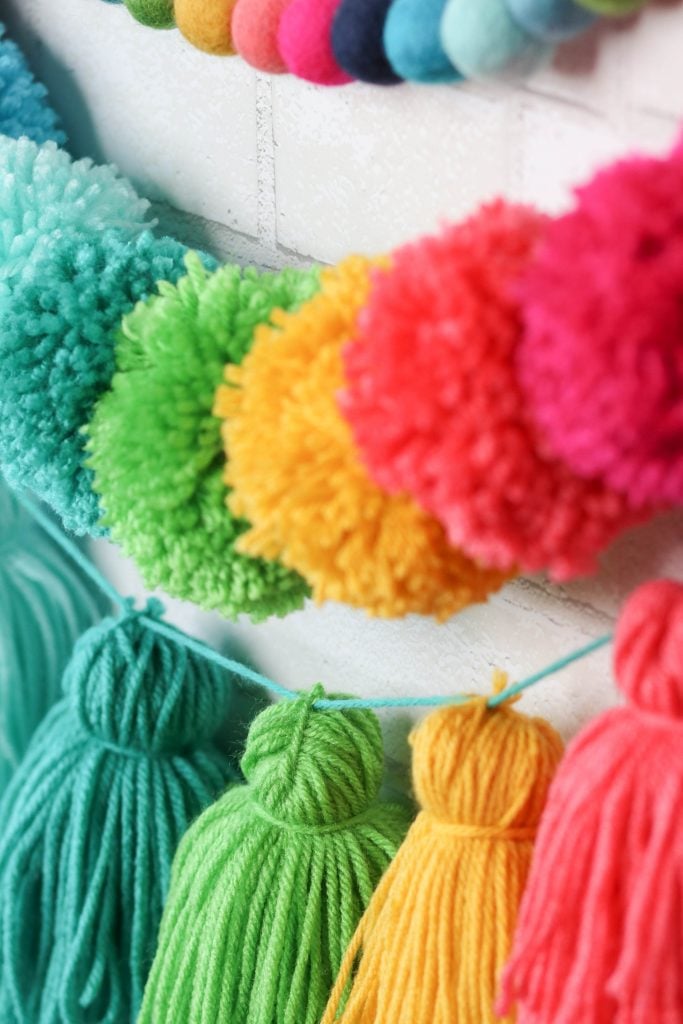
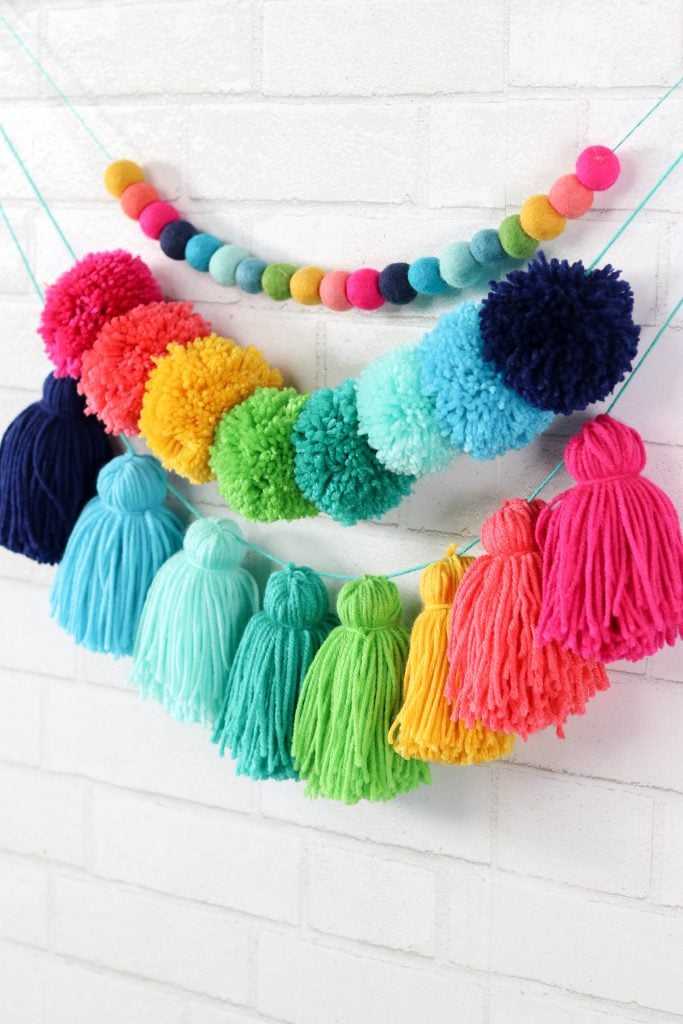
Hang all three garlands together for a fun rainbow statement piece.
I can't wait to see what you make with this tutorial! The possible variations on this tutorial are endless!
I'm already planning a red, white and blue garland for the Fourth of July.
Save yourself a trip to the store and grab all of the supplies for this project online from Michaels or Amazon!
Don't want to forget about this project? Save it for later! Click here to save it to Pinterest.
Where did you purchase the pretty felt balls?
I was wondering about the felt balls too! I love them and they match so well!
They are from Benzie Design.
I was wondering about the felt balls too! I love them and they match so well!
Absolutely love all of these and can't wait to make them for my craft room. Just a question about the felt balls. Did you use the medium 1" size or the large 1 1/4" ones?
Loved making these with you in the Poppy Club! Still need to get mine hung up somewhere! They're so pretty and so easy to make!
Is there a list of the yarn brand and colors? It would be awesome as a diy kit!
How much yarn do you need for this garland?
With all these adds, this page was unreadable/unwatchable
Can you use rubber bands instead of ponytails??