Have you ever wondered how to make a circle skirt? I have the perfect, quick, and easy tutorial to help you make a circle skirt in any size!
I did all of the circle skirt math for you so you won't have to think about it! I'll walk you through all the steps of how to sew a circle skirt with an elastic waistband, from measuring the waist to hemming the circle skirt. I even have a few helpful tips to make sewing with knit fabric easier!
Table of Contents
*EDIT* I recently updated this tutorial to include a FREE printable PDF pattern in sizes preemie through girls size 12.
Click here to get the pattern, video, and full tutorial!
Keep scrolling to learn how to make the circle skirt without a pattern!
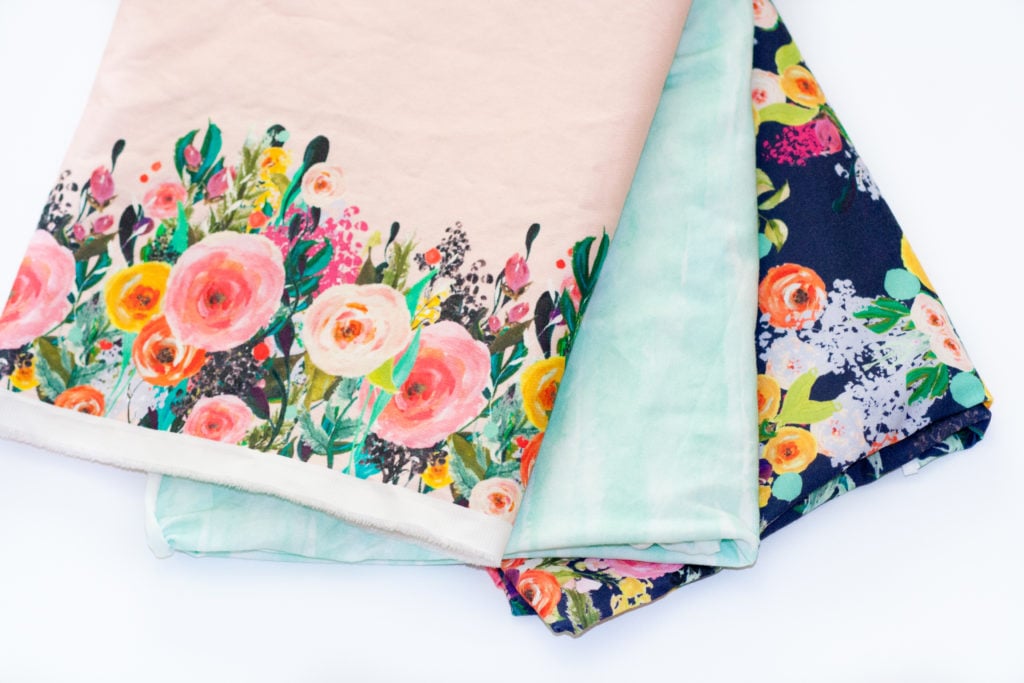
I've been dying to try out Spoonflower's fabrics for quite some time now, and this Spoonflower Back to School blog tour was the perfect opportunity to do so! I'm a huge fan of the watercolor floral craze that's sweeping the nation right now, so I instantly knew which prints I would want to work with! I love that Spoonflower supports small artists and gives you a huge variety of choices in not only designers but also fabrics.
All three of my fabric choices came from the very talented designer The Art Werks. I'll just wait a minute while you swoon over all of her beautiful designs!
Get my FREE Madeline Knit Dress Sewing Pattern HERE!
Fabric Choices
First up is the gorgeous navy blue floral design. I ordered this design on Modern Jersey because I wanted the fabric to have stretch but also have a certain amount of drape. This fabric is really quite soft and has great recovery. I'll be honest, I was pretty skeptical about how well this fabric would wash seeing that it's such a dark print...but the color held strong after the wash so I'm very pleased with the results.
Next, is this beautiful watercolor design in a minty green and blue. It really is the perfect coordinate for the floral skirt. I ordered this print on a cotton spandex jersey. It has less drape and is a bit more sturdy than the modern jersey which makes it perfect for a t-shirt.
Finally, I ordered this really fun pink floral border print in a lightweight twill. If you've been following along with me for awhile, you probably already know about my affinity for border prints! I just can't seem to say no. I'm already dreaming up an adorable pleated skirt for myself in this pattern. Looks like I need to order some more of this fabric!
I'm super excited to share a tutorial to make your very own knit circle skirt today. Did I mention how incredibly easy this skirt is to make???
Supplies Needed
- Sewing Machine
- Self-healing Cutting Mat
- Rotary Cutter or Scissors
- Iron & Ironing Board
- Thread
- Acrylic Ruler
- Measuring Tape
- Fabric Pen
- Safety Pins & Pearlized Pins
- Knit Fabric (Cotton Spandex Jersey Fabric)
- Lightweight Twill
- 1-inch Elastic
CIRCLE SKIRT STEP-BY-STEP SEWING TUTORIAL
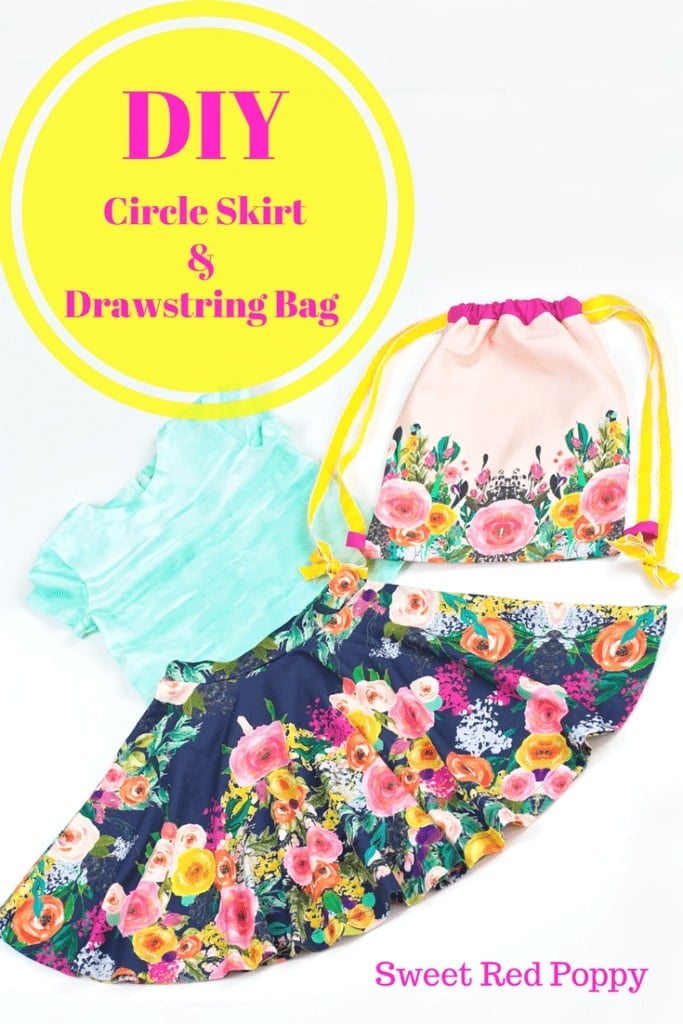
(Matching Drawstring Bag Tutorial here)
The thought of sewing a circle skirt might be a little bit scary! And you might be wondering how on earth you are supposed to measure yourself for a circle skirt. Don't fear, I'll take you through every single step of the process from cutting our your circle skirt to tips on sewing with knit fabric I even did all the hard work and calculated all the circle skirt waist sizes for you! Did I mention this is the perfect pattern for a poodle skirt? If you are planning a Halloween costume this tutorial is a great base!
How much fabric do you need to make a circle skirt? For a little girl's skirt, you will need between 1-2 yards of fabric.
It will depend on the width of the fabric as well as the size you are making.
Step 1: Measure
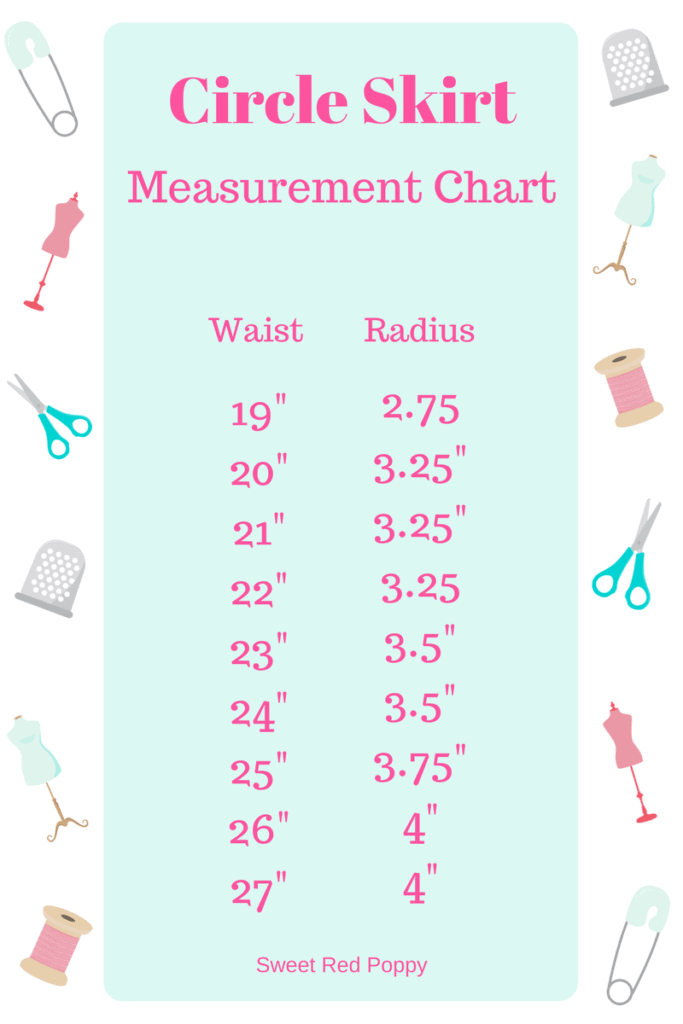
First, measure the waist of the person you will be sewing for, then find the coordinating waist measurement on the chart.
If the measurement falls in between sizes, round down to the smaller size. Next, measure from the waist to the knee to calculate the skirt length, make sure to add 1 inch to account for seam allowances.
If you'd rather print off the pattern than make it by hand, click here!
Circle Skirt Calculator Measurement Chart
You can find the Women's chart here.
Step 2: Align Raw Edges
Fold the fabric in half aligning the raw edges together.
Step 3: Draw the Waistline & Mark Skirt Hem
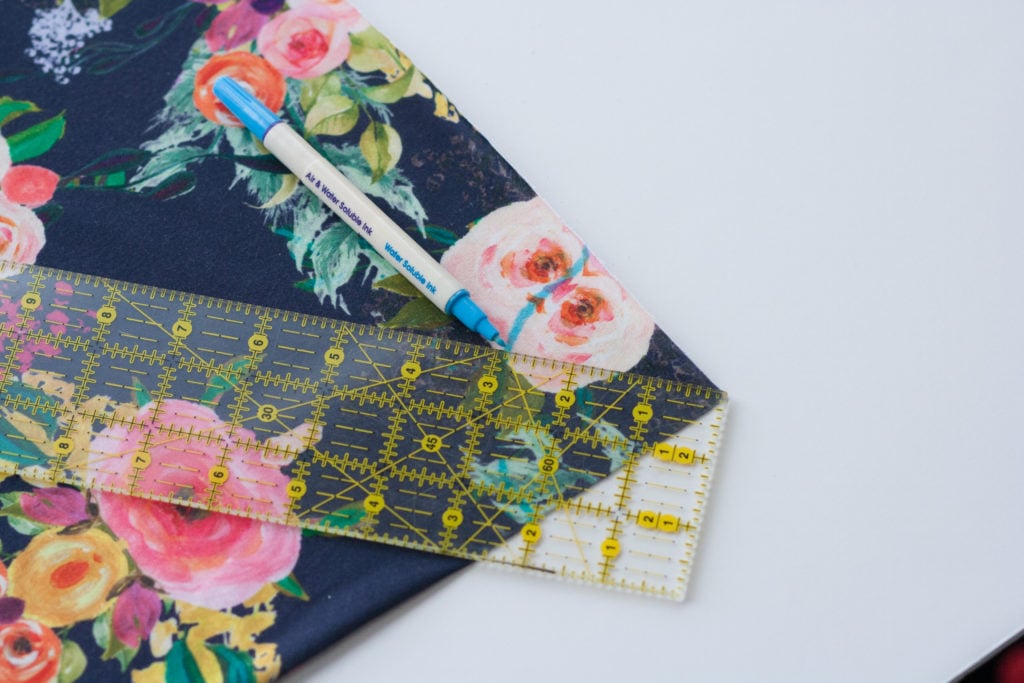
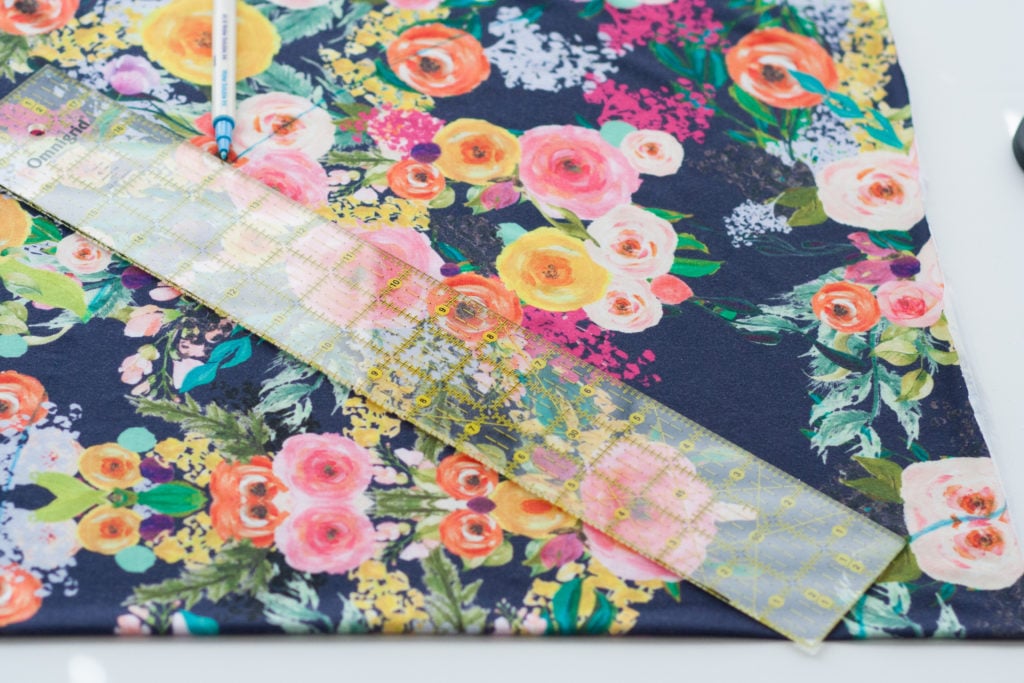
Grab a ruler and a fabric marker. In this step, we will be drawing the waistline in for the circle skirt. Determine the waist measurement using the chart above (mine was 3" for my 3-year-old). Align the edge of the ruler with the edge of the fabric and slowly pivot the ruler to draw in the waist. Now it's time to mark the skirt hem. For reference, the skirt I made for my 3-year-old was 14" long. Start on one side and align the edge of the ruler with the skirt waistline marking and slowly draw the hemline.
Step 4: Cut
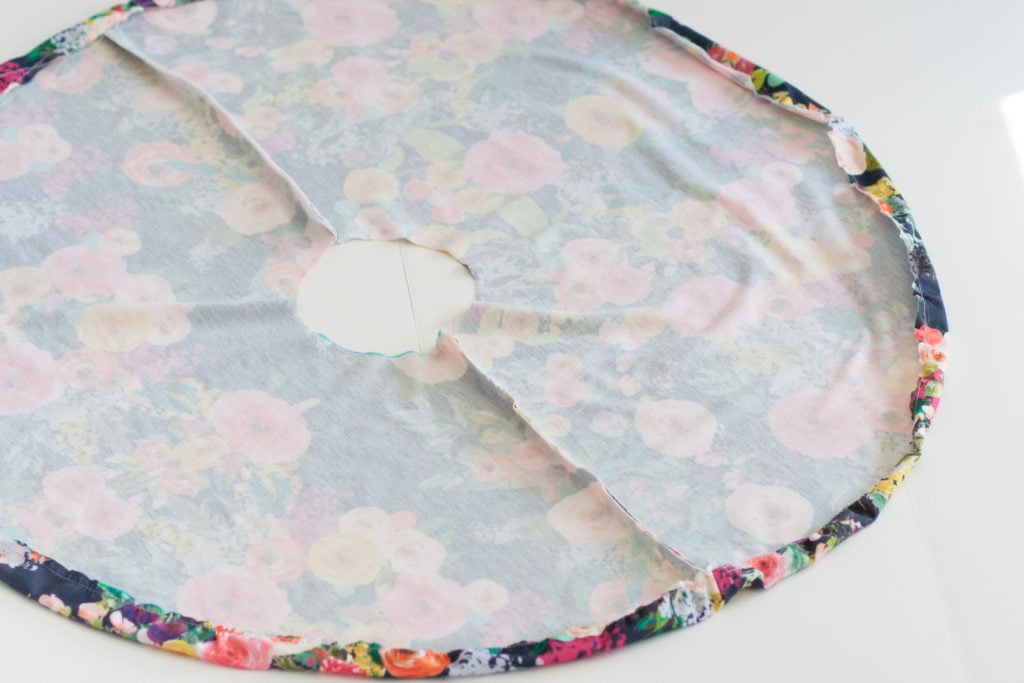
Cut along both lines. Repeat this process with the other skirt piece. You will end up with a front and a back half circle skirt.
Easy Tips for Sewing with Knits
Step 5: Pin & Sew Right Sides Together
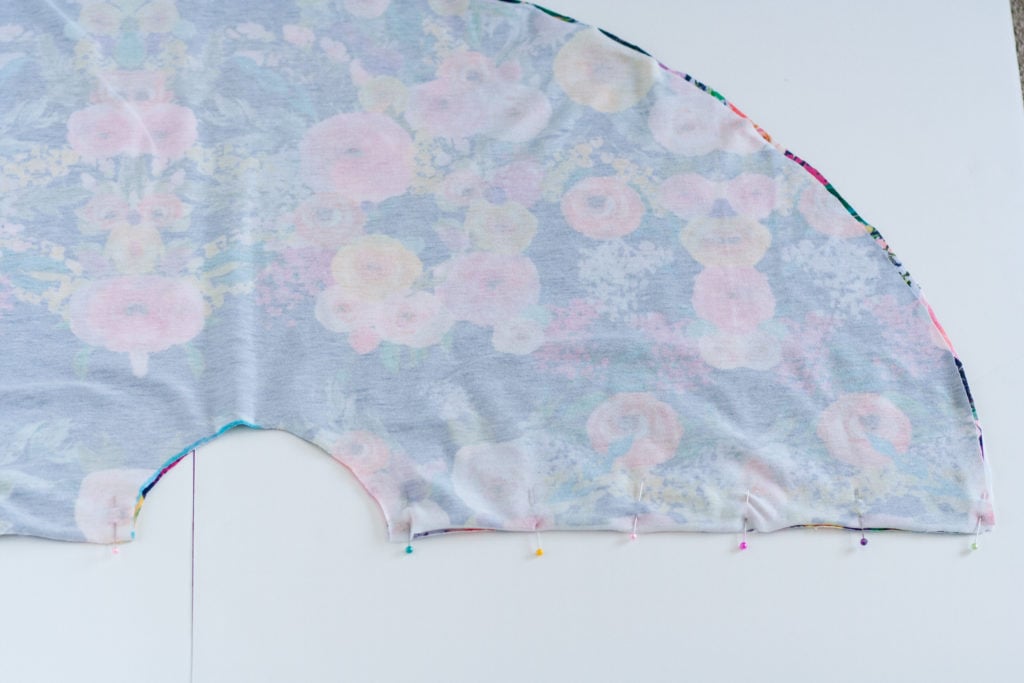
With the right sides together, pin the skirt front and back together. Sew both sides using a 3/8-inch seam allowance.
Step 6: Cut Out the Waistband
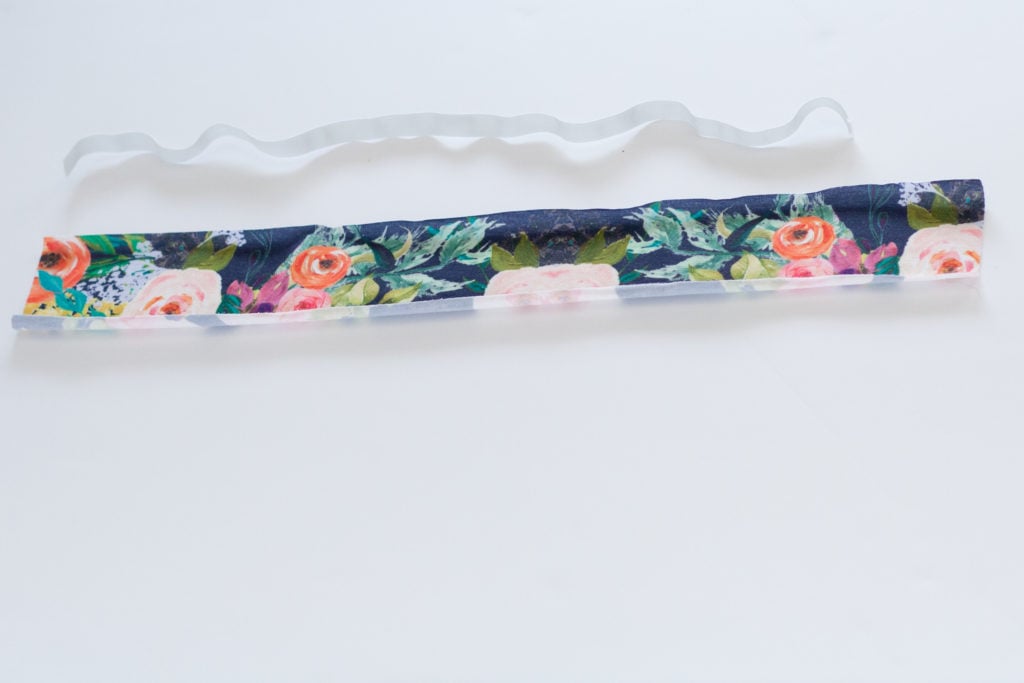
Time to cut out the waistband! The width of the waistband will be the same width as the waist measurement by 3". Make sure to cut it with the greatest stretch going across the width of the waistband.
Step 7: Add Waistband
Next, grab some elastic and cut it 1 inch shorter than the waist measurement.
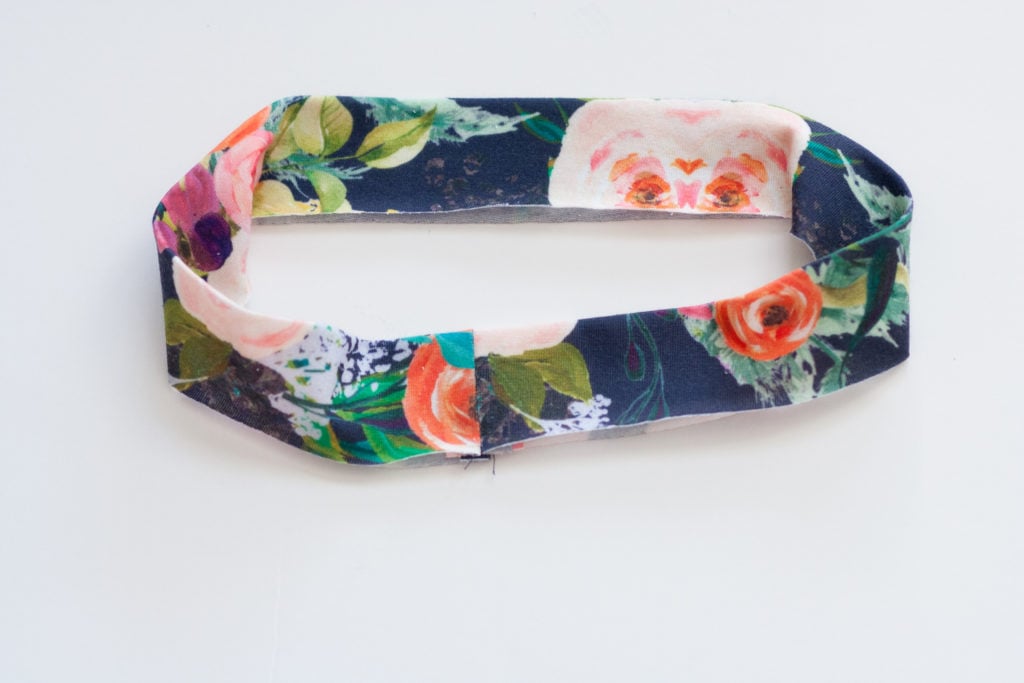
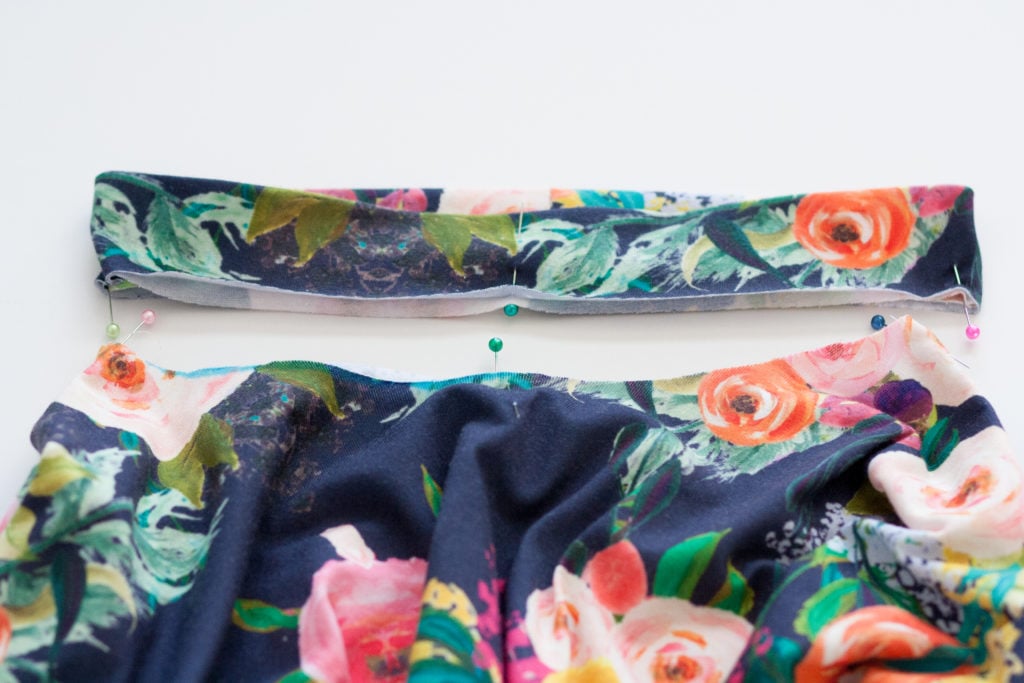
Sew the short ends of the waistband together using a 3/8th-inch seam allowance. If your fabric rolls and makes it hard to work with, spray it with a heavy starch. Quarter the waistband and mark with pins. Repeat with the skirt waist.
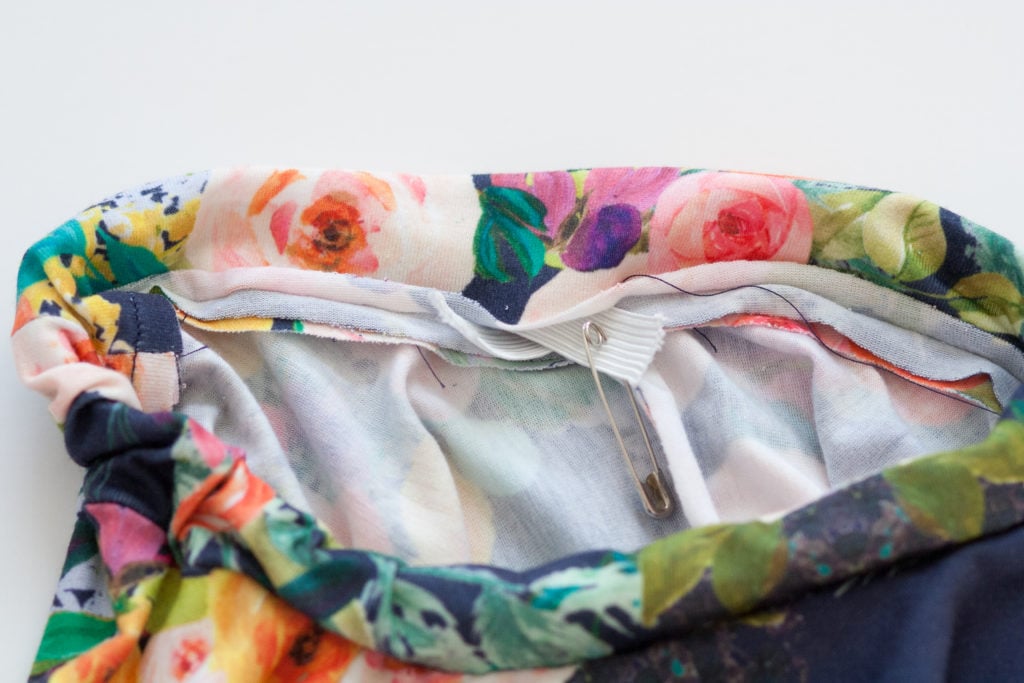
Align the waistband and the skirt together using the pins as a guide. Sew together the waistband and skirt leaving a 2-inch gap to insert the elastic. Thread the elastic through the waistband using a safety pin to guide it through.
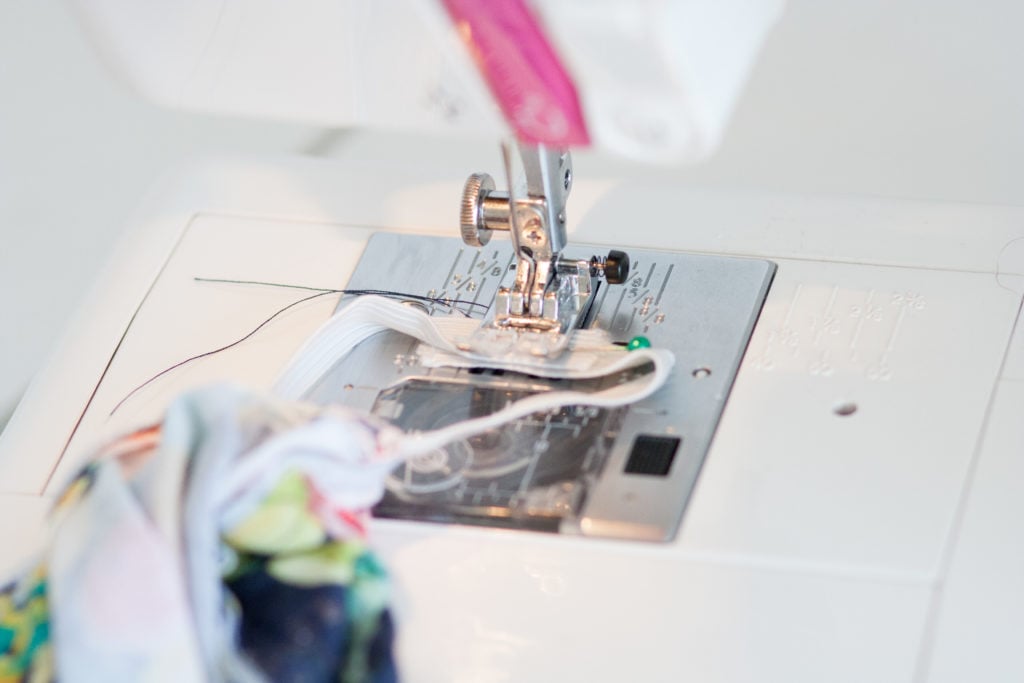
Pull both ends out and overlap the elastic by one inch, sew together with a zig zag stitch. Sew the waistband opening closed.
Step 8: Hem the Skirt
Now, it's time to hem the skirt. There are two options for this.
Since knit fabric doesn't unravel, you can leave it unhemmed, or you can hem it. I prefer to hem my circle skirts because it gives them a cleaner finish.
Don't worry, I'll share my super helpful tip for hemming circle skirts that makes it a breeze!
Increase the stitch length to the highest setting the sewing machine will allow. Sew a basting stitch 1/4 inch from the raw edge of the hem. Carefully pull the bottom thread to slightly gather the edge of the fabric. The hem should begin to curl up as it eases in the fullness.
Pin the hem up 5/8th inches evenly and then sew it from the front side 1/2 inch from the edge.
Step 9: Press All Seams
Press all seams well with plenty of steam. I hope you enjoyed this quick and easy circle skirt tutorial!
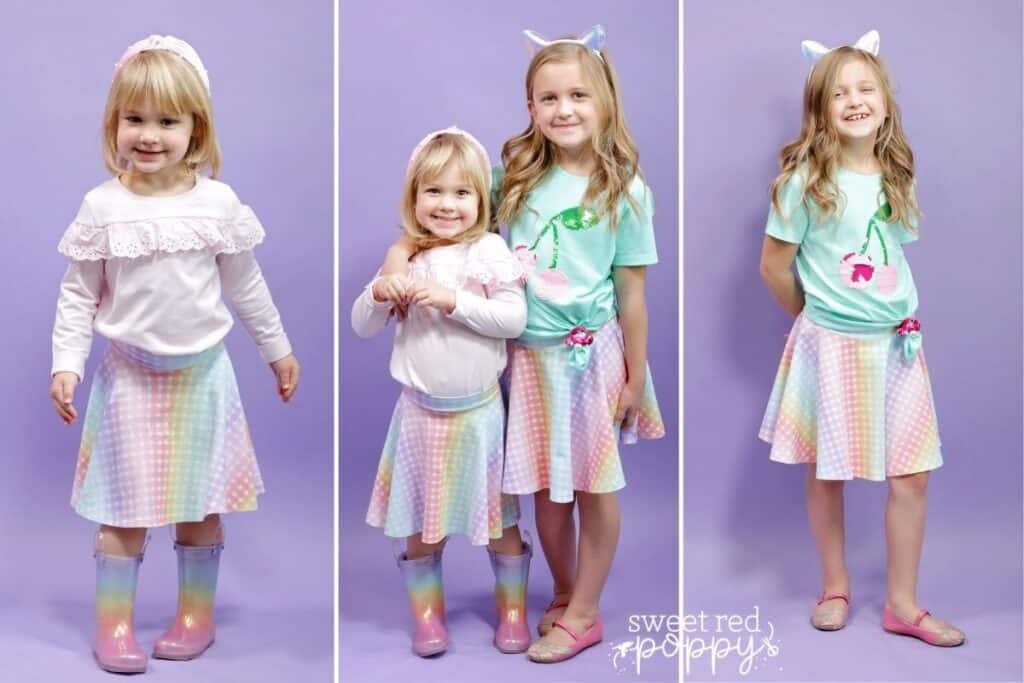
Finished Circle Skirt
Click here to get the bag tutorial.
Save

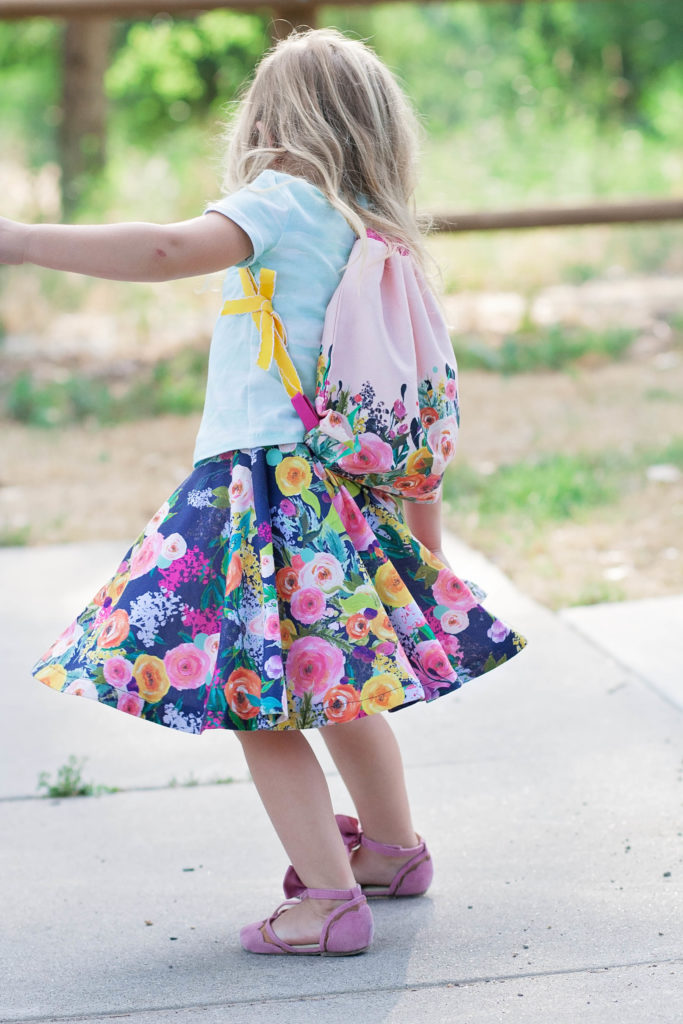
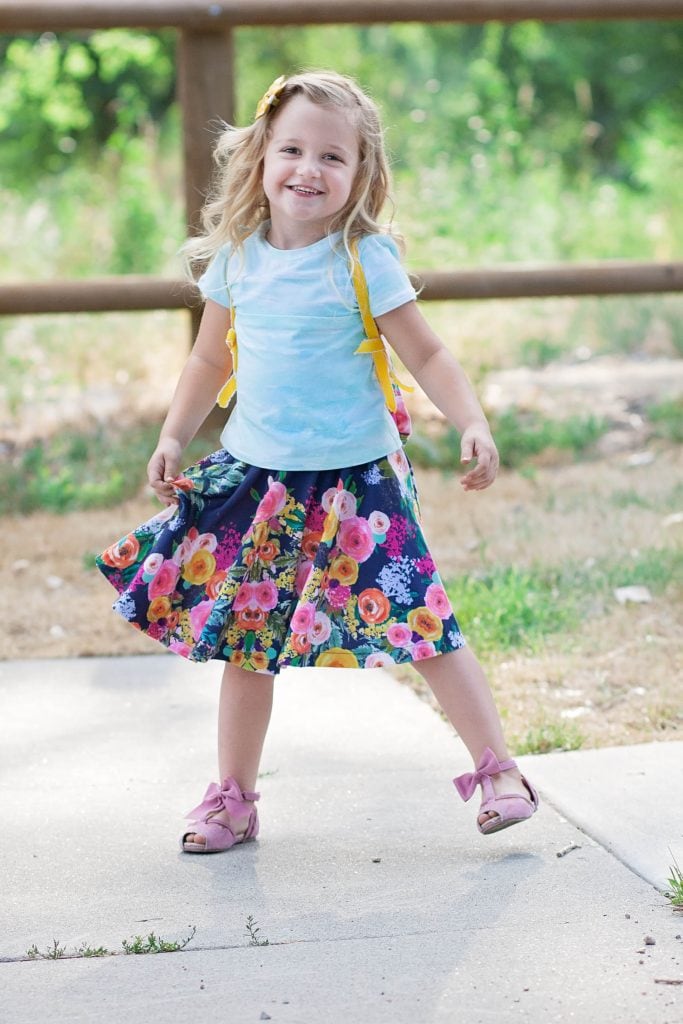
So darling
Adorable! My girls are sadly out of the skirt phase of life. But the cute little bag...swoon! Your little lady is so lucky to have a sweet mom like you!
Thanks so much, Kristie!!
Thank you for the step by step instructions and the beautiful photos of the project from start to finish. Both the bag and the skirt are beautiful, and so is your sweet little model 🙂
Quick question, do you use polyester thread, or any particular kind of thread, when working with knits? What kind of thread works best with a conventional machine, as opposed to a serger? Thank you again for this great post.
Hi Fran, I typically use normal thread when sewing with knits. I make sure to use a stretch stitch on my machine so that the seam is able to have some give. 🙂
That fabric is so pretty!
Adorable, but I need more instruction on how to sew the waistband to the skirt. Is there a YouTube video on this?
Hi, Kim 🙂
This is adorable, but I have one question. How do I figure out what yardage/width do we need for this skirt? It would look so cute on my Granddaughter!
I have a question about the waistband measurement. When you say, "The width of the waistband will be the same width as the waist measurement by 3″. Do you mean 3" SHORTER OR 3" LONGER?
Hi Shelia, for example, my waist is 28 inches so I would cut a piece of fabric that is 28 inches wide by 3 inches tall. The three inches is referring to the other measurement.
Thank you, makes total sense now.
You mentioned to put raw edges together & draw the waist. Where dod you draw it? Was it drawn on the two open edges or the edge that is folded?
Is there a youtube video on this?