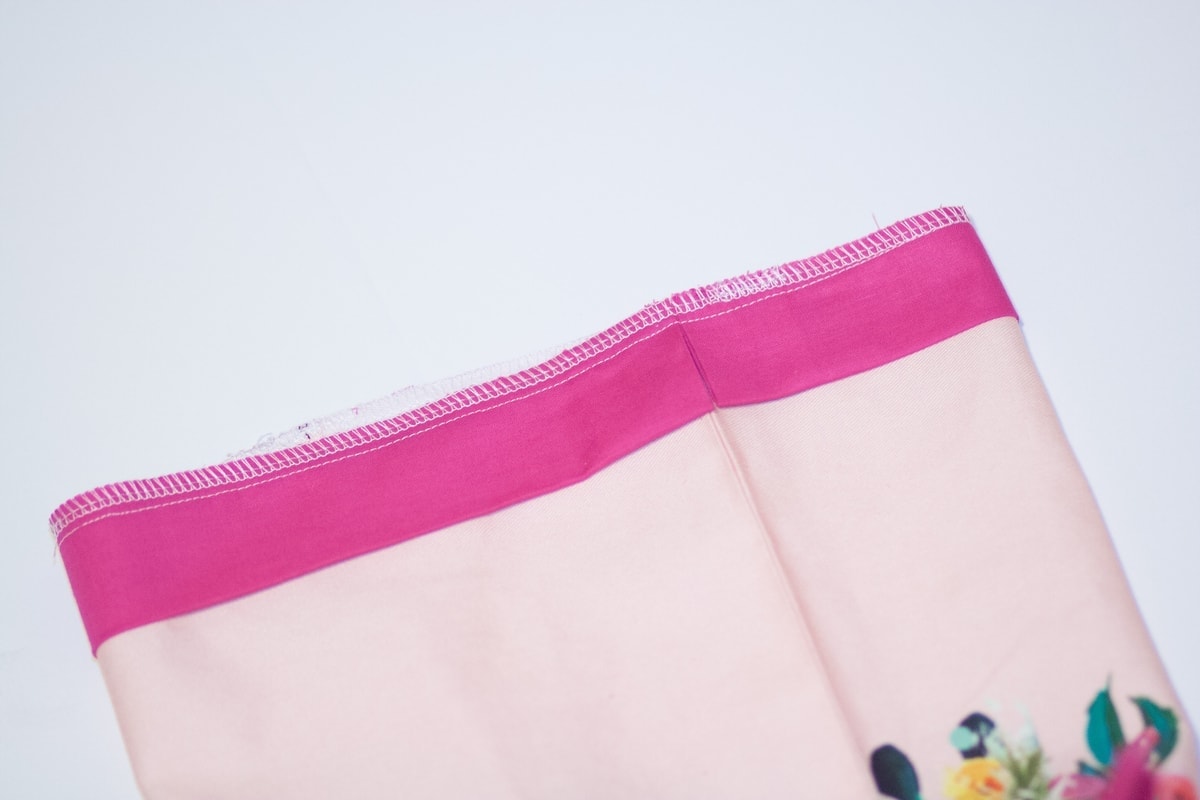
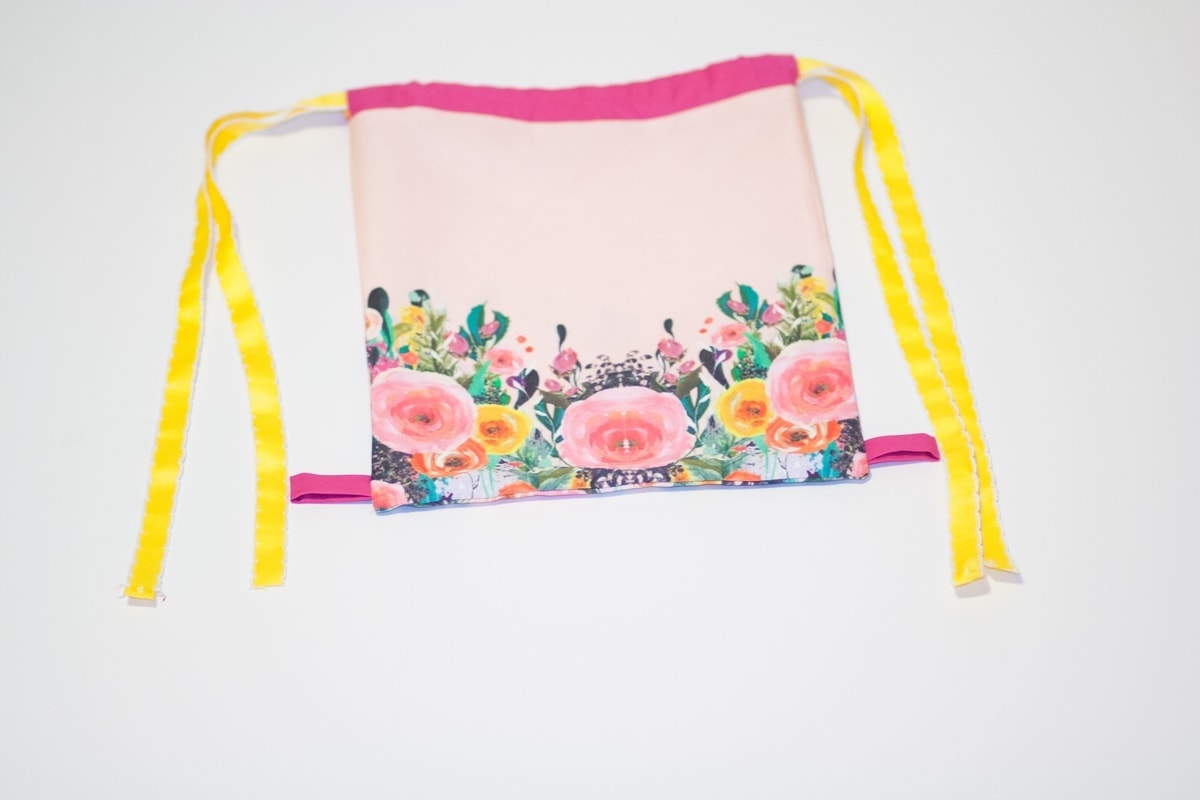
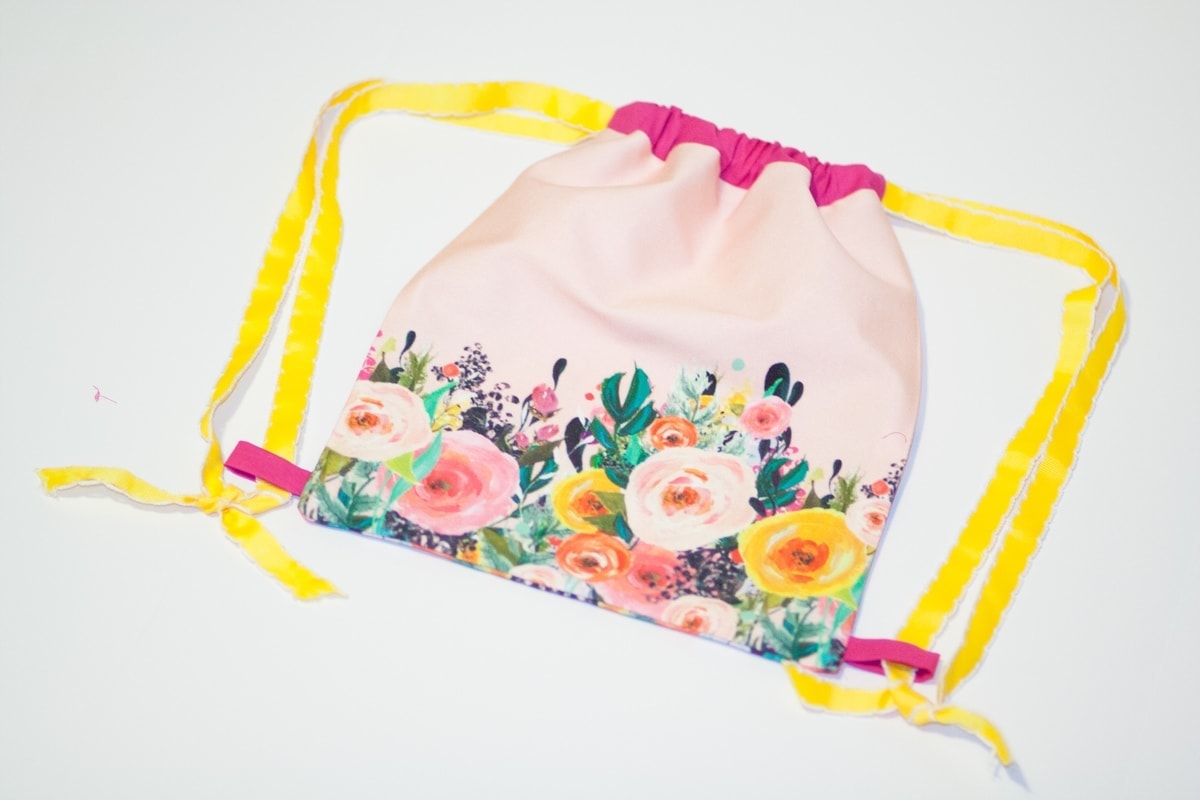
Drawstring Backpack Tutorial
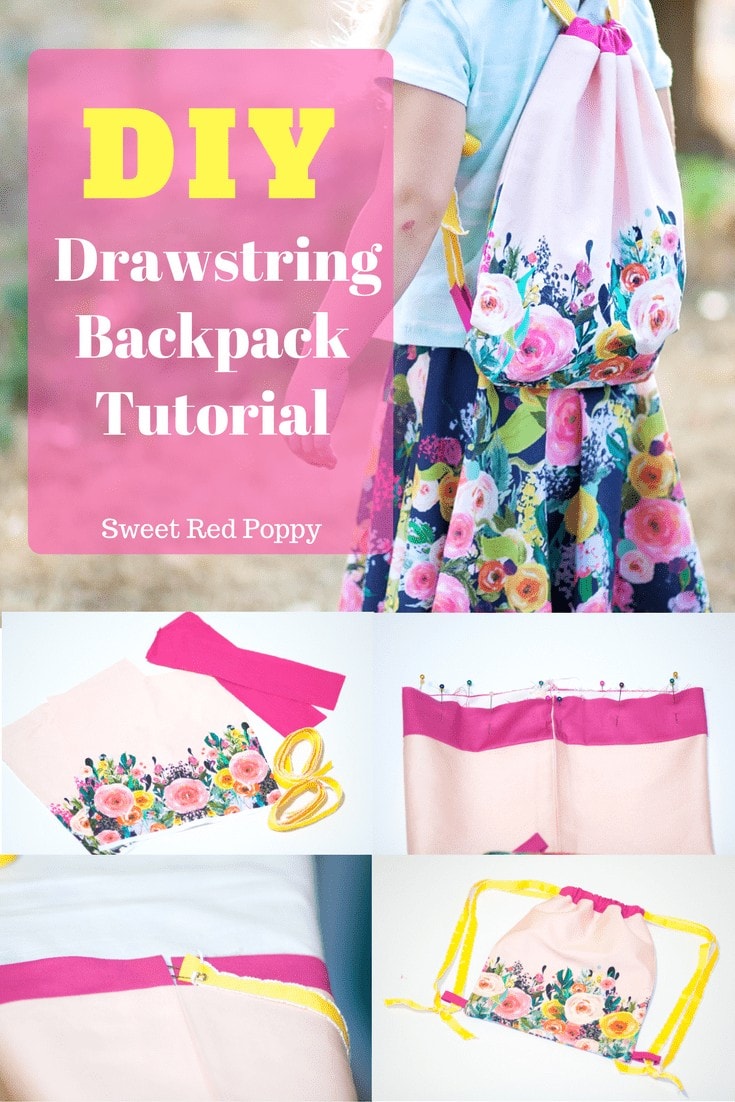
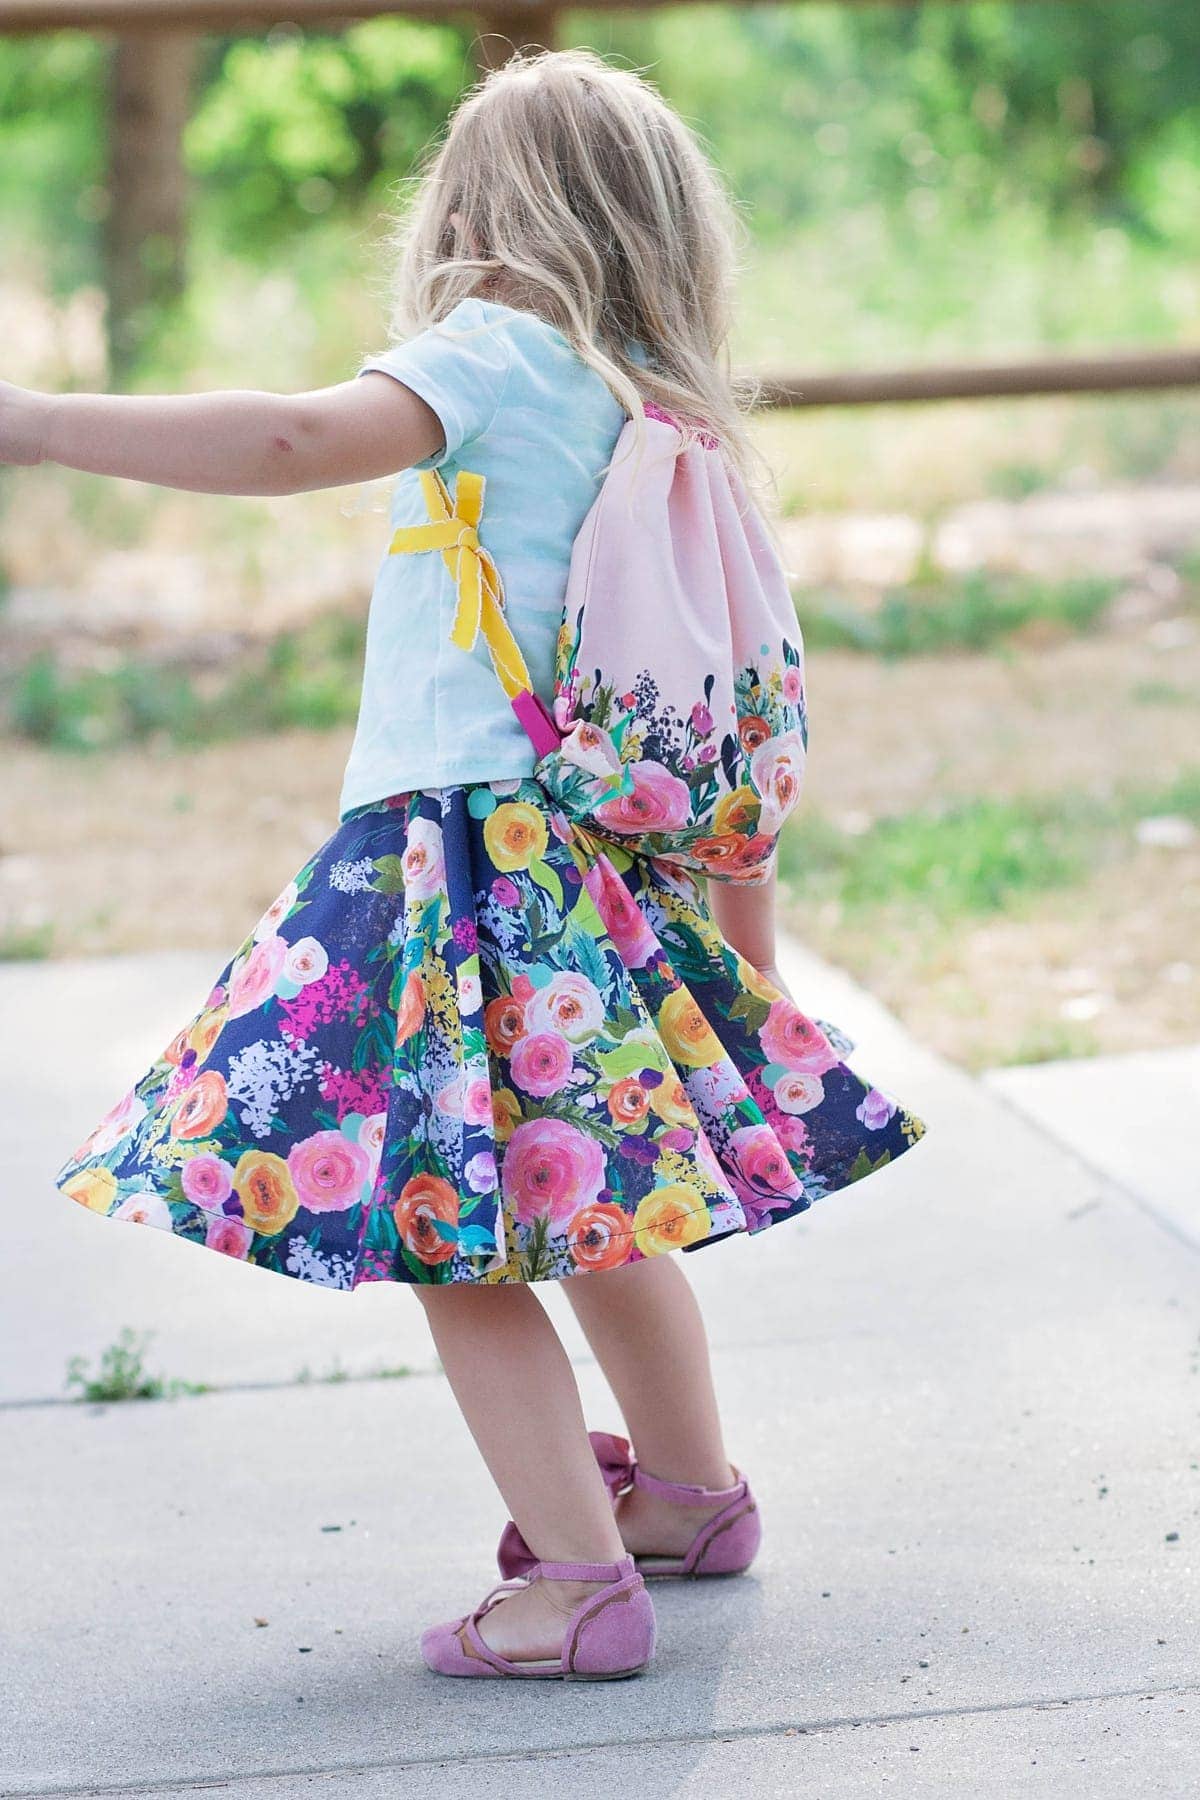
It's almost time for my little one to head back to preschool. We've had so much fun customizing her wardrobe this year but she really wanted a special bag to match her first day of school outfit. So I came up with this easy tutorial for a Drawstring Backpack Tutorial.
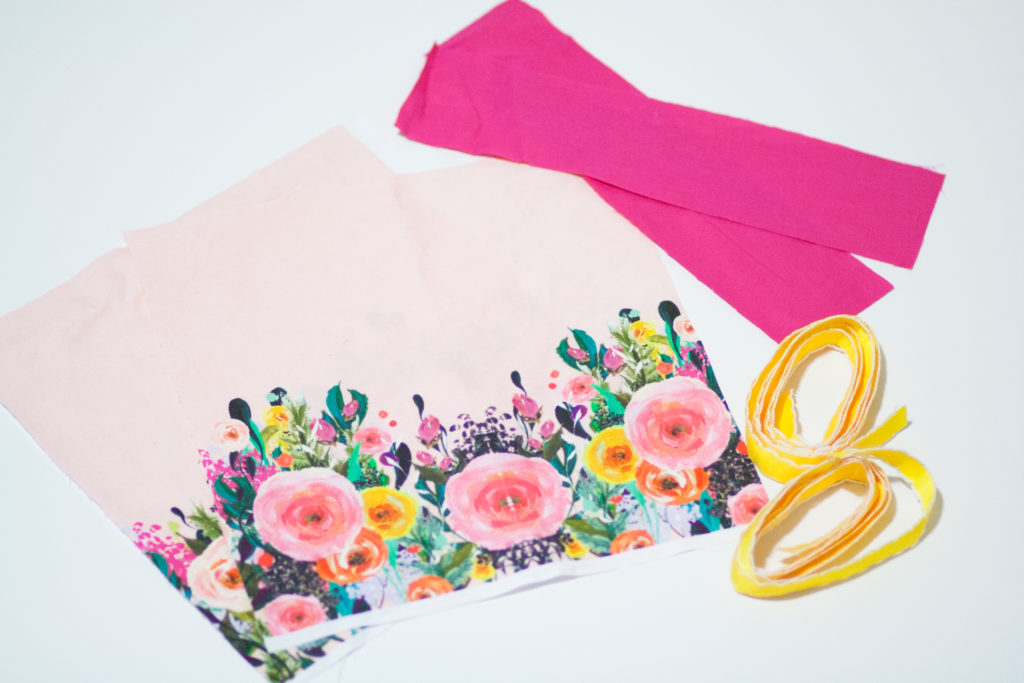
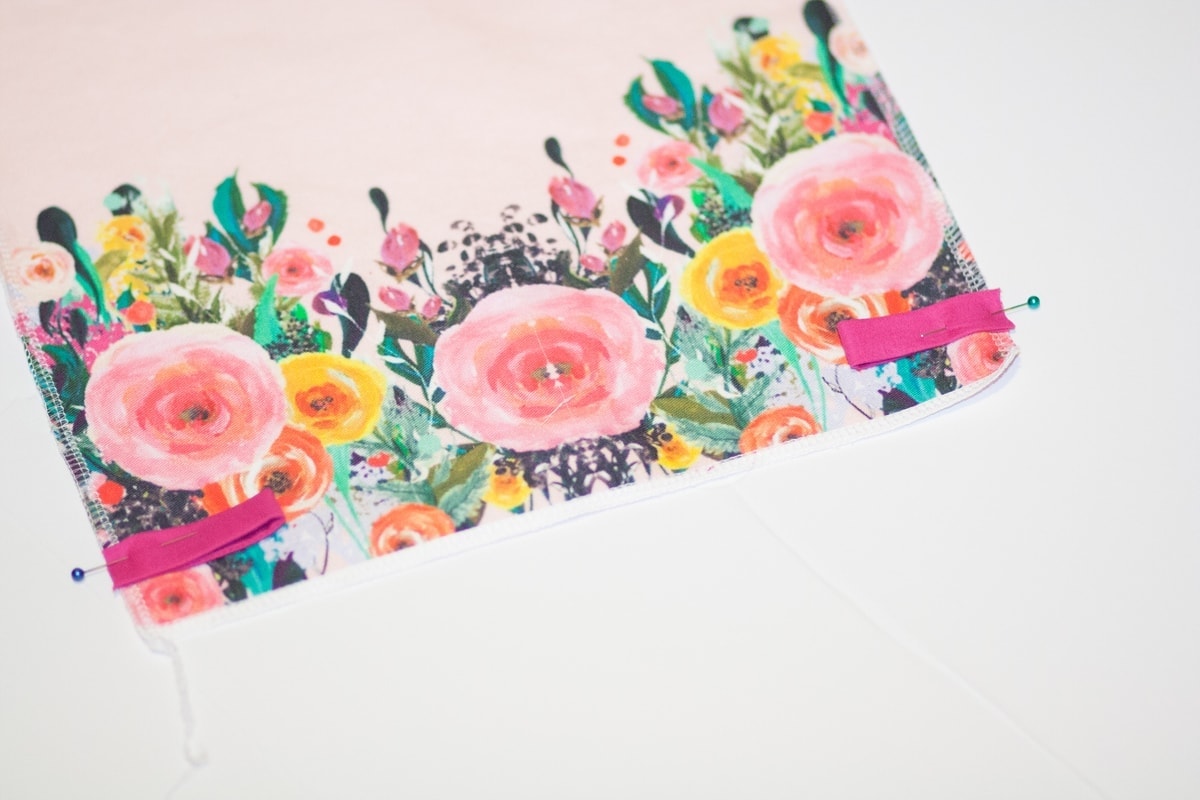
I've been eyeing some gorgeous watercolor prints on Spoonflower for awhile and was so excited when they contacted me to be on their Back-To-School Blog Tour. I ordered this really fun pink floral border print in a lightweight twill from the designer Artwerks. If you've been following along with me for awhile, you probably already know about my affinity for border prints! I just can't seem to say no. I'm already dreaming up an adorable pleated skirt for myself in this pattern. Looks like I need to order some more of this fabric!
Want to learn how to make even MORE fabric bags?
Get 11 different bag patterns and gain access to a comprehensive collection of bag patterns and tutorials my All The Bags 150+ page Ebook by clicking here.
Why Shop Through My Links?
When you shop through my affiliate links, it doesn't cost you anything extra, but it helps me out in a big way! I earn a small commission from those purchases, and that support allows me to continue creating and sharing free tutorials and patterns for you. Thank you so much for helping me keep this creative community going!
Shop my favorite sewing supplies here!
Check out the coordinating circle skirt tutorial.
Video Tutorial created by my amazing friend Made By Melli


Going to make the bag for Texas, saw your live post.
Very great tutorial on the draw string bag.
Can't wait to try thi pattern! On the live FB video, you mention I could ask about soft box and lights you were using? Could you tell me about those? Also I liked the Cricut Easy Press, do you prefer that over a HTV press?
Thanks
Such a cute idea. I made one for my Grandson for his second birthday! Thank you.