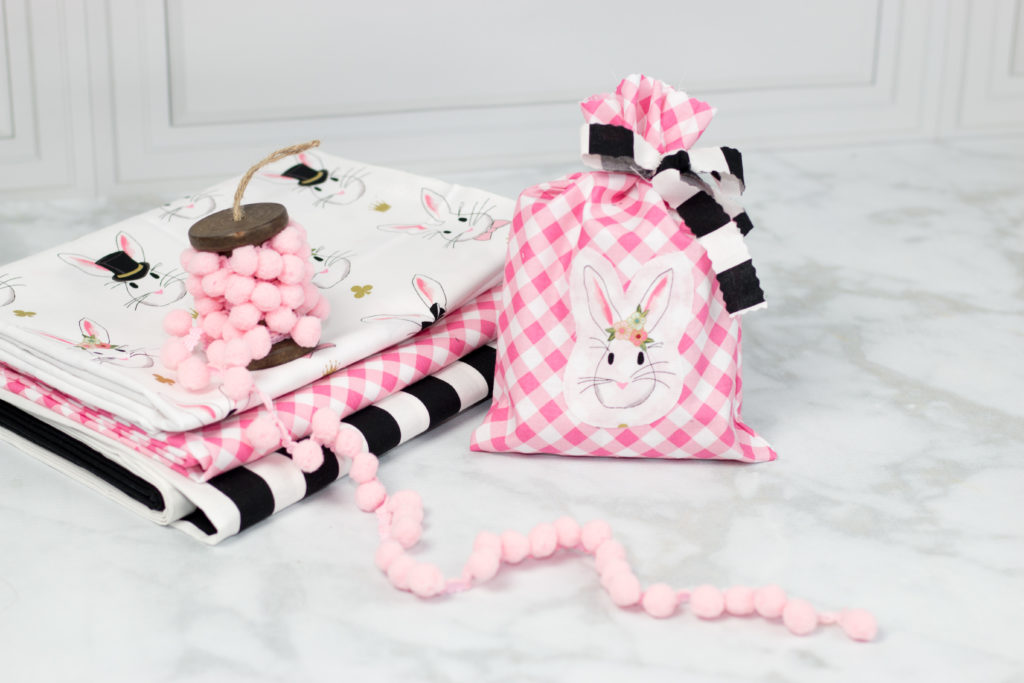
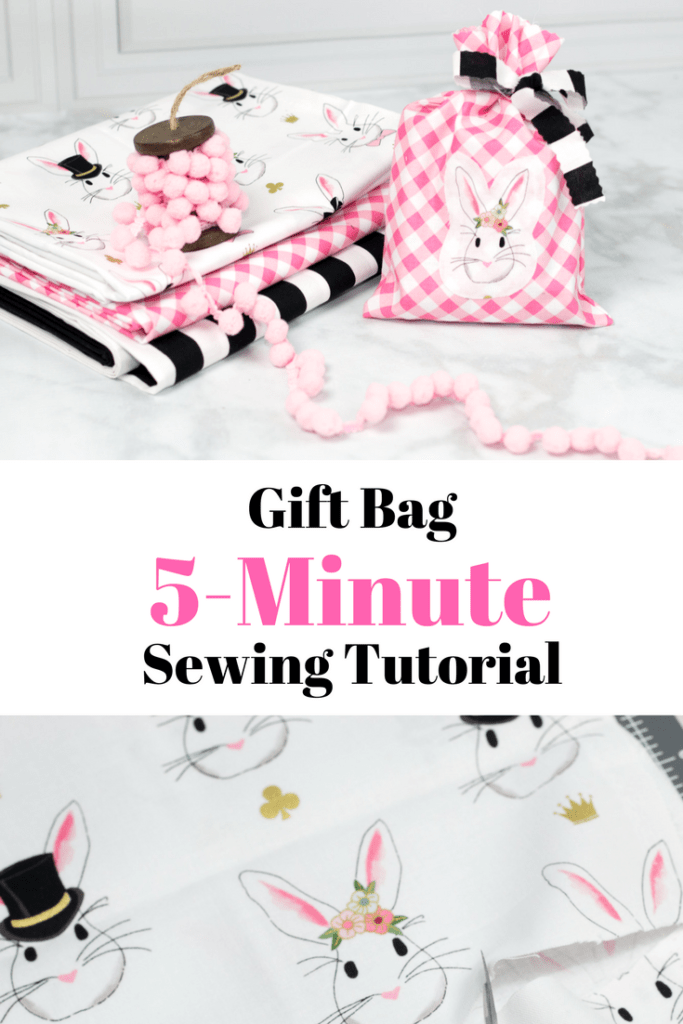
5-Minute Gift Bag Tutorial
This 5-minute bag is one of my favorites because it's perfect for last-minute gifts, party favors or neighbor gifts!
It requires a minimal amount of fabric and it all comes together in just under five minutes!

Are you ready to get started?
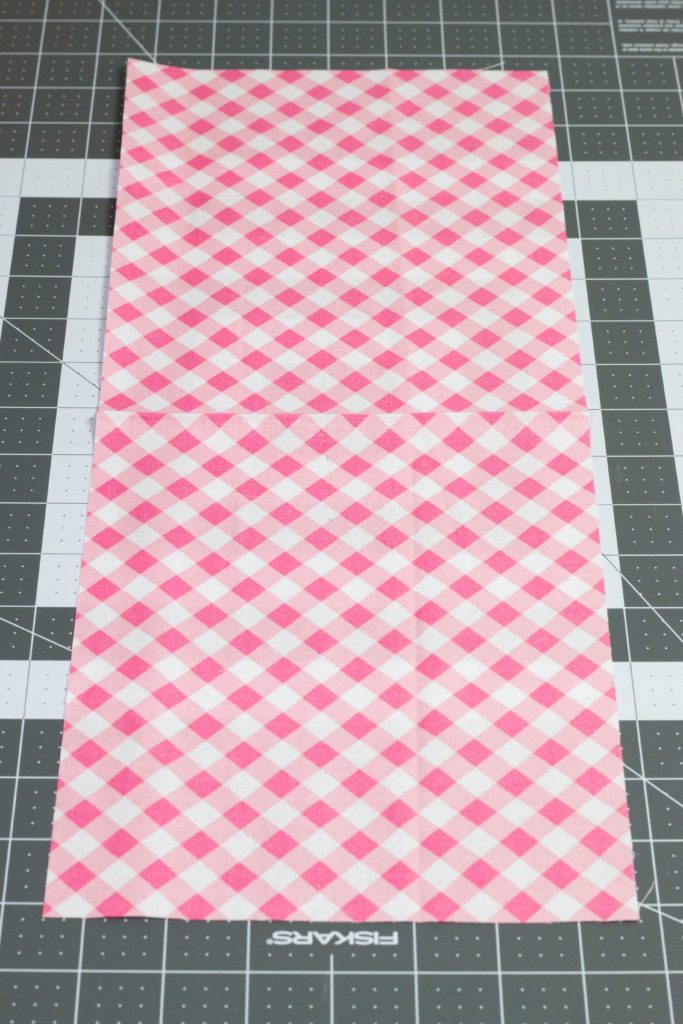
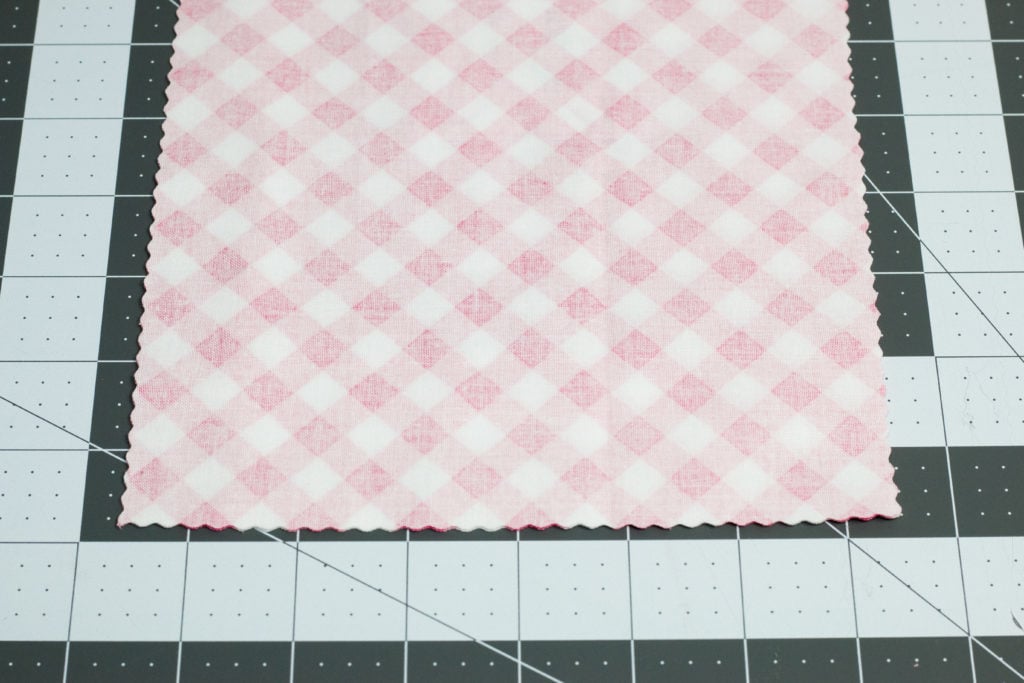
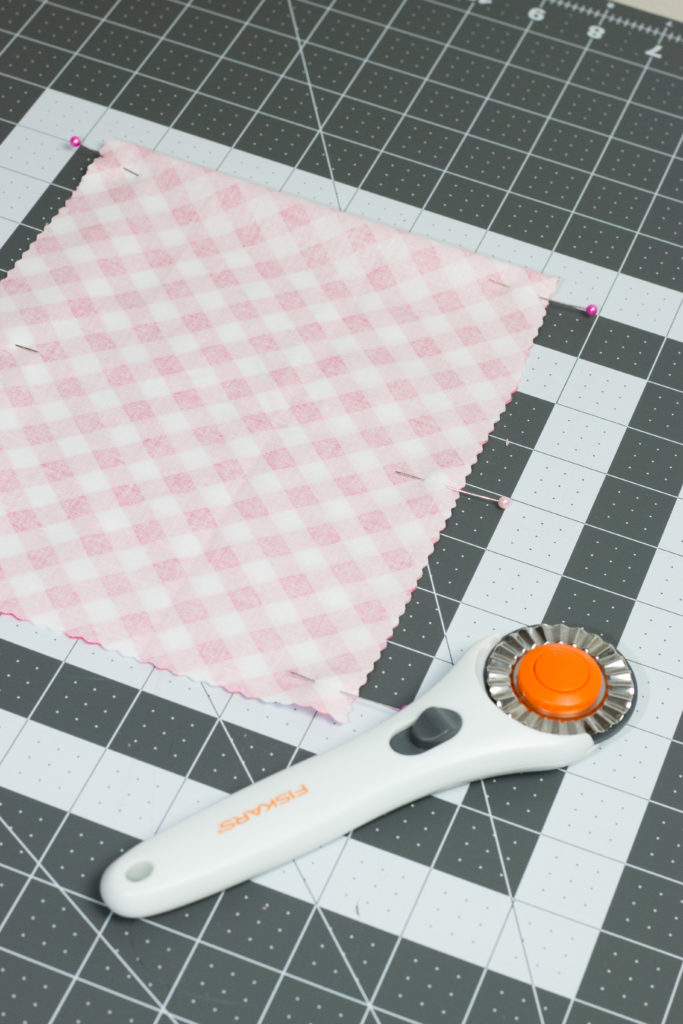
Cut out a rectangle that measures 6 x 18 inches. Use pinking shears or a pinking blade to prevent the fabric from fraying. This is one of my favorite tricks for making quick projects!
A pinking blade cuts the fabric in opposite directions preventing the fabric from fraying which means the seams won't require any finishing.
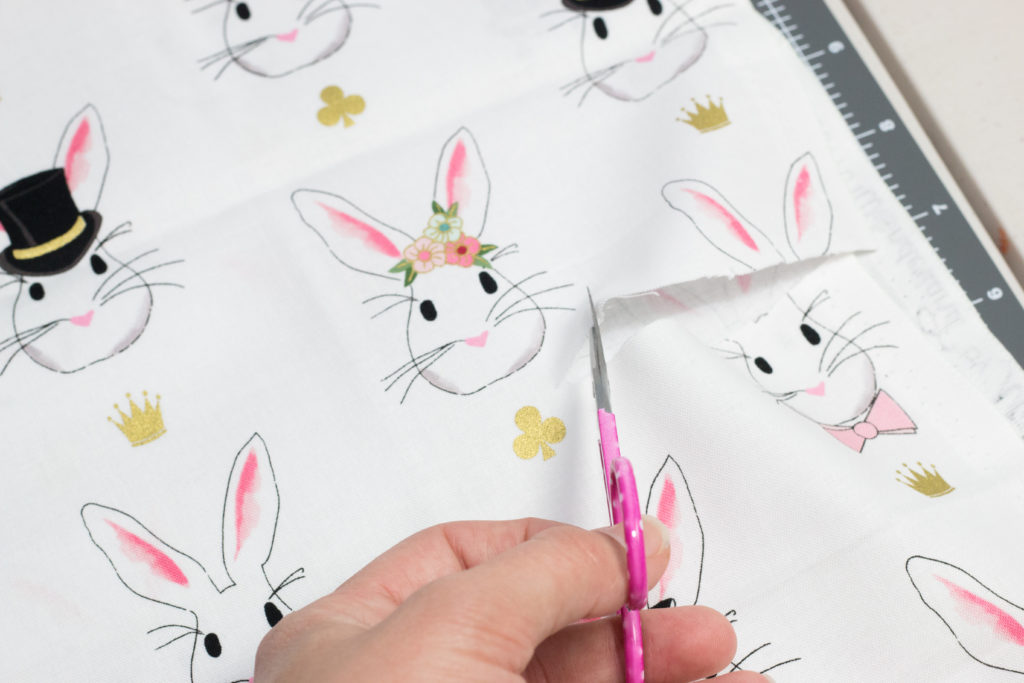
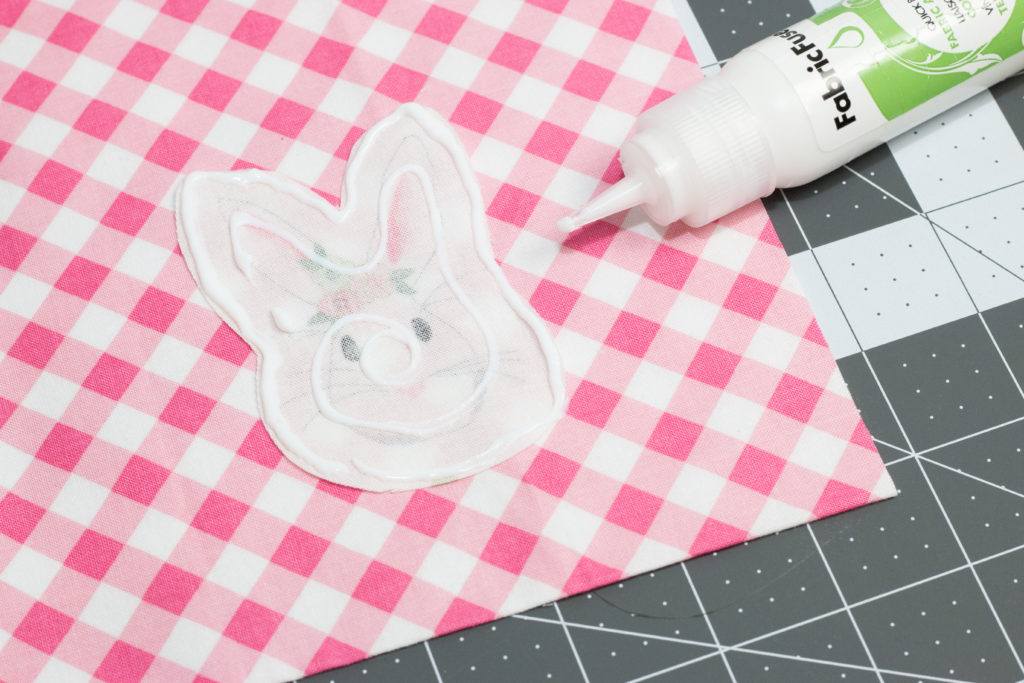
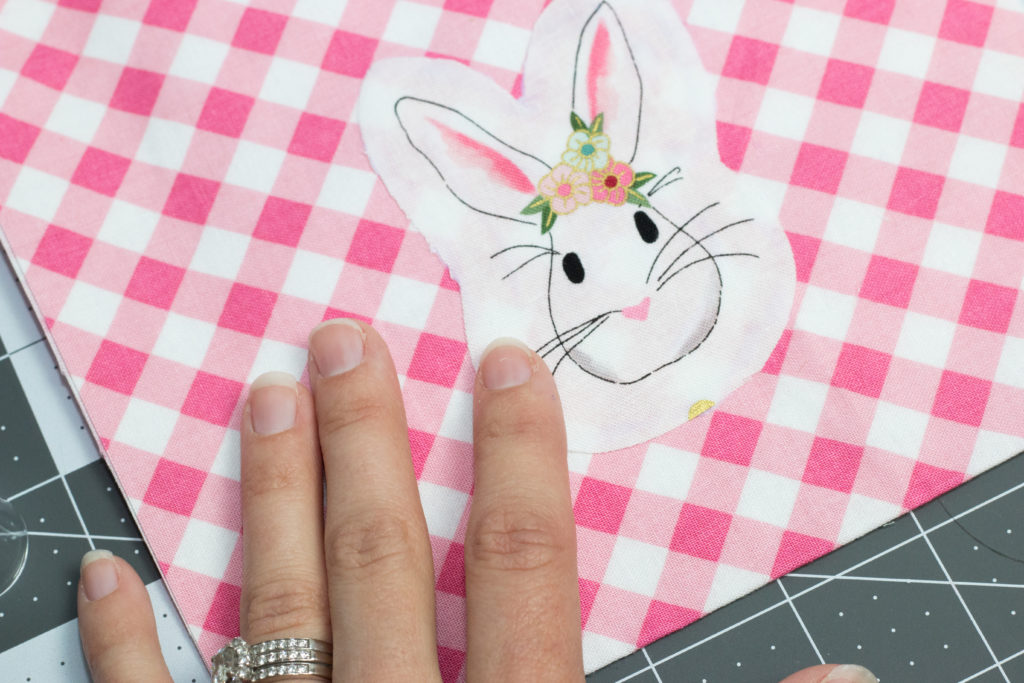
Cut out a fun applique for the front of the bag. Turn the applique upside down and line the outside of it with Thermoweb Fabric Fuse. Fold the main fabric in half, flip the applique right side up and place it on top the bag about an inch from the bottom.
Carefully press down all sides and make sure that it is securely attached to the bag. Allow a few minutes to dry.
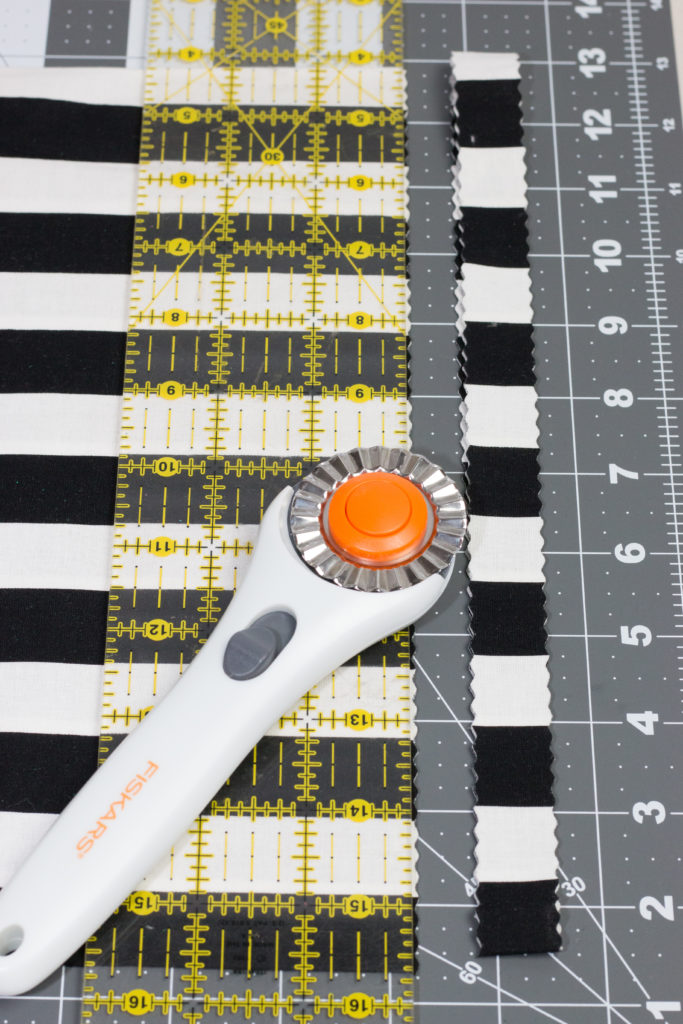
With a pinking blade cut a strip of fabric 3/4ths of an inch by 20 inches.
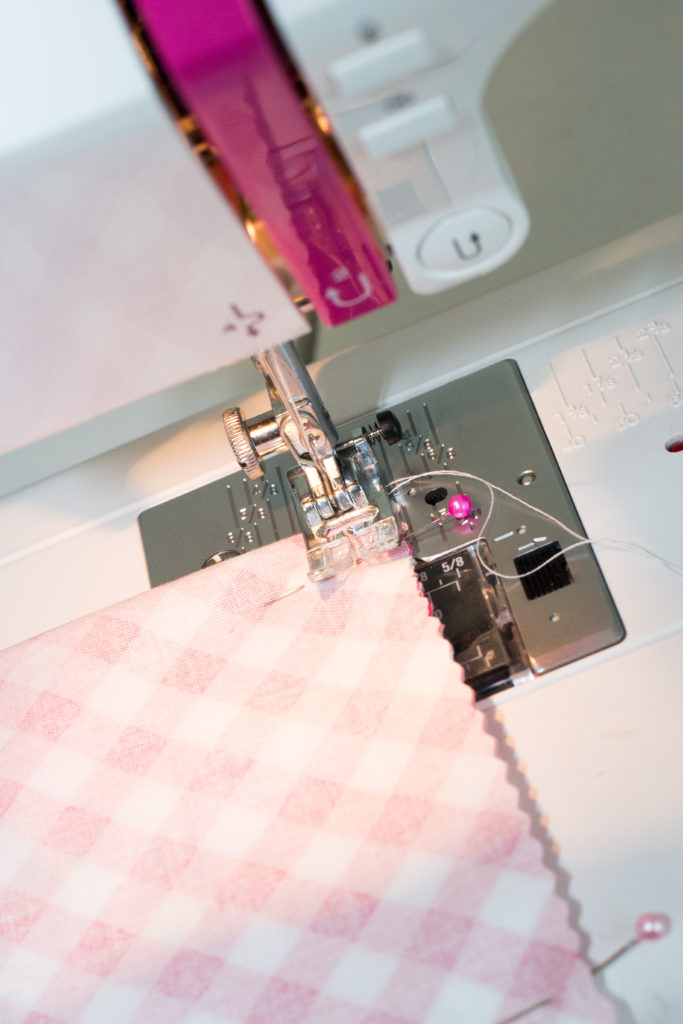
Once the applique has dried fold the bag in half with right sides together. Pin both sides together and sew them closed leaving an opening at the top using a 3/8th-inch seam allowance. Don't forget to backstitch at the beginning and end!
Flip the bag right side out and gently poke out the corners. Press the bag with a hot iron to get rid of any creases.
Fill the bag with goodies and tie the fabric ribbon around the top!
How easy was that? This bag makes for the cutest party favors and can be made in all different fabrics.
If you enjoyed this tutorial you might also enjoy these other sewing tutorials!
DIY Hair Bows: How To Make a Simple Hair Bow Sewing Tutorial
This is so cute! I’m a newbie sewer and crafter and am loving your blog posts! Thank you for sharing! Also where did you get that bunny fabric? It’s adorable.