Do you want to learn how to make girl's hair bows? This quick and easy girl's bow tutorial will have you making bows in no time! With this easy fabric tutorial, you'll never need to use ribbon again! Scroll down for all the info!
Having two little girls means there's a whole lot of bow making that goes on at this house! I'm one of those crazy moms who think that an outfit is never complete unless it has a matching bow.
I've even been known to make a matching bow just mere minutes before leaving the house for church....That's actually happened more than once if I'm being completely honest. But, with this tutorial, it's totally doable! So this one's for you, all you last minute sew-ers, wild-stitching enthusiasts, and late-night procraftinators. Did I mention it's the perfect scrap-buster? Yes, you can totally thank me later!
Here's a quick and speedy tutorial to keep your girls looking absolutely adorable!
I used the new Blue Carolina fabric line designed by Christopher Thompson for Riley Blake Designs for all of my bows. You can purchase it here. All of the prints are so adorable and the perfect scale for cute little bows! You can see the blouse I made using this fabric here.
How To Make A Girl's Simple Hair Bow
DIY Hair Bow Supplies
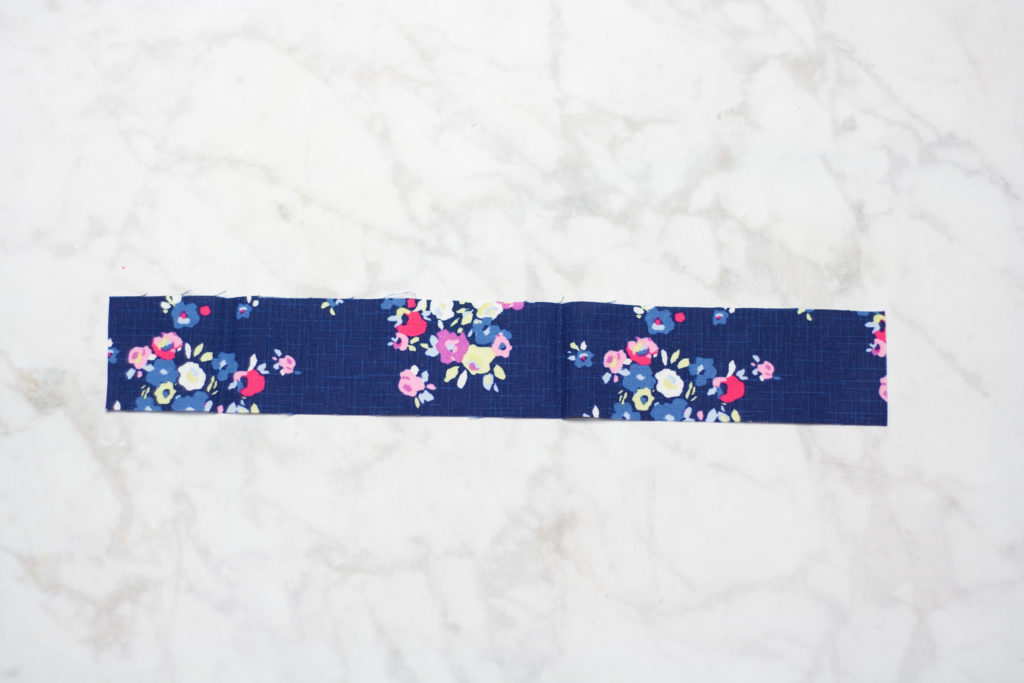
Fold fabric in half, with right sides together and pin in place.
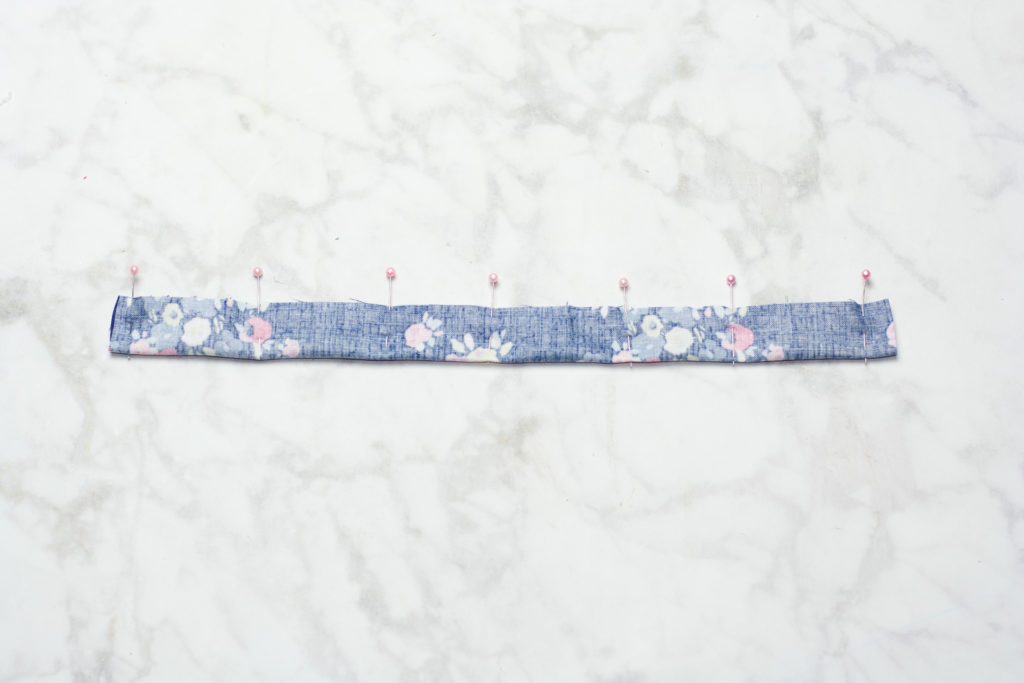
Angle the fabric to create a pointed tip. If your machine tries to suck the fabric into the feed dog carefully guide the fabric by pulling on the threads away from yourself.
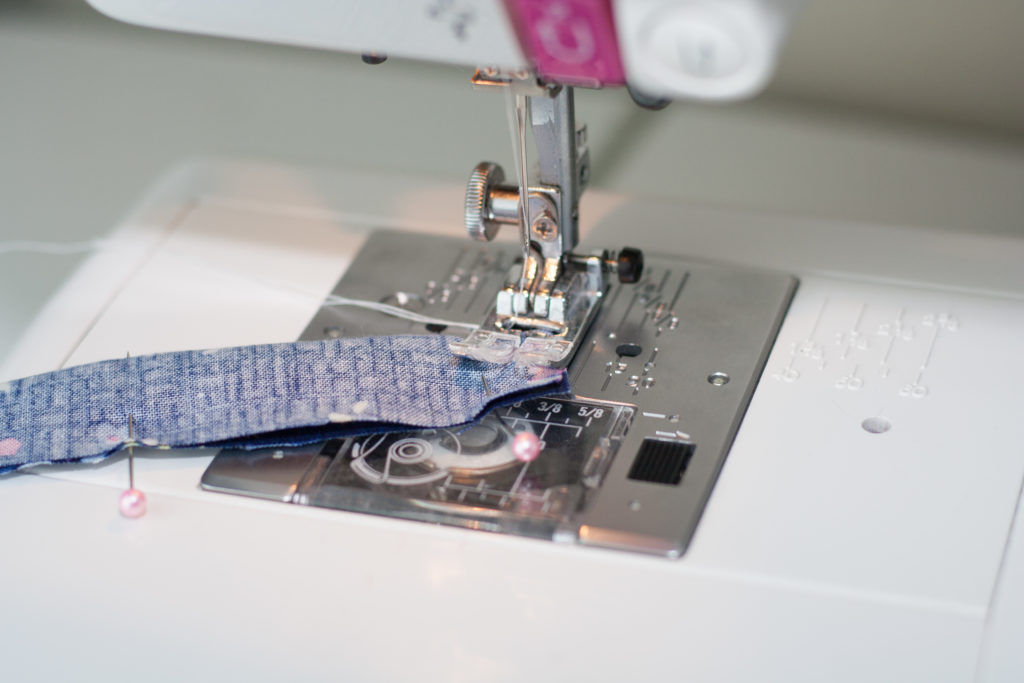
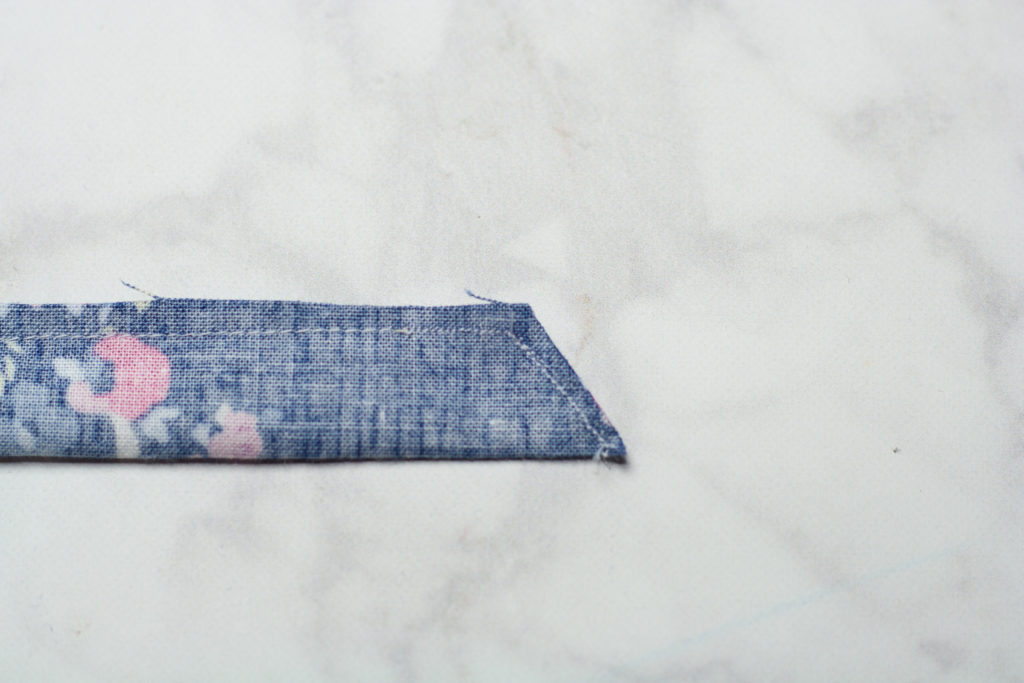
Leave a 2 inch opening in the middle of the bow.
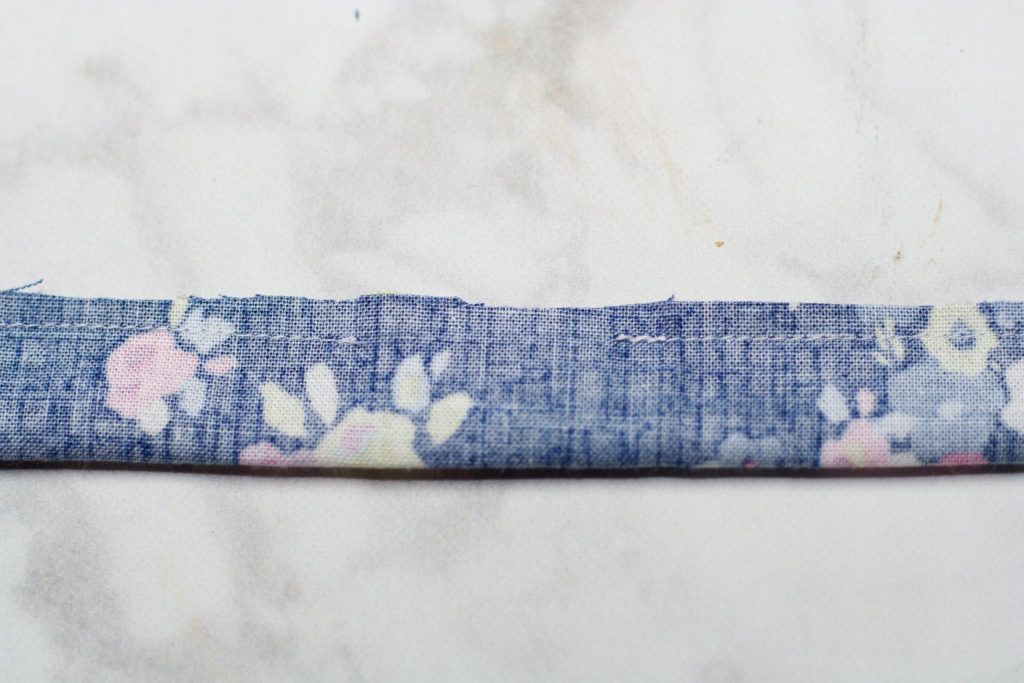
Both ends of the bow should be angled.
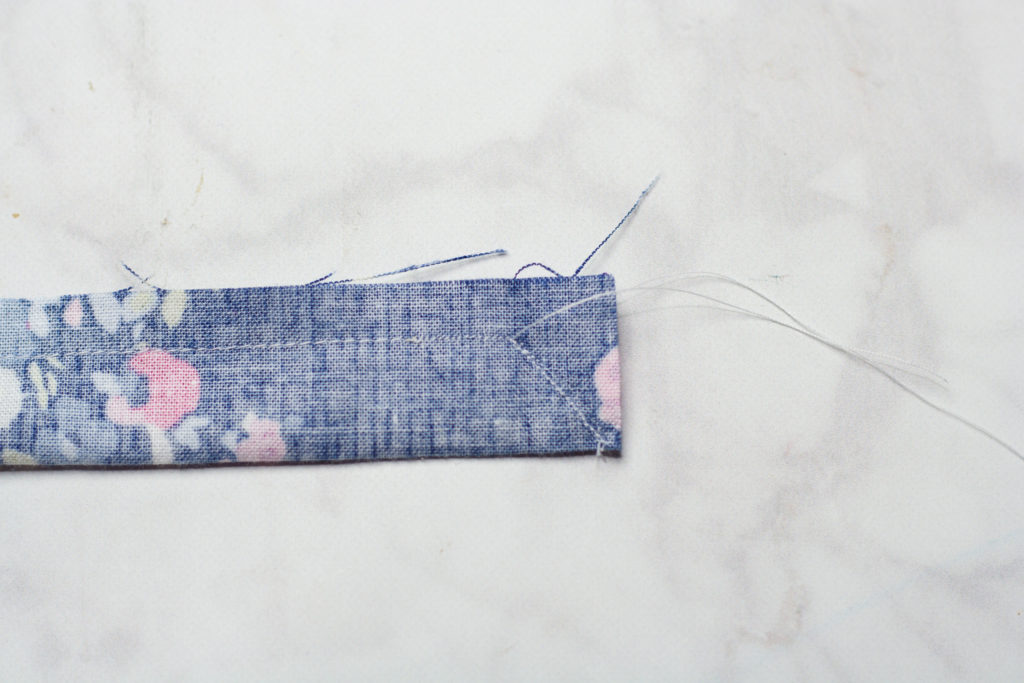
Trim down the seam allowance, being careful to leave the full seam allowance around the opening in the middle of the bow.
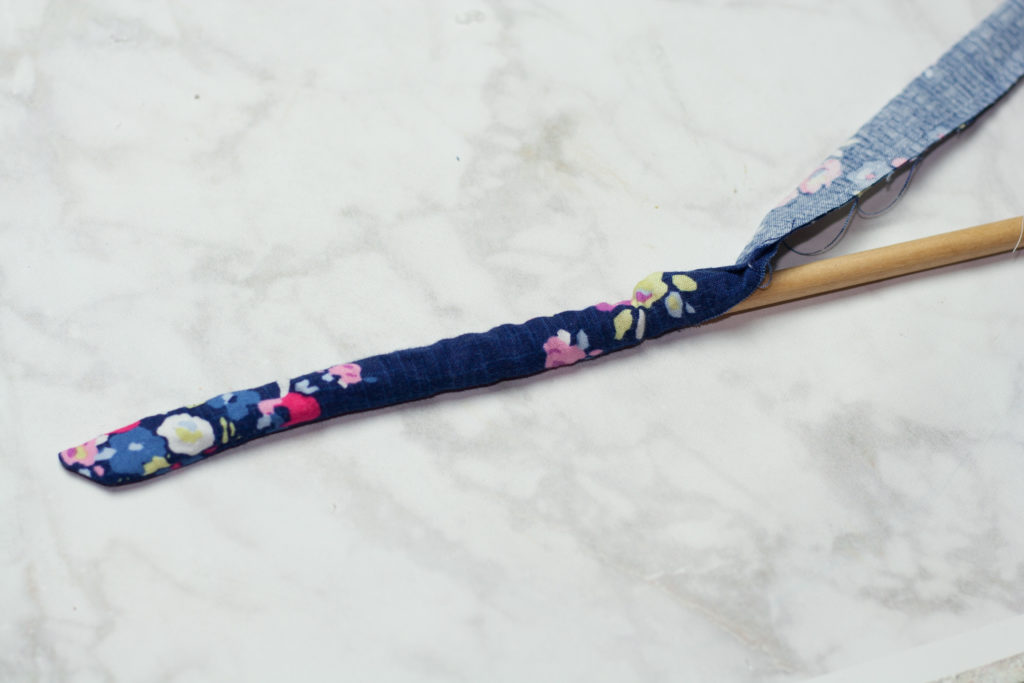
With a turning tool carefully turn the bow right sides out.
Press the bow with a hot iron and plenty of steam.
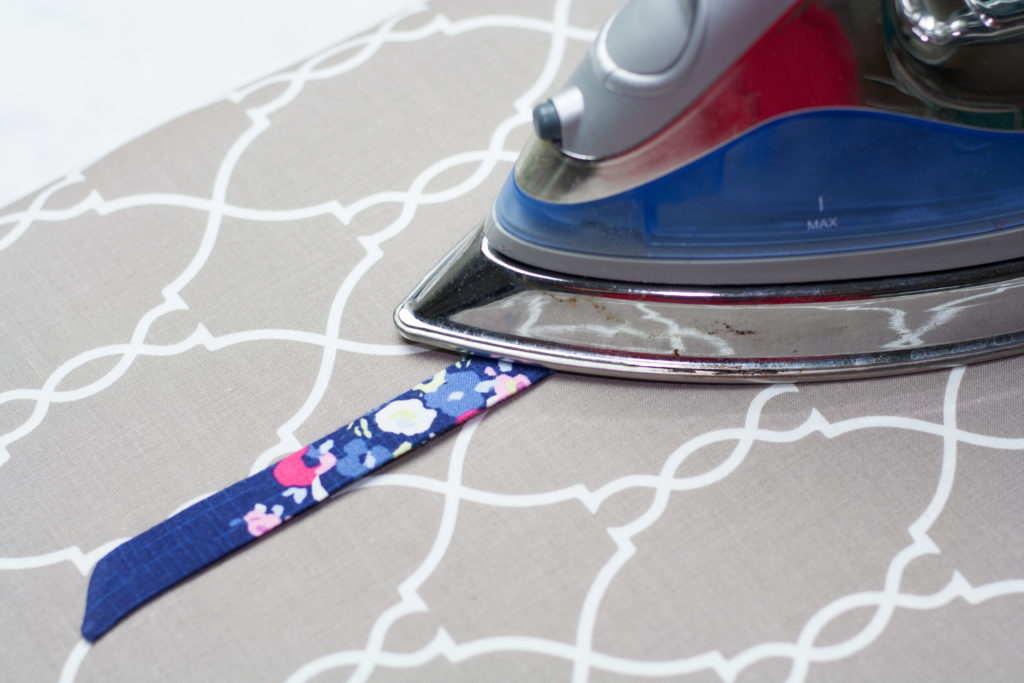
Use a turning tool or a safety pin to create sharp points.
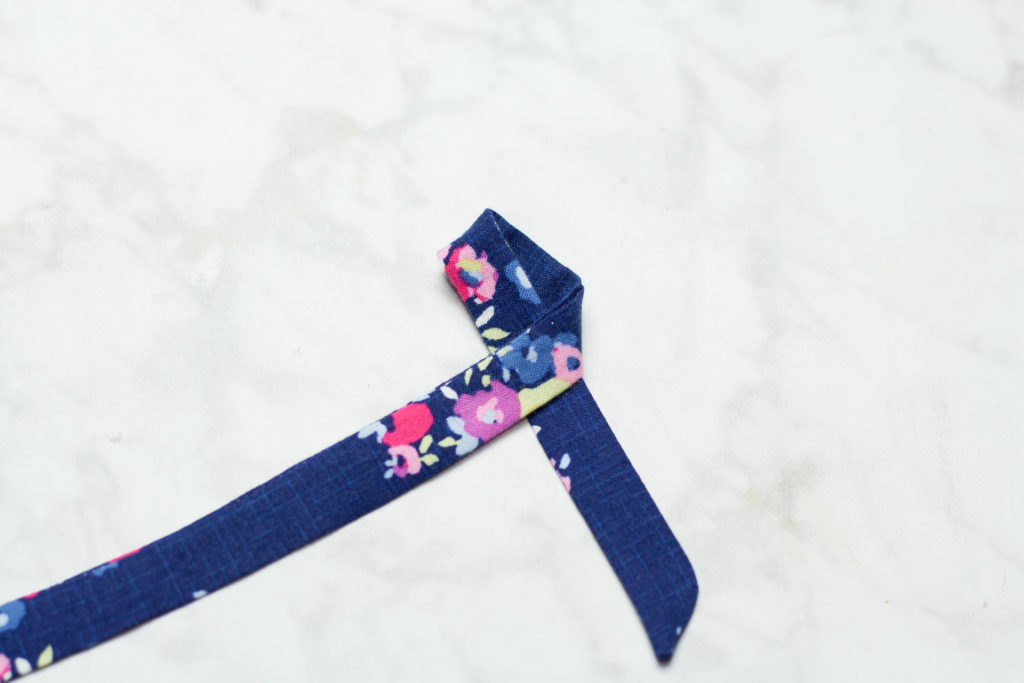
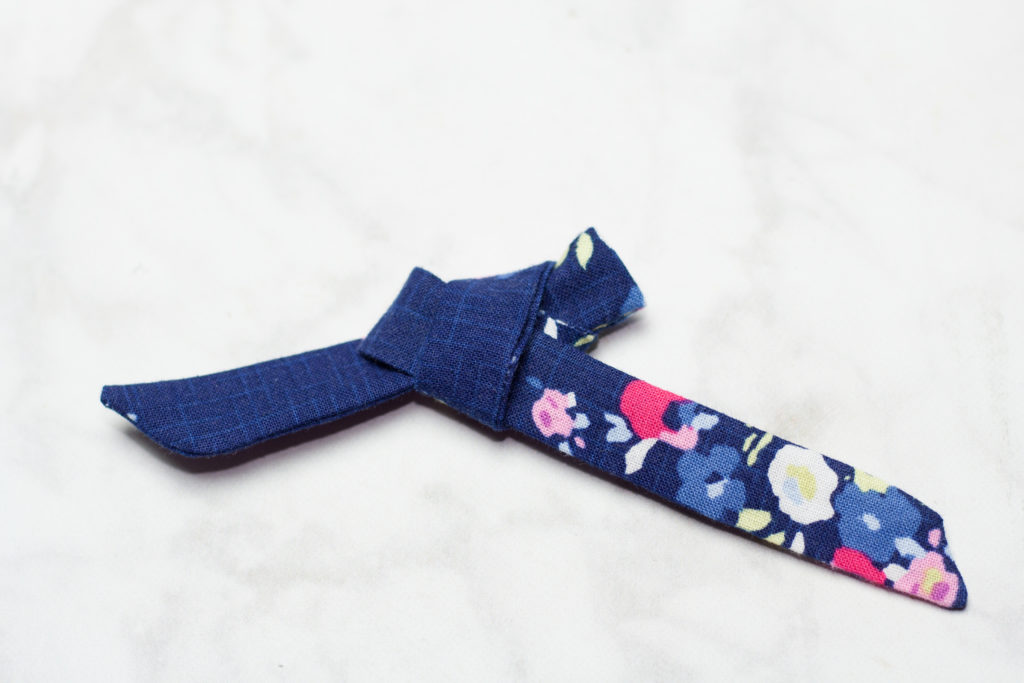
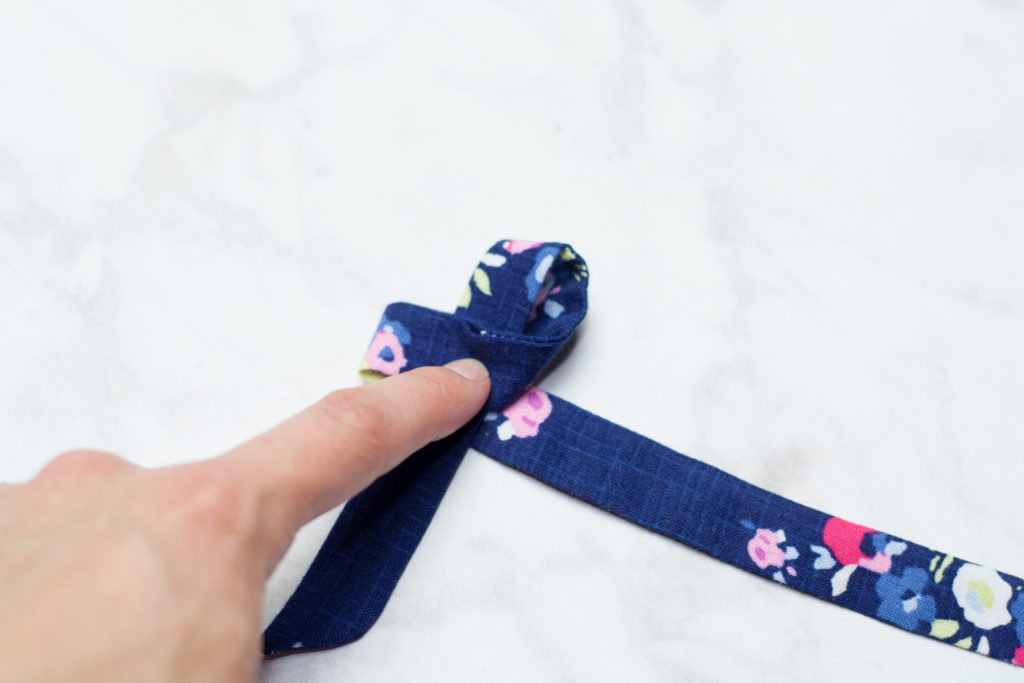
Tie the bow. This might take a few tries before you get it perfect. Refer to the video above for a more detailed look at how to tie the bow.
Slip the hair clip into the bow. If you'd like to use an elastic headband refer to the video above.
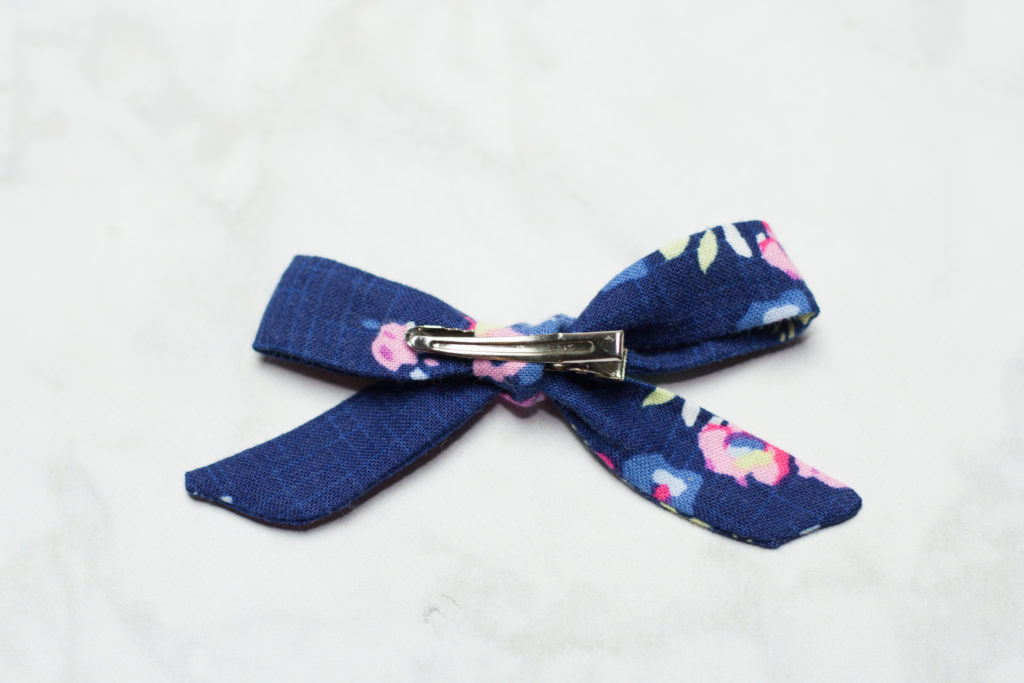
Gently pull on both sides to secure the bow.
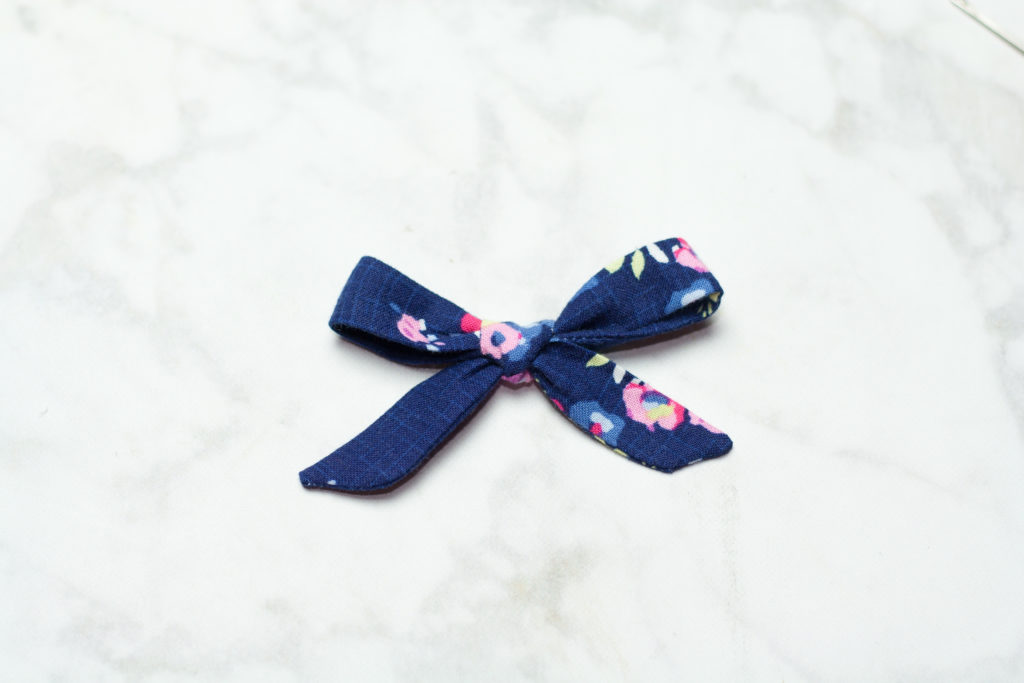
All finished! How easy was that? I hope you enjoyed this easy bow tutorial! Now go make some hair bows!!
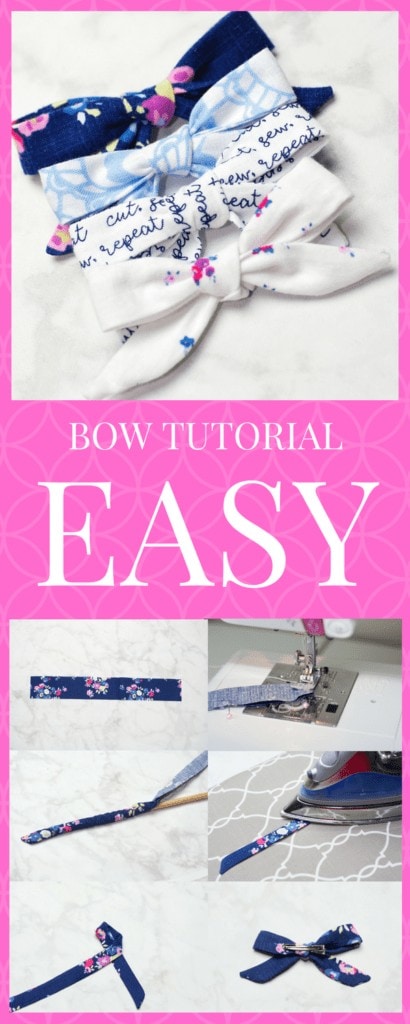

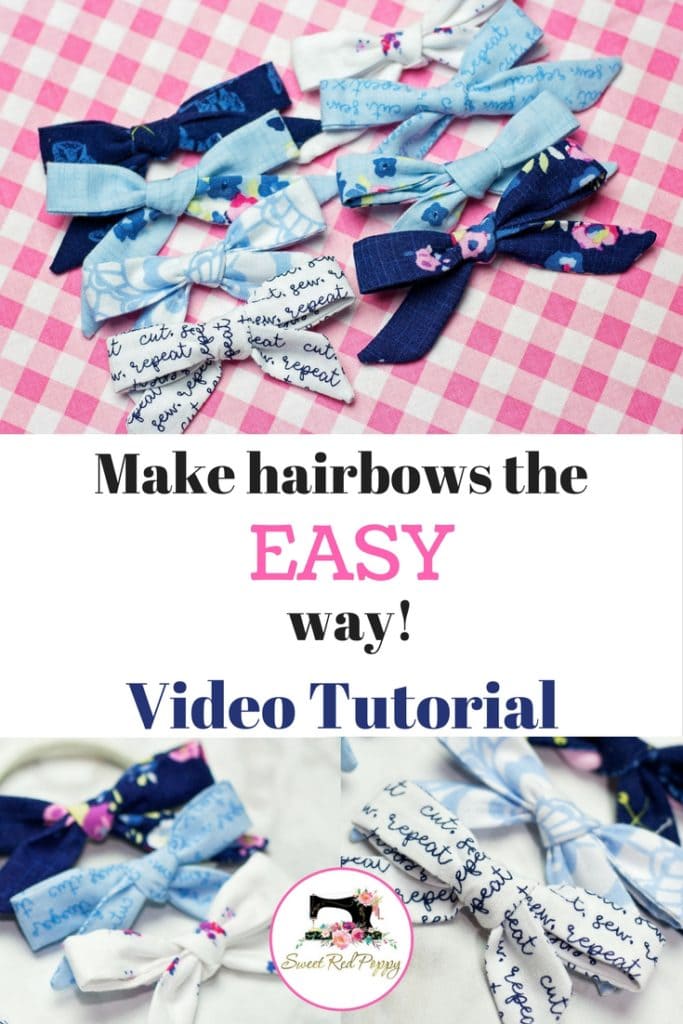
These will be the perfect bows for gifts! I can't wait to whip up a few for a stash for my girls who are always getting invited to birthday parties. And this will be fun for christmas presents! Thank you!
Thanks so much, Kristie! I hope you enjoy making lots of bows! I agree they would be great for Christmas presents!!
Hi! Love these little bows. But how are you so easily turning them in without the end being open. I’m confused at that step in the video any tips would be helpful!
Thanks.
Hi RaeAnn, there is a 1-2 inch opening in the center of the bow that allows the ends to be turned in. 🙂
Ohh dear, these are too cute. I have to create some for my nieces. I love the cuteness, but still so simple.
Thanks for the DIY,
Charlie
Hi, i think that i saw you visited my blog so i came to ?return the favor?.I
am trying to find things to enhance my site!I suppose its ok to use some of your
ideas!!
What a material of un-ambiguity and preserveness of valuable experience concerning unexpected feelings.
I love this tutorial, I am a beginner and found it easy to follow. I am having a hard time tightening the bow (finally figured it out which took some time) but I can’t figure out how to tighten it and make it nice and snug. Any suggestions would be greatly appreciated !
Thank you !