Learn How to Sew a Mermaid Tail Blanket with this Free PDF Pattern and Sewing Tutorial
Every little girl dreams of being a mermaid! My little girls have been begging me to sew up something special for them for the past few months! I finally caved as we were browsing the fabric aisles and I came across the reversible sequin fabrics. It's absolutely dreamy and I really couldn't pass up the opportunity to sew with it. Maybe I'm reliving all of my childhood dreams of being a mermaid because I even made an adult sized version, but can you blame me?

In this mermaid tail blanket tutorial, I'll share my tips and tricks for sewing with sequins and other specialty fabrics as well as the free pattern for the mermaid tail! I can't wait for you to sew a mermaid tail, you are going to love it!

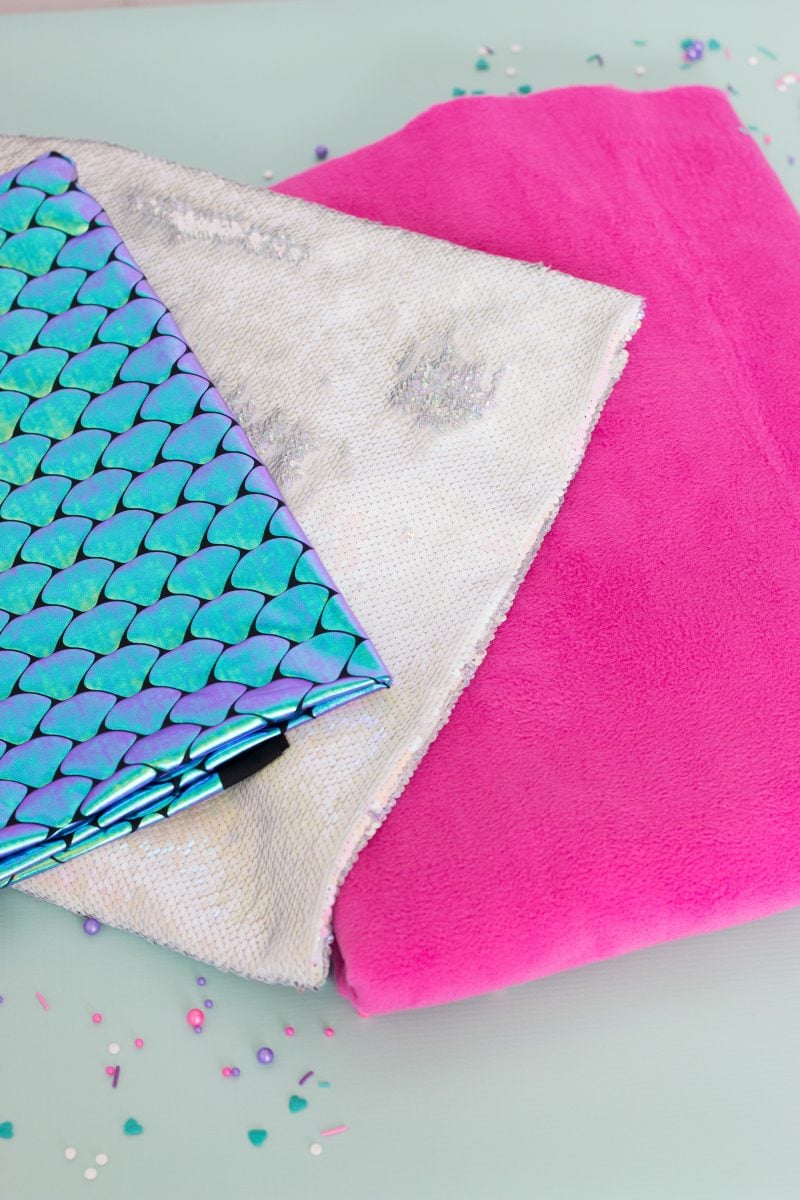
Supplies Needed for your Mermaid Tail Blanket:
Mermaid Tail Free Pattern (Toddler, Child, Adult)
Sequin Fabric (1 yard)
Plush Fleece (1-2 yards of each color depending on size)
Thermoweb Stitch n Sew Fleece or Batting
Sewing Pins or Clips
Rotary and Cutting Mat
Let's get started! Here is the measurement chart for each size. Each Mermaid tail blanket will require two pieces of fabric for the main body.
Adult 54" wide x 60" tall
Child 45" wide x 50" tall
Toddler 36" wide x 36" tall

Begin by laying the fabric out on a large table and fold it in half lengthwise.
Adult 18"
Child 13"
Toddler 10"
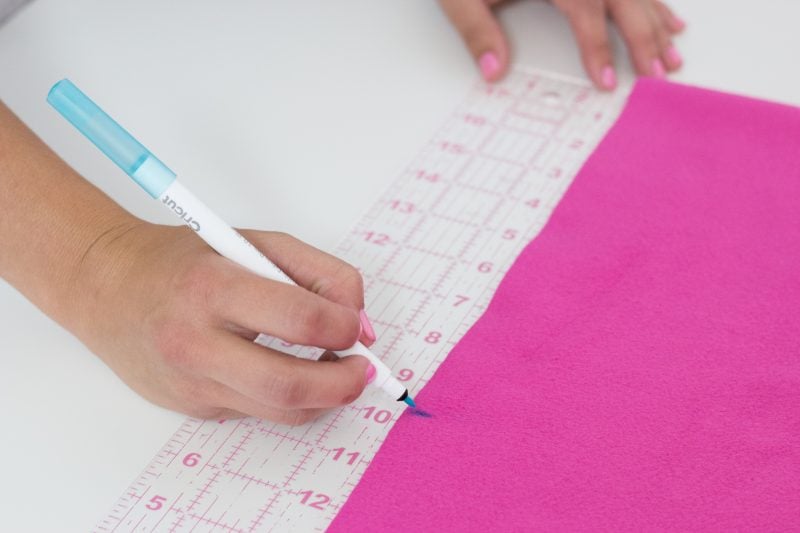
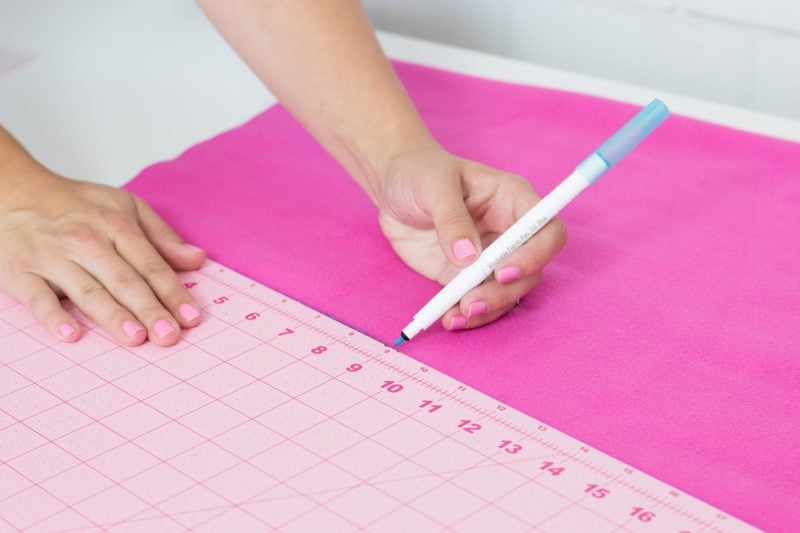
The mermaid tail blanket will be cut so that the bottom of the tail is smaller than the top of the tail. Start by referring to the measurement chart above. The mermaid tail shown in the photos is a toddler-sized pattern. From the folded edge measure 10 inches and mark the fabric. Draw an angled line from that point to the top corner of the fabric. Use a fabric pen to draw in the cutting line.
Follow the cutting chart below for the specific size you are planning on making
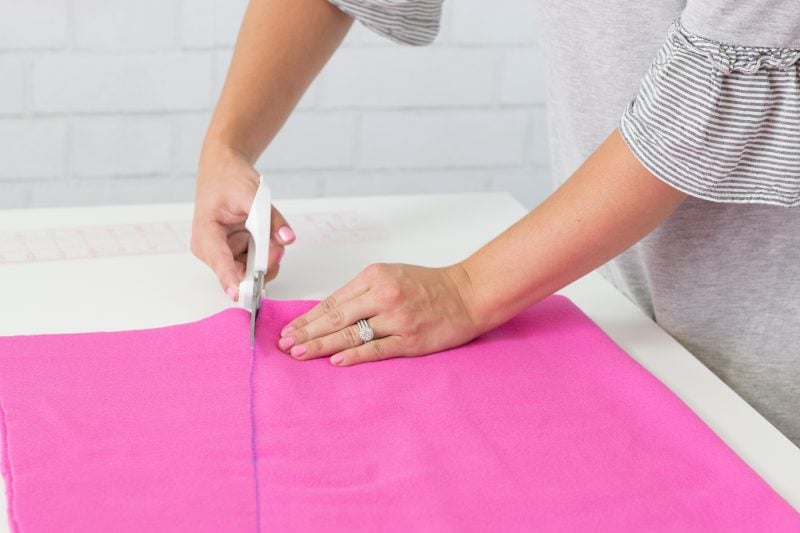
Cut the fabric along the marked cutting line. You will be cutting along the side with two raw edges. Once the fabric is cut you will be left with a straight side that's folded over and one side that's angled.
Repeat this process with the lining fabric.

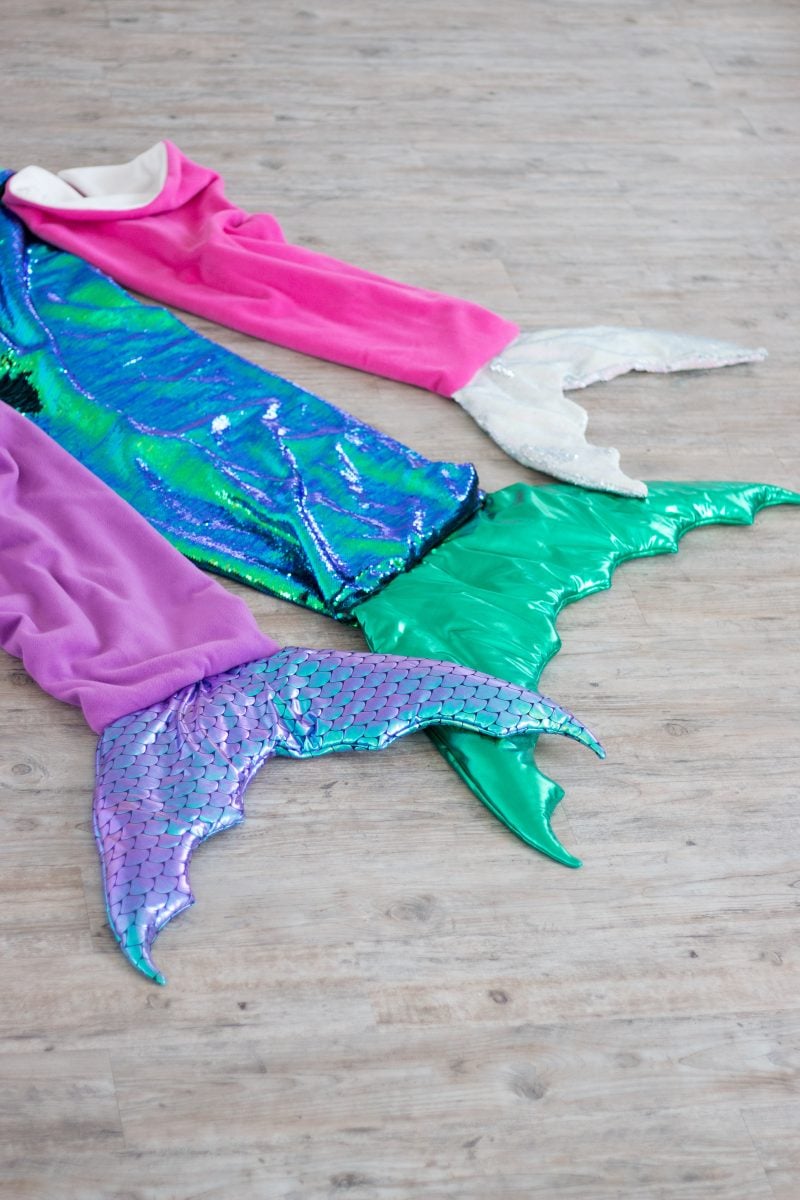
For the mermaid tail blanket shown in the photo tutorial, I used two layers of plush fleece for the body and reversible sequin fabric for the tail. You can switch the placement of the sequin fabric to the main body if you would like to replicate the green and blue mermaid tail.
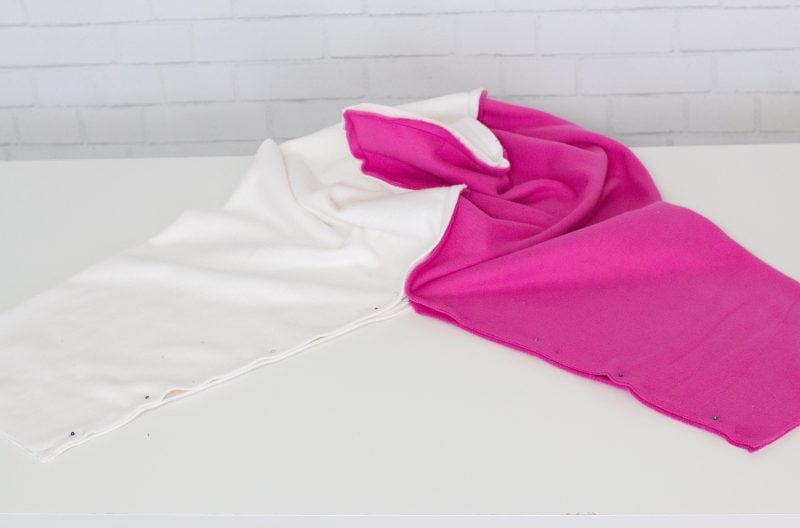
Open up both mermaid tails and lay them on top of each other with right sides together. From the top of the tail sew a straight stitch halfway down the tail, repeat this on the opposite side Leave the bottom half of the tail alone until the next step.
Open up the tail so that the unsown portions are separated. They should be facing each other and pinned together.
Sew from one side of the tail up to the point where they meet and down the opposite side. Your tail should resemble the photo above with the tails being sewn separately.
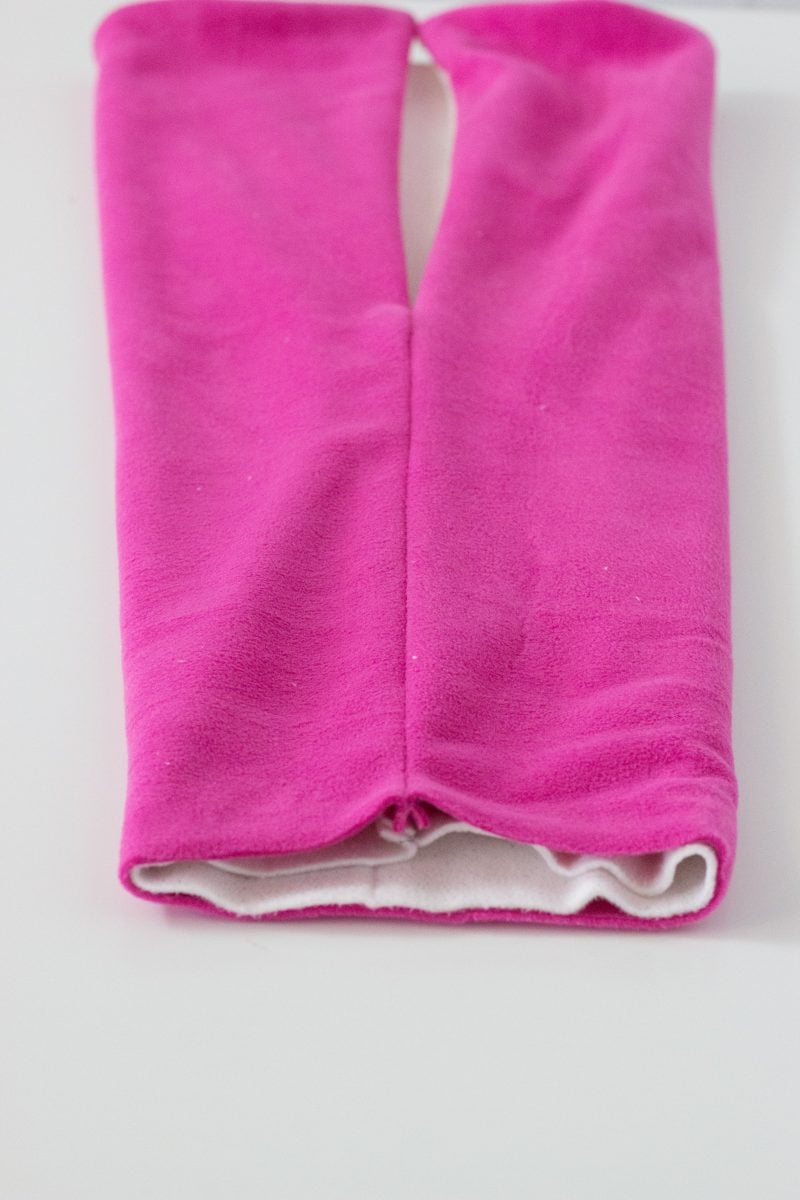
Tuck the pink tail inside of the white tail and flip them right side out. The raw edges should be concealed inside of the tail.
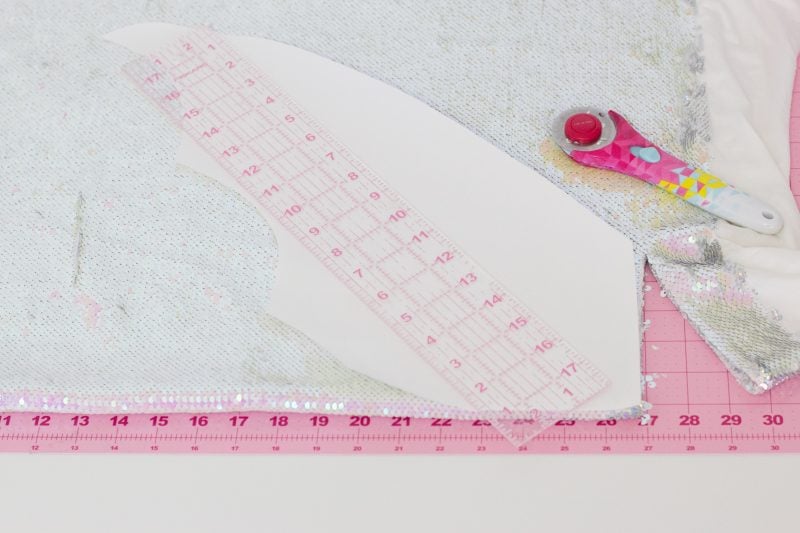
Print the mermaid tail blanket template and lay it on top the fabric that you will be using for your tail. The fabric should be folded in half and the edge of the pattern should be aligned with the fold of the fabric.
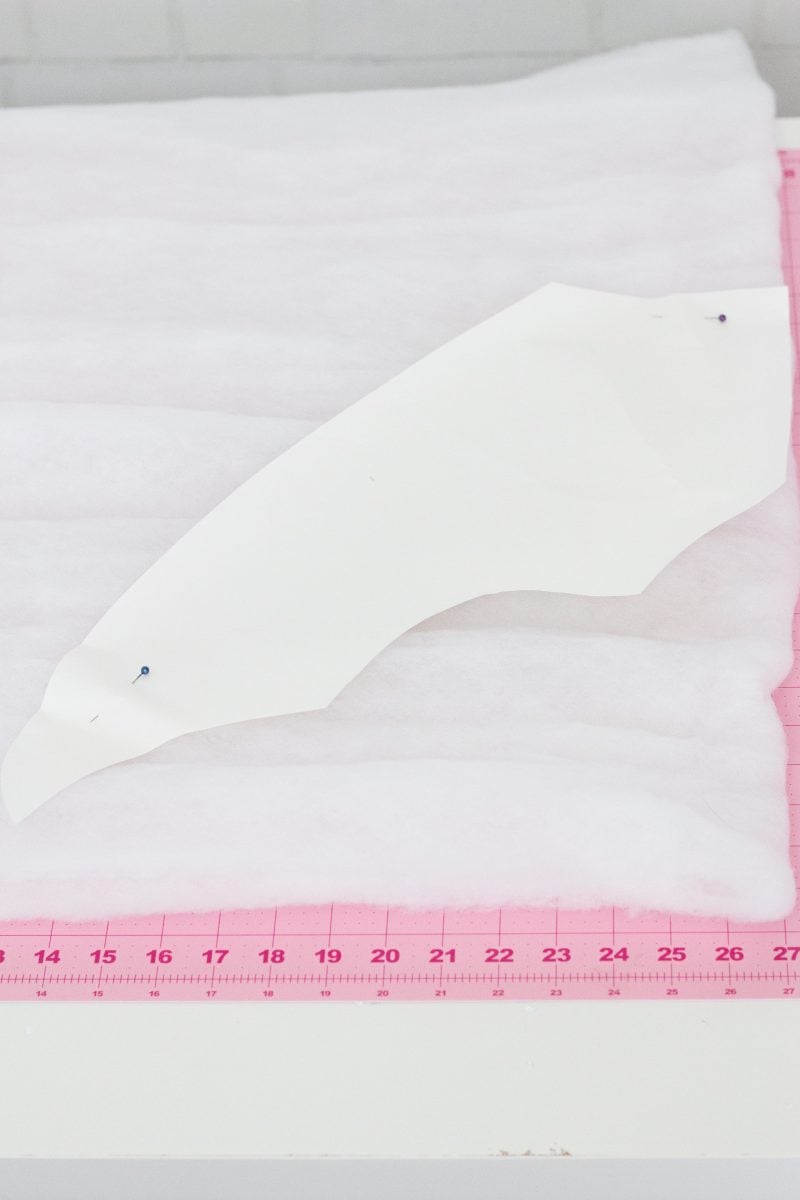
Cut around the pattern, then repeat this step until you have a mermaid tail front, back and a layer of cotton batting.
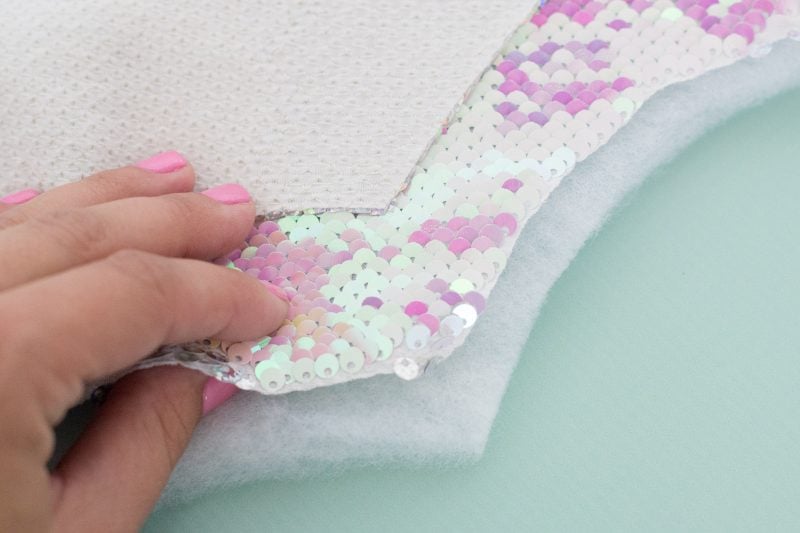
Layer the three pieces of fabric so that the mermaid sequin fabrics are facing each other and the batting is on the bottom.
Use plenty of pins to secure the pieces of fabric together.
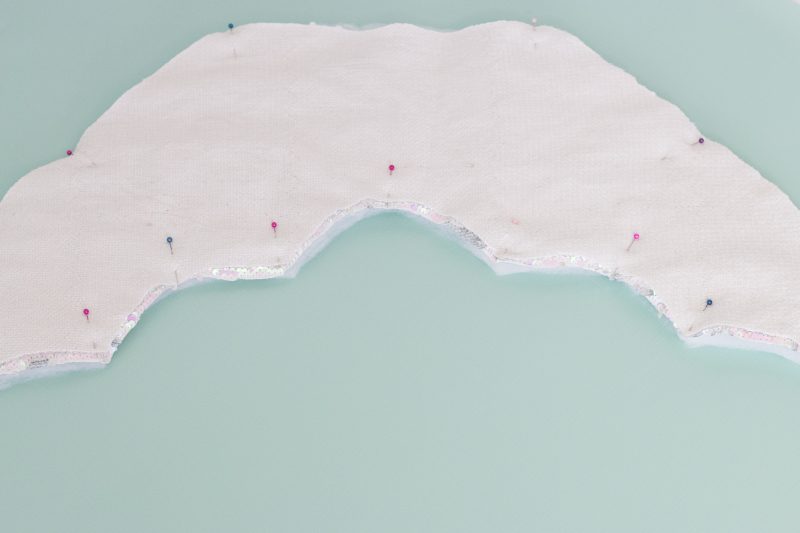
Sew around the bottom and two sides of the mermaid tail leaving the top of the tail open for turning. Trim down the seam allowance.
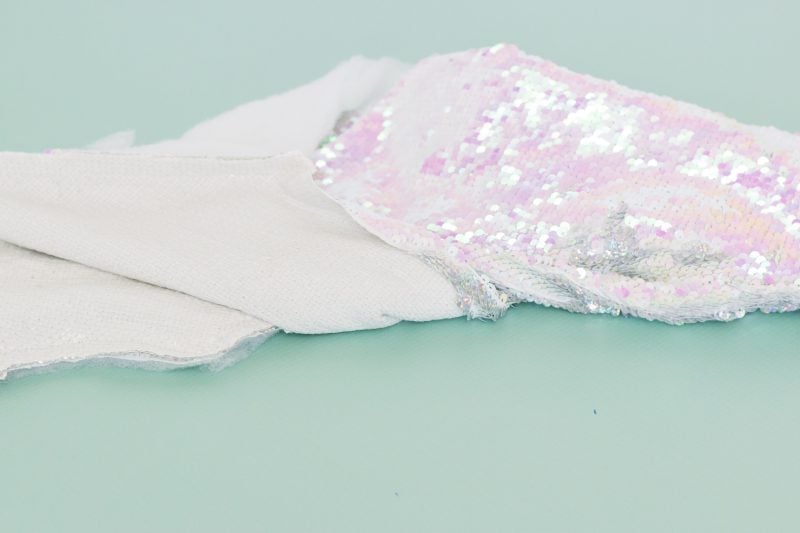
Grab the layer of mermaid sequins furthest from the batting and turn it right side out.

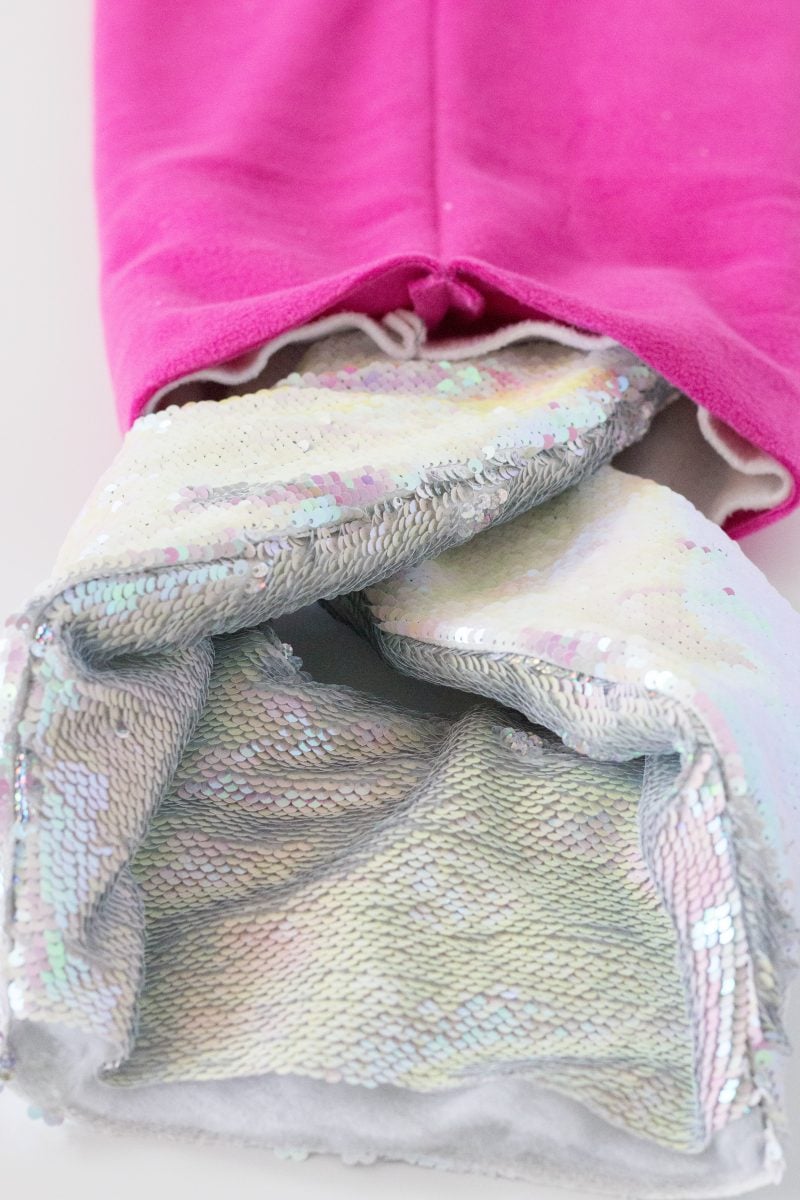
Turn the mermaid tail upside down so that the fins are facing upwards. Fold the fins inwards and slide the tail inside of the body of the mermaid.
Make sure that your lining fabric is facing outwards so that the pink fabric is facing the tail.
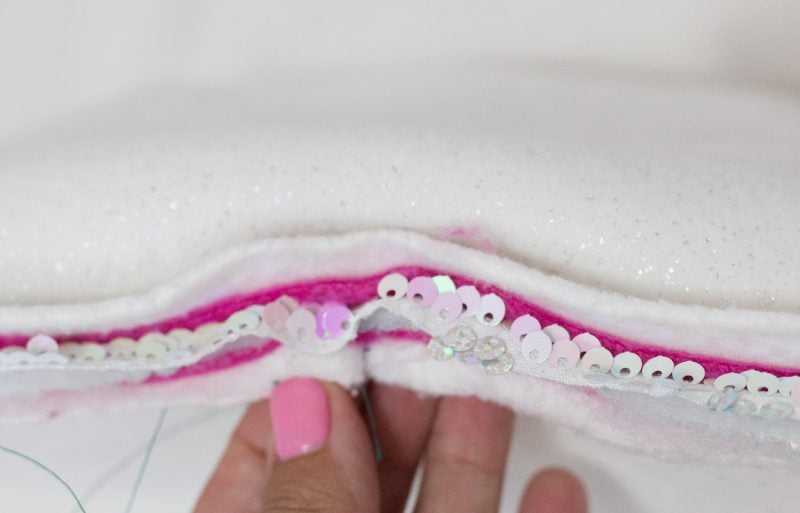
Sew through all the layers to attach the mermaid tail. Serge or zig zag stitch the raw edges.
Turn the mermaid tail blanket right side out!
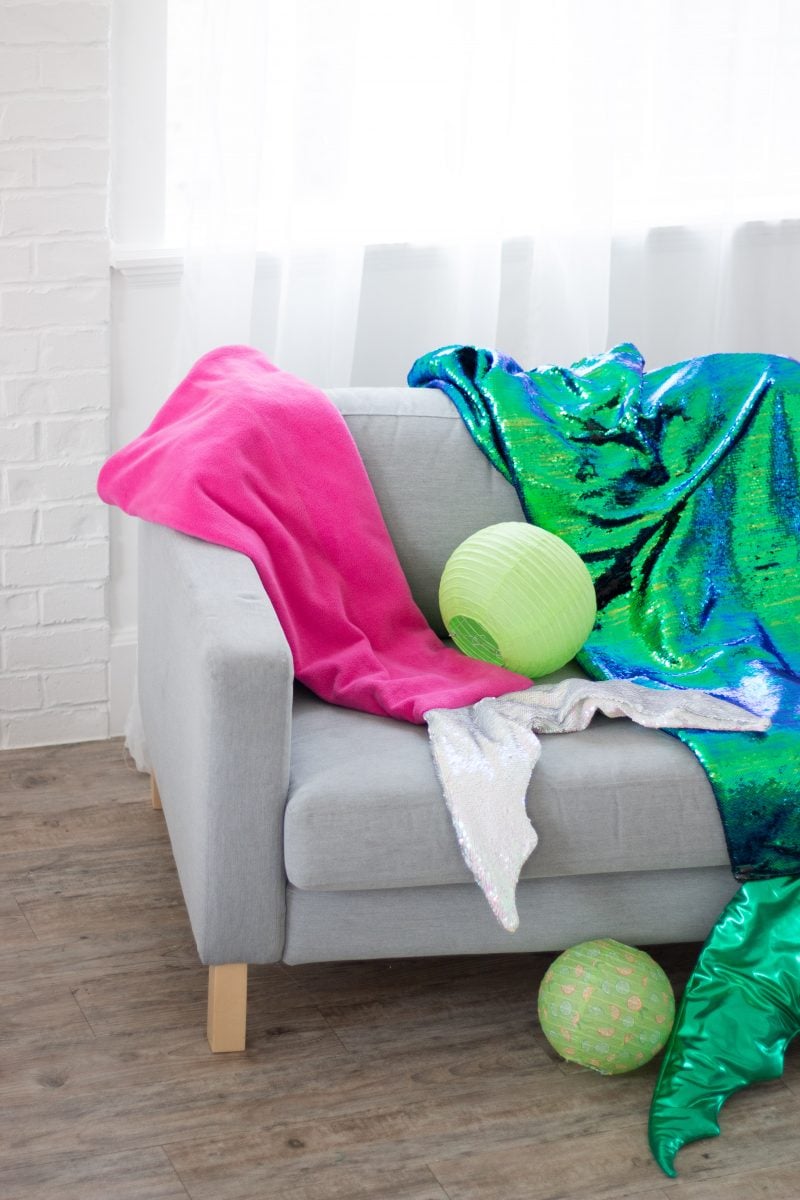
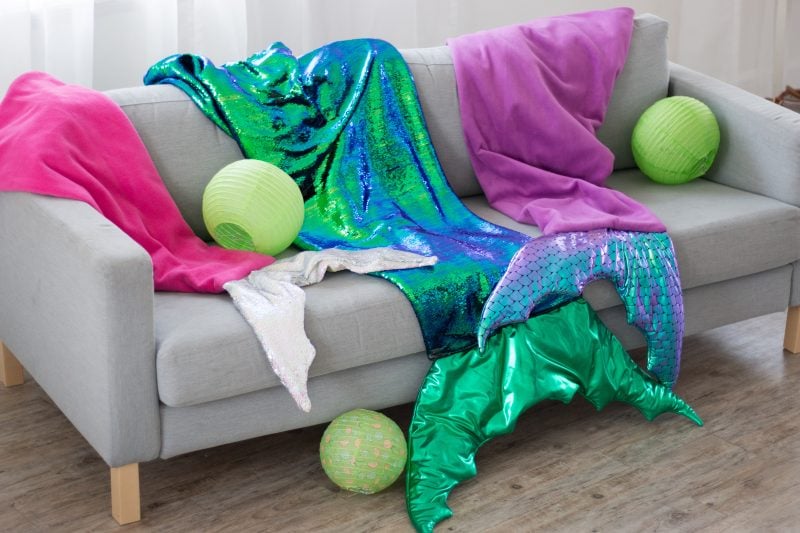
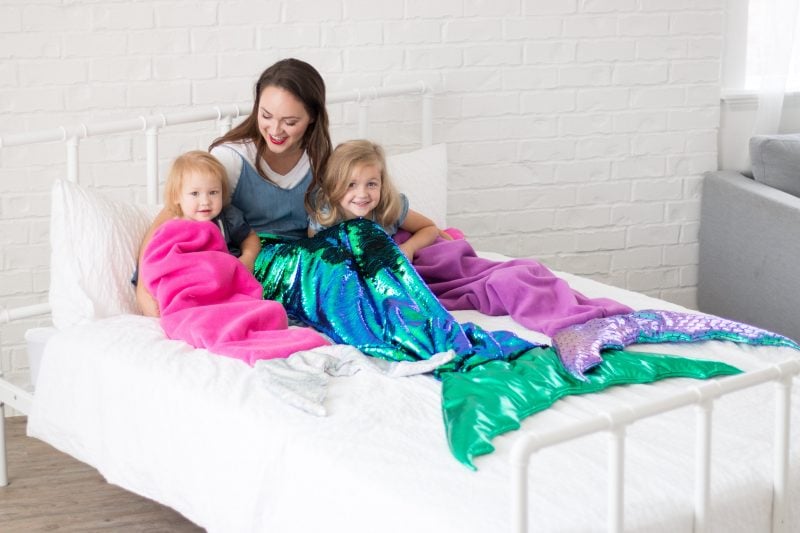
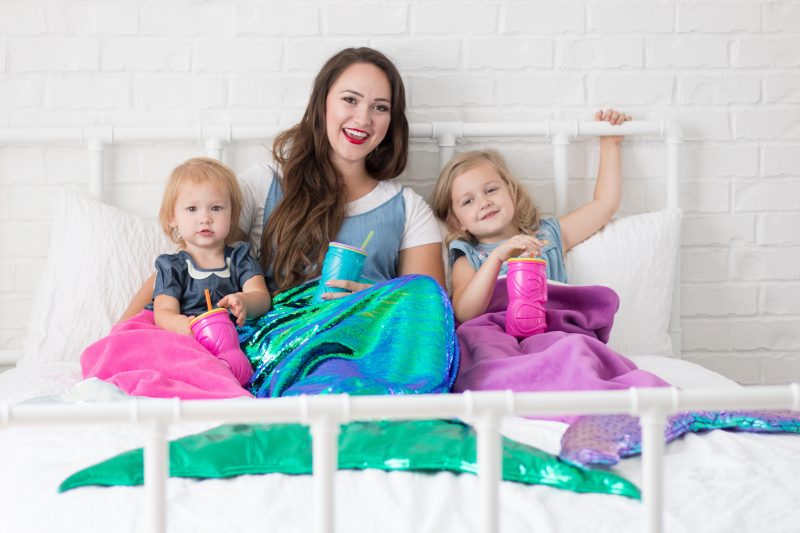
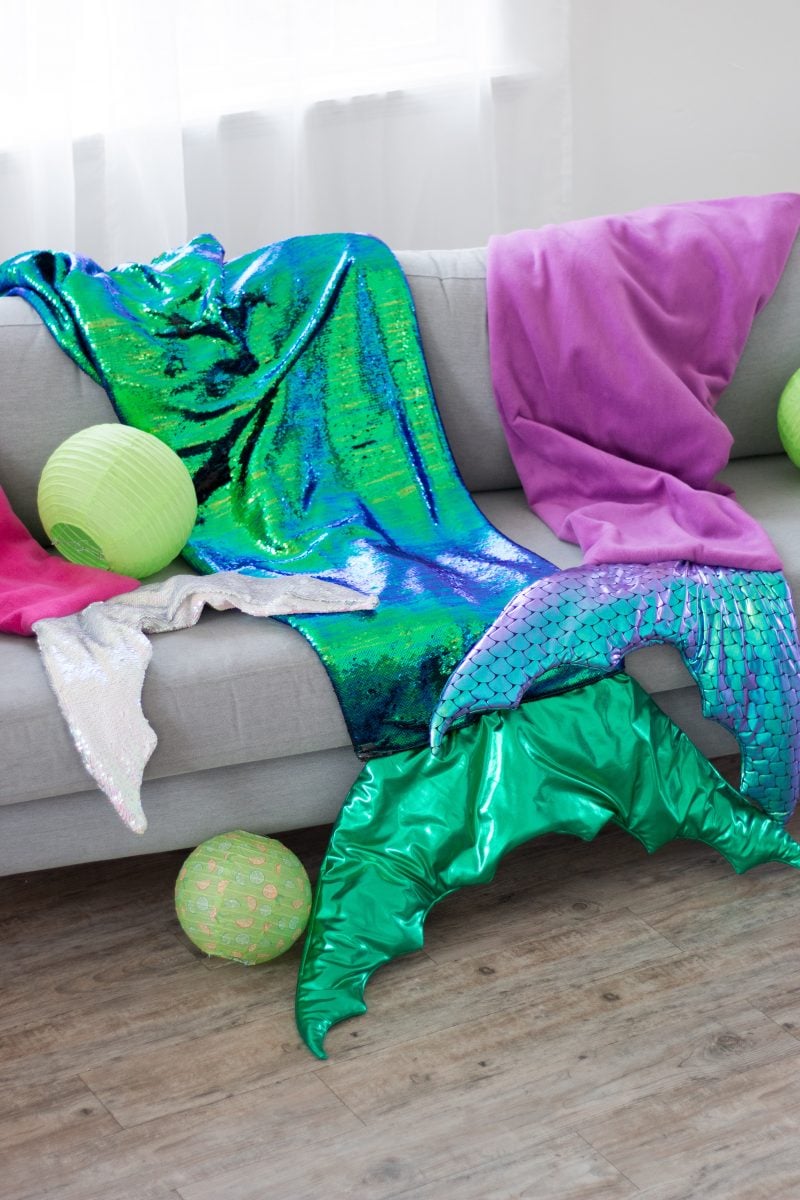
Now you have an adorable mermaid tail blanket perfect for movie nights and cuddling up on the couch! I think I see some serious Netflix binging coming right up!
Beautiful Mermaid blanket snuggies@
Its just what i have been searching for. Can the Instructions h Patterns n downloaded to print?
Beautiful Mermaid blanket snuggies@
Its just what i have been searching for. Can the Instructions h Patterns n downloaded to print?
I copy the entire thing and then paste and resize all the pictures. I do this with most projects because I prefer to have a pattern that's written out so I can follow it.
I can’t wait to try and make this for my granddaughter!!! She’s crazy over mermaids!! Thanks for the inspiration and great tutorial!!
Love the mermaid tales and fabrics.
Part of the instructions seem to be missing. I know that you need to stitch the top(missing), along with the sides, but it would be helpful to see how you're turning this 'inside out' (inserting the lining) and flipping it back to add the fin. I bought a bunch of fabric to make these for my daughters, and grandaughter, but now my stroke brain is kicking in and I don't want to ruin all this fabric because I didn't grasp something.
I feel like something is missing too…I ripped it apart twice
Cannot download pattern??
Thanks
I read and re-read these directions as they did not make any sense to me. I finally made a tiny one out of cotton to figure out what I was missing. To try and explain it more clearly, the top is the wider end, and when you sew the lining and the outside fabric together halfway down the sides (the first bit of sewing), you also have to sew across the top edge, otherwise the top edge will not be finished. I also found that when inserting the tail, it was wider than the opening that it was to be sewn to so I ran two rows of basting stitches across the open edge and gathered the tail so that it would fit properly and not have unsightly tucks. Make sure that when the tail is inserted, the seamline on the body is in the centre of the opening, not at the side. It would also have been nice to have the directions include the intended seam allowances.
Thank you so much for clarifying that. I too was having a hard time following what was going on... Just to make sure I made a mini out of some cotton I had laying around. 🙂
Can you explain how to sew this. I am sooo confused!
Instructions should say. Pin mermaid tail and lining right sides-together. Starting at about midway on the side, sew the two pieces together towards the wider (top) side , across the top and down the other side to the same point. Pull the two pieces apart (without turning inside out) and with the right sides of the narrow pieces together sew up from the narrow end to the joined seam and back down the lining (narrow part). this is shown in the pictures with the pattern. Then reaching up through one narrow part, turn the tail right side out, leaving the lining of the tail inside the other. You now have the tube blanket with an opening down the middle. Turn the tail inside out so the lining is outside. Make the fin as directed. Baste across the top to make gentle gathers. Tucking it into the tube, pointed side up and right side out.: sew the fin into the tube through all layers.
Hope that is clearer!
I wish I would have read this before starting to sew
I don't know what idid wrong I have pants not a tube!
so disappointed I cannot get this pattern to work for me .wasted so much money!!!
As someone with ADHD, I would have really appreciated a video on this or more pictures to be more detailed with how this is done. Thank you