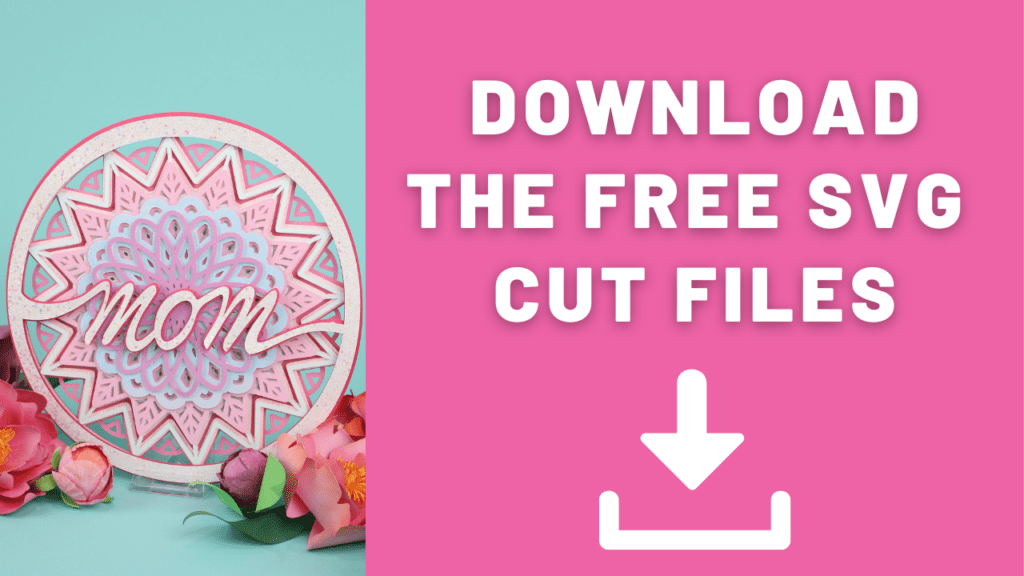
Celebrate Spring or Mother’s Day by Creating a Beautiful Layered Floral Mandala Pattern With This Free SVG Cut File and Simple Instructions.
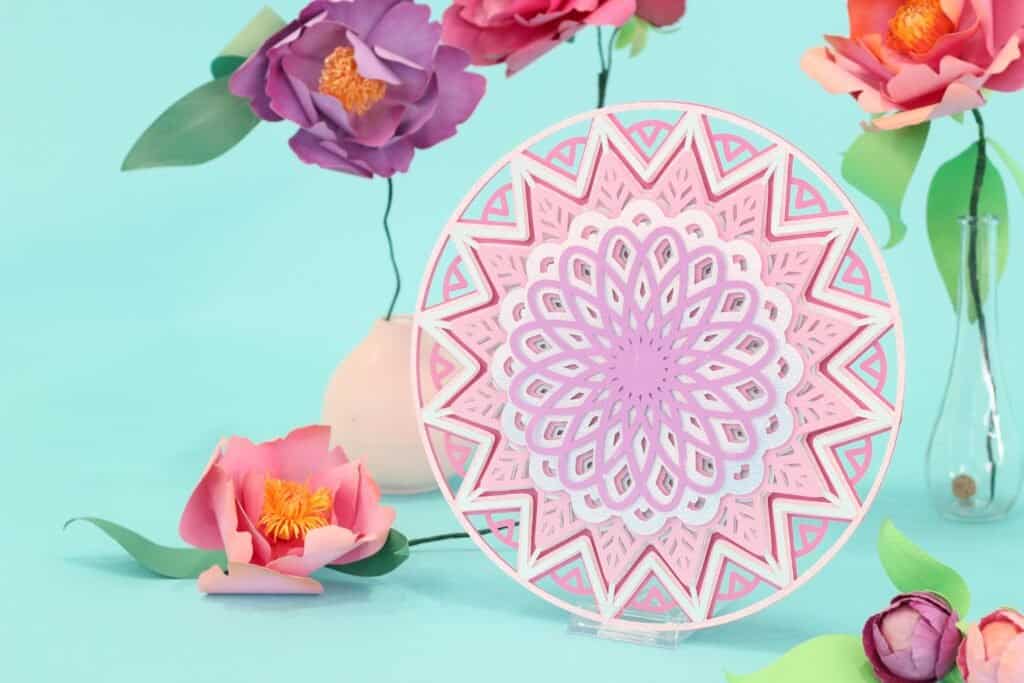
I'm loving layered mandala designs lately and this abstract floral pattern is no exception! Perfect for welcoming spring blooms, but certainly appropriate year-round, I can't wait to see how you use this design!
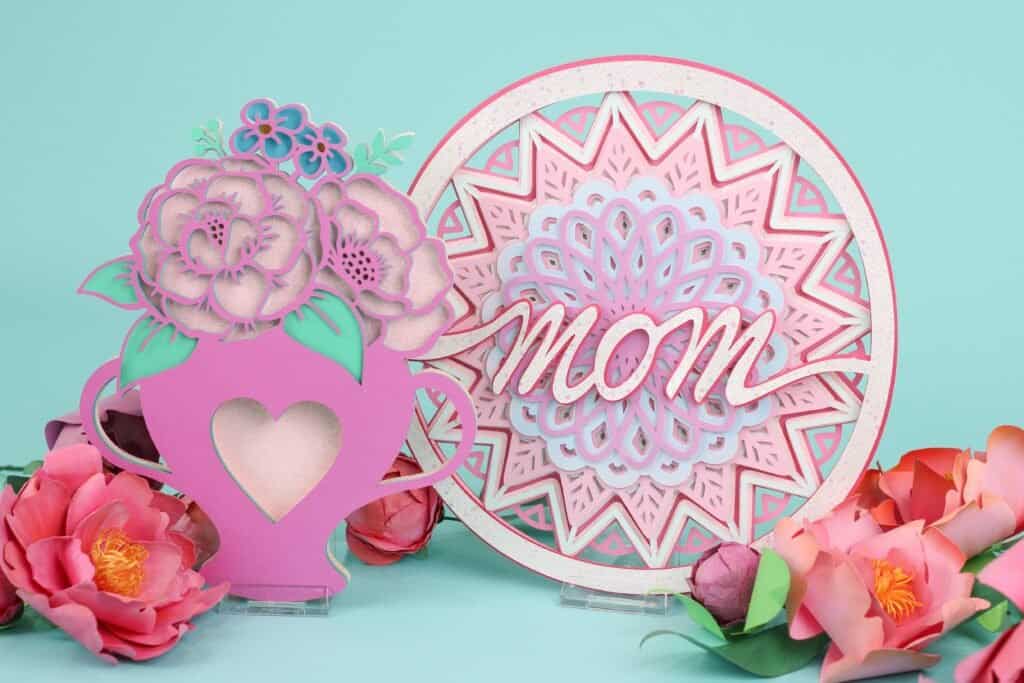
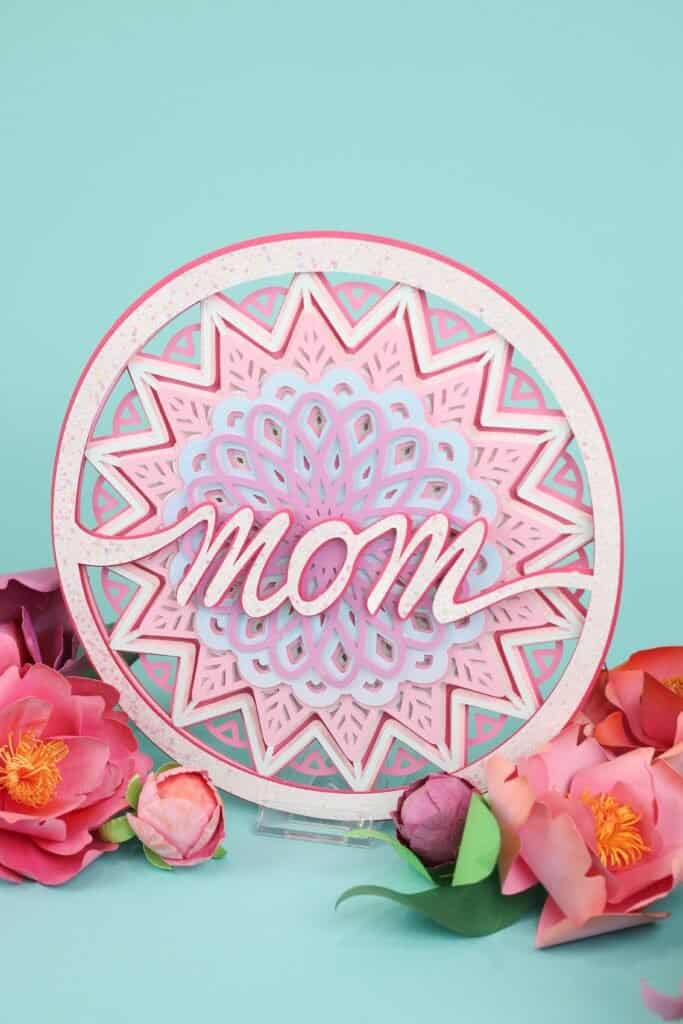
Scroll down to see the Mother's Day version.
This design has so many applications. It would be stunning on a pillow using Iron-on material. If you've never layered iron-on material, this is a perfect project to try out that technique! If you have an empty wall, it would look lovely as a larger scaled layered vinyl mural.

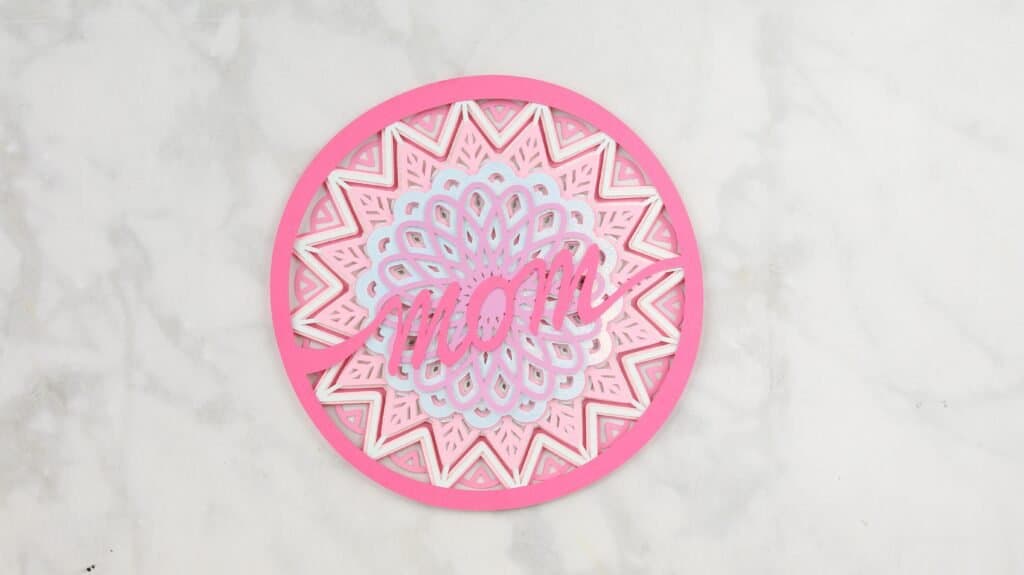
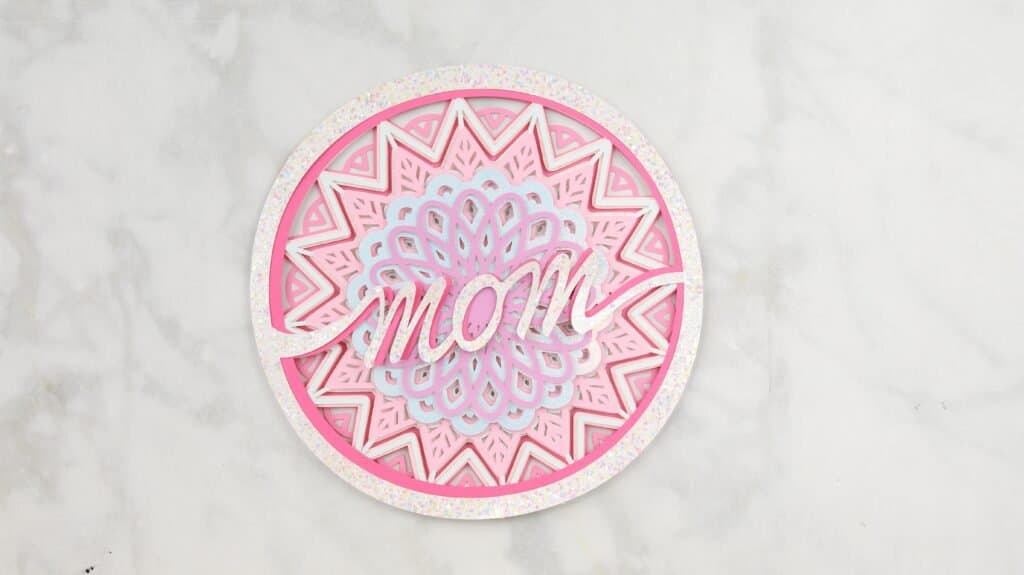
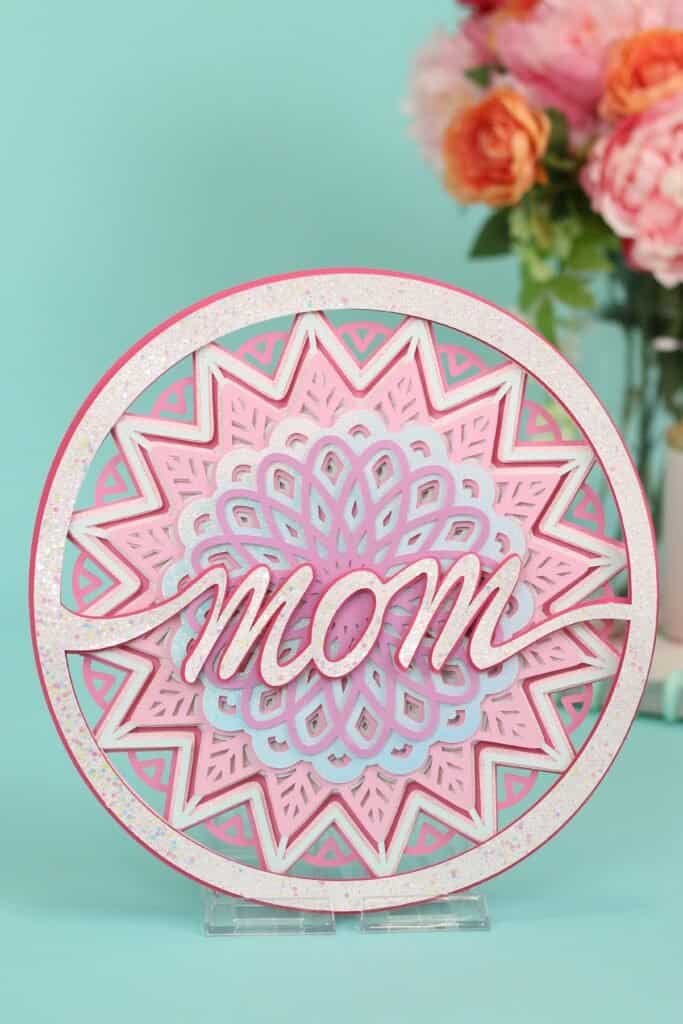
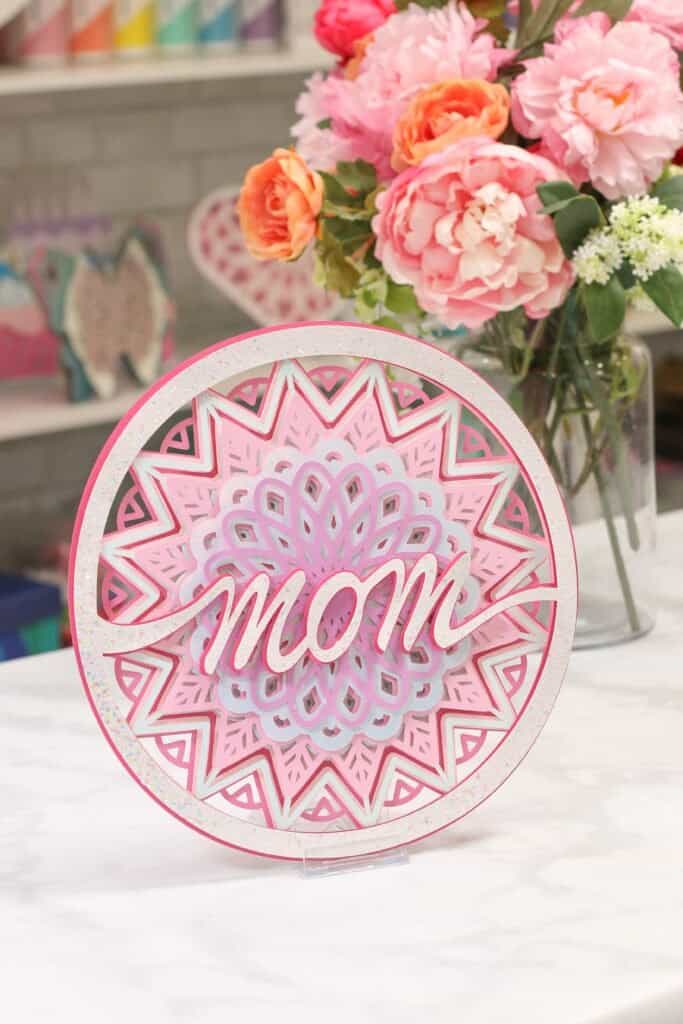
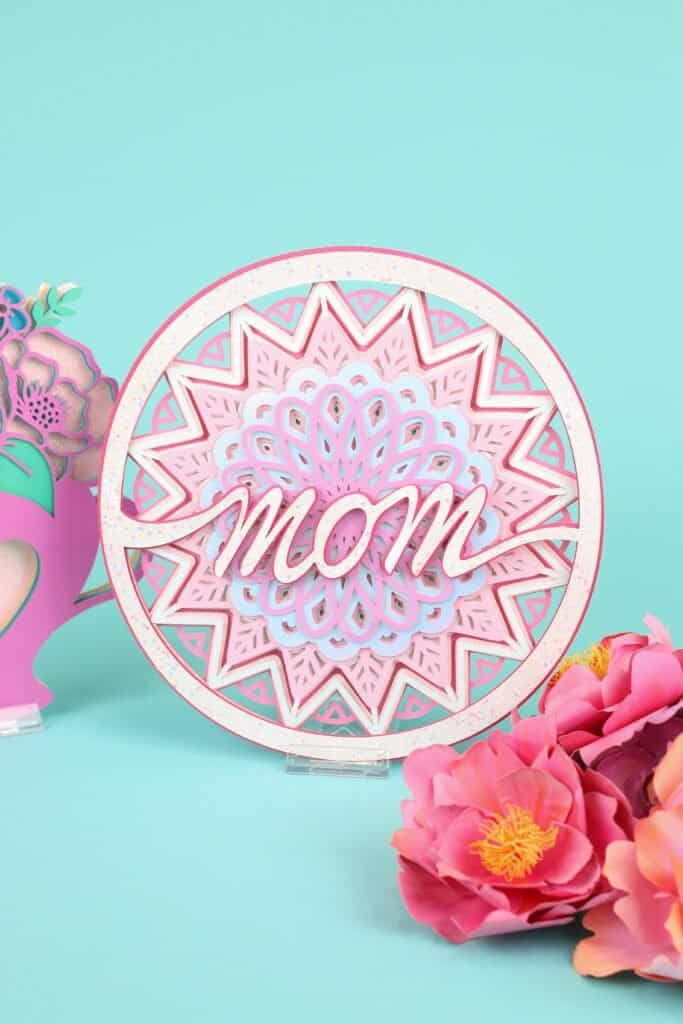
I've even added an option to customize this design into a Mother's Day gift by adding an extra 2 layers to the top of the design.
Click here to access the floral bouquet cut files and tutorial.
Click here to learn how to make my cardstock paper flowers.
Of course, cardstock is always a win, comes together quickly, and makes stunning shadowbox art!
I used this file to make an oversized layered mandala and I'll share how to create the file with cardstock in the tutorial below.
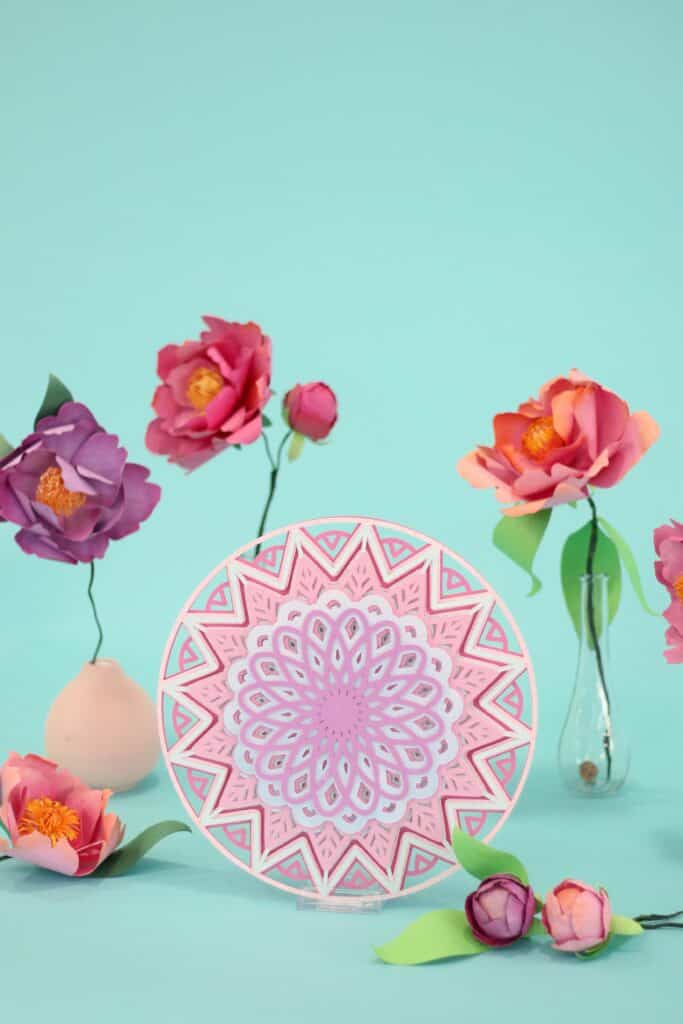
Table of Contents
3D Layered Boutique Floral Mandala
Follow these step-by-step instructions to make an impressive 3D Layered Floral Mandala using your Cricut Machine.
Supplies:
- Free Boutique Floral Mandala Cut Files (link below)
- Cricut Explore, Cricut Joy, or Cricut Maker
- Fine-Point Blade
- StandardGrip Mat
- Cardstock
- Foam Adhesive Dots or Craft Glue
- Cricut Scraper (for removing small pieces of cardstock from the mat.)
Click Here to Download the Free Boutique Floral Mandala Cut Files!
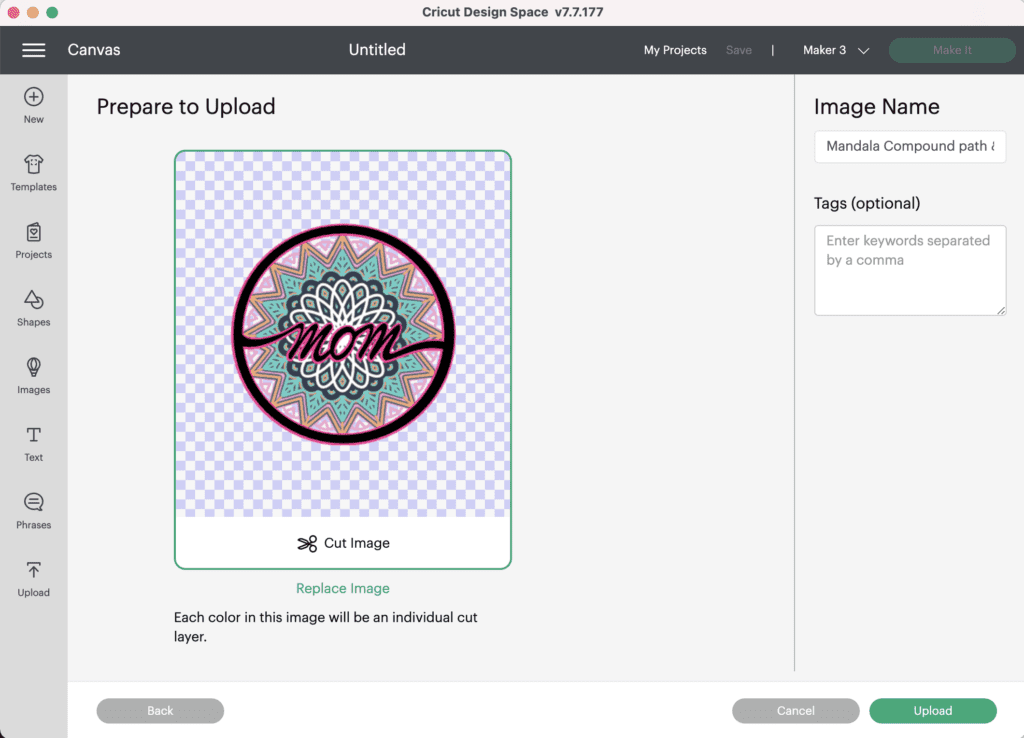
Step 1: Upload the SVG Design File to Cricut Design Space
Open Cricut Design Space and click the + to create a new project.
In the Design Panel on the left, select "Upload."
Click "Upload Image."
Click "Browse."
Navigate to the file on your device to upload it to Cricut Design Space.
Here you can change the name and add tags. Click "Upload."
Once you have the file uploaded, select it and click "Insert Images" to bring it onto your canvas.
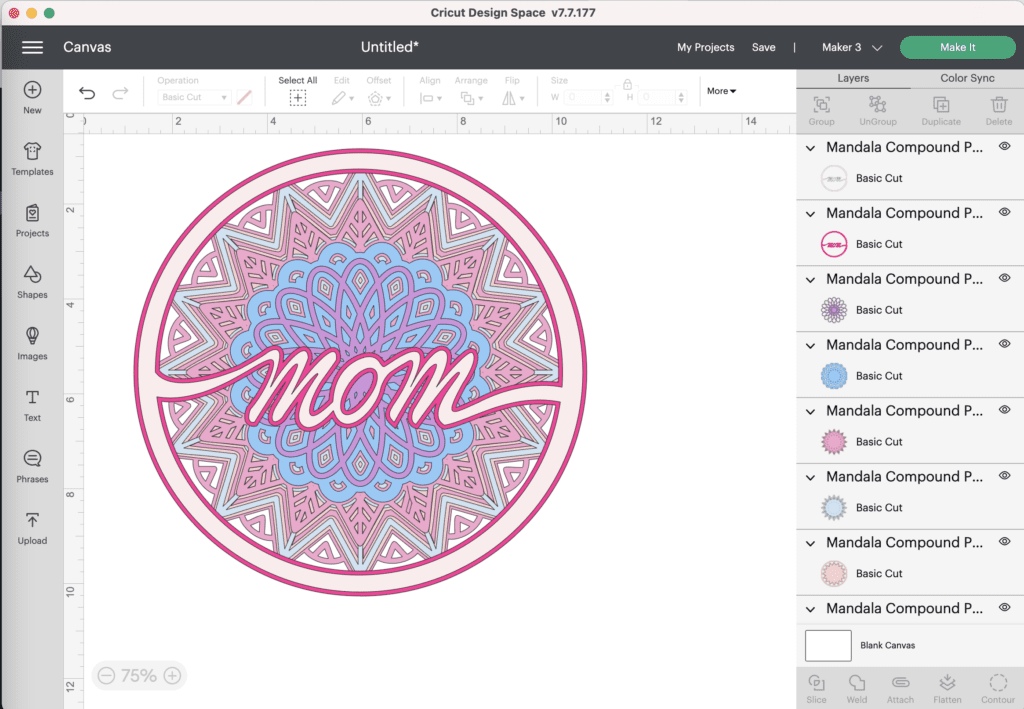
Step 2: Resize the Design
Resize the mandala to your desired size, I sized my mandala to 11.4" wide.
You can also change the colors of the layers to match your cardstock to make the cutting process easier.
Now you're ready to cut the design! Click “Make It” in the upper right-hand corner of the screen.
This brings you to the preview screen. Click "Continue."
Make sure your machine is connected and select your material. For all of my layered designs, I use the Cardstock (for intricate cuts) setting.
This setting along with a clean, sticky mat ensures a nice, clean-cut.
Ensure your Fine-Point Blade is loaded into your machine.
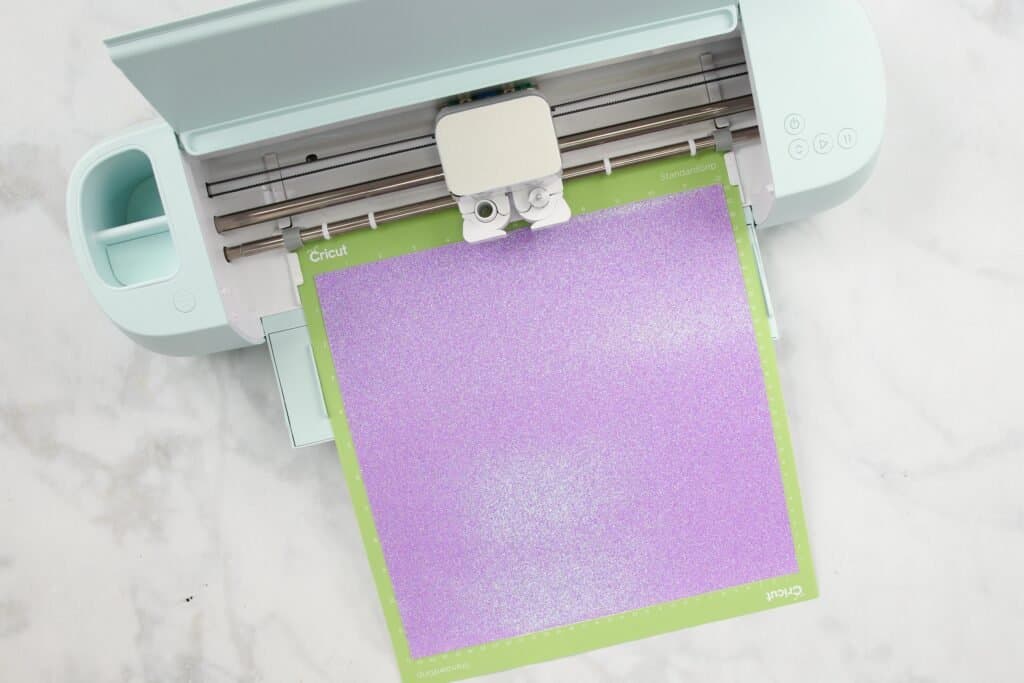
Step 3: Cut Out Your Design
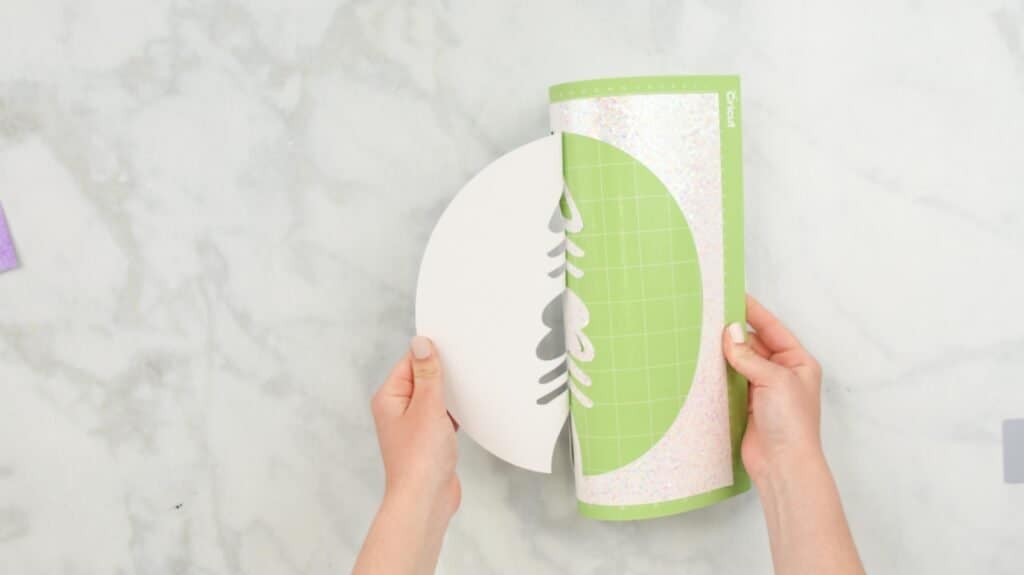
Peel the clear liner away from your cut mat.
Following Design Space’s prompts, place your first color of cardstock on your mat.
Press the load button to load the mat into your machine. Begin the cut.
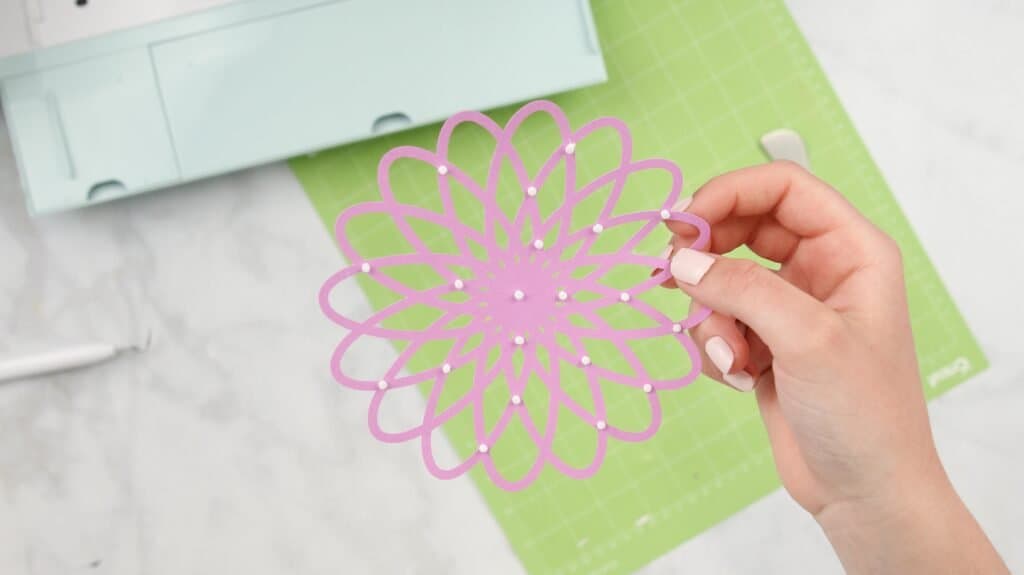
Unload your mat, and repeat this process until you have all of the elements cut out.
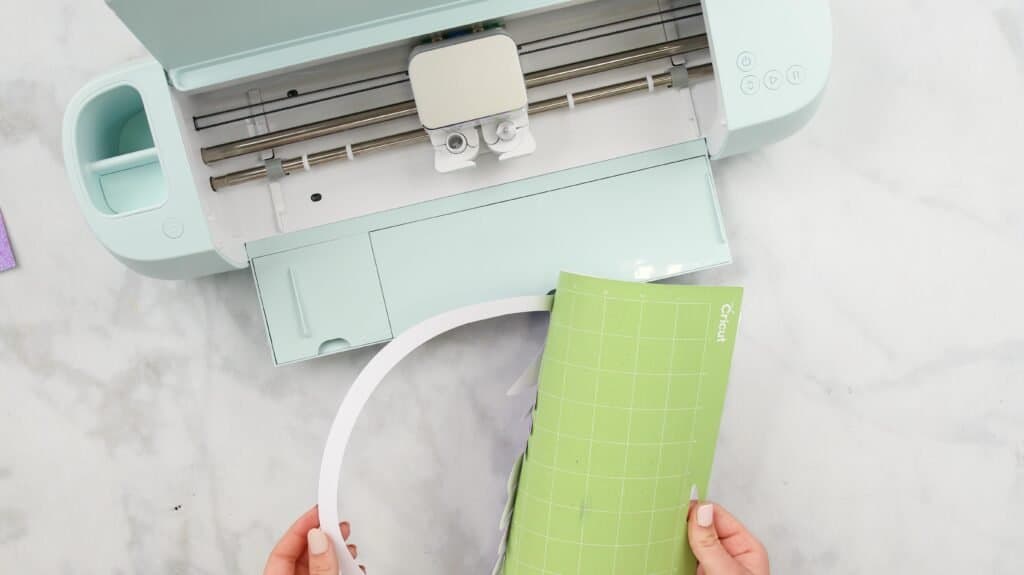
Pro Tip - Peel your mat away from the cardstock to avoid tearing or rolling your cardstock.
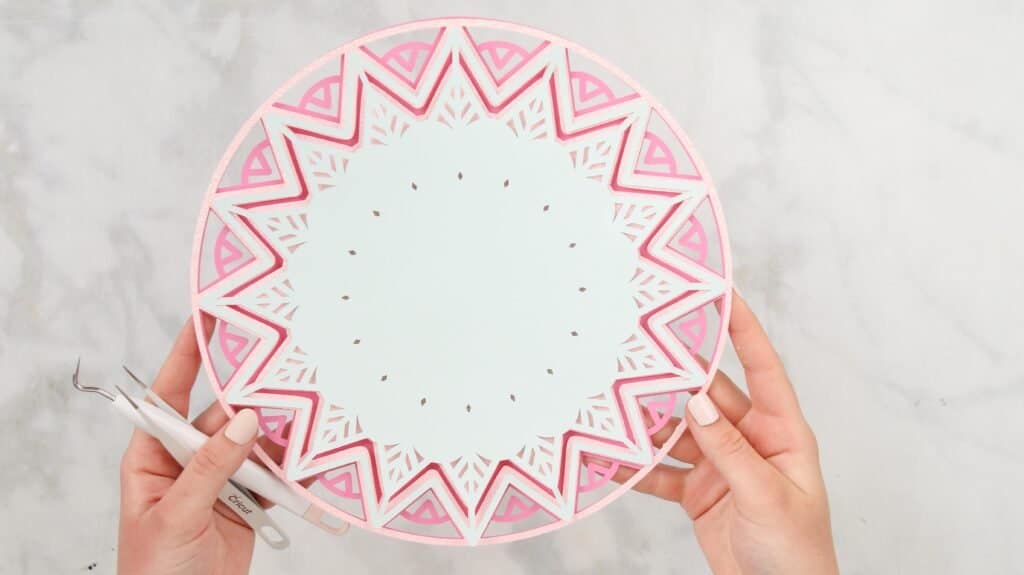
Step 4: Assemble the Floral Mandala
Once all your elements are cut, it's time to adhere the individual layers together.
Pro Tip - It’s best to use the adhesive in the same spot on each layer to get an even rise and 3D layered look.
Cricut Design Space doesn’t cut out the layers in order so it can get confusing to piece together. Head back to Design Space to see the layers as a reference for how to put them together.
The image below shows you from bottom (left) to top (right) how the layers should be placed.
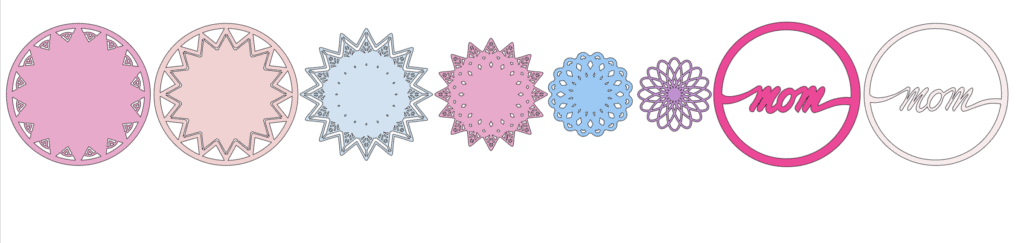
Begin by placing your layers out in front of you in order.
Using craft glue or foam adhesive attach the layers together from back to front.
Begin by placing foam adhesive or craft glue on the back of the second to last layer. Line it up with the base layer and press it in place.
Next, place foam adhesive or craft glue on the back of the 3rd to last layer. Line it up with your base layer and press it in place.
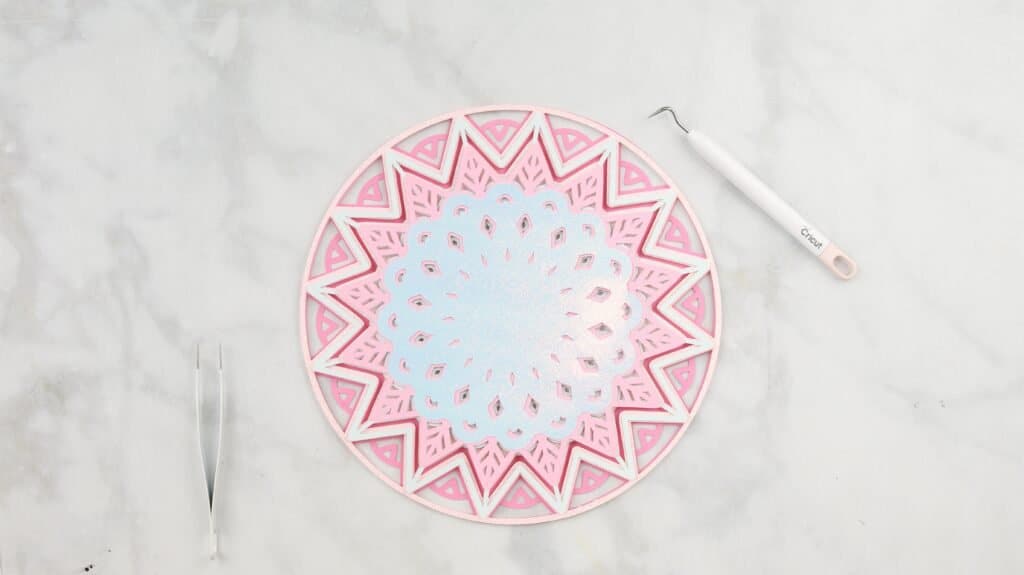
Continue this process until you reach the top layer. Line it up with your base and press it in place.
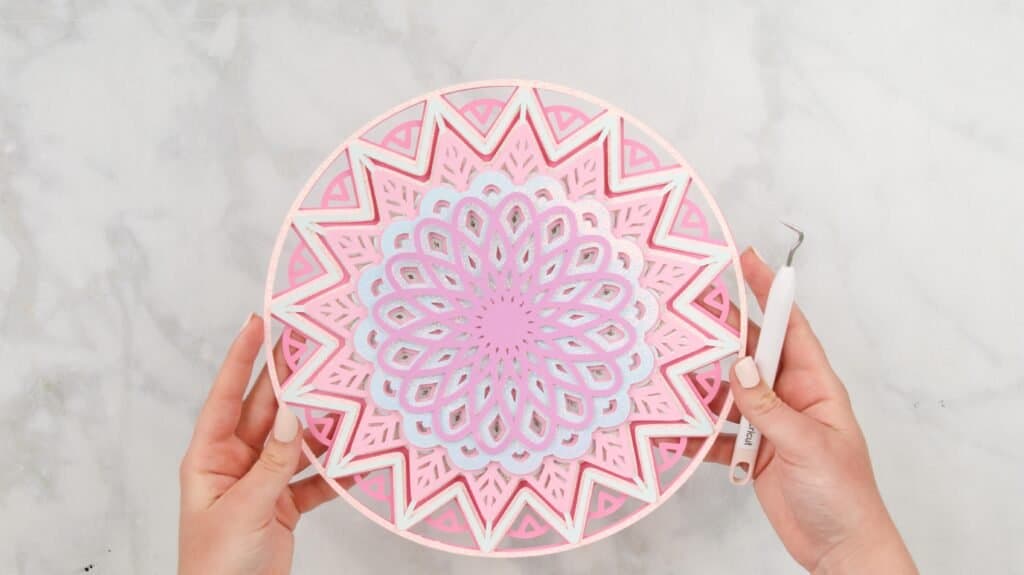
Step 5: Admire and Continue Making!
Your 3D Layered Boutique Floral Mandala is now complete!
If you're loving these 3D mandala design files, find all the Sweet Red Poppy layered cut files Here.
And of course, Don’t forget to join my Facebook group where you can show us what you’re making, ask questions, and learn from others!
Save this project for future making on your Pinterest Board by clicking HERE.
If you have any questions or comments regarding this tutorial, make sure to let me know in the comments below.
Wow! I love the papers you used for this mandala. Thank you so much for sharing.