Learn How to Sew a Centered Zipper Two Different Ways With This Step-By-Step Beginner-Friendly Tutorial.
A centered zipper is the simplest type of zipper to sew - this is your classic zipper, with no frills.
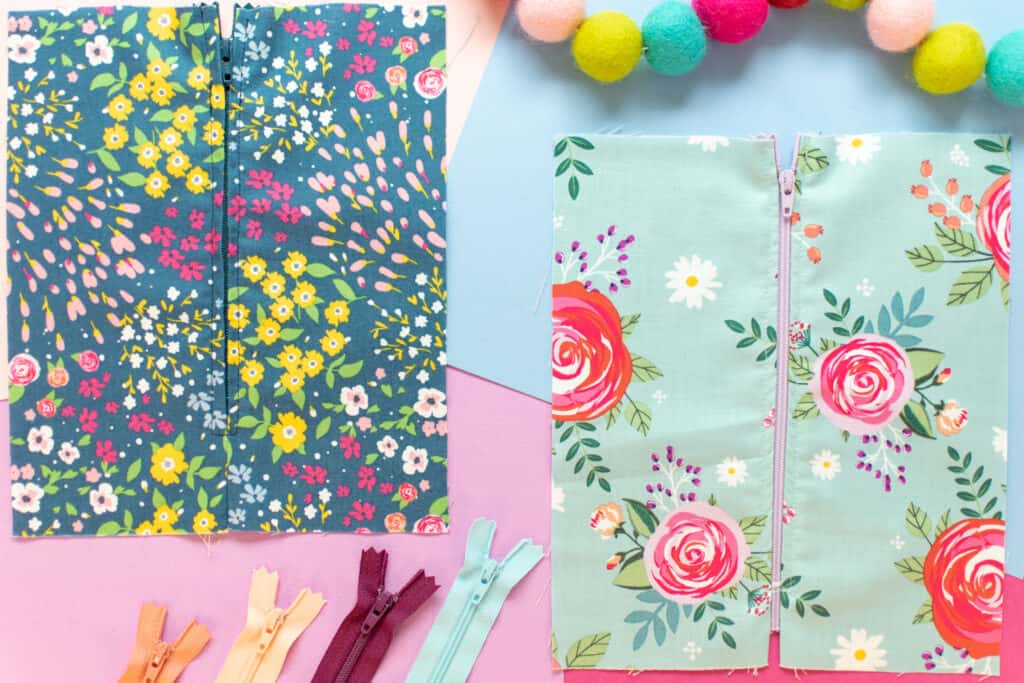
Learning how to sew a basic, centered zipper is a great place to start if you've never sewn a zipper before. I promise it will be a lot easier than you might think!
Table of Contents
What is a Centered Zipper?
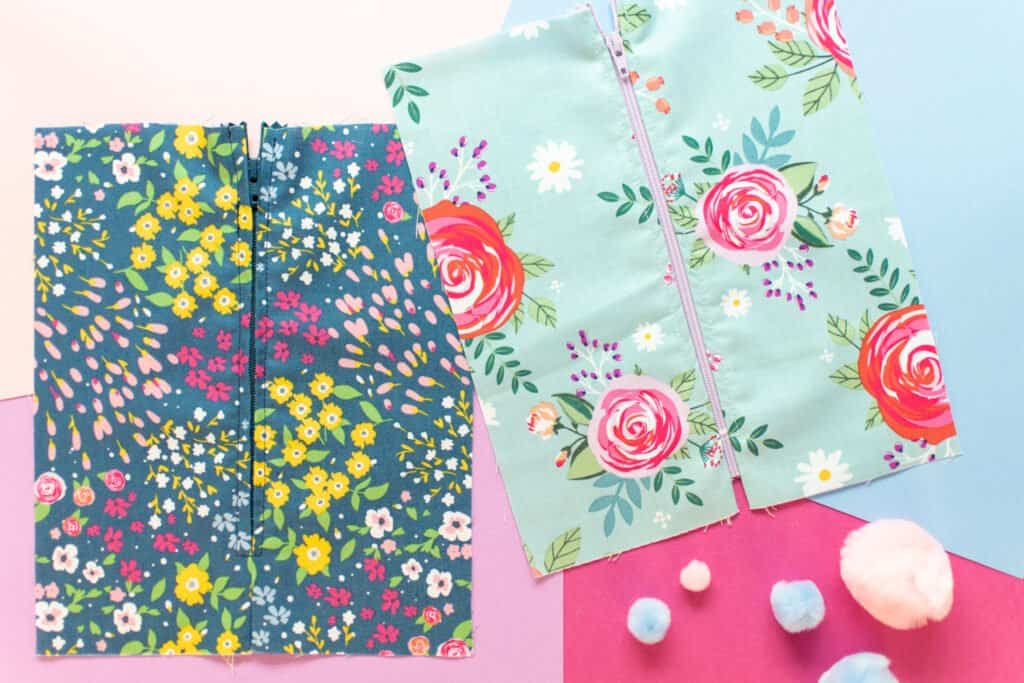
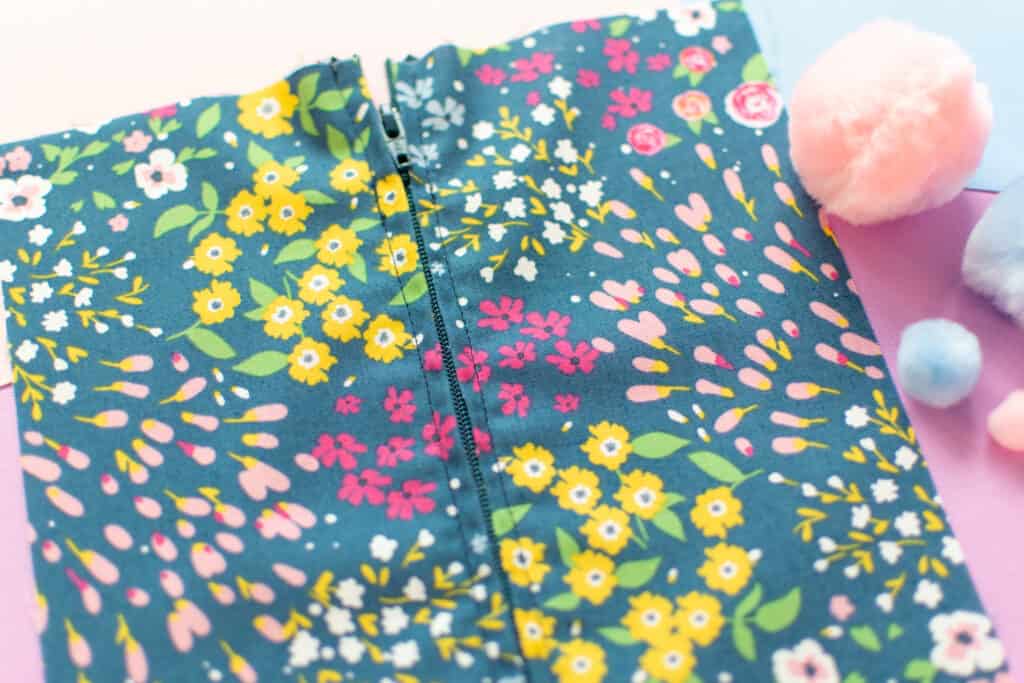
A centered zipper is a zipper that is attached in a way that centers it within the seam or opening that it is inserted into. The fabric will be equally close to the zipper teeth on both sides.
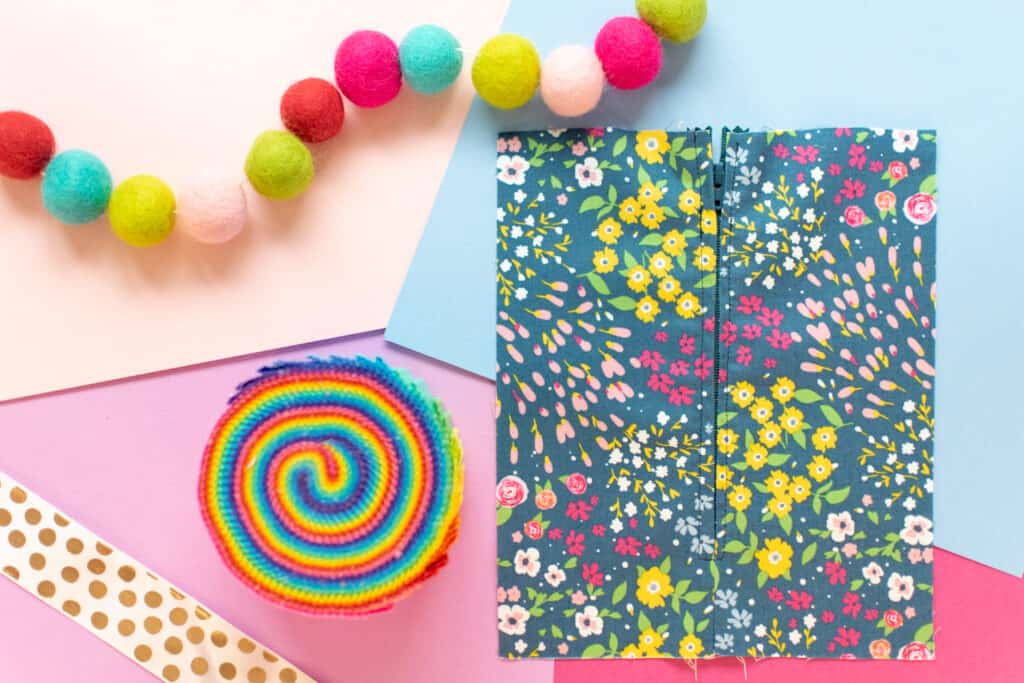
Also, centered zippers often have visible topstitching down both sides (and sometimes the bottom) of the zipper. Each row of topstitching is the same distance from the zipper teeth.
What Can You Use a Centered Zipper For?
A centered zipper is the most versatile type of zipper. It's perfect for (almost) any sewing project that needs a closure - dresses, skirts, jackets, pillows, zippered pouches, bags, purses, and more!
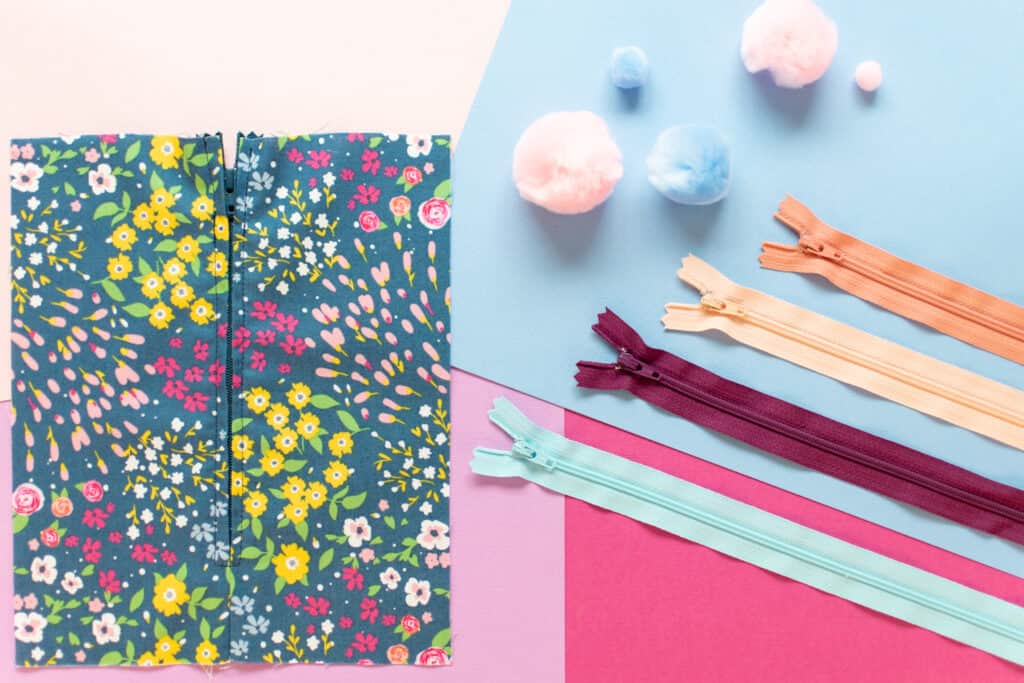
While it may not look as special or unique as some of the other zipper insertion techniques, it's quick, easy, functional, and versatile!
How to Choose the Right Zipper
Before you can insert a zipper into your project, you'll need to make sure you have the right zipper for the job. Choosing the best type, size, and length of zipper for your project can help you achieve the best results possible.
Zipper Size and Length
Most sewing patterns will indicate what length of zipper to purchase. Keep in mind that this measurement is from the top stop to the bottom stop - it doesn't include the excess tape at the top and bottom of the zipper.

Zipper size is something that most patterns don't give you any recommendations for - though in my opinion, they really should! The size of a zipper is the width, in millimeters, of the zipper teeth. In general, choose a smaller size for lighter-weight projects and a larger size for heavier projects.
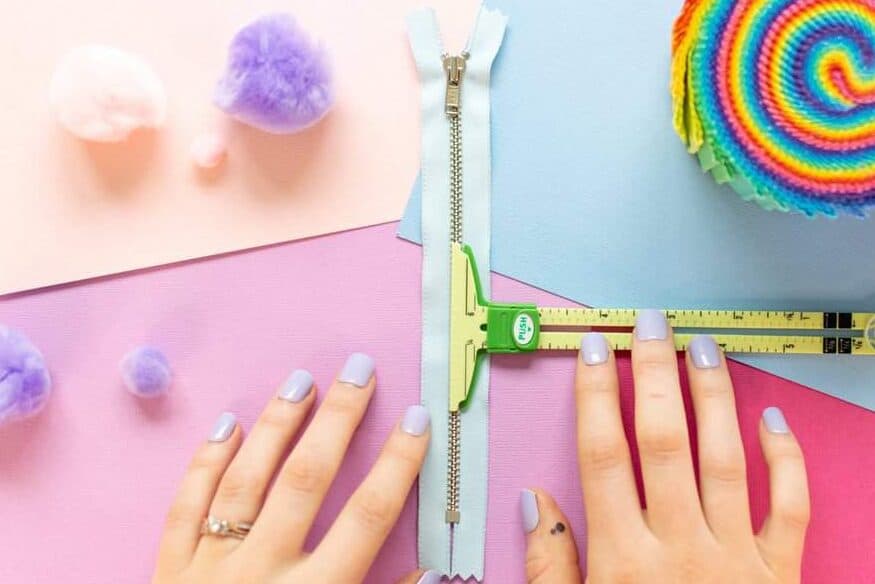
The table below will give you a good starting point for choosing the right zipper size.
| Zipper Size | Zipper Category | Use It For |
| 1-4 | Small | dresses, skirts, dress pants, lightweight purses |
| 5-7 | Medium | jackets, coats, backpacks, purses |
| 8-10 | Large | very heavy-duty outerwear, boat and vehicle covers |
Zipper Type
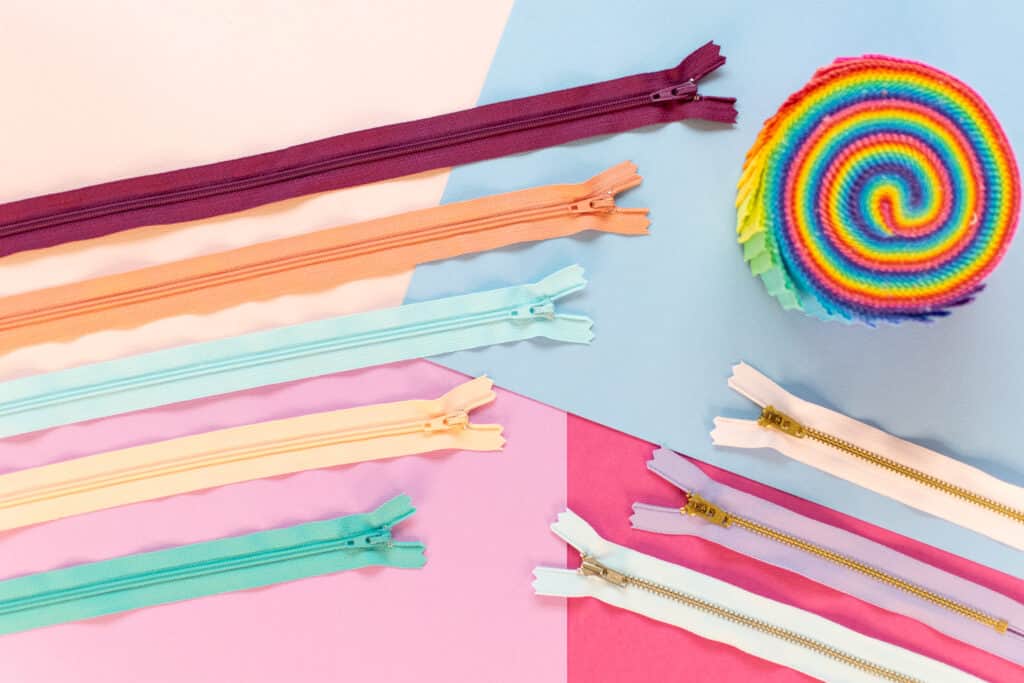
There are 3 main types of zippers that could be great choices for a centered zipper:
- coil zippers
- molded plastic zippers
- metal zippers
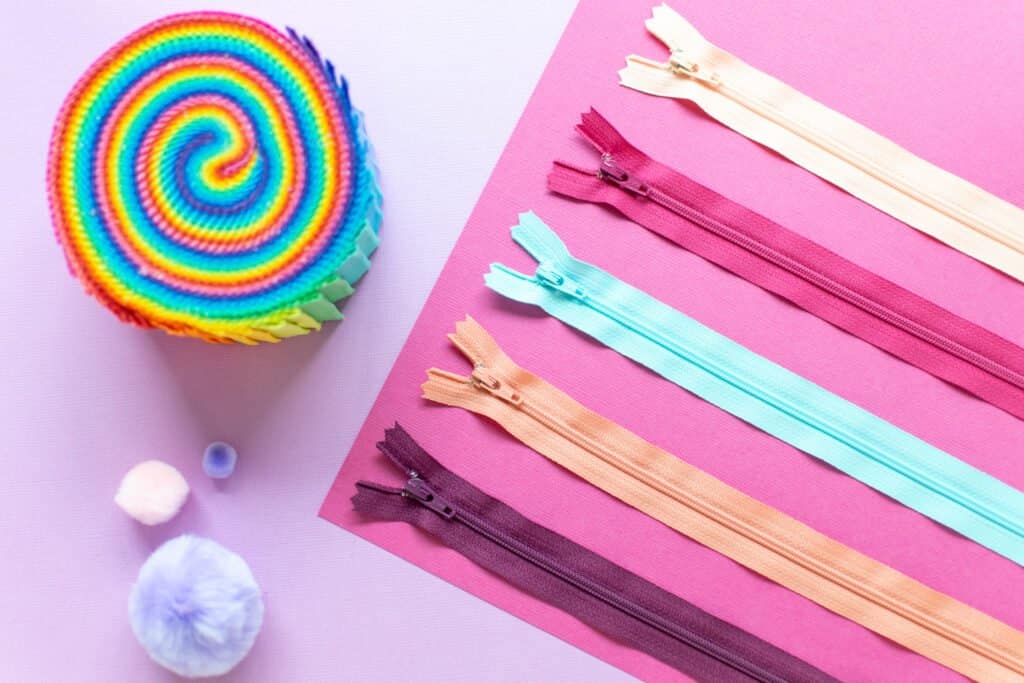
Coil Zippers
Coil zippers have thin, coil-like teeth. These zippers are flexible and great for sewing into curved seams. They're also lightweight and the teeth have a more subtle look to them than the other types of zippers.
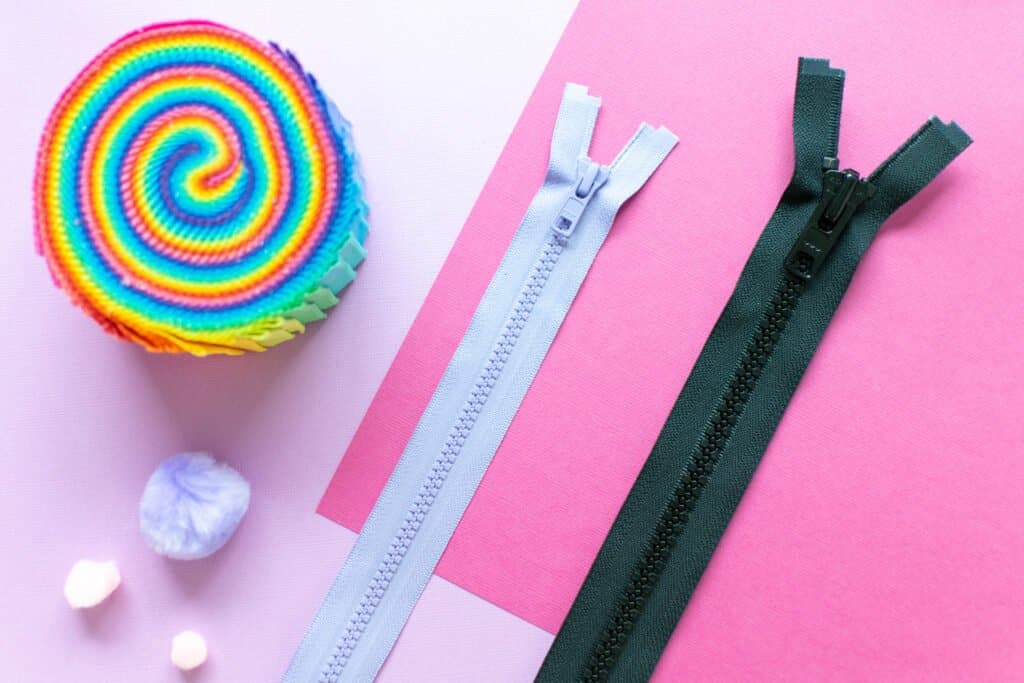
Molded Plastic Zippers
Molded plastic zippers have large, interlocking plastic teeth. This type of zipper is strong and durable, but not very flexible. Molded plastic zippers are best for straight seams and are awesome for outerwear.
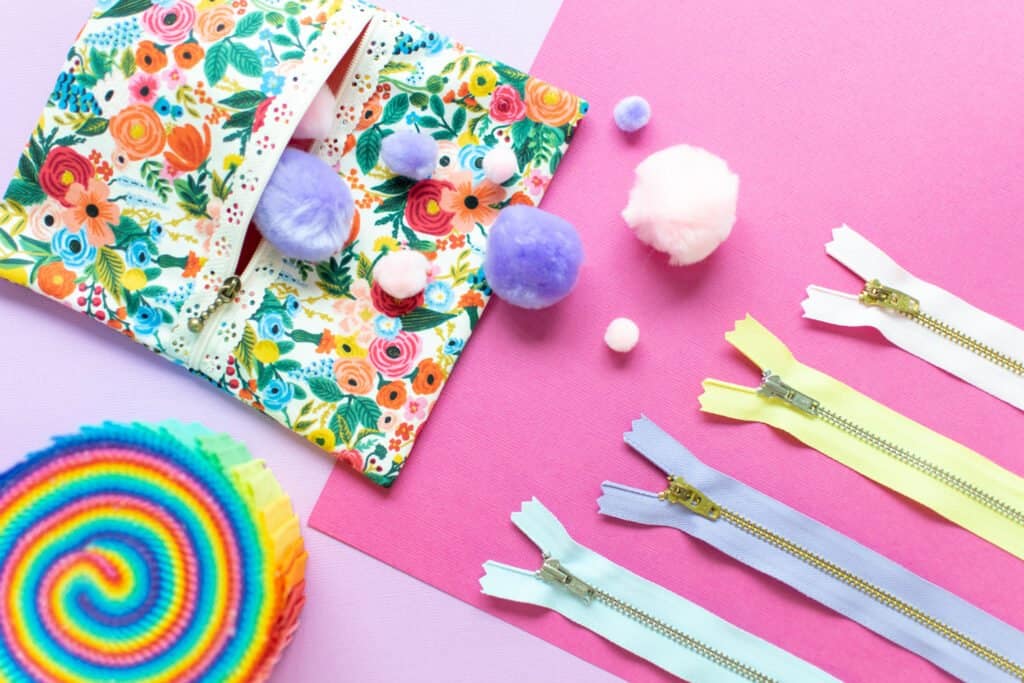
Metal Zippers
Metal zippers have metal teeth. These zippers look nice and are very durable, but they tend to be on the heavier side. Metal zippers are great for garments and other projects that will get a lot of wear and tear. However, they're not the best choice for outdoor items as they don't do well out in the elements.
If you want more information on choosing the right type and size of zipper, check out my Anatomy of a Zipper post!
Supplies to Sew a Centered Zipper
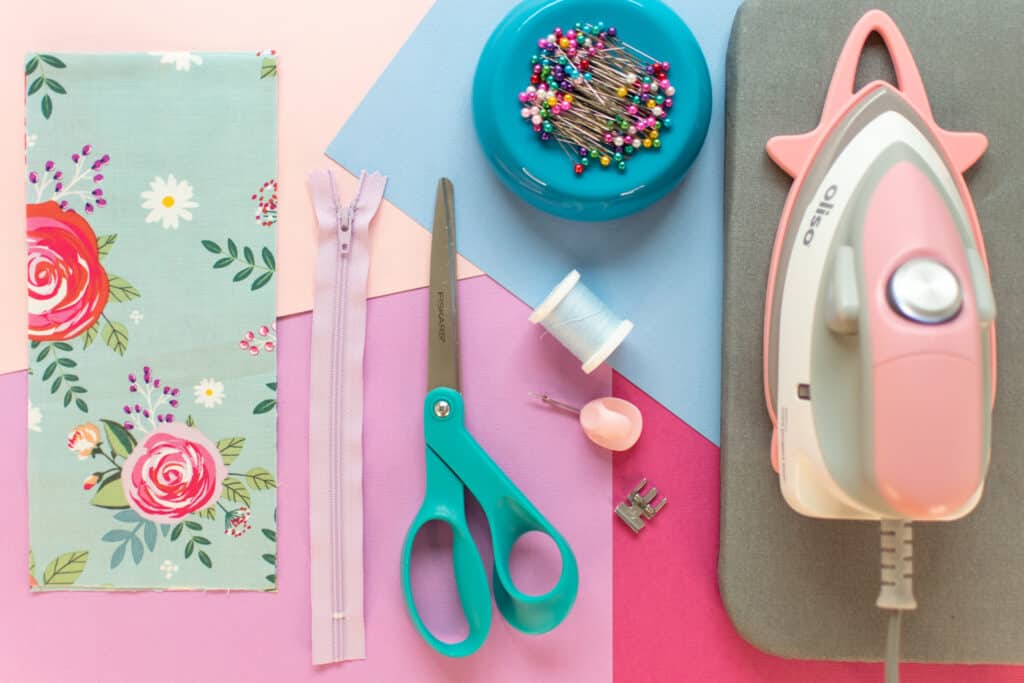
Here are the supplies you'll need to sew a simple, centered zipper.
- Project that needs a zipper
- Zipper (Measure project to determine the correct length)
- Scissors or Thread Snips
- Fabric Chalk or Marker
- Clear Quilting Ruler
- Pins
- Thread
- Sewing Machine Needle
- Sewing Machine
- Iron
- Ironing Mat
- Zipper Foot (Check for compatibility with your machine)
How to Sew a Centered Zipper: Method 1
In this tutorial, I'm going to be showing you 2 different methods of sewing a centered zipper. This first method works best when your zipper will be taking up the entire length of the seam that it's being inserted into.
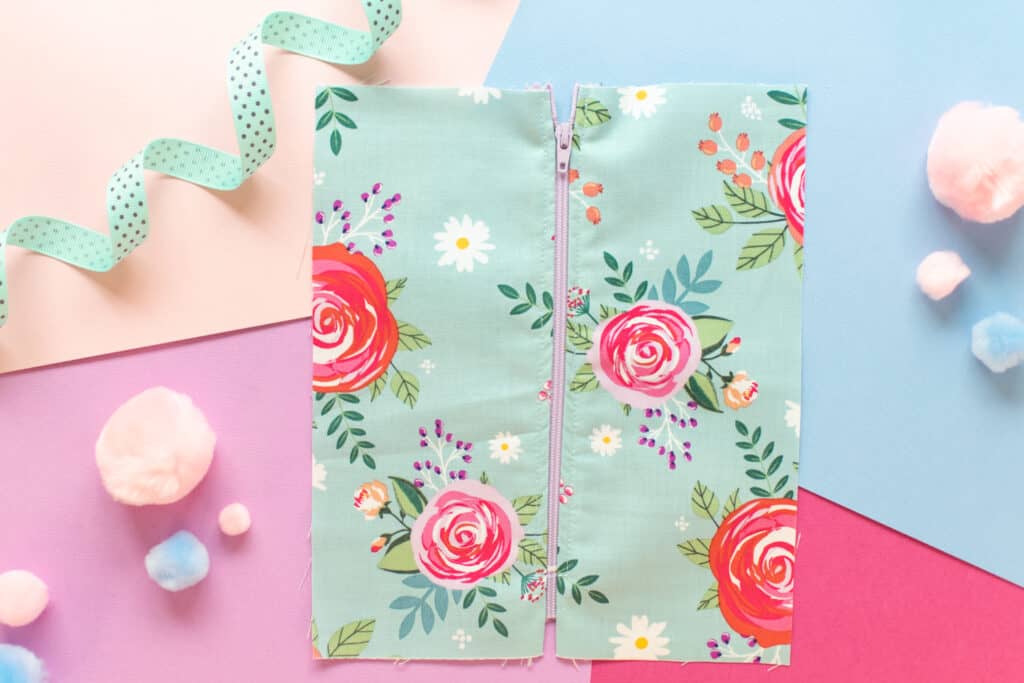
An example would be a zippered pouch. The zipper goes across the entire top seam of the pouch.
Now, if the seam will be continuing on below the zipper - for example, a dress zipper - you'll have better luck with the second method below!
Let's get into Method 1!
Step 1: Prepare Your Project for the Zipper
Before you can start pinning or sewing your zipper, you'll need to prepare your project for the zipper.
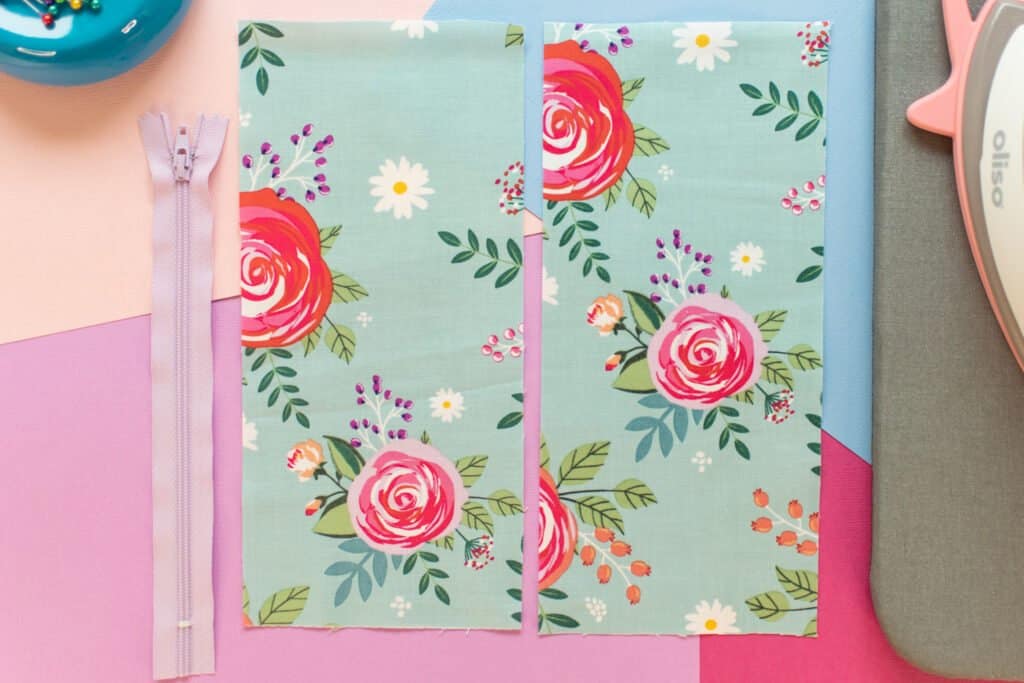
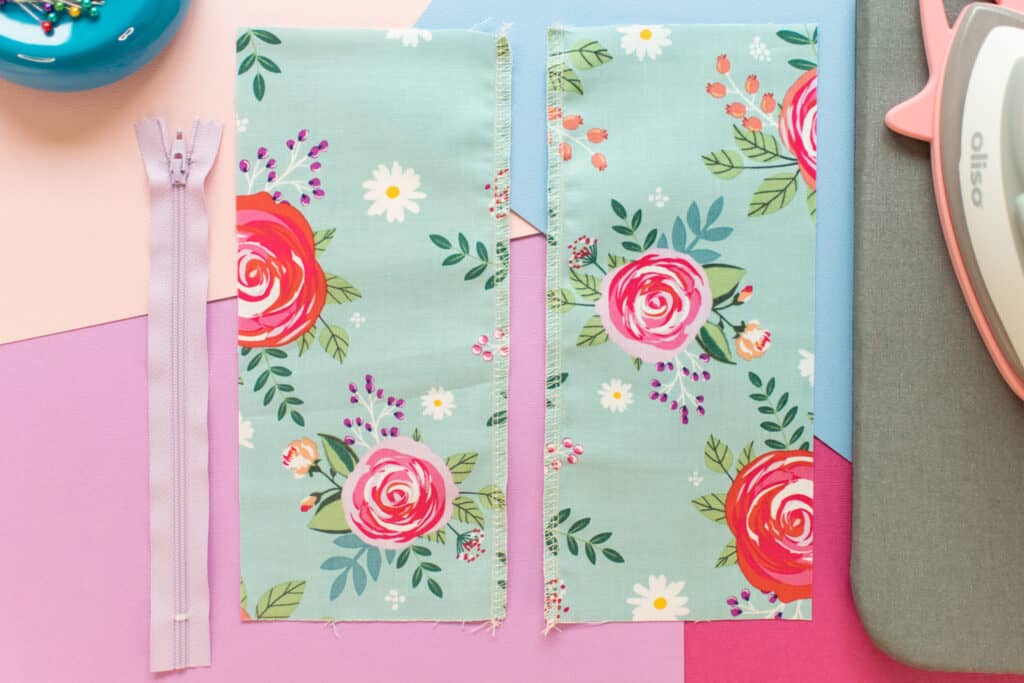
To do this, finish the two raw edges that the zipper will be sewn to. I prefer to use my serger to finish these edges, but you could use a zigzag stitch or pinking shears instead if you prefer.
Step 2: Pin the First Side of Your Zipper
Next, place one of your pieces of fabric right sides up on the table. Lay the zipper front-side down onto the fabric, lining up the edge of the zipper tape with the finished edge of the fabric.
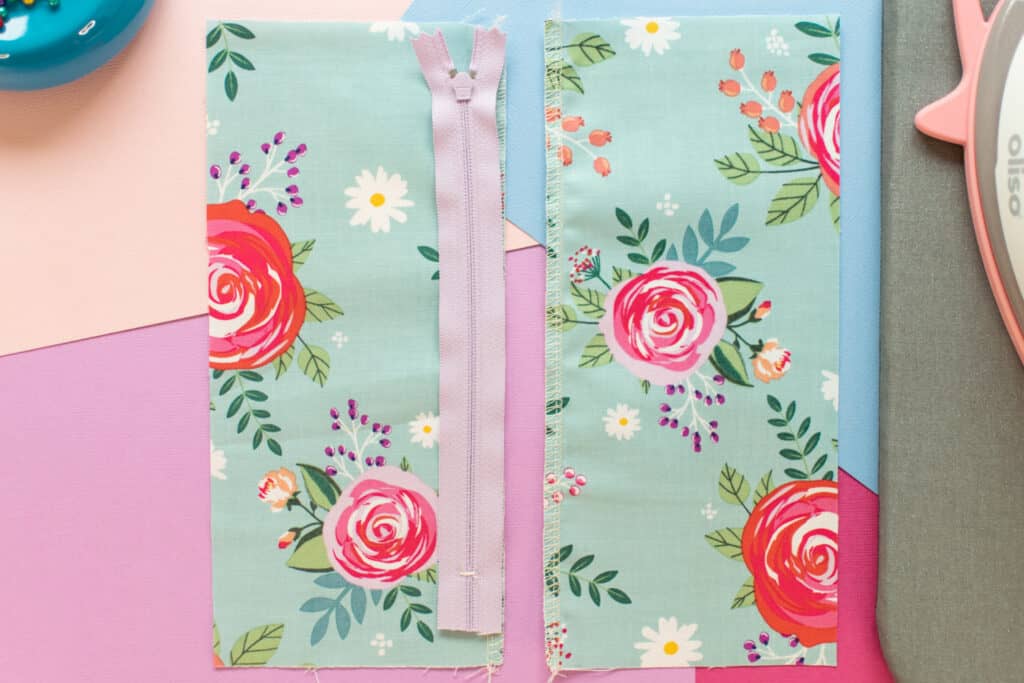
Pin the edge of the zipper to the fabric. Make sure the heads of the pins are oriented so that they will be facing towards you while you're sewing. This makes them easier to pull out as you sew!
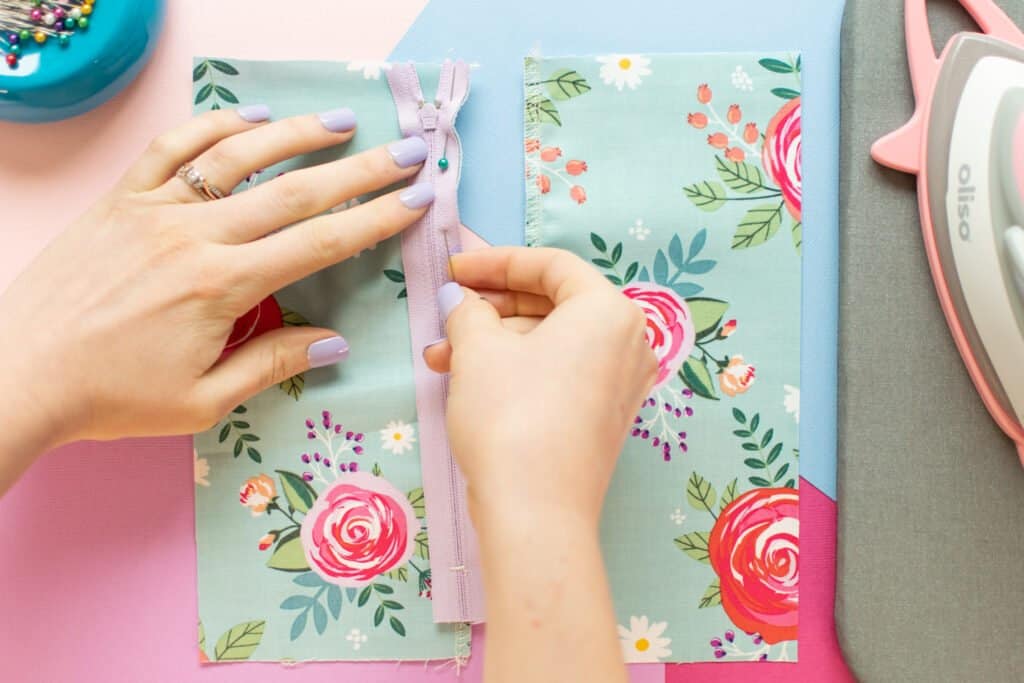
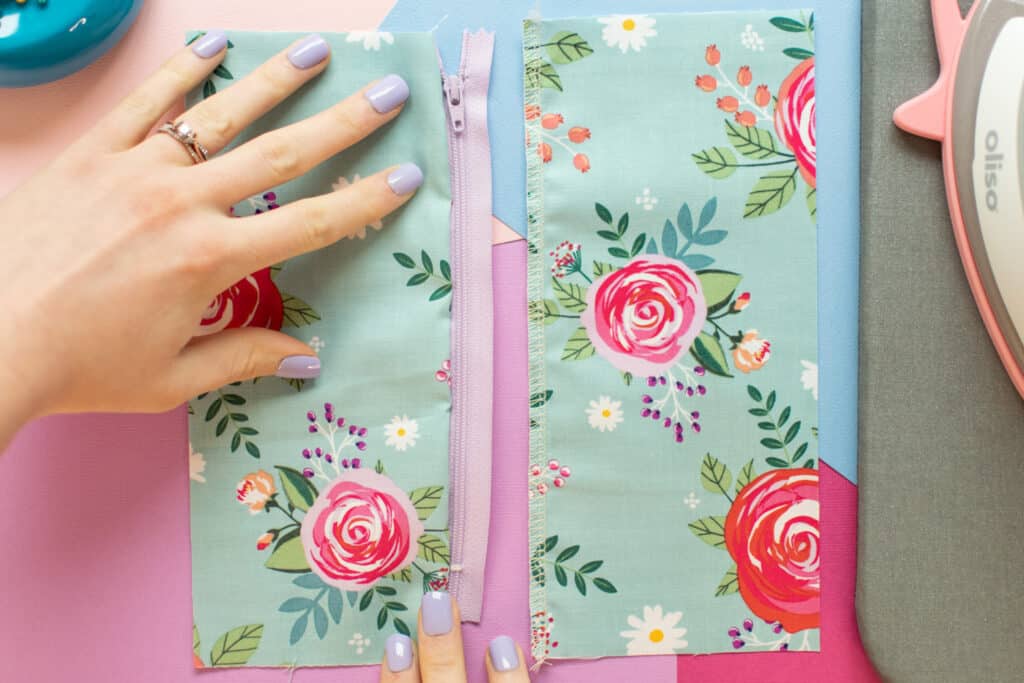
*PRO TIP: At this point, you can flip the zipper away from the fabric to check what it will look like once sewn. This way you'll know you have it pinned correctly!
Unzip the zipper halfway, then take the project to your machine.
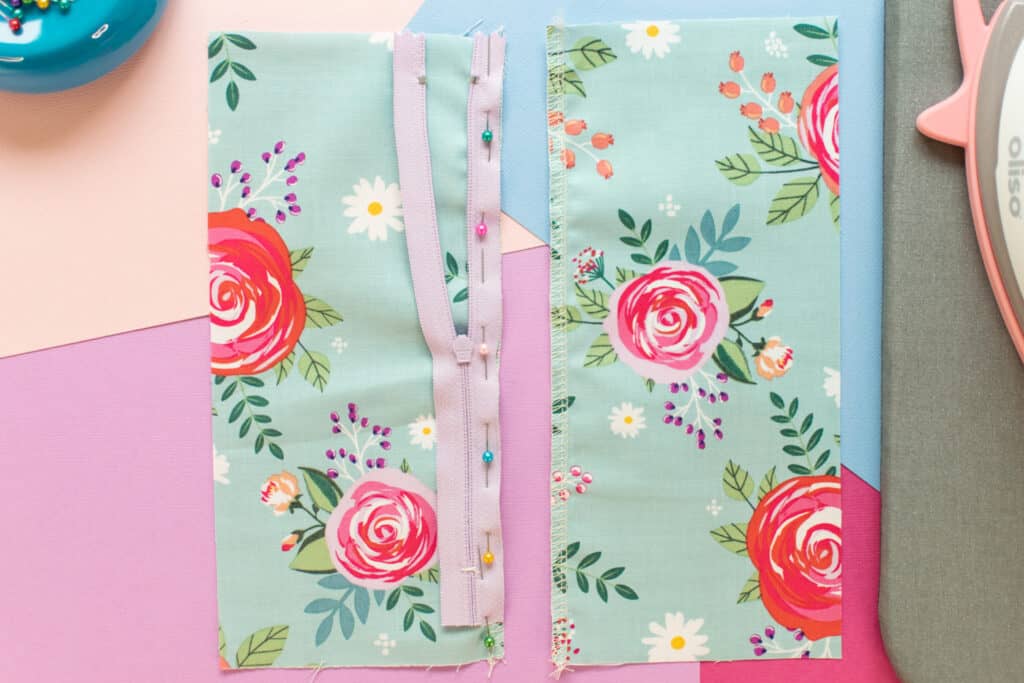
Step 3: Sew the First Side of Your Zipper
Put your zipper foot on your sewing machine so that the needle is to the left side of the foot. If your machine allows you to move the needle, adjust it so that it is all the way to the outer left edge of the zipper foot.
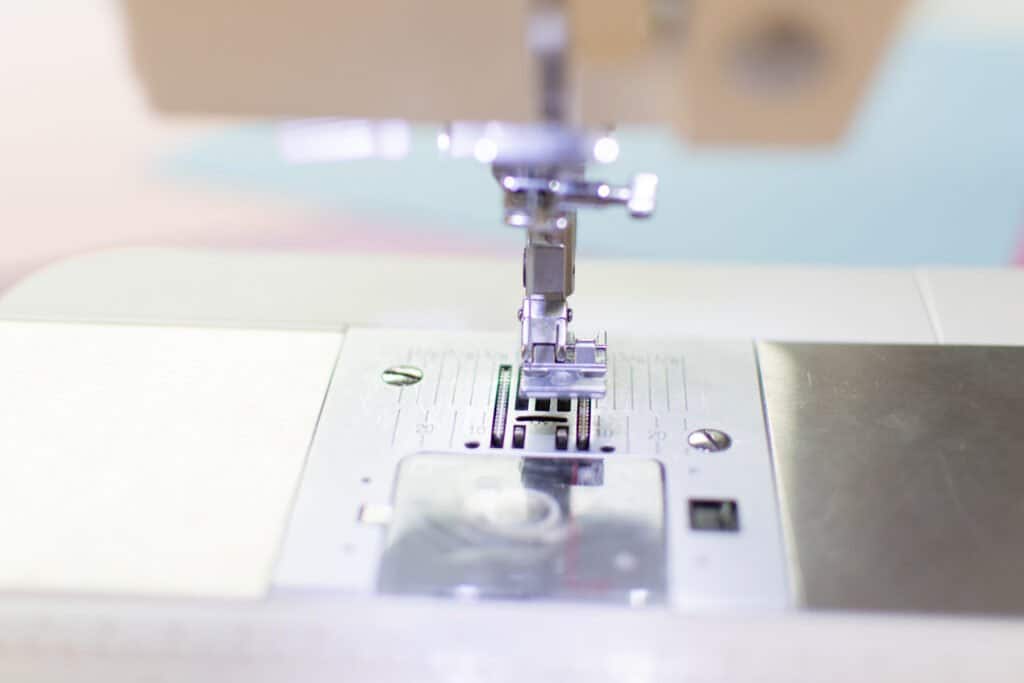
*PRO TIP: The closer the needle is to the left side of the zipper foot, the less zipper tape will show in the finished piece. If you want to show more zipper tape, sew with the needle towards the center of the zipper foot, further from the zipper teeth.
Line up the zipper teeth right along the left-hand side of the zipper foot. Start sewing, making sure to backstitch at the beginning.
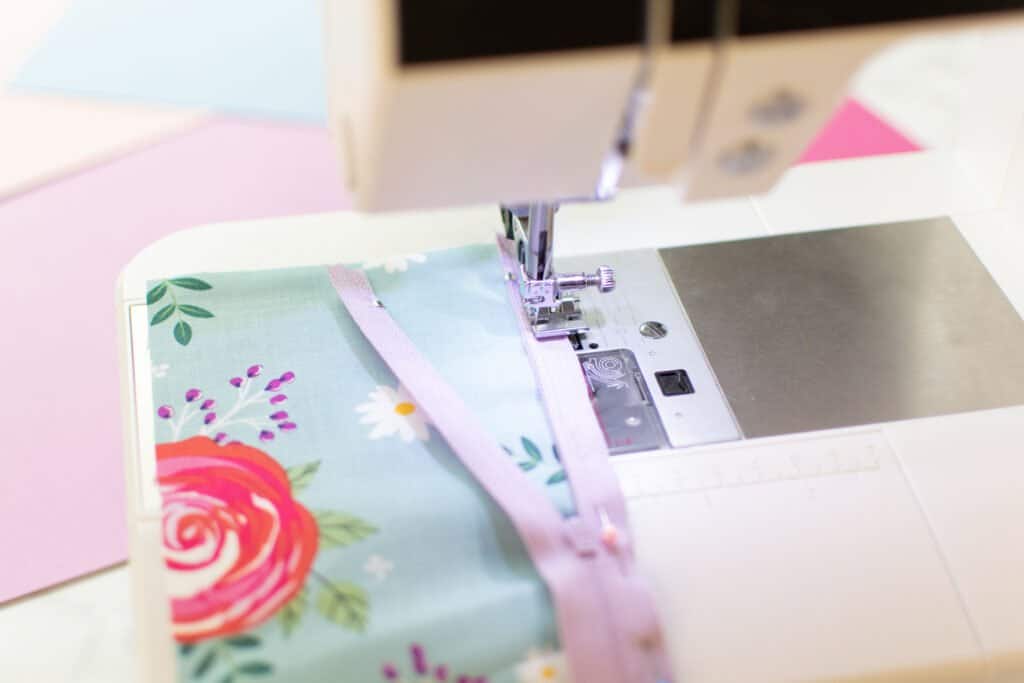
Continue sewing down the zipper, making sure to keep the zipper teeth aligned with the left side of the zipper foot as you sew. This will ensure that your seam allowance will be consistent and the zipper will look professional.
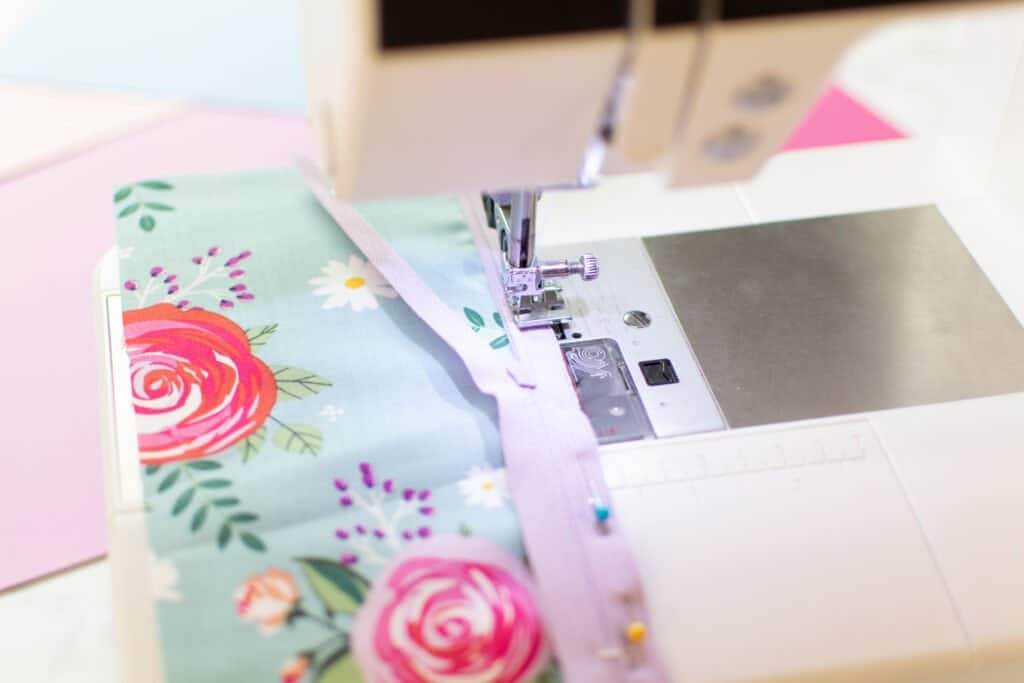
Once you reach a few inches away from the zipper slider, stop sewing, lower the needle, and raise your presser foot.
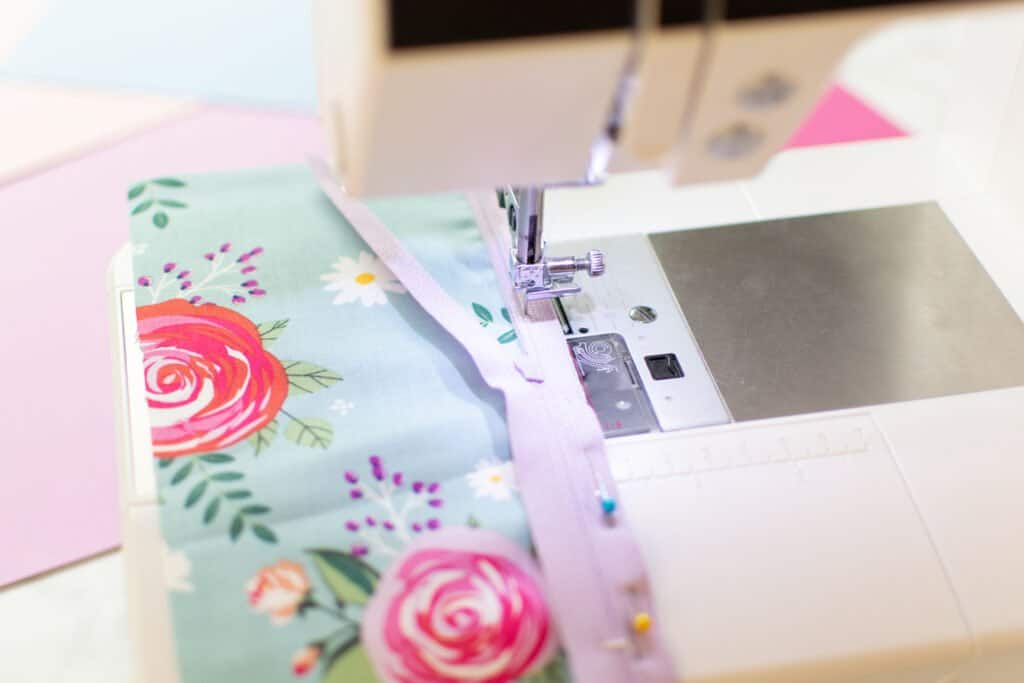
Gently move the slider up the zipper past the raised presser foot. Wiggle the slider a bit if it doesn't want to move readily. Make sure not to hit the needle with the slider as you go by - you don't want to bend the needle!
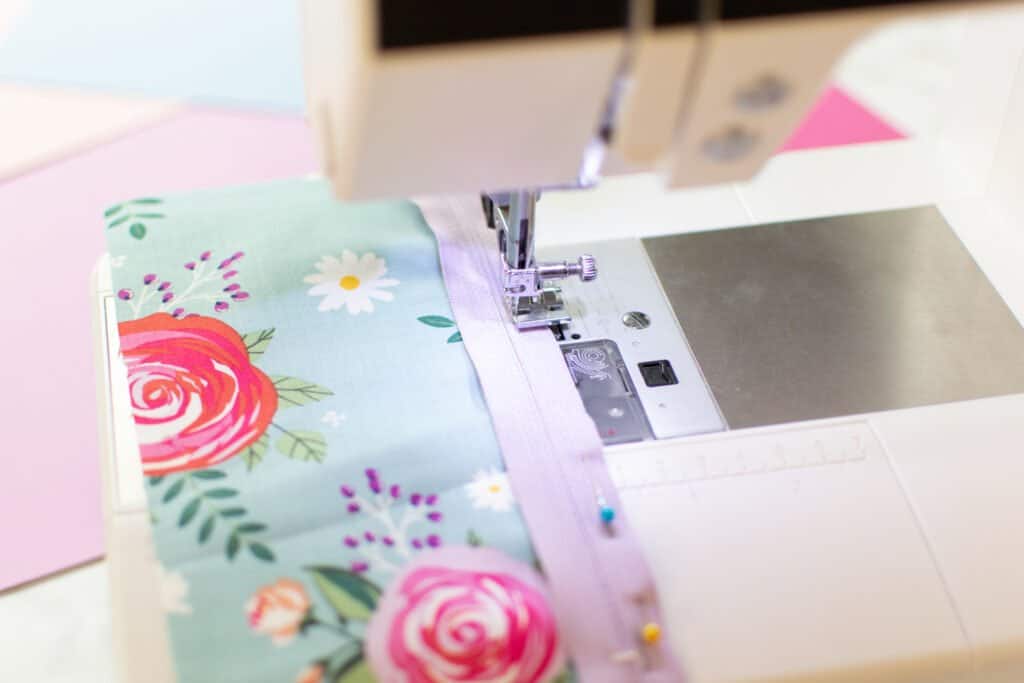
Once the slider is safely out of the way, lower the presser foot and continue sewing to the end of the zipper. Don't forget to backstitch at the end!
Step 4: Pin the Second Side of Your Zipper
Now it's time to attach the second piece of fabric to the other side of the zipper tape.
Lay the fabric on the table with the right side facing up. Then, place the zipper face-down onto the fabric, aligning the free edge of the zipper tape with the raw edge of the fabric. The two pieces of fabric should be right sides together.
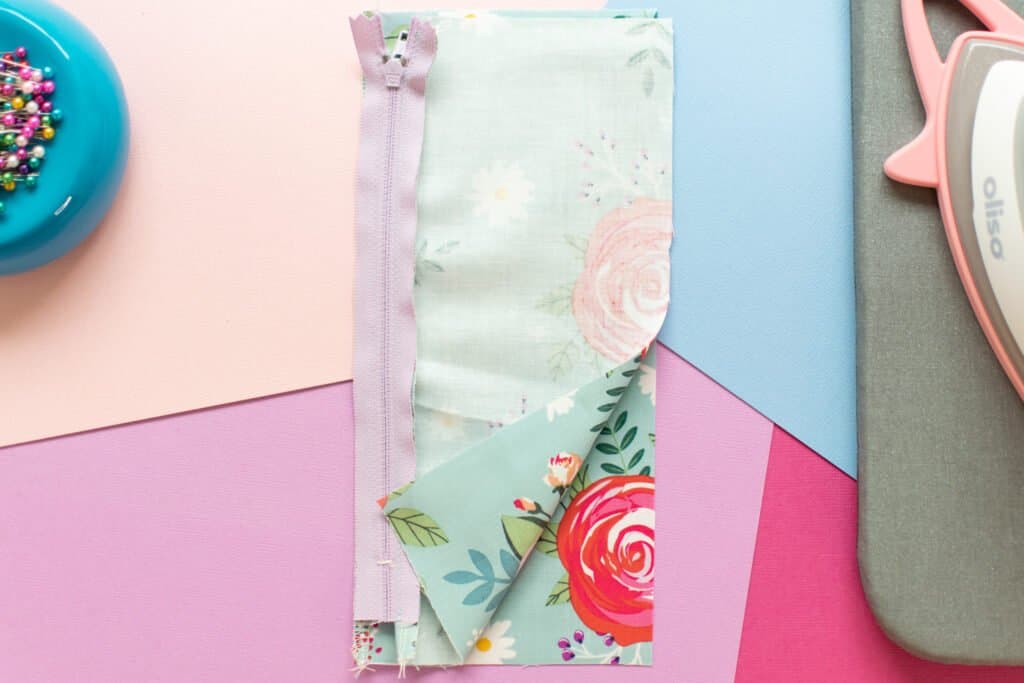
Next, pin the zipper tape to the edge of the second piece of fabric.
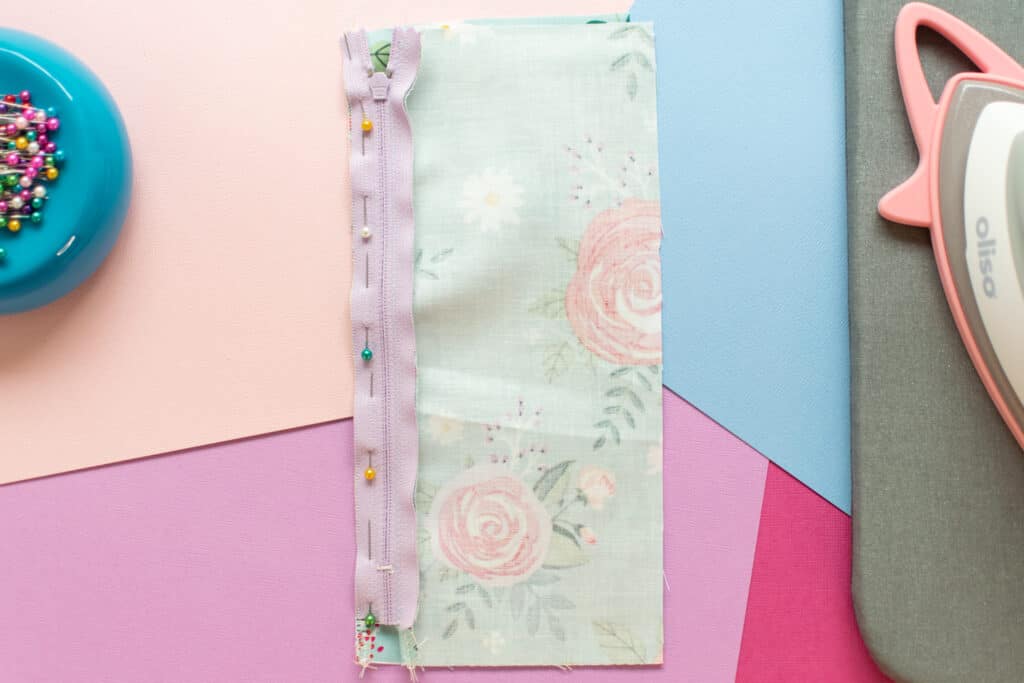
*PRO TIP: It's super important that the two pieces of fabric align exactly with each other. To double-check, fold both pieces of fabric out away from the zipper and make sure the top and bottom of each piece are lined up.
Step 5: Sew the Second Side of Your Zipper
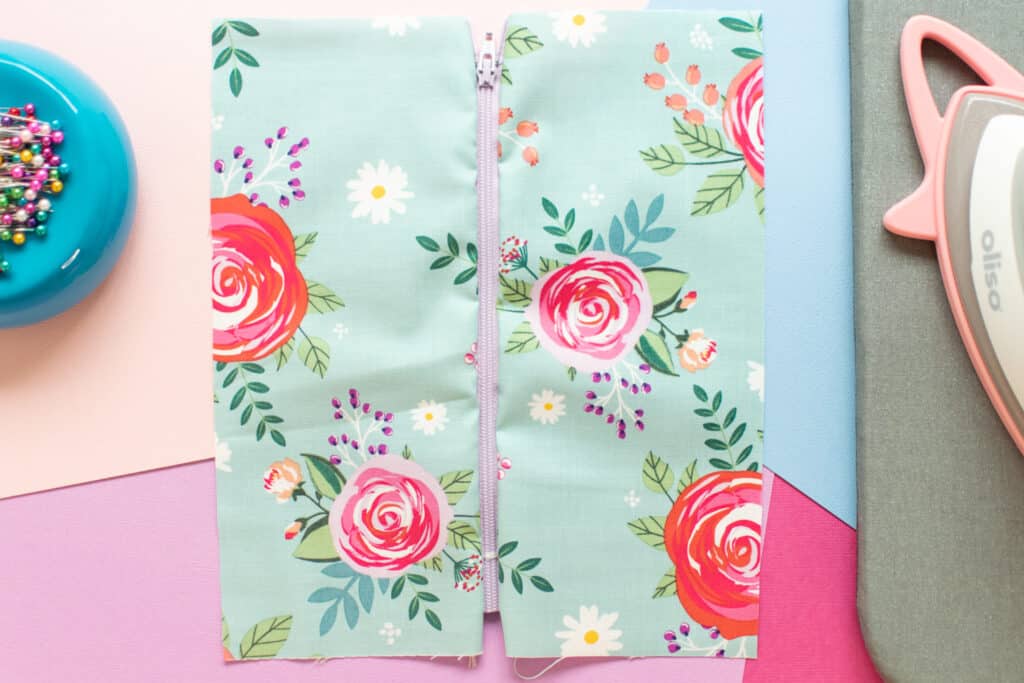
Sew the second side of the zipper tape to the fabric in the same way you sewed the first side.
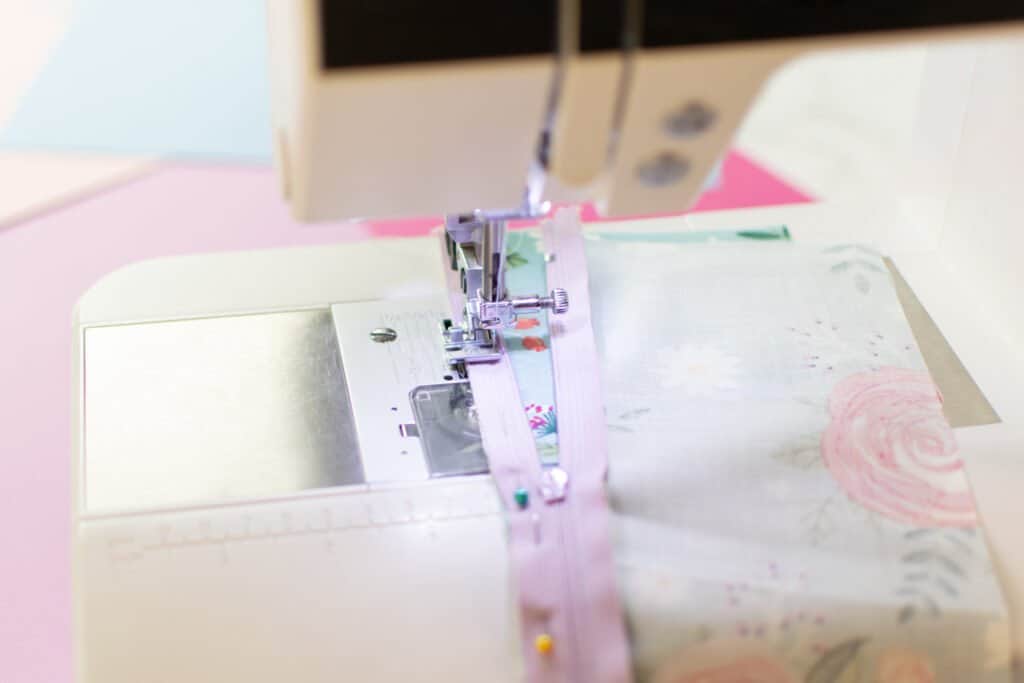
Once again, when you near the slider, lower the needle and raise the presser foot.
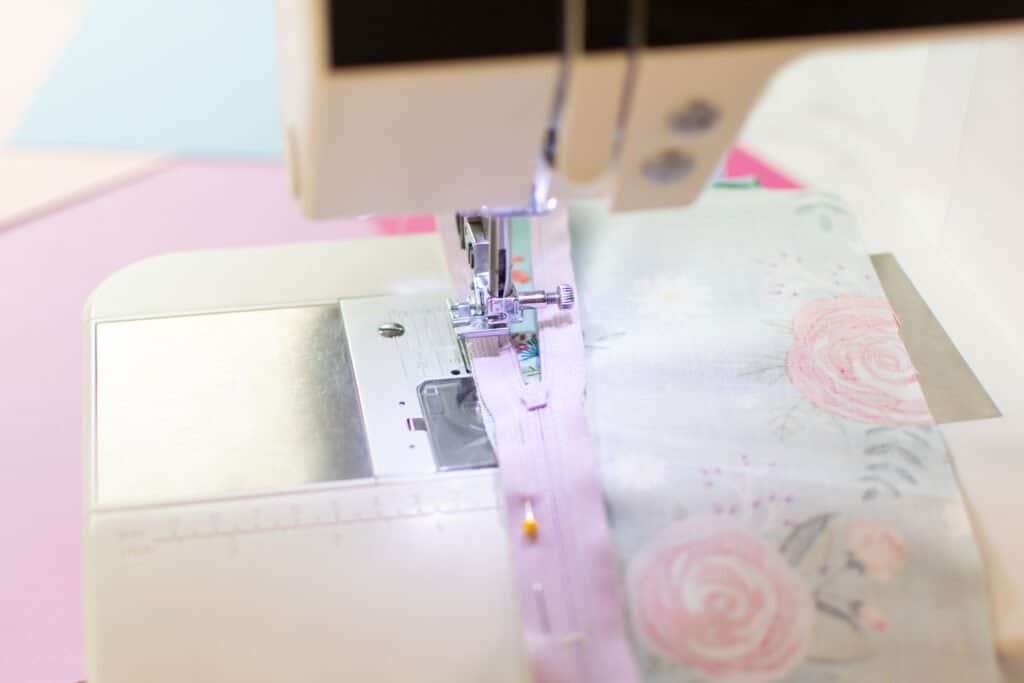
Move the slider carefully past the presser foot, then finish sewing the rest of the zipper tape.
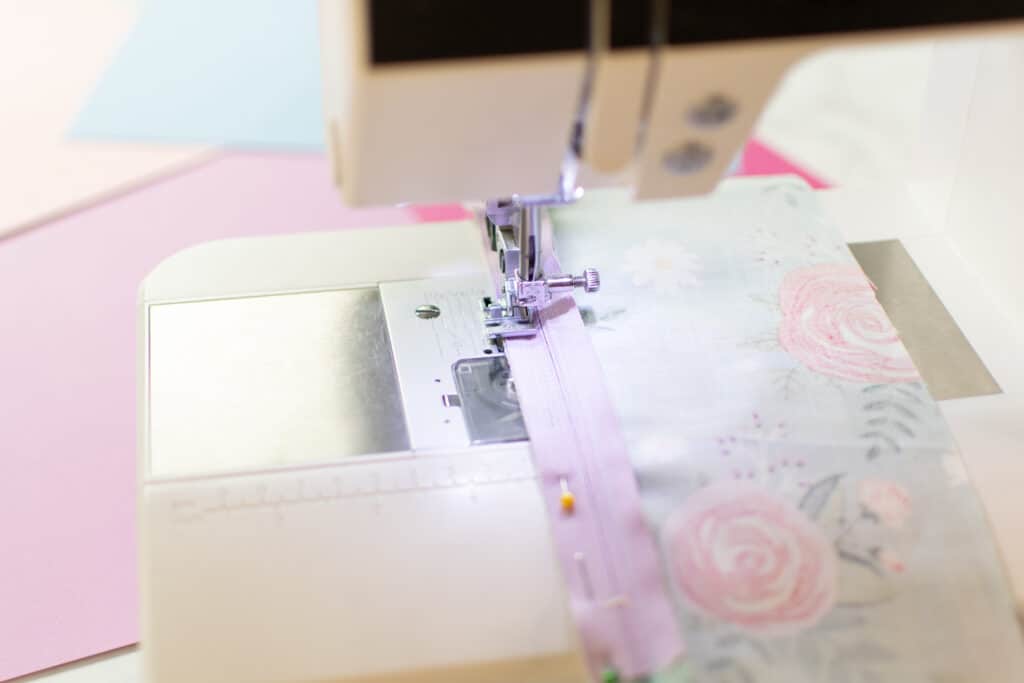
Make sure that you are using the exact same seam allowance that you used on the first side. This is key to getting professional-looking results!
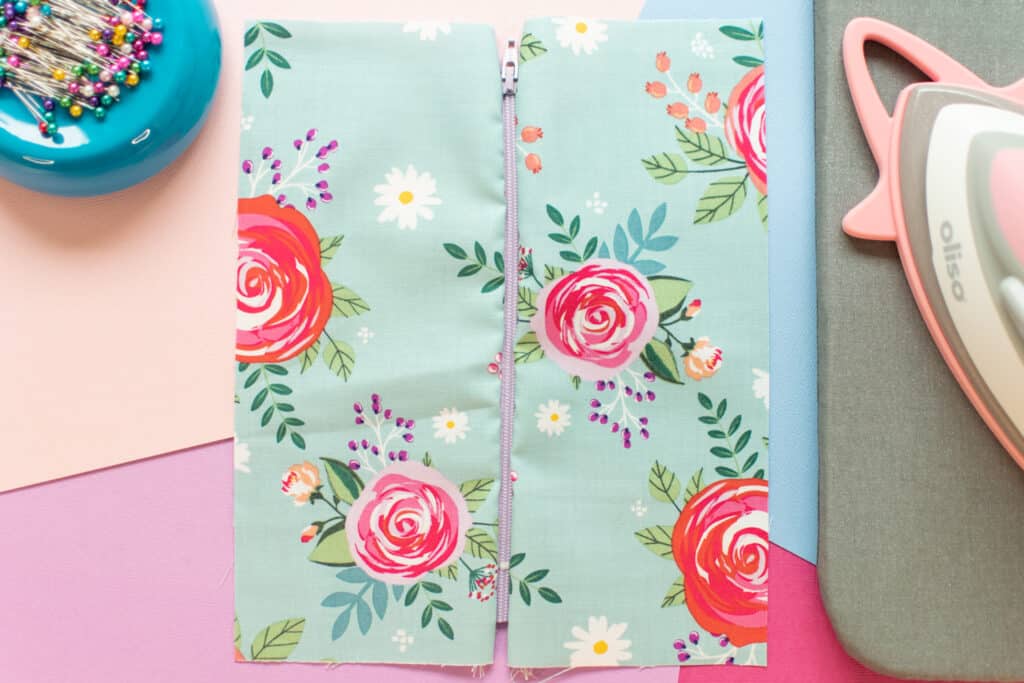
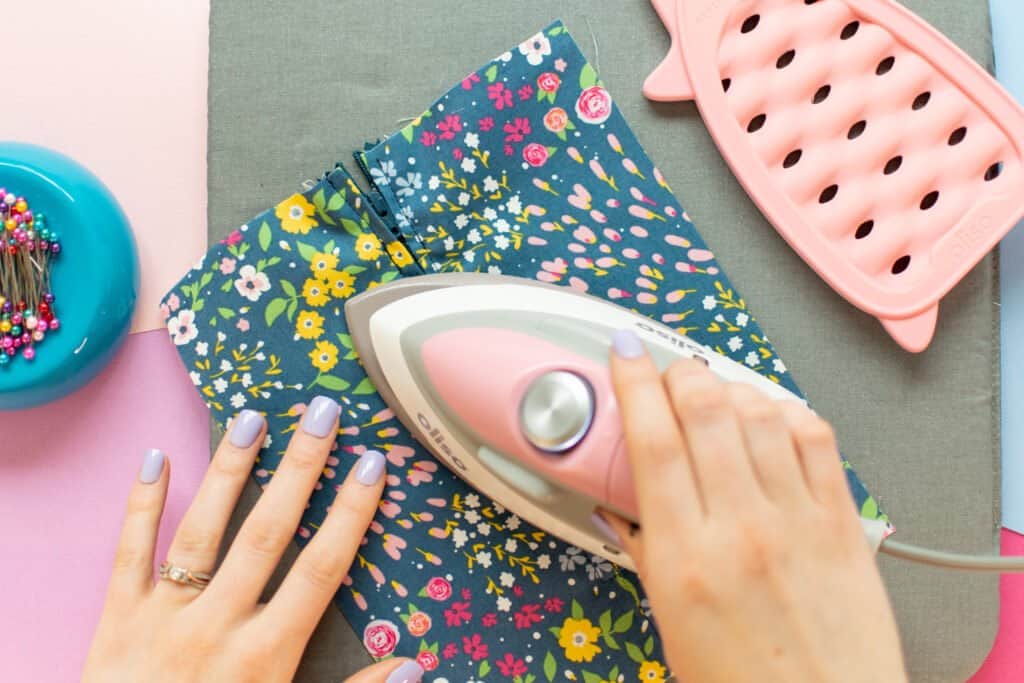
Step 6: Press the Zipper
Of course, we can't forget to press the zipper after we sew it!
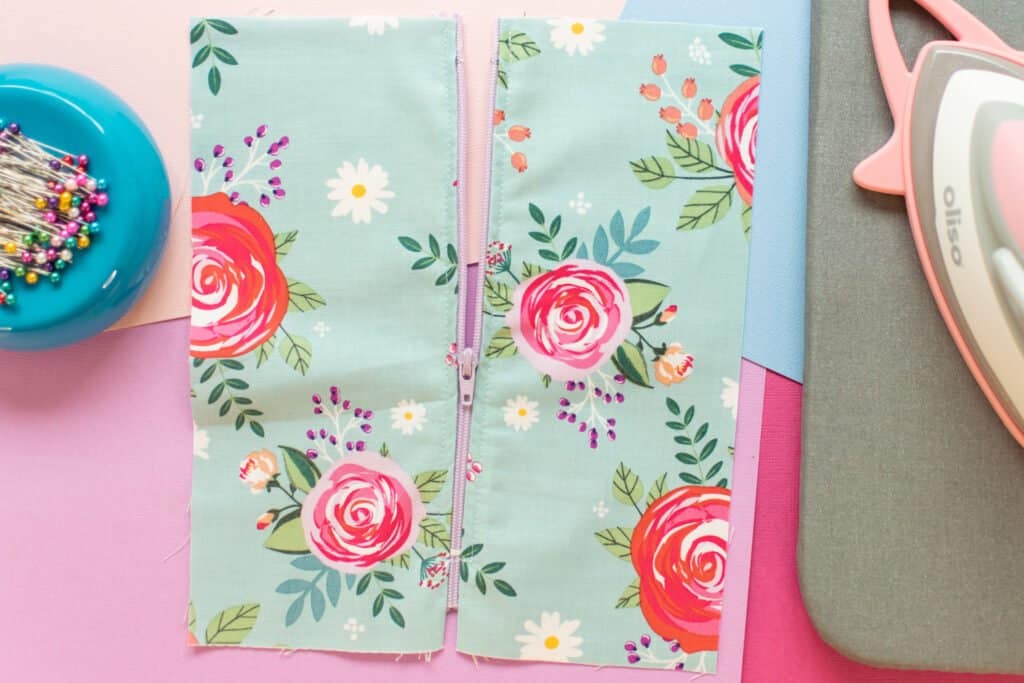
Lay your project on your ironing board with the zipper at the center and both pieces of fabric right sides up. Make sure the zipper is closed.
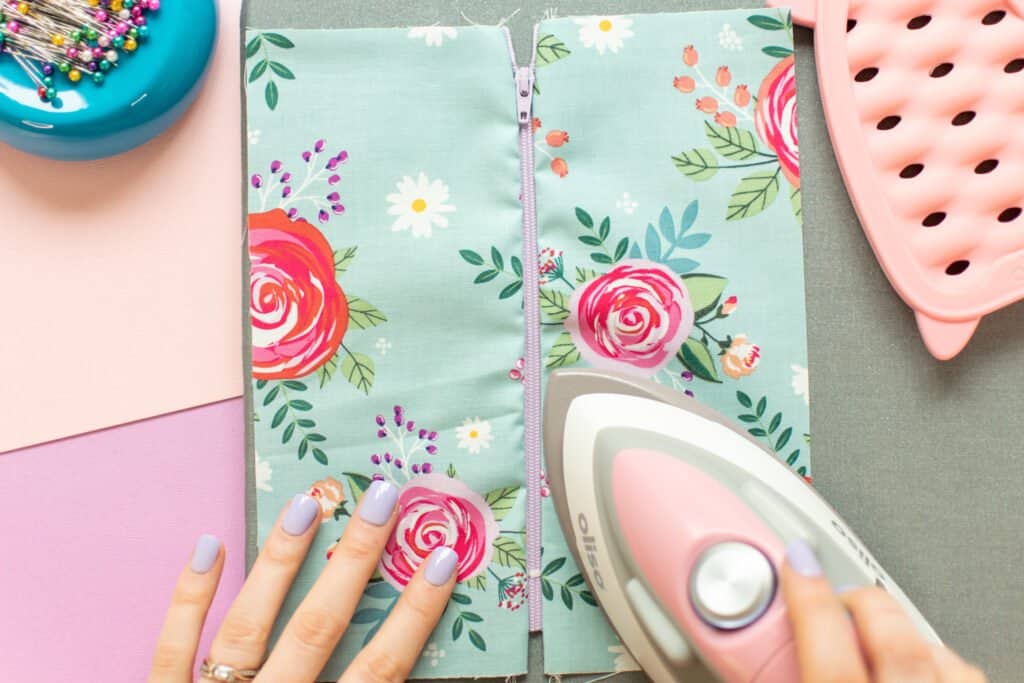
Using steam, give the zipper a good pressing. Focus on pressing the seams on either side of the zipper tape nice and flat.
At this point, it should be easy to see if your zipper is evenly sewn. If it's not, you can always seam rip and resew!
*PRO TIP - In case you need to remove your stitches here's a simple trick to help your fabric recover. Once you've removed the stitches, hover over the fabric with a hot steamy iron. The steam will help to close up any holes from the previous lines of stitching hiding any mistakes.
Step 7: Topstitch (optional)
If you like the look of topstitching, now is the time to add it! Topstitching can also give your zipper additional strength and stability.
Start with the zipper halfway unzipped. Then, with the right side facing up, line up the needle about 1/4 inch from the zipper teeth along one side.
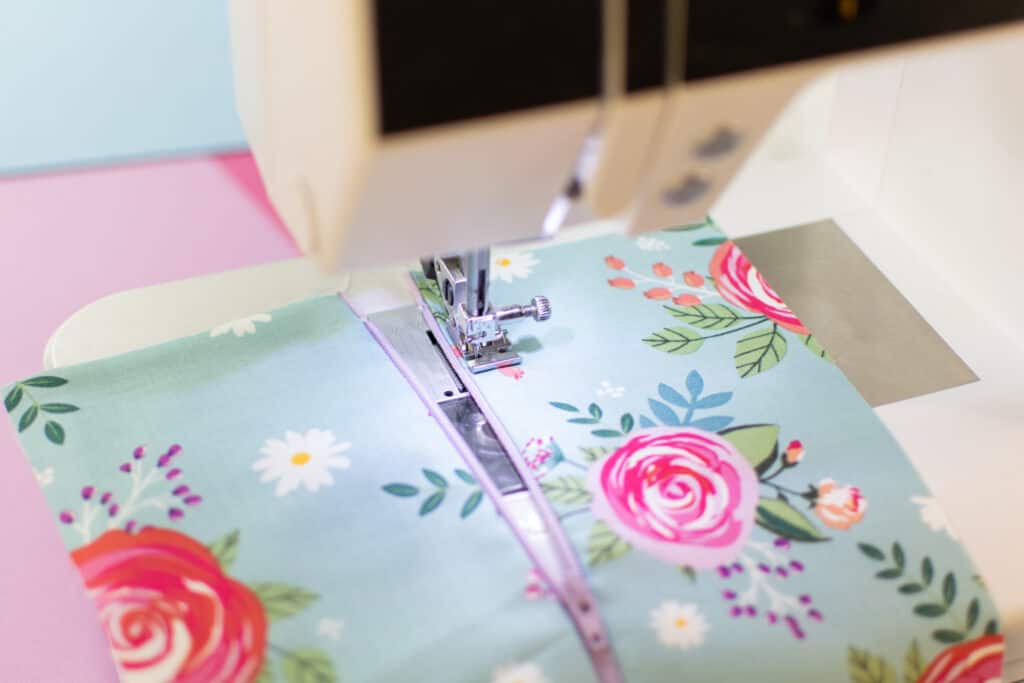
Start sewing, remembering to backstitch and being careful to maintain an even seam allowance. When you get near the zipper slider, stop sewing, lower the needle, and raise the presser foot. Gently move the slider past the presser foot and out of the way before continuing to sew along the zipper. Backstitch and trim your thread tails at the end.
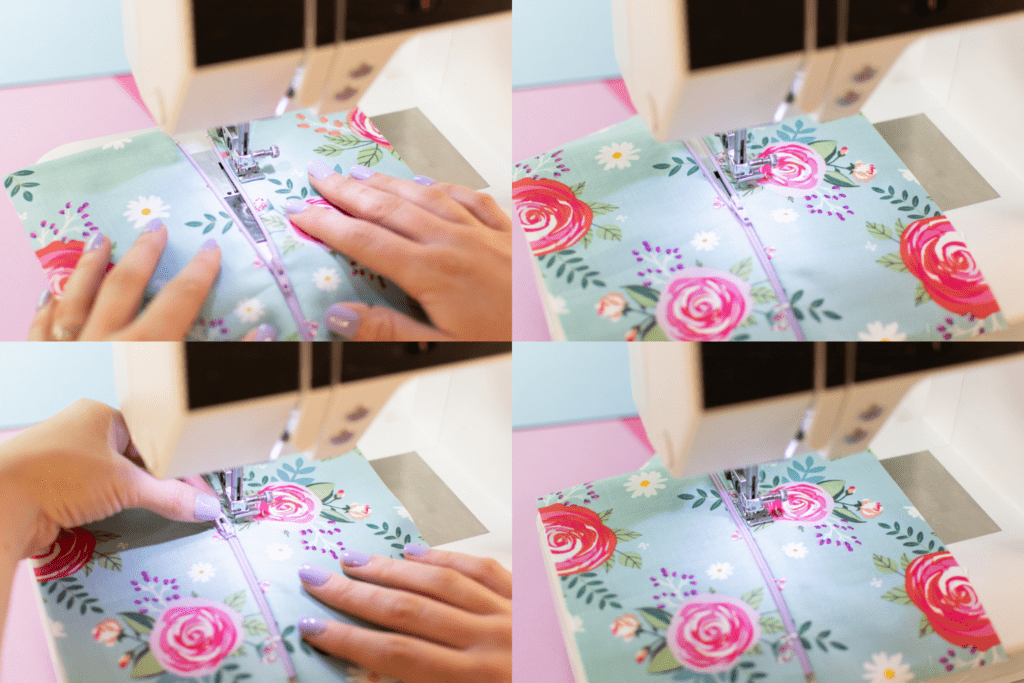
Repeat that process to topstitch the other side of the zipper. Make sure to keep the seam allowance exactly the same as the first side.

Once both sides have been topstitched, you can also add a line of topstitching across the zipper below the bottom zipper stop to connect the two parallel rows of stitching. This is optional, but if you like the look, go for it!
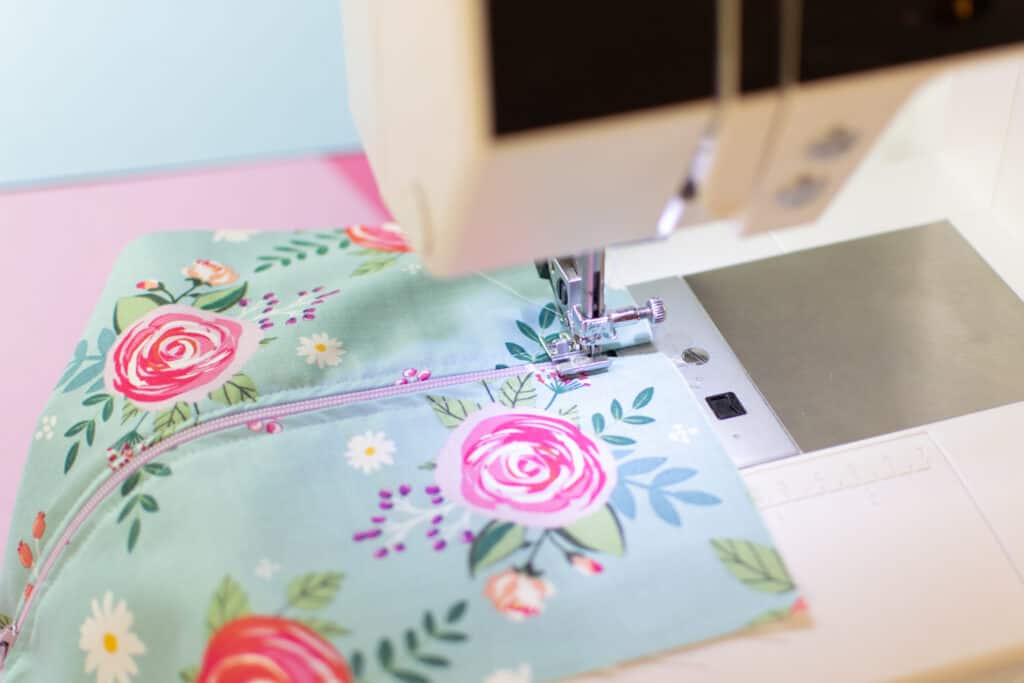
And your zipper is done!
How to Sew a Centered Zipper: Method 2
Let's get into the second method of sewing a centered zipper. As I mentioned earlier, this method is best if your zipper will only be sewn into the top portion of a seam.
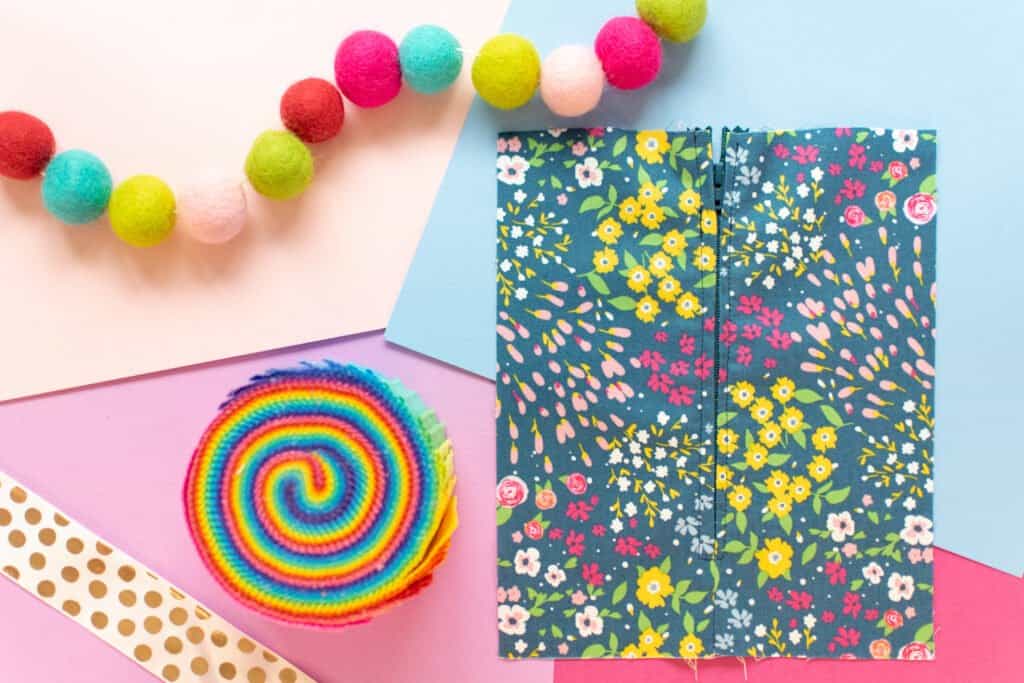
This is often what you will see on centered garment zippers, such as a zipper on the back or side of a dress or skirt.
Step 1: Prepare Your Project for the Zipper
First, you'll need to prepare the seam for the zipper. To start, finish the raw edges of fabric that the zipper will be sewn to.
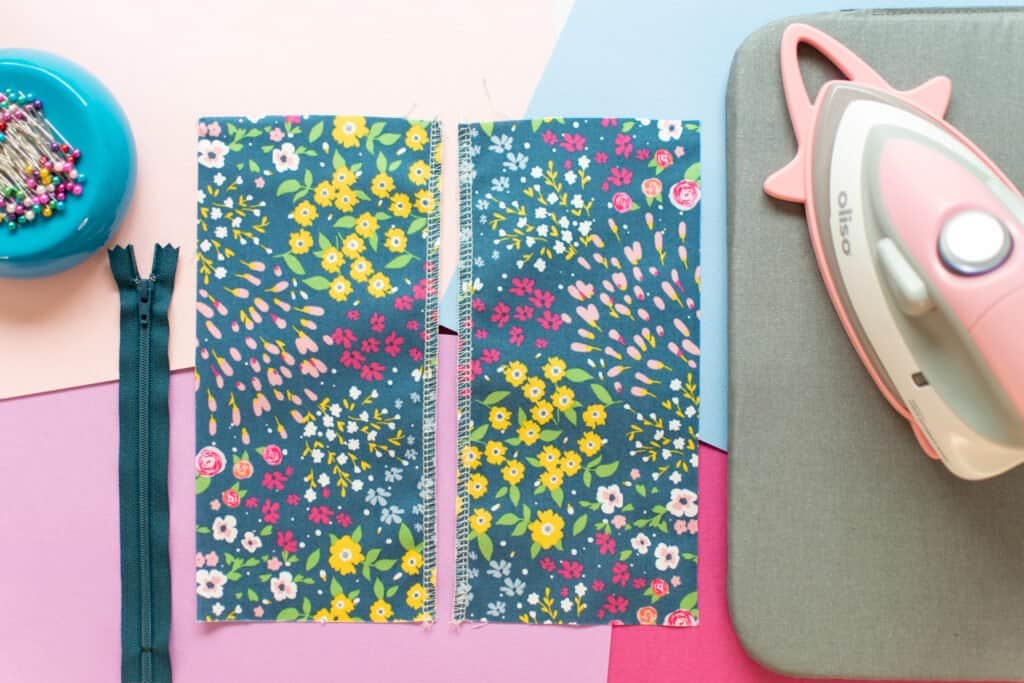
Next, pin the two edges of fabric with right sides together, just as you would if you were sewing a normal seam.
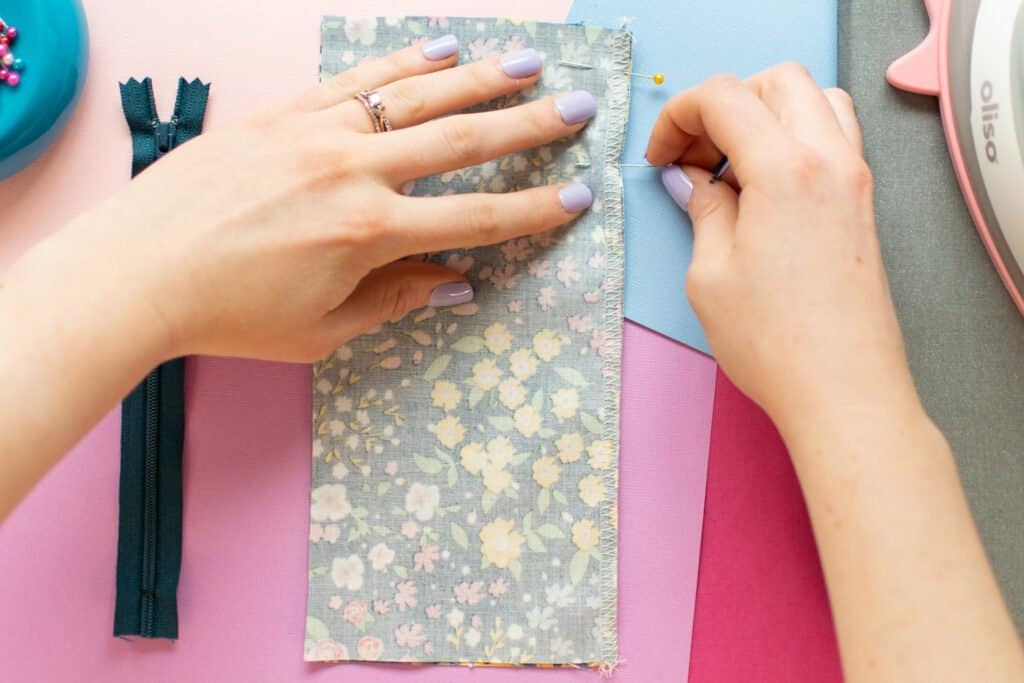
Line up the zipper along the pinned edge of the fabric, aligning the top stop a little more than a seam allowance distance from the top edge of the fabric.
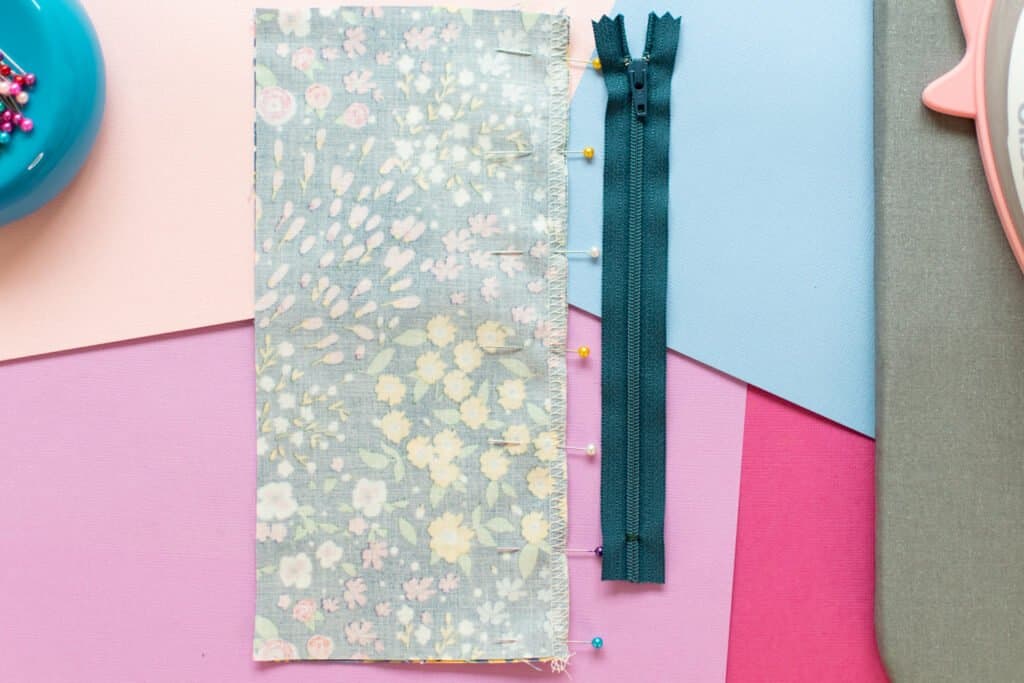
Mark where the bottom stop falls along the edge of the fabric.
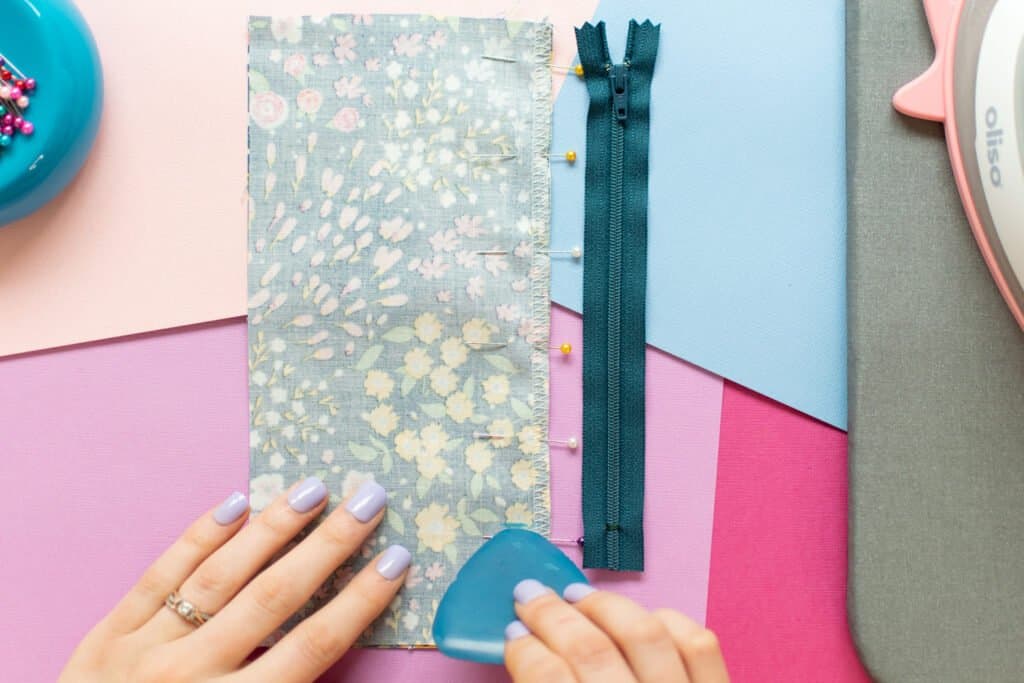
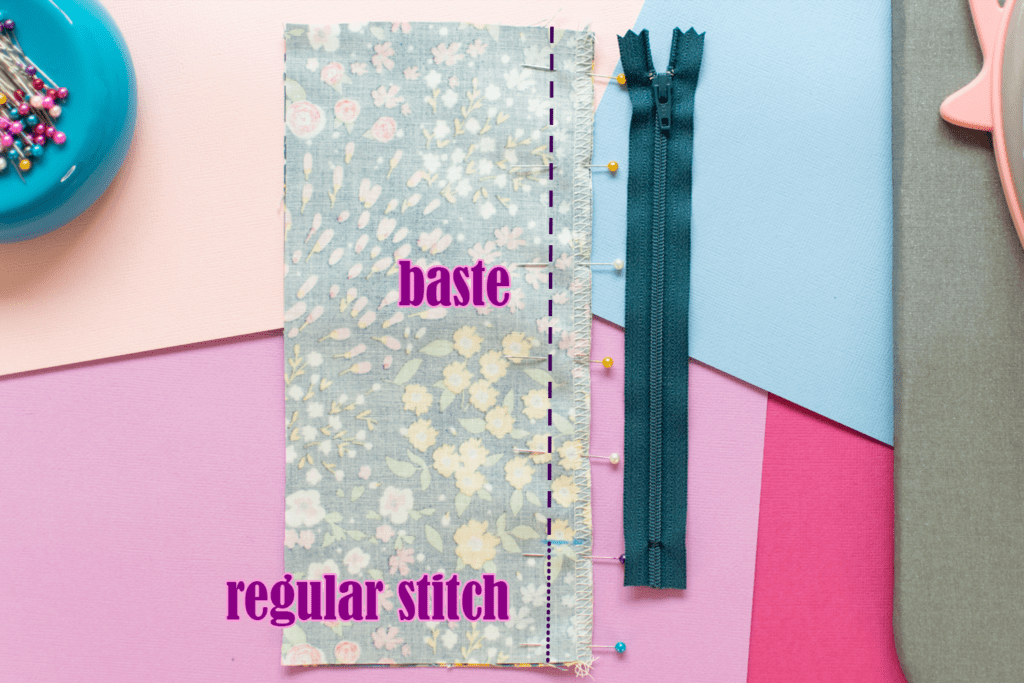
Next, sew the seam from the bottom edge to the mark with a regular stitch length. Make sure to backstitch at the beginning and end.
Then, sew the rest of the seam from the mark to the top of the fabric with a long basting stitch. Don't backstitch while sewing this section.
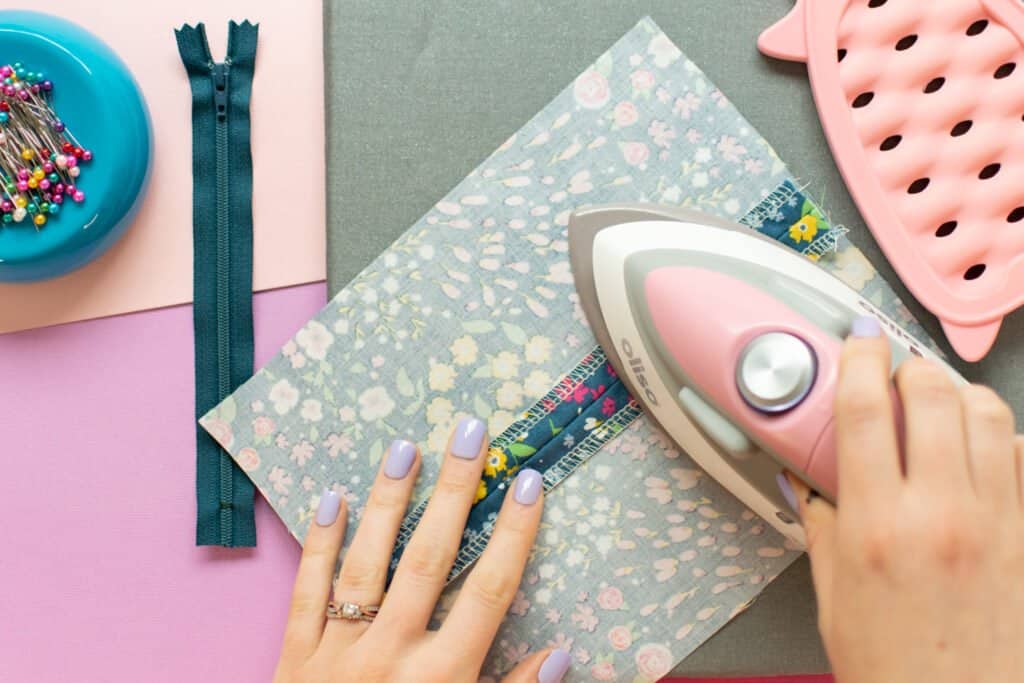
Press the seam allowances open with your iron.
Step 2: Secure Your Zipper in Place
Lay your project so that it is right sides down on the table.
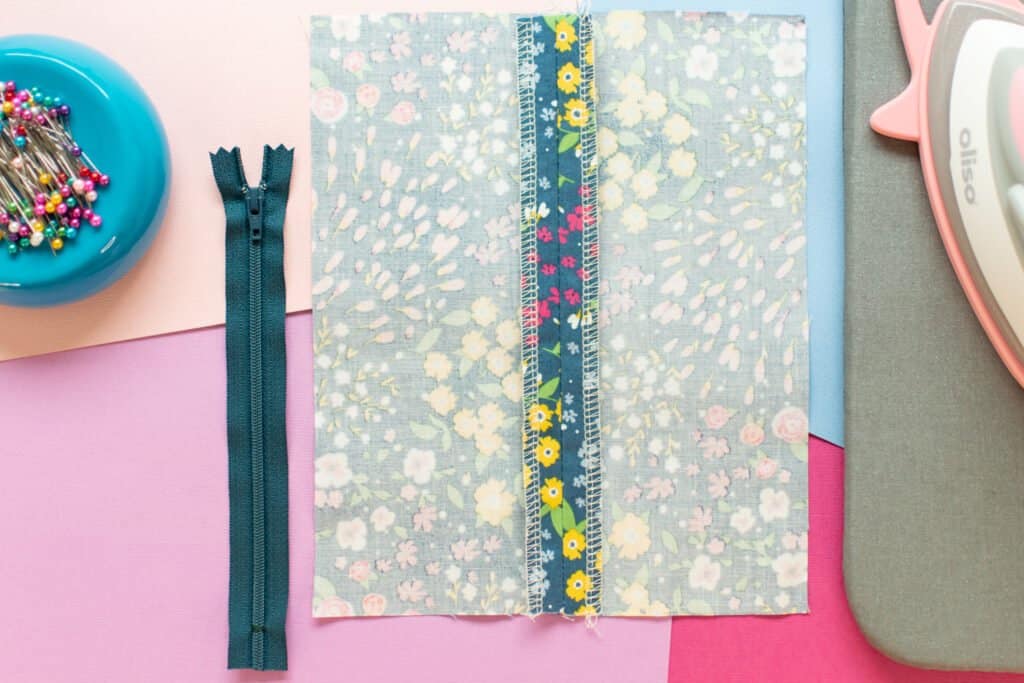
Place the zipper face-down onto the seam, centering it over the seam. Align the bottom stop with the mark, which is where the basting stitches begin.
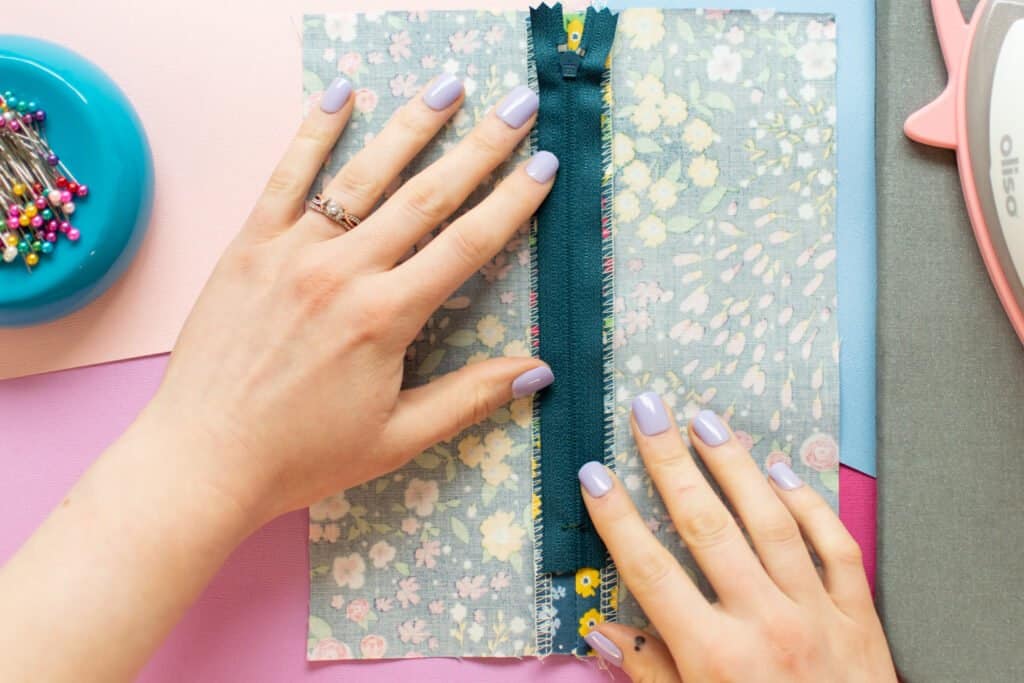
Use Elmer's glue, wash-away tape, or pins to secure the zipper to the seam.
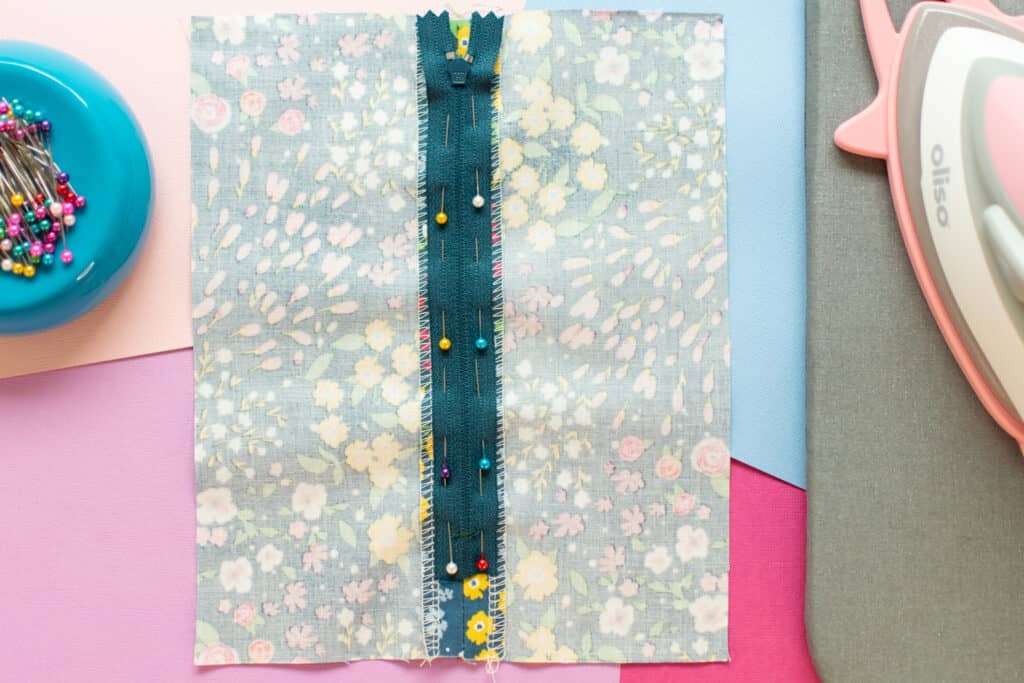
Step 3: Topstitch Your Zipper
Next, put the zipper foot on your sewing machine so that the needle is to the left of the foot. If your machine allows it, move the needle close to the left edge of the zipper foot.
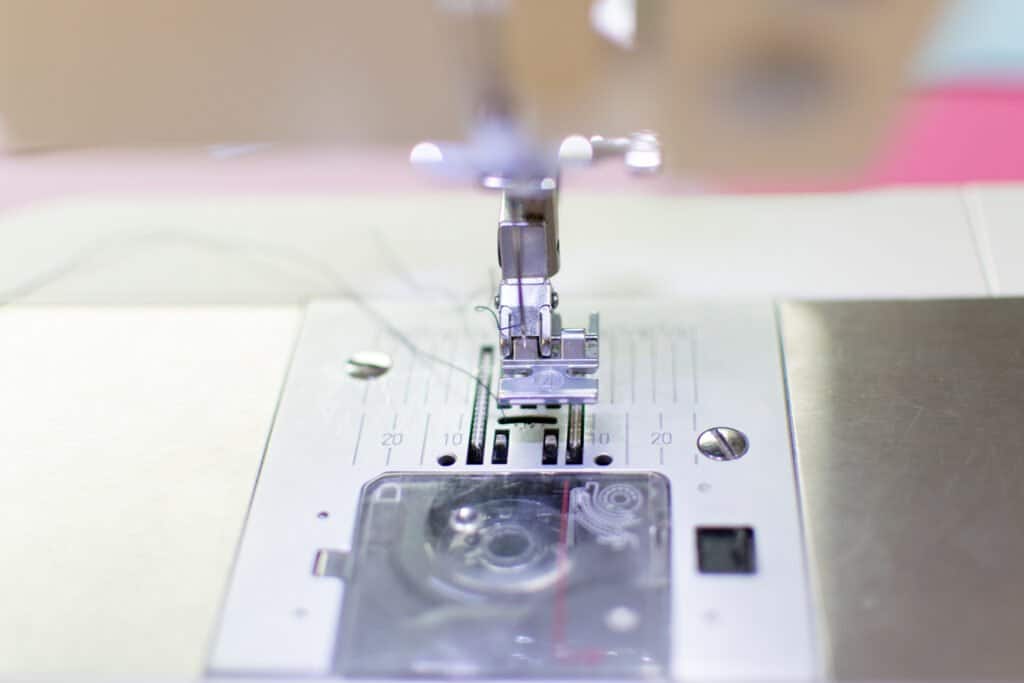
With the wrong side facing up, align the left side of the zipper foot along one side of the zipper teeth, starting just below the slider. Begin sewing, backstitching a few stitches at the beginning.
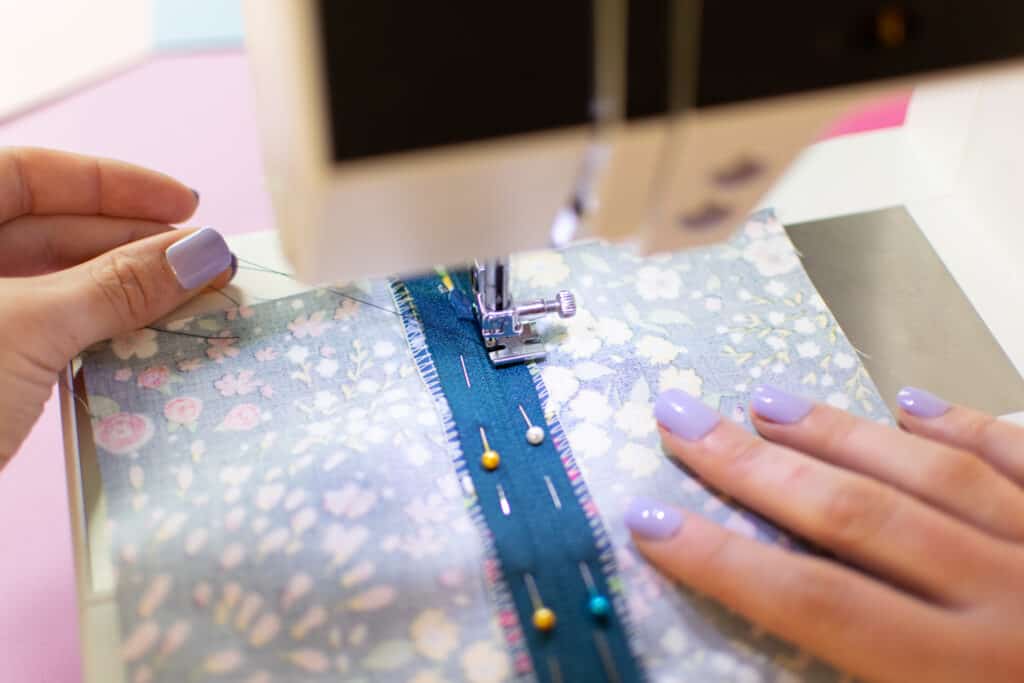
*PRO TIP: Hold your thread tails taut as you backstitch at the beginning to prevent any looping threads on the underside.
Making sure your seam allowance stays consistent, sew the first side of the zipper tape until you reach just past the bottom stop.
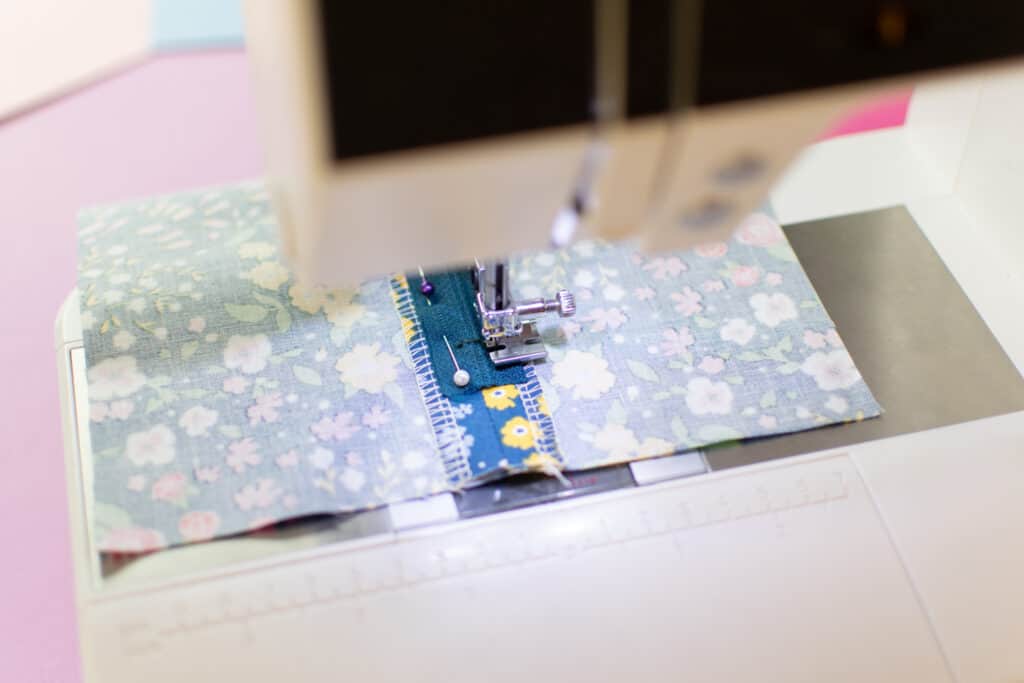
Then, lower the needle, raise the presser foot, and rotate your project 90 degrees. Sew across the bottom of the zipper until you are a seam allowance distance from the second side of the zipper teeth.
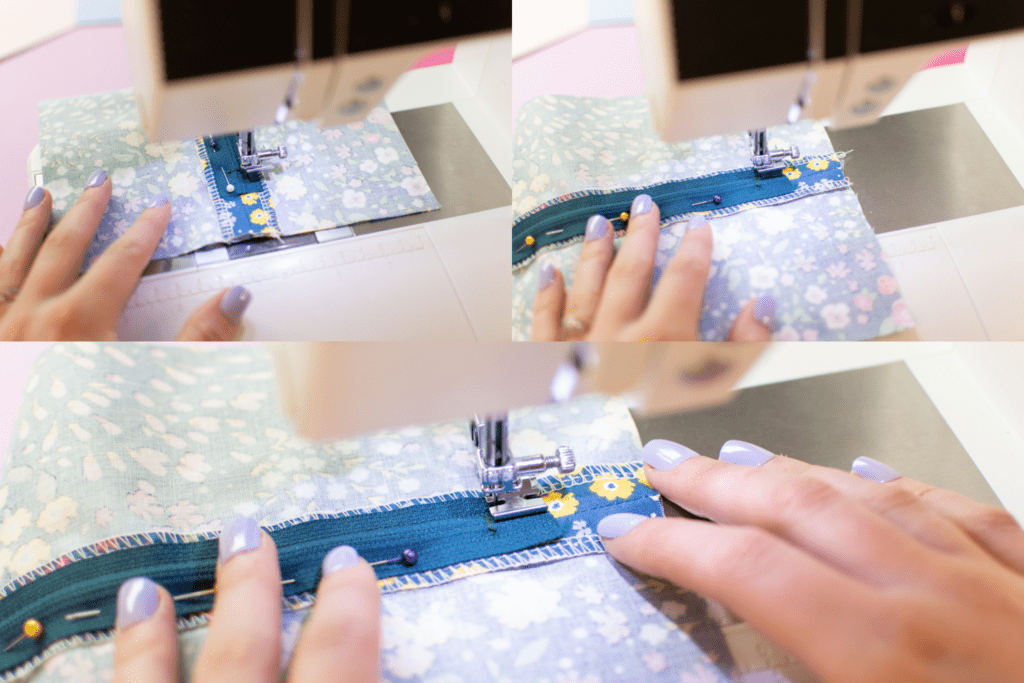
When you reach the other side of the zipper teeth, stop, lower the needle, raise the presser foot, and rotate your project 90 degrees again so that the next edge of the zipper is in front of the needle.
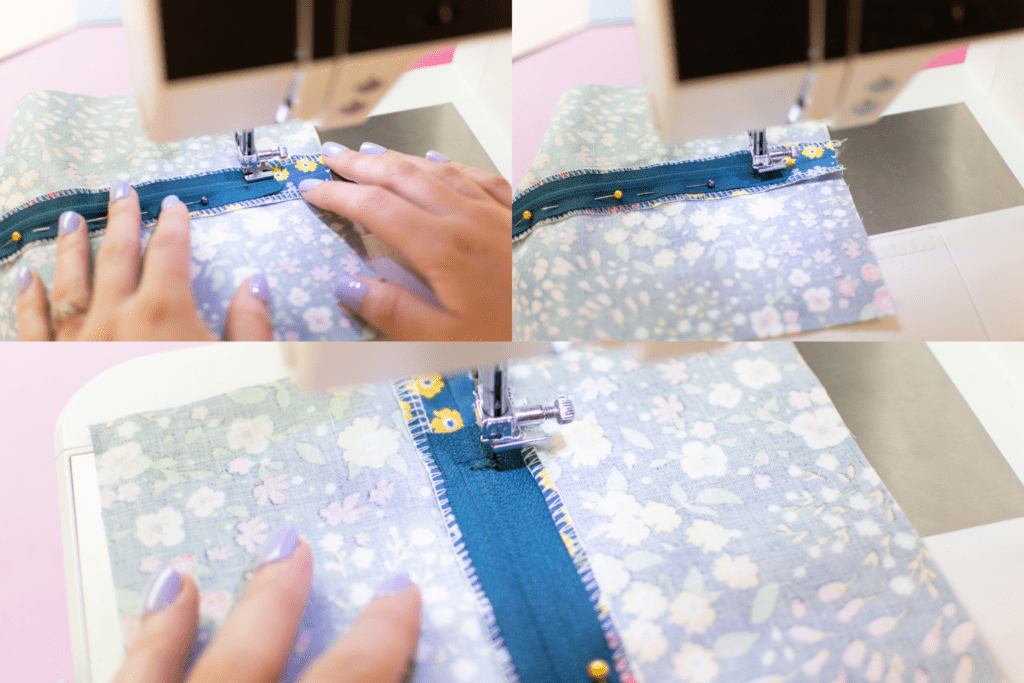
Sew up the second side of the zipper, maintaining the same seam allowance you used on the first side.
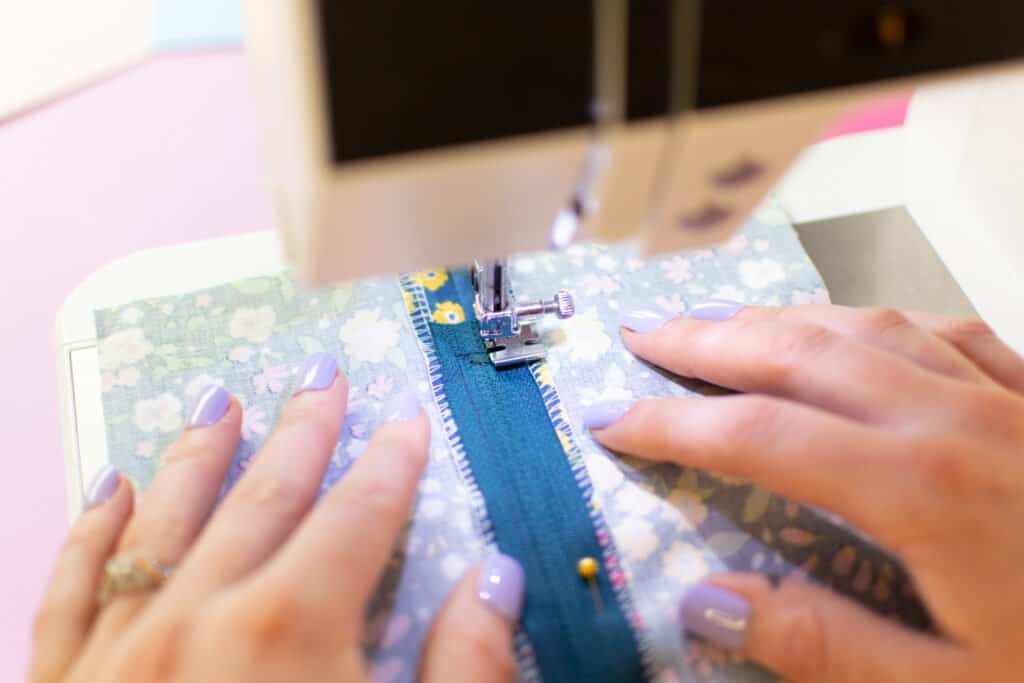
Backstitch just before you get to the zipper slider and trim your thread tails.
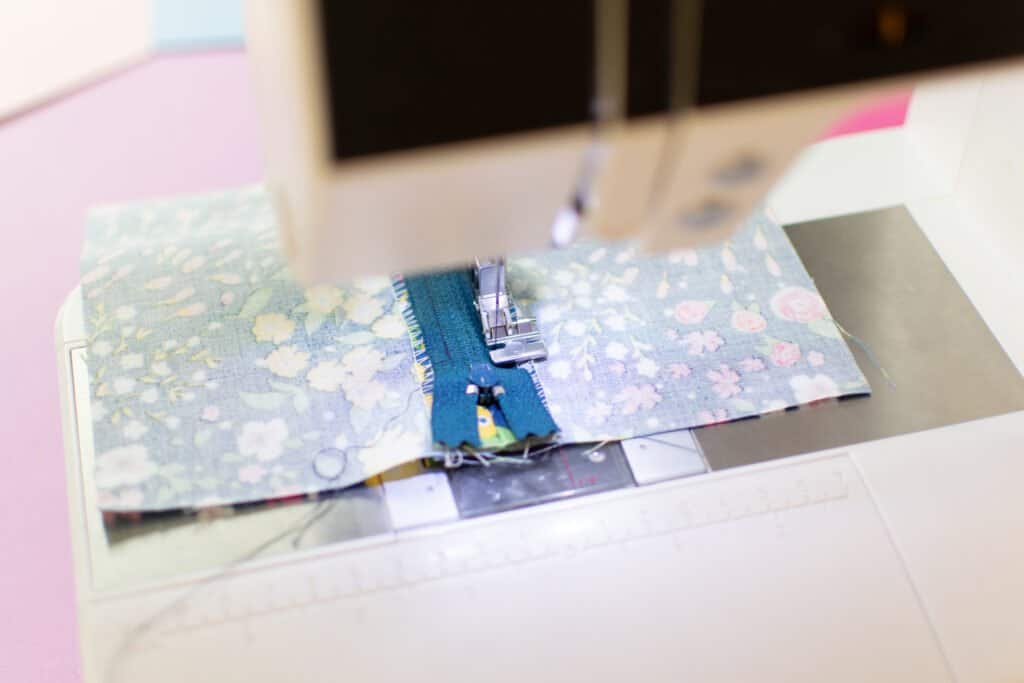
Step 4: Remove the Basting Stitches
Next, carefully remove the basting stitches in front of the zipper. This will open up the seam and free up the zipper.
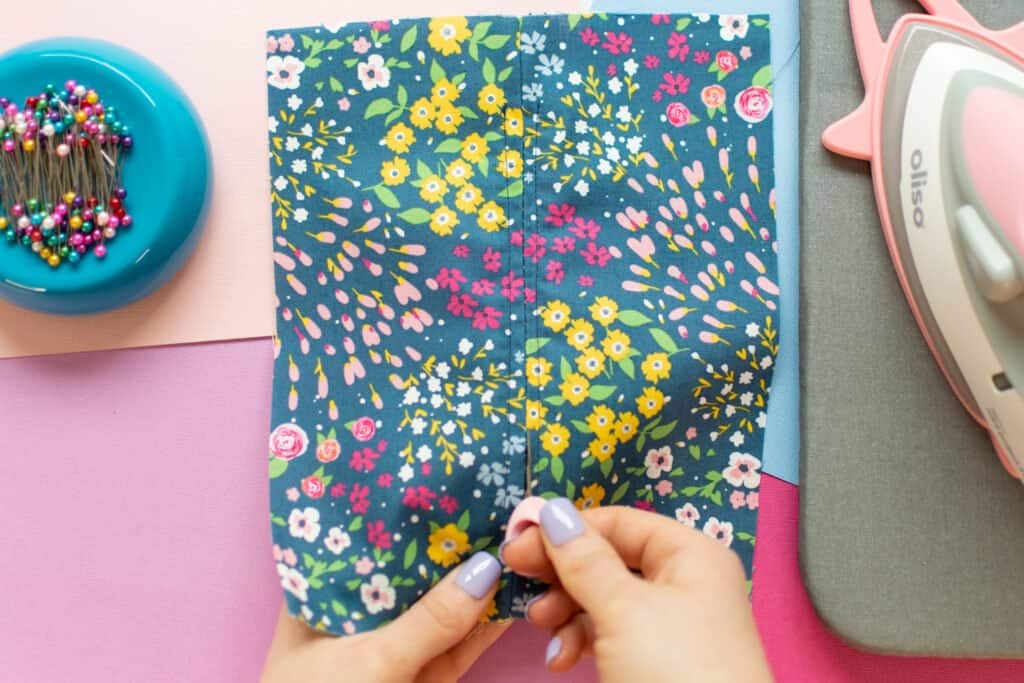
Just make sure you don't accidentally seam rip any of the regular stitching below the zipper!
Step 5: Finish Topstitching Your Zipper
Open the zipper halfway to get the slider out of the way, then take it back to your sewing machine.
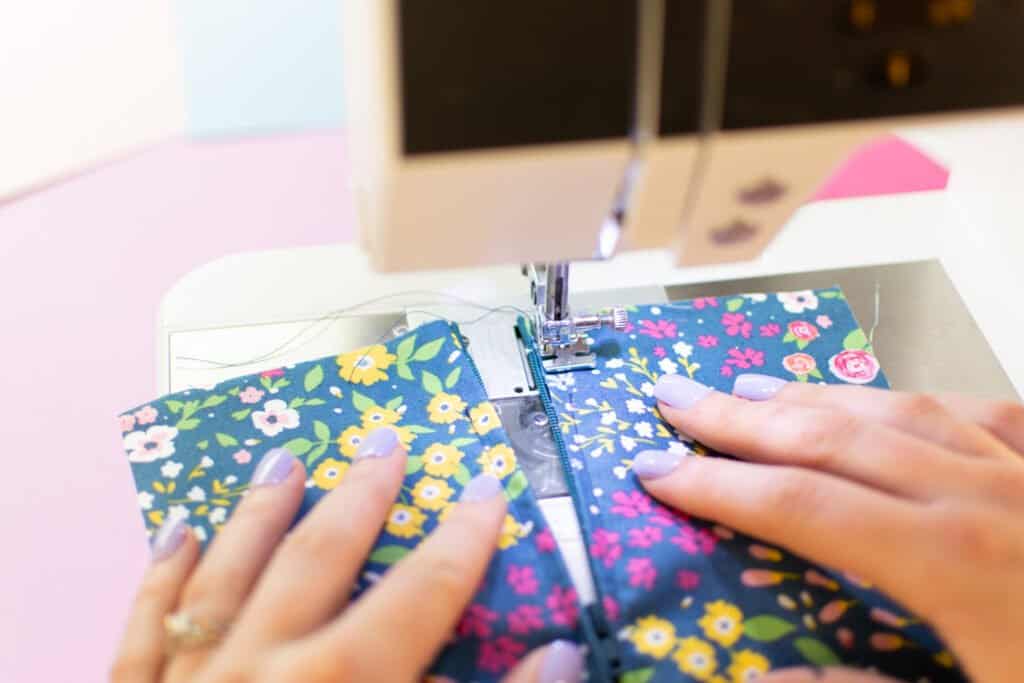
Finish the topstitching along either side of the top of the zipper, sewing from the top of the zipper tape to connect to the existing topstitching. Don't forget to backstitch at the beginning and end of each line of stitching!
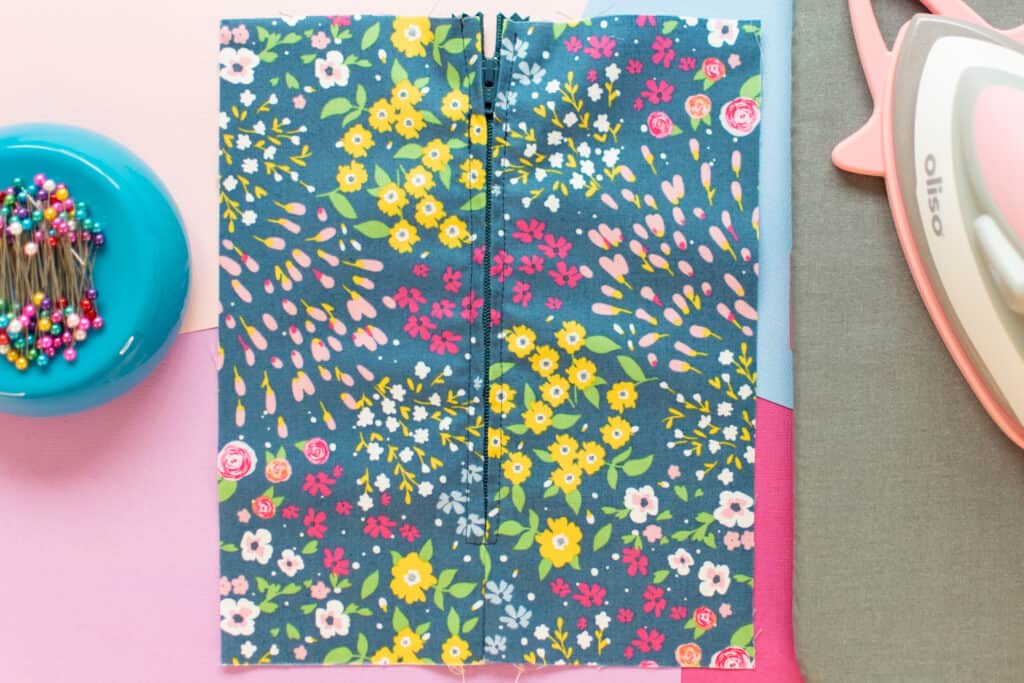
Step 6: Press the Zipper
Finally, press that zipper nice and flat with lots of steam. You should now have a beautifully sewn centered zipper!
Have you used either of these methods to sew a zipper before? Which is your favorite?
Did you try either of these techniques? Let me know how it went by sharing a photo on Instagram with the hashtag #sweetredpoppy.
Don't forget to join my Facebook group where you can show us what you're making, ask questions, and learn from others!

Leave a Reply