Learn How to Make a Simple Trick-or-Treat Bag for Halloween This Year With This Step-By-Step Sewing Tutorial, FREE Pattern and Video.
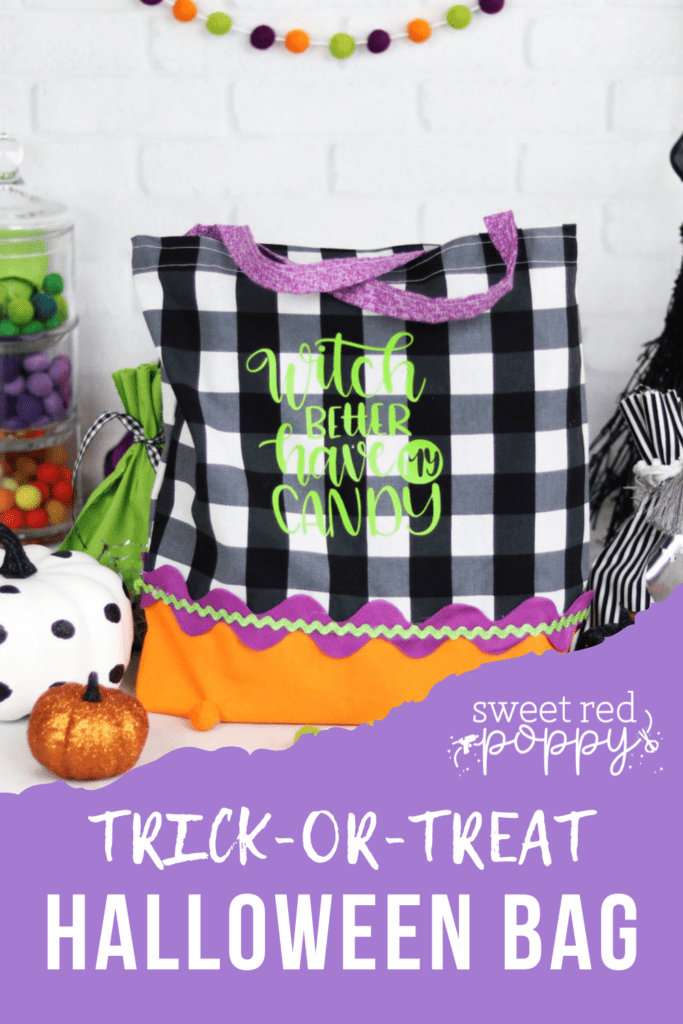
Ready to get ahead on Halloween this year? Sew up this simple trick-or-treat bag for your kids and decorate them with your Cricut. These personalized bags will be the hit of Halloween this year and will hold more candy than you want your kids to have!
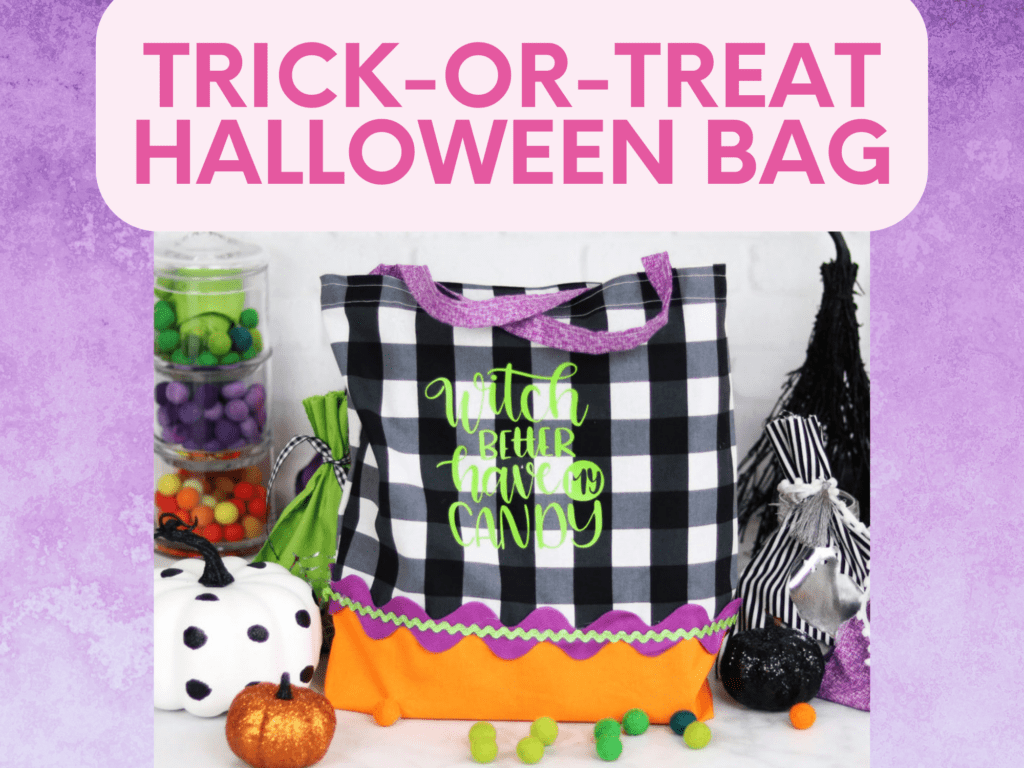
This tutorial makes a bag about 27 inches long x 11 inches wide. This bag is simple because it is not lined. I did it this way to resemble the classic "pillowcase bag" for trick-or-treating! I loved using pillowcases growing up but I always wished there were handles, so I made a tutorial to resemble that!
What Type of Fabric Should I Use?
This pattern is best when paired with a light to medium-weight fabric. I recommend using a High-Quality Quilting Cotton. I used Riley Blake cotton fabric for this tutorial.
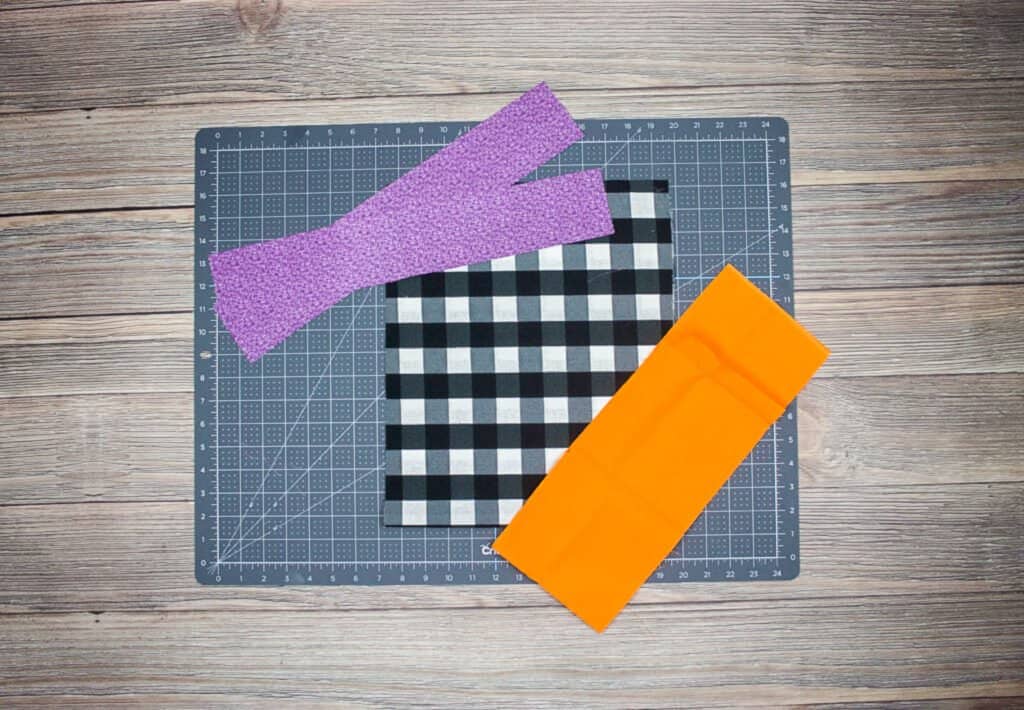
How Much Fabric Do I Need?
Bag Main: 1 Yard of Cotton Fabric (plaid)
Bag Bottom: 1 Yard of Cotton Fabric (orange)
Bag Handles: 1/4 yard of Cotton Fabric (purple)
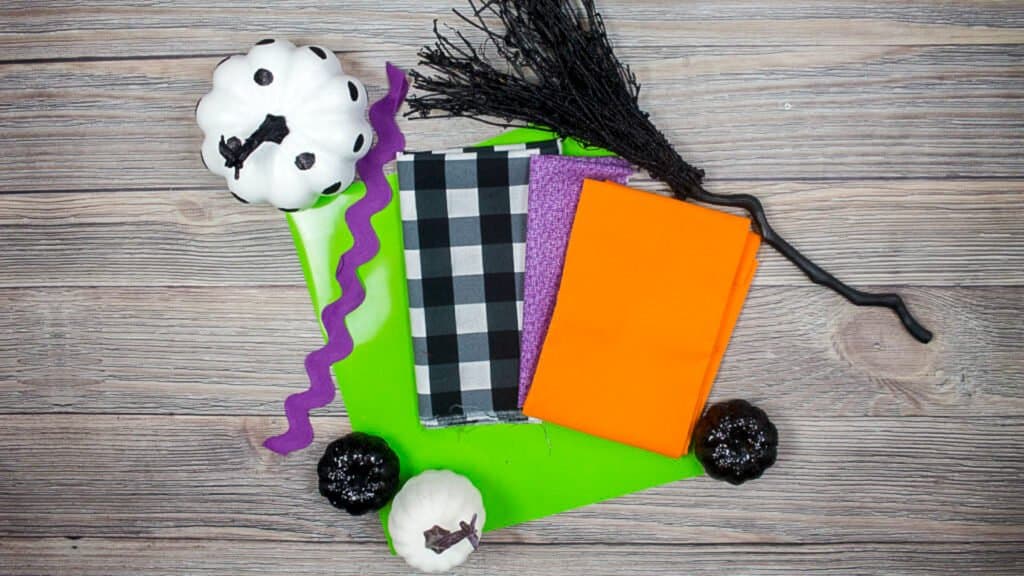
Table of Contents
Materials Needed:
Sewing
- Trim of your choice
- Scissors or Rotary Cutter & Mat
- Thread
- Pins or Clips
- Iron & Ironing Board
- Sewing Machine
- Sewing Machine Needle
- Fabric Pen or Chalk
- Seam Gauge
- Printer
- Printing Paper
- Tape
- Glue Gun (Optional)
Cricut
- Cricut Maker, Cricut Explore, or Other Cutting Machine
- StandardGrip Mat
- Iron-On
- Cricut EasyPress
- Cricut EasyPress Mat
Download the Free Trick-or-Treat Halloween Bag Sewing Pattern Here!
Print the Pattern
Download the pattern to your computer and print the pattern at 100% with no scaling.
Immediately check the 1” x 1” square to ensure the pattern has printed off correctly. If the 1" square measures larger or smaller the pattern will need to be reprinted for accuracy.
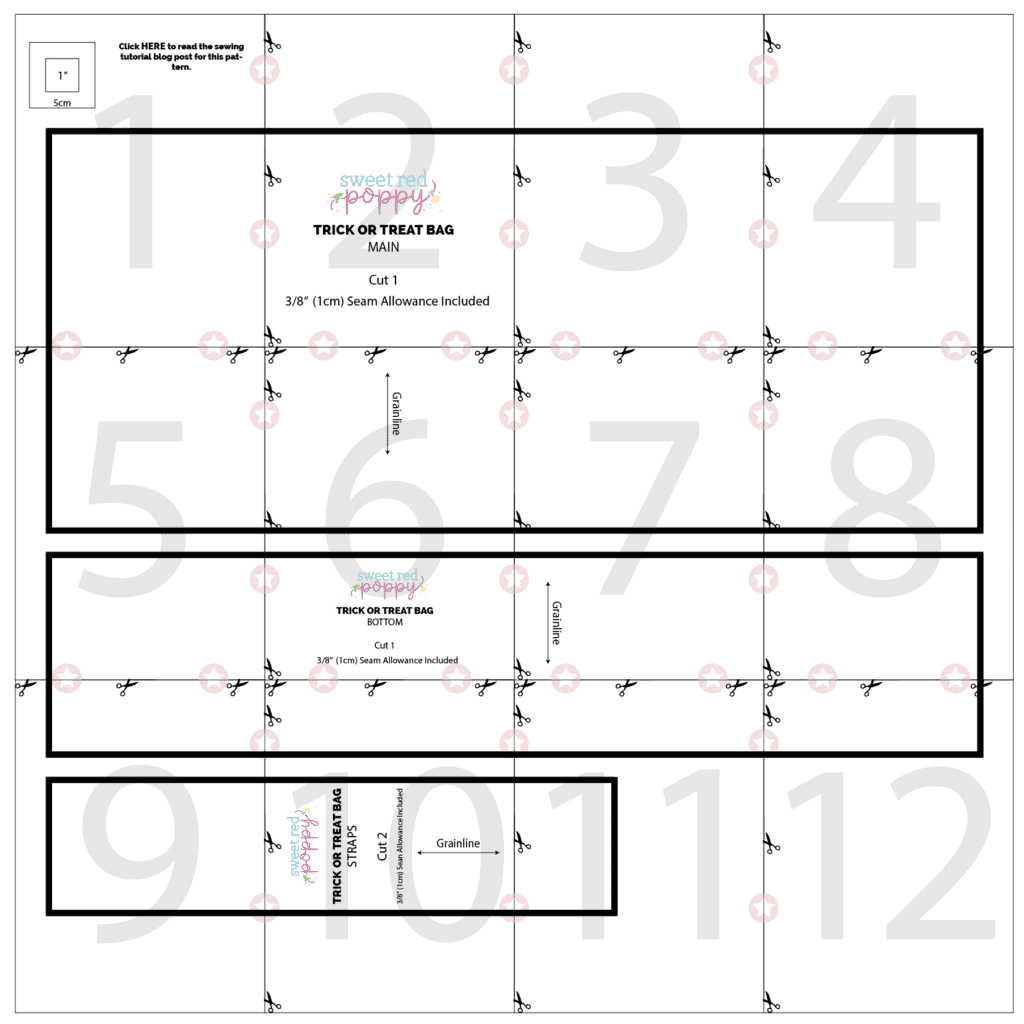
Lay the pages out in numerical order.
Align the stars of each page and the black lines and tape them in place.
Then, cut out the pattern along the black line.
* PRO TIP - Print off the pattern on cardstock so that it will last for multiples uses.
Step One: Cut Your Fabric
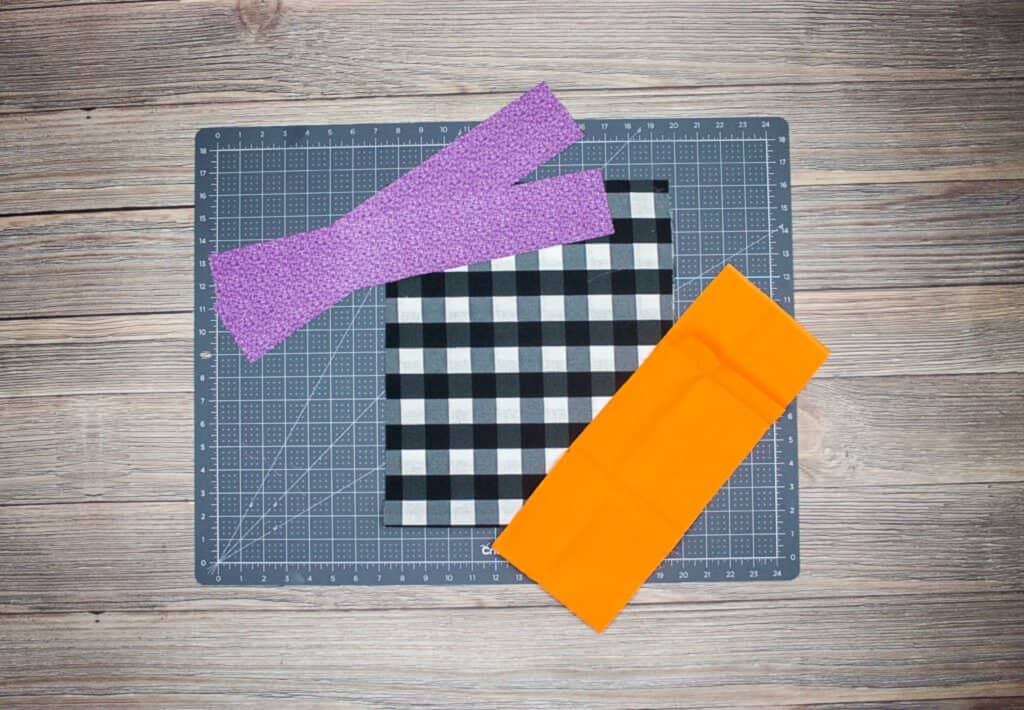
Lay out your rotary mat and cut your fabric.
CUTTING CHART
- Cut 1 - Bag Main (plaid)
- Cut 1 - Bag Bottom (orange)
- Cut 2 - Straps (purple)
Step Two: Sew Bottom to Main
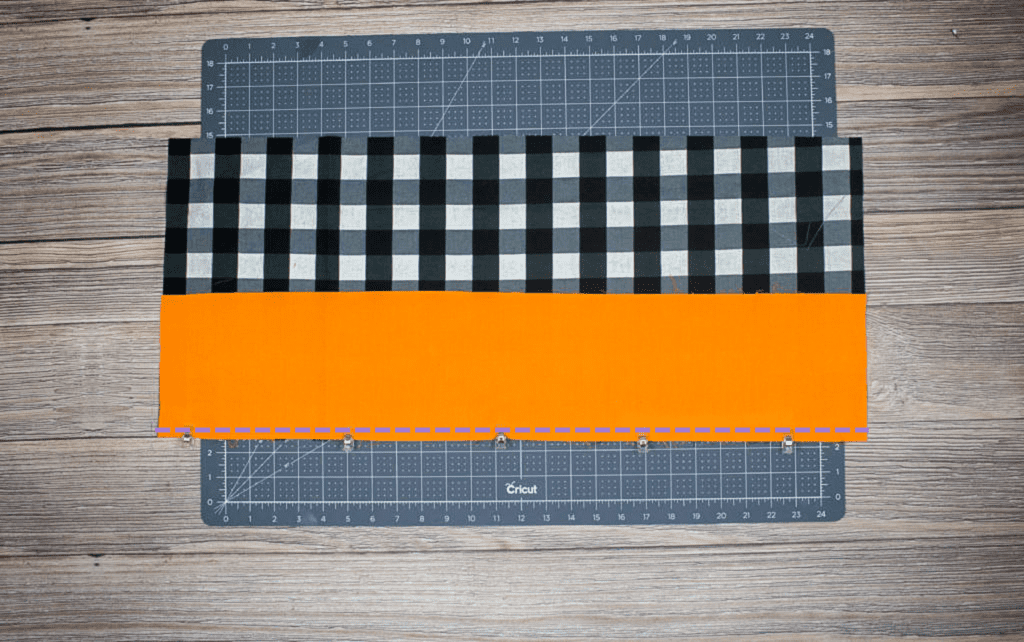
Place your orange fabric on the plaid (right sides together) and clip to secure. Sew with a 3/8 inch seam allowance.
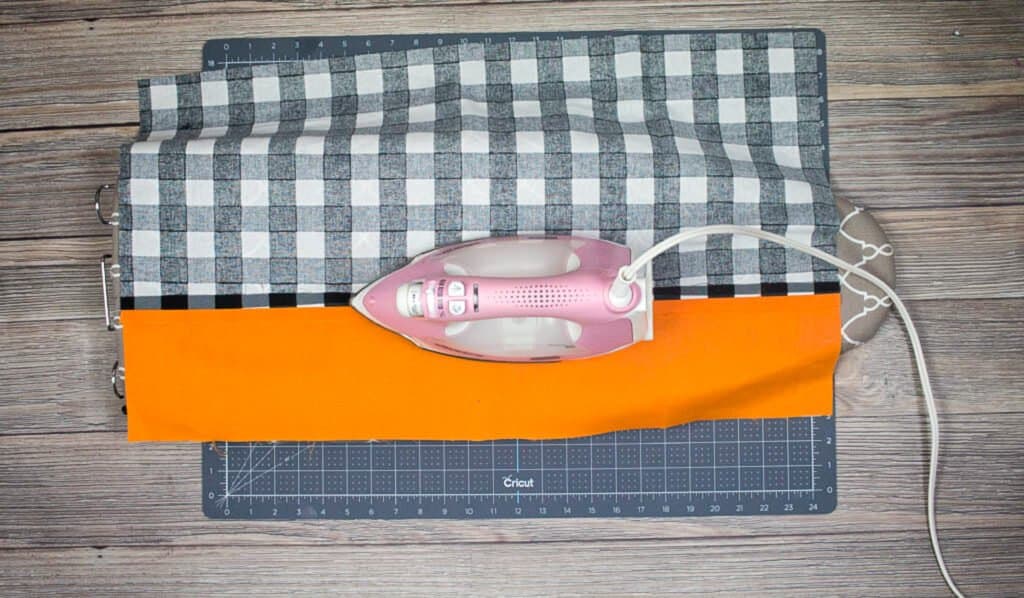
Turn over and press the seams down so they are flat. (This iron has a sensor that automatically lifts up when you aren't holding it so your fabric doesn't burn. It's amazing!!)
Step Three: Press Hem on Top of Bag
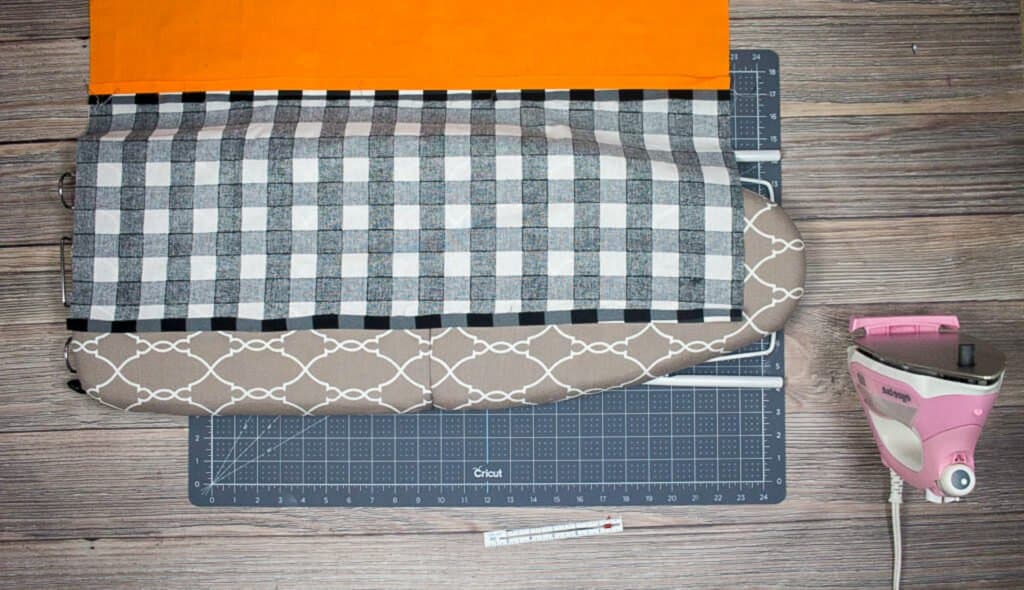
Fold over the top of the fabric 1/2 inch and press.
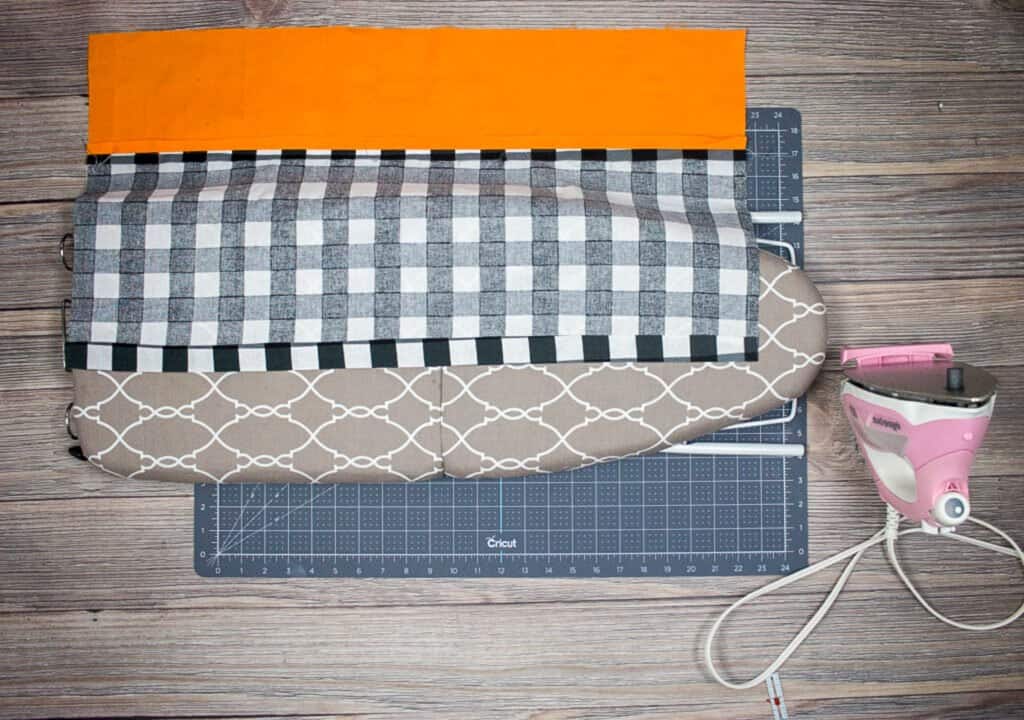
Fold over another inch and press.
Step Four: Create Handles
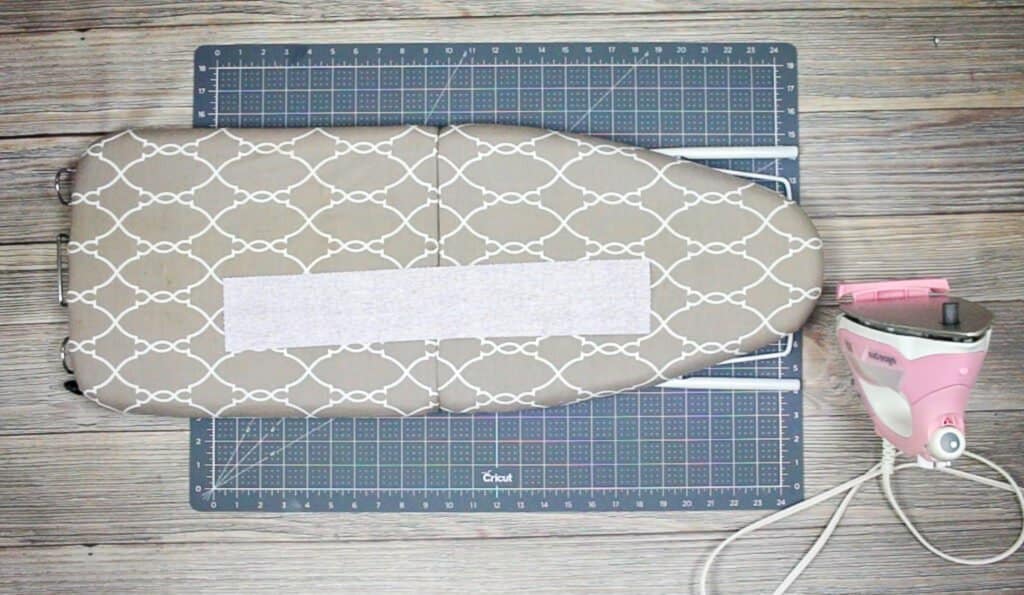
Fold purple fabric in half and press.
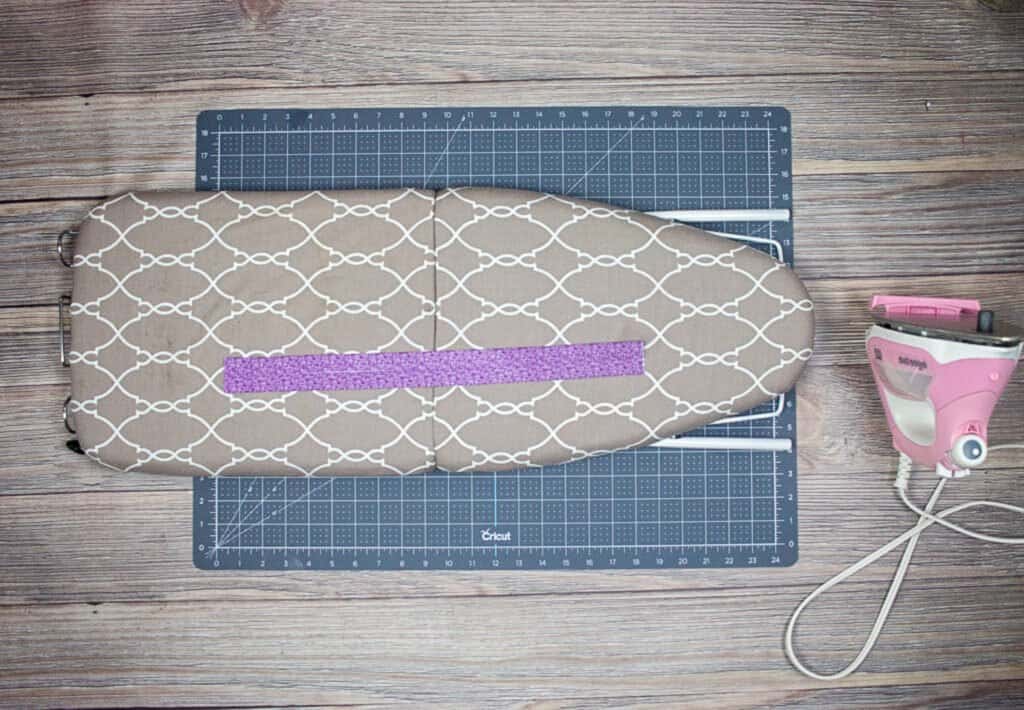
Open it flat and fold the edges into the center.
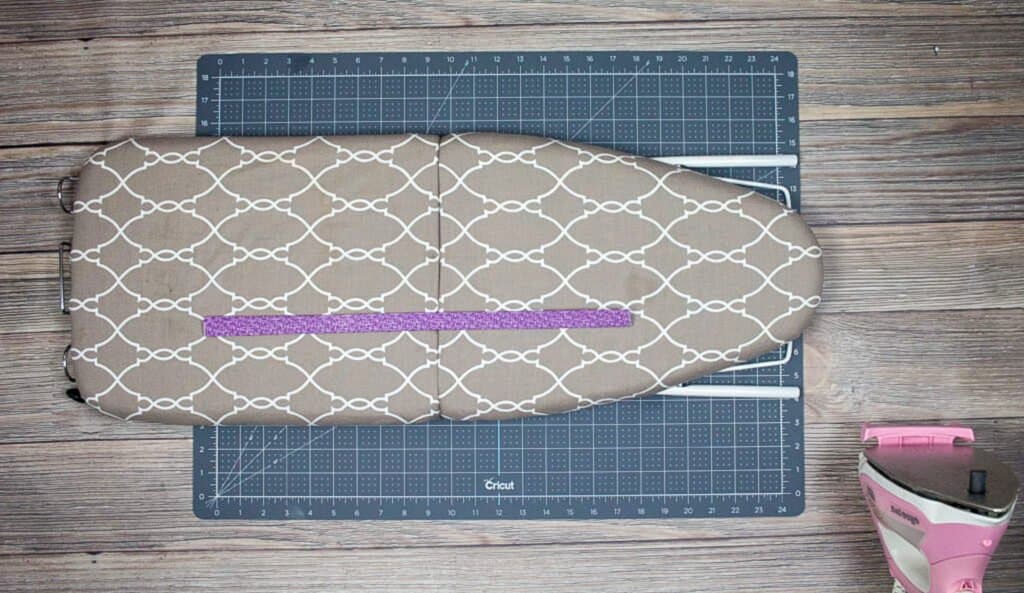
Fold them together to create one long strip. Repeat for second strap.
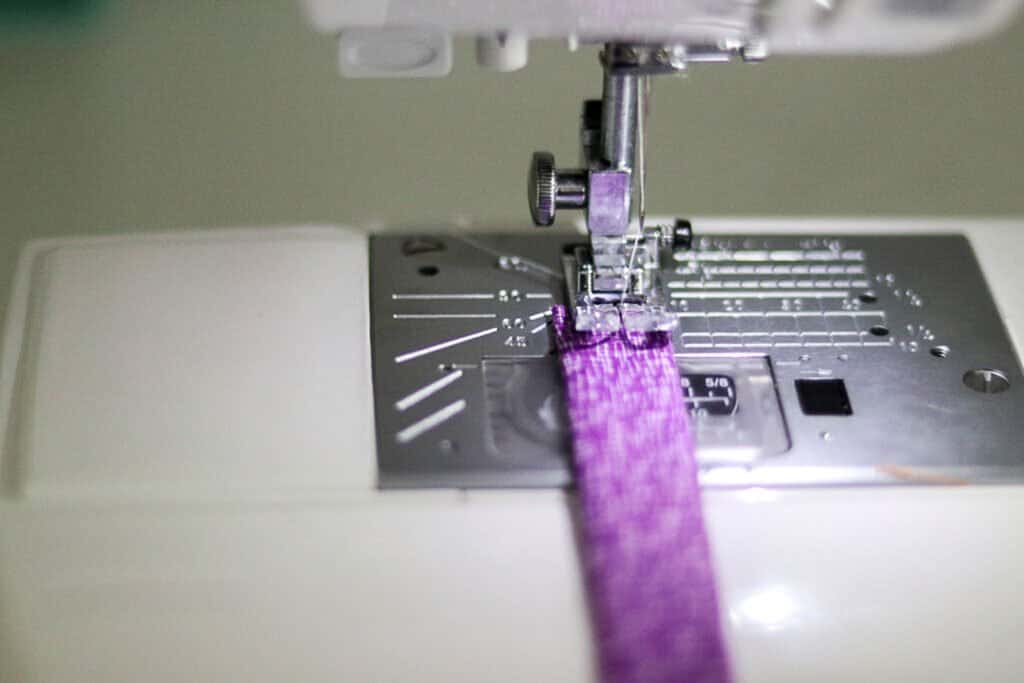
Sew with a 1/4 seam to make your strap. Repeat with the second strap.
Step Five: Pin Straps To Bag
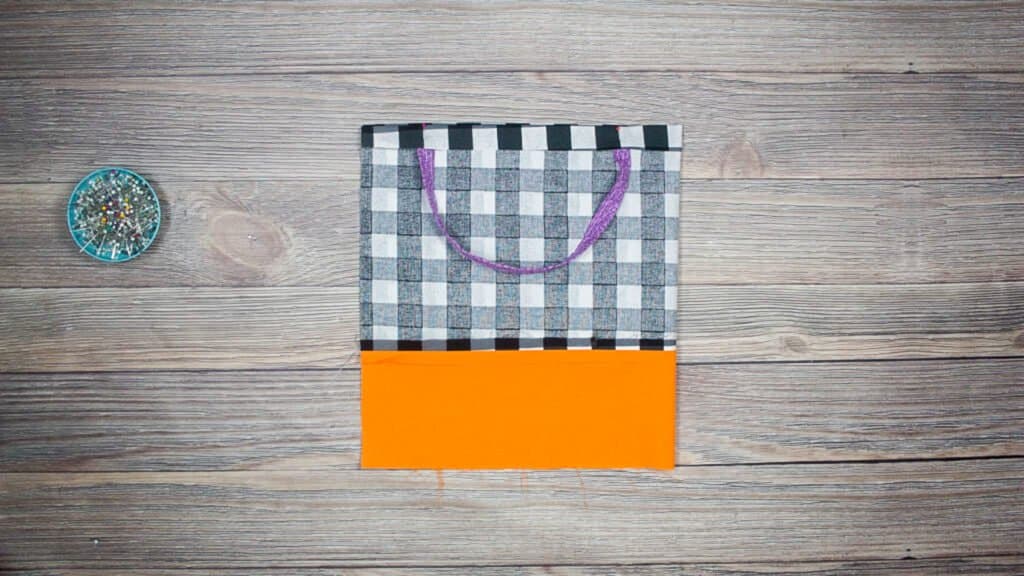
Fold the bag in half (right sides together) and from the center fold, measure 2 1/2 inches in. Pin the handle. Measure 2 1/2 inches from the other end and pin. Do this for the opposite side as well.
Step Six: Sew Sides
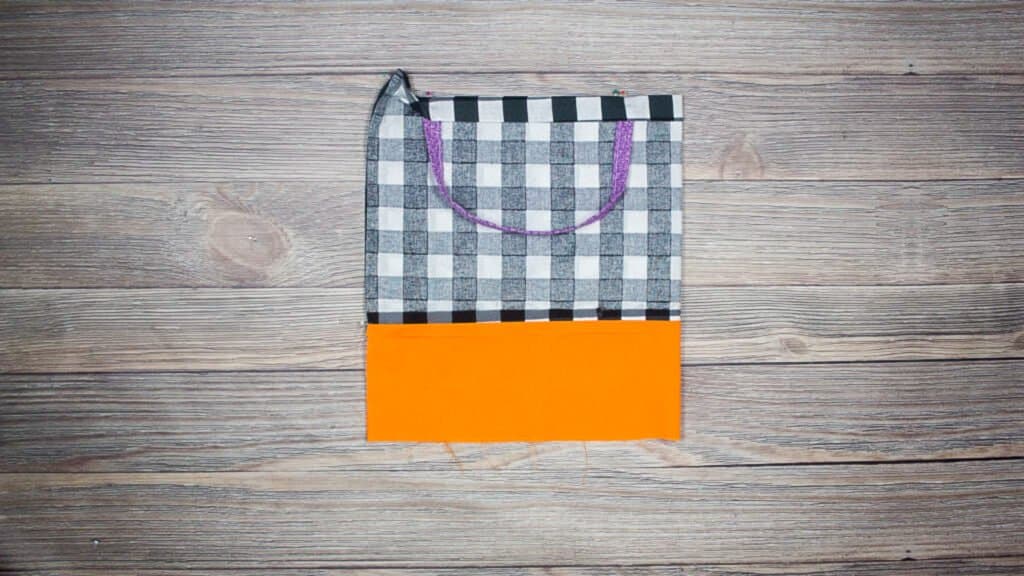
Open the folded edges of the bag and pin together. Sew the bag along the open edges to close it with a 1/2 inch seam seam allowance.
Step Seven: Sew Top Hem
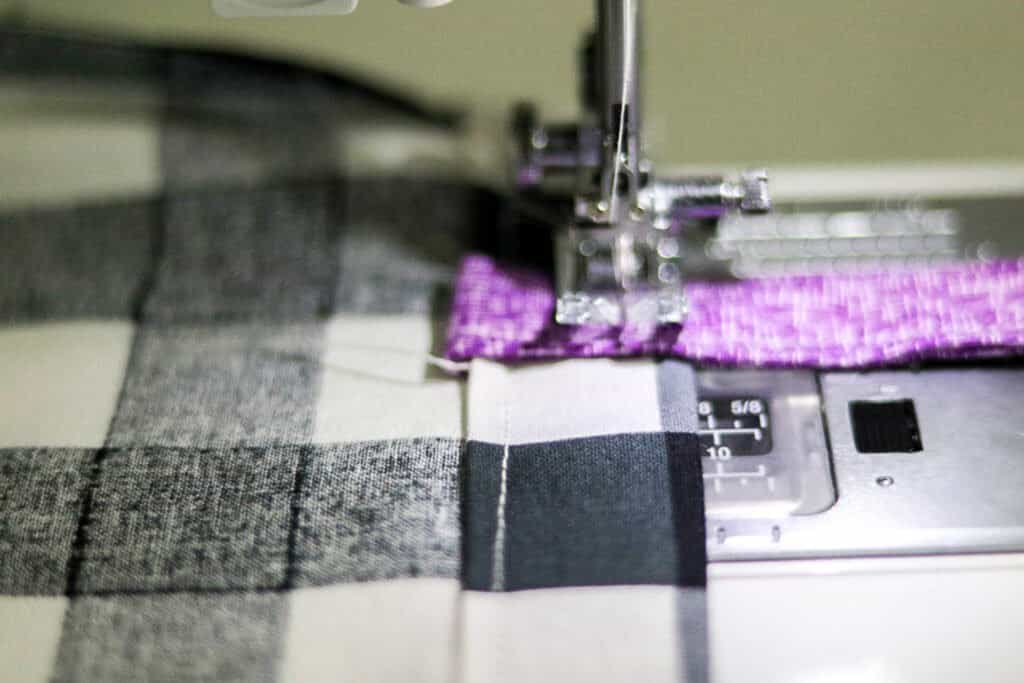
Fold the straps so that they are going up and pin in place. Sew along the top of the bag to secure the straps and the folds.
Step Eight: Sew Bottom Corners
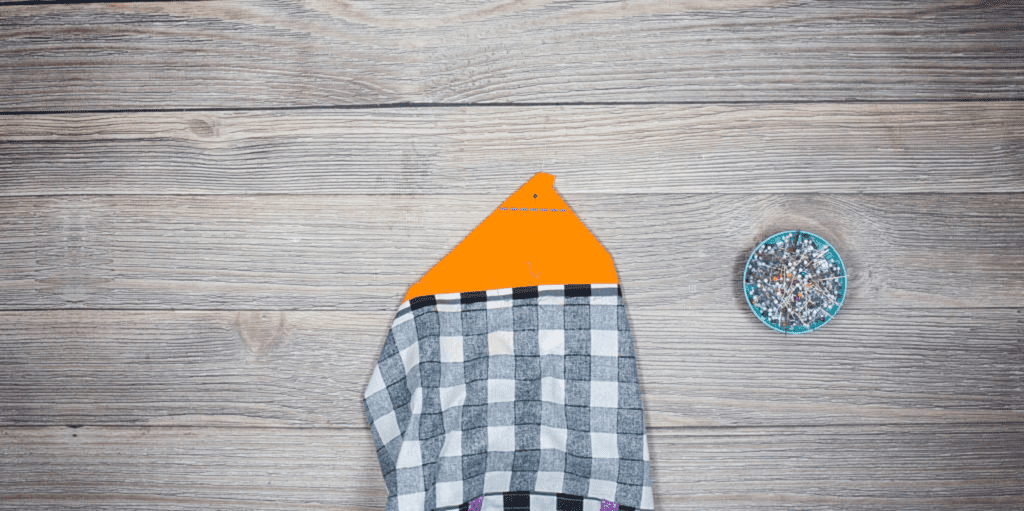
With the bag inside out, open the bottom corners and measure 1 1/2 inches in and draw a line.
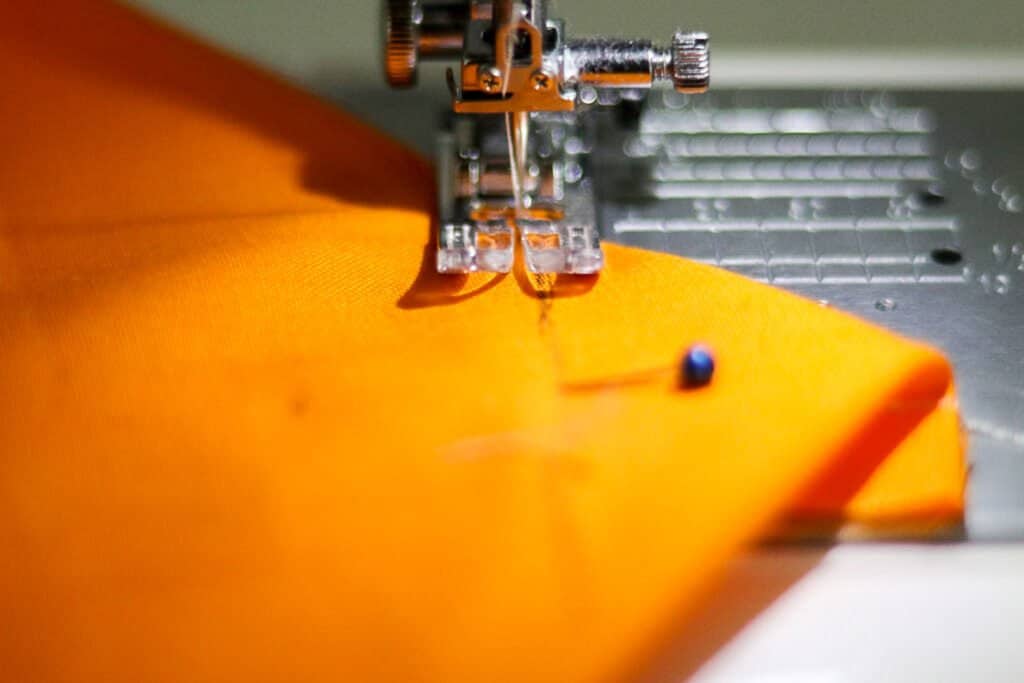
Sew on that line to create a box-like finish.
Step Nine: (OPTIONAL) Embellish with Trim
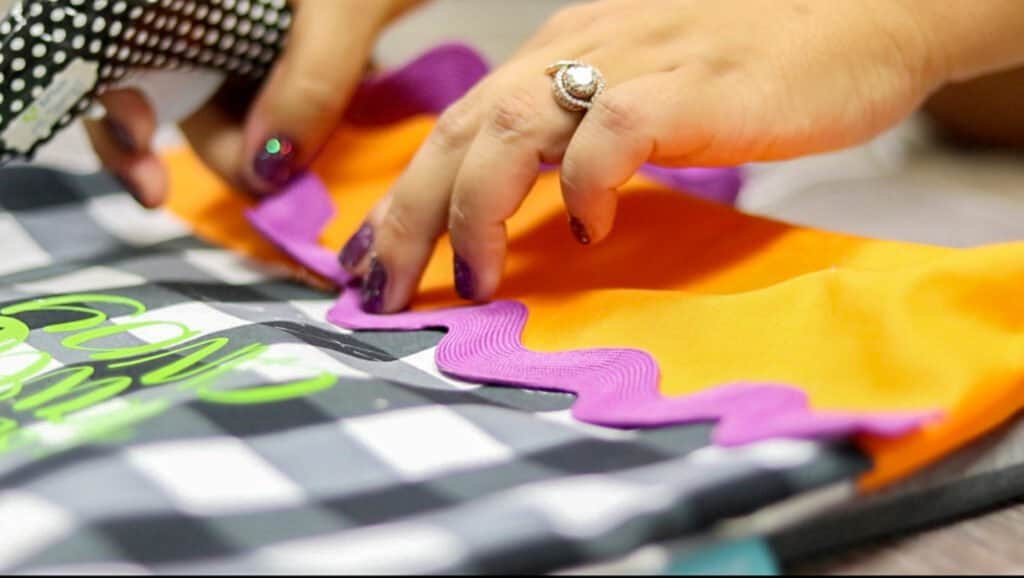
Hot glue your trim on or use any trim or embellishments you want!
Step Ten: (OPTIONAL) Embellish with Iron-On
Need help with using Iron-On? Click here for my tutorial on how to use it!
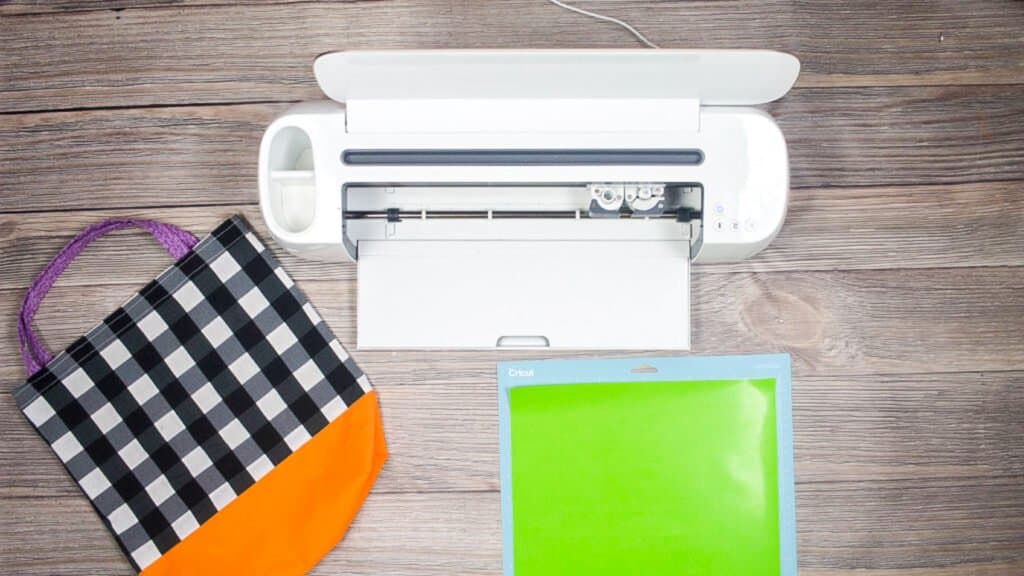
Get out your Cricut Maker and load it with your iron-on vinyl. Follow directions on Design Space to create your graphic and cut it out.
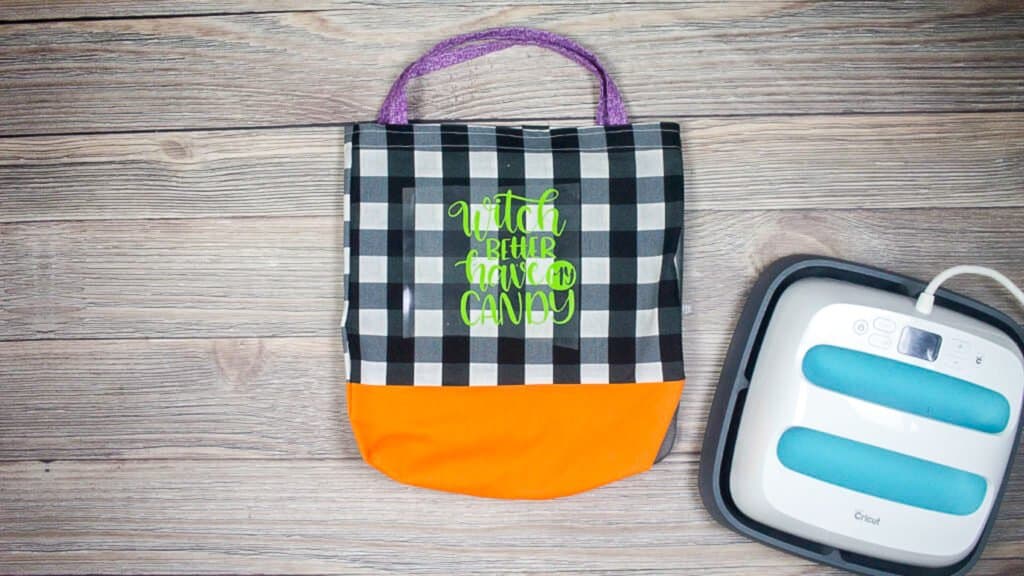
(PRO TIP: Heat the surface of the bag with your Easy Press before you place the iron on). Center the iron-on on your bag and iron it on using the Easy Press. Make sure the temperature is set according to the material. Peel off the clear layer.
Join my crafting and sewing Facebook group where you can show us what you’re making, ask questions, and learn from others!
Looking for more Halloween tutorials and projects? Click HERE!

Can I have measurements to cut pieces, no printer. Thank you