Learn how to sew an easy-to-make, personalized blanket using fabric from JOANN and Cricut Iron-On.
This is a sponsored post written on behalf of JOANN. All thoughts and opi
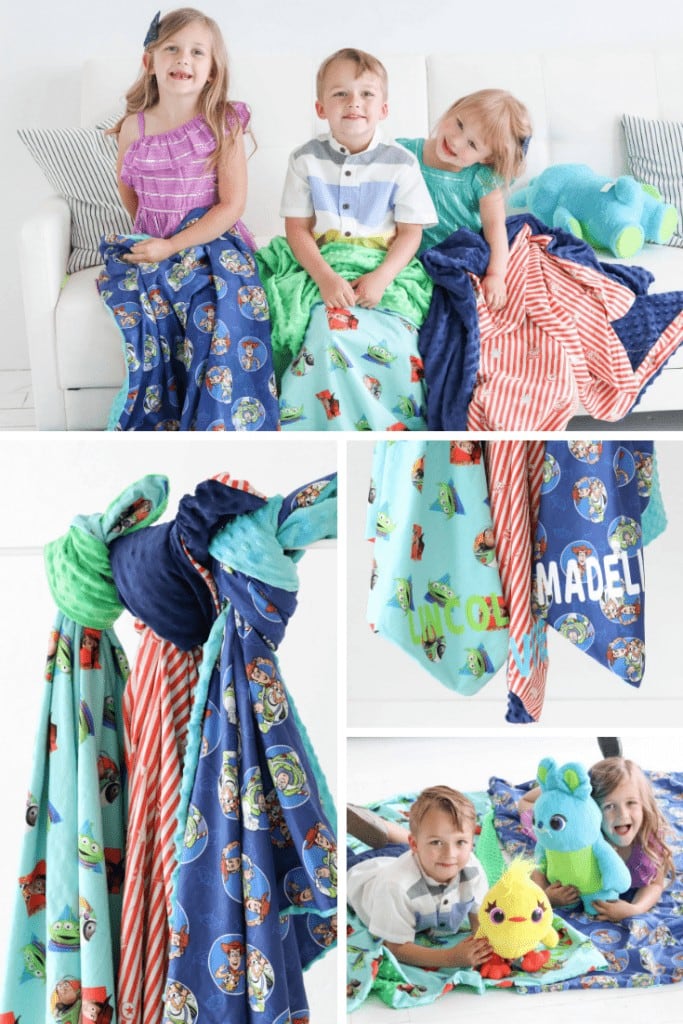
We have a monthly family tradition of taking our favorite snuggly blankets to the movie theater with us. We upgrade to the luxury heated recliners, share a huge bucket of popcorn, stuff ourselves with
When we saw that Toy Story was coming out with a brand new movie, we immediately started planning our next trip to the movie theater! My kids are so excited to learn all about the newest characters, and we've been watching all of the previous movies on repeat to prepare.
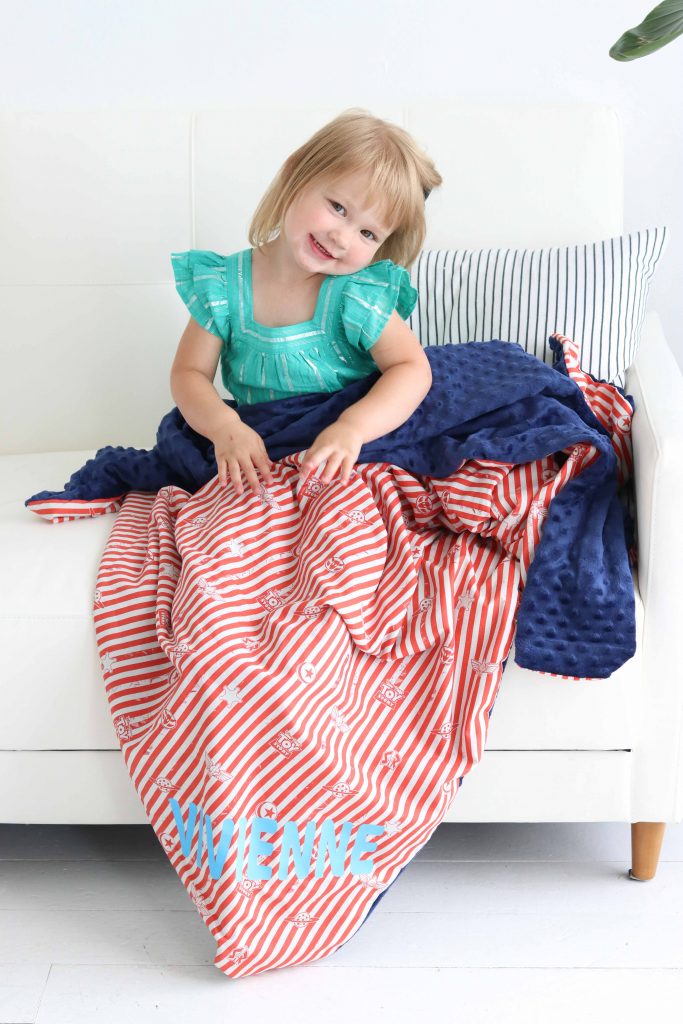

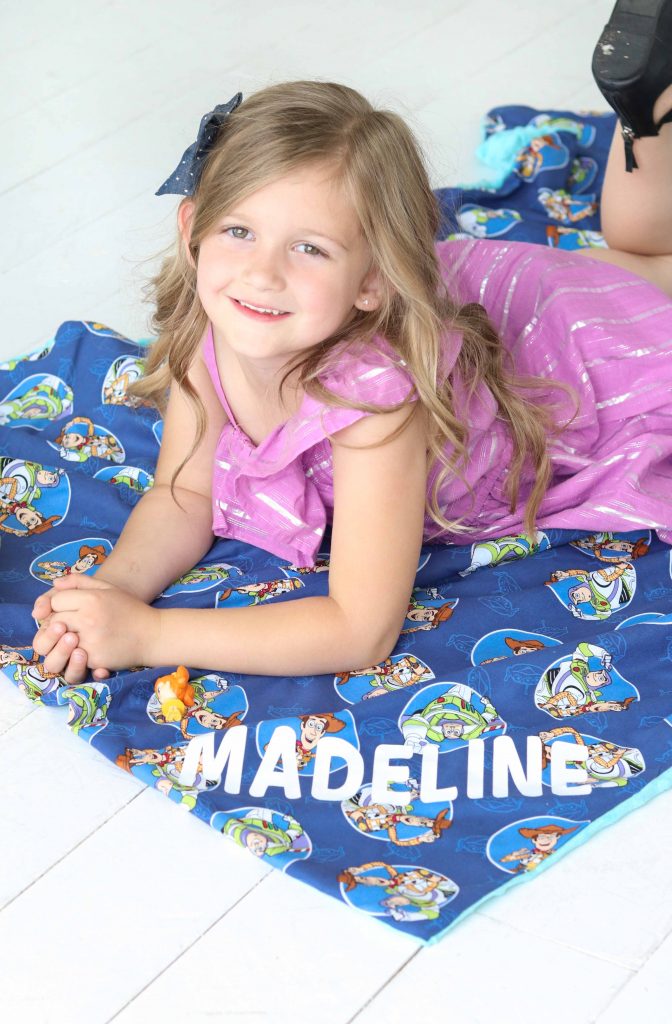
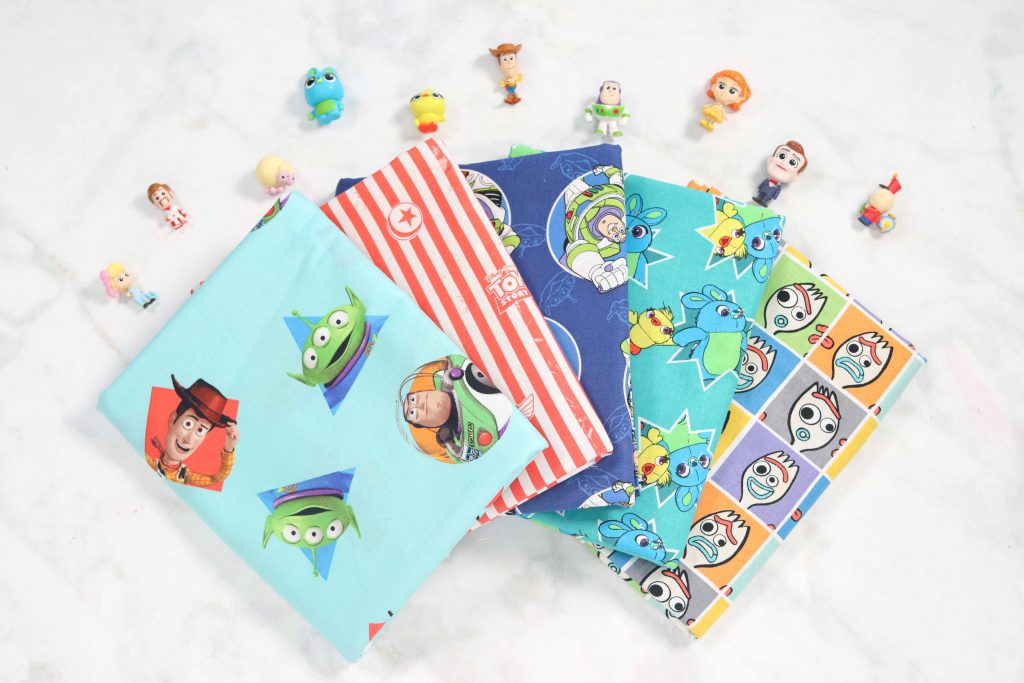
As we were shopping in JOANN we came across this adorable line of Toy Story 4 fabric and we knew we had to make new blankets for the movie!
We grabbed two yards of each print as well as coordinating colors of minky dimple fabric to make them extra snuggly!
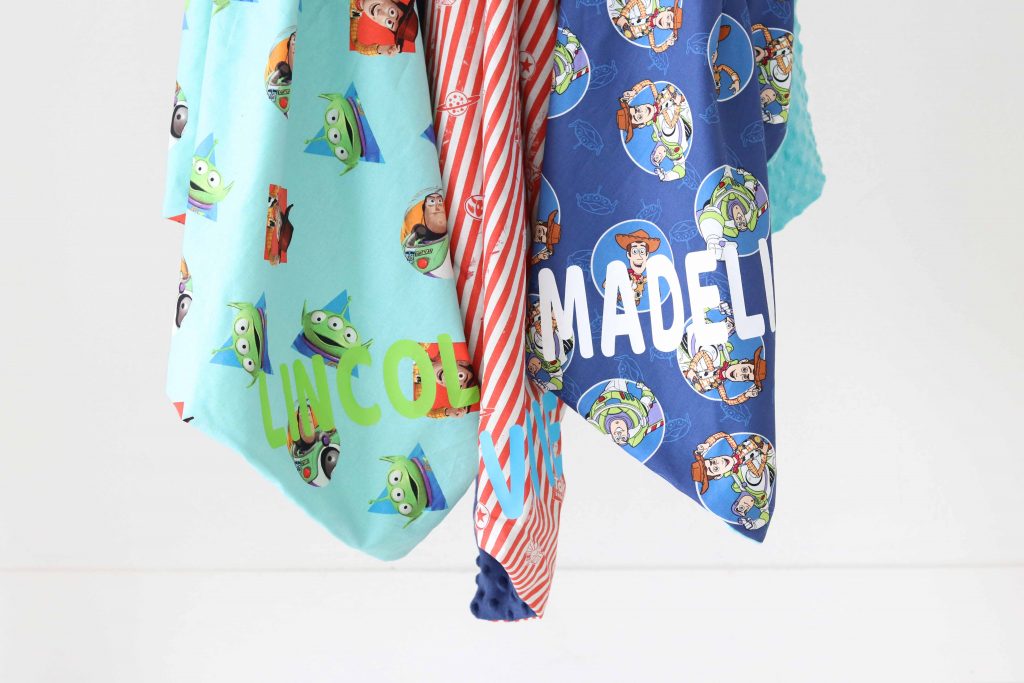
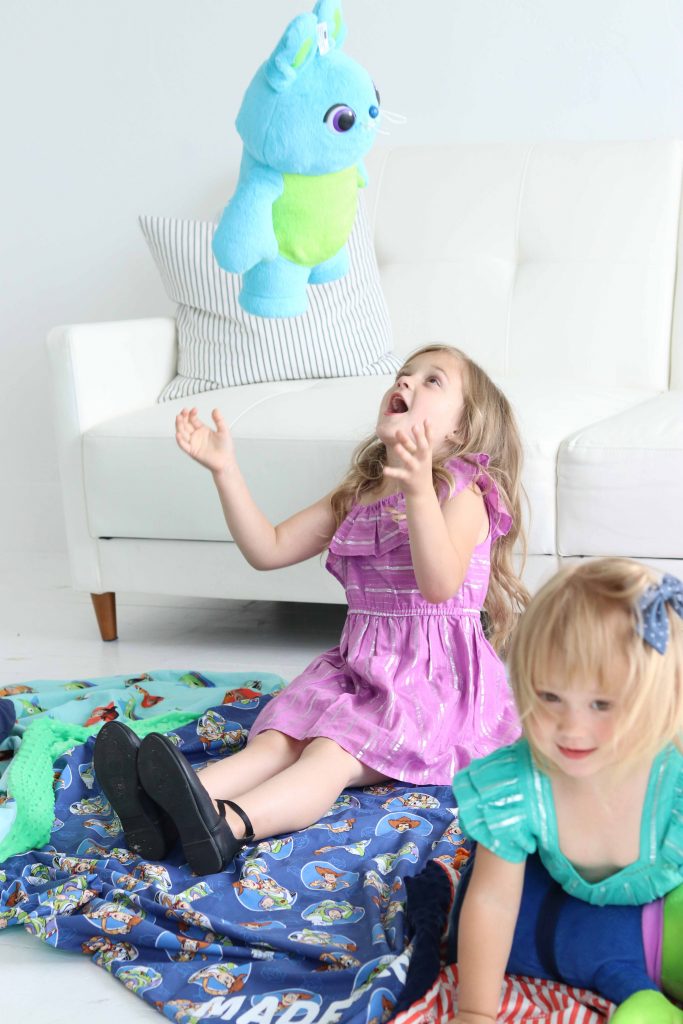
To keep everyone from fighting, I pulled out my Cricut and quickly added names to each of the blankets. Now everyone knows exactly which blanket belongs to them. Yay for no fighting, plus it makes them even cuter, don't you think?
This tutorial will walk you step-by-step through sewing a blanket as well as how to apply Iron-On. I’ve ever shared some of my favorite tips and tricks to make the process even easier.
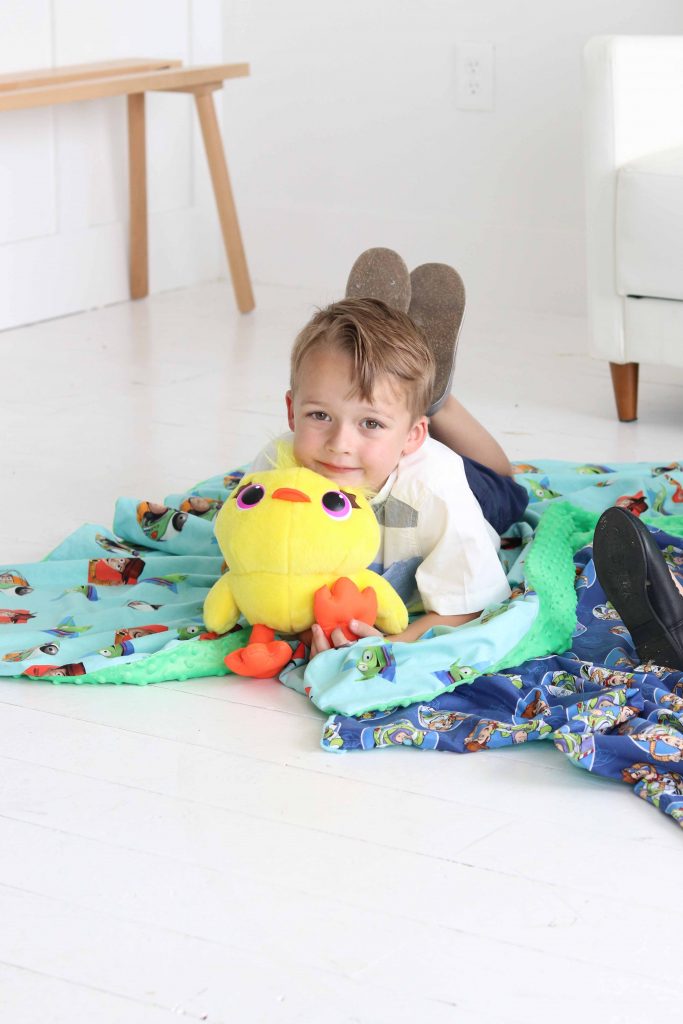
Table of Contents
PERSONALIZED BLANKET SUPPLIES
- 2 Yards Toy Story Cotton Fabric
- 2 Yards Minky Fabric
- Standard Grip Cricut Mat
- Pins
- Iron-On
- EasyPress
- Cricut
- Sewing Machine
- Thread
- Scissors
- Beacon Fabric Glue
Save yourself a trip to the store and grab all of the supplies for this project online from JOANN!
PREP FABRIC
Begin by prewashing both of your fabrics. If you are sewing with two different types of fabric, this is a really important step because they will both shrink slightly to different sizes and it’s better to have the shrinkage happen before you sew them together rather than
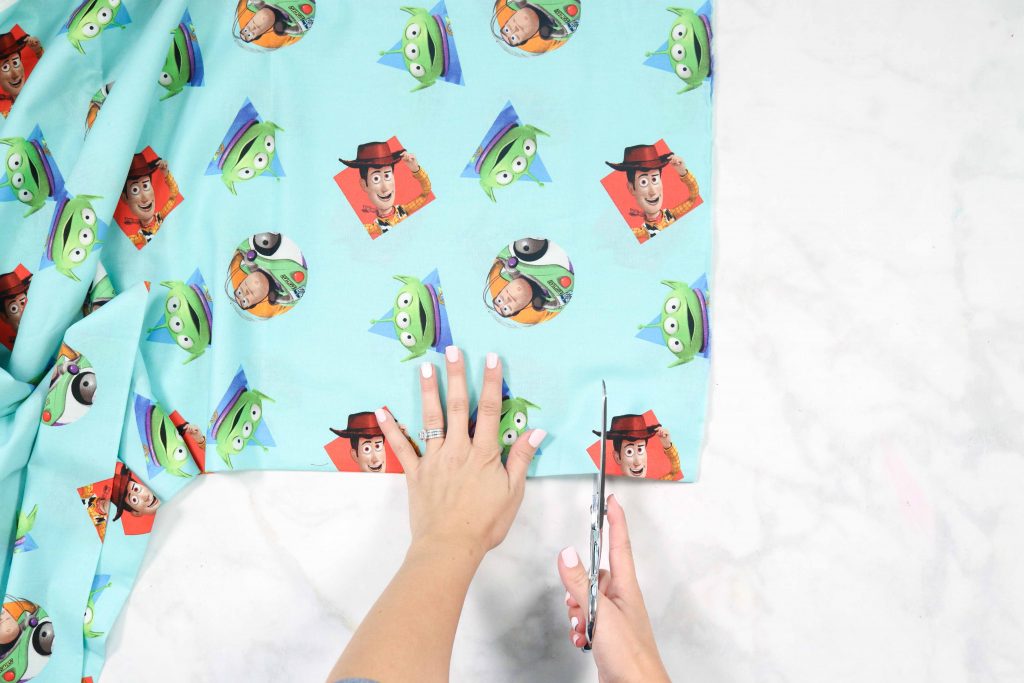
Once they have been washed and dried (make sure to follow the instructions listed on the bolt), lay them on top of each other, with right sides facing each other and trim them down so they are both the same size.
CUT IRON-ON WITH CRIC UT
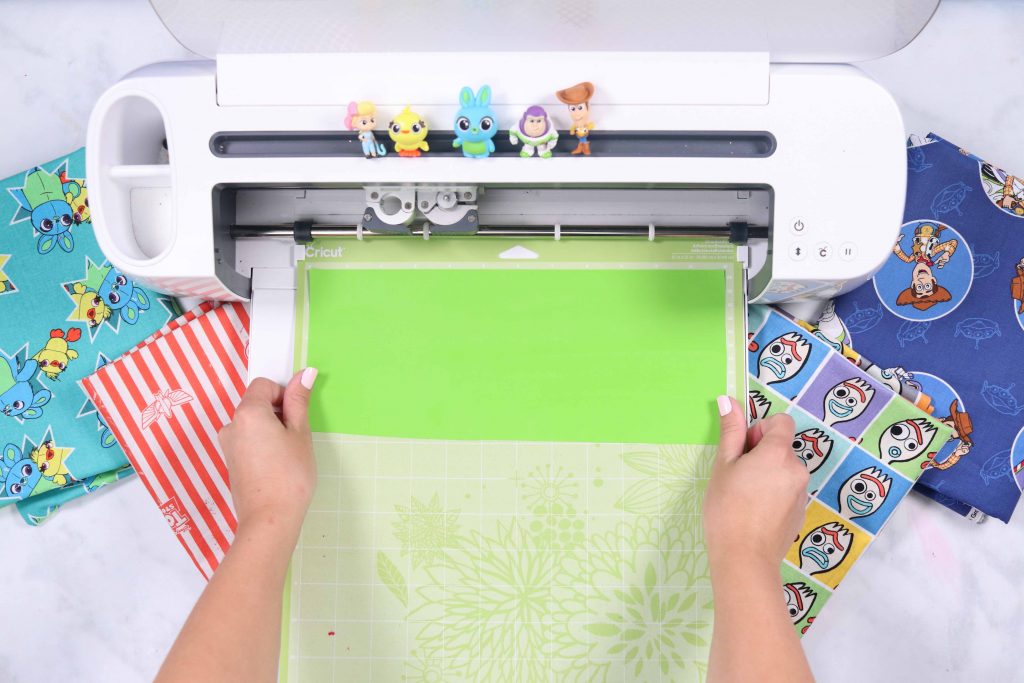
Begin by unrolling the Iron-On and placing it onto a Cricut Mat. The clear protective liner should be facing the mat with the Iron-On facing upwards.
Select “Mirror” within Design Space. This step is VERY important. If you do not select “Mirror,” the images will be backward once you apply them to the material.
Insert the mat with the Iron-On into the cutting machine. Select the correct settings (within DS) for the specific material that you are using. Unload the mat once the cutting has finished and the Cricut button
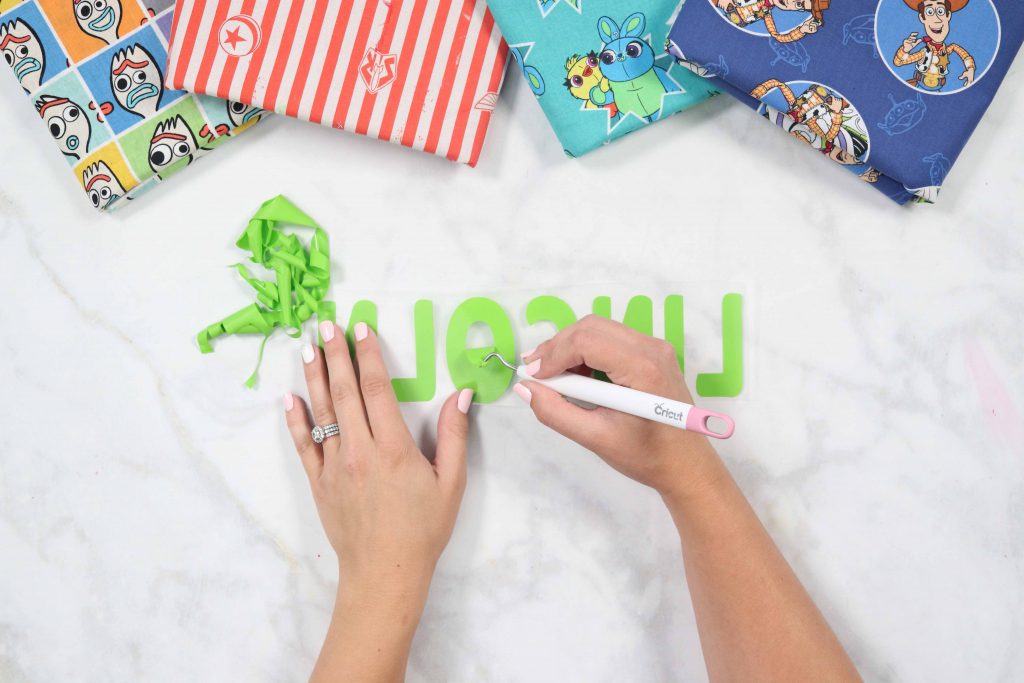
With a weeding tool, carefully peel back the negative Iron-On to reveal the cut designs.
Once everything has been weeded, flip the mat upside down and peel the mat away from the Iron-On. This will prevent the Iron-On from bubbling or cracking.
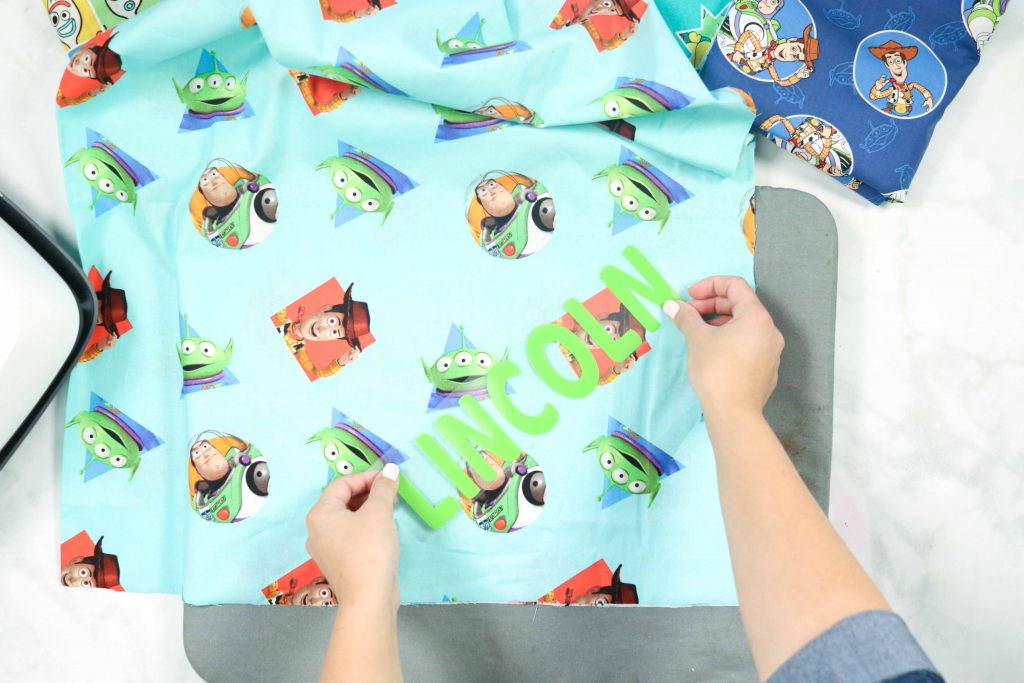
Use either an EasyPress Mat or an ironing board as the protective base for your project.
Preheat the fabric that you intend to apply the Iron-On to for 10-15 seconds. This will allow the Iron-On to adhere to the fabric. Immediately apply the Iron-On to the fabric taking extra care to center the design.
Apply heat with an iron or EasyPress following the directions for the specific type of Iron-On that you are using.
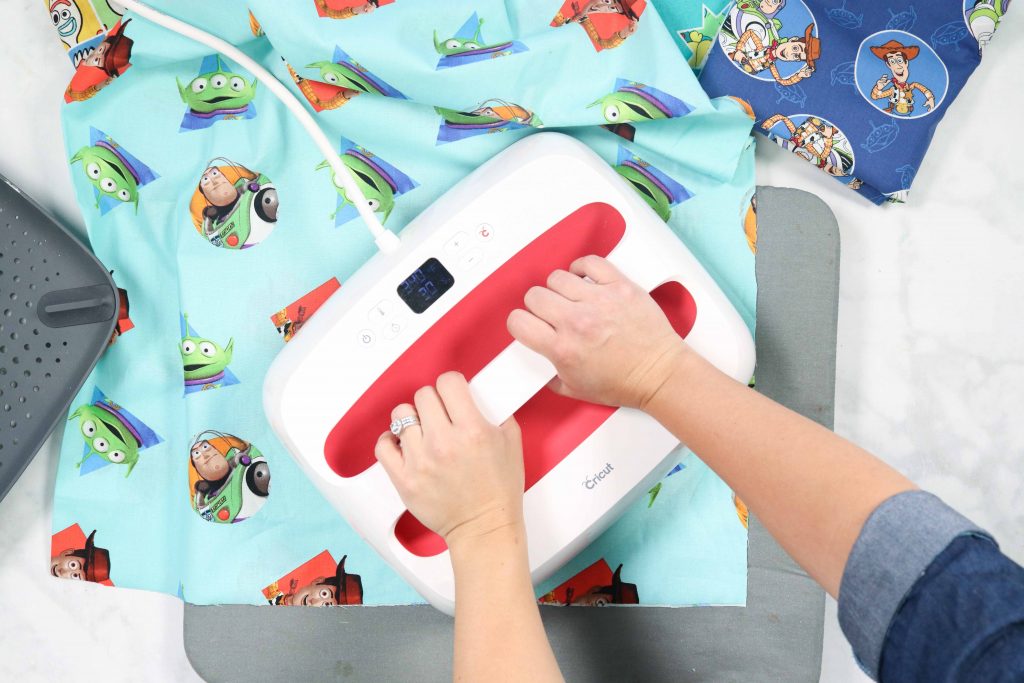
I love using my EasyPress 2 for Iron-On projects because it offers edge-to-edge heating, which means the entire plate heats up (up to 400°F)
The EasyPress 2 makes Iron-On projects foolproof! Just set the temperature, select the time and apply pressure to the item you are making and it creates amazing long-lasting results!
You can read even more about my thoughts on the Cricut EasyPress 2 here.
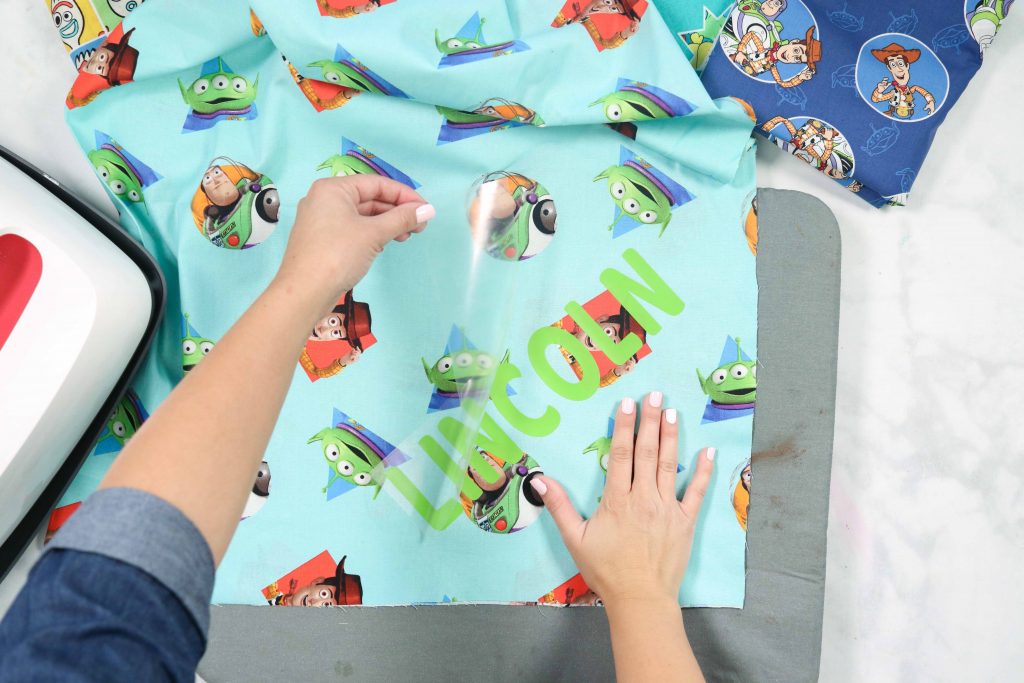
Remove the iron and allow the Iron-On to cool before slowly peeling away the protective liner at a 45-degree angle. Check each letter to make sure that all of the edges have adhered completely.
PIN THE FABRICS TOGETHER
With right sides together, pin both fabrics all the way around the blanket. Don’t be afraid to use too many pins! The fabric will definitely shift around while you are sewing it so the more pins/
*If you are using a Sew Lush fabric, faux fur or

USE A WALKING FOOT
If you have a walking foot, now is a great time to use it! Sewing with thick fabrics can be a bit tricky because they like to shift around. The walking foot will help feed both of the fabrics evenly which makes your job that much easier!
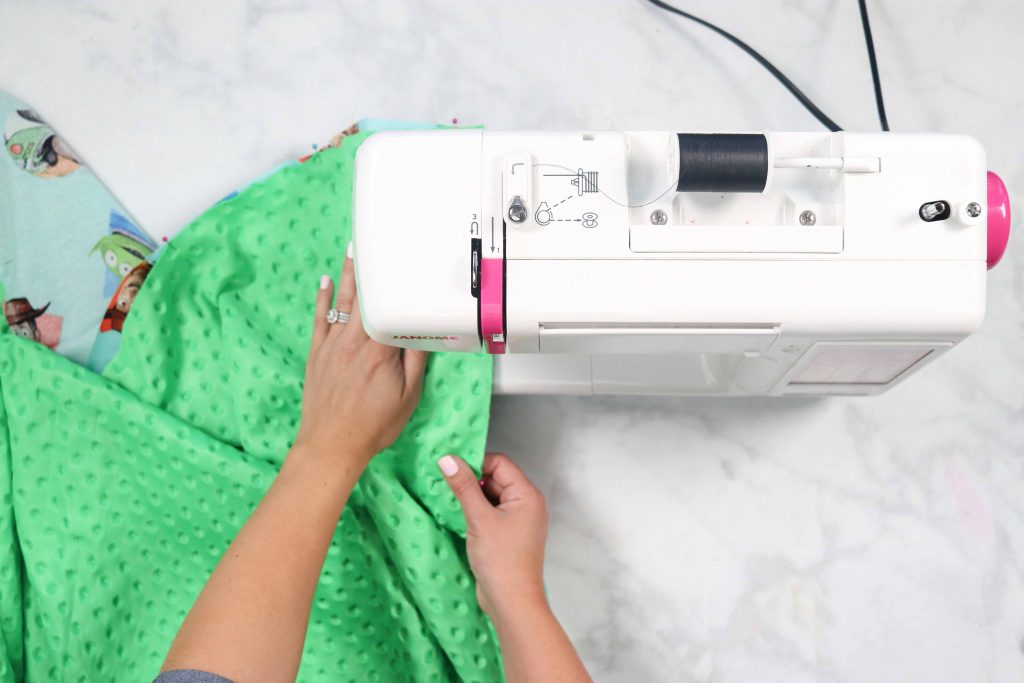
SEW THE BLANKET
Using a 1/2″ seam allowance sew around the entire blanket. When you reach a corner, put your needle in the down position, lift the presser foot and pivot the fabric. Lower your presser foot and continue sewing.
When you are nearing the beginning of your stitching leave a 5-6 inch opening (larger if you are using a heavy fur) for turning. Don’t forget to backstitch at the end and the beginning of your seam! This will lock the stitches in so that they don’t unravel while you are turning your project right side out.
TURN RIGHT SIDE OUT
Push your hand through the opening and grab the furthest corner, pulling it through the opening to turn the blanket right side out. Use your pointer finger to push each corner out from the inside.
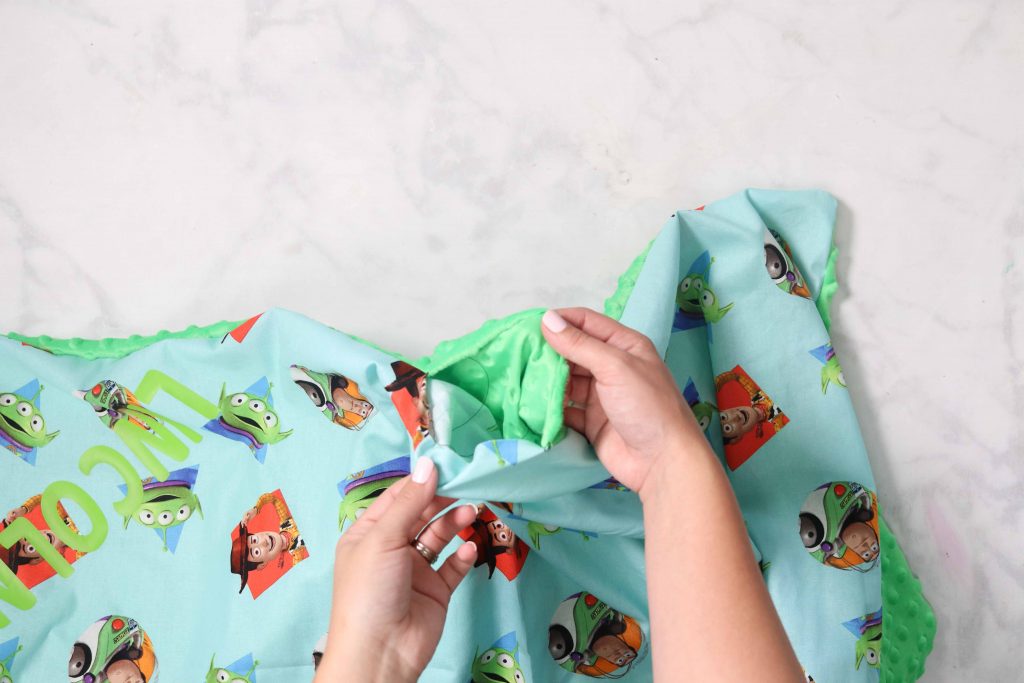
CLOSE OPENING
Draw a line of Beacon Fabri-Tac glue along the opening to help secure the fabrics together. Press the two fabrics together with your fingers to create a tight seal.
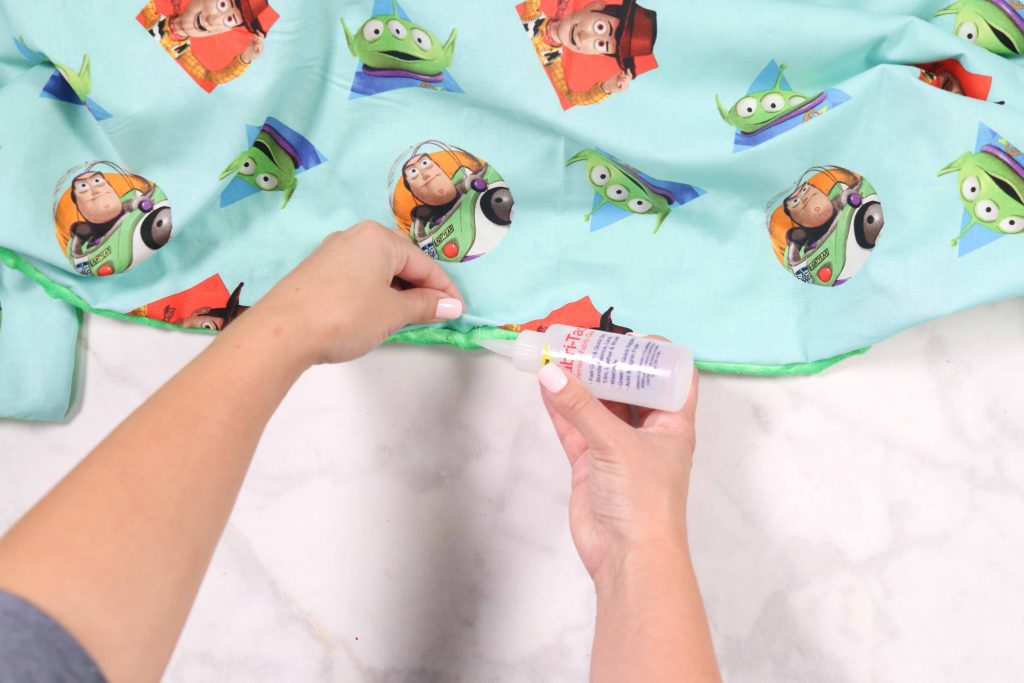
Use an Iron to press the entire blanket, taking care not to go over the Iron-On design.
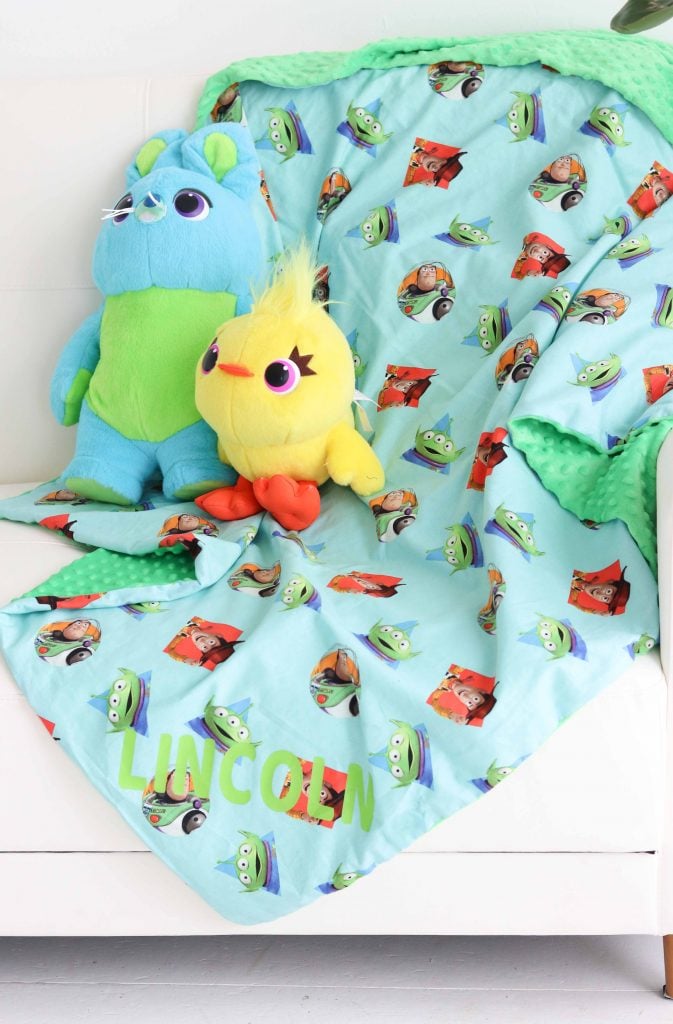
Now you have a super snuggly Toy Story 4 blanket! I can't wait to see what you create with this tutorial.


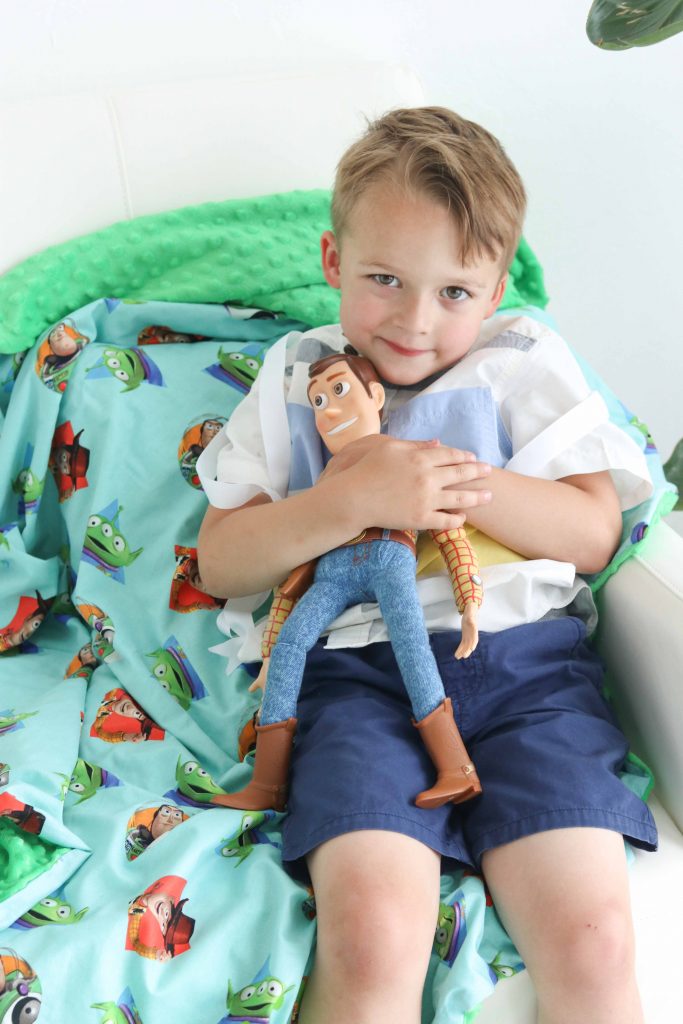
My husband kept his Woody doll from 1995 when the first Toy Story movie released and gave it to our son, Lincoln. I just love how this series of movies
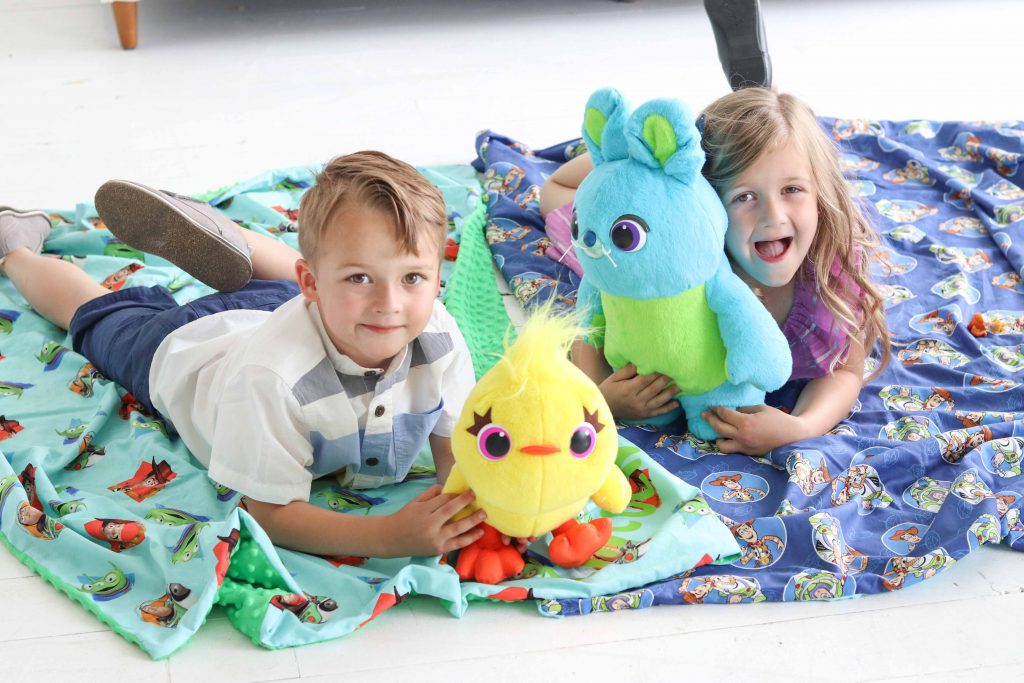
Make sure to join my Crafting & Sewing FB group and share what you are making with us!

Leave a Reply