Find Out What Adhesive Vinyl Is, How to Choose the Right Type for Your Project, Cut It Correctly, Weed It, and Apply It for Lasting Results.
Adhesive vinyl is a staple for all Cricut crafters. I'll teach you everything you need to know about Vinyl in this post.
Table of Contents
What is Adhesive Vinyl?
First off, Vinyl consists of two different parts.
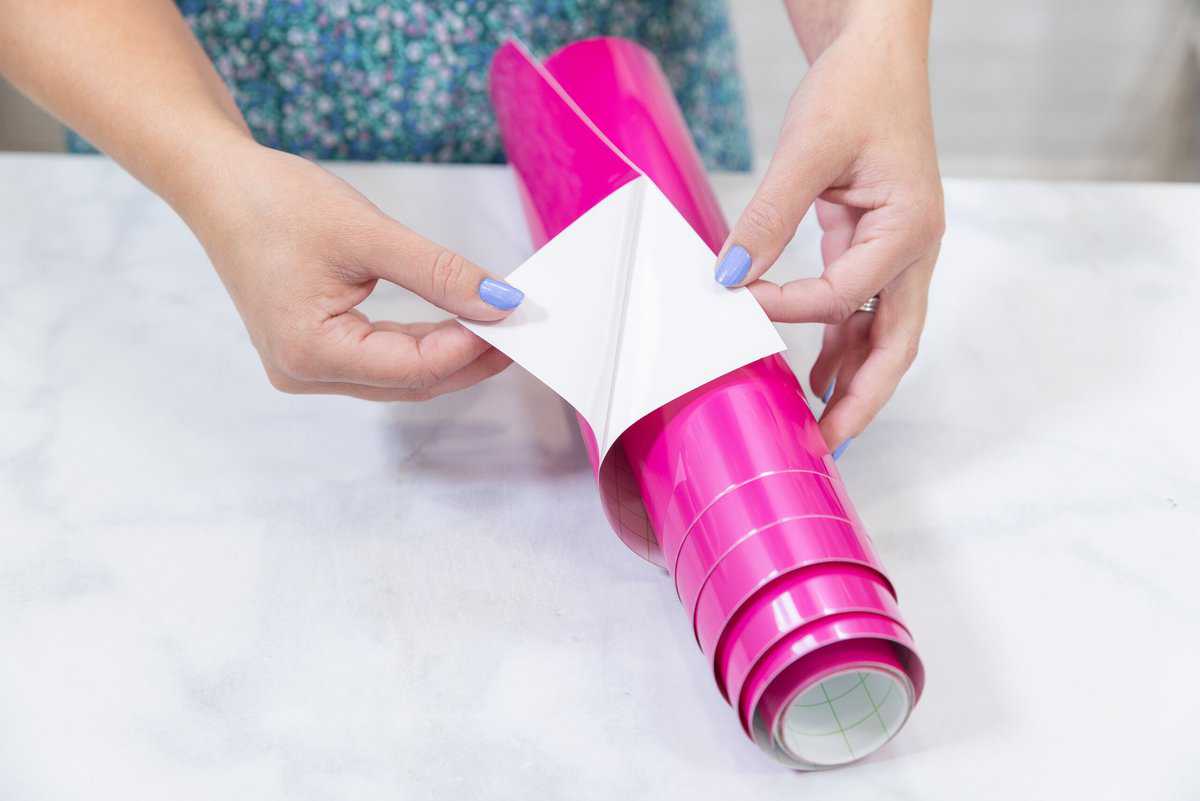
The top layer is the actual vinyl which has a sticky adhesive backing. This is the material you will be cutting and applying to create your project.
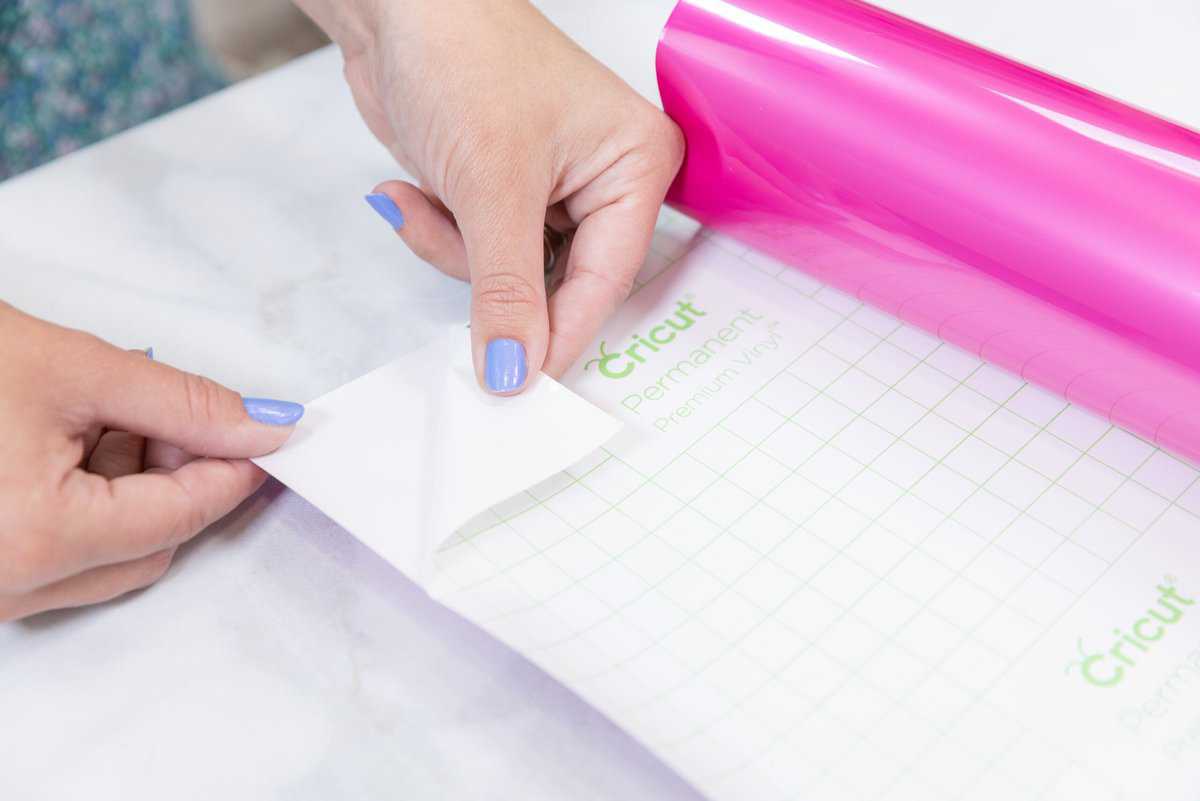
The second layer is a paper carrier sheet liner. You can think of vinyl as being similar to a sticker. On top, you have the sticker and on the back, you have a paper carrier that prevents it from accidentally sticking to things.
Vinyl can be applied to the majority of flat surfaces. It works best on non-porous items like walls, glass, and plastic.
Click here to see projects that use Vinyl and get free SVG files.
Vinyl vs Iron-On
Now, you don’t want to confuse Vinyl with Iron-On. Iron-on or Heat Transfer Vinyl is a heat-activated vinyl that is primarily used on clothing. It requires an iron or a heat press to activate the adhesive backing. A simple way to tell the difference between the two is to look at the back of the vinyl.
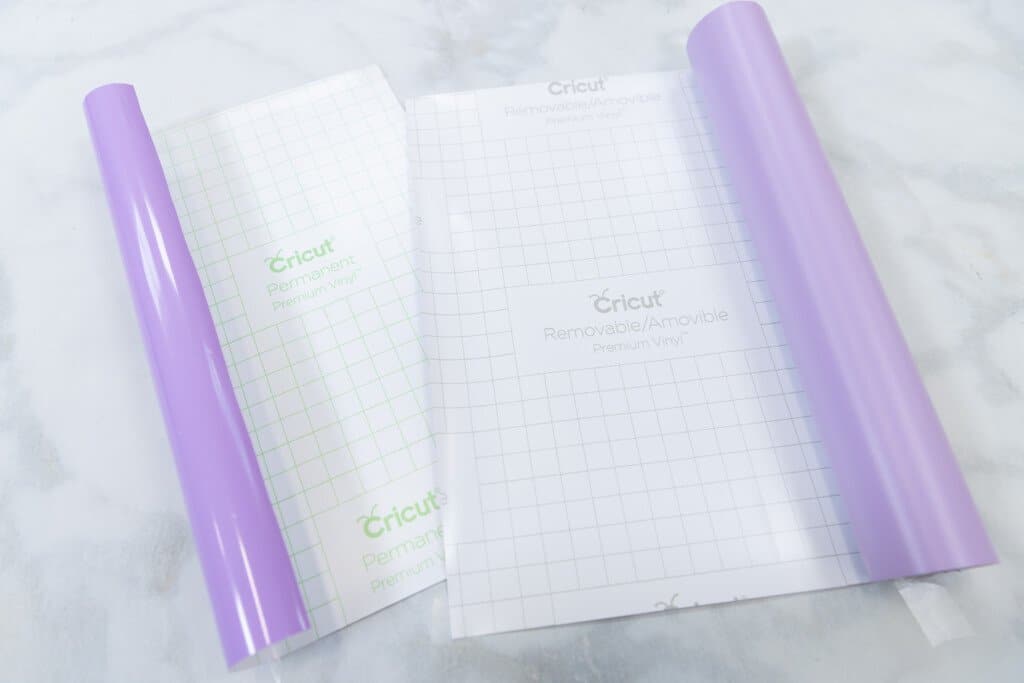
Heat Transfer Vinyl has a clear liner on top and the actual vinyl layered underneath. Adhesive vinyl (removable and permanent) has a paper carrier sheet with a grid.


For more information on the difference between Heat Transfer Vinyl and Adhesive Vinyl, check out THIS POST!
Removable vs Permanent Vinyl
Adhesive Vinyl comes in a variety of types which can basically be broken down into two main categories: Removable and Permanent.
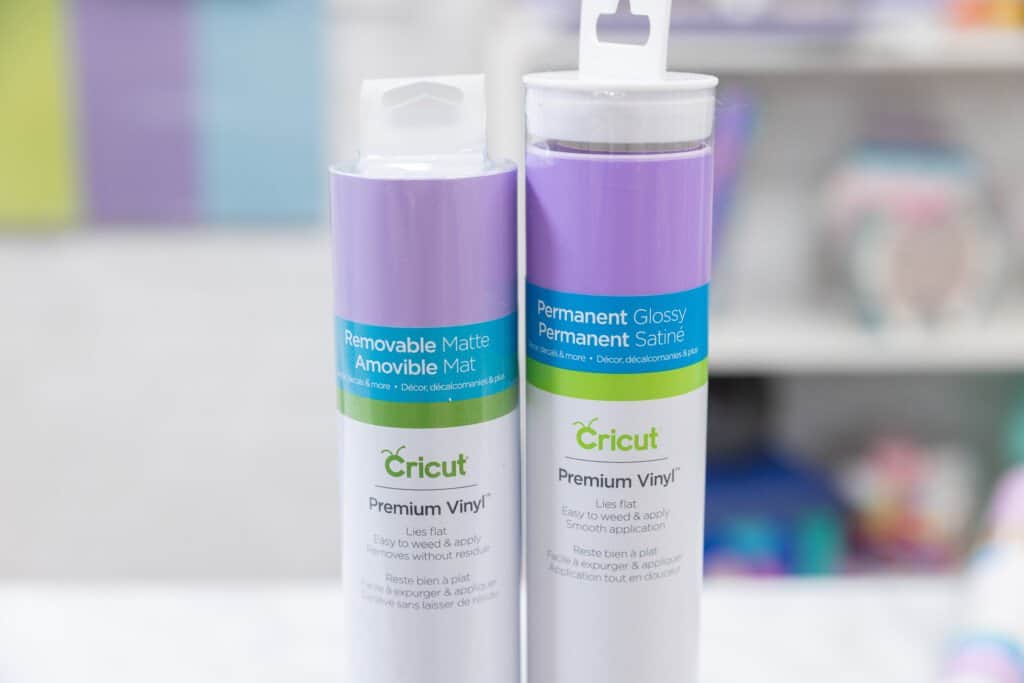
Removable Vinyl is ideal for temporary decor. It does not leave a residue behind and can easily be changed from season to season. It’s great for temporary wall decals or seasonal projects.
Cricut Removable Vinyl features a gray grid that's printed along the paper carrier sheet.
Permanent Vinyl has a long-lasting adhesive bond and it is ideal for projects that will undergo more wear and tear. So think of projects like mugs, cups, and even windshields.
Cricut Permanent Vinyl features a green grid that's printed along the paper carrier sheet.
Vinyl Finishes
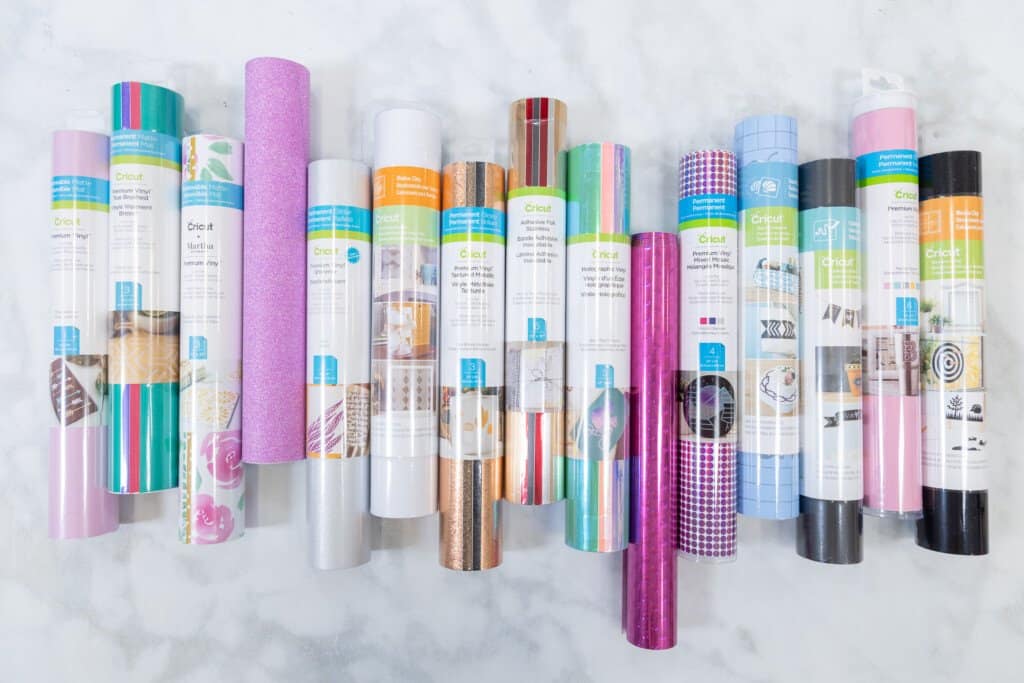
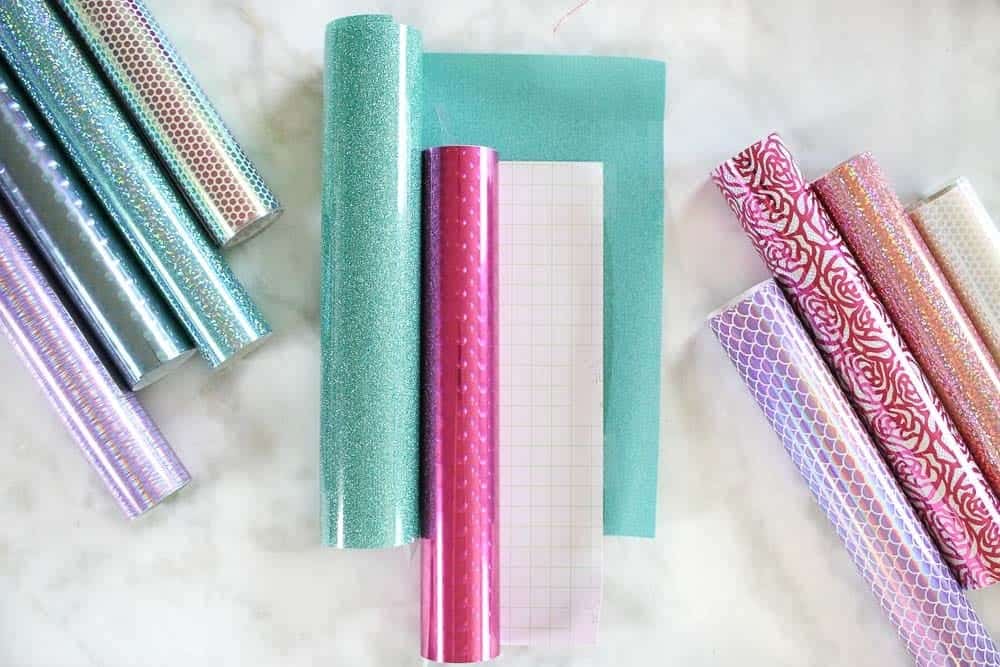
In addition to different strengths, vinyl comes in a wide variety of finishes. Chances are if you're looking for a specific type of vinyl for a project, you'll be able to find it and a handful of other good options!

- Matte Vinyl is the type of vinyl I use the most. Matte vinyl comes in a variety of colors and is easy to weed and transfer to your project. I use this all the time for labeling my pantry, crafting room, and my kids’ school supplies.
- True Brushed Vinyl features fine stripes with an embossed texture. This adds a little extra depth and dimension to your project.
- Patterned Vinyl is another favorite of mine. Cricut carries so many different cute patterns, it is so hard to choose a favorite. I love the design Patterned Vinyl adds to any project.
- Glitter Vinyl is a bit tricky to work with, but if you use the StrongGrip Transfer Tape, you shouldn’t have any problems.
- Shimmer Vinyl is perfect for you if you love the look of glitter, but don’t like the glitter trail it leaves behind.
- Frosted Vinyl is translucent, making it great for more elegant projects, like DIY weddings.
- Metallic Vinyl is another one of my favorites. I love the extra dimension it adds to my projects.
- Textured Metallic Vinyl is textured, veined, and shiny, making it great for getting that metallic leaf effect.
- Adhesive Foil is similar to those in the Metallic family and adds shine to any project.
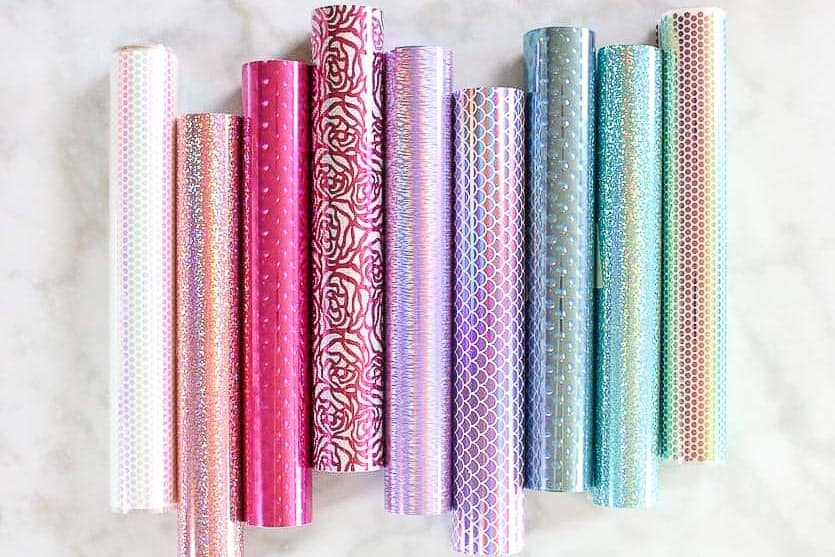
- Holographic Vinyl is sure to catch anyone’s eye. I love using this for making mermaid projects with my daughters. Within the Holographic vinyl, there are a few variations such as crystals, sparkle, and threads. You can see how they have small variations while having a similar base.
- Mosaic Vinyl is another one of my favorites. Mosaic Vinyl comes in a variety of colors and shapes to give you a professional-looking design.
- Stencil Vinyl lets you create personalized stencils to decorate a wide range of projects. This is my go-to when making painted wooden signs.
- Chalkboard Vinyl is great for making labels, message boards, calendars, and any other item you want to change up frequently. Chalkboard Vinyl lets you turn any surface into a chalkboard. Simply write on it with chalk and when you need to erase it, just wipe it off with an eraser.
- Dry Erase Vinyl is ideal for making labels, calendars, or coloring boards for your kids.
- Glossy Vinyl is great for outdoor surfaces and can weather the elements better than other varieties.
- Window Cling Vinyl creates easy-on, easy-off static cling decals and comes in a regular and frosted finish.
Cricut Smart Vinyl
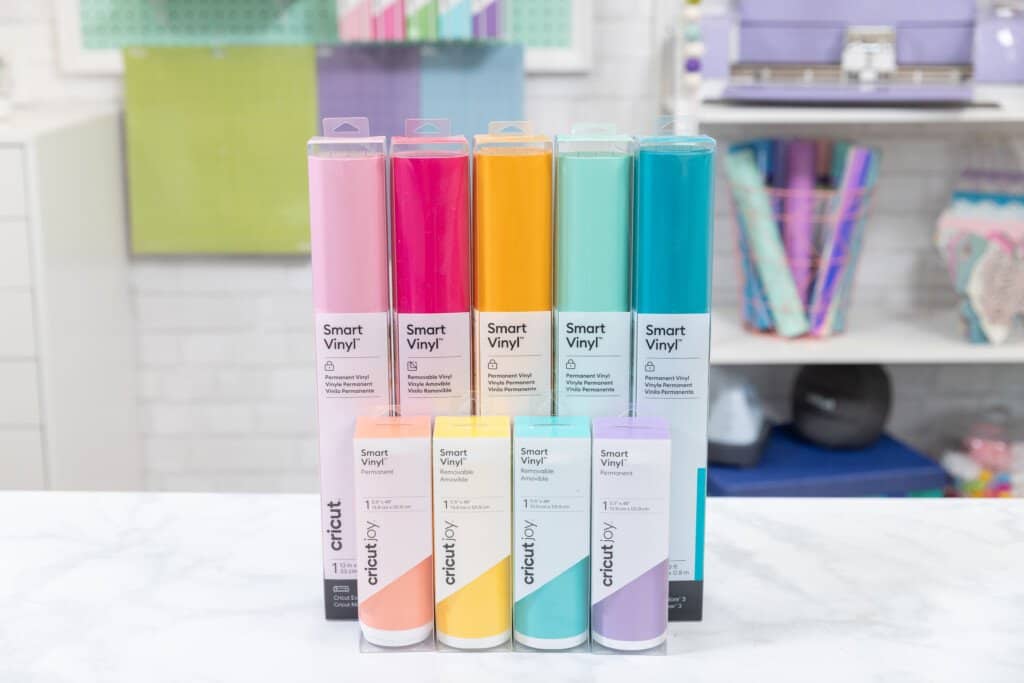
Finally, we have Cricut's new line of Smart Vinyl. Smart Vinyl is compatible with Cricut's three newest machines: The Maker 3, Explore 3, and the Cricut Joy. It features a thicker backing so you can cut without a cutting mat. Just load it directly into your machine and go!
Smart Vinyl comes in a wide variety of finishes like matte, shimmer, and metallic. But, my favorite kind of Smart Vinyl is the Smart Label Writable Vinyl. You can use your machine to write directly onto this vinyl, then cut out labels for your kitchen, craft room, or garage!
While this material was created for the newer machines, it can also be used on the older machines but will need to be applied to a mat.
How Do I Apply Vinyl to a Surface?
Weeding Vinyl
As you can see, there are many different types of vinyl and your surface will help determine the type of vinyl that you want to use for your specific project. Now you're ready to apply your design to your desired surface!
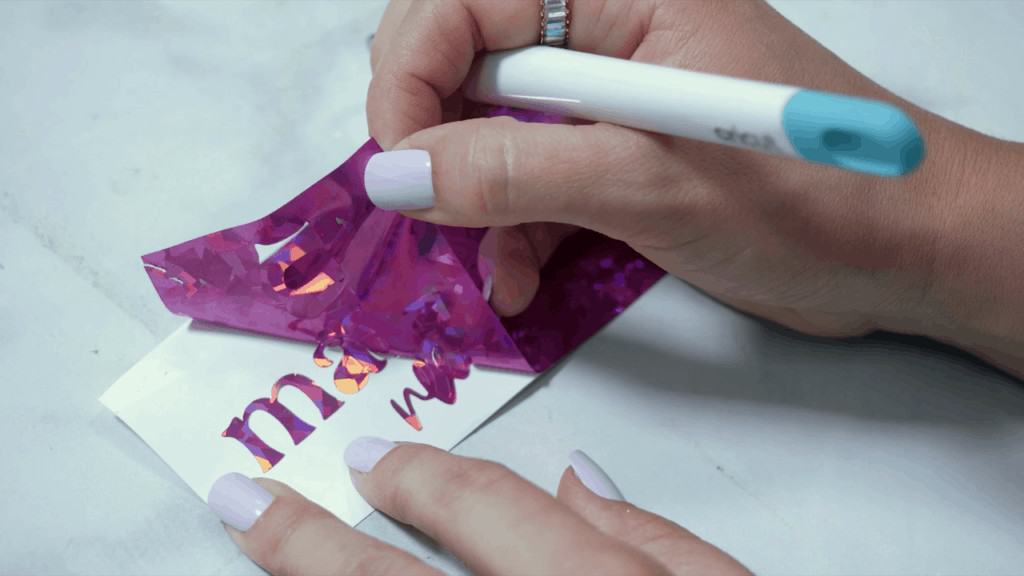
Once you've unloaded your vinyl design from your machine, you want to weed the design. Weeding is the process of removing the excess vinyl from your design. Depending on your design or application, this could be the negative or the positive space. Typically, you'll be removing the negative space. The hooked weeding tool is super helpful for this process.
You can choose to weed the design while it's still on the mat for extra security, this prevents your vinyl carrier sheet from shifting around. You can also remove the vinyl from the mat and weed it on a flat surface.
If you’re using a Smart Vinyl, you won’t need a mat to cut the design, so the paper carrier sheet is a bit thicker, making it easier to weed without a mat behind it.
To weed vinyl, begin by trimming down the excess vinyl around your design. I’m going to do this with a pair of scissors.
This will help you to save vinyl and make sure we don’t waste anything. I always store my extra vinyl scraps in a binder to use on smaller projects.
Next, grab a weeding tool. Cricut has a wide variety of different weeding tools that you can use. If you don’t have one, you can use a sewing pin or even a pair of sharp tweezers.
Starting in the top left-hand corner just outside of the cut lines, press the tip of your weeding tool into the vinyl making sure to only pierce through the top layer. Slide the tip of your weeding tool under the vinyl and gently pull the vinyl away from the paper carrier sheet.
Take your time as you weed your design to be sure you don’t accidentally weed something that needs to stay on the carrier sheet.
You can refer to design space to see exactly what needs to be weeded away from the design.
Transfer Tape
After your design is successfully weeded, Transfer Tape is needed to apply your vinyl design. Transfer Tape is a removable adhesive that allows you to simply transfer your vinyl design to your project surface. Cricut Transfer tape is a clear film printed with a grid that makes it simple to position your design right where you want it.
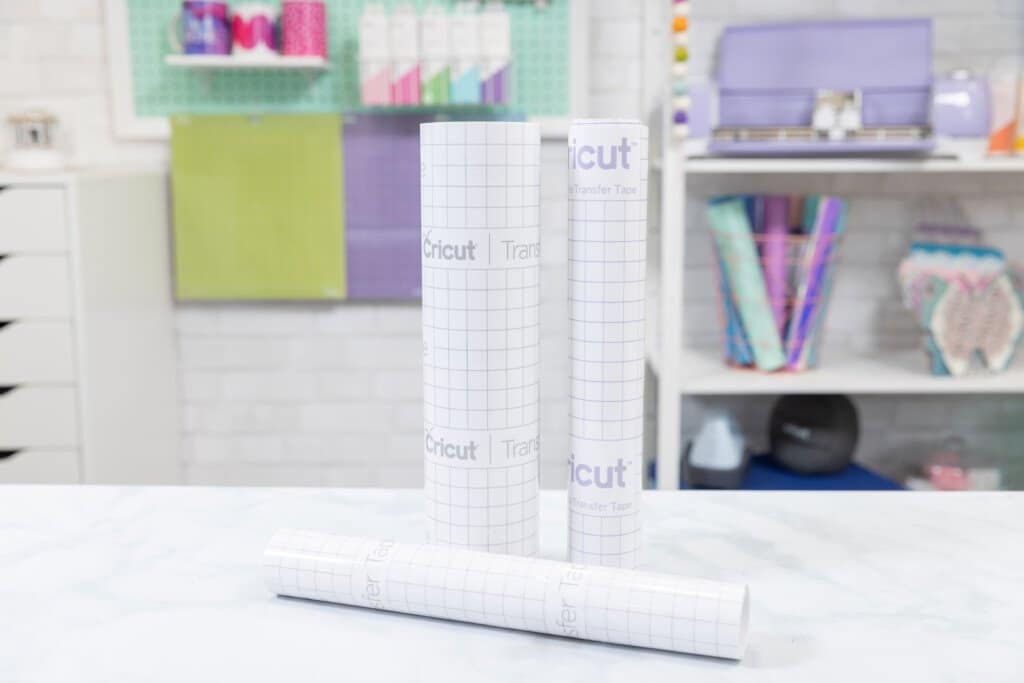
The type of transfer tape that you need depends on the type of Vinyl that you are using. Cricut sells Standard Transfer Tape and a StrongGrip Transfer Tape. For the majority of Vinyl, you will want to use regular transfer tape. For Glitter, Shimmer, or True Brushed Vinyl, use strong grip transfer tape.
You do not want to use StrongGrip Transfer Tape on other types of vinyl as it will be too strong and make it really difficult or impossible to remove from the tape.
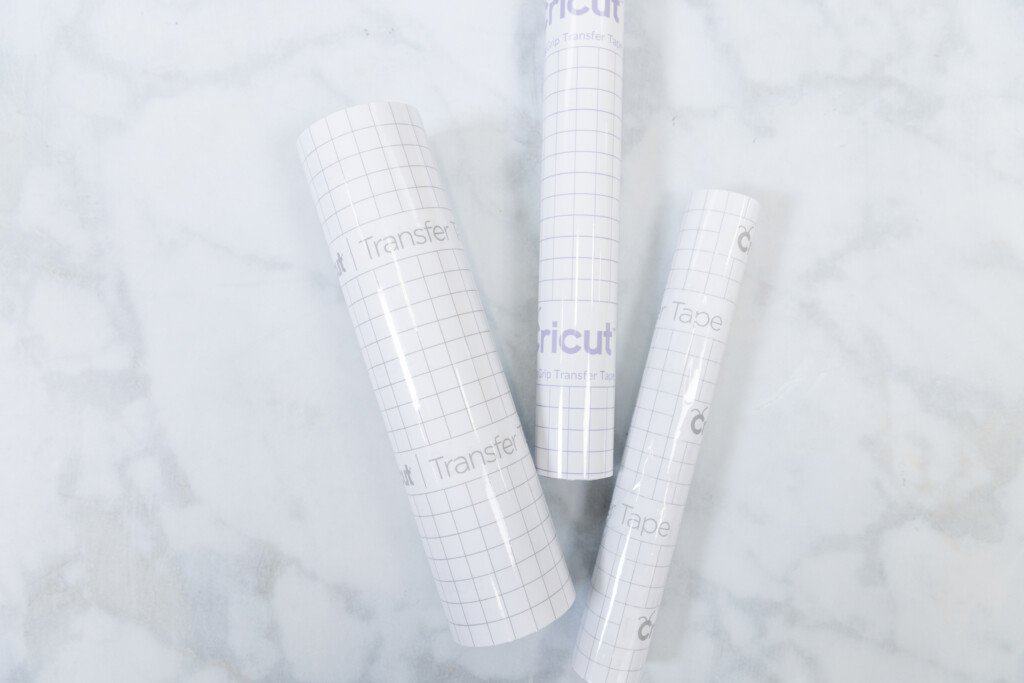
For a more in-depth understanding of how to use and apply transfer tape, take a look at THIS POST.
Where Can I Buy Vinyl?
I typically buy my vinyl from two places: JOANN or Cricut.com. JOANN carries a wide variety of Cricut vinyl. If I can’t find what I’m looking for there, I know that Cricut.com will have it.
What Can I Make With Vinyl?
Vinyl is one of the most versatile materials out there. You can use it to create custom mugs, label your pantry, design one-of-a-kind signs, and more.
Check out some of my Cricut vinyl projects HERE.
Don’t forget to join my crafting Facebook group where you can show us what you’re making, ask questions, and learn from others! Come follow me on Instagram for daily crafting inspiration and a look behind the scenes.
Don't want to forget about this post? Save it for later! Click here to save this post to Pinterest.

Leave a Reply