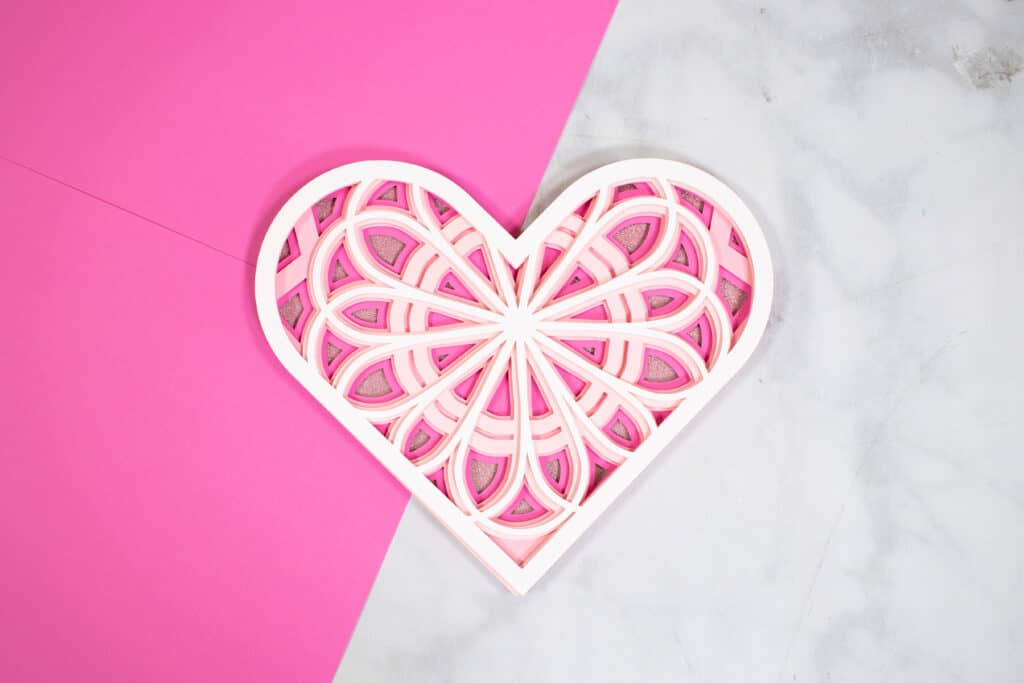
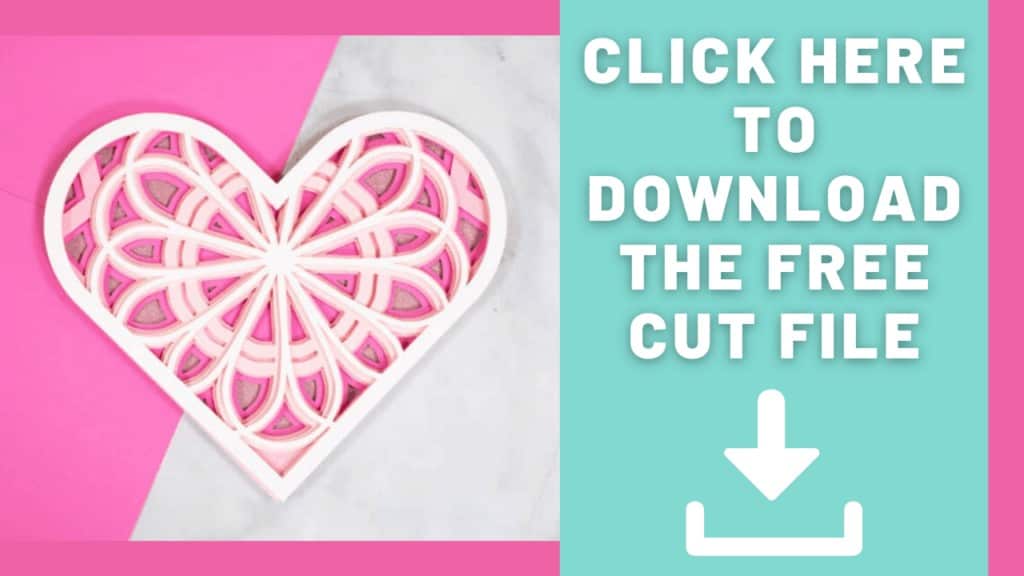
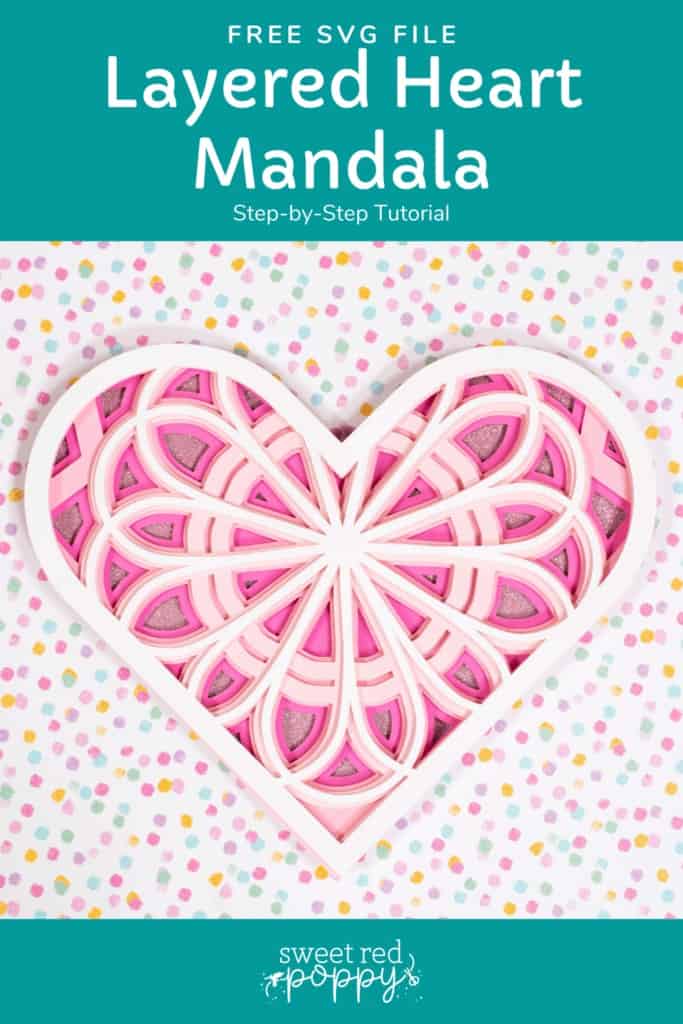
Download this FREE Layered Heart Mandala SVG cut file and make a fun and easy 3D paper heart mandala.
Layered mandalas are one of my favorite things to design and make. This layered heart mandala is great for decorating for Valentine's Day, place it inside of a shadow box, or even use it to add a pop of color to the front of a card.
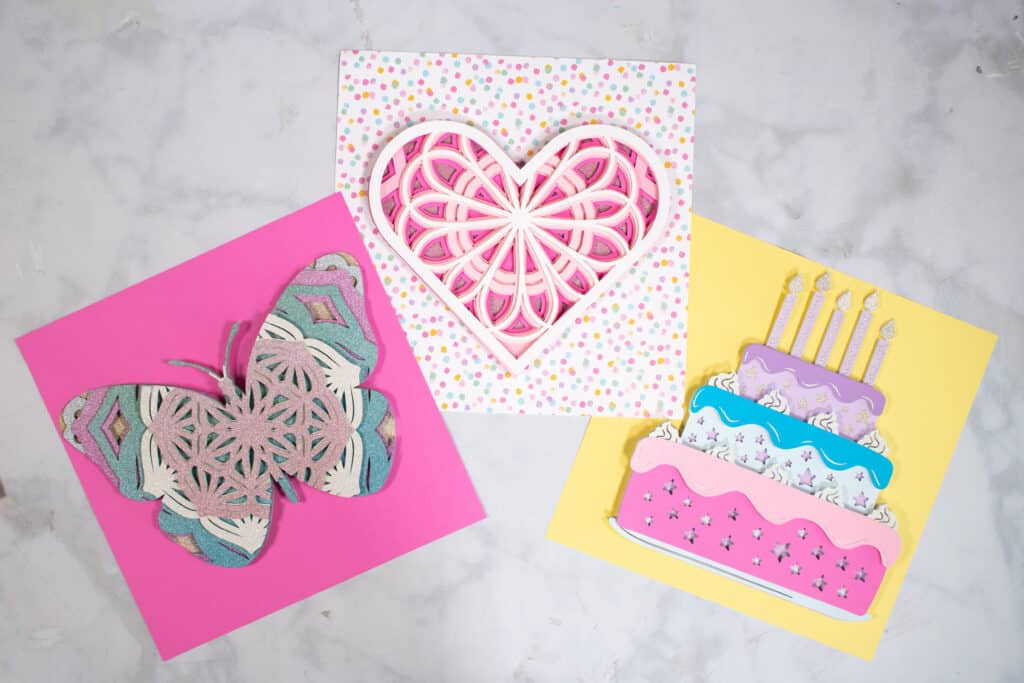
It's even more fun when you can turn them into different shapes like my Birthday Cake Mandala and Butterfly Mandala
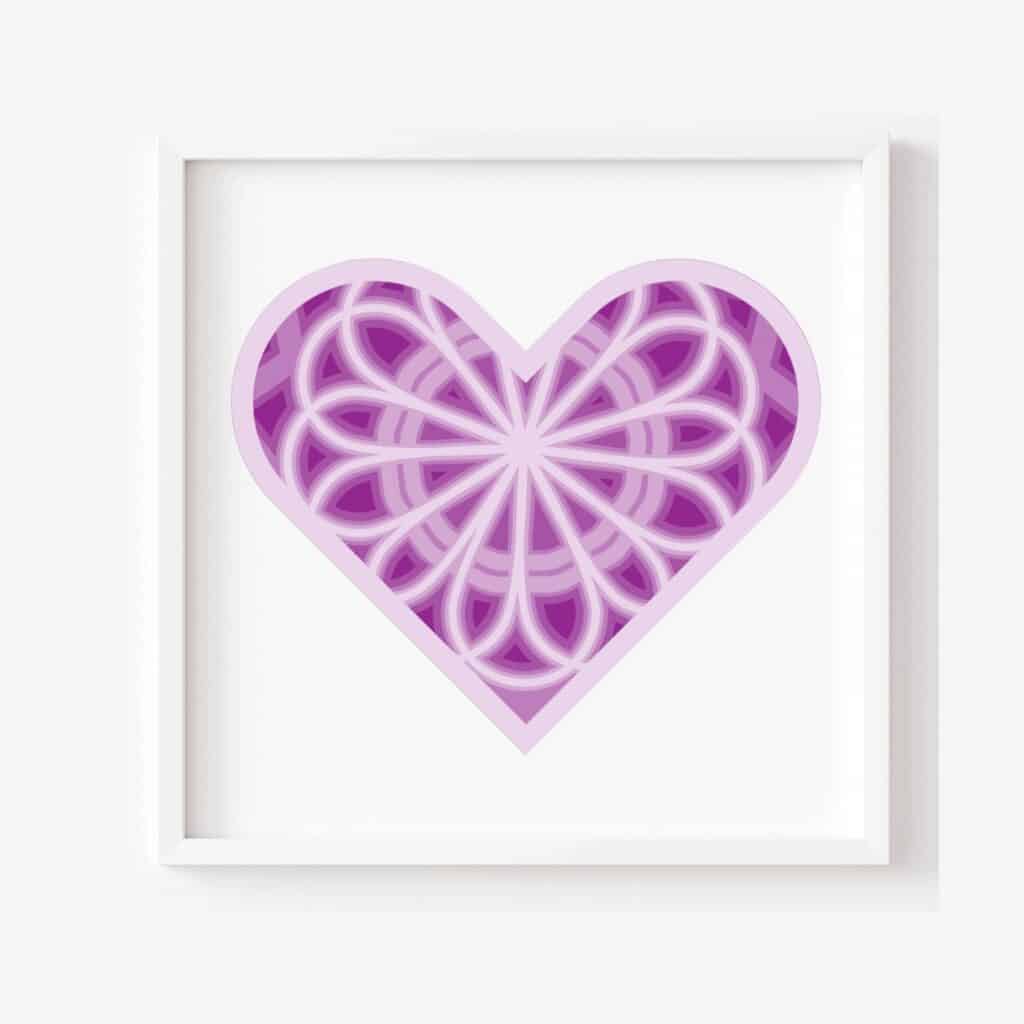
This simple and easy 3D layered heart is a perfect addition to my Layered Mandala designs. You can check out all of my Layered Mandalas HERE.
Click here for the Butterfly Mandala. Click here for the Birthday Cake Mandala.
This design has five, easy-to-cut layers and can be cut on a Cricut Maker, Explore, or Joy - simply resize the design depending on the size of your design.
This 3D heart comes in multiple layers and includes SVG, EPS, DXF, and PNG cut files so you can cut this design on a Cricut, Silhouette, or other cutting machines.
Table of Contents
How to Make a Layered Heart Mandala
Follow these easy steps to make a Layered Heart Mandala using Cricut Design Space and your Cricut cutting machine.
Supplies
For this project, you need:
- FREE Layered Heart Mandala Cut File (link below)
- Cricut Explore or Cricut Maker
- Fine-Point Blade
- StandardGrip Mat
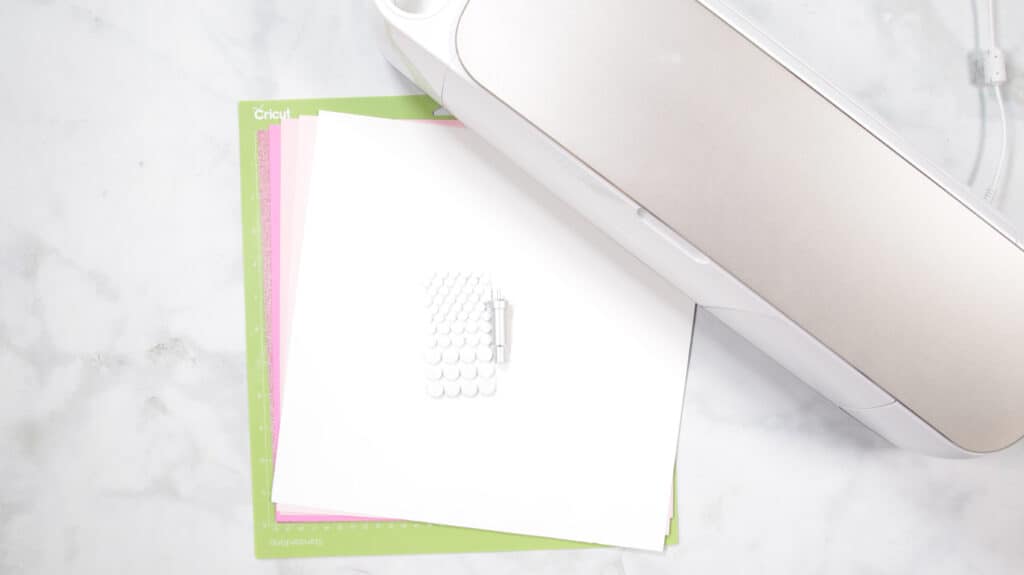
- Cardstock
- Foam Adhesive Dots 0.25-inch circles for the bottom layers and 0.12-inch circles for the top layers
Why Shop Through My Links?
When you shop through my affiliate links, it doesn't cost you anything extra, but it helps me out in a big way! I earn a small commission from those purchases, and that support allows me to continue creating and sharing free tutorials and patterns for you. Thank you so much for helping me keep this creative community going! 💕
Download the FREE SVG Files Here!
Step 1 - Upload SVG File to Design Space
If you haven't already, click HERE to download my FREE Layered Heart Mandala SVG File.
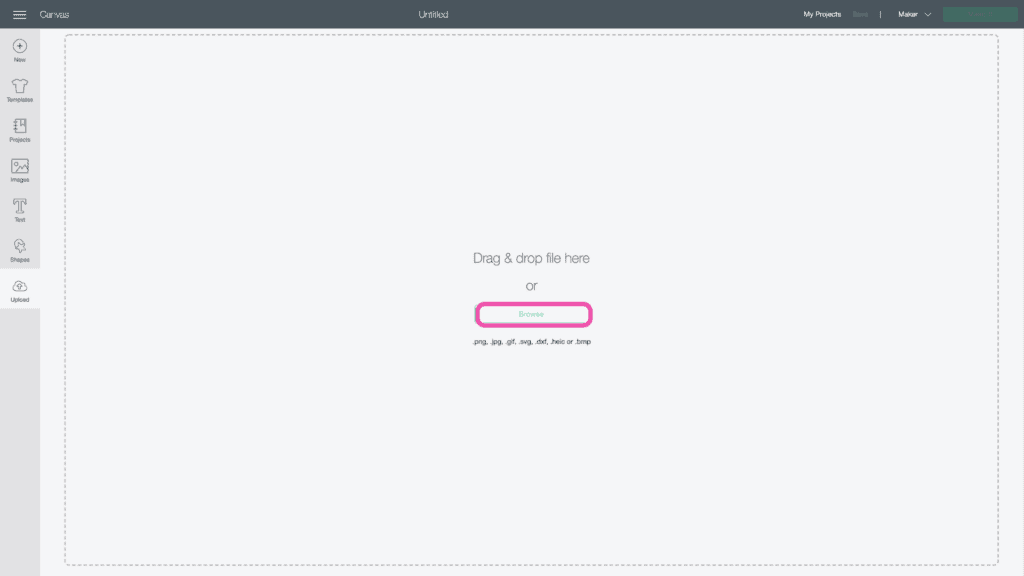
Within your Design Space canvas, select "Upload."
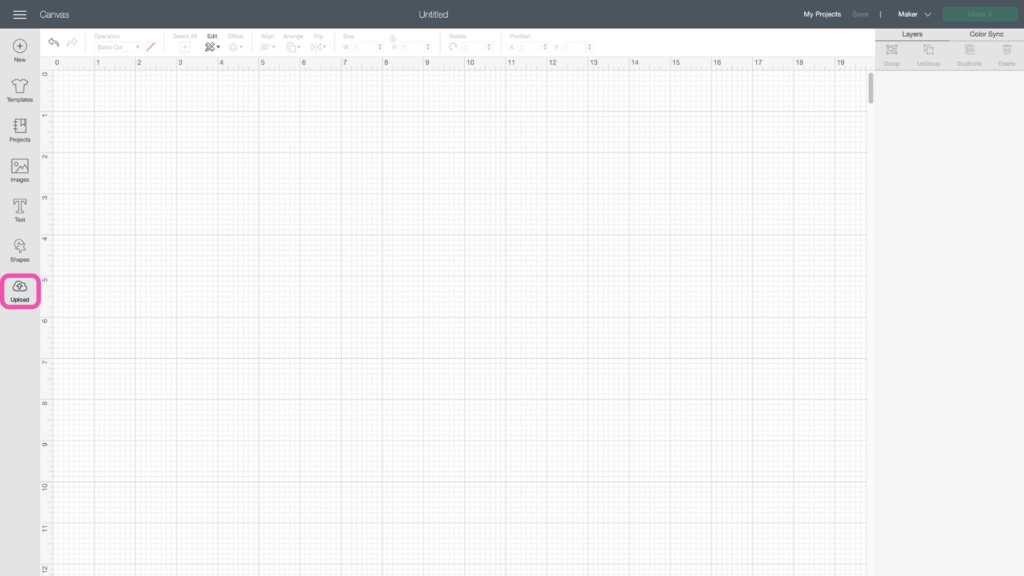
Click “Upload Image."
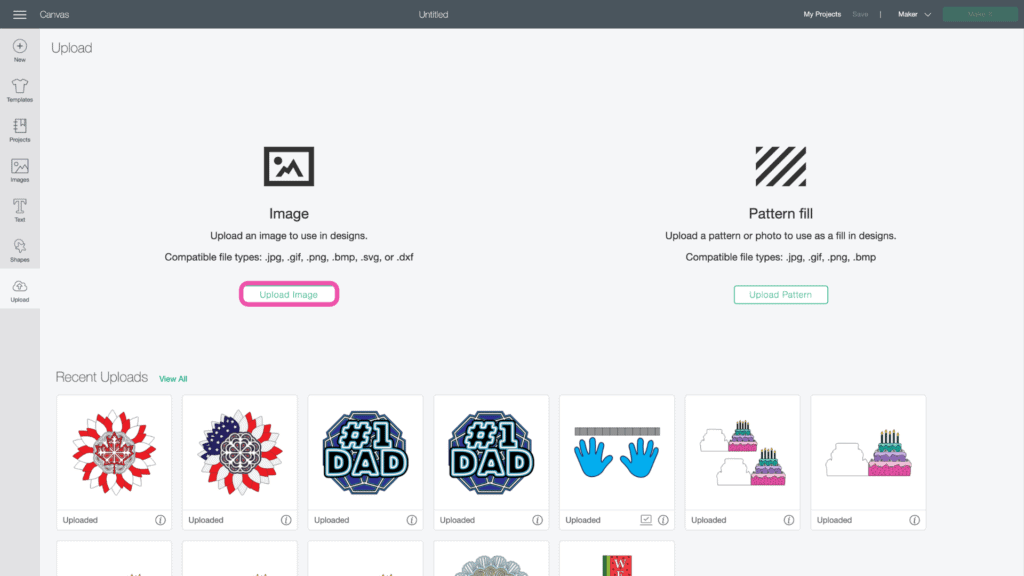
Click "Browse."
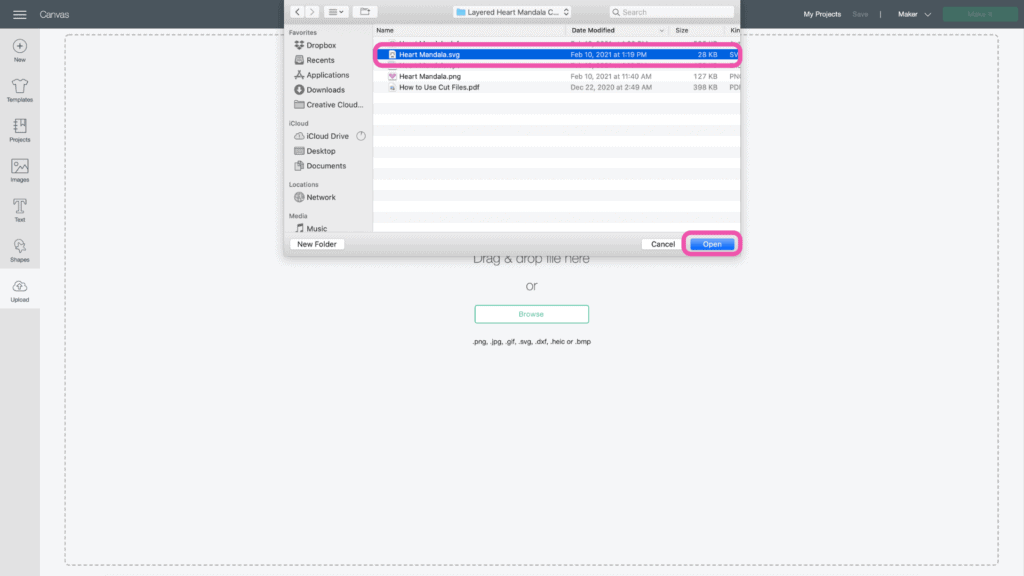
Navigate to the file on your device to upload it to Cricut Design Space.
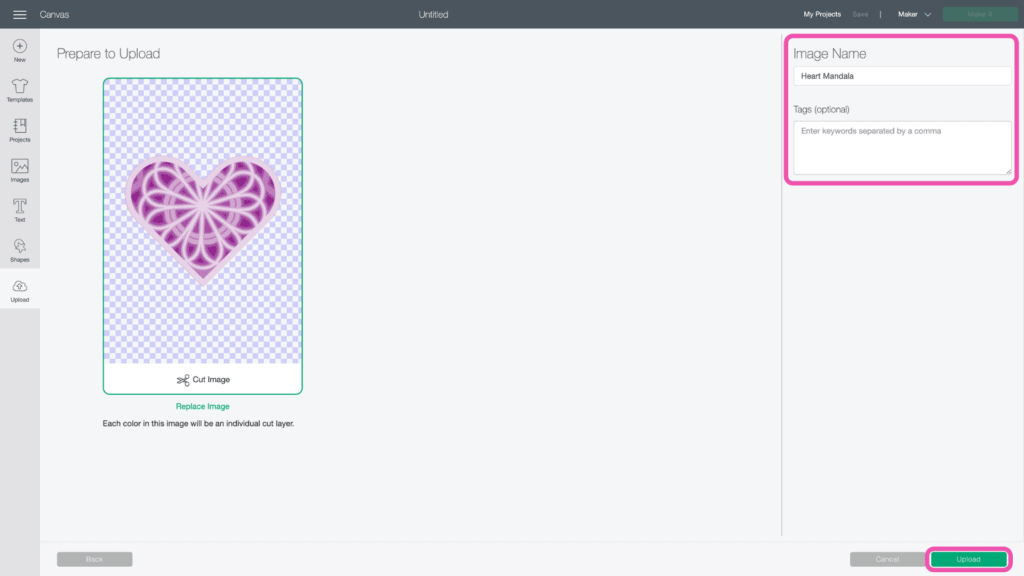
Here you can change the name and add tags. Click "Save."
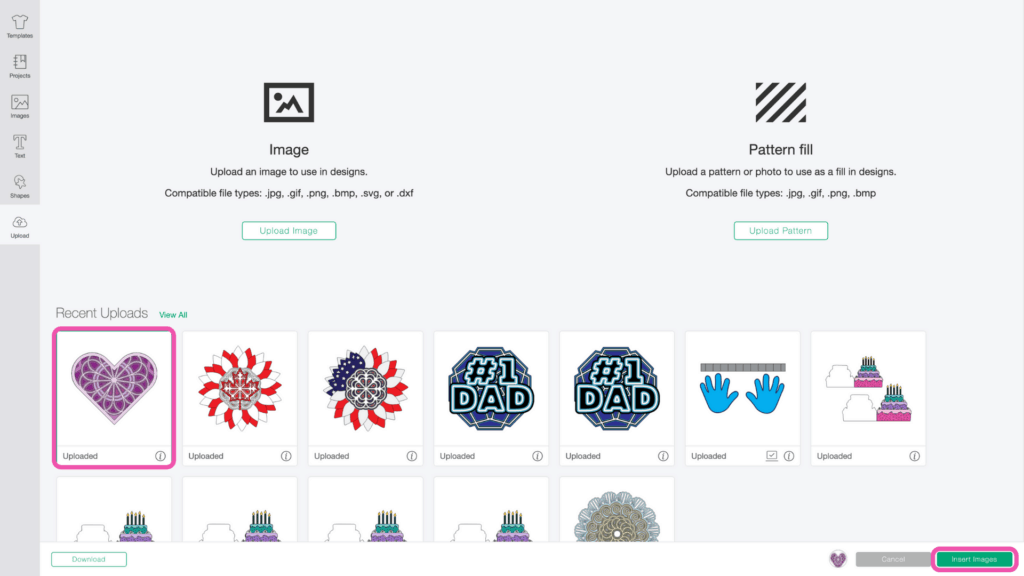
Once you have the file uploaded, select it and click "Insert Images" to bring it onto your canvas.
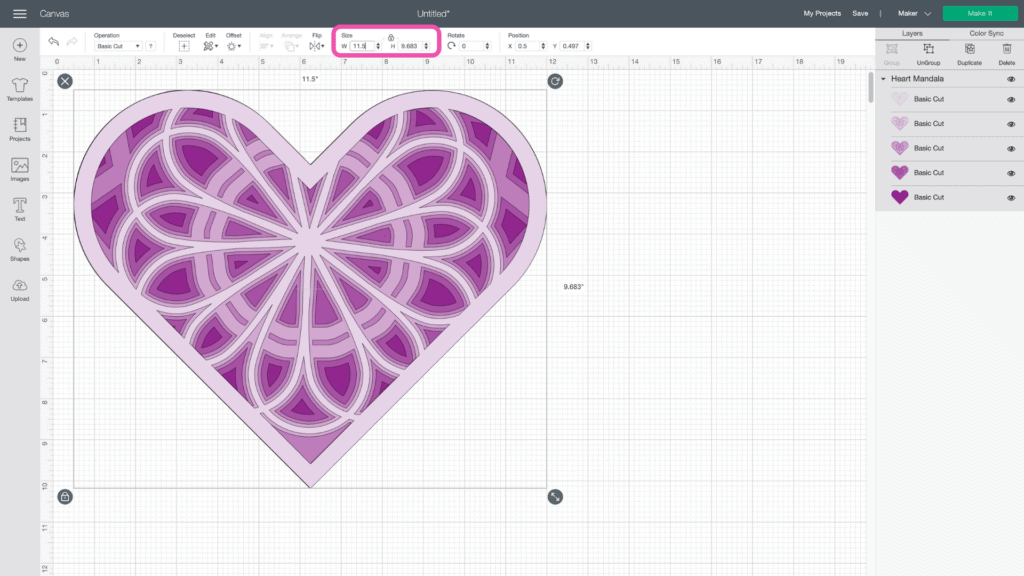
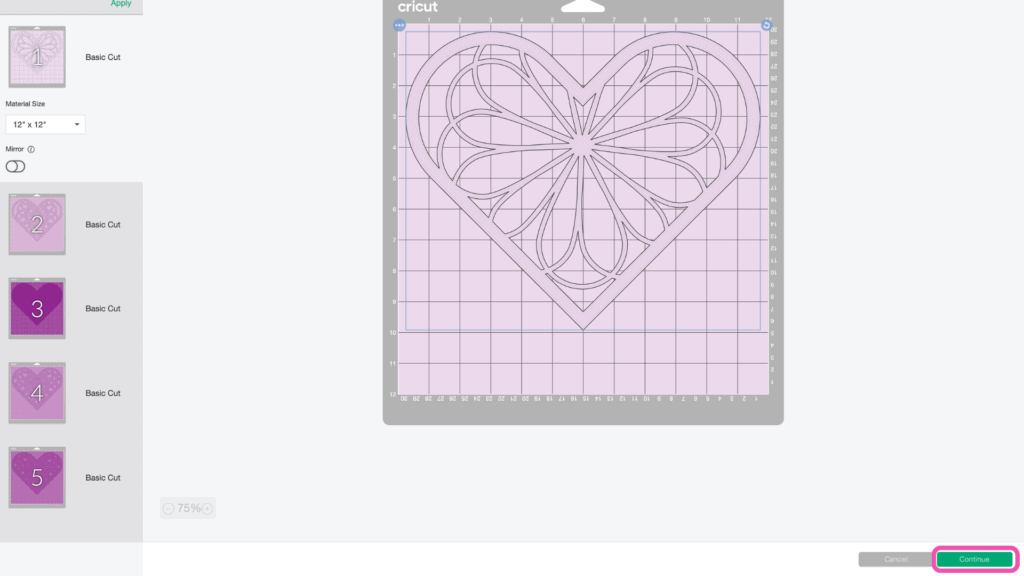
Step 2 - Resize Design
All of the layers are seen in the Layers Panel on the right side of your screen.
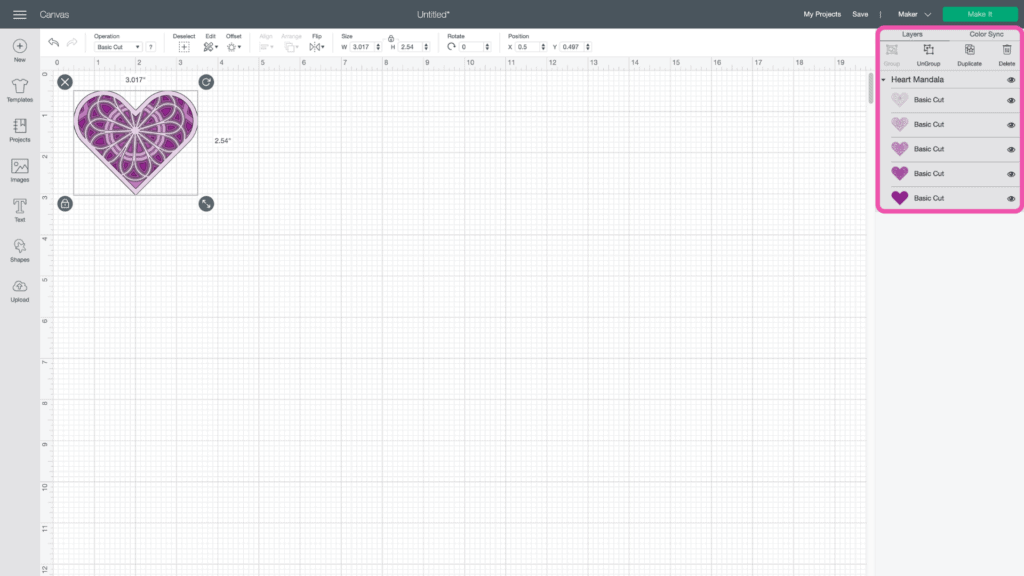
Keep the layers grouped and enter the size you want the mandala to be.
Now you're ready to cut the design! Click “Make It” in the upper right-hand corner of the screen.
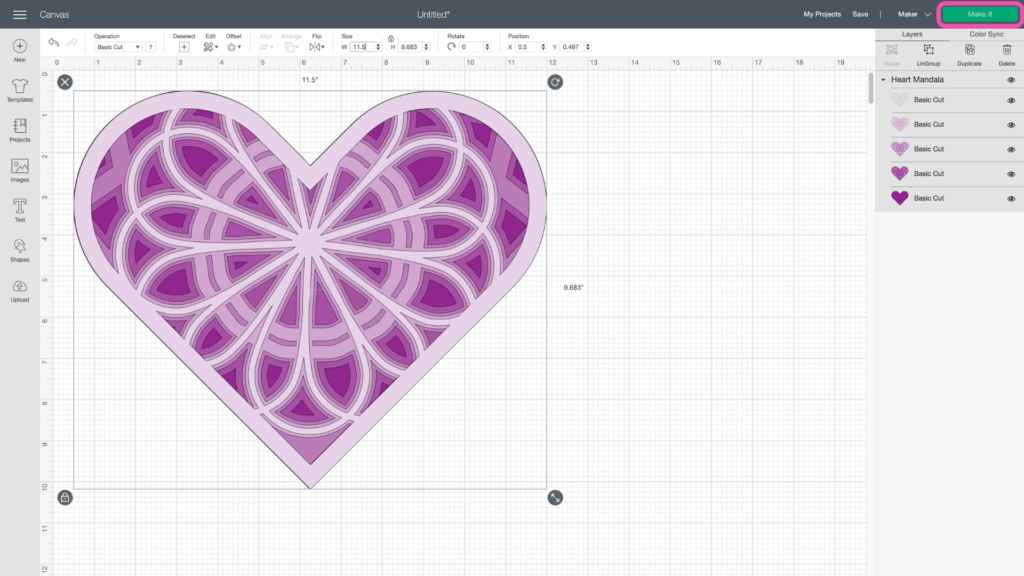
This brings you to the preview screen.
Click “Continue.”
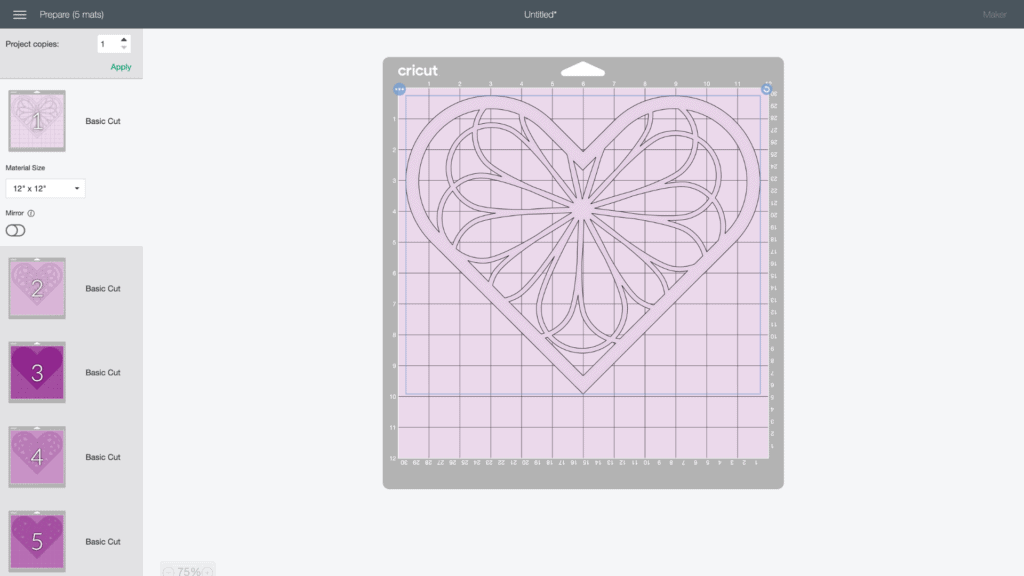
Connect to your machine and select your material within Design Space.

Ensure your Fine-Point Blade is loaded into your machine.
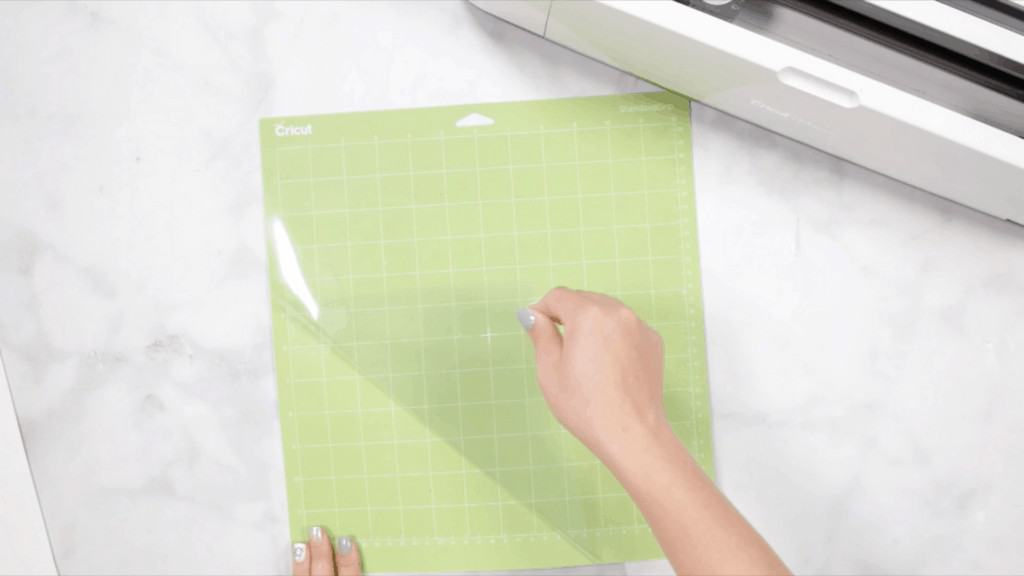
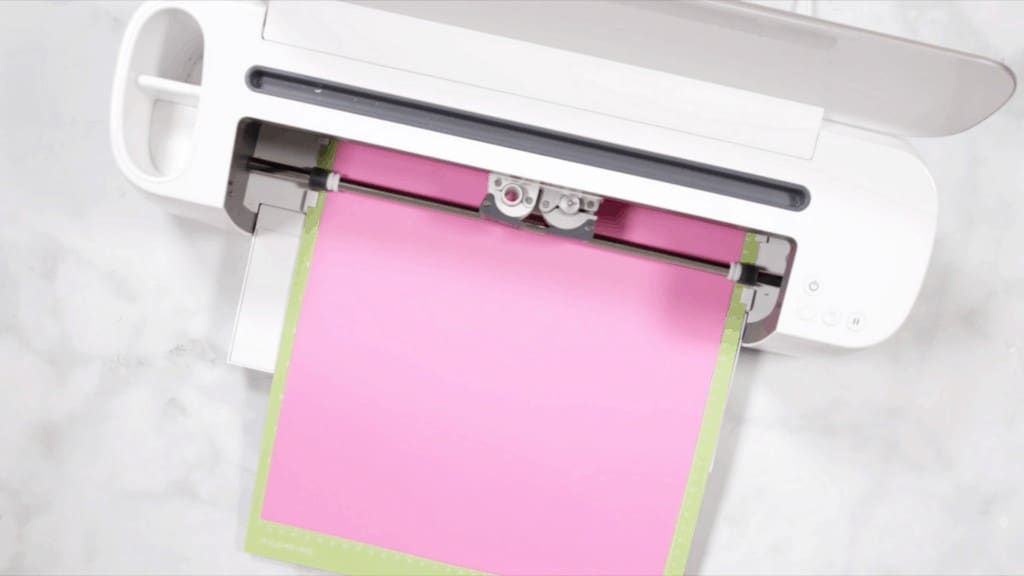
Step 3 - Cut Out Design
Peel the clear liner away from your mat.
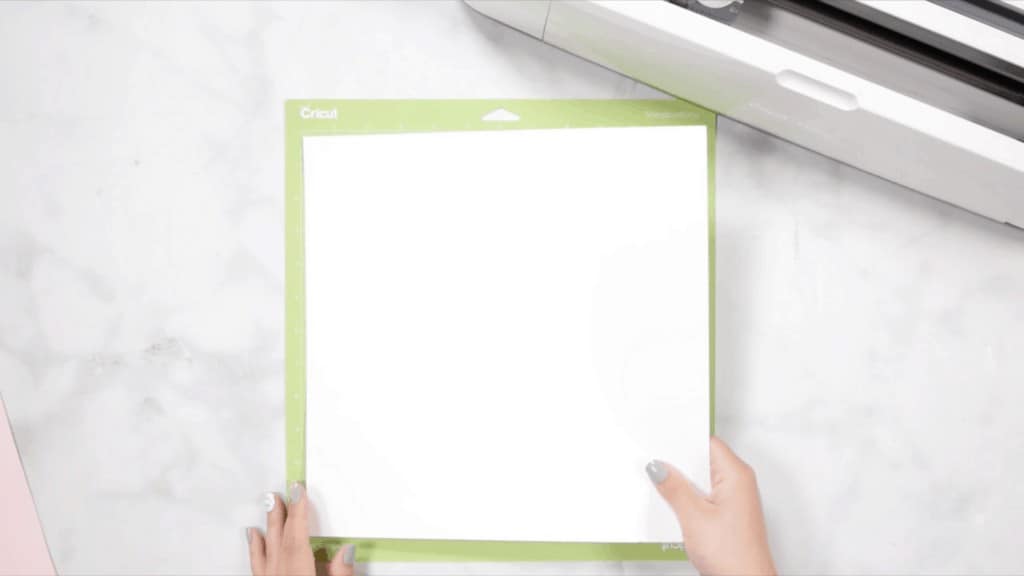
Following Design Space’s prompts, place your first color of card stock on your mat.
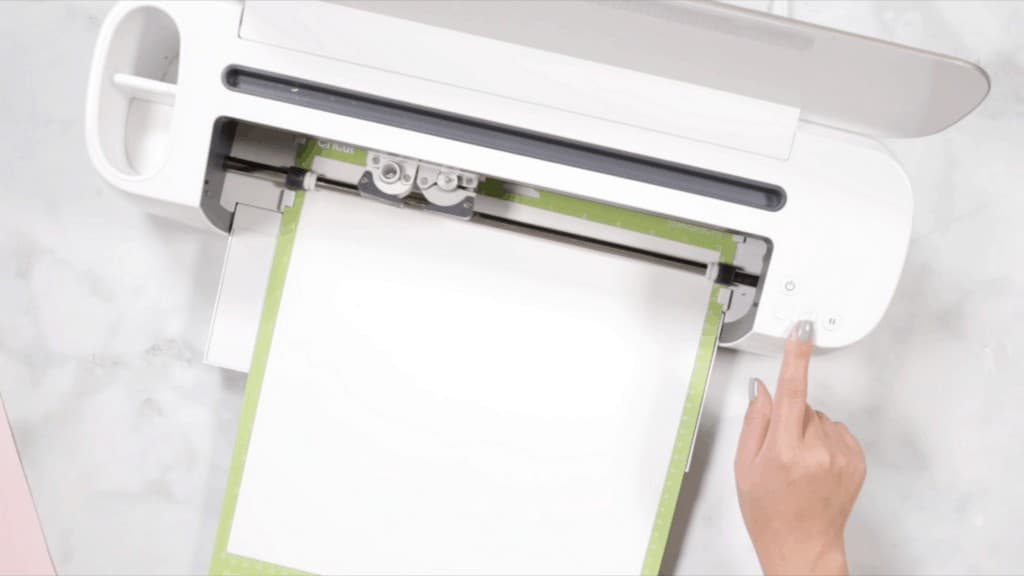
Press the load button to load the mat into your machine. Press the start button to begin the cut.
Once your first cut is complete, unload the mat.
Following the prompts in Design Space, place the second color of cardstock on your mat.
Continue to load, cut, and unload the rest of the cuts until you have all of the elements cut out.
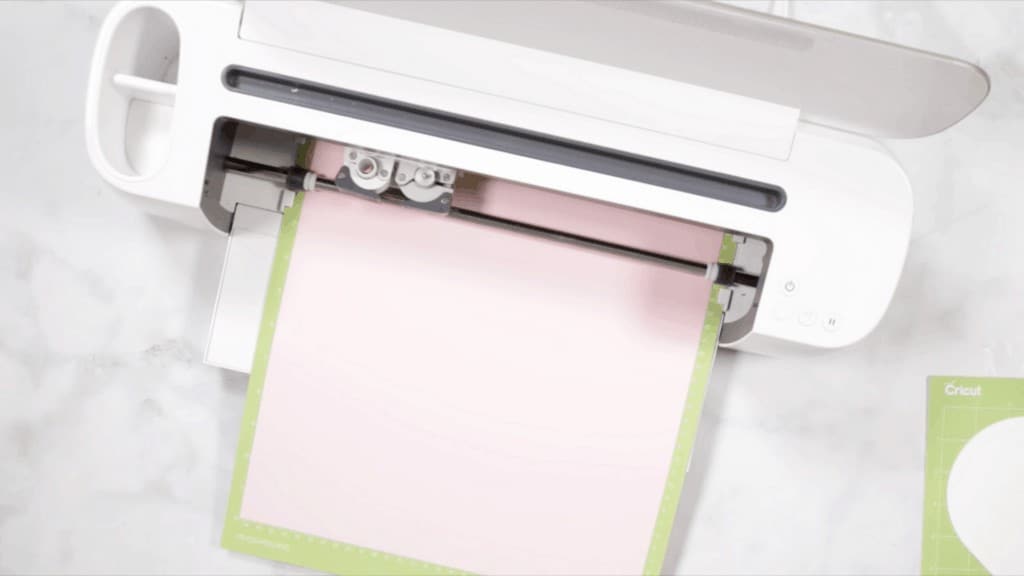
Carefully peel your mat away from the cardstock to avoid tearing or rolling your cardstock.
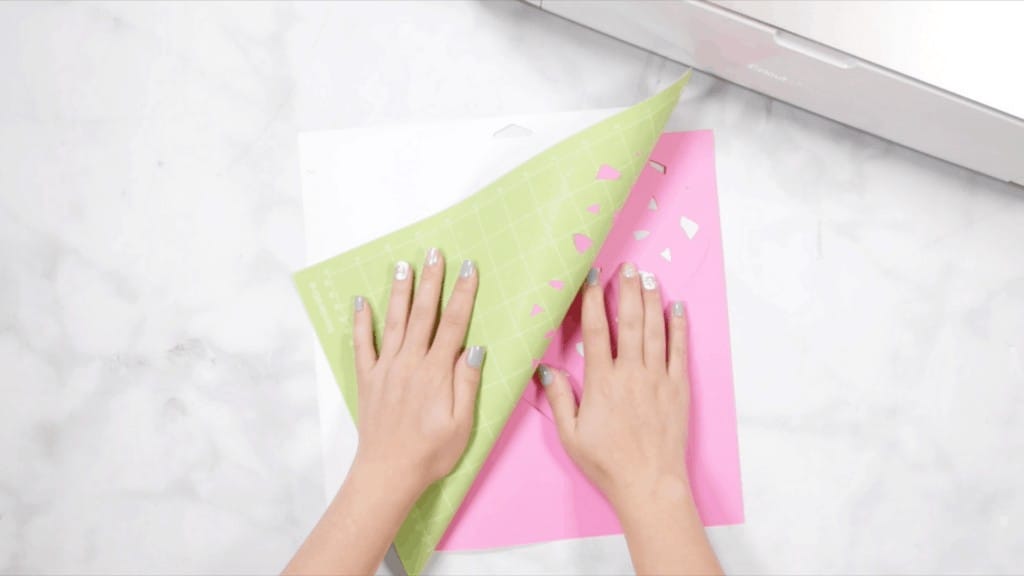
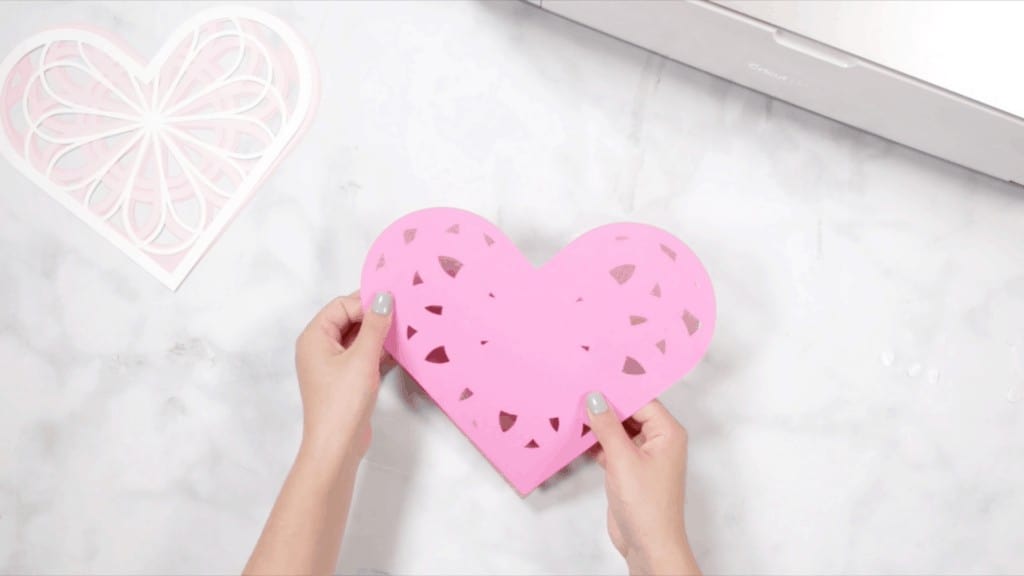
Step 4 - Assemble Layered Mandala
After you cut the design, use the foam adhesive to put it together. It’s best to use the adhesive in the same spot on each layer to get an even rise and 3D layered look.
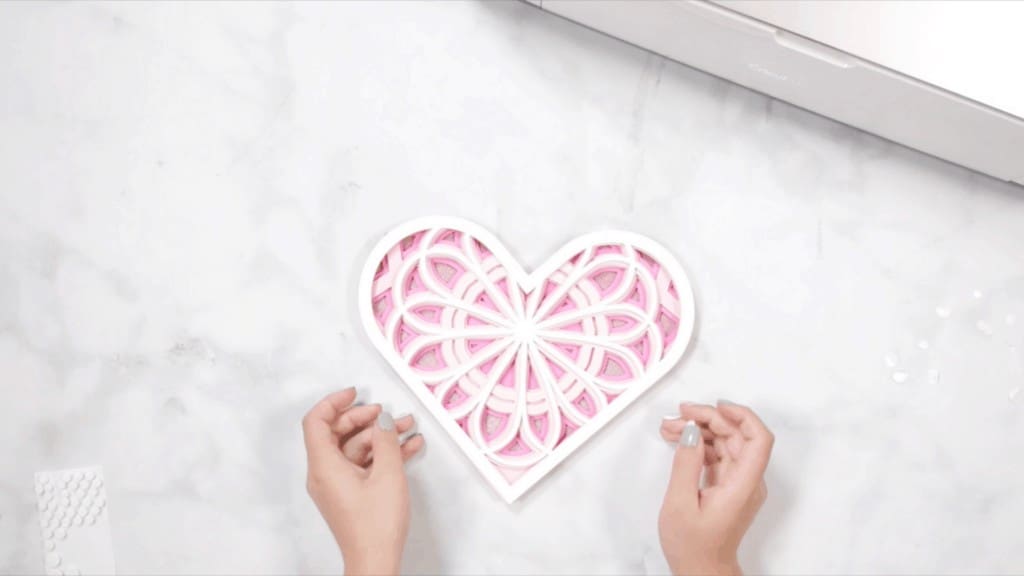
Cricut Design Space doesn’t cut out the layers in order so it can get confusing to piece together. Head back to Design Space to see the layers as a reference for how to put them together.
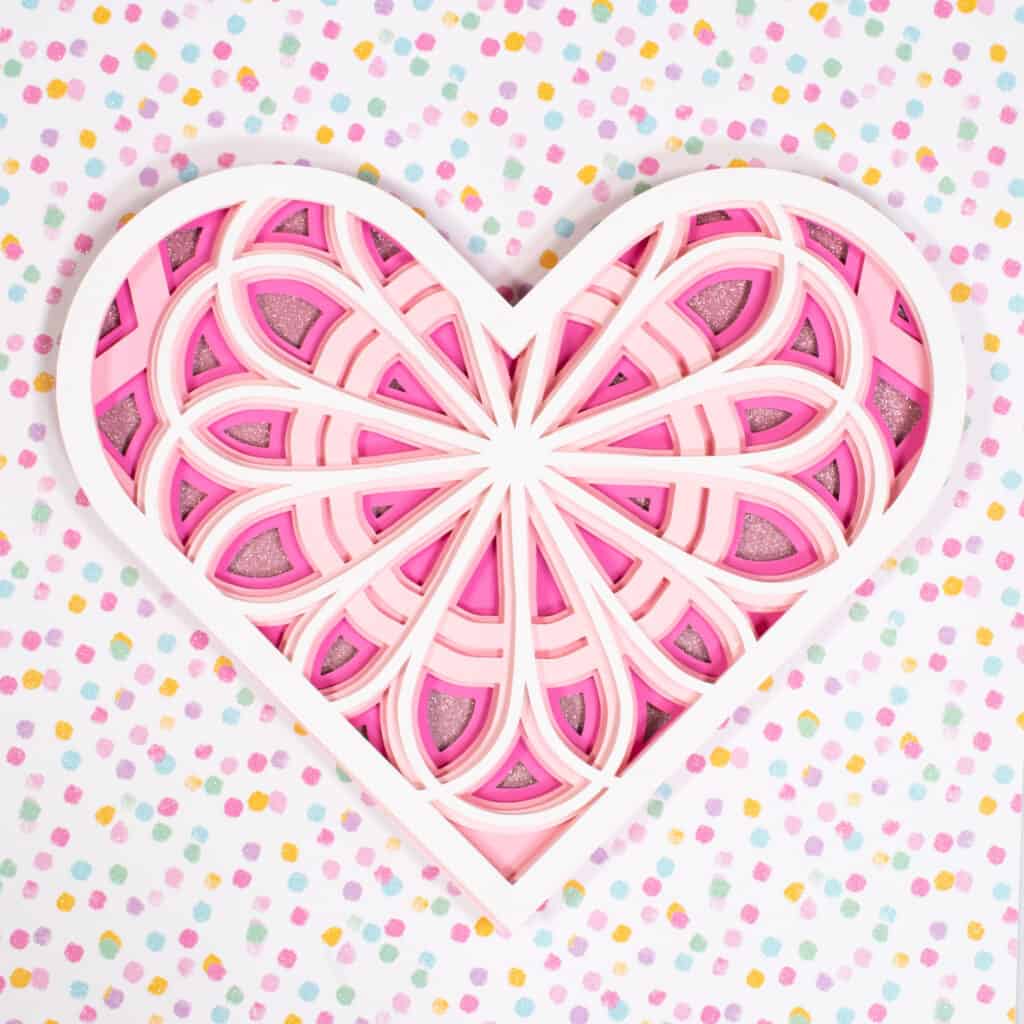
The image below shows you from bottom to top how the layers should be placed.

Begin by placing foam adhesive on the back of the fourth layer.
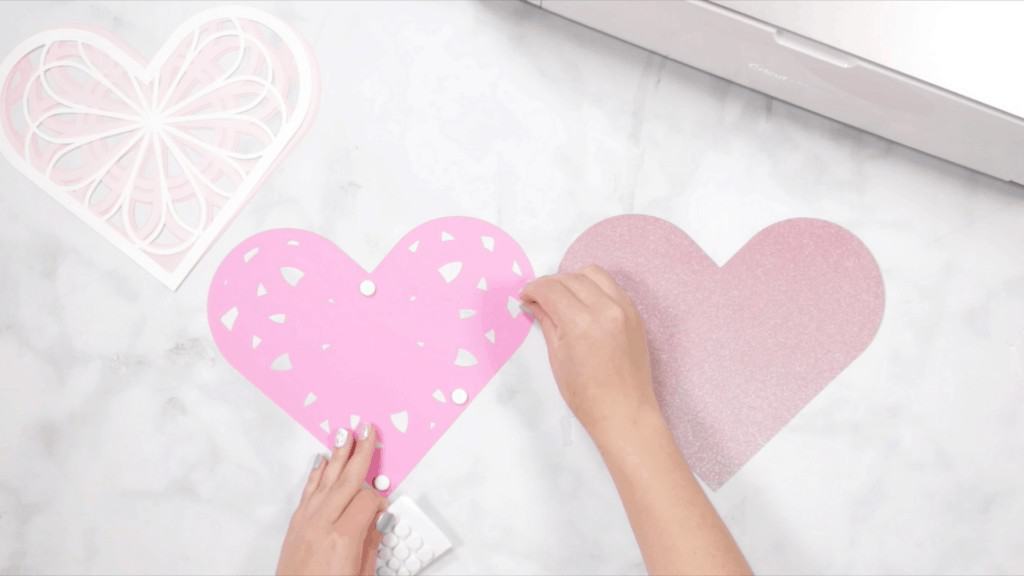
Line it up with the last layer and press it in place.
Place foam adhesive on the back of the third layer. Line it up with your base and press it in place.
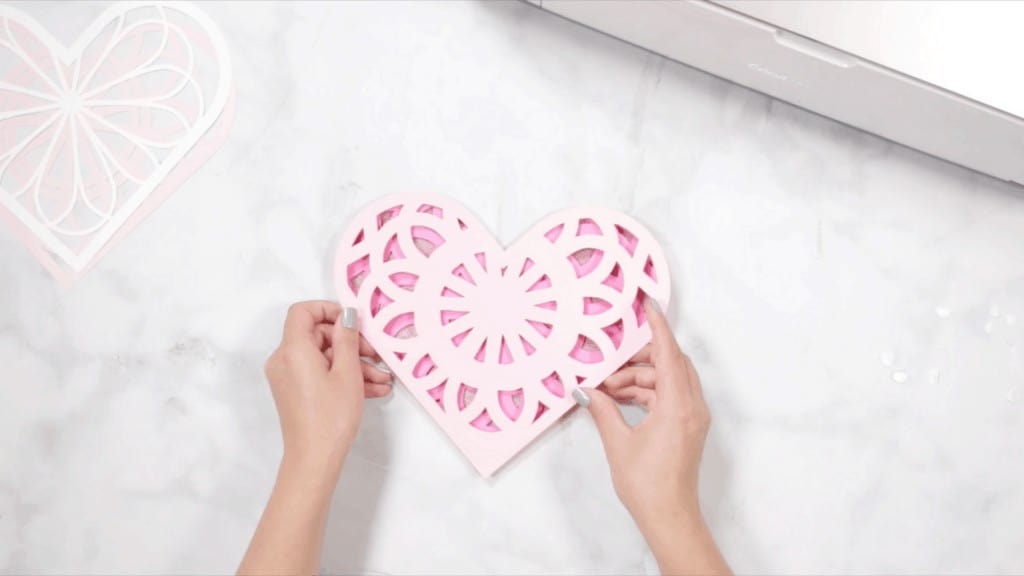
Continue with the last two layers of the mandala.
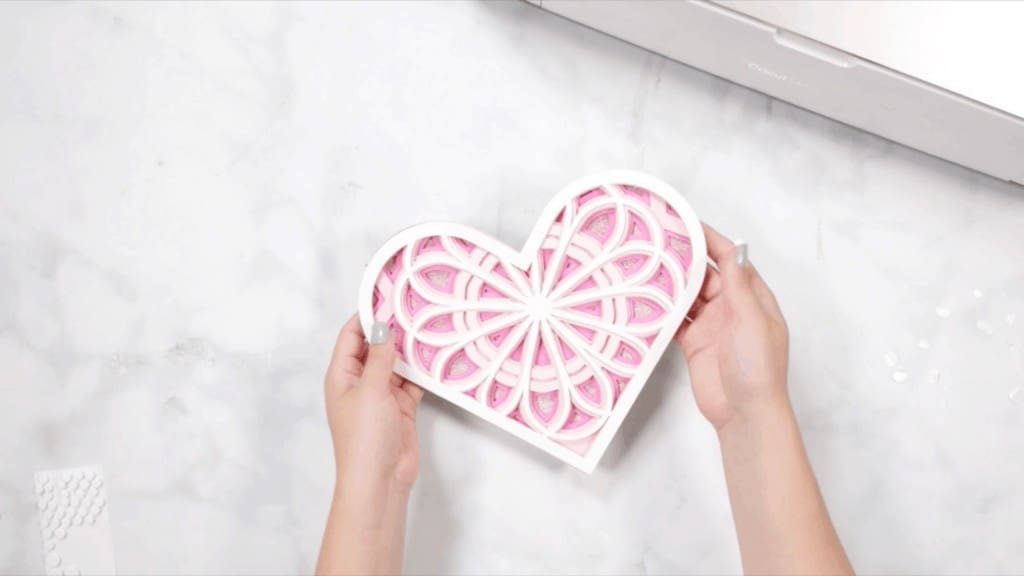
Now you have this adorable layered heart mandala. I love pairing my layered mandalas with a shadow box to create cute home decor.
Want to save this Valentine's Day project for later? Click to Pin this Layered Heart Mandala to your favorite craft board!
Looking for more mandalas? Check out my other mandalas HERE.
One question - do we put foam adhesive on the 2nd & 1st layers as well? Or are we just adhering them to one another? Thank you.
Yes! Use foam adhesive on the 2nd and 1st layers as well.
How do you apply the heart to the shadow box?
Hi Cori! For the shadow box, cut a piece of cardstock to fit inside your shadow box frame and use any strong adhesive to glue the heart to the center of the cardstock. Insert into your frame, and you're good to go!
When I download the design and unzip it there is no svg file