Create a Layered Birthday Cake Decoration Using a Cricut Cutting Machine, Cardstock, and Adhesive.
Birthdays are so much fun to celebrate and even more so now that I can decorate using my Cricut cutting machine. Making your own DIY birthday party decor is one of my favorite things to make because someone is always celebrating a birthday!
This 3D birthday cake comes in multiple layers and includes SVG, EPS, DXF, and PNG cut files so you can cut this design on a Cricut, Silhouette, or other cutting machines.
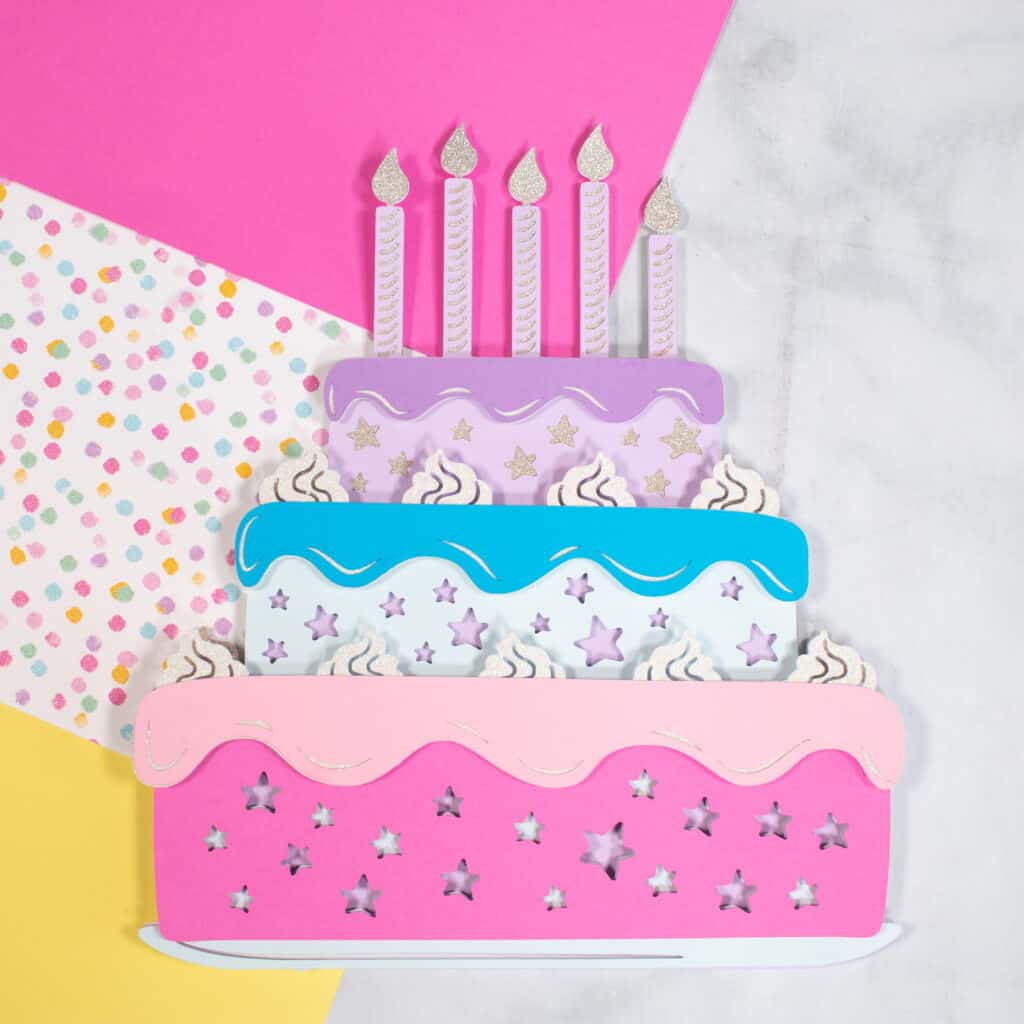
Since 3D cut files are so popular these days, I decided to make a layered birthday cake that is so easy to make. All you need is a cutting machine, cardstock, and adhesive.
This 3D Birthday Cake layered cut file can be used to decorate for a birthday party or as a unique birthday present for someone special.
This simple and easy 3D layered heart is a perfect addition to my Layered Mandala designs. You can check out all of my Layered Mandalas HERE.
Click here for the Butterfly Mandala. Click here for the Layered Heart Mandala.
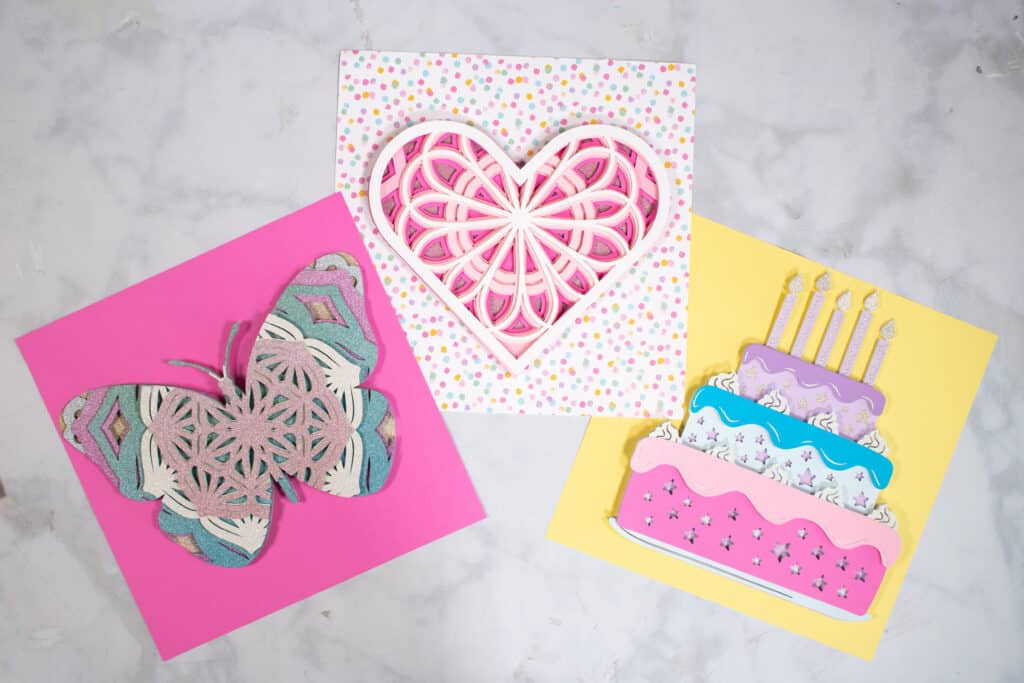
Table of Contents
How to Create a Layered Birthday Cake
Follow these easy steps to make the Layered Birthday Cake using Cricut Design Space and your Cricut cutting machine.
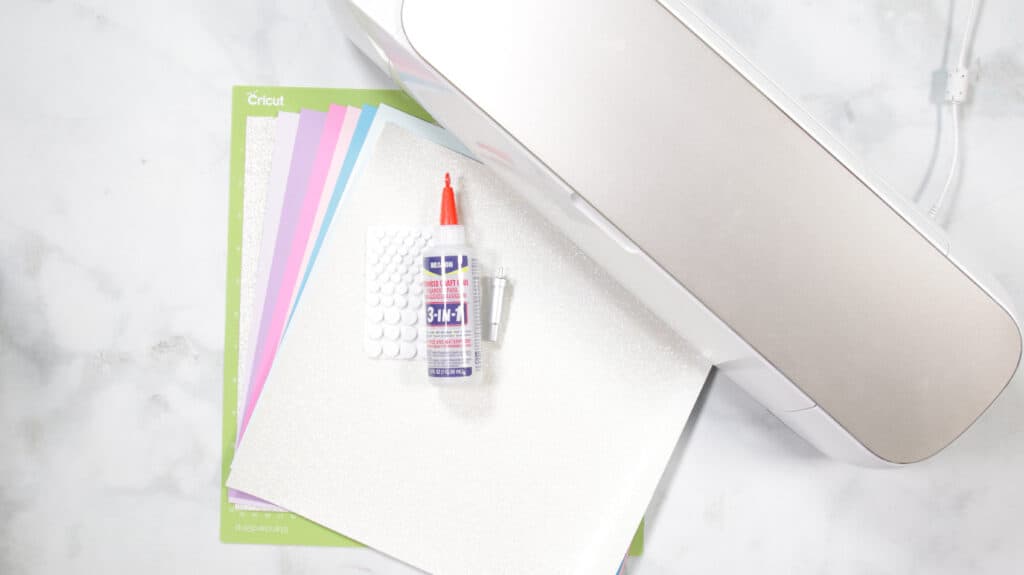
For this project, you need:
- FREE Birthday Cake Layered Cut Files (Link Below)
- Cricut Explore, Cricut Joy, or Cricut Maker
- Fine-Point Blade
- StandardGrip Mat
- Cardstock
- Foam Adhesive Dots
- Craft Glue
Download the FREE SVG Files Here!
Click HERE to download my FREE Layered Birthday Cake SVG File
Step 1 - Upload SVG File to Design Space
Open Cricut Design Space and click the + to create a new project.
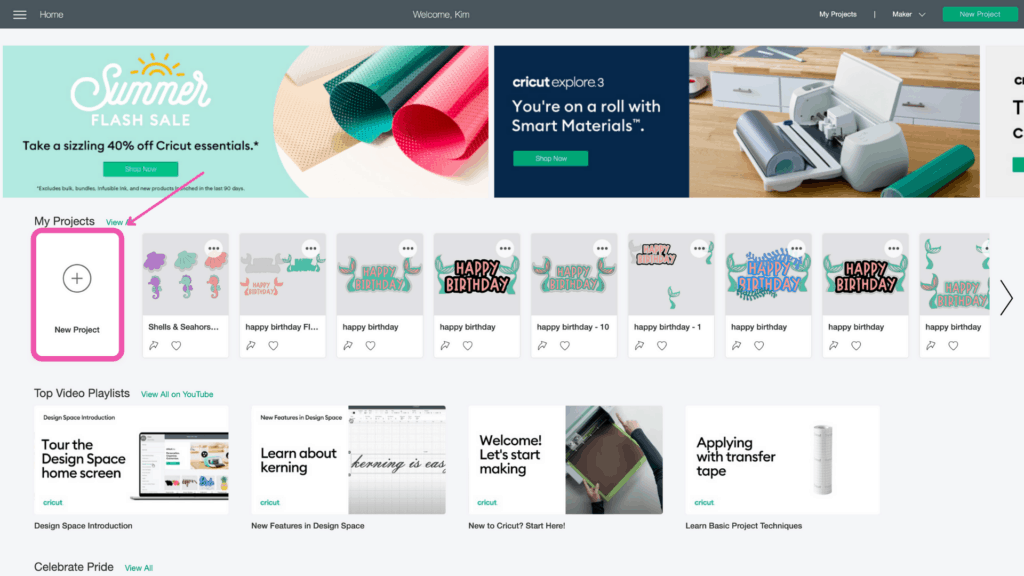
In the Design Panel on the left, select "Upload."
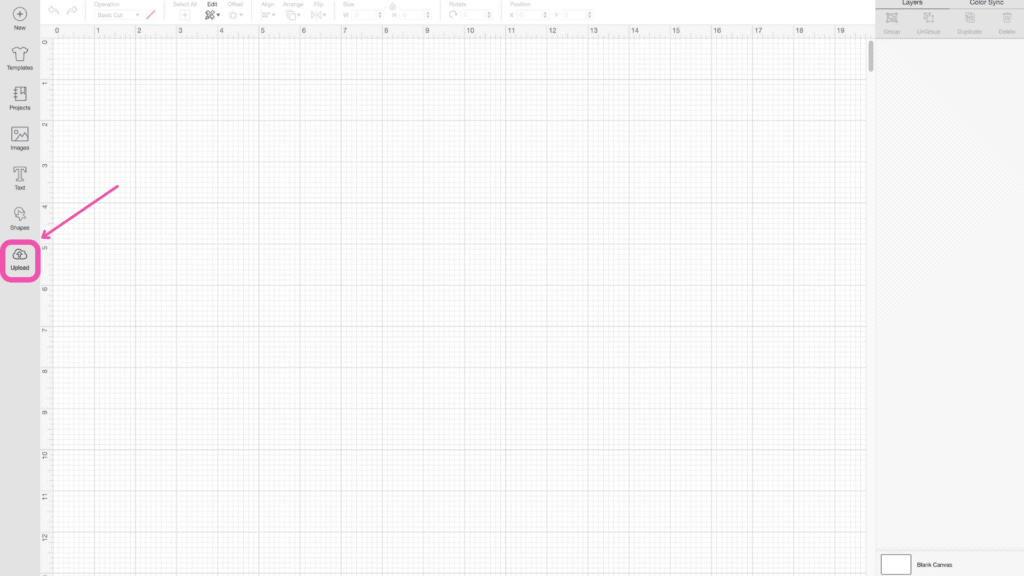
Click “Upload Image."

Click “Browse."
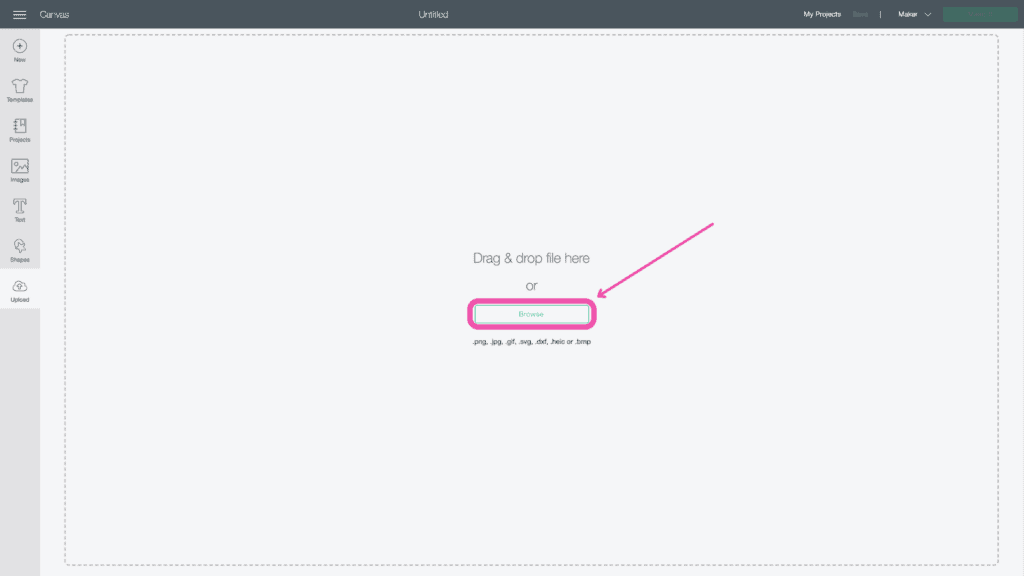
Navigate to the file on your device to upload it to Cricut Design Space.
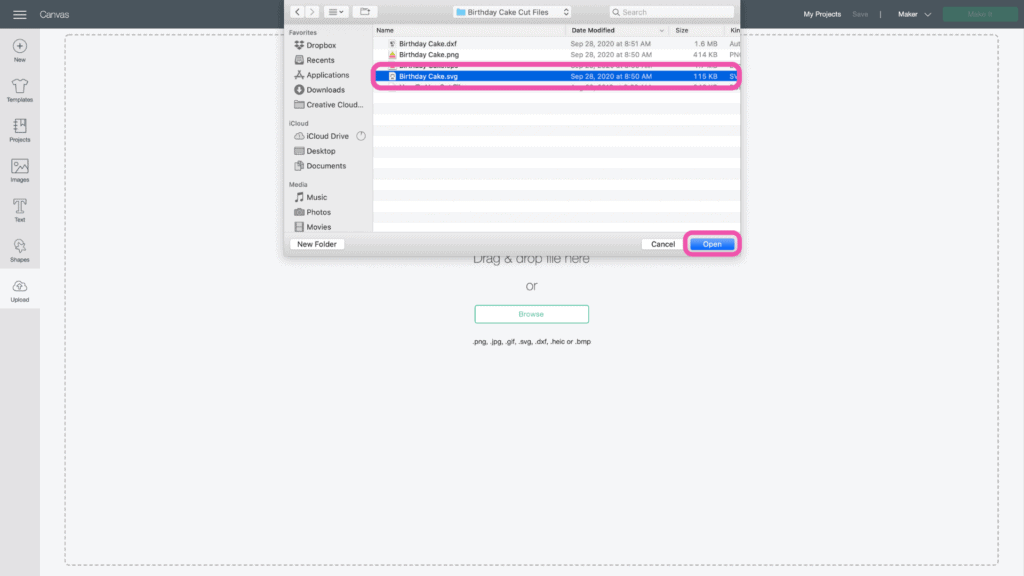
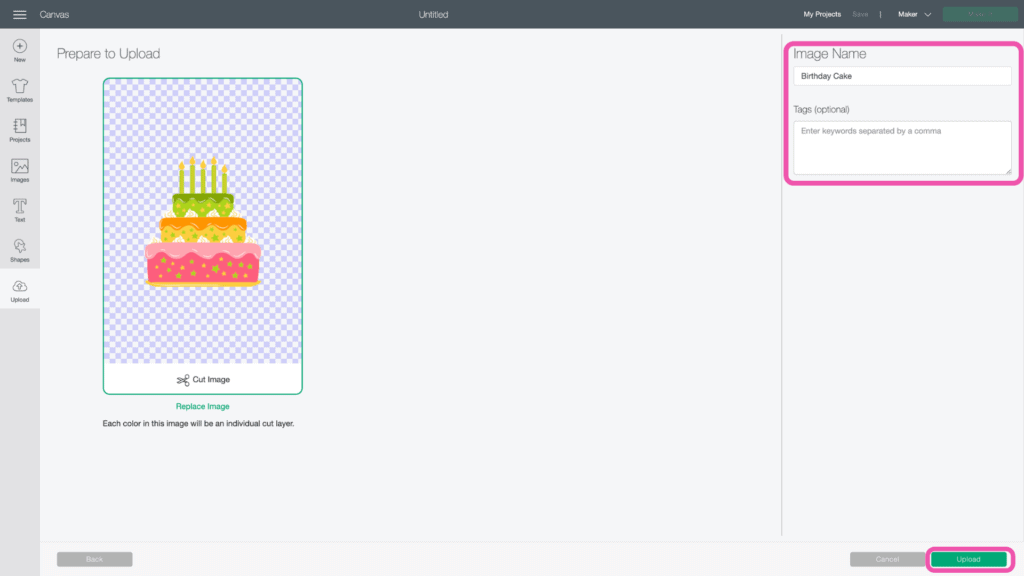
Here you can change the name and add tags. Click "Upload."
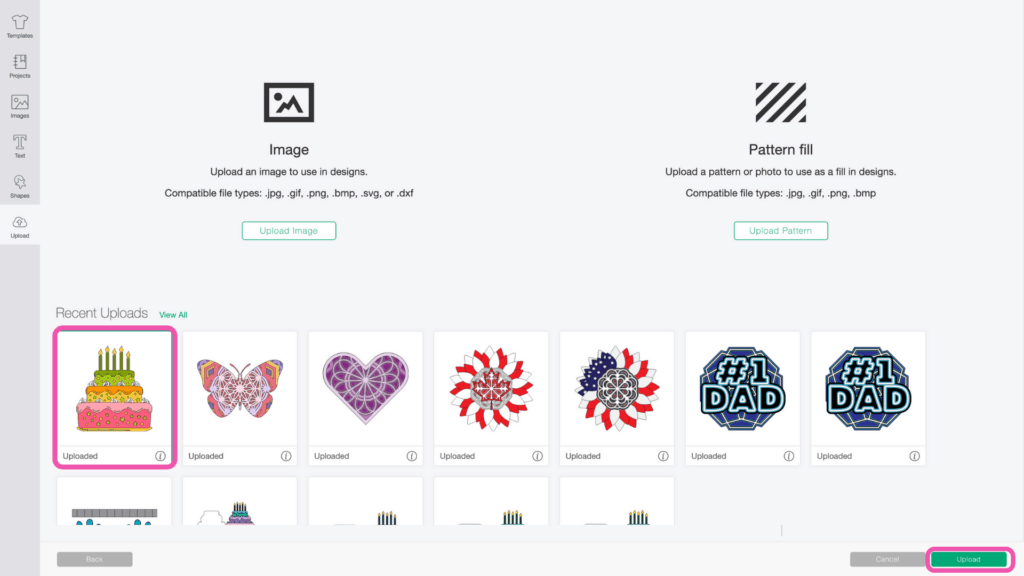
Once you have the file uploaded, select it and click "Insert Images" to bring it onto your canvas.
Step 2 - Resize Design
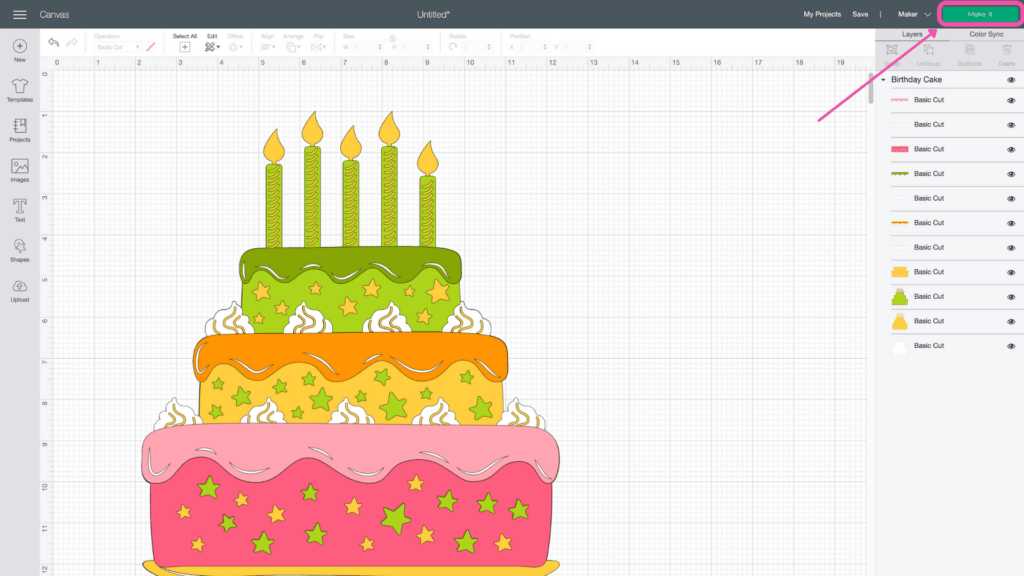
You'll see all of the layers in the Layers Panel on the right side of your screen.
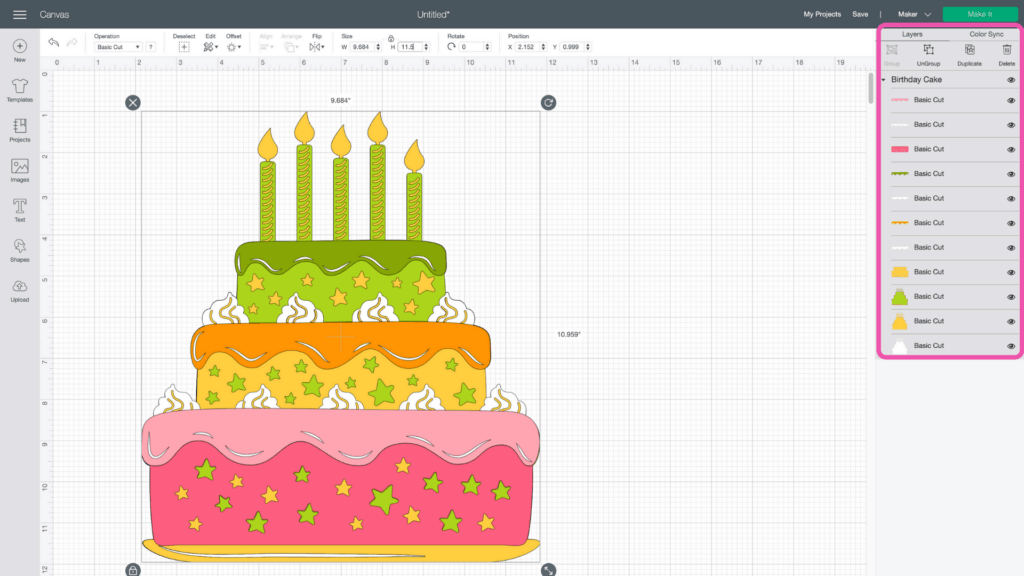
Keep the layers grouped and enter the size you want the mandala to be. Remember, the maximum size you can go in Cricut Design Space is 11.5 inches.

Now you're ready to cut the design! Click “Make It” in the upper right-hand corner of the screen.
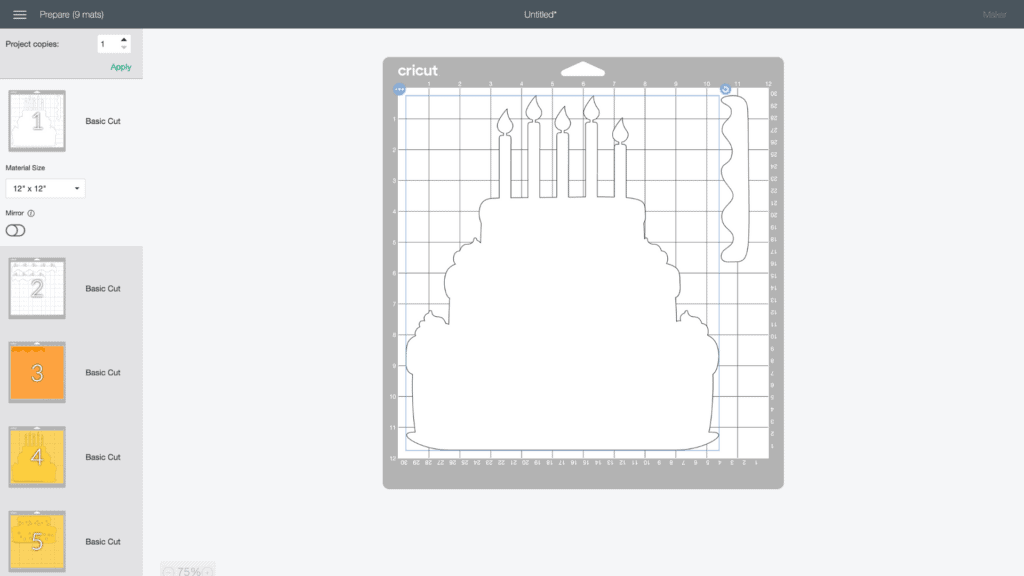
This brings you to the preview screen.
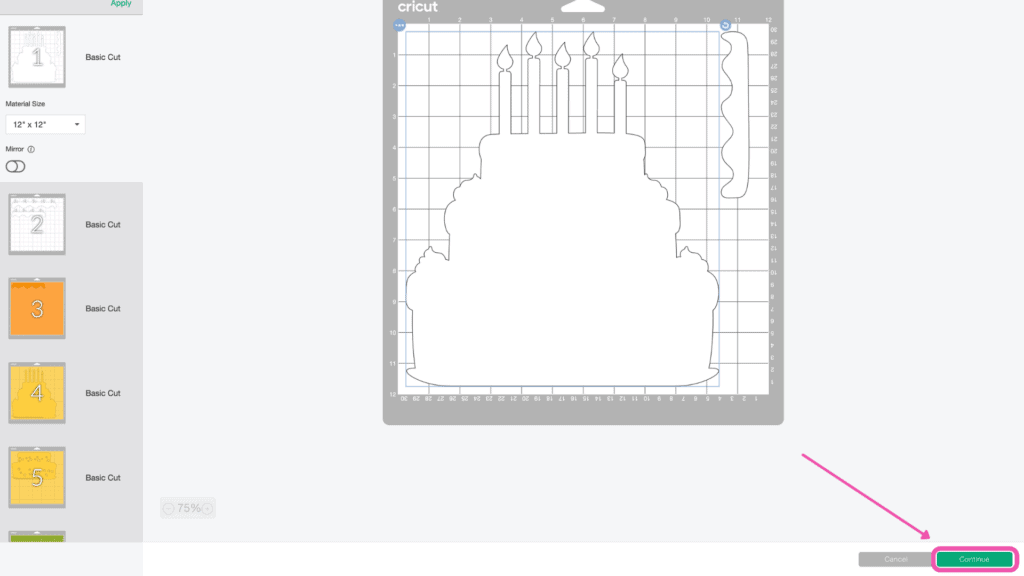
Click “Continue.”
Now it’s time to connect to your machine and select your material. For all of my layered designs, I use the Cardstock (for intricate cuts) setting.
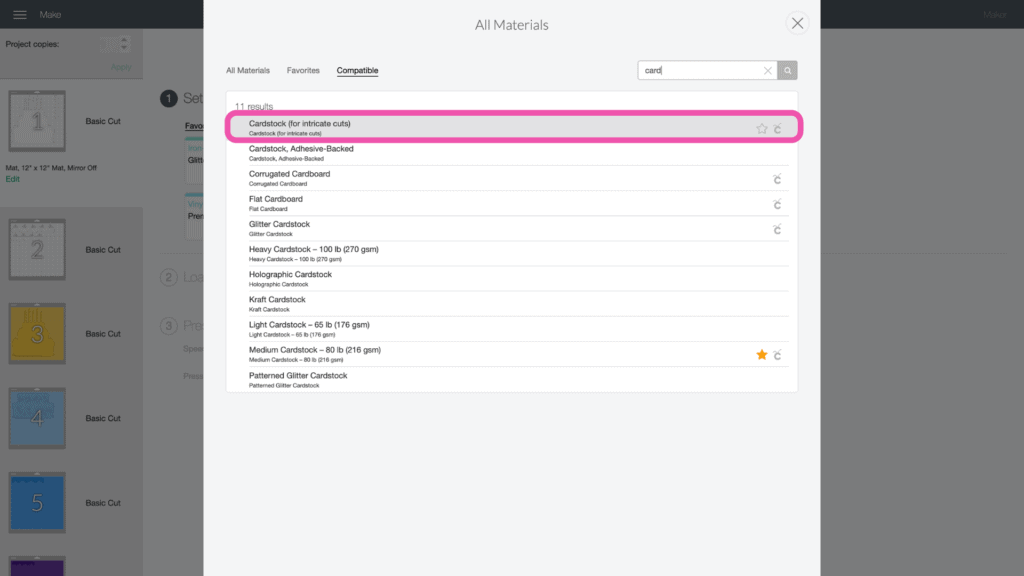
This setting along with a clean, sticky mat ensures a nice, clean-cut.
Ensure your Fine-Point Blade is loaded into your machine.
Step 3 - Cut Out Design
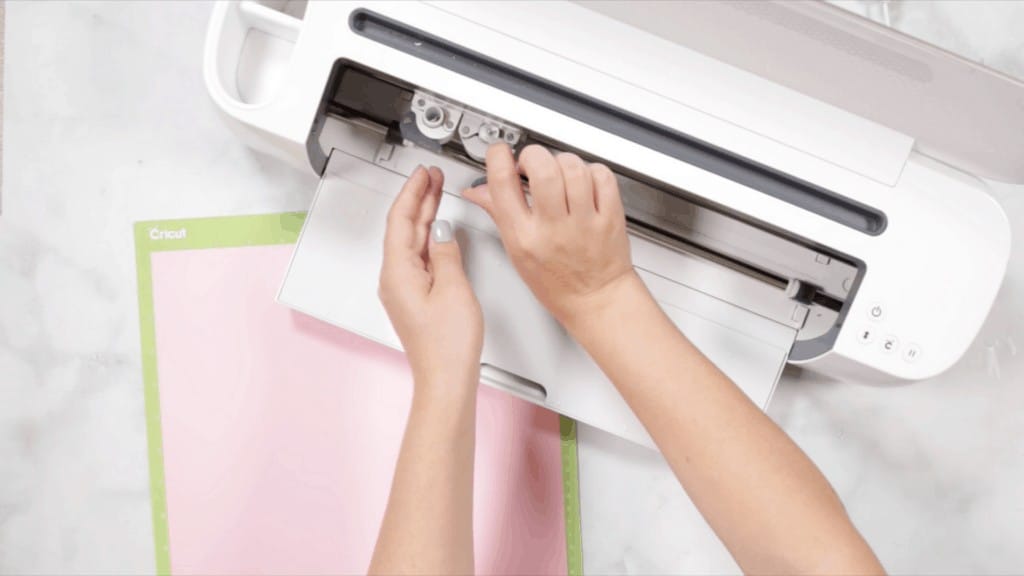
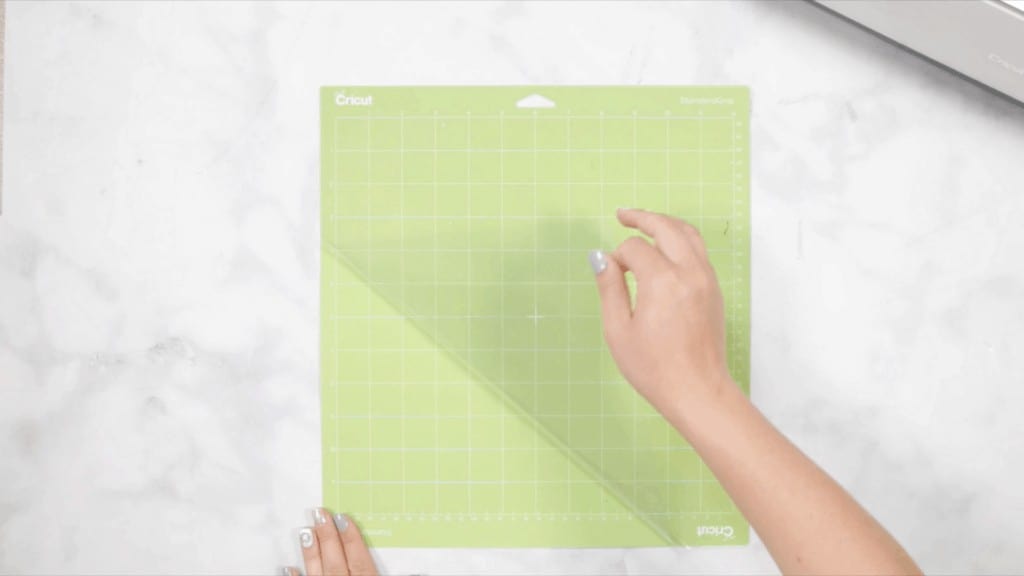
Peel the clear liner away from your mat.
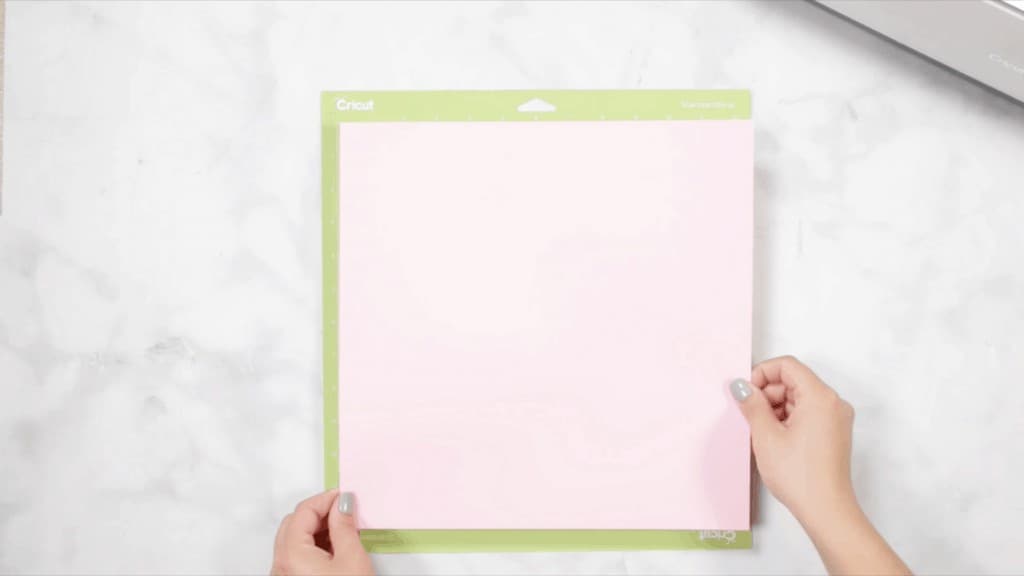
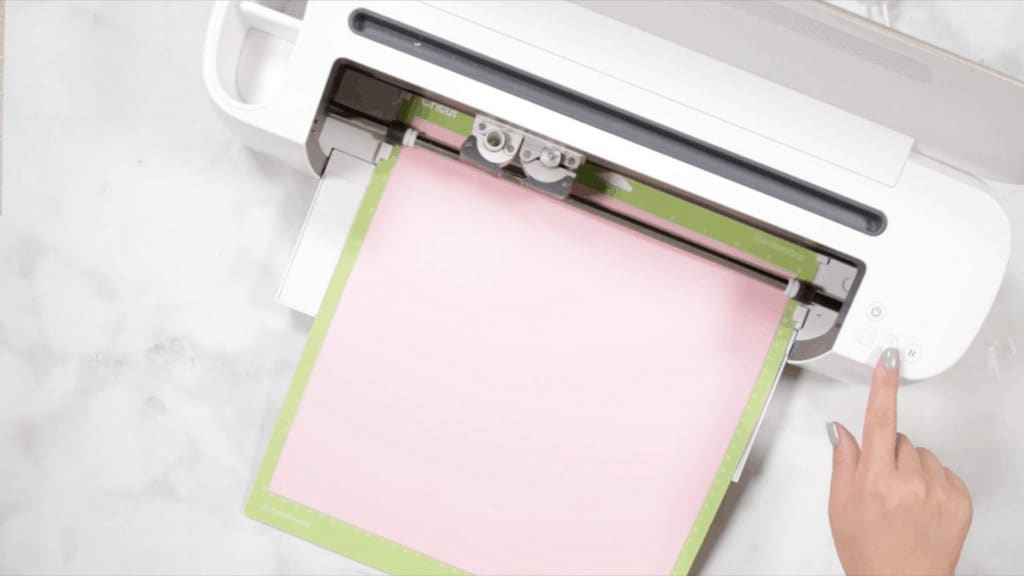
Following Design Space’s prompts, place your first color of cardstock on your mat.
Press the load button to load the mat into your machine.
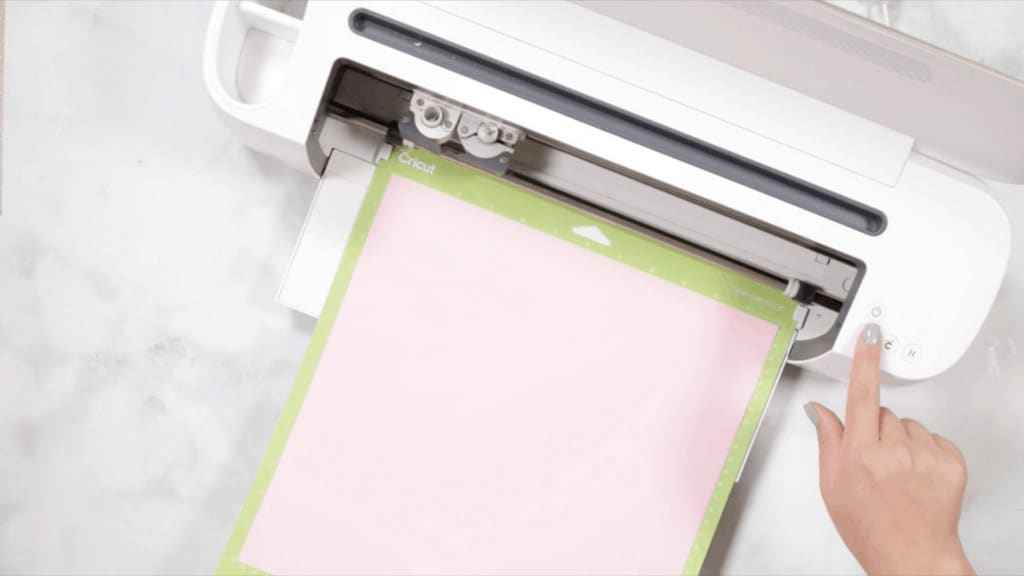
Begin the cut.
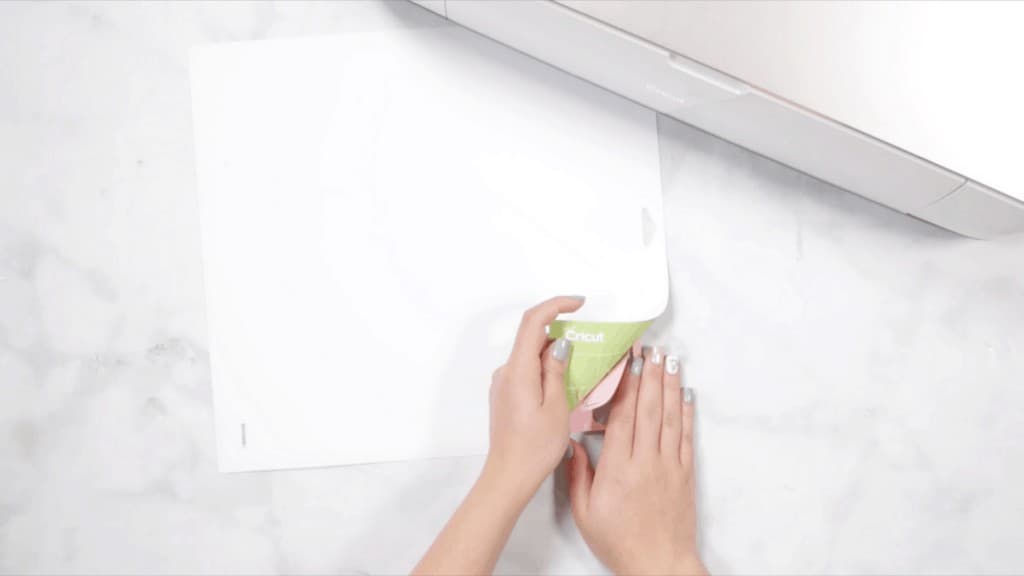
Once your first cut is complete, unload the mat.
Carefully peel your mat away from the cardstock to avoid tearing or rolling your cardstock.
Following the prompts in Design Space, place the second color of cardstock on your mat.
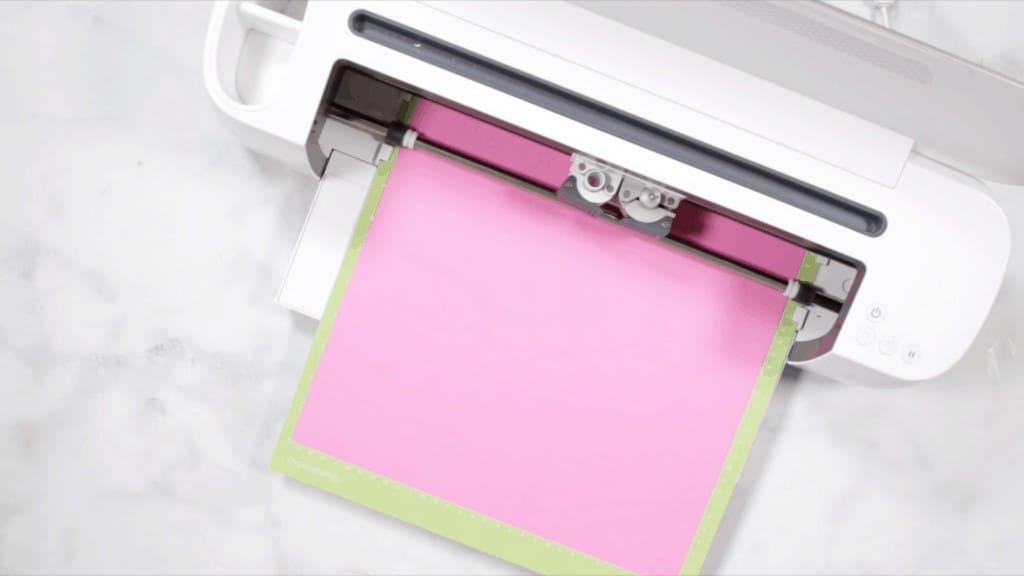
Continue to load, cut, and unload the rest of the cuts until you have all of the elements cut out.
Step 4 - Assemble Layered Mandala
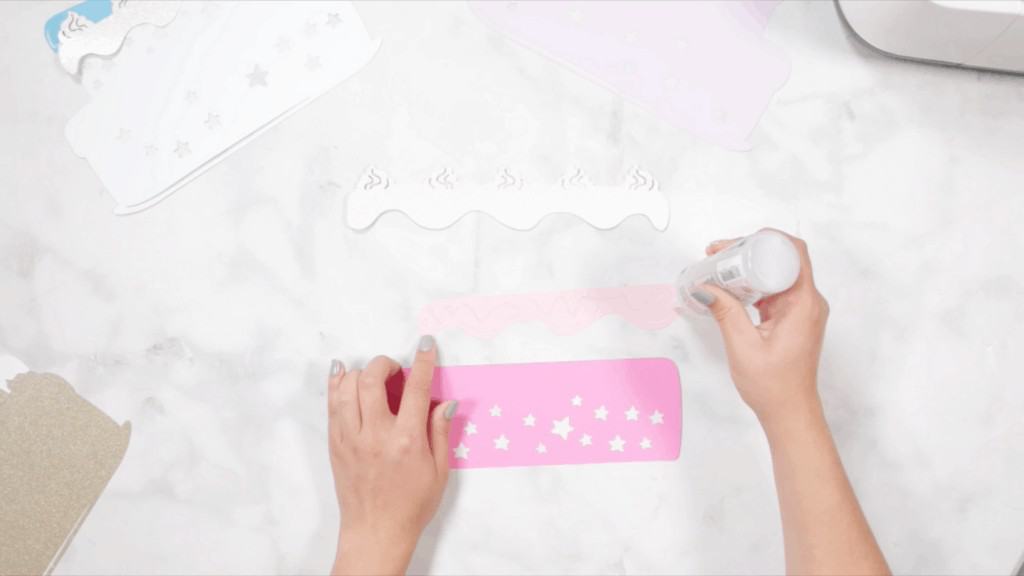
After you cut the design, use the foam adhesive to put it together. It’s best to use the adhesive in the same spot on each layer to get an even rise and 3D layered look.
For this project, I used 0.25-inch adhesive foam circles for the cake and 0.12-inch adhesive foam circles for the candles. I used tacky glue for the two frosting layers and then used foam adhesive to put the frosting on the cake.
Cricut Design Space doesn’t cut out the layers in order so it can get confusing to piece together. Head back to Design Space to see the layers as a reference for how to put them together.
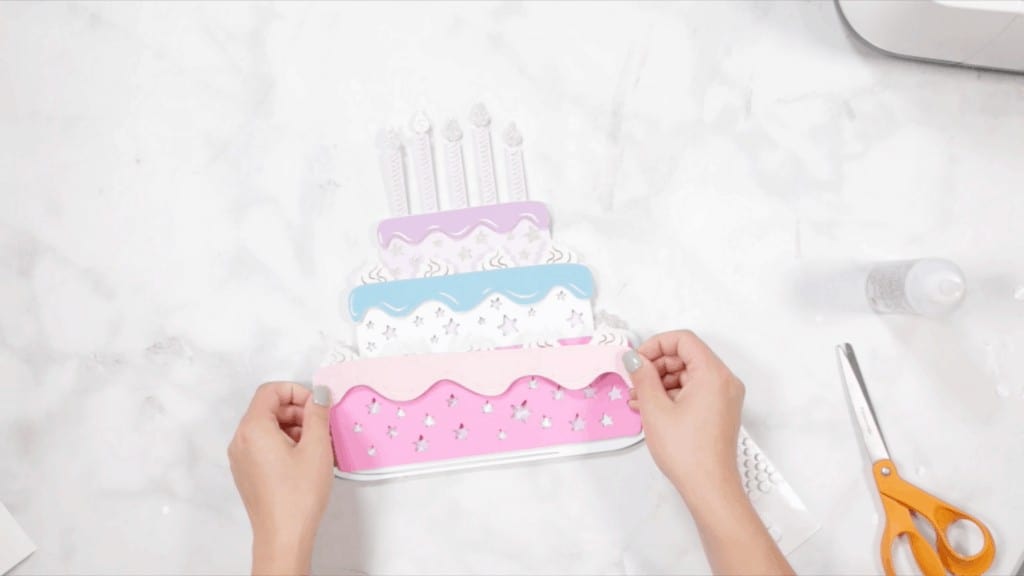
The image below shows you from bottom to top how the layers should be placed.
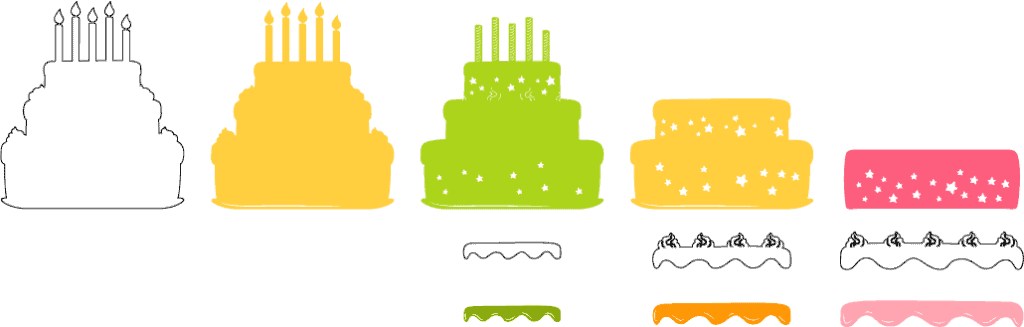
Begin glueing together the frosting layers.
Starting from the base layer, working your way to the front, use foam adhesive to attach the layers together.
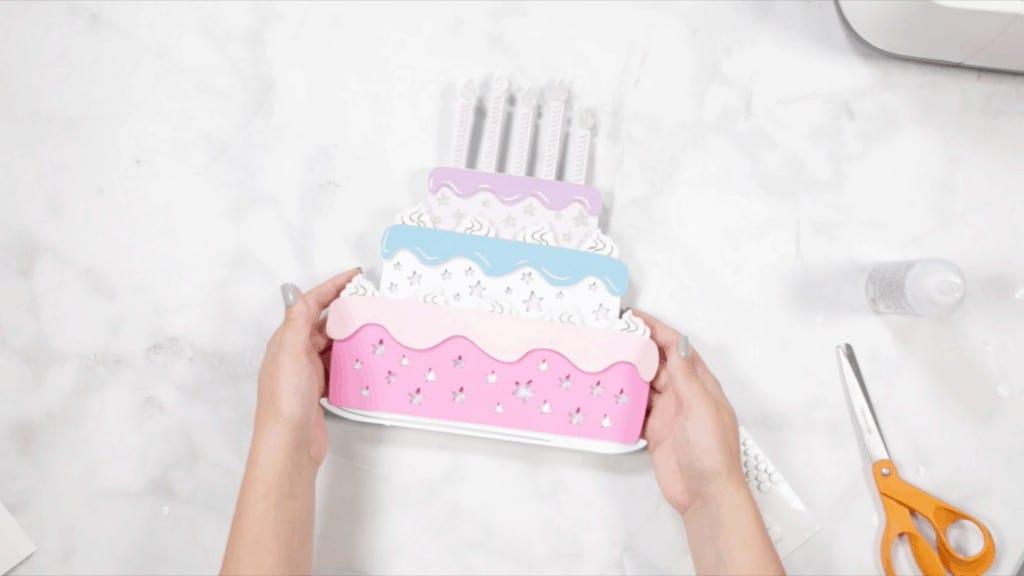
Now you have this adorable layered birthday cake mandala.
Looking for more mandalas? Check out my other mandalas HERE.
Save this project to Pinterest HERE!
Thank you!! Just in time for a birthday card I needed!!
I love this birthday cake and it will get a LOT of use. Thank you!!
Layered Birthday Cake was so much fun to make. It turned out so nice, I'm giving it to a friend for her birthday, along with her gift. I enjoy doing layered projects along with doing shadow boxes. Just wish I could find more shadow box ideas with instructions.
Loved making this card for my grand daughter who turns 3. I just gently cut away the two outside candles and it is perfect.
That sounds perfect! So glad you enjoyed making it!
Thank you for this file. I'm using it for my husbands birthday. I changed the colors to match his favorite sports teams. Definitely going to use it in the future for more birthdays.
Thank you for this file, I'm new to all this & I will make this for a friend as well as for many more birthdays to come, again Thanks for files and instuctions
Thank you for the instructions. So many crafters don't include the instructions and I get lost!
I'm hoping my son like the card.
Julia
I love the way mine came out! Thanks so much for the file! I think I should have thought about how to adhere it to a card though! My finished product is 6x6 and it is too big for the card stock that I have to make a card for it to be glued to the front of! Suggestions?