Learn How to Use Cricut Infusible Ink Transfer Sheets with Cricut Coaster Blanks in This Step by Step Tutorial with Video.
Looking for an easy holiday gift to make this year? You'll love creating these Infusible Ink Coasters using Cricut's Infusible Ink Transfer Sheets!

Are you new to using Cricut Infusible Ink?
Be sure to check out THIS post where I walk you through all of the details!
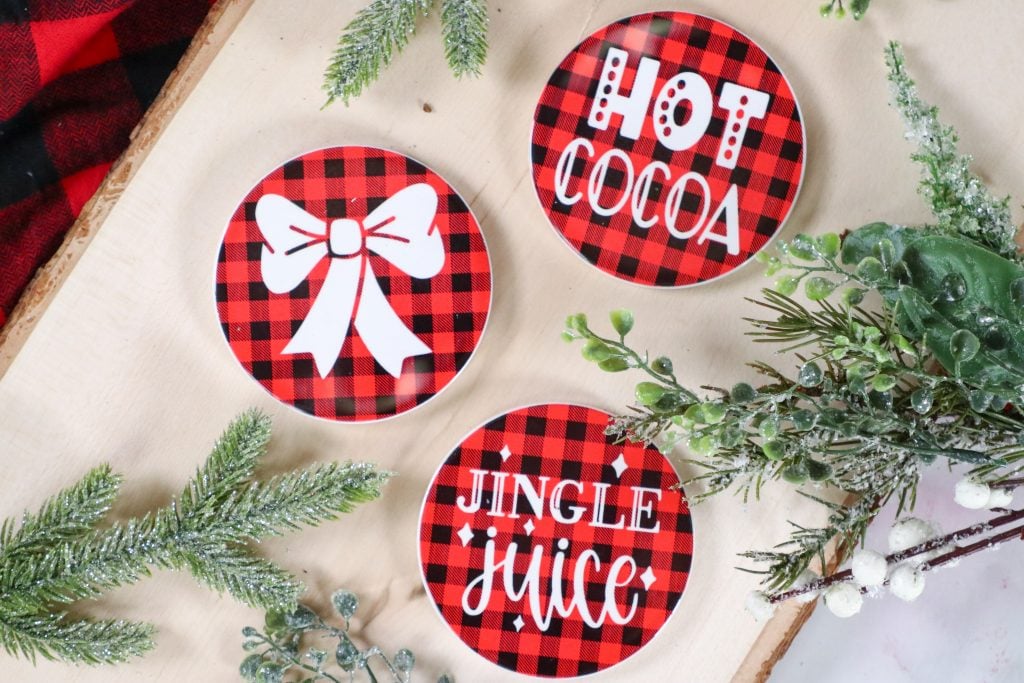
There’s nothing better than snuggling up next to the fireplace on a cold winter’s night with fuzzy socks and a mug of hot cocoa. I found all of the supplies to make these easy Christmas gifts for all of my girlfriends at my local craft store.

Let's get started on our project! I've listed out everything you'll need below.
How to Use Cricut Infusible Ink
SUPPLIES
- Cricut Maker or Cricut Explore
- StandardGrip Machine Mat
- Cricut EasyPress or Cricut EasyPress 2
- Cricut EasyPress Mat
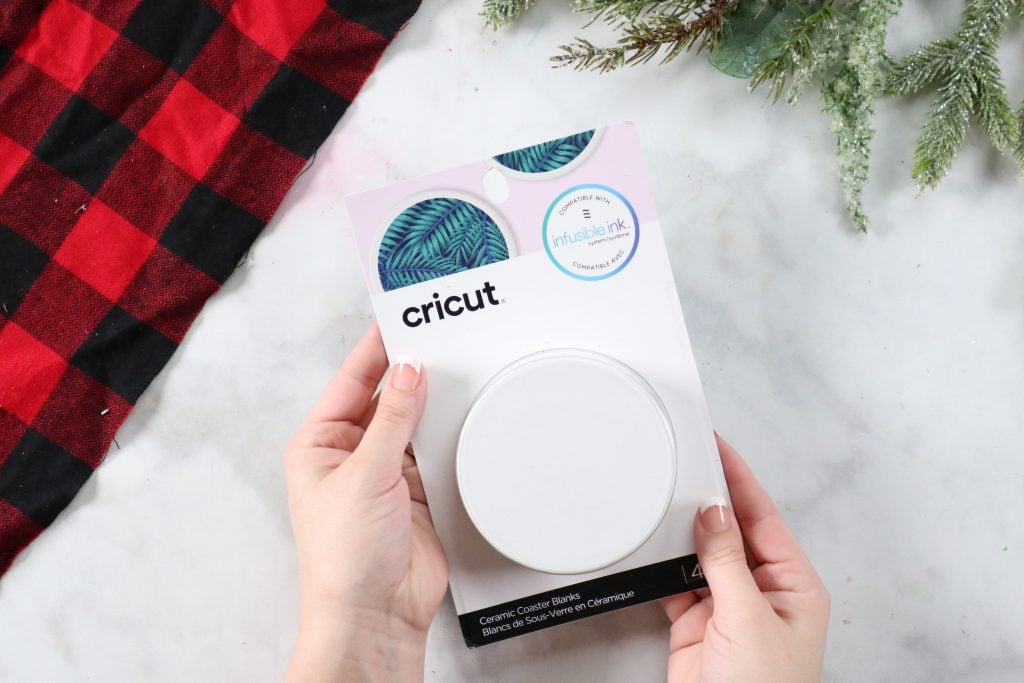
- Cricut Ceramic Coaster Blank
- Infusible Ink Transfer Sheet
- Butcher paper
- Cardstock (80 lb.), White (colored cardstock not recommended)
- Transfer Tape
- Lint-free cloth
- Scissors
- Tweezers
- Design Space
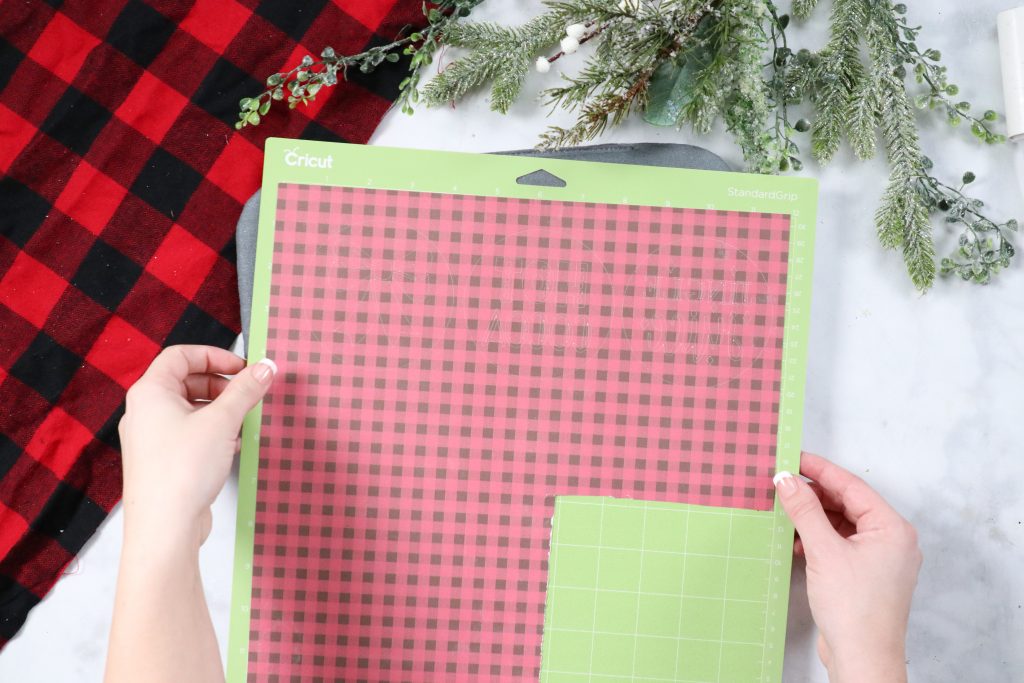
Cut Infusible Ink
Place the Infusible Ink Transfer Sheet liner side down on a Standard Grip Mat.
Open the Design Space files and mirror the images. (This is important for words!)
Select Infusible Ink Transfer Sheet as your cutting material.
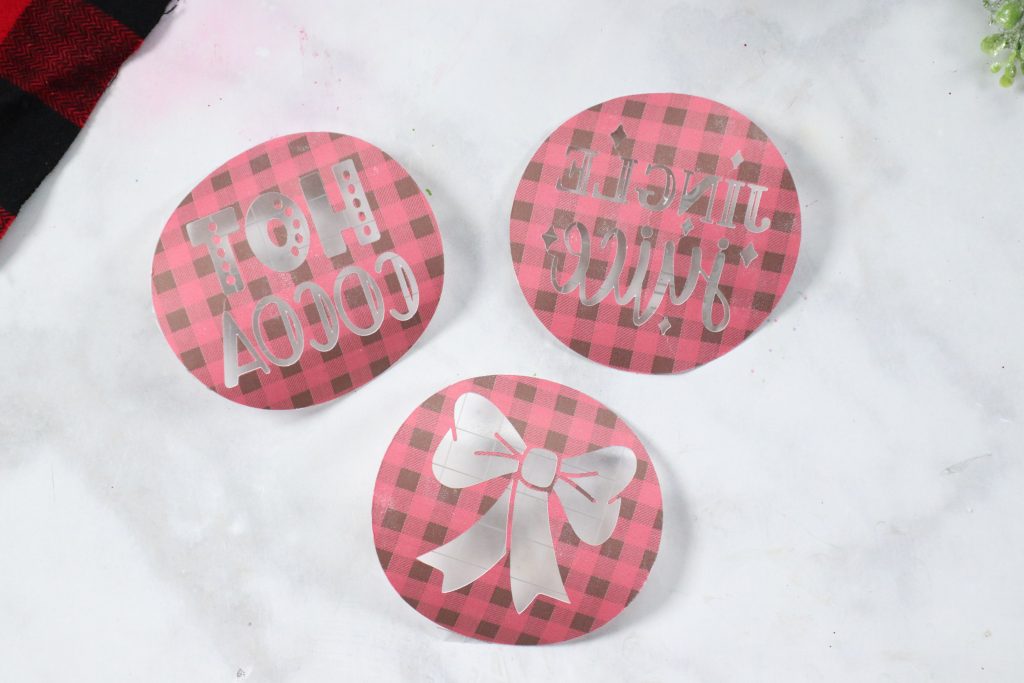
Weed Transfer Sheets
Place the mat face down and peel the mat away from the material.
Trim away any excess Infusible ink from around the design and save it for a later project.
Roll the paper back and forth to lift the design. You’ll see it begins to crack and lift from the liner.
Using a pair of tweezers pull away the negative pieces from the liner to reveal the design.
Trim down the clear liner so that it is smaller than the EasyPress.
Apply Infusible Ink
Using a lint-free Cricut cloth to remove any debris from the top of the coaster. Having even small bits of dust or hair can interfere with the integrity of the design.

Place sheet of white cardstock paper over the Cricut EasyPress Mat to protect it from the transfer sheets.
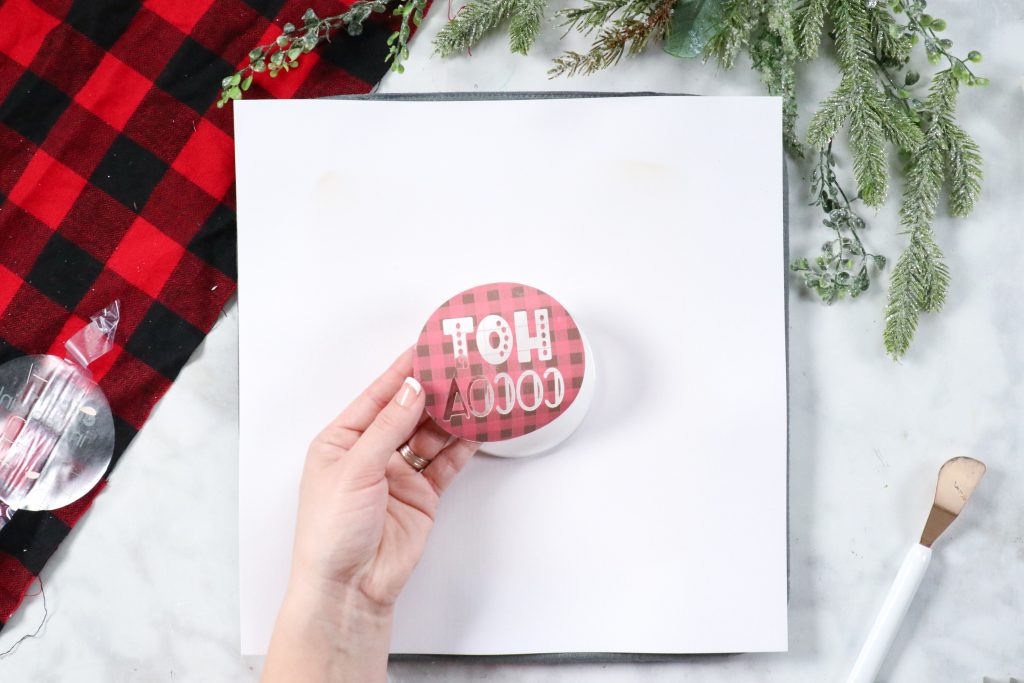
With the design facing downwards place it on top of the coaster taking care to center it.
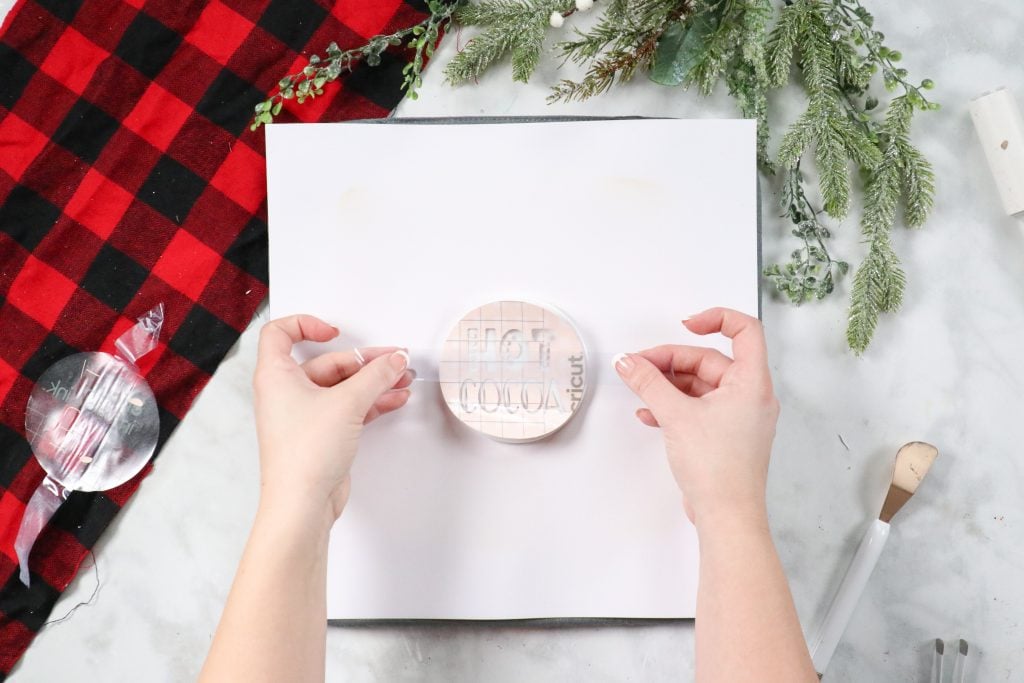
Attach the design to the coaster with a piece of heat-resistant tape.
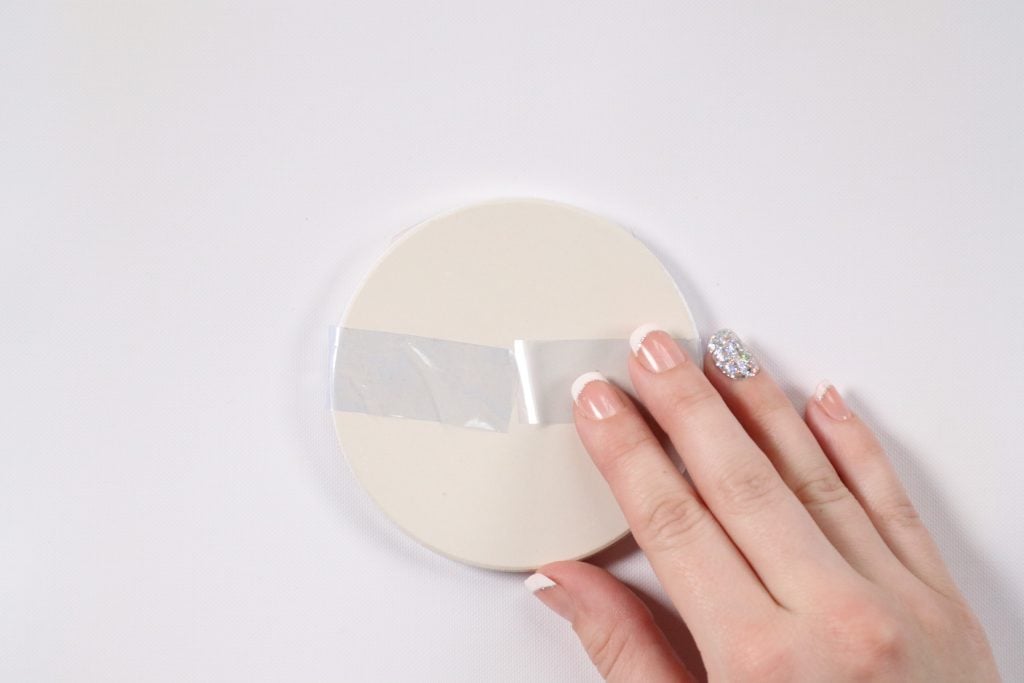
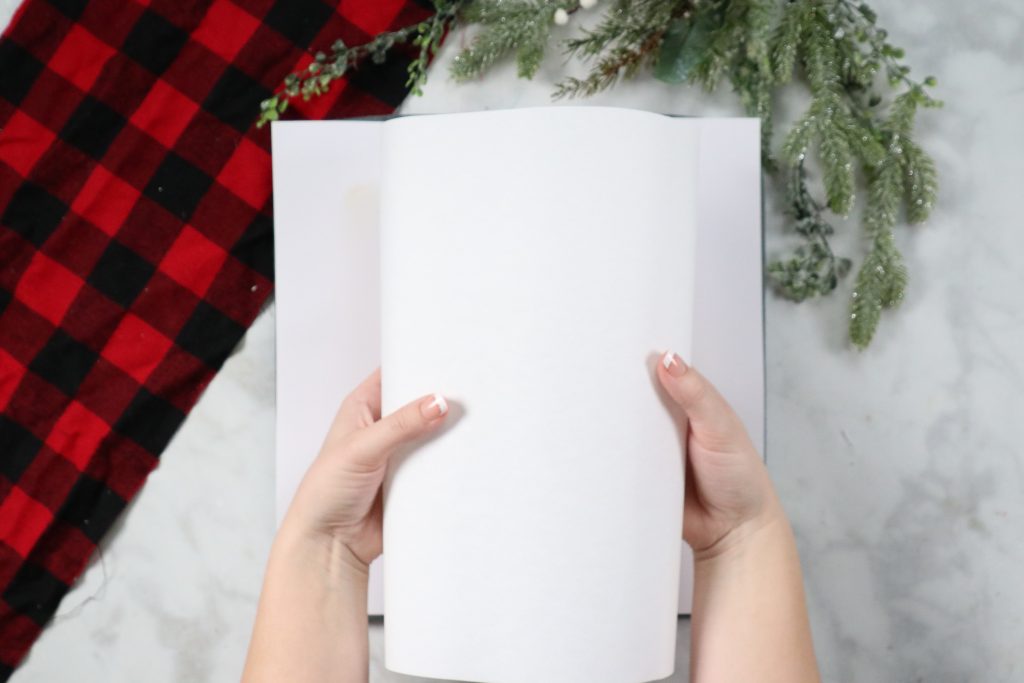
Flip the coaster over so the design is facing the mat and cover it with a sheet of butcher paper. (You can find butcher paper inside of your package of Infusible Ink Transfer Sheets.)
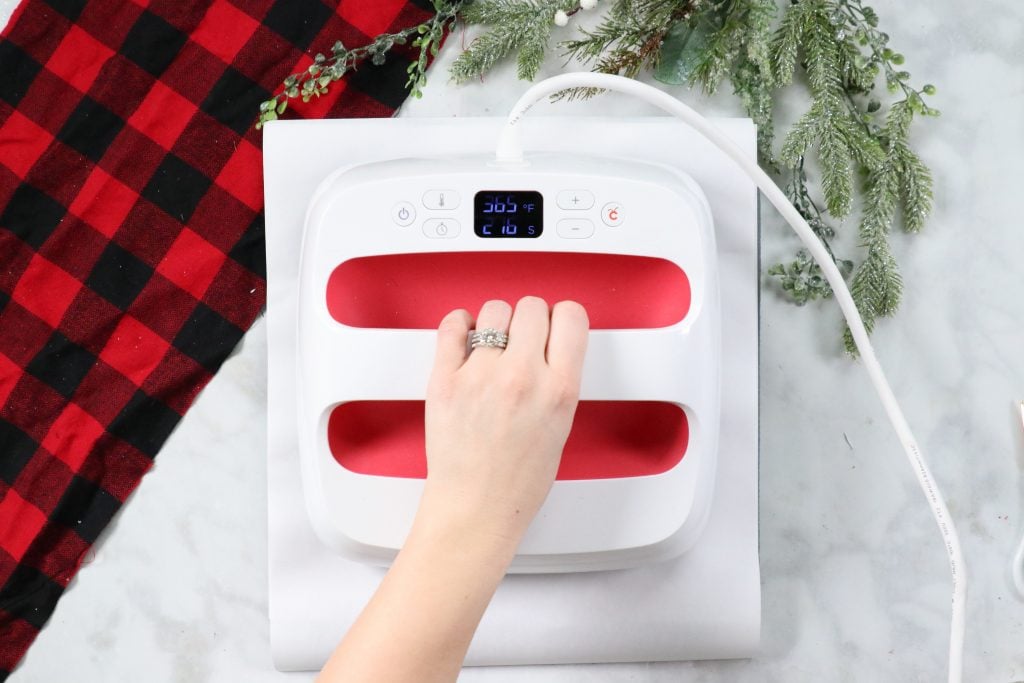
Preheat your Cricut EasyPress to 400°F and set the timer for 240 sends. Place the EasyPress on top of the coaster without any additional pressure.
Once the timer beeps lift the EasyPress up and away from the butcher paper without moving it.
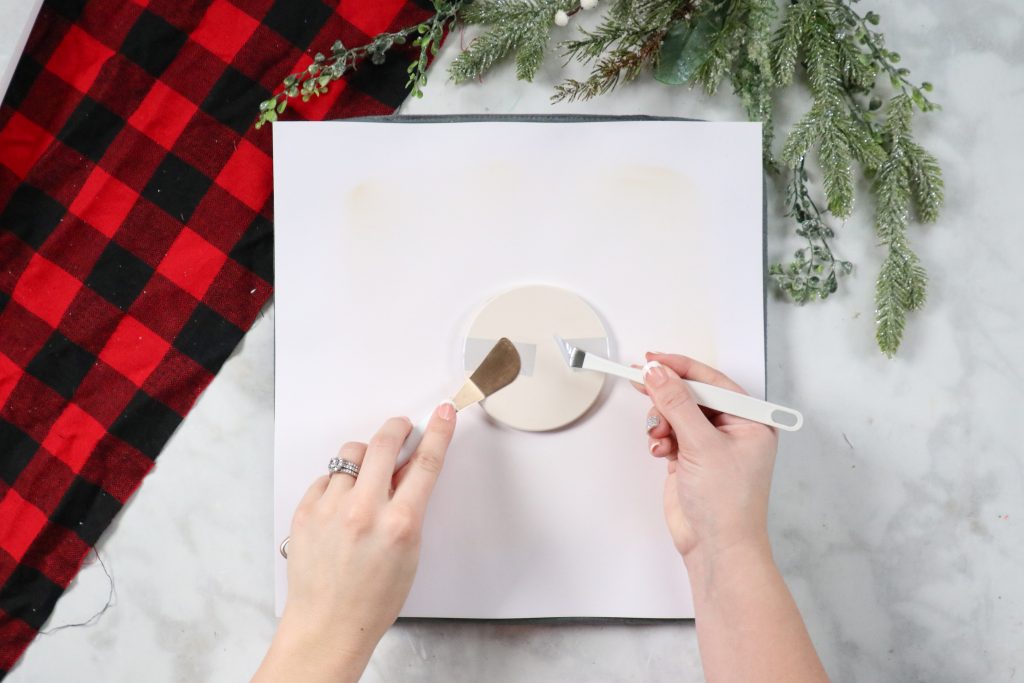
Allow the coaster 5 minutes to cool down before peeling away the transfer to reveal the finished design.
Create the perfect gift by placing a mug on top of the cooled coaster and filling it with lotion and a pair of fluffy socks! Wrap it up with a sheet of cellophane and tie a big bow around the top!

where do I upload the svg for the coaster designs
where do I upload the design svg for the coasters
Where do I up load the coasters design SVG PLEASE
Where do l upload your SVG for the beautiful Christmas coasters, many thanks.