Did you know that you can cut cardstock on the new Cricut Maker 3 without using a mat? With Cricut’s Smart Paper Sticker Cardstock, your Cricut Maker 3 and Explore 3 can quickly and precisely cut cardstock without using a mat. Learn how to create this adorable seashell mandala using the Maker 3 and Cricut’s Smart Paper Sticker Cardstock.
The Maker 3 and Explore 3 feature a variety of new updates including the ability to cut 2 times faster without mats using Smart Materials.
To learn more about Maker 3 and Cricut’s new line of Smart Materials, be sure to check out my post HERE.
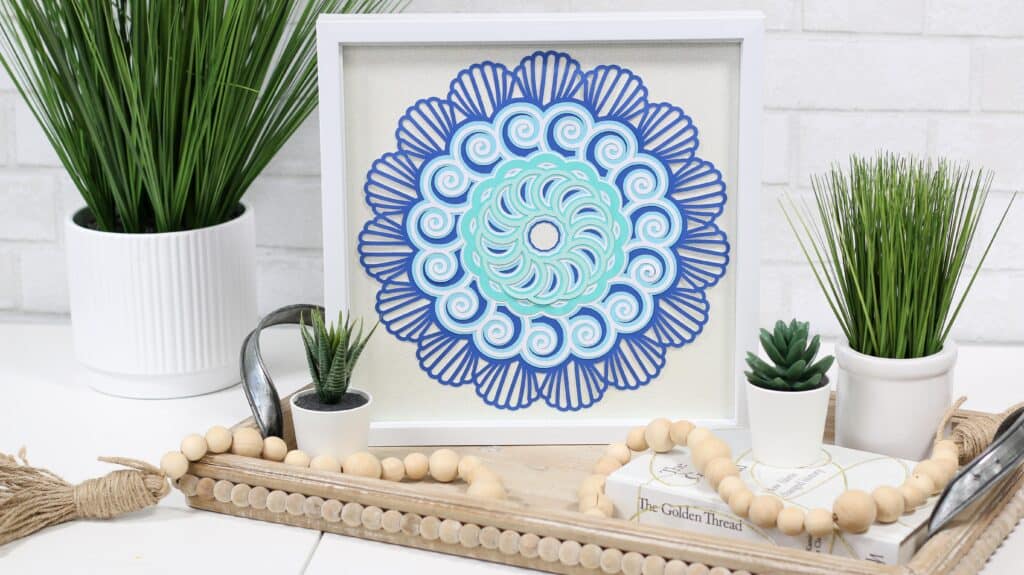
Table of Contents
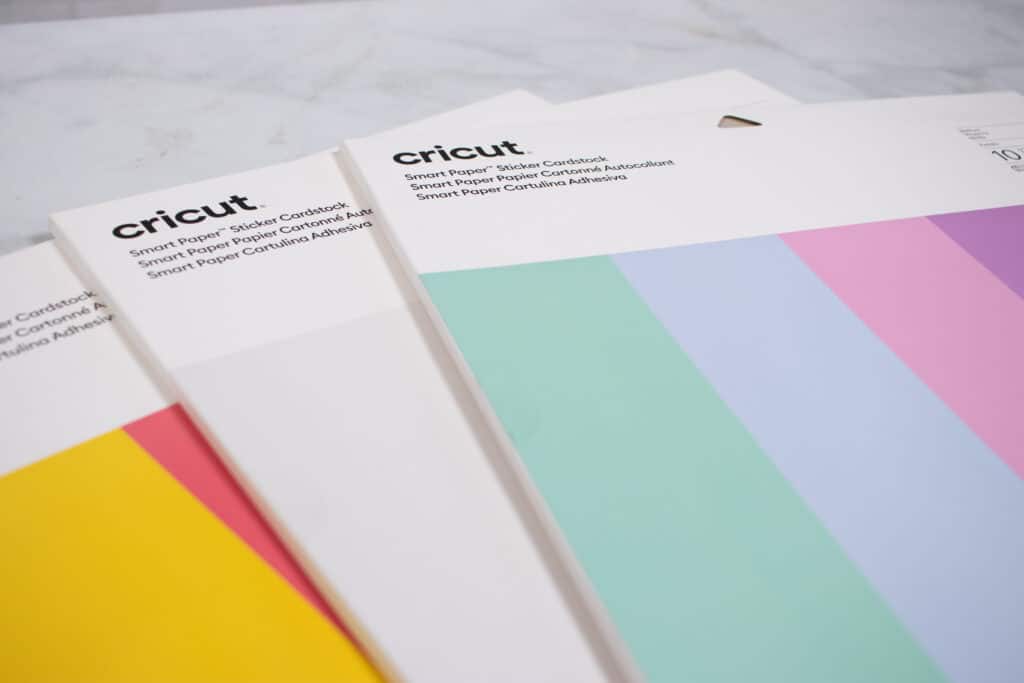
What is Smart Paper Sticker Cardstock?
Smart Paper Sticker Cardstock works without a cutting mat. Simply load the paper into your machine and go!
In addition to matless cutting, the paper features a sticky backing, making it perfect for quick projects and scrapbooking.
The paper is a medium-weight cardstock and comes in a variety of colors.
Smart Materials require a minimum of 6 inches in length to work with the machine. If you only have a small scrap of Smart Paper you are wanting to use, just place it on a Cricut cutting mat and select “On Mat” in Design Space.
Smart Paper Sticker Cardstock can be applied to a variety of non-textured papers like kraft paper, smooth cardstock, and Cricut’s deluxe paper. It’s not recommended to use it on glass, plastics, or textured papers.
If you’re creating a scrapbook, cards, or party decor, you can save time by having your Cricut write directly onto the Smart Paper. Just allow the ink time to dry before handling it.
How to Cut Smart Paper Sticker Cardstock
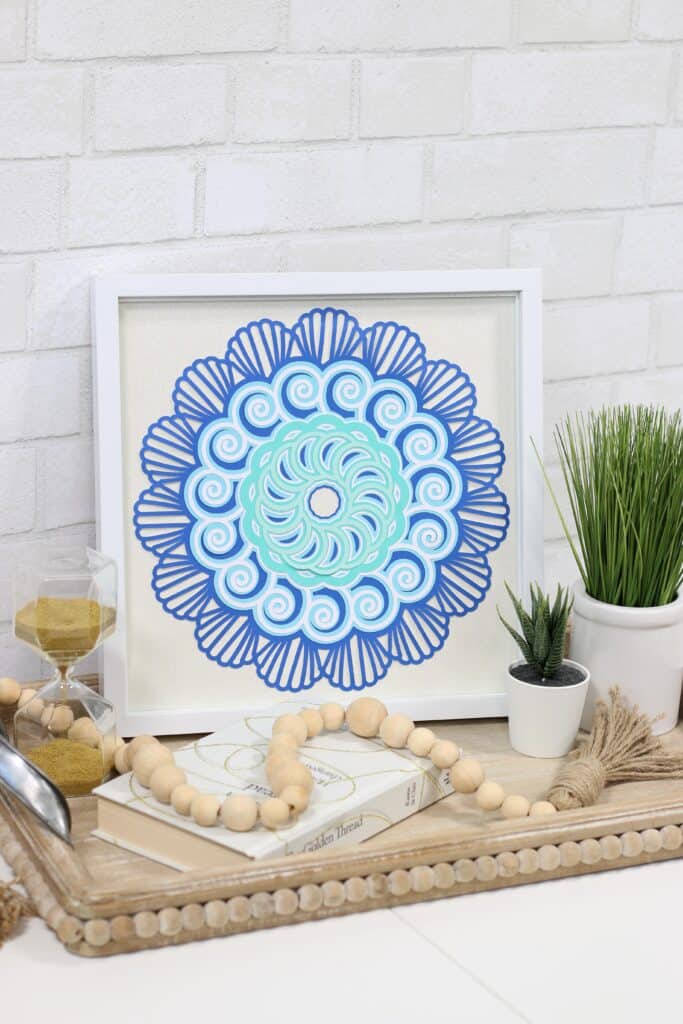
To learn a little more about how to use Smart Paper Sticker Cardstock, follow my step-by-step directions to make this layered seashell mandala.
How To Make a Seashell Mandala in 3 Easy Steps
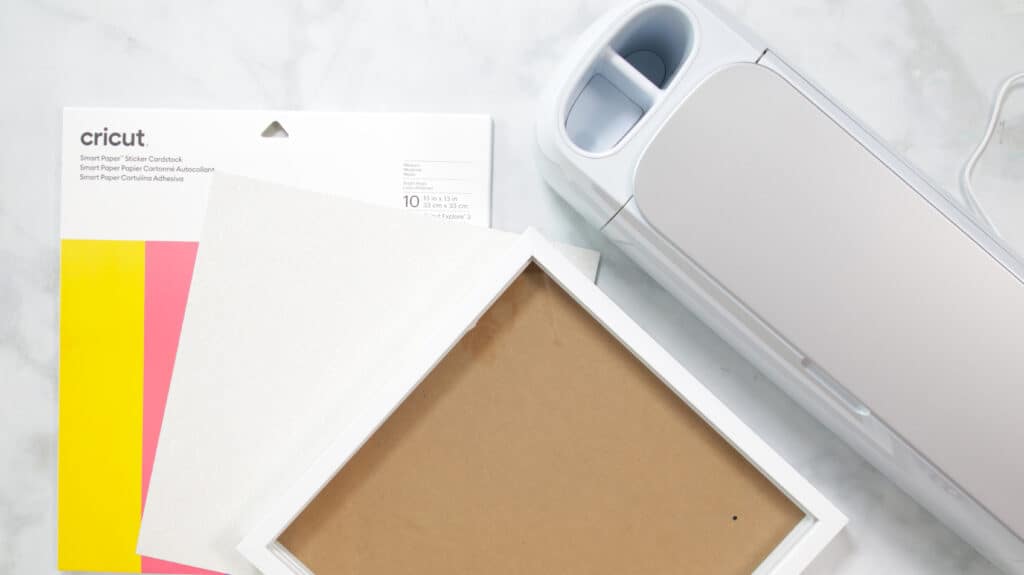
For this project, you need:
- Cricut Explore 3 or Maker 3
- Smart Paper Sticker Cardstock
- Fine-Point Blade
- Shadow Box
- 12”x12” Sheet of Cardstock
- Seashell Mandala SVG File
CLICK HERE TO DOWNLOAD THE SEASHELL MANDALA FILE
Step 1 - Upload SVG File to Design Space
To begin, download my Seashell Mandala SVG File HERE.
Upload the file to Design Space.
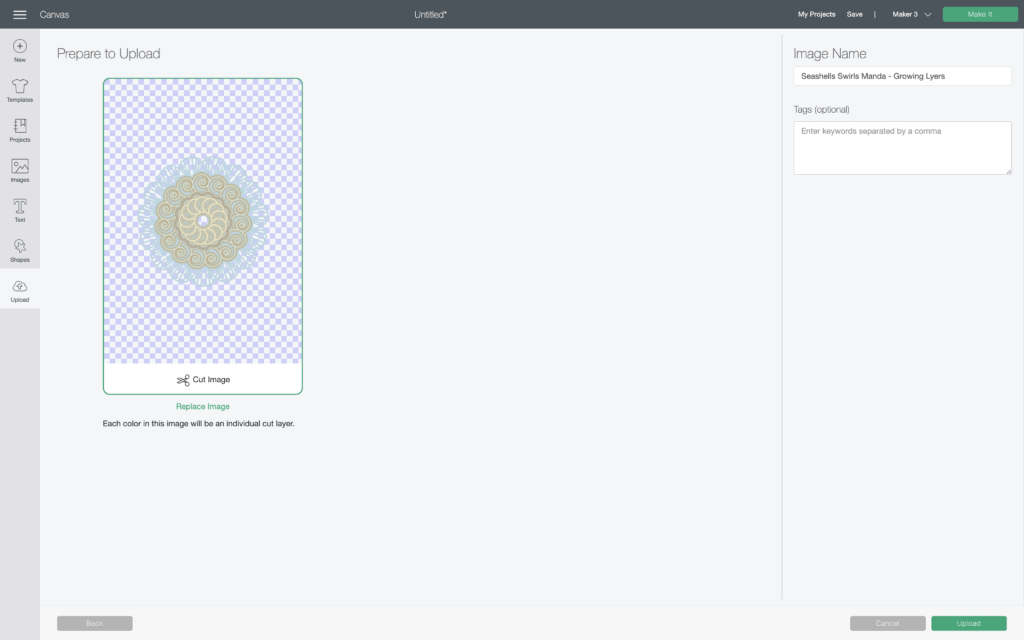
Insert it into your canvas.
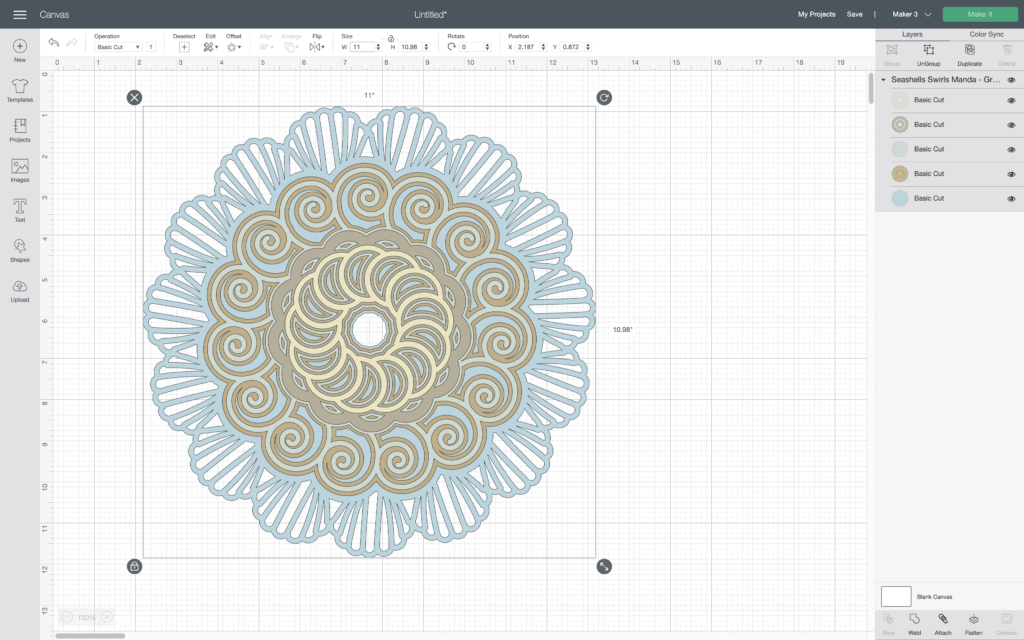
Next, you’re going to resize the mandala to fit your project. Keep in mind, when using Smart Paper Sticker Cardstock, the longest your project can be is 11”.
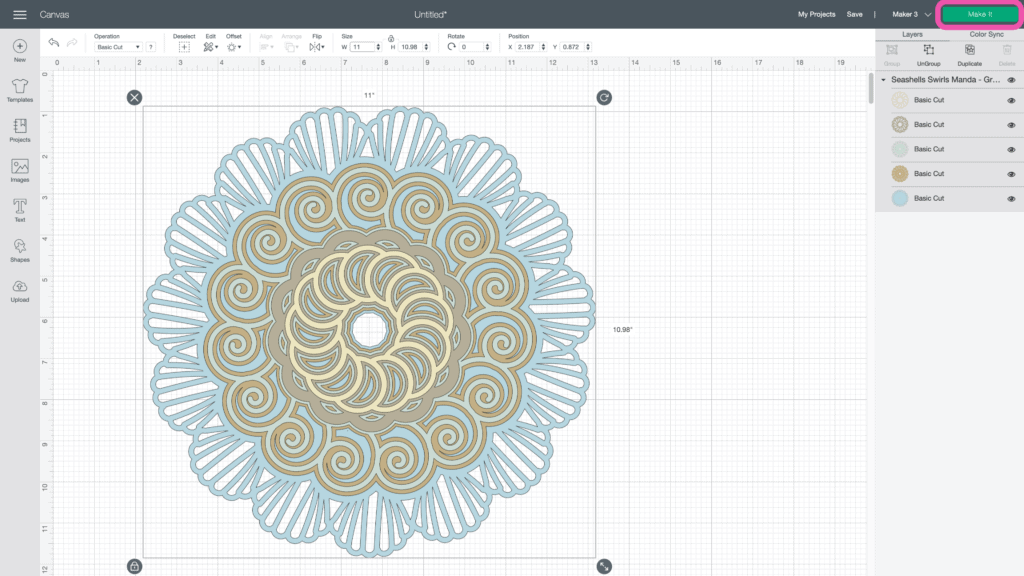
Step 2 - Cut Design
Once everything is ready, click “Make It.”
Select “Without Mat.”

Click "Continue" and connect to your machine.
Now, set the material as “Smart Paper Sticker Cardstock.”
Following the prompts within Design Space, make sure your Fine-Point Blade is loaded in.
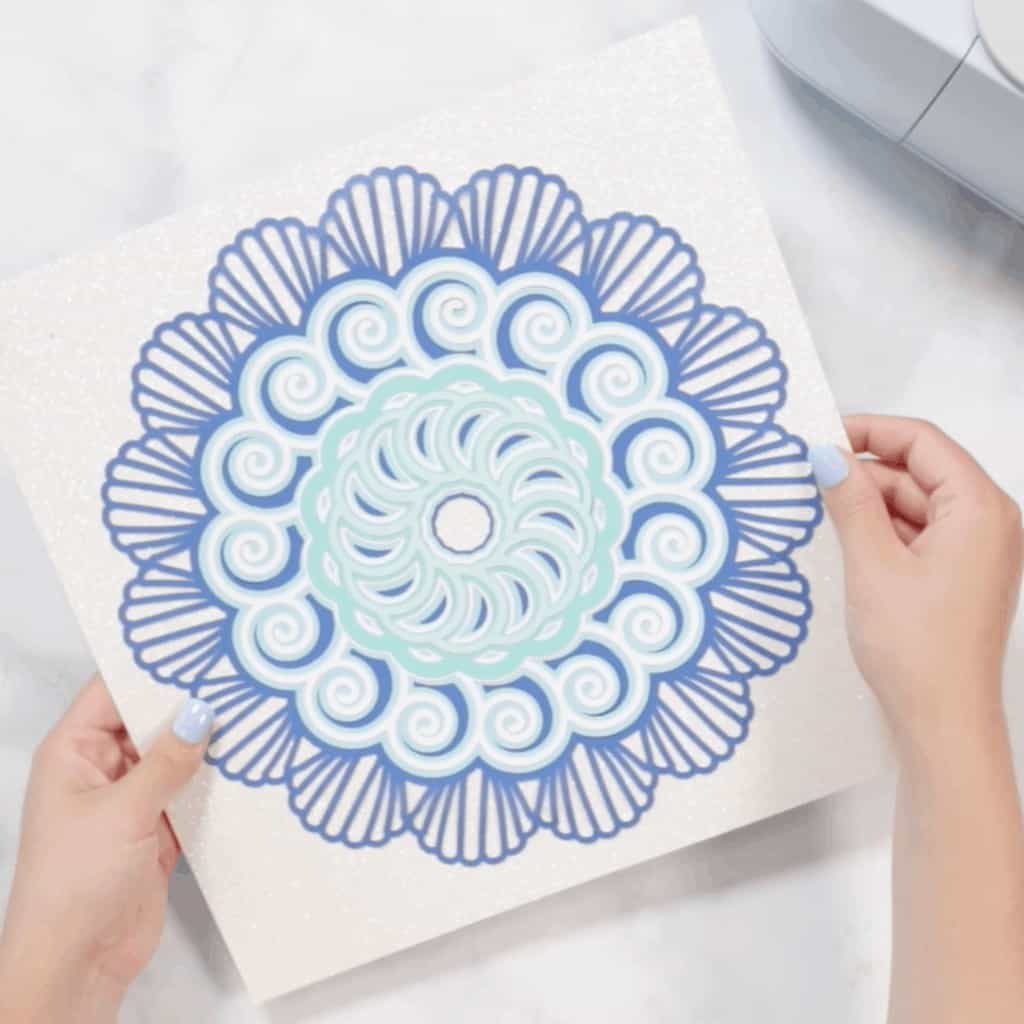
Next, load in the first color of Smart Paper. Insert it underneath the white guides and press the load button.
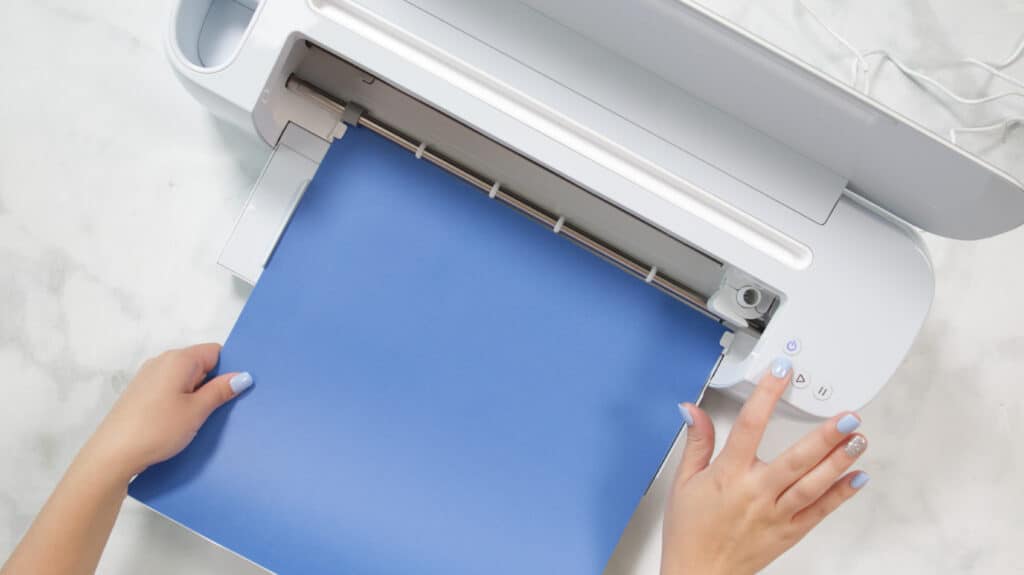
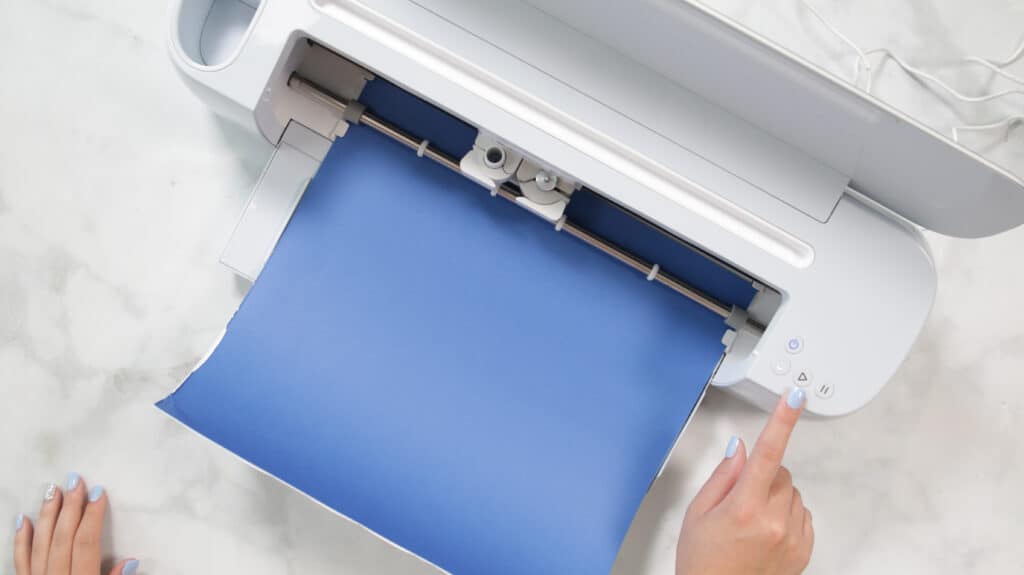
The Maker 3 will straighten out your material and measure it, just to be sure you have enough.
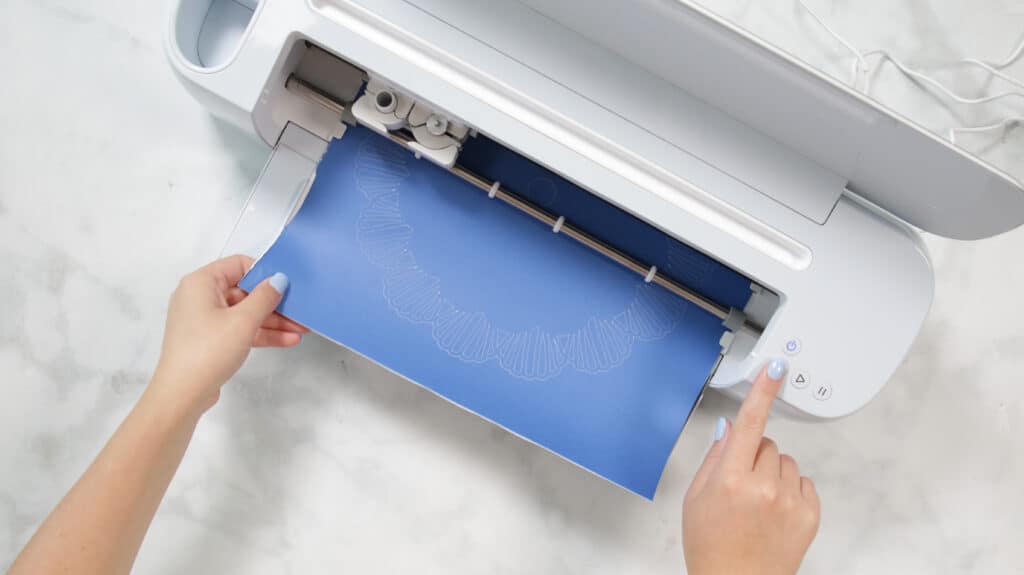
Press the start button to begin cutting.
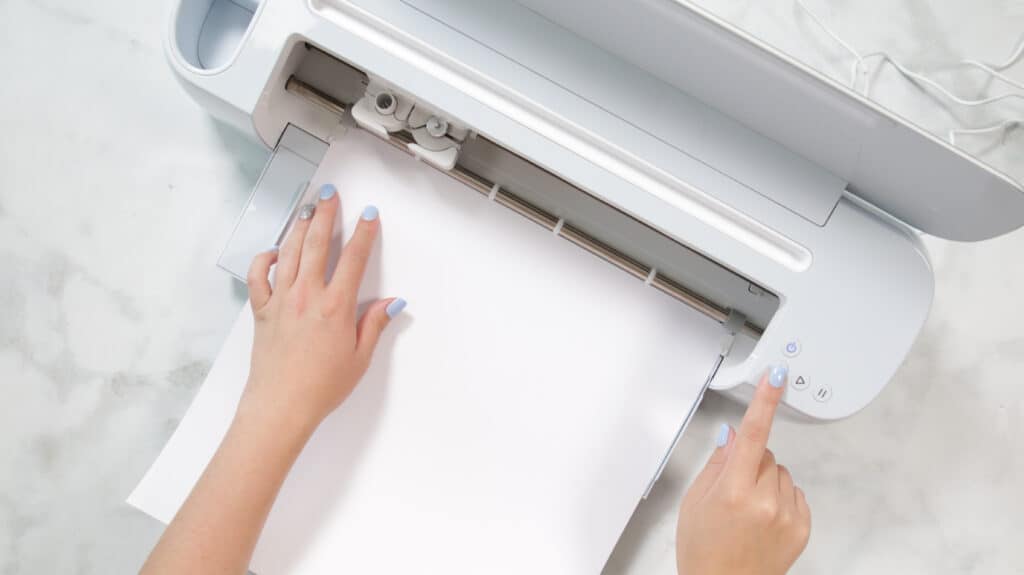
Once your machine has finished the cut, unload it.
Load in the next color and press the start button to begin the cut.
Repeat this until you have all of your elements cut out.
Step 3 - Assemble Mandala
To start, prep and lay out your pieces in order.
Begin by placing the base layer onto the 12”x12” cardstock.
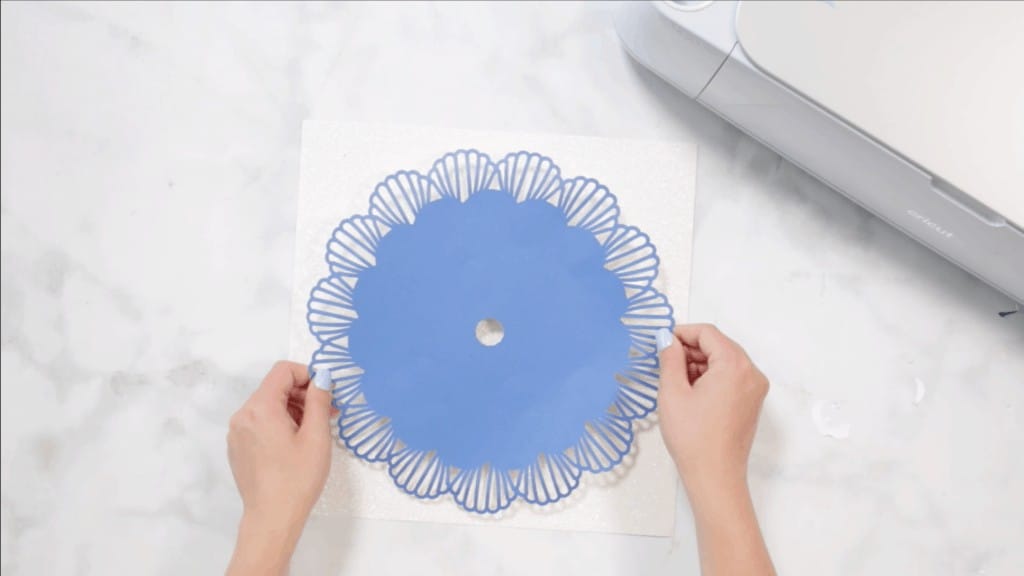
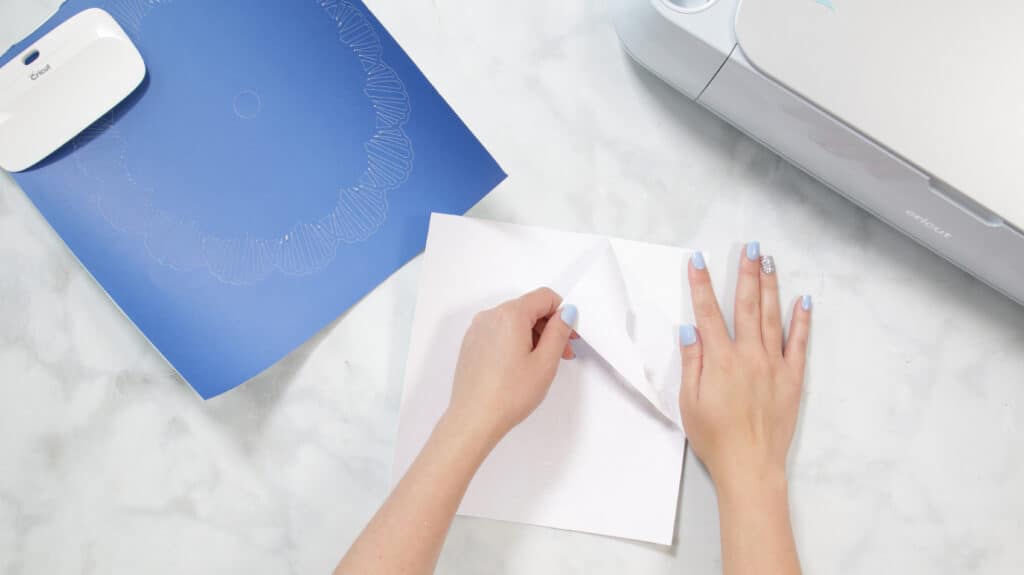
Peel the cardstock off of its backing. Center it and press down.
Before you press down, double-check your placement. If you find that your placement is crooked, the Smart Paper can be lifted up and repositioned within a few seconds if applied lightly.
Next, add the 4th layer on top of it. Peel it off, center it and press down.
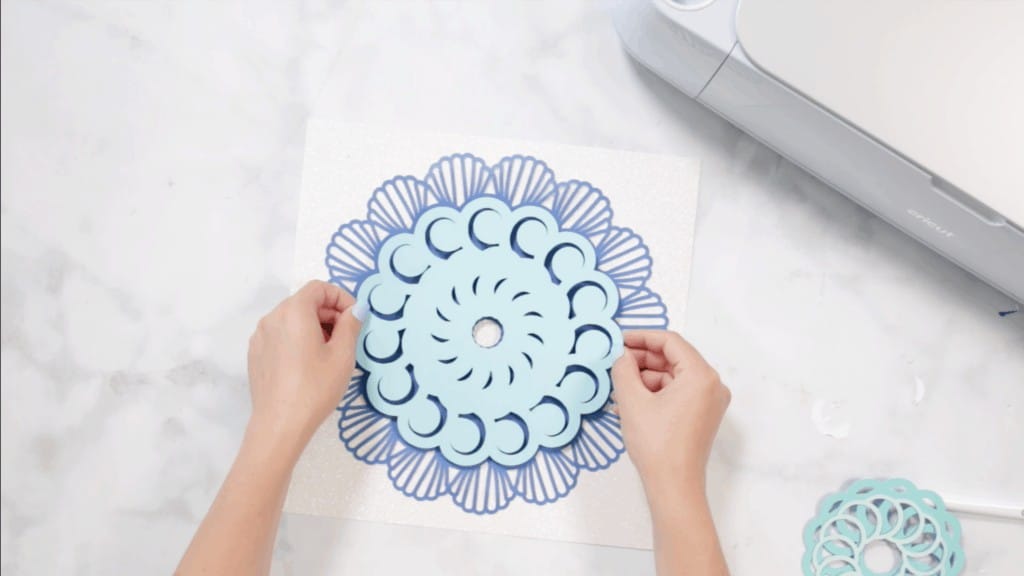
Continue doing this for the next three layers.
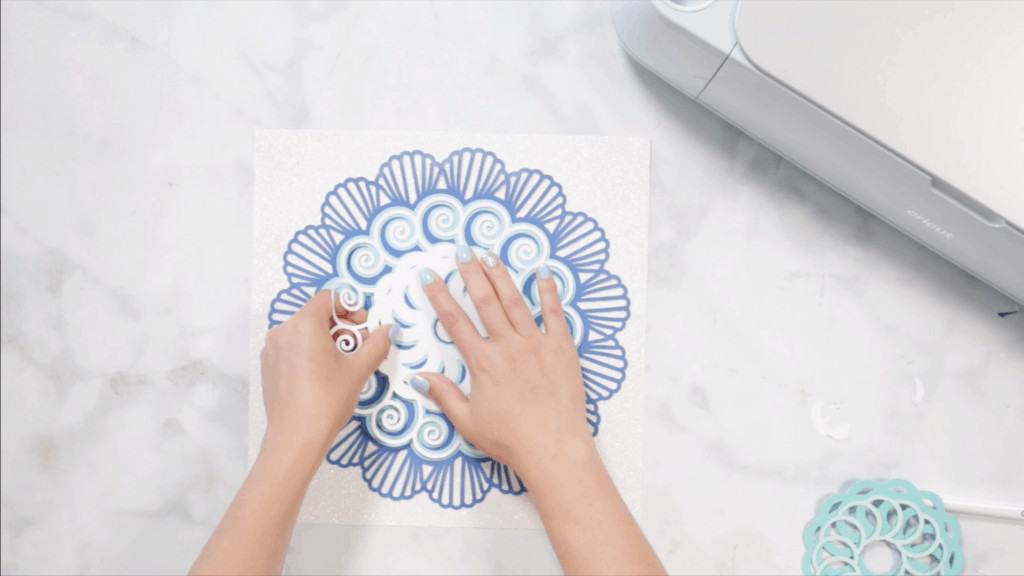
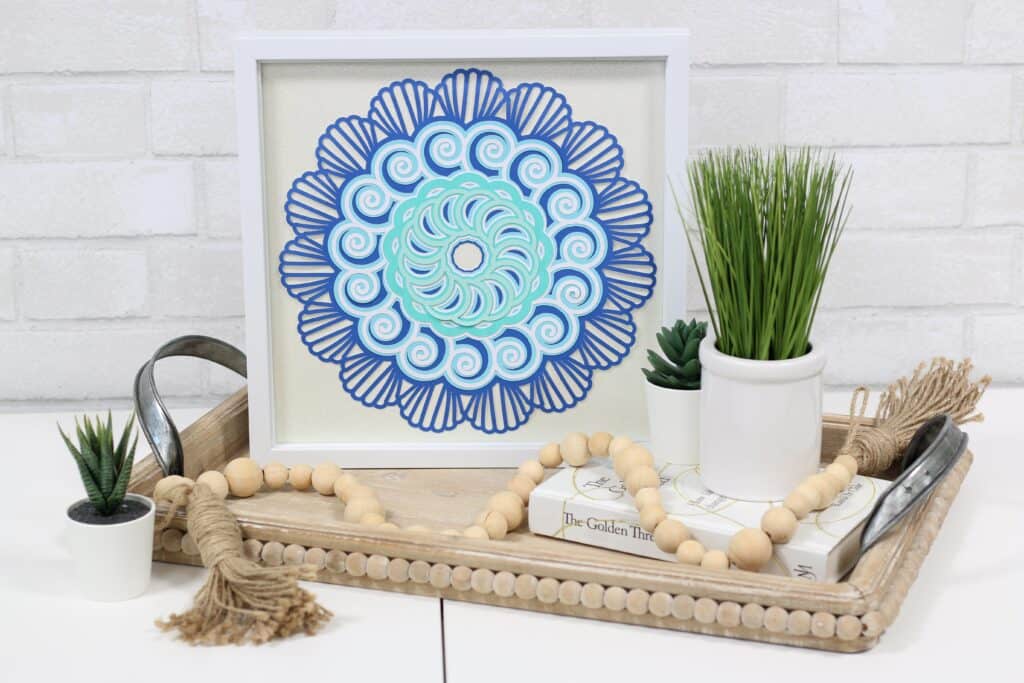
Now, we have this adorable seashell mandala.
Just place it in the shadow box and it’s ready to go!
Wasn’t that easy?
Have you tried out the new Smart Paper Sticker Cardstock? Let me know in the comments below.
Thank you!
What setting do you use for cricut smart paper or sticker cardstock?
I too need to know what setting to use on my Cricut Explore for cricut smart paper or sticker cardstock. I have wasted three sheets trying to cut text that is of medium 3” by 3” or so. I need to know the correct setting to use. Thanks.