Learn how to cut, weed and apply vinyl using your Cricut Joy.
From labeling your pantry to personalizing gifts, vinyl is a staple for all crafters. When I first got my Cricut Joy, I was surprised by just how easy it is to cut and create amazing vinyl projects.
If you’ve ever wanted to use vinyl but you’ve been intimidated by the process or had less than ideal results then this post is for you.
Table of Contents
Iron-On vs Vinyl
Iron-On which is also referred to as Heat Transfer Vinyl is a heat-activated vinyl that requires an iron or a heat press to activate the adhesive backing. A simple way to tell the difference between the two is to look at the back of them. Iron-On has a clear liner on top and the actual vinyl layered underneath. Removable and permanent vinyl both have a liner with a grid.
For more information about Iron-On, check out my blog post HERE.
What is Vinyl?
Cricut’s vinyl consists of two different parts - you can think of it as a sticker sheet. The top layer is the vinyl which has a sticky adhesive backing. This is the material you will be cutting and applying to create your project. The second layer is the protective liner.
While vinyl can be applied to the majority of flat surfaces, it works best on non-porous items like walls, glass, and plastic.
If you’ve shopped online or visited the Cricut section in your local craft store, you’ve probably seen a few different types of vinyl.
Removable vs Permanent Vinyl
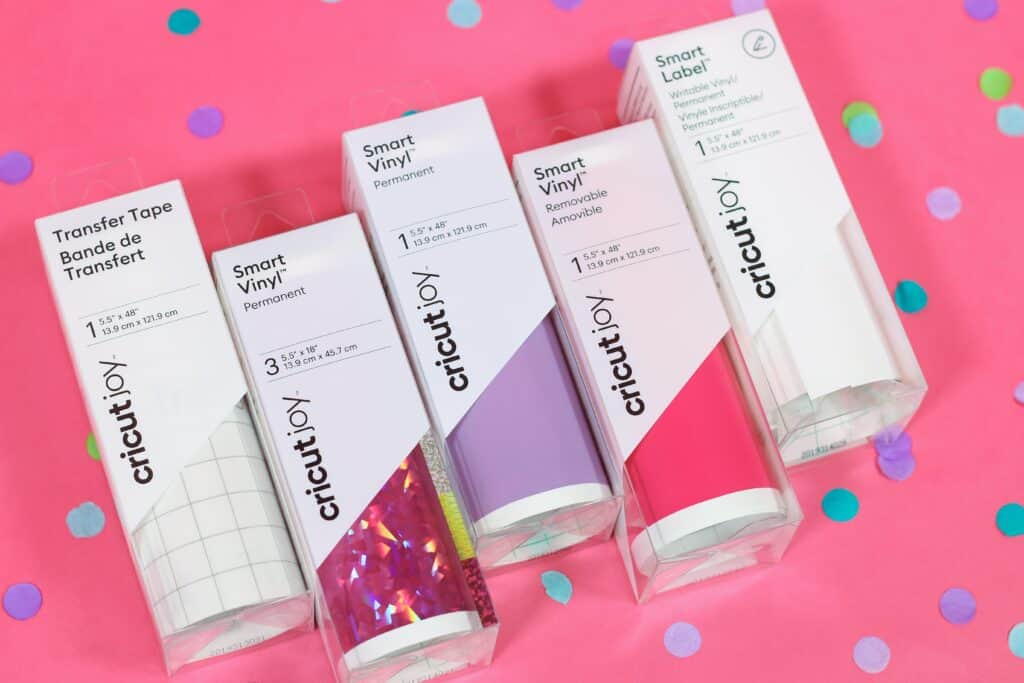
Cricut carries two main categories of vinyl - permanent and removable.
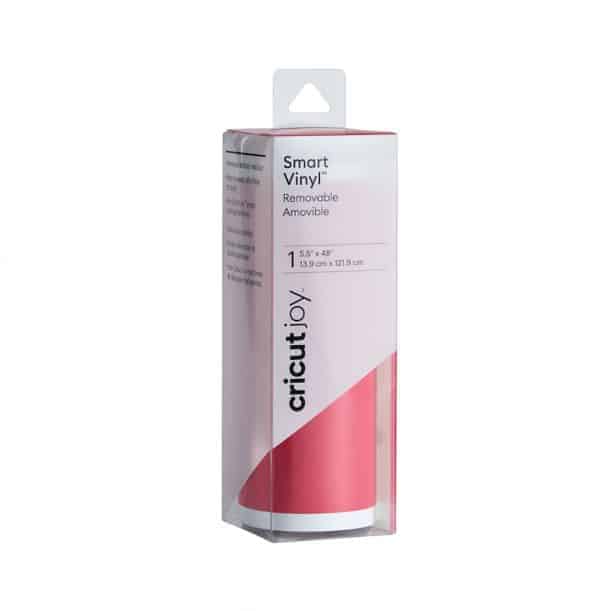
Removable vinyl is ideal for temporary decor since it does not leave a residue behind and can easily be changed out. I use this when I’m making projects that I don’t want to leave up forever. It’s great for decorating for a birthday party or applying a temporary decal to a window.
Permanent vinyl creates a long-lasting adhesive bond, making it ideal for projects that undergo more wear and tear. This is the type of vinyl to use on projects such as car decals, labels, and anything that’s meant to be permanent.
Vinyl Finishes
Both removable and permanent vinyl come in a variety of finishes.
Click here to purchase Smart Vinyl.
Matte Vinyl
Matte Vinyl comes in a variety of colors and is easy to weed and transfer to your base. This is the vinyl that I use the most often.
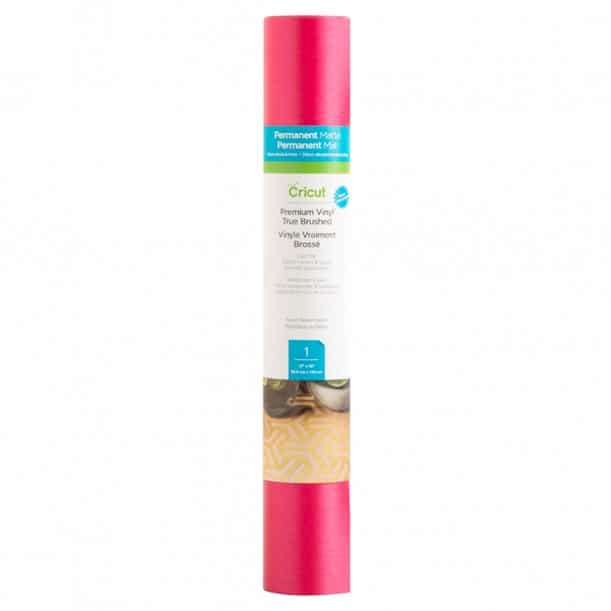
True Brushed Vinyl
True Brushed Vinyl features fine stripes with an embossed texture, adding extra depth and dimension to your projects. I love using this when personalizing coffee cups or mugs.
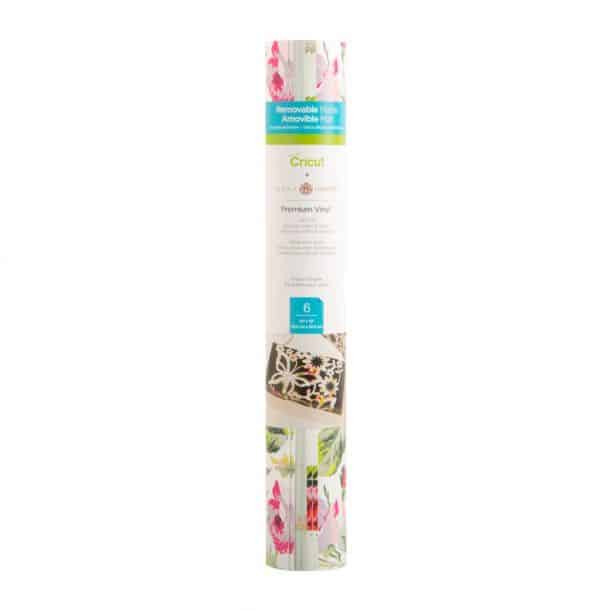
Patterned Vinyl
Cricut carries a variety of different patterns for every need. Patterned Vinyl comes in everything from cute floral designs to licensed prints like Disney and Marvel.
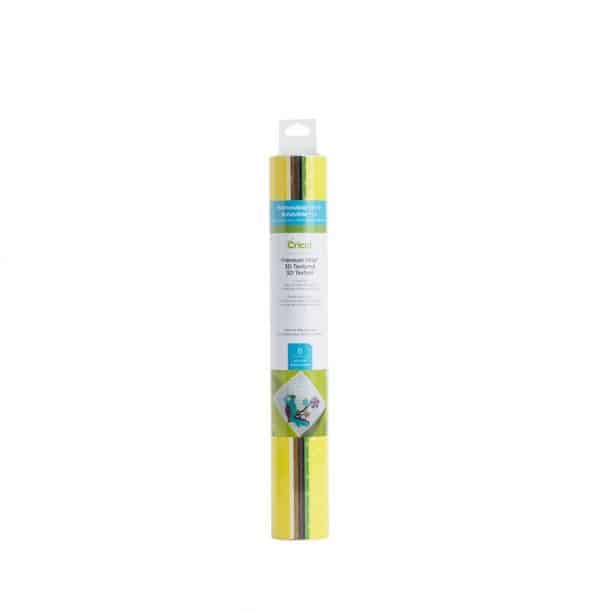
Textured Vinyl
Textured Vinyl makes your projects pop. I love being able to add a 3D element to my projects.
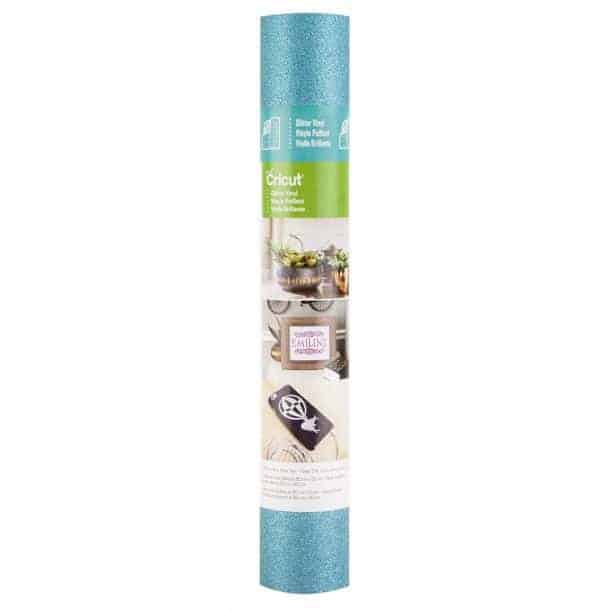
Glitter Vinyl
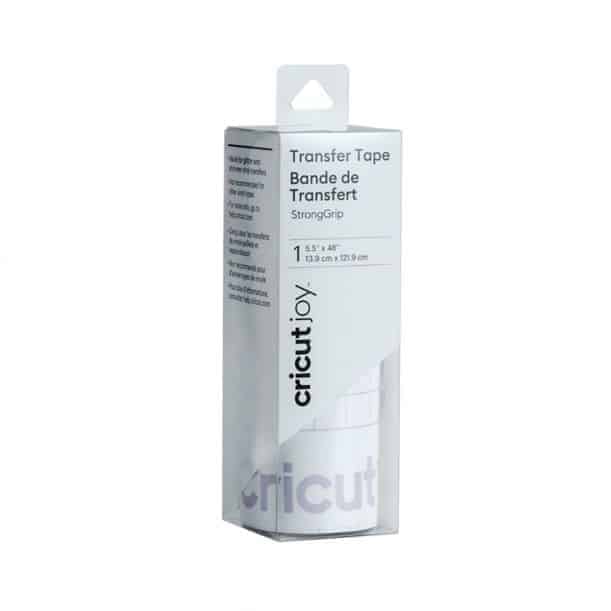
If you’re looking to add a little sparkle to your project, Glitter Vinyl is the way to go. When working with this, be sure to use StrongGrip Transfer Tape.
Shimmer Vinyl
If you’re looking for something similar to glitter vinyl, but without the never-ending glitter trail, you may want to try out Shimmer Vinyl.
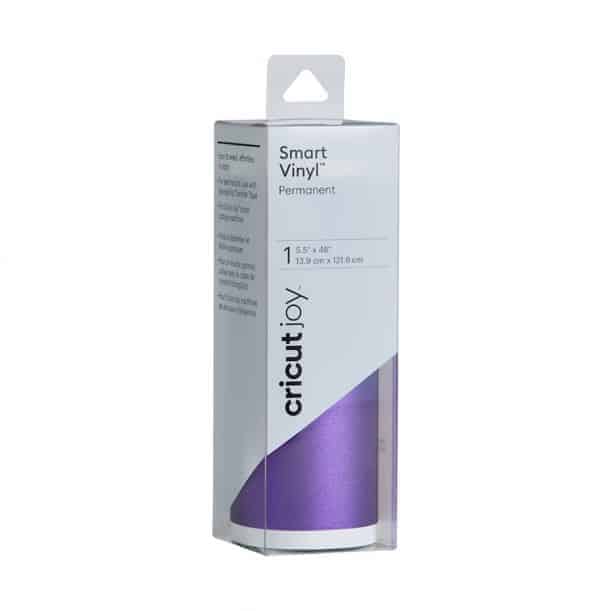
Frosted Vinyl
Frosted Vinyl makes me think of DIY weddings or winter projects. The translucent look adds the perfect touch.
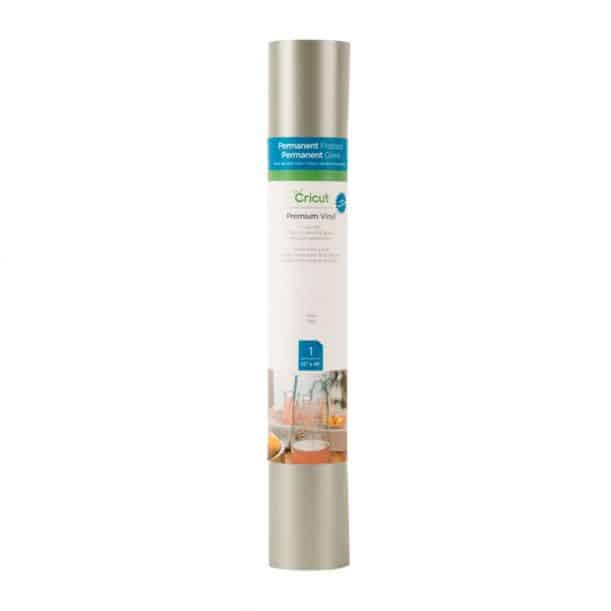
Metallic Vinyl
For an extra metallic dimension, try out Metallic or Textured Metallic Vinyl.
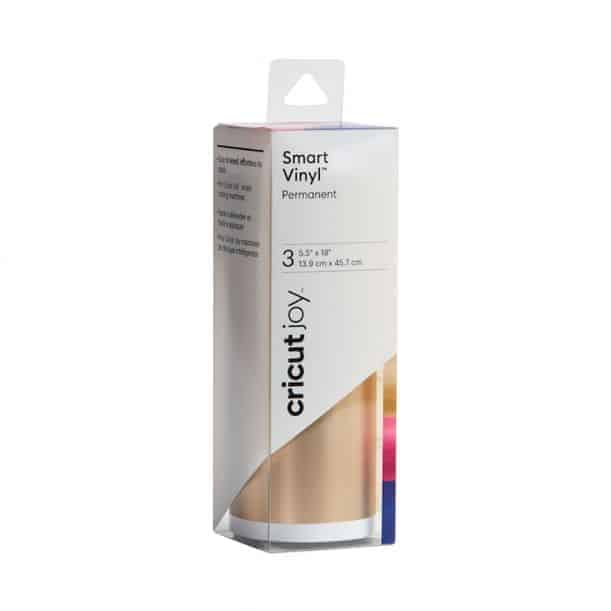
Holographic Vinyl
Holographic Vinyl is one of my absolute favorites. This eye-catching vinyl comes in three variations - crystal, sparkle, and threads.
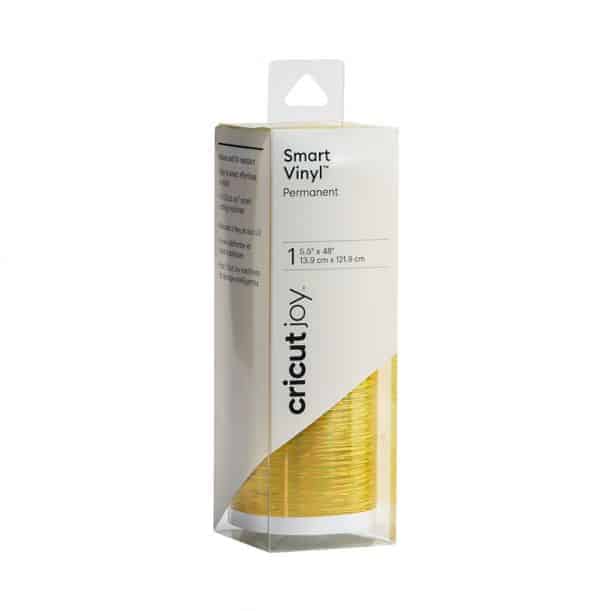
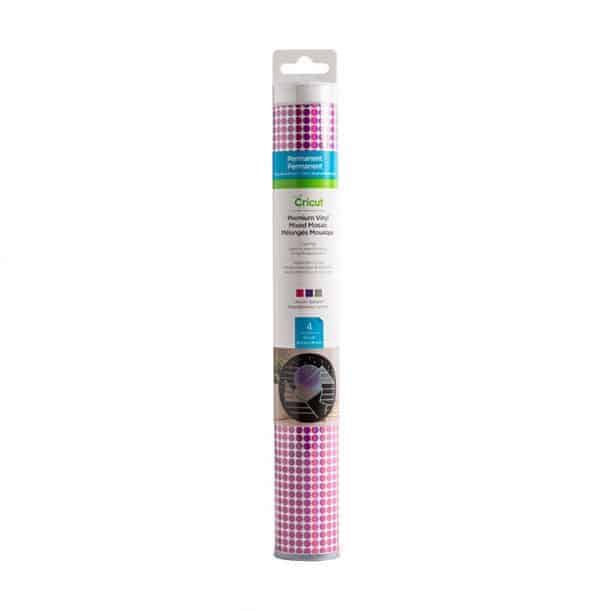
Mosaic Vinyl
Mosaic Vinyl comes in a variety of colors and shapes to give you a stunning design.
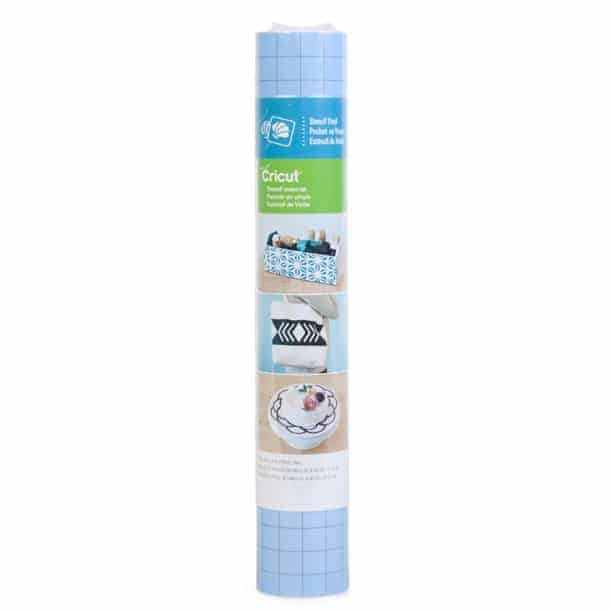
Stencil Vinyl
Stencil Vinyl lets you create personalized stencils to decorate a wide range of projects. I like using it to create personalized wood signs.
Chalkboard Vinyl
Chalkboard Vinyl is perfect for making labels, message boards, calendars, and any other item you want to change up frequently.
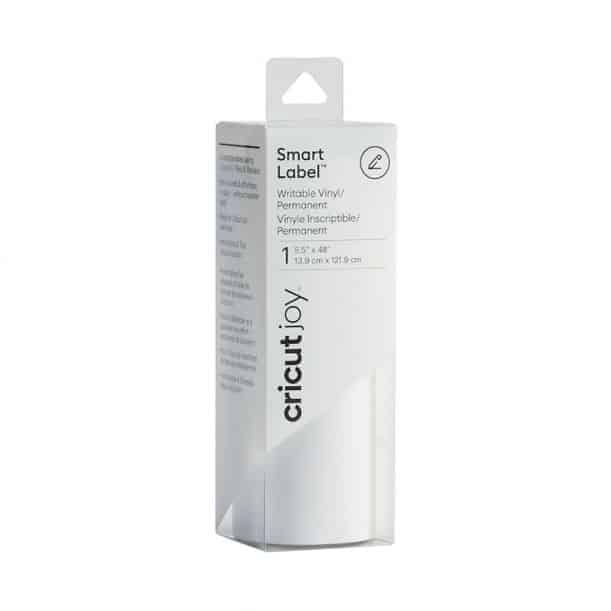
Smart Label Writable Smart Vinyl
Smart Label Writable Smart Vinyl lets you write directly on the vinyl - this is perfect for making quick labels.
Now, I typically buy my vinyl directly from Cricut.com but you can also find it at your local craft store. I know that Cricut will have exactly what I’m looking for, so I almost always buy online. Click here to purchase Smart Vinyl.
How Can I Purchase Vinyl?
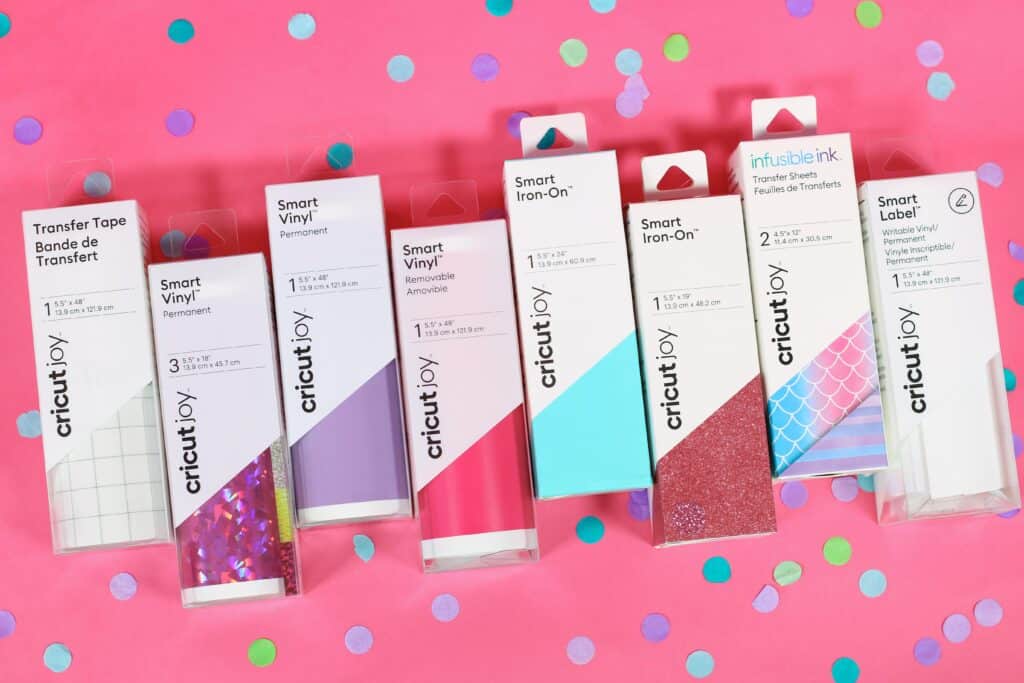
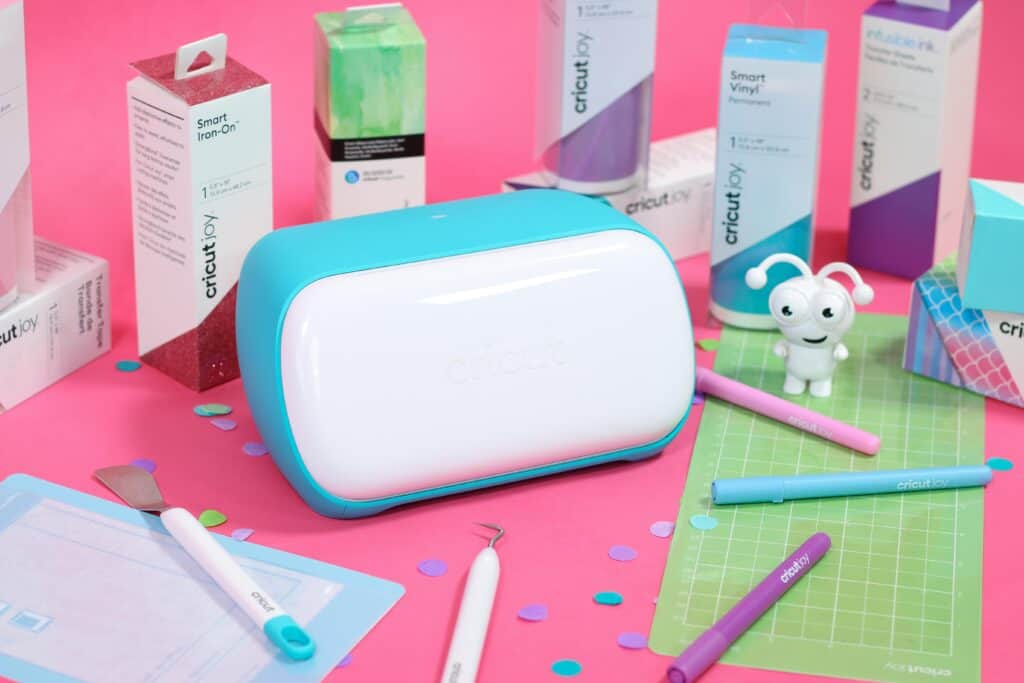
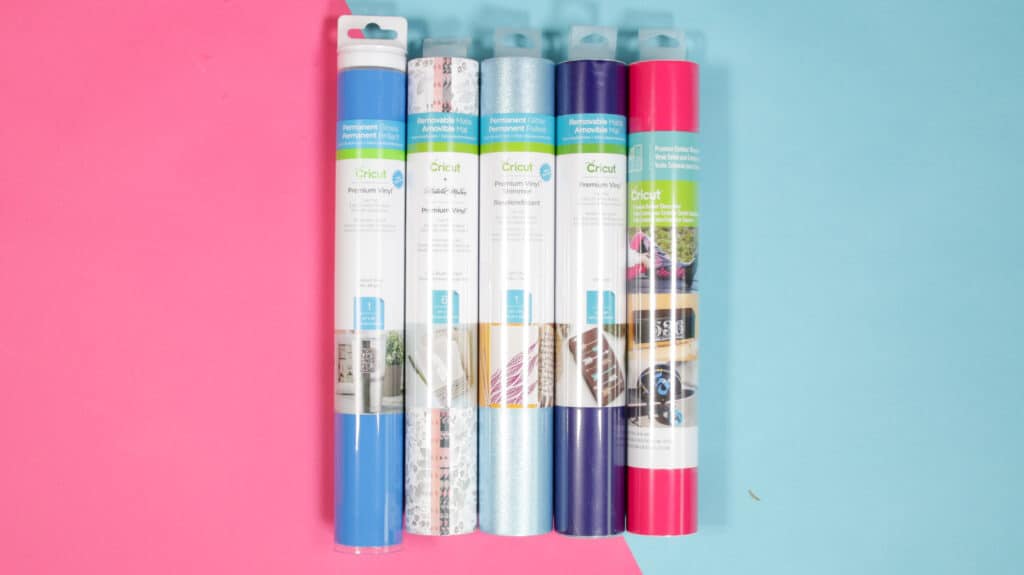
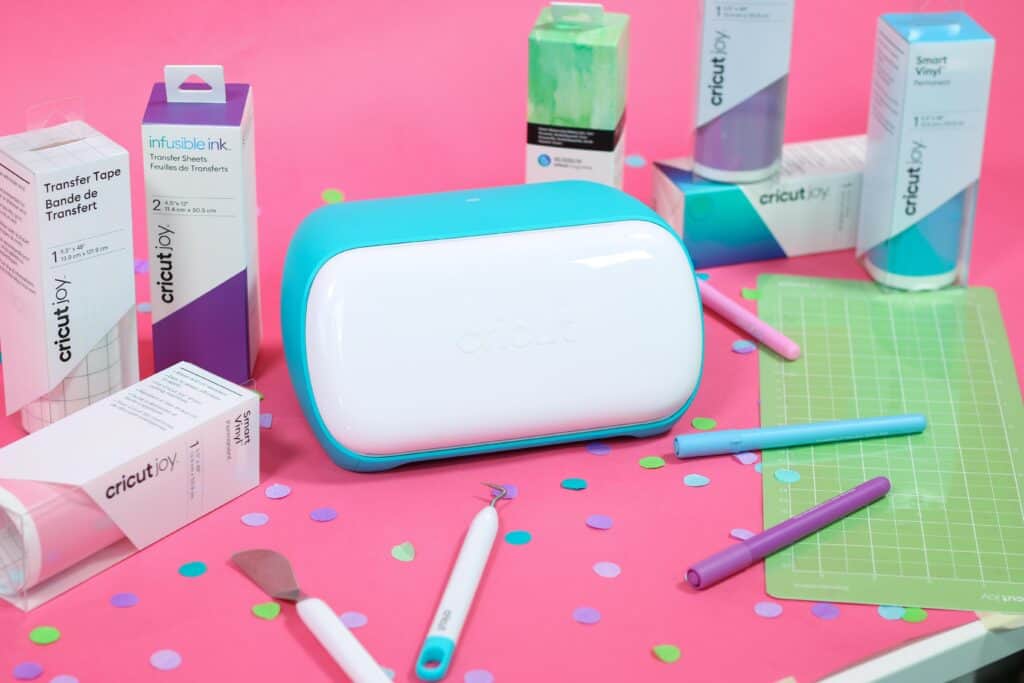
You can purchase vinyl for your Cricut Joy in two different ways - Smart Vinyl or Large Vinyl Rolls.
Smart Vinyl features a thicker backing that enables your Cricut Joy to cut it without using a mat. I love being able to quickly cut designs with Smart Vinyl.
In addition to being able to cut without a mat, Smart Vinyl lets your Joy cut up to 4 feet at a time or 20 feet if your cut is a repeated pattern.
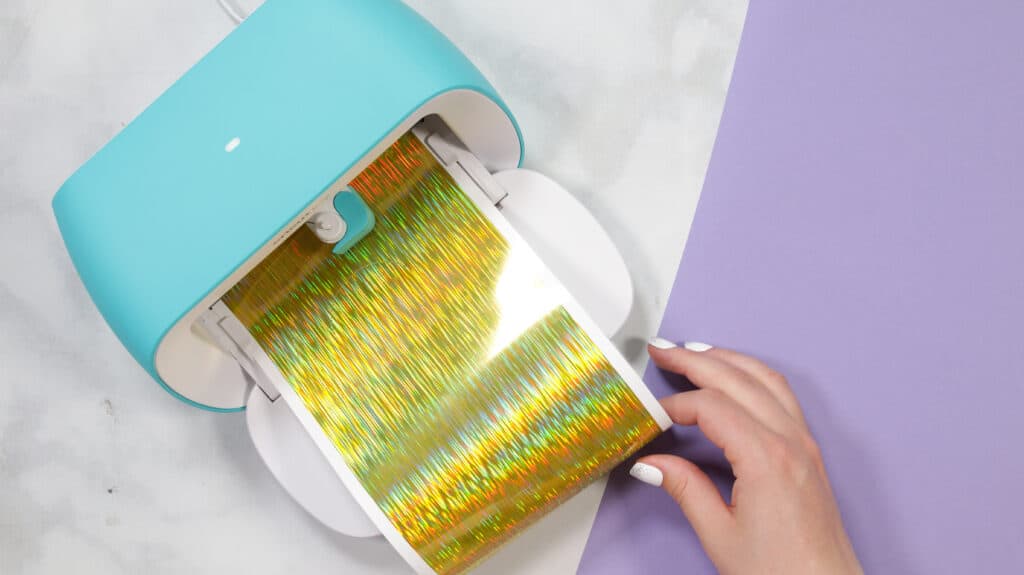
If I can find the design I’m looking for, I always buy Smart Vinyl.
Since it is still a new product, Cricut does not carry every color and pattern in Smart Vinyl, so if you’re looking for something a little more unique, you may need to use traditional vinyl.
If you are going to be using a traditional roll of vinyl, you will need to use a cutting mat.
Vinyl Tools and Accessories
Now that I’ve covered all of the different types of vinyl, you may be wondering what other tools and accessories you need to cut it.
When working with vinyl, you’ll need to use Transfer Tape to transfer your design onto your base. Transfer Tape comes in two different varieties - regular and StrongGrip.
Regular Transfer Tape is used for the majority of vinyl projects.
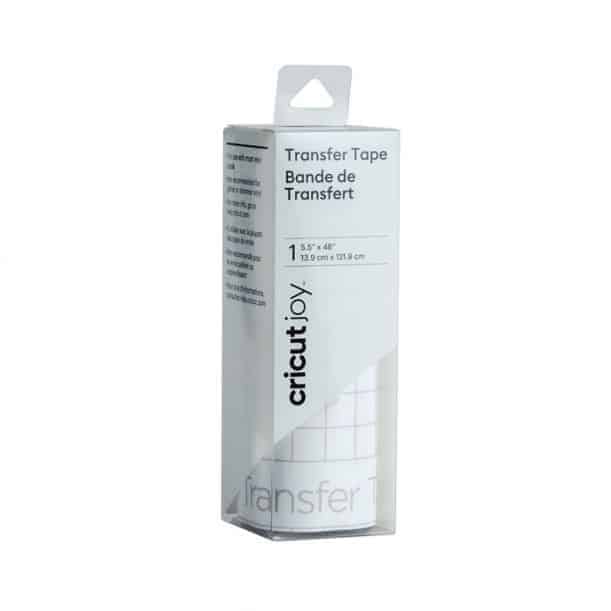
StrongGrip Transfer Tape is used with vinyl that has a rougher surface, like glitter and shimmer vinyl. These materials require a bit more stickiness to transfer from one base to another.
When working with vinyl, you’ll want to have at least two hand tools - a weeder and scraper. If you don’t have these, Cricut sells a Cricut Joy Starter Tool Set that comes with a weeder, scraper, and spatula. I’d definitely recommend picking one of these up.
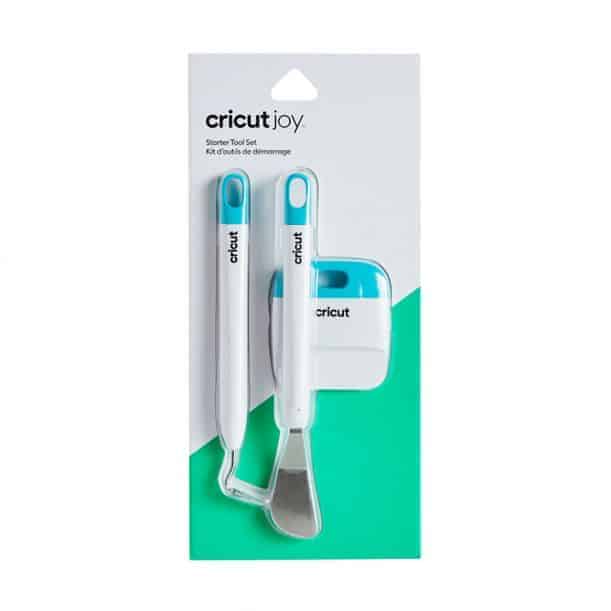
A weeder has a sharp point to easily pull up all of the negative space from your design.
Cricut’s scrapers have a thin, flat edge to burnish your design to the final project. It lets you ensure your design is secure while removing any bumps and bubbles.
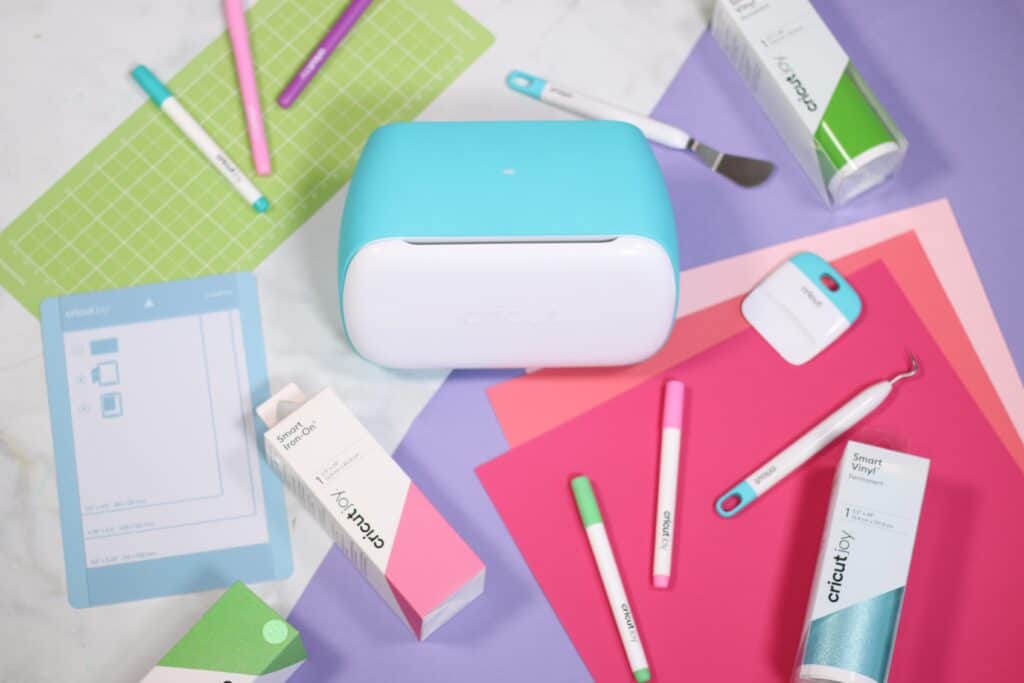
How to Cut Vinyl with the Cricut Joy in Four Easy Steps
Step 1 - Design File
To begin, choose a design to cut out in Design Space.
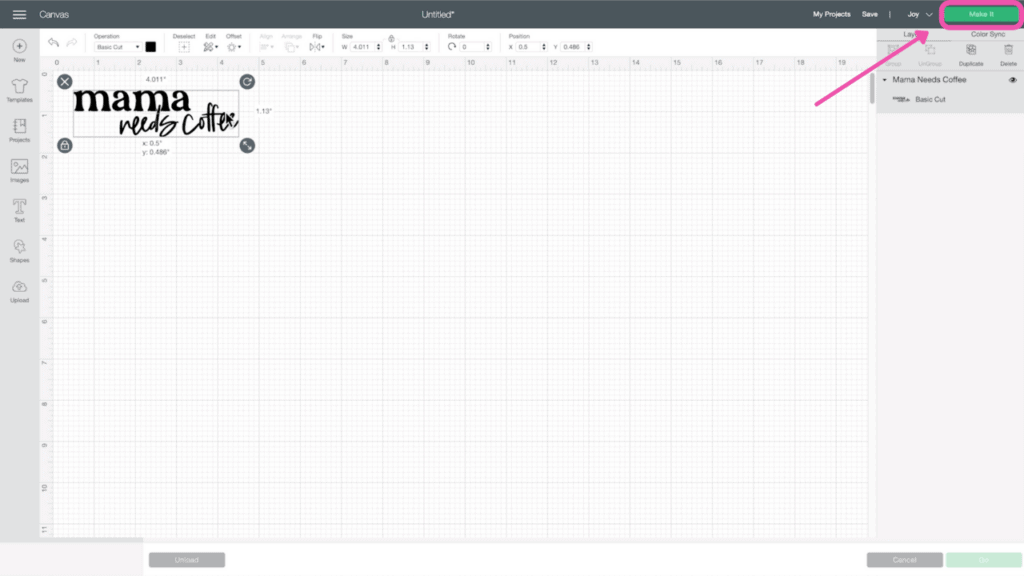
Once your design is ready, click on “Make It” to be brought to the preview screen.
Step 2 - Cut Design
Here you’re going to choose whether you are cutting with or without a mat.
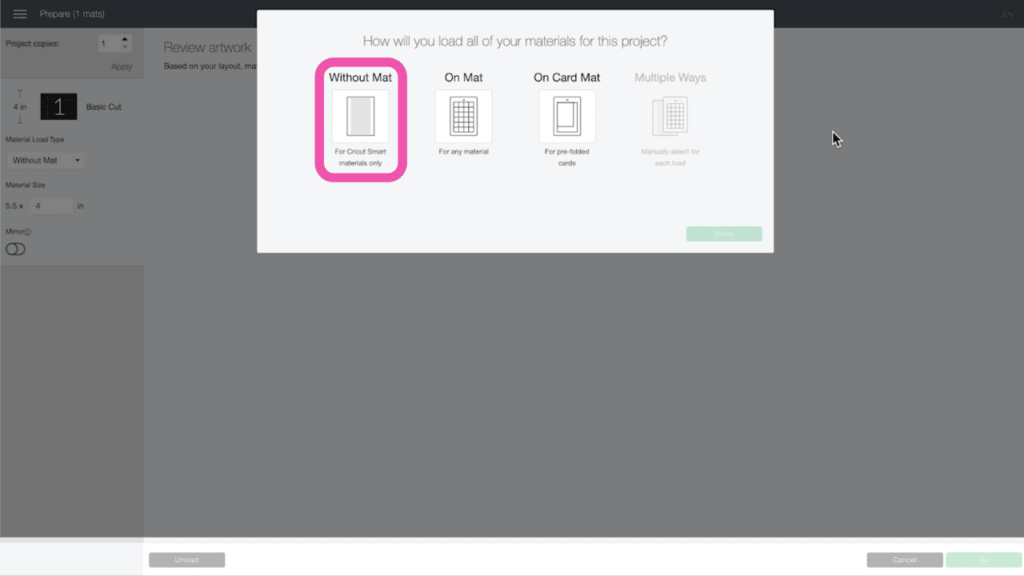
Take a minute to look over your design and make sure everything looks perfect!
Click “Next.”
Connect to your Cricut Joy.
Select the material you are cutting.
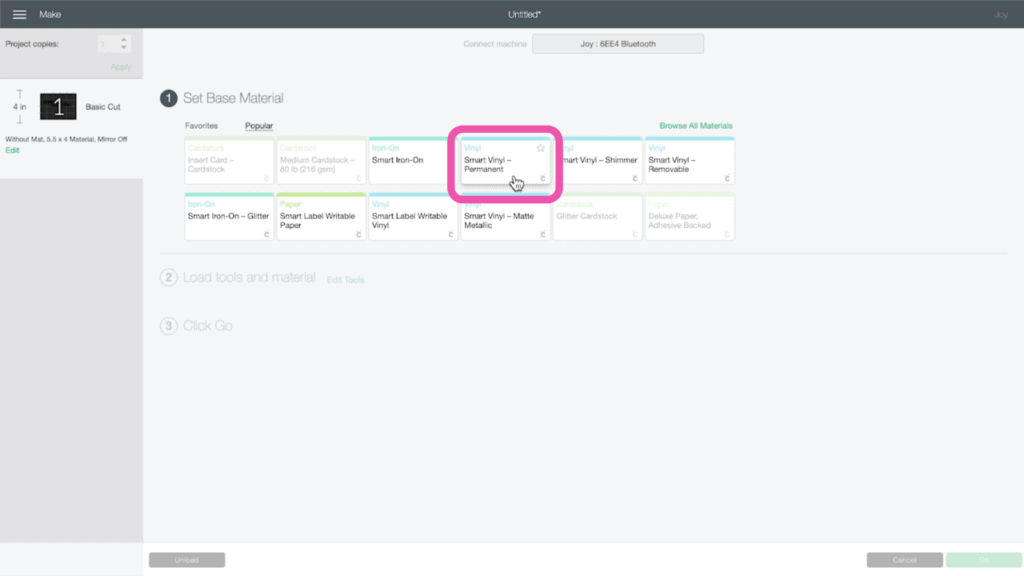
Now it’s time to prep your material. If you are using Smart Vinyl, there’s no prep required. Just load and go.
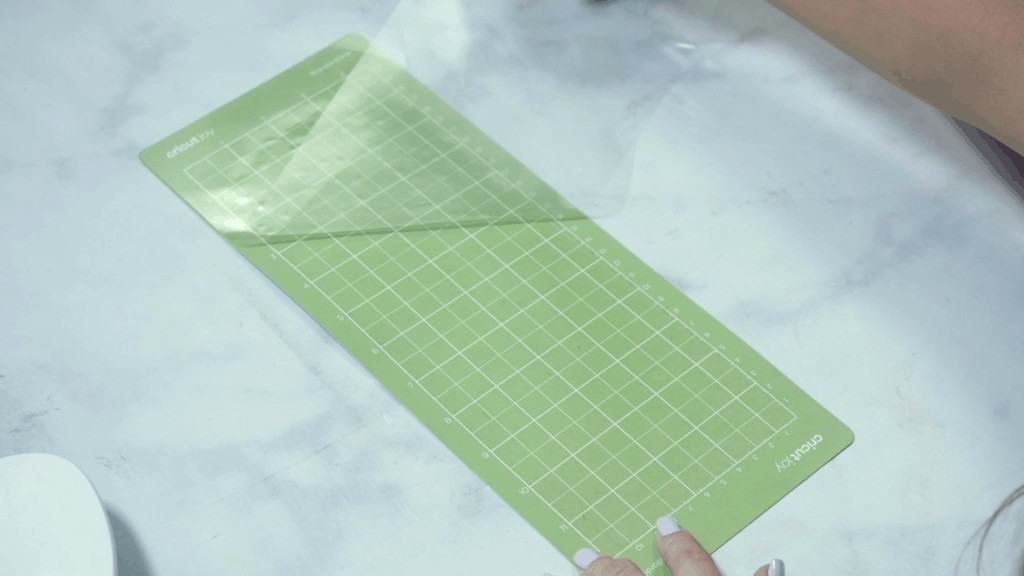
If you’re using traditional vinyl, you’ll need to use a cutting mat. Begin by removing the clear liner from your mat.
Trim down your vinyl to the correct size for your project. I like to cut my vinyl so that it’s about an inch larger than my design.
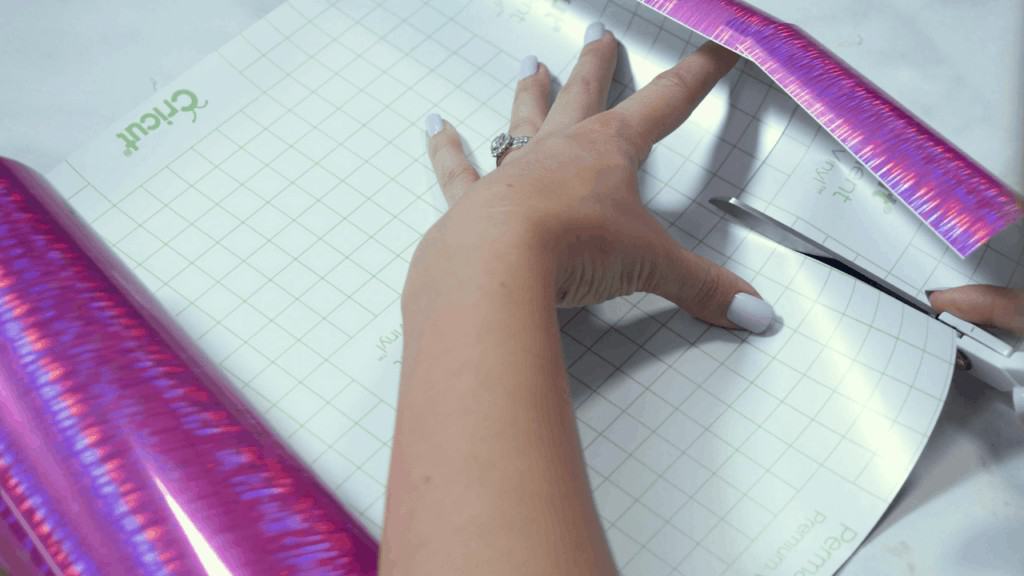
Place the vinyl on your mat, using the gridline to ensure everything is lined up correctly.
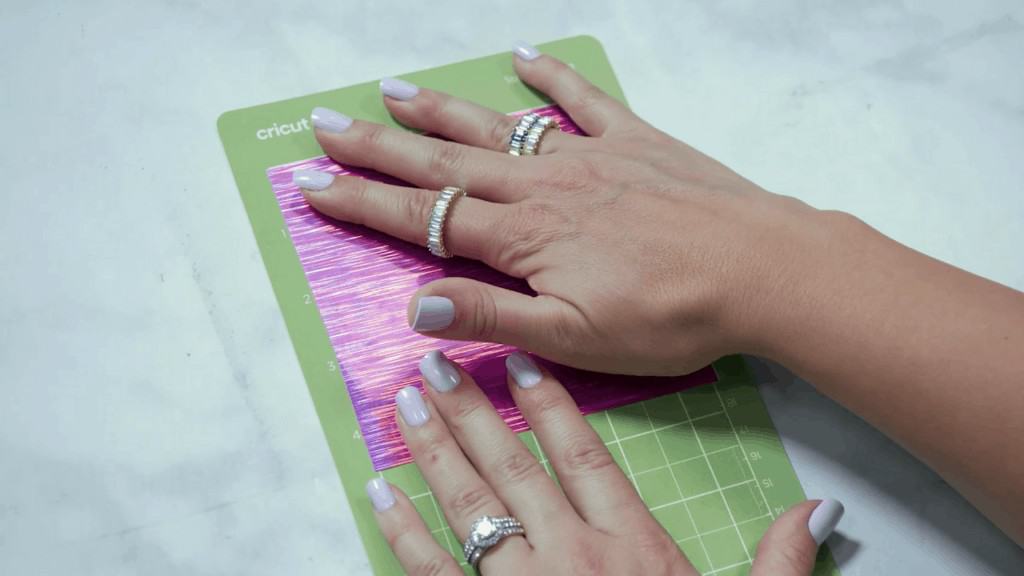
Now, it’s ready to be loaded into your machine!
Once you have your vinyl loaded, click “Go” to begin cutting. The Cricut machine will perform what’s called a kiss-cut. This means it cuts only the top layer of vinyl and not the backing.
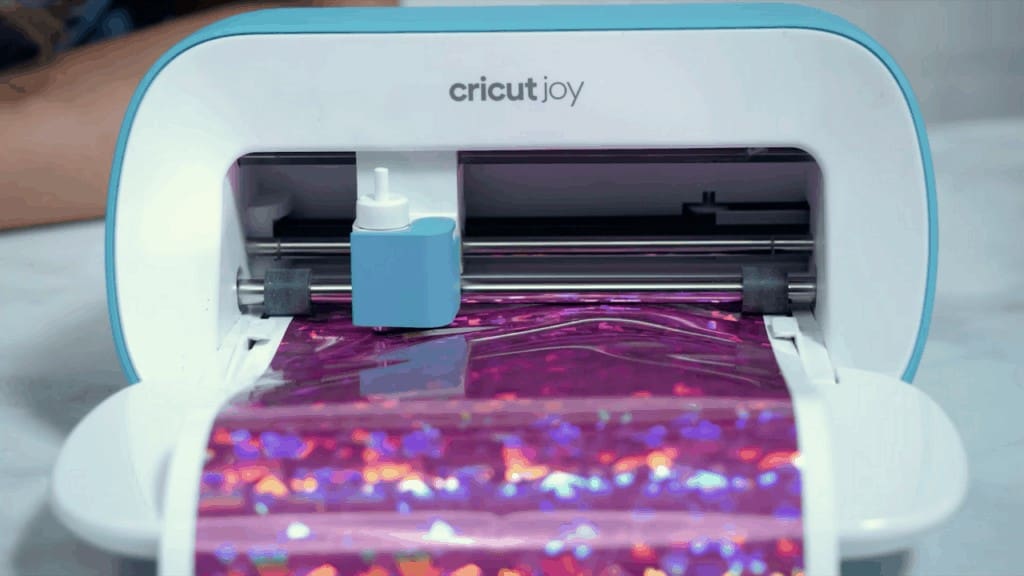
Once your machine has finished cutting, click the “Unload” button within Design Space to unload your materials.
Step 3 - Weed Vinyl
Now it’s time to weed out your design! Weeding refers to the process of removing the negative space from the design. This is the vinyl that we do not want to be transferred to the project.
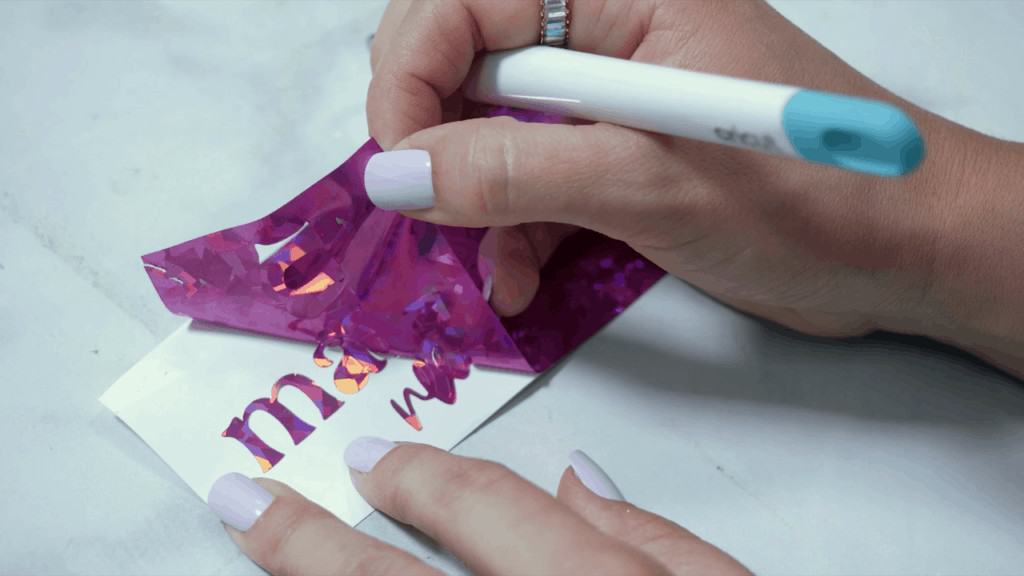
Step 4 - Transfer to Base
Before you transfer vinyl to any base, make sure that it is clean. I typically use rubbing alcohol and a paper towel just to make sure there’s nothing on my base that will affect the vinyl transfer.
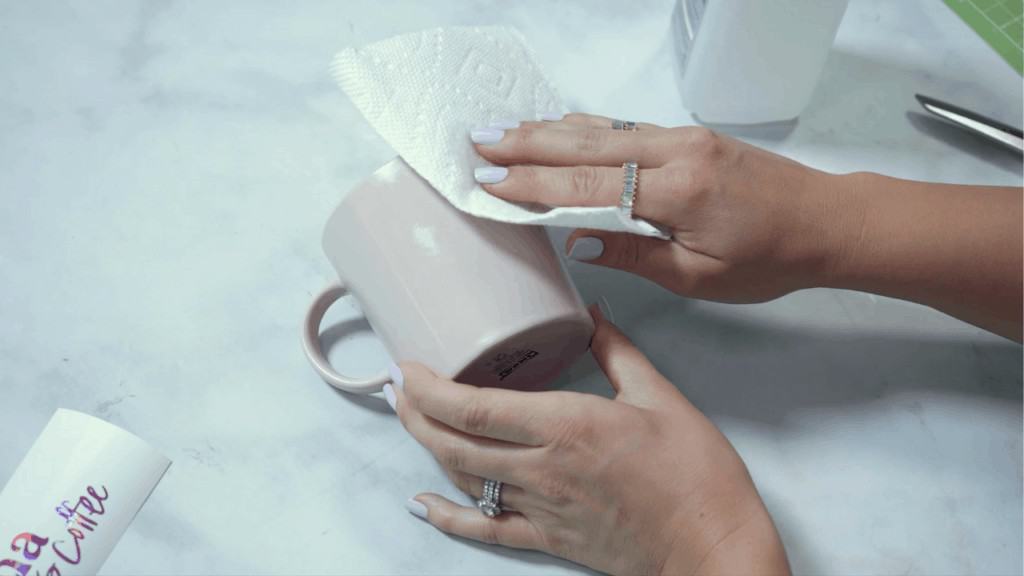
Cut a piece of Transfer Tape slightly larger than your design.
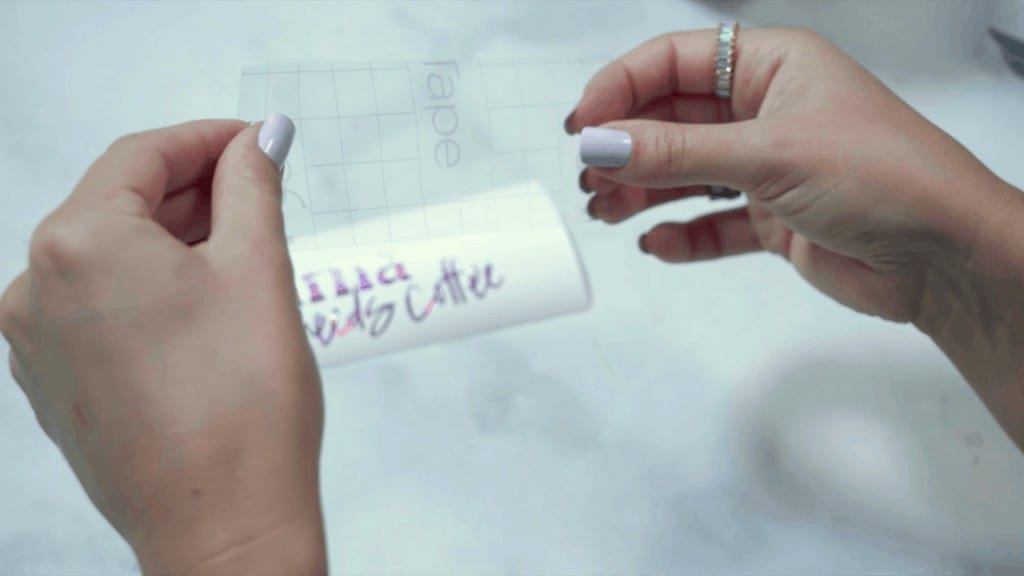
Peel the backing away from the Transfer Tape and place the Transfer Tape on top of your design. You can use the gridlines to keep everything lined up.
Burnish the Transfer Tape to your design using your scraper starting in the center of your design and working outward.
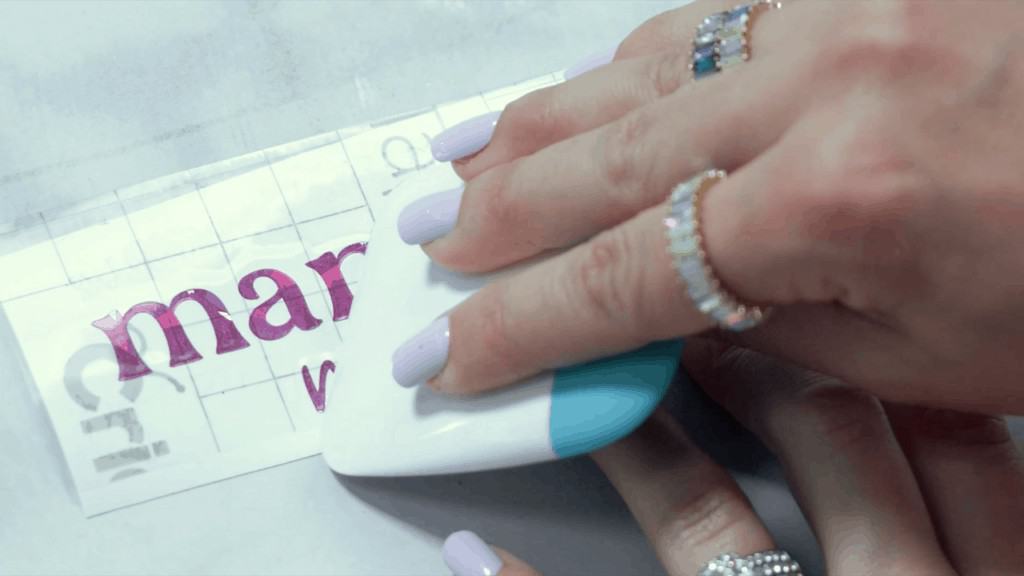
At a 45 degree angle, gently peel back the vinyl backing to transfer your vinyl to the Transfer Tape. If it’s still adhered to the backing, go over the Transfer Tape with your burnishing tool once more.
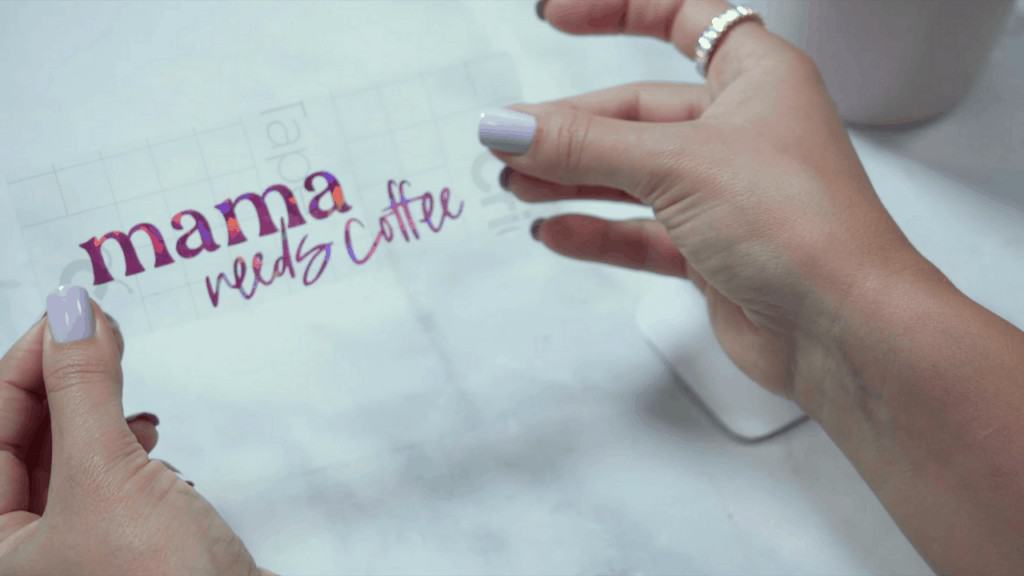
Carefully apply your vinyl to your base. I like to bend my Transfer Tape into a u-shape and apply the middle of the design first and slowly lower the sides making sure everything is aligned correctly. If you don’t love the position of your vinyl, you can gently peel it back up and reposition it.
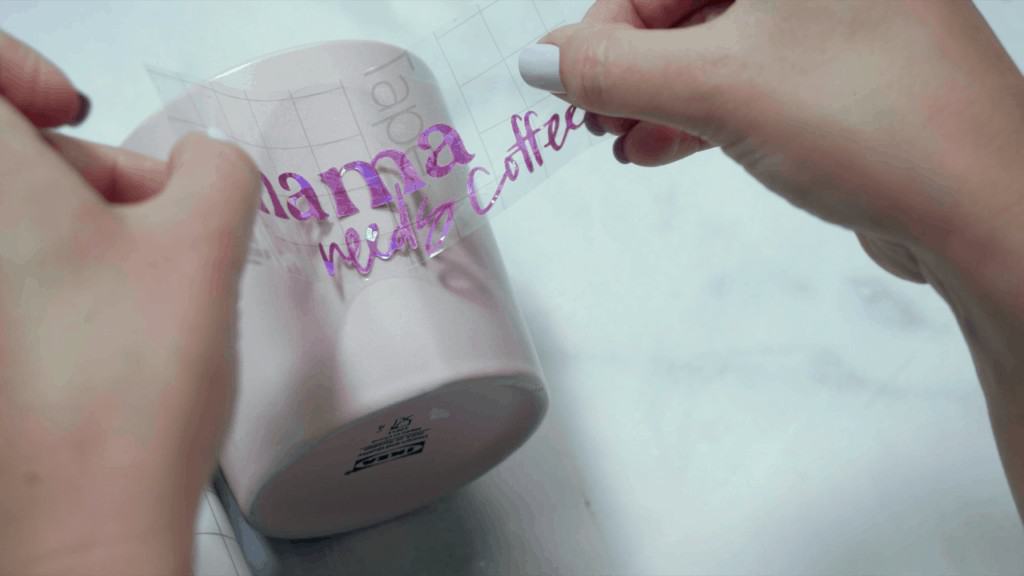
Use your scraper to completely transfer the vinyl to the base by burnishing it back and forth. I work from the middle out and make sure that it removes any air bubbles.
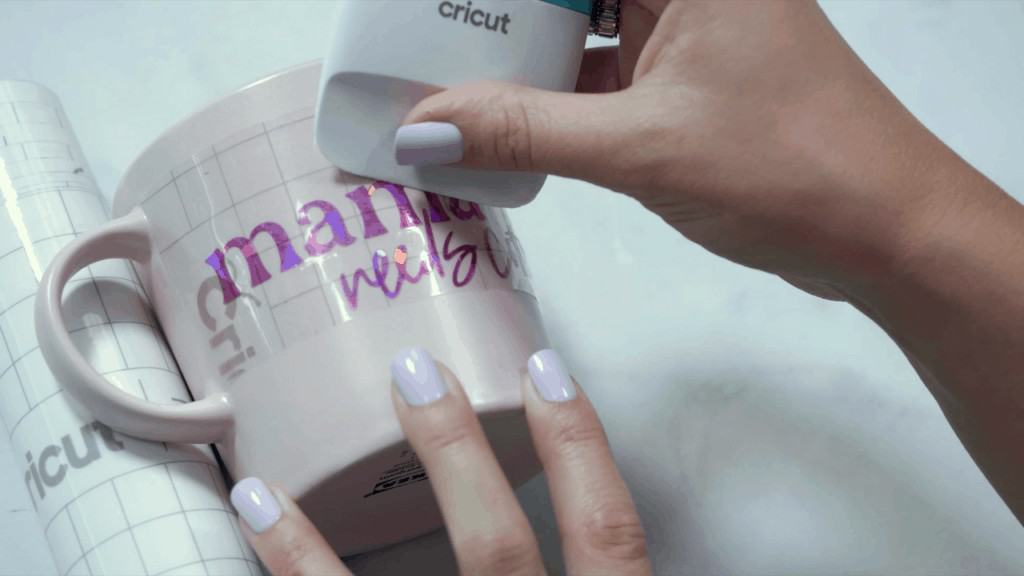
Once the vinyl has completely adhered to the base you can remove the Transfer Tape at a 45-degree angle.
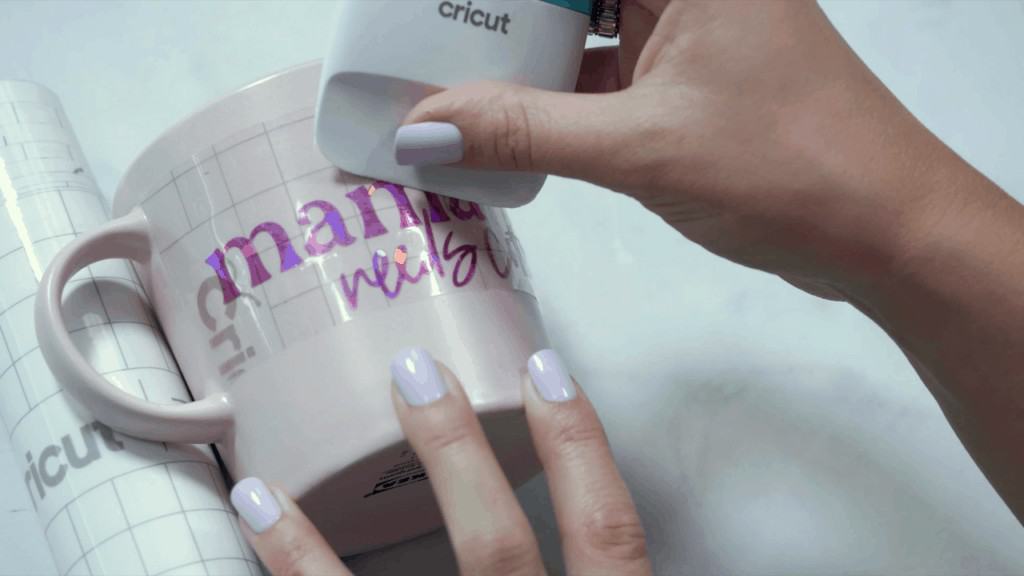
If you have any vinyl that lifts with the Transfer Tape, lay it back and burnish it again before peeling away the Transfer Tape.
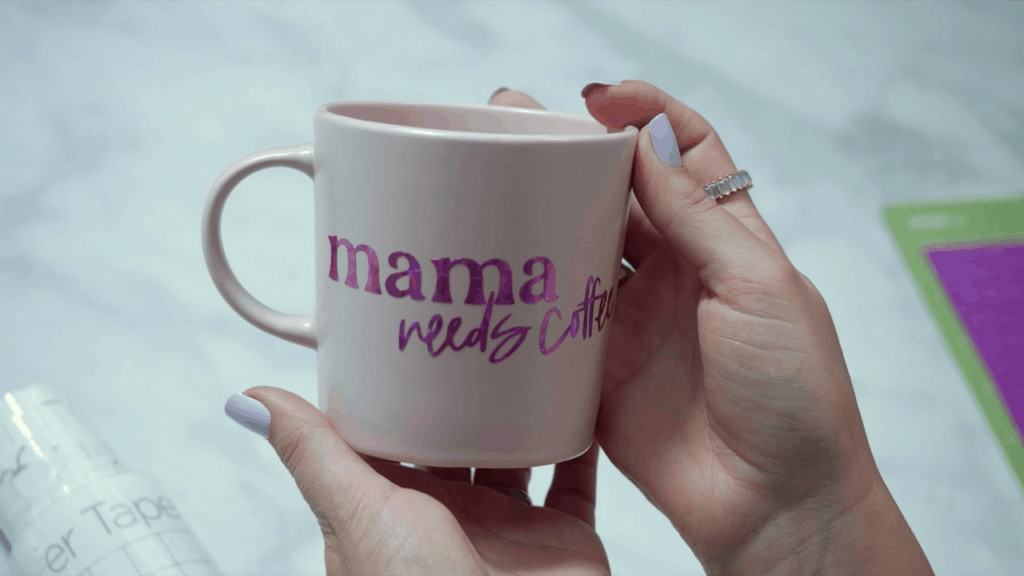

I love how easy it is to create custom vinyl projects with my Cricut Joy!

Leave a Reply