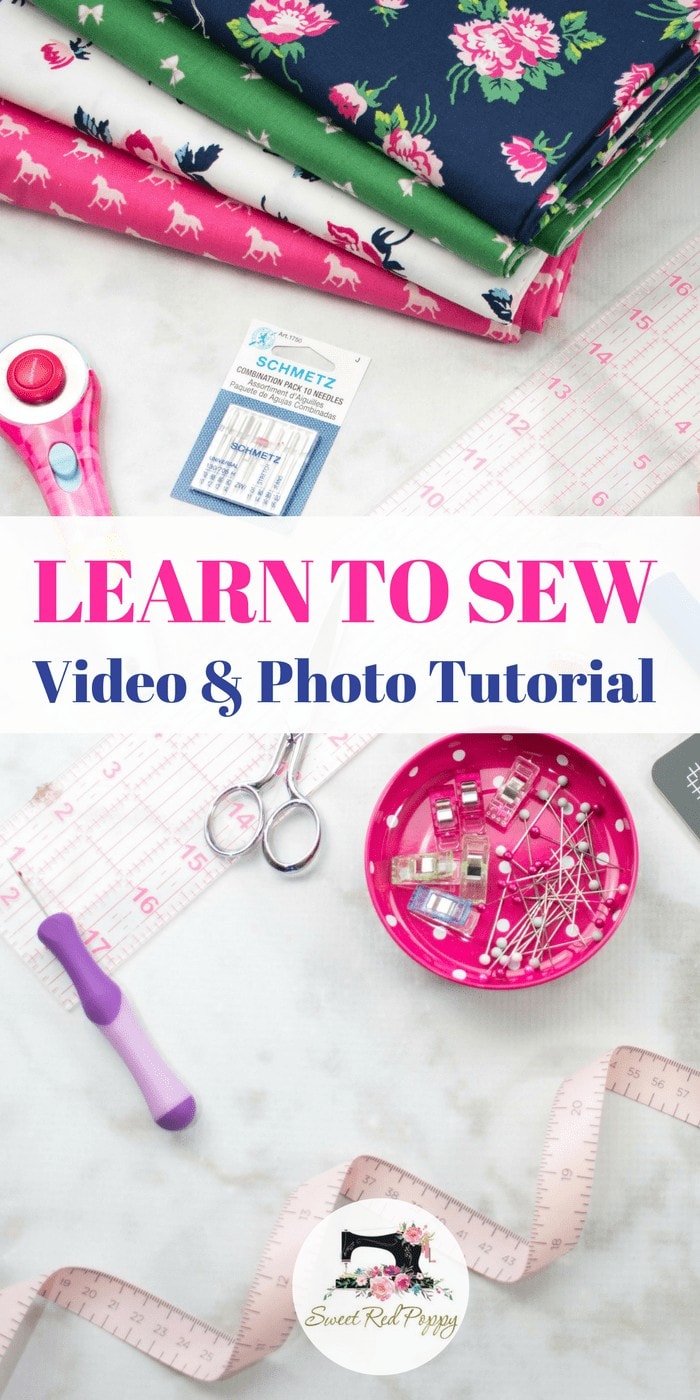
Learn How to Sew Video and Step-by-Step Photo Tutorial
Today, I'm going to teach you how to sew! We’ll cover all the basics from threading your machine and winding a bobbin to sewing a straight line. With this beginner sewing step-by-step tutorial and video guide, you'll be sewing in no time! This is one of my most requested tutorials and I'm so excited to share my love of sewing with all of you!
I know how it goes, you got a sewing machine for Christmas and then you opened the box and started reading words like bobbin, seam allowance, backstitch and feed dog.
Suddenly, fear crept in and you placed the machine back in its box and it’s been hiding in a dark corner of your closet ever since.

Well, now it’s time to dust off that machine because today we are going to conquer your sewing fears and put the pedal to the metal!
In order to learn how to sew you will need to find a small table or space that your sewing machine can permanently reside on. This is one of my most important tips! If your machine is stored in a closet, it will inevitably get forgotten about. Not to mention you will be wasting precious time setting it up and taking it down every single time you try to sew.
Check out my favorite sewing table here.
I’ve put together an Amazon List with all of the tools that I recommend for a beginning seamstress. Click here to view it.
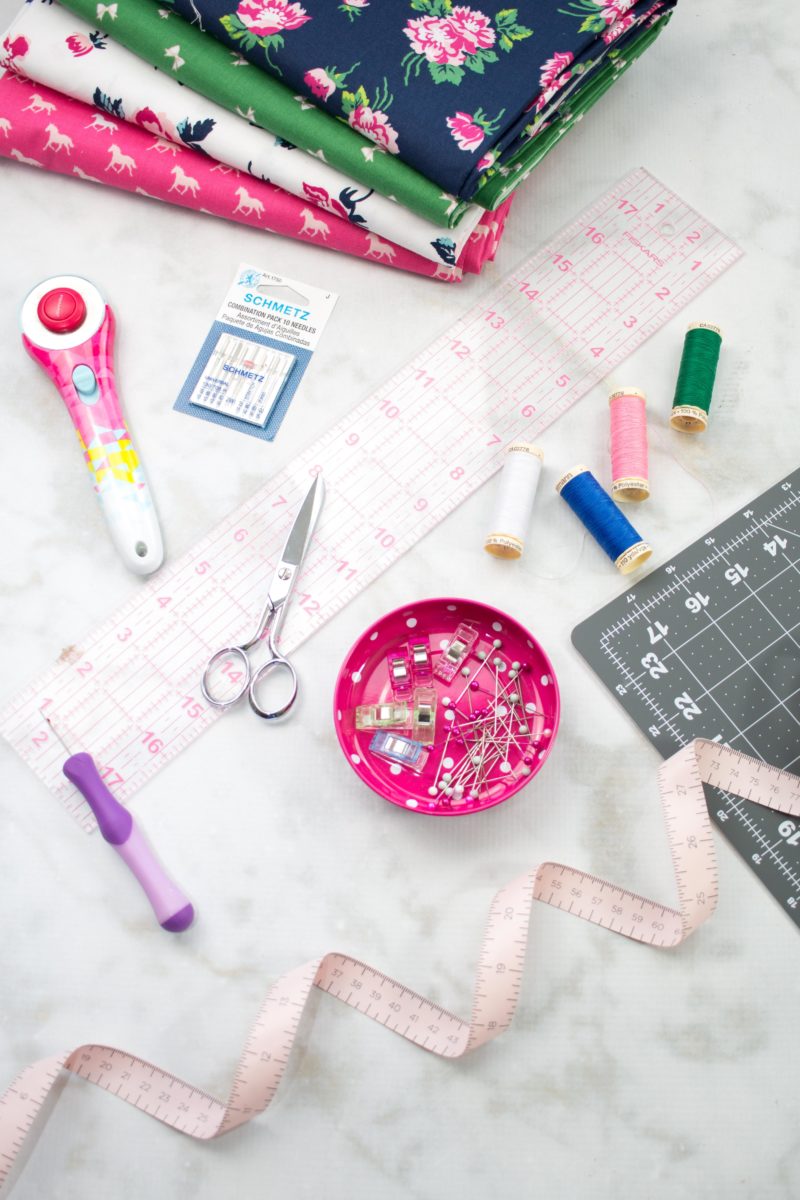
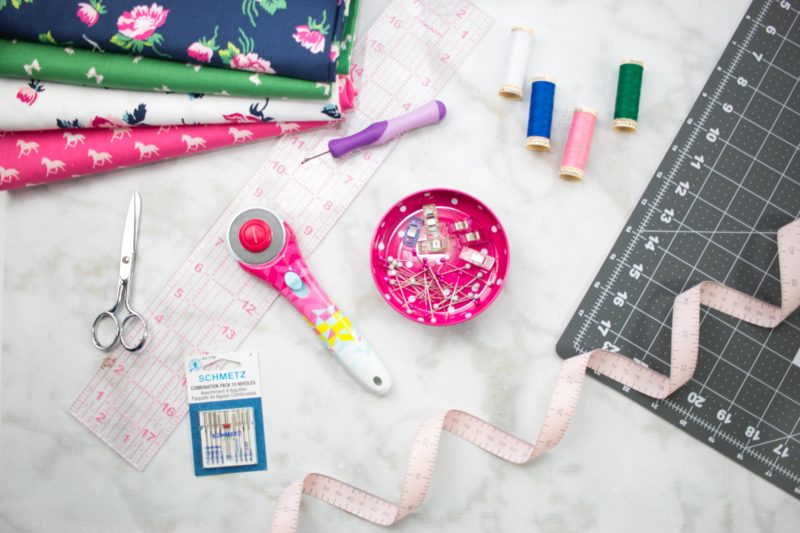
Beginners Sewing Notions List
Click to shop my favorite sewing supplies here!
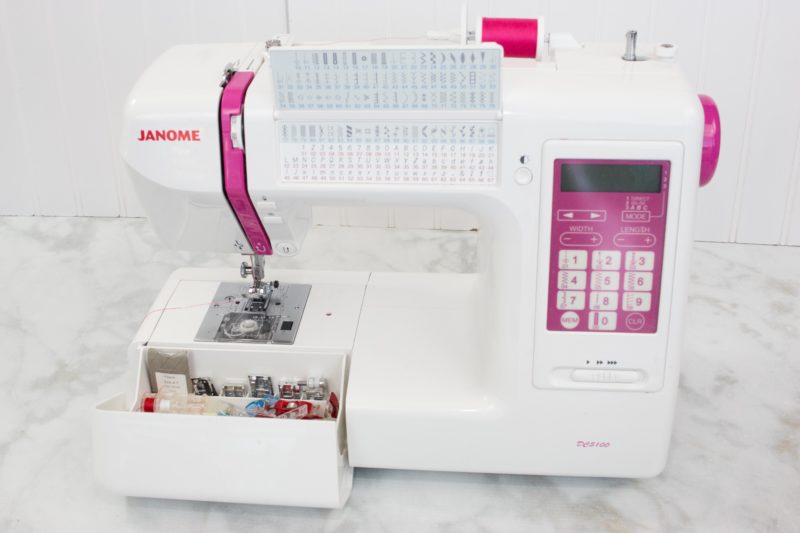
Sewing Machine
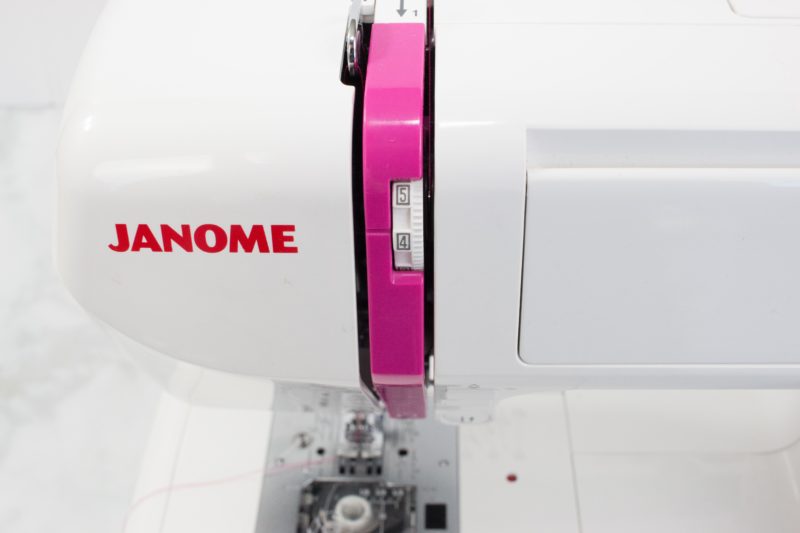
I sew on a Janome machine. For beginners who are just learning to sew, I recommend purchasing a machine in the $100-$300 price range. To learn to sew, you don’t need a sewing machine that has all the fancy bells and whistles and you certainly don’t need a machine with a monthly payment that’s as high as your car payment. You just need a sturdy machine with the basic stitches.
Sewing Machine Needles
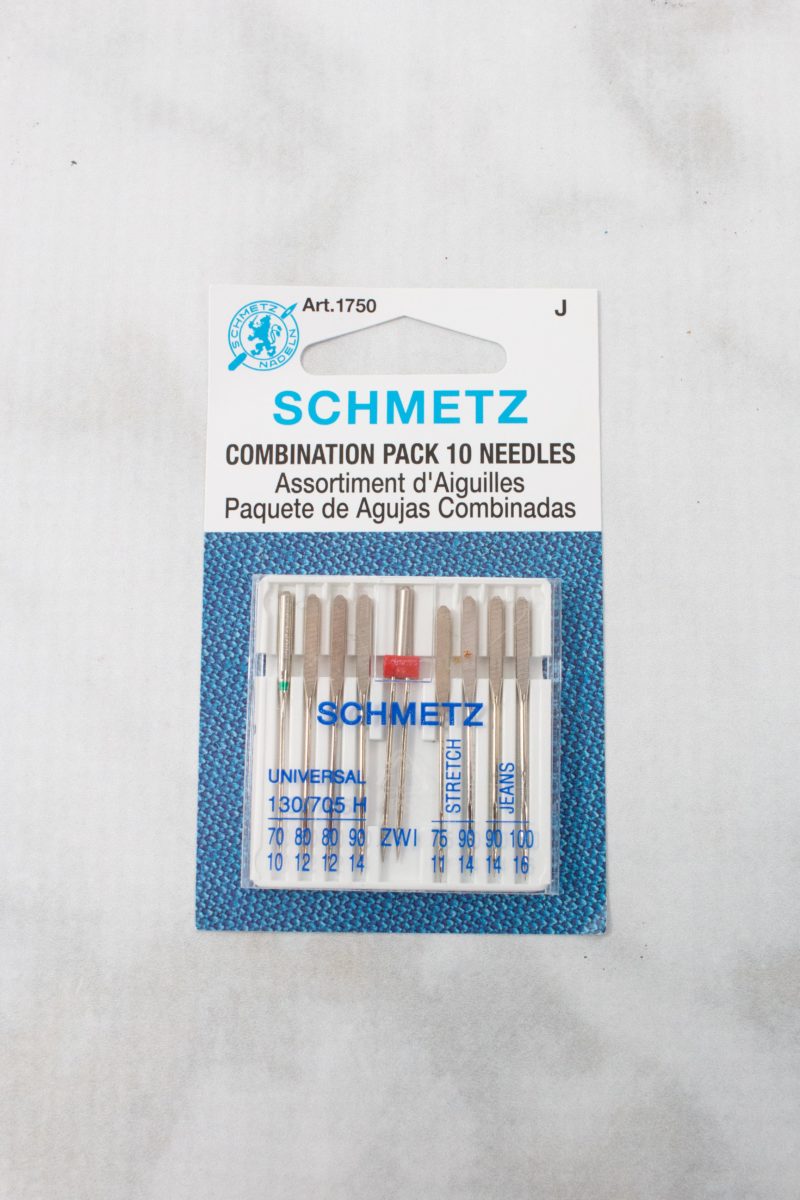
I know shopping for needles can seem woefully overwhelming! Trust me, when I first started sewing I spent more time than I’d like to admit crouched in Joann's trying to figure out what in the world all of those numbers meant! In desperation, I remember calling my mother and asking her which needle I should buy! So before you find yourself hyperventilating in the corner of the notions aisle, here’s a quick guide to needles.
You will want to pick up a pack of Shmetz Universal needles. We will be primarily sewing with a 70/10 needle. This type of sewing machine needle is designed to pierce through the fabric while a ballpoint needle is designed to slide between the knitted fibers. This pack will give you a variety of needles that you can use as you learn to sew on different fabrics.
A higher number on the needle indicates that it is meant for a heavier weight fabric. We will be starting our sewing lessons using quilting cotton.
Thread
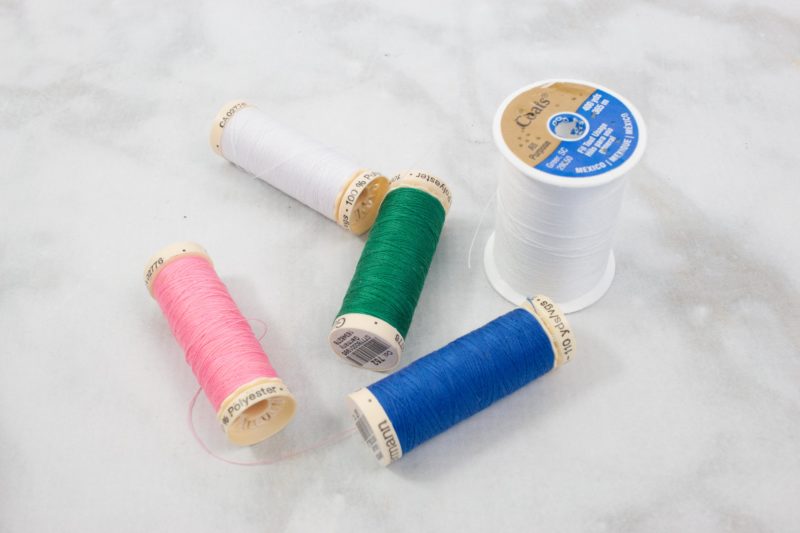
I use a combination of Coats Dual-Duty All Purpose Thread and Sew-All Thread. For beginning seamstresses, I recommend buying a 26-pack of assorted Gutermann threads. This will keep you from running to the store every time you start a new project and find yourself in need of matching thread.
Obviously, I’ve had one too many late midnight Walmart runs for thread! Once you have been sewing for a while, you can build up a supply of threads in a larger spool size depending on the colors you sew most often.
Seam Ripper
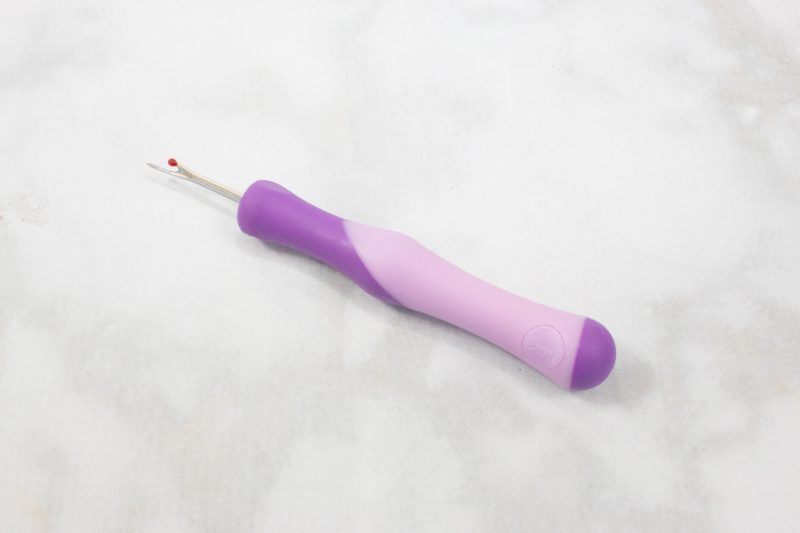
A seam ripper is one of those notions I have a love-hate relationship with. I hate using it but I love that it gives me the ability to fix my mistakes. Even as an experienced seamstress, I still find myself reaching for the seam ripper more often than I’d like to admit!
Buy a high-quality seam ripper with a sharp point, because ripping out stitches is basically a rite of passage as a beginner!
Sewing Scissors
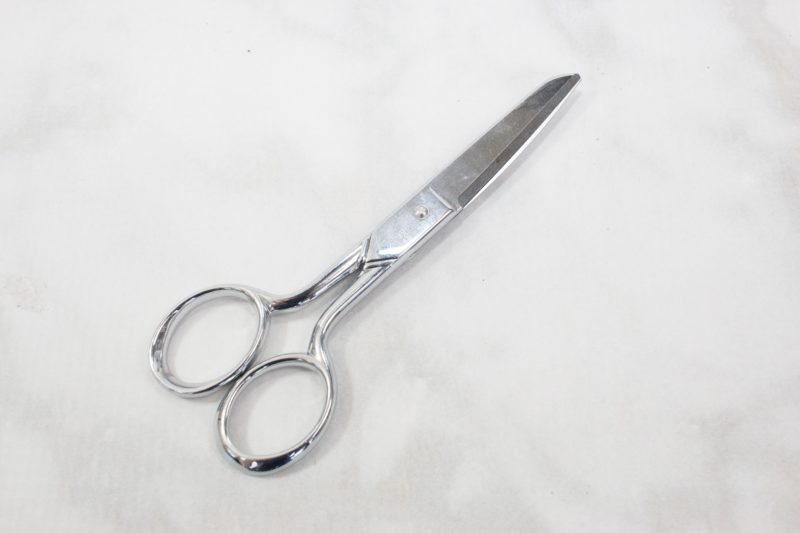
A 5” pair of scissors is the perfect size to keep close to your machine for trimming threads and seam allowances.
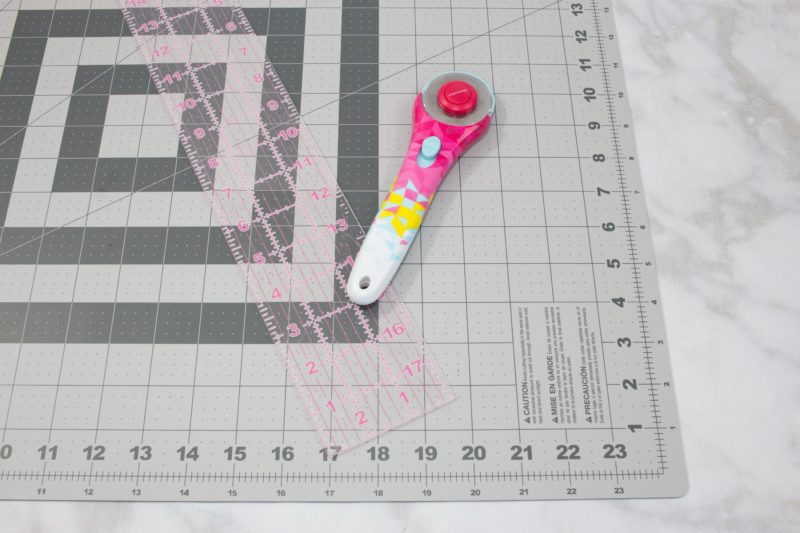
Rotary Cutter, Mat and Clear Ruler
Cutting out fabric with a rotary cutter is a huge time-saver! I’m embarrassed to admit just how long I held off on this purchase. But once I gave in, I was able to speed up the sewing process enormously. I like having a 45mm as well as a 15mm on hand at all times. Look for a self-healing mat and a 3” by 18” clear ruler. I use all three of these tools every time I have a sewing project!
A quick storage tip: hang a command strip on the wall near your sewing machine to hang up all three of these items. This will keep them out of the way but also easily accessible.
Iron & Ironing Board
I can’t emphasize enough just how important a good iron and ironing board are! Ironing is an absolutely essential part of sewing! If you want a professional looking finish you will need to get nice and comfortable with your iron! I promise it will turn into one of your most-used tools. Look for an iron that has a steam function and has varying temperatures for each type of fabric.
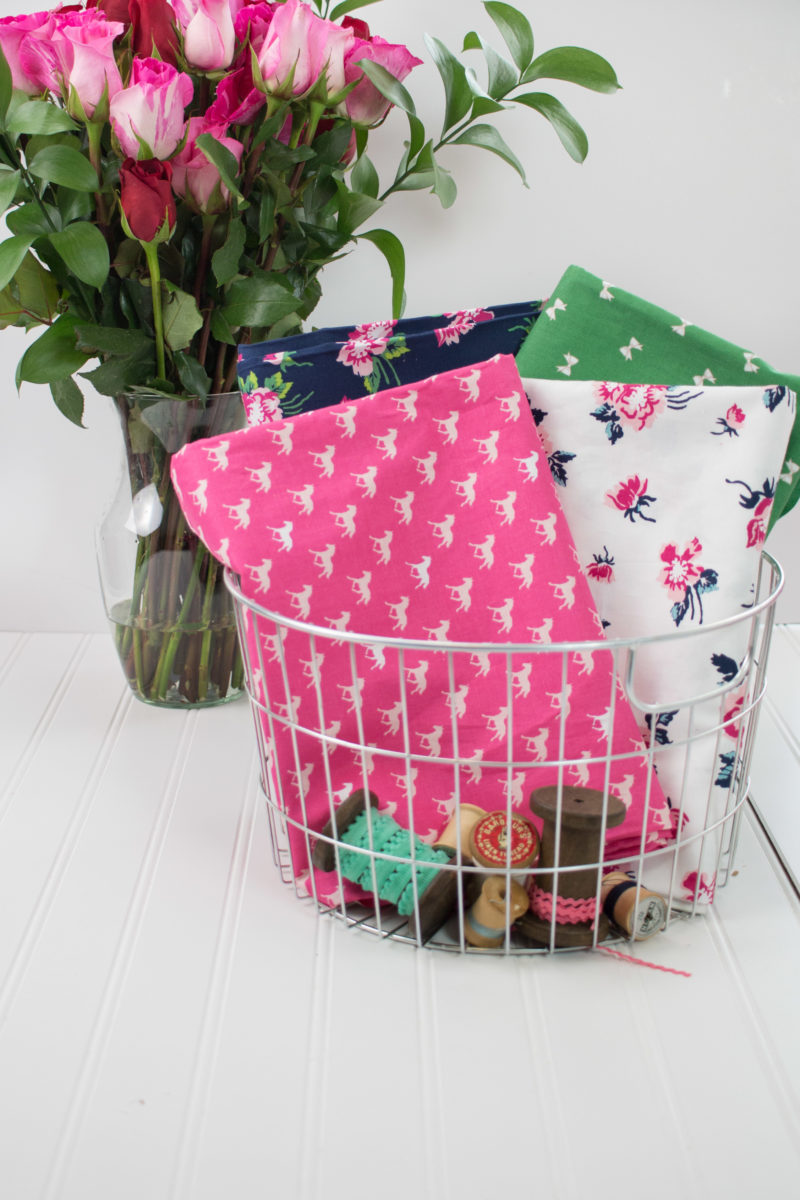
Fabric
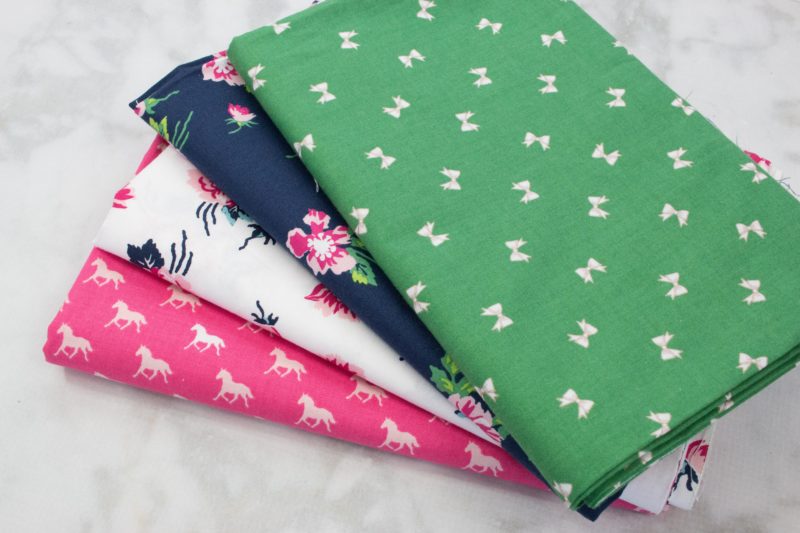
We will start our sewing lessons using 100% cotton quilting fabric. This is the ideal fabric for a beginning seamstress.
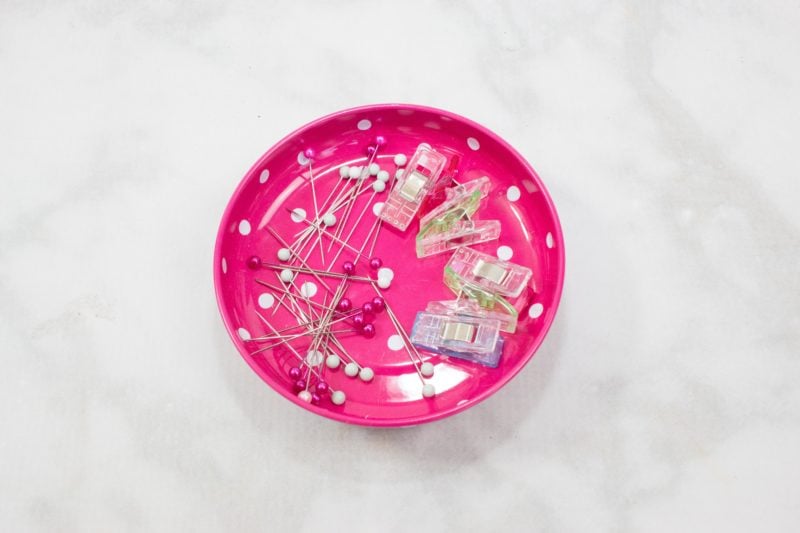
Magnetic Pin Bowl, Pins & Clips
I love having both pins and clips readily available whenever I'm sewing. They both serve different purposes and a magnetic bowl keeps them easily accessible and all in one place.
Keep it by your sewing machine so it's easy to reach.
Learn How to Sew
Power On
First, plug your power cord and foot pedal in. The foot pedal controls the speed of the needle. The harder you push it, the faster you will sew.
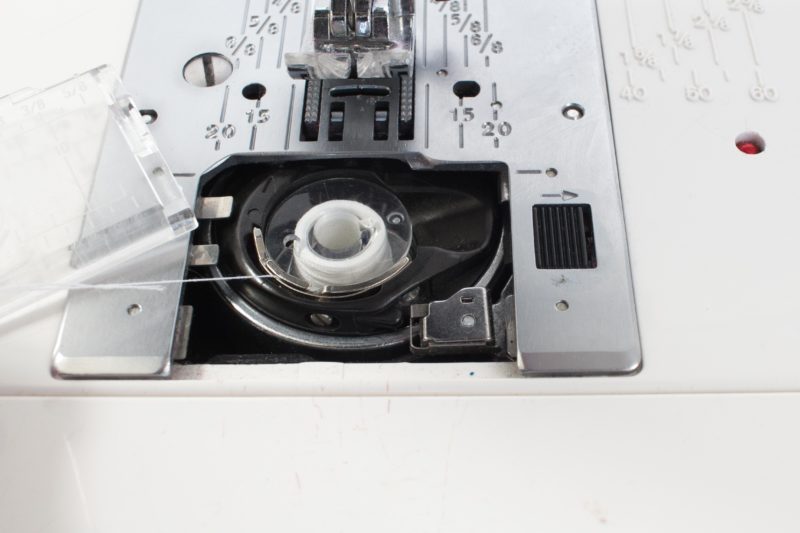
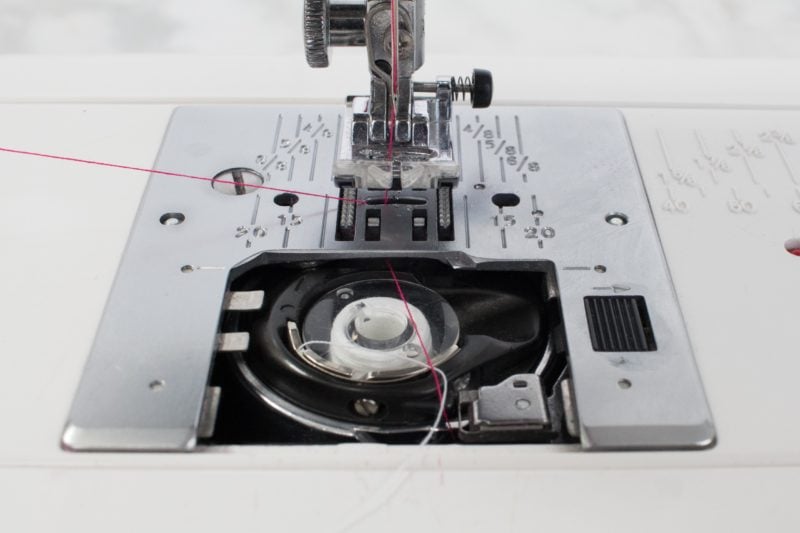
Wind the Bobbin
Most sewing machines will come with at least one bobbin, but you will quickly find that you need more than one bobbin.
(Pull out your owner’s manual to see exactly where your bobbin should go. Some machines are front-loading while others are top-loading.)
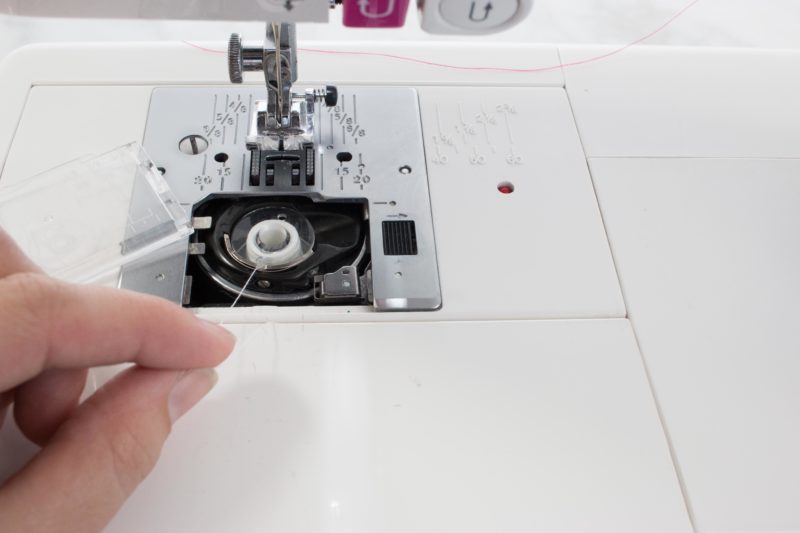
For my specific machine, I remove the bobbin housing cover and insert my bobbin with the thread running counter-clockwise and then guide it to the left until I hear it click.
Insert the Needle
Tighten the clamp that holds the needle in place.
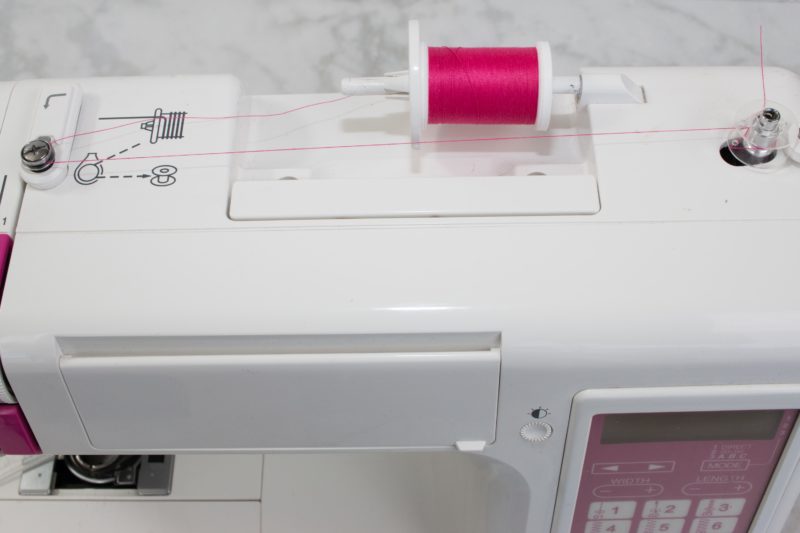
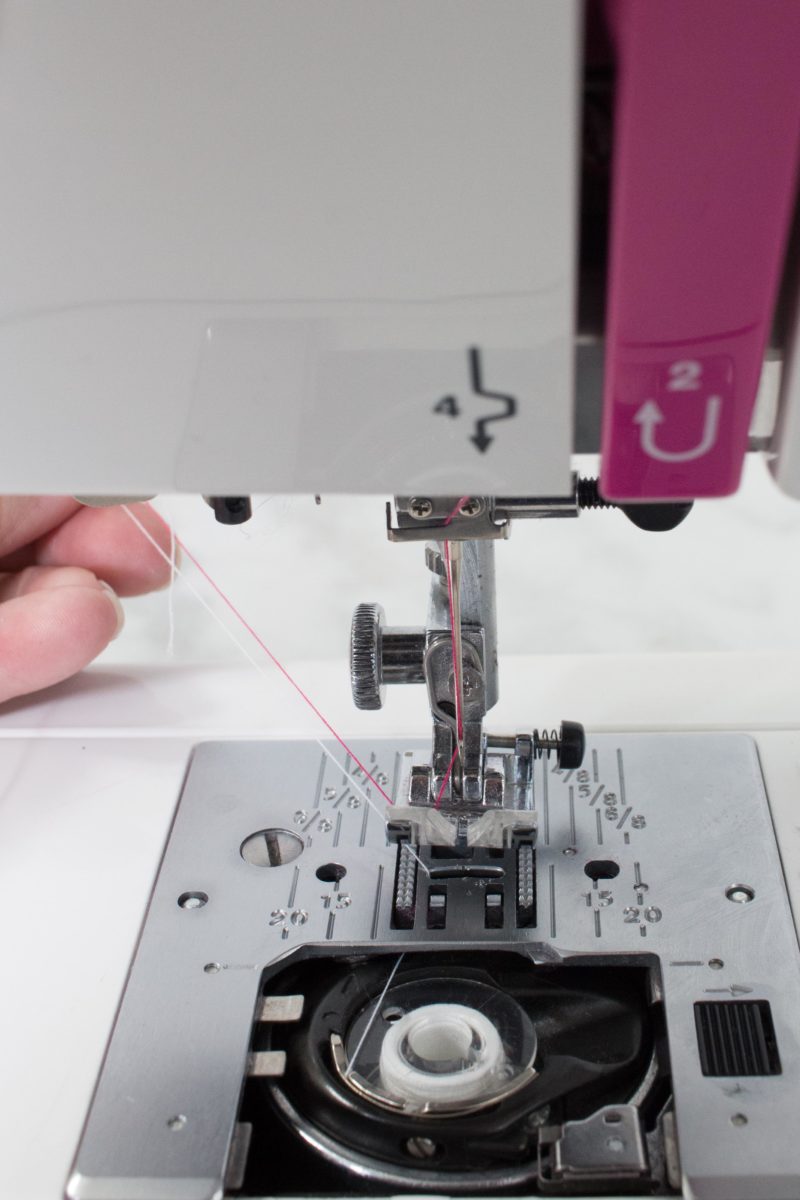
Thread the Machine
It should go through the thread guide, the tension guide, the take-up lever, and through another thread guide.
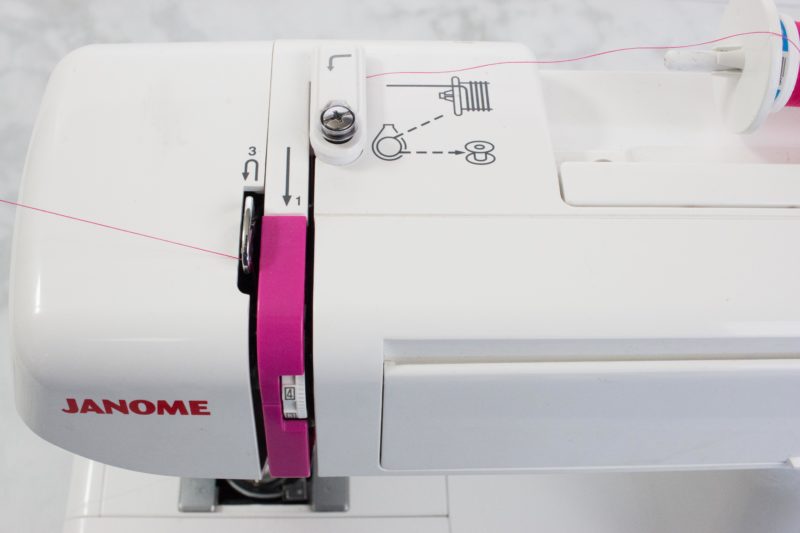
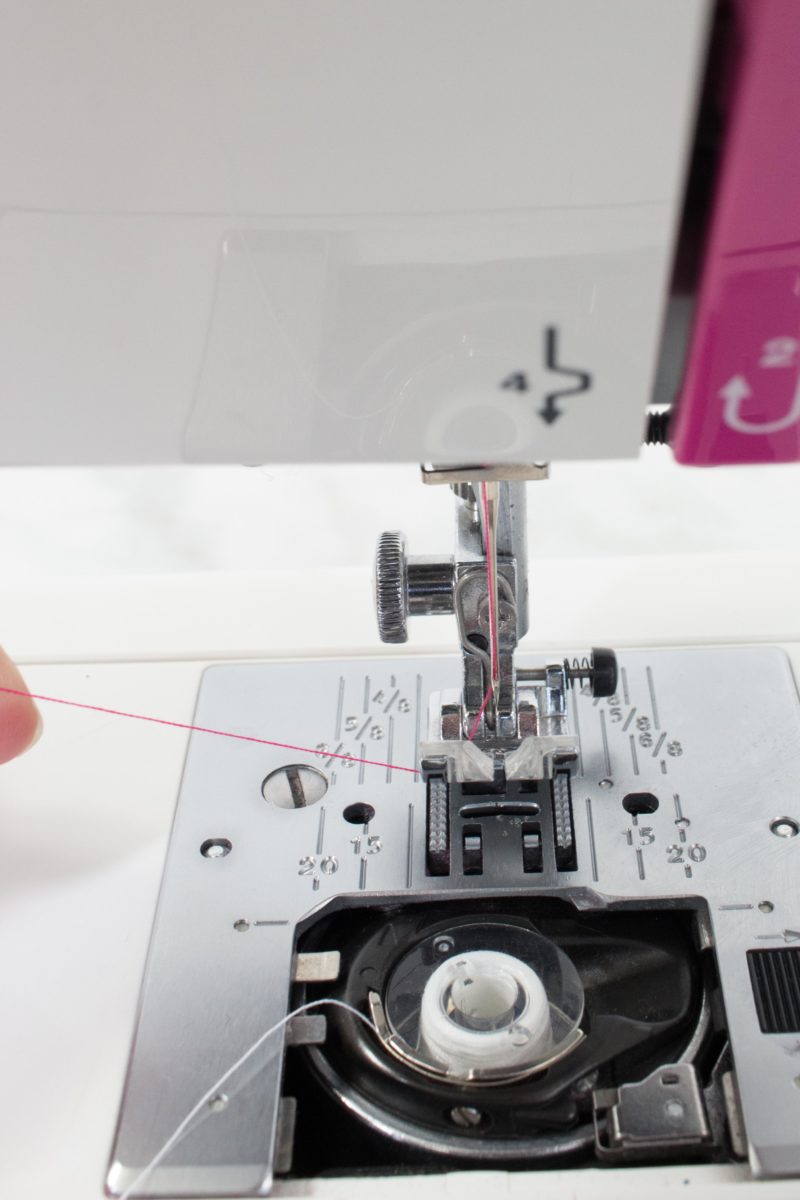
*If needed, manually turn the hand wheel to reveal the thread take-up lever if you are unable to find it.
Pull both threads under the presser foot towards the back of the machine away from yourself.
Sew a Straight Line
Select the basic straight stitch.
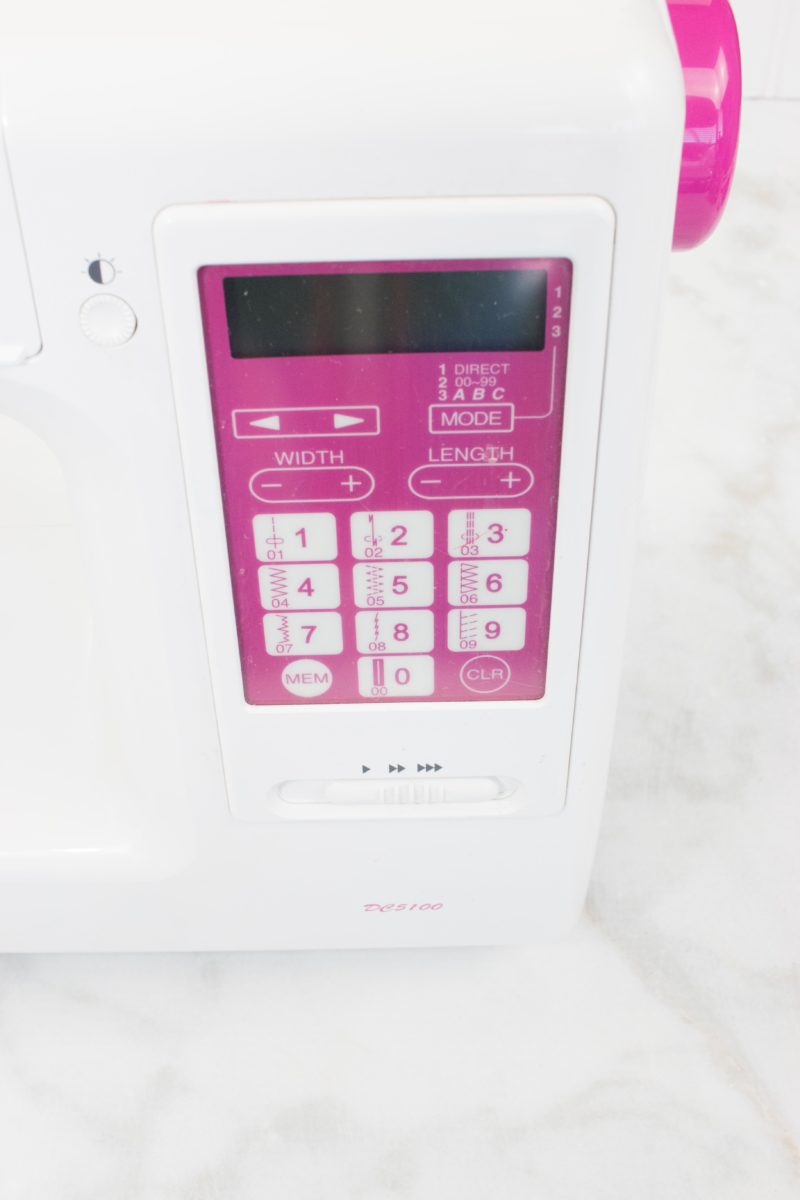
Stitch Width - This is important when using different stitches like a zig-zag stitch. For a straight seam, you won’t need to adjust this.
Stitch Length - 2.5 is the recommended stitch length for normal sewing this will give you around 12 stitches an inch. To baste a fabric (which is a temporary seam) increase the stitch length to 5.
This means you will not be able to see the bobbin thread from the front or the top thread from the back.
Seam Allowance - This is the measurement from the edge of the fabric to the stitches.
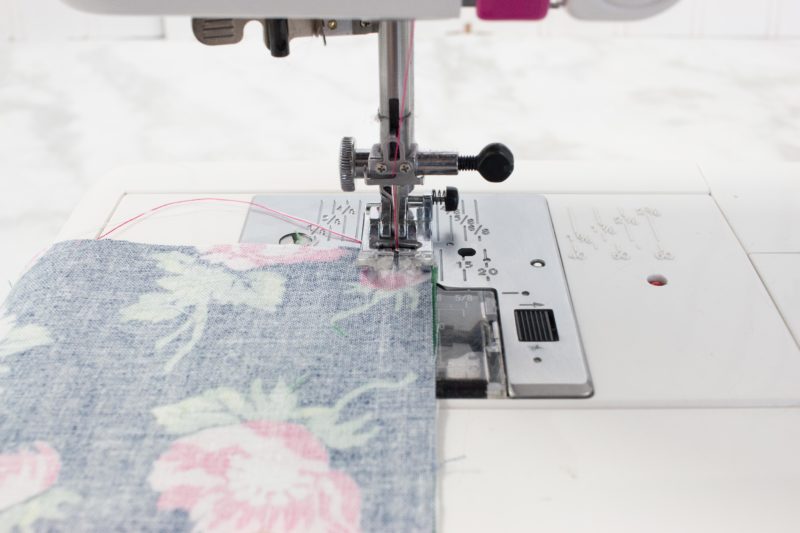
For beginners, it's helpful to mark the correct seam allowance with a piece of foam tape. That will create a small barrier to keep the fabric in the right place.
If you make a mistake, remember you can always use a seam ripper!
I find it’s helpful to thread and then re-thread the machine over and over until you are completely comfortable with the entire process.
Yes, it’s a pain to do but you’ll thank me later when you can practically thread your machine with your eyes closed. Okay, so maybe that’s a bit of an overstatement!
Stay tuned for more beginners sewing guides!
Why Shop Through My Links?
When you shop through my affiliate links, it doesn't cost you anything extra, but it helps me out in a big way! I earn a small commission from those purchases, and that support allows me to continue creating and sharing free tutorials and patterns for you. Thank you so much for helping me keep this creative community going!
Be sure to check out this post:
12 Sewing Hacks Every Seamstress Needs to Know!!
I am very excited about this this tutorial and cant wait to start sewing.it feels like you are sitting by me guiding me.
Will definitely buy a suitable sewing machine. The instructions are so clear to fallow,thank you for the chance to learn.