Learn how to make a super stylish lined zipper pouch with this tutorial that features a step by step video and pictures.
Table of Contents
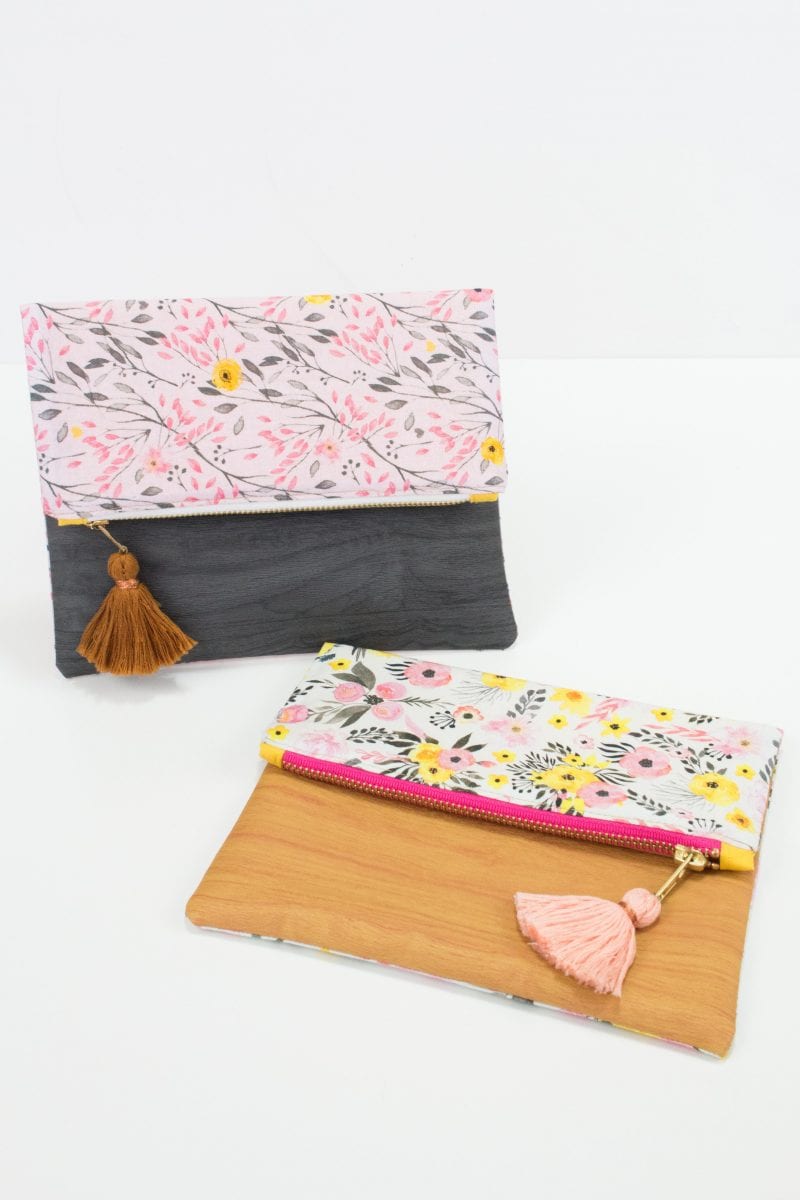
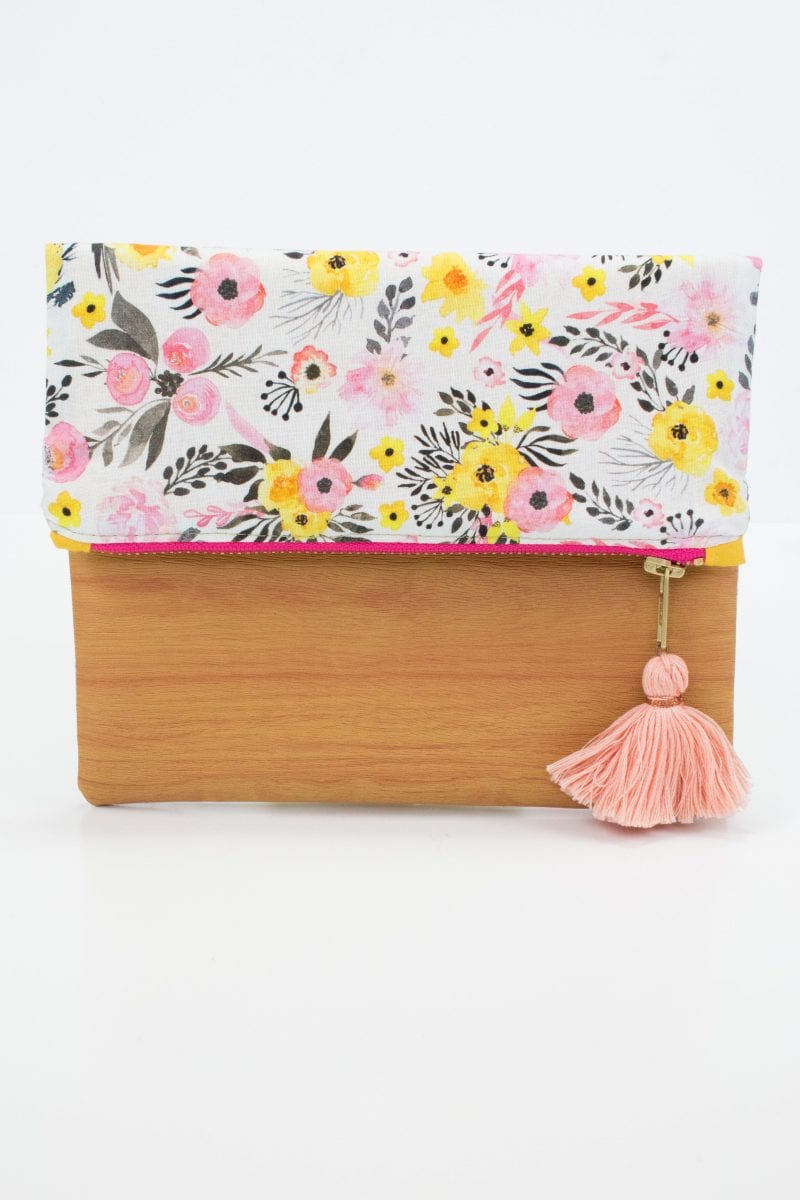
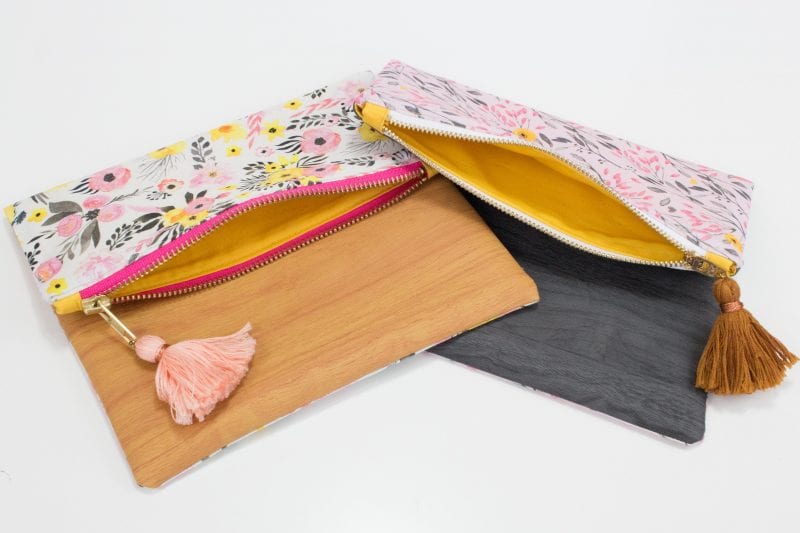
Foldover Zippered Clutch Sewing Tutorial
Zipper Pouches are such a fun and easy way to learn how to sew a zipper! This Foldover Zippered Clutch features a fully lined inside, an exposed zipper and zipper tabs for a professional looking finish.
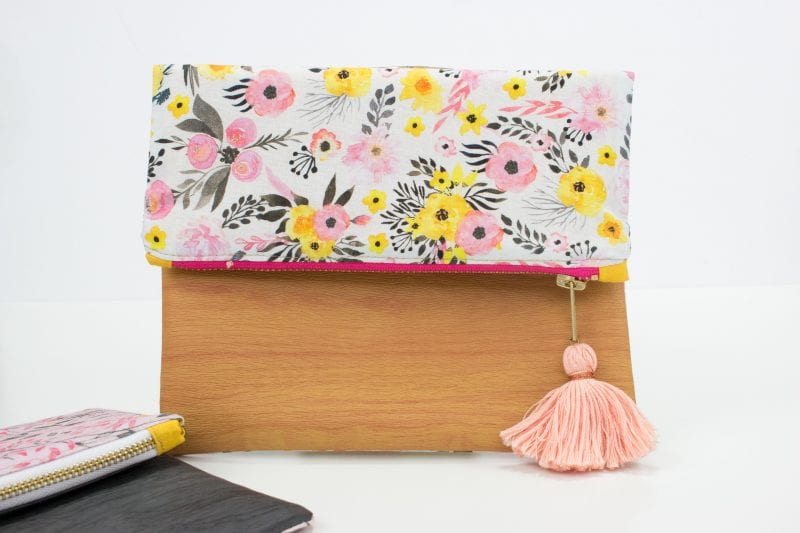
This little clutch is just begging to be taken for a night out on the town! Fill it up with all your necessities and head out for a fun-filled night!
Want to learn how to make even MORE fabric bags?
Get 11 different bag patterns and gain access to a comprehensive collection of bag patterns and tutorials my All The Bags 150+ page Ebook by clicking here.
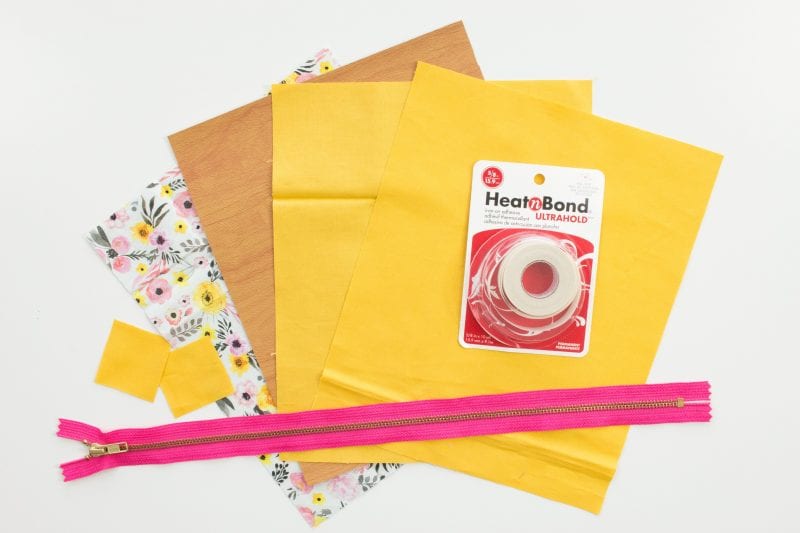
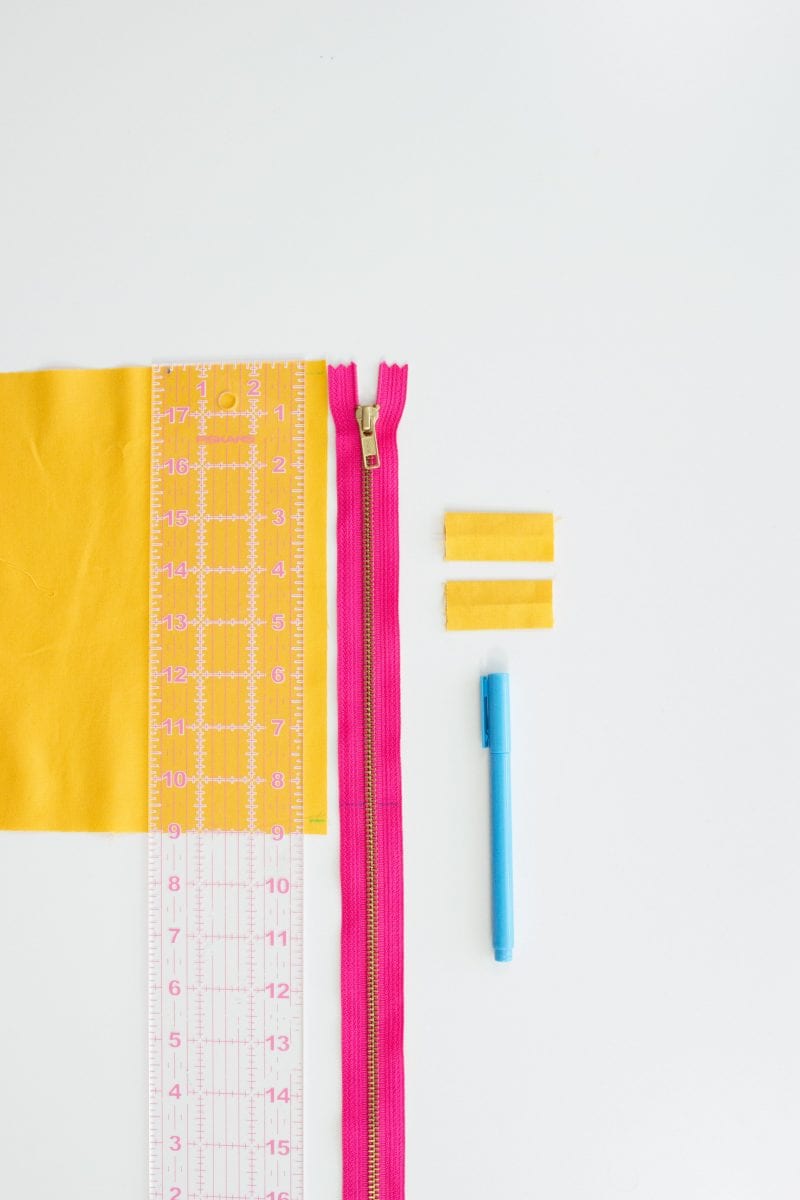
Begin by cutting the two outer and two lining pieces of fabric to 9 1/2” x 11”.
On the lining fabric (the shorter side) mark 1/4 inch in from the edge of the fabric on both sides.
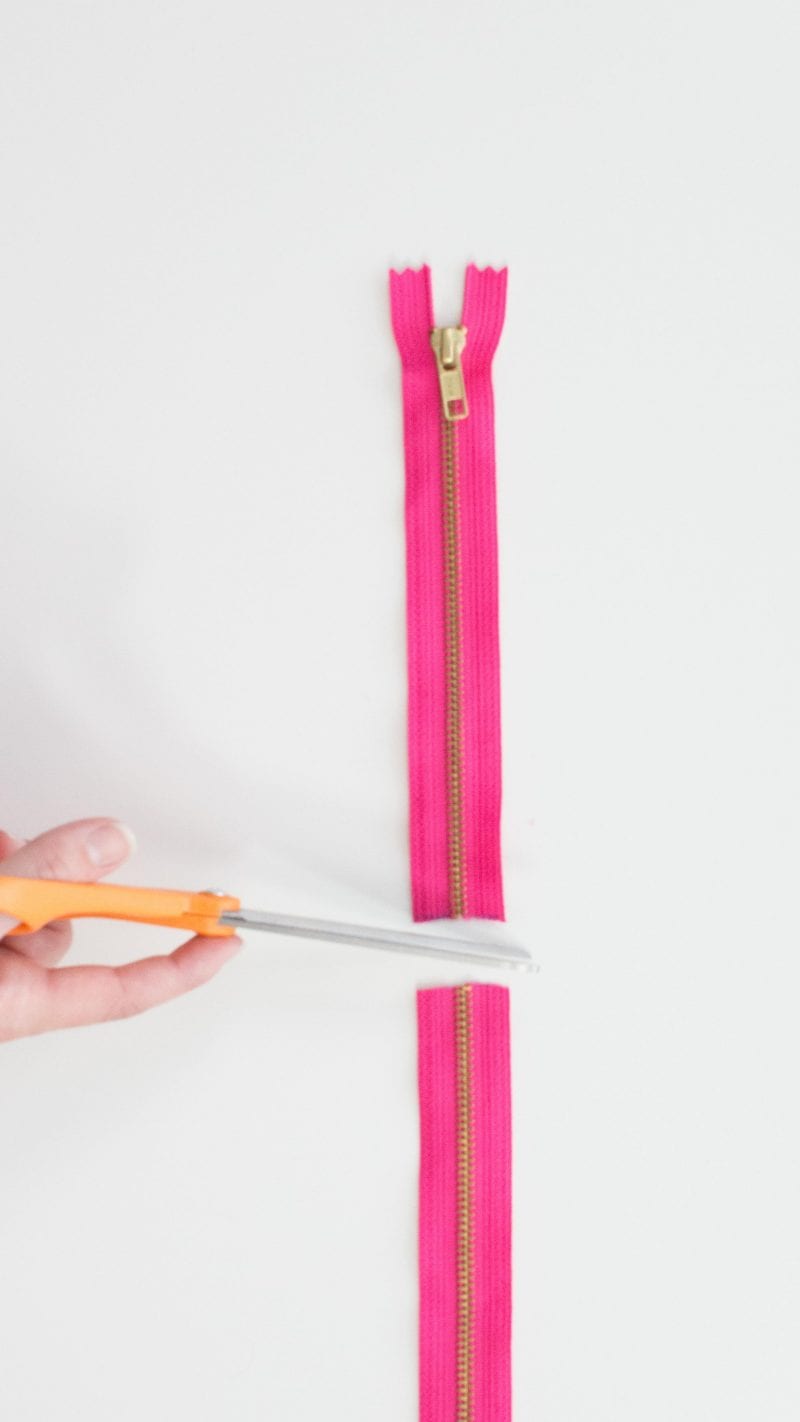
How to Shorten a Zipper
Place the zipper by the fabric and trim a small amount from the top of the zipper and enough from the bottom that it lines up with the line you just drew.
If your zipper is too long for your project you can always shorten it! The easiest way to shorten a zipper is to grab a strong pair of scissors (not your good sewing scissors) and cut the zipper to your desired length. Once you've done that you'll want to create a new zipper stop. That's what keeps the zipper from coming all the way undone. You can do this by simply using a needle and thread and sewing back and forth around the end of the zipper tape.
With a needle and thread sew 1/4 inch from the edge to secure the zipper teeth together.

How to Sew a Zipper Tab
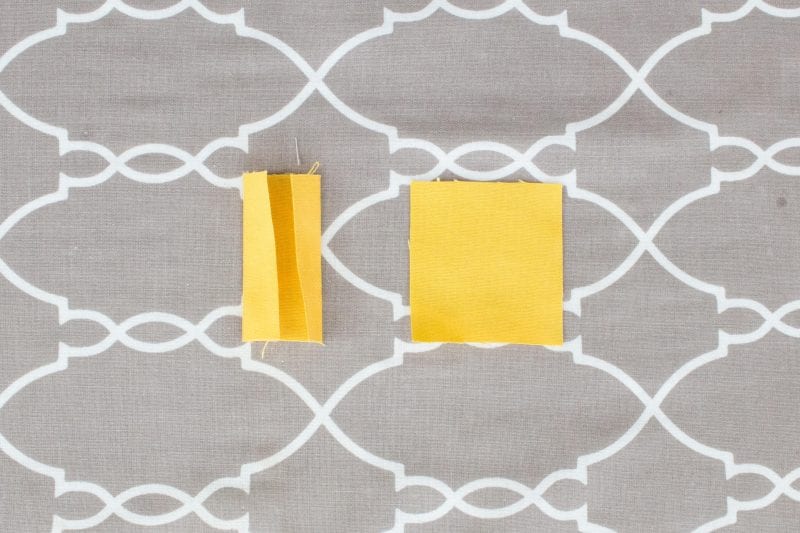
Cut two pieces of fabric 2”x2”. These squares will be used to create the zipper tabs.
Fold the squares in half and press a crease with a hot iron. Then bring the outer edges to the middle. Basically this createsa double fold bias tape. Press the tab again.
Open the bias tape so that the raw edges of the tab are facing upwards and sandwich the zipper tab inside. Pull the zipper out of the way and line either side of the zipper tape as close together as possible.
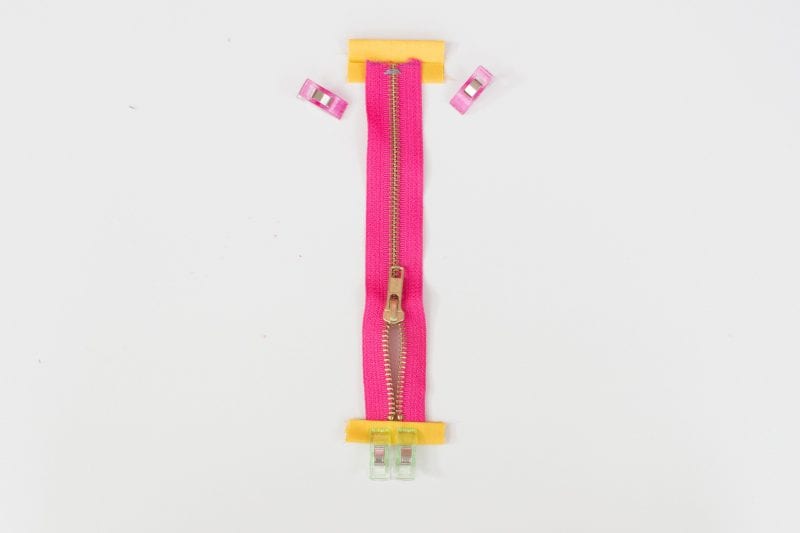
Use clips to hold the bias tape in place.
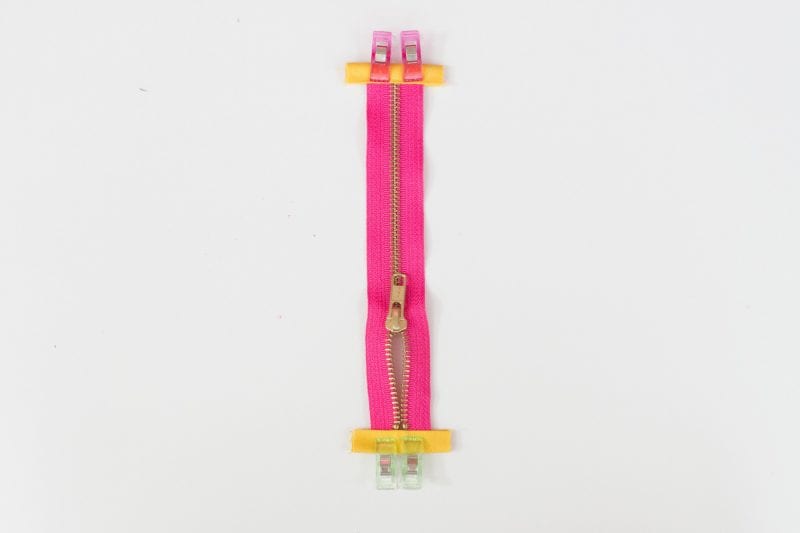
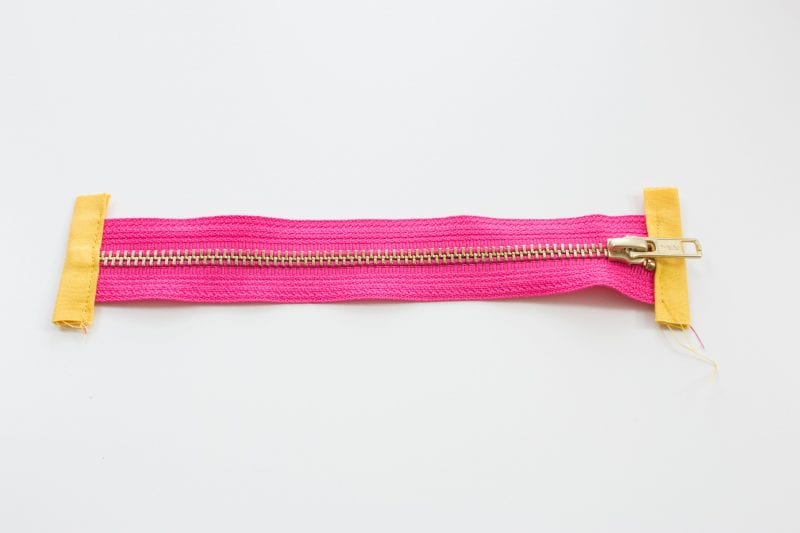
With a 1/4 inch seam allowance sew along the edge of the bias tape securing it to the zipper.
If you are using a zipper with thick coils you may want to switch to a sturdier needle or hand crank the needle as you go over the coils. This part can be a bit tricky!
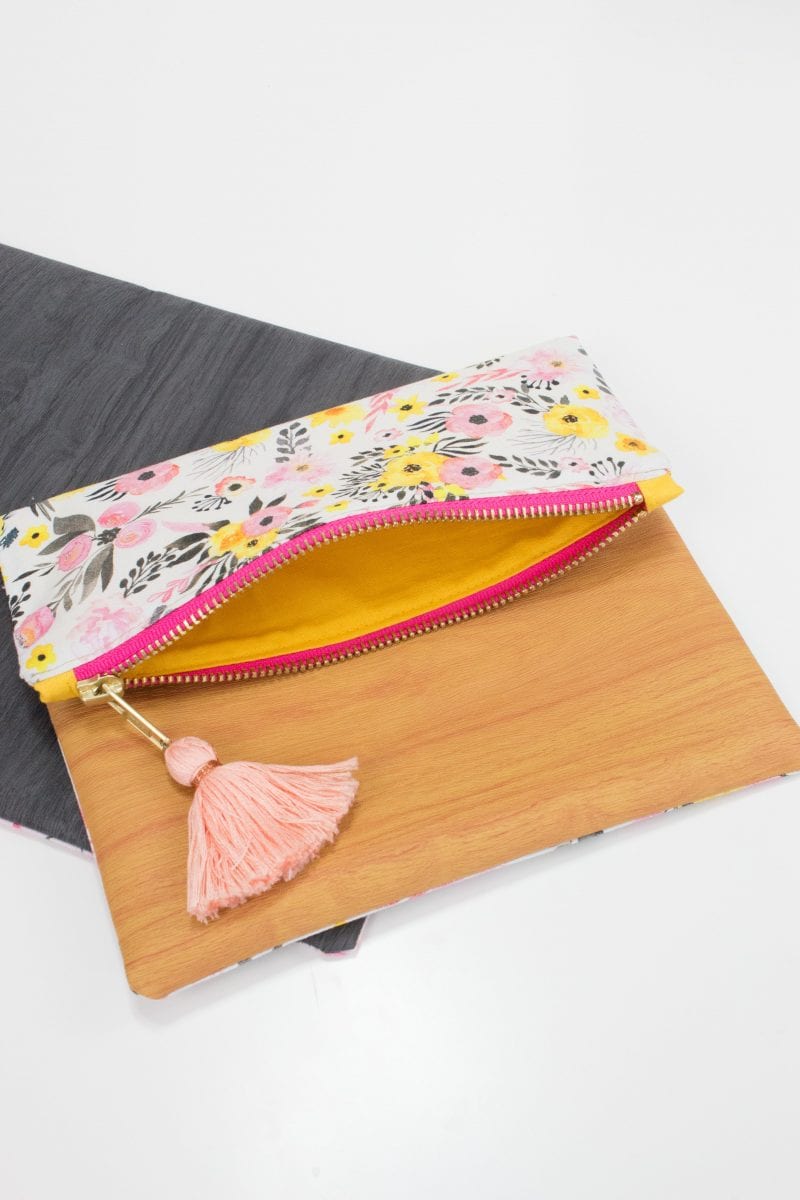
How To Sew a Zipper Pouch
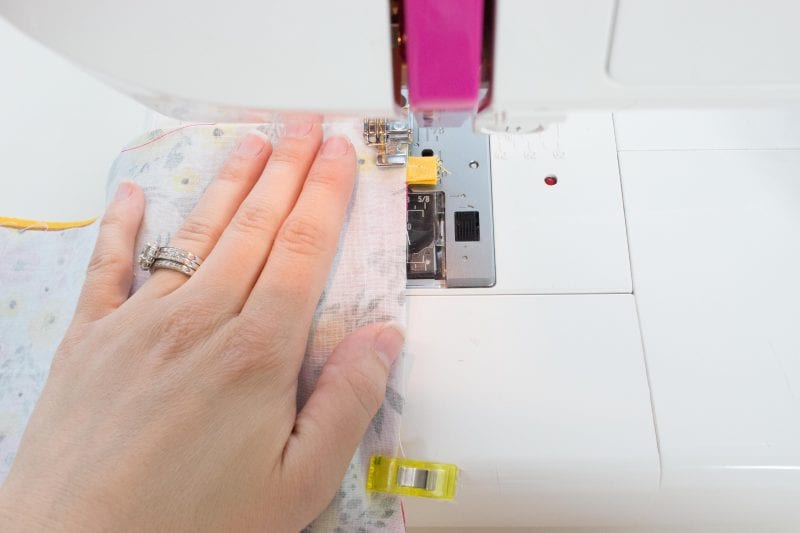
Lay the faux leather face up on the table in front of you. Place the zipper face down and centered on top of the faux leather.
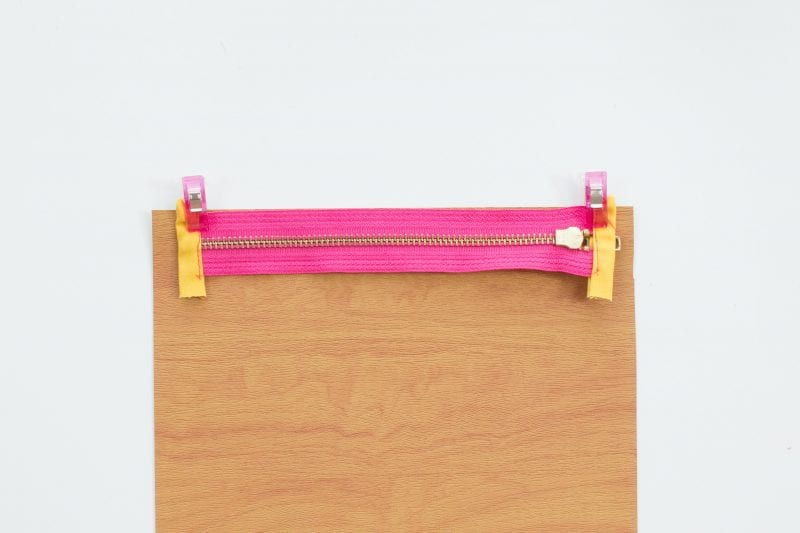
Take the lining fabric and place it on top of the zipper and leather.
Clip all three layers together making sure that all three edges are perfectly aligned.
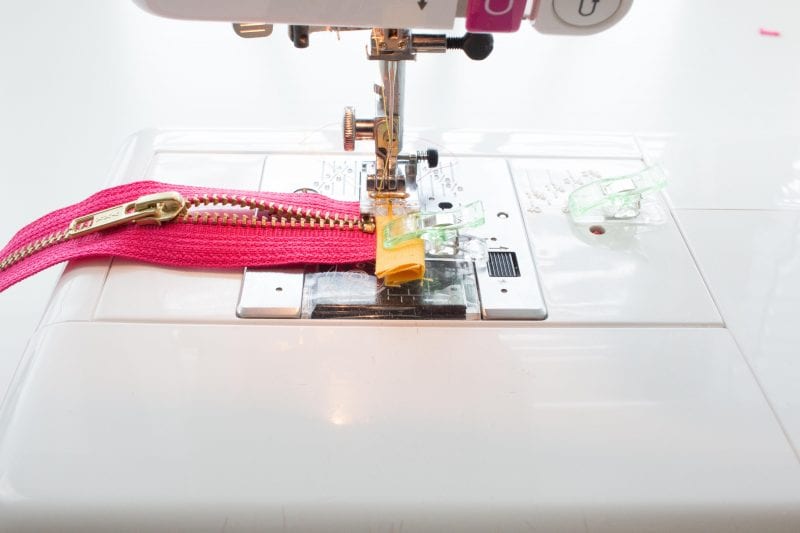
Switch out your normal presser foot to a zipper foot.
Since I like to have a bit of the zipper exposed for a pop of color I like to sew further away from the zipper than I normally would. If you want to hide the zipper tape align the presser foot with the edge of the zipper.
Sew the three layers together and be careful to keep the seam allowance consistent the entire time.
If you have a bulky zipper pull you can sew half of the zipper in place and then tug the zipper to the opposite side and continue sewing.
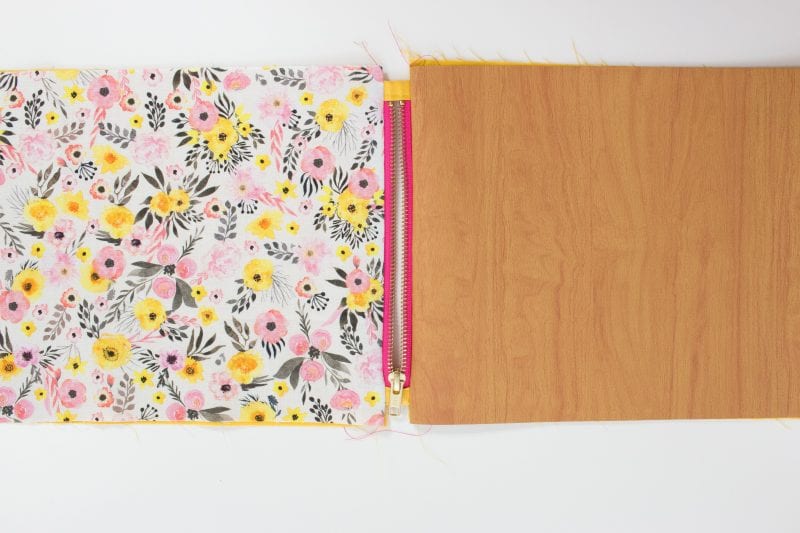
Lay the second outer fabric face up and repeat this entire process.
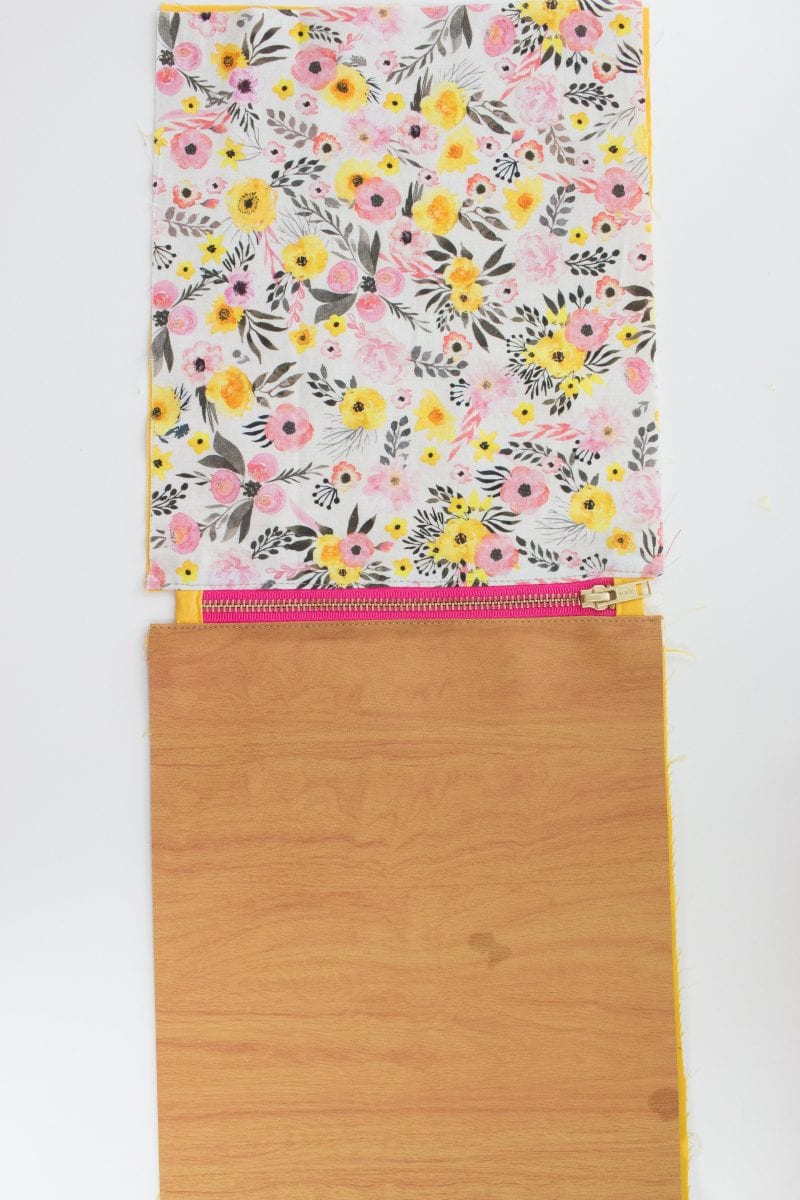
Once both sides of the zipper pouch have been sewn you will need to press them flat with a hot iron. If you are using faux leather be sure to use a pressing cloth to avoid burning the leather.
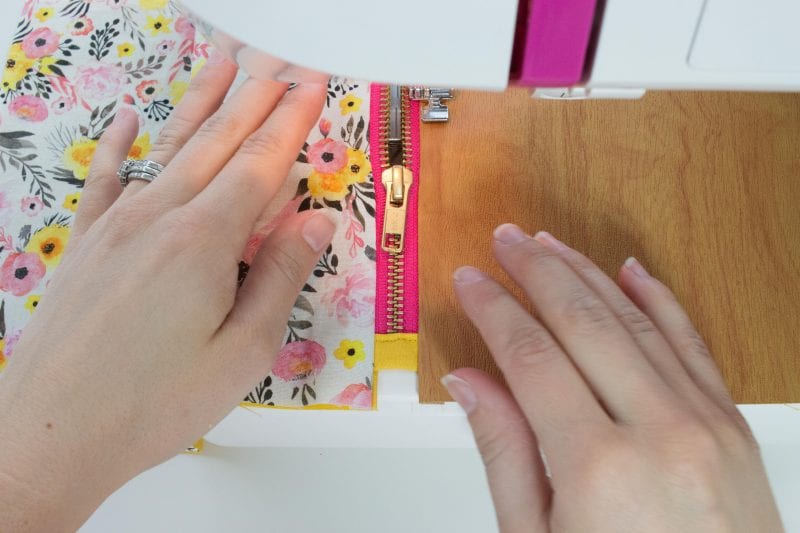
Now it’s time to topstitch the zipper pouch. Increase your stitch length to a 3 and sew 1/4 inch from the edge. I like to use an edge stitching foot to get a perfectly straight line.
You will be topstitching through the main fabric and the lining. Repeat on the opposite side.
Once you come to the zipper put your needle in the down position raise the presser foot and pull the zipper to the opposite side.
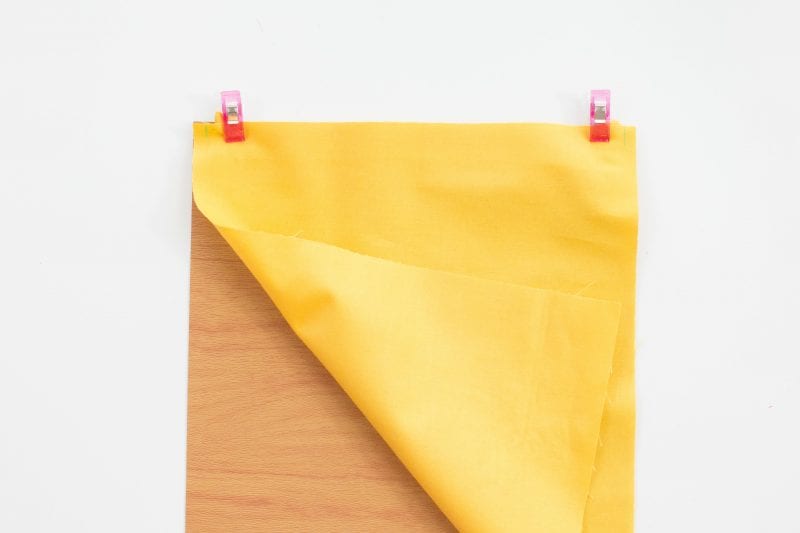
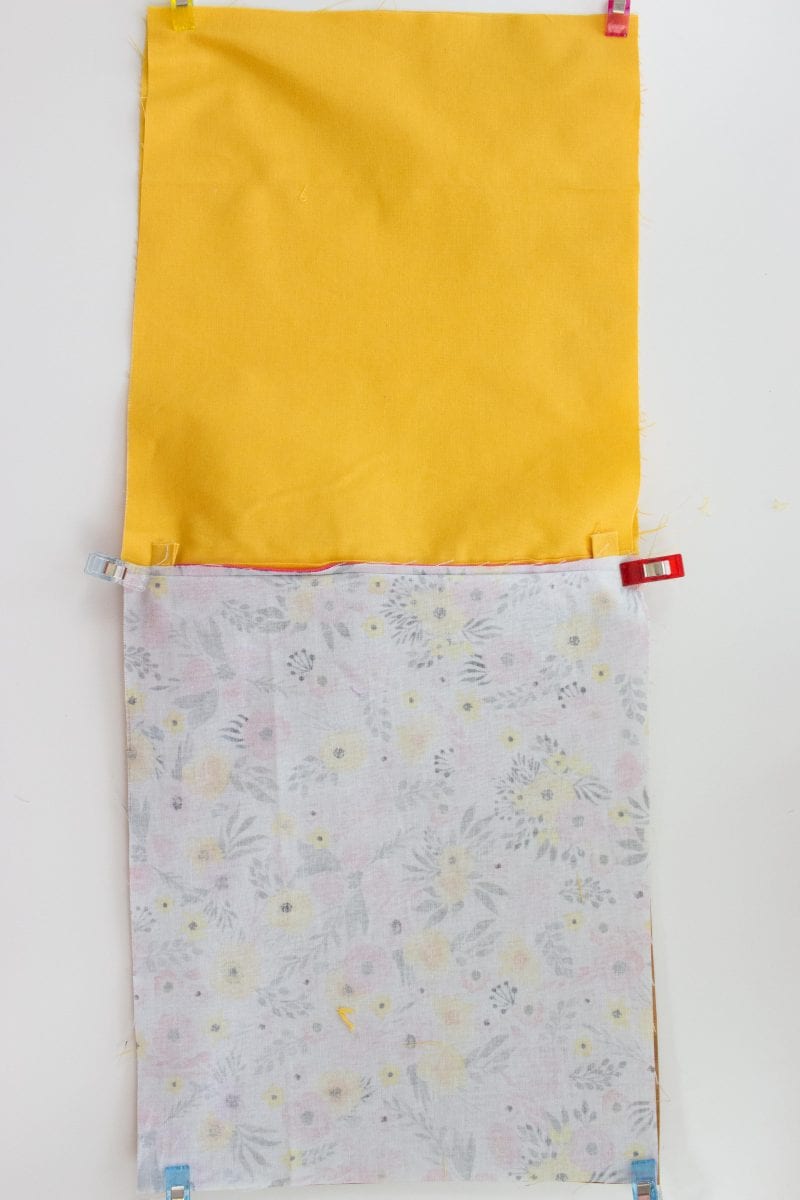
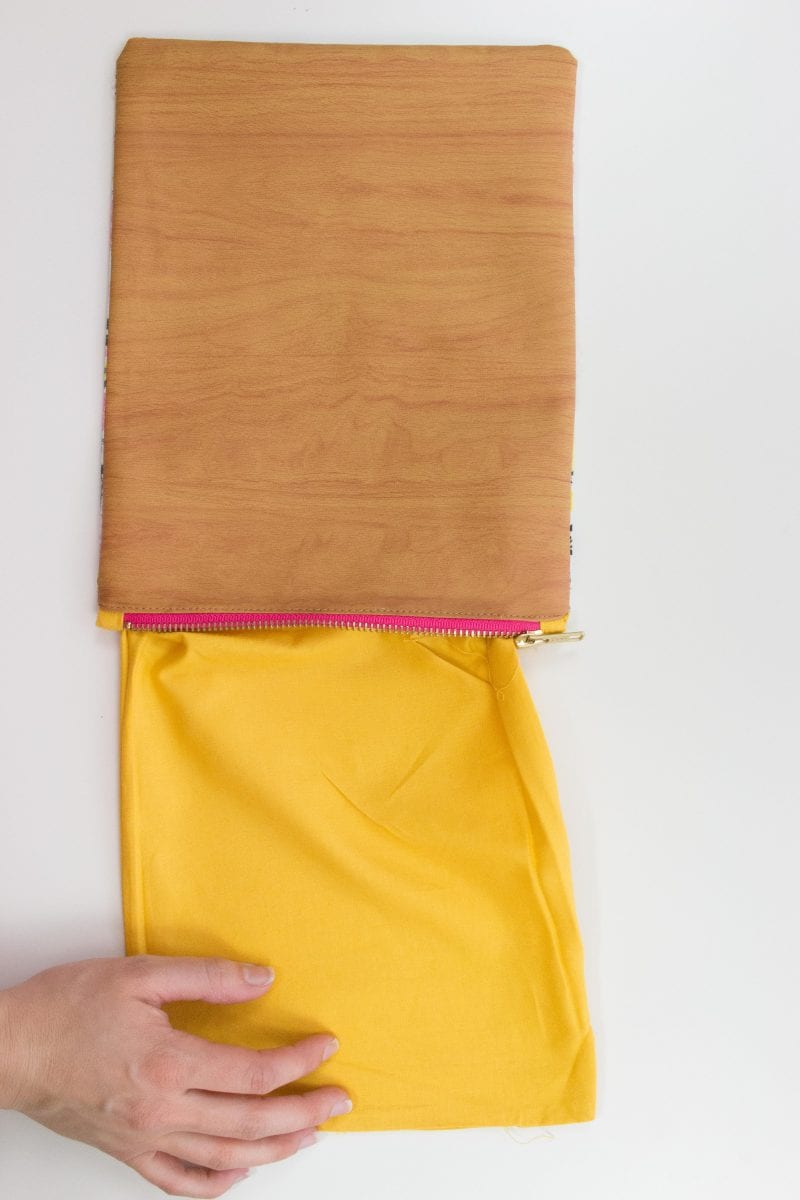
Lay the bag out flat on the table with the main fabrics facing upwards.
Pull the floral fabric over to the faux leather side.
Make sure to open the zipper! This is really important!
The lining fabric should be on one side and the outer fabric should be on the other.

Clip the fabric in place.
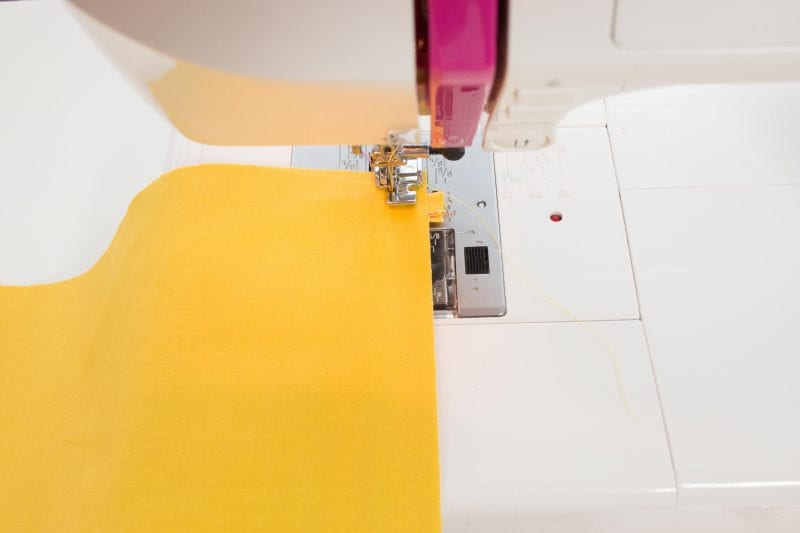
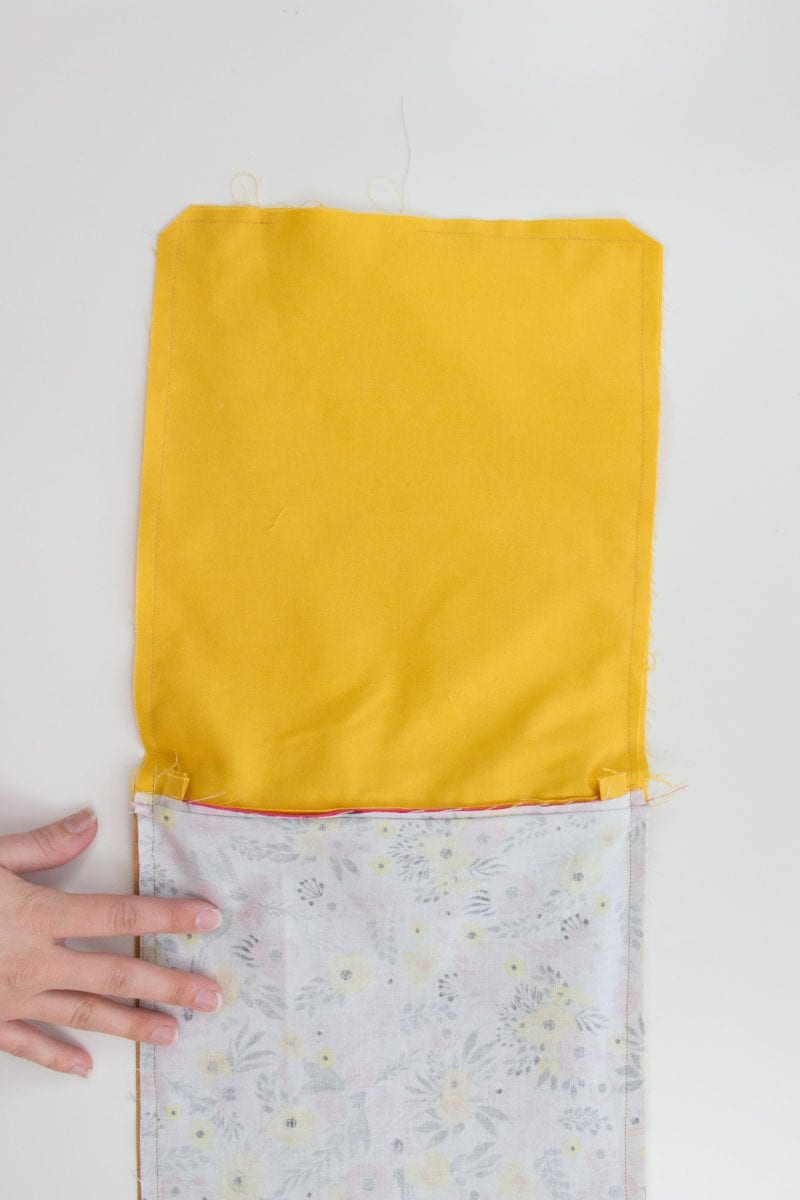
Sew around the entire pouch with a 1/4 inch seam allowance leaving a 4-5 inch opening along the bottom of the lining.
When you come to the zipper, you should be sewing right next to the zipper tab but not on top of it.
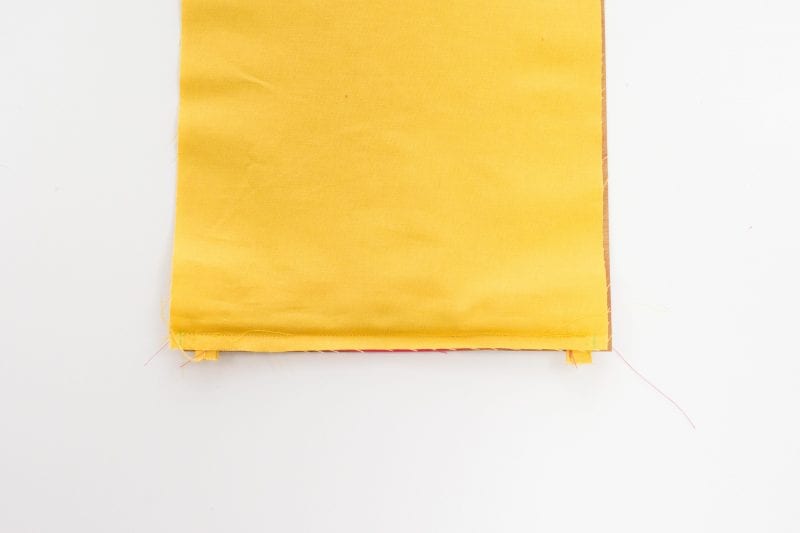
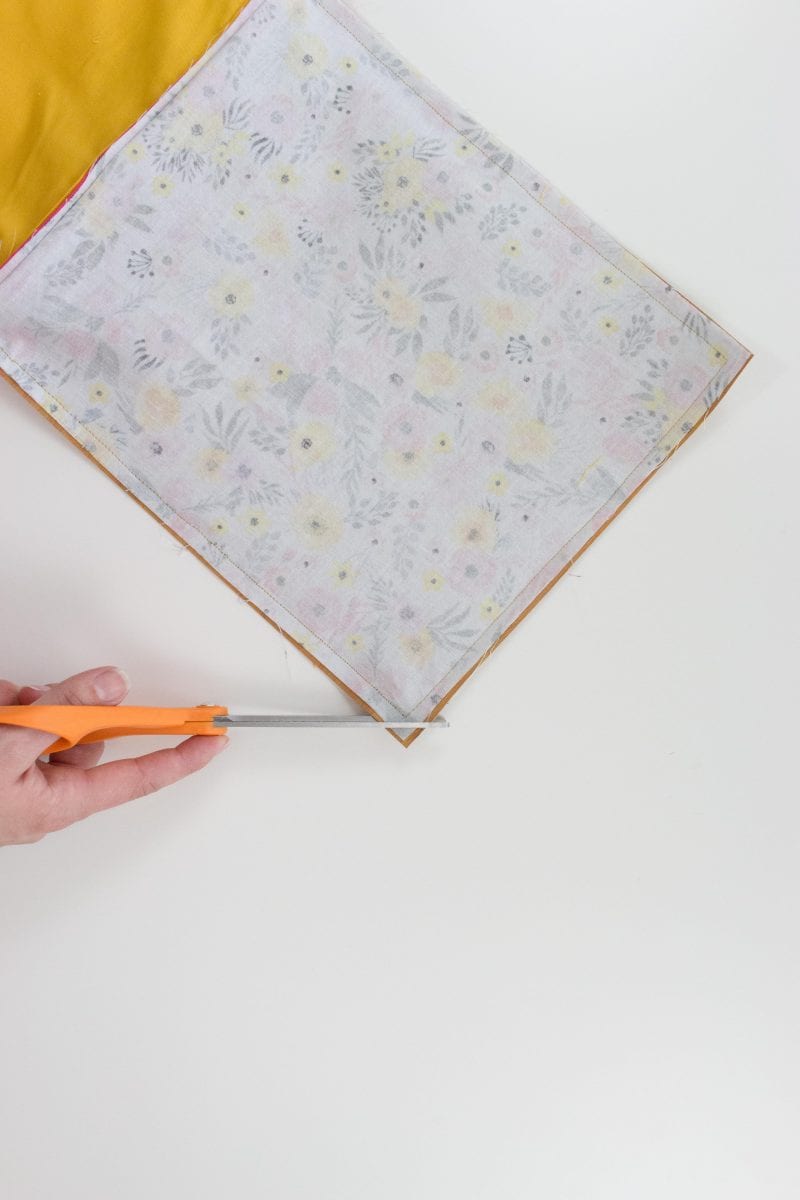
Trim all four corners of the zipper pouch. This will help you to get a sharp point on the finished bag.
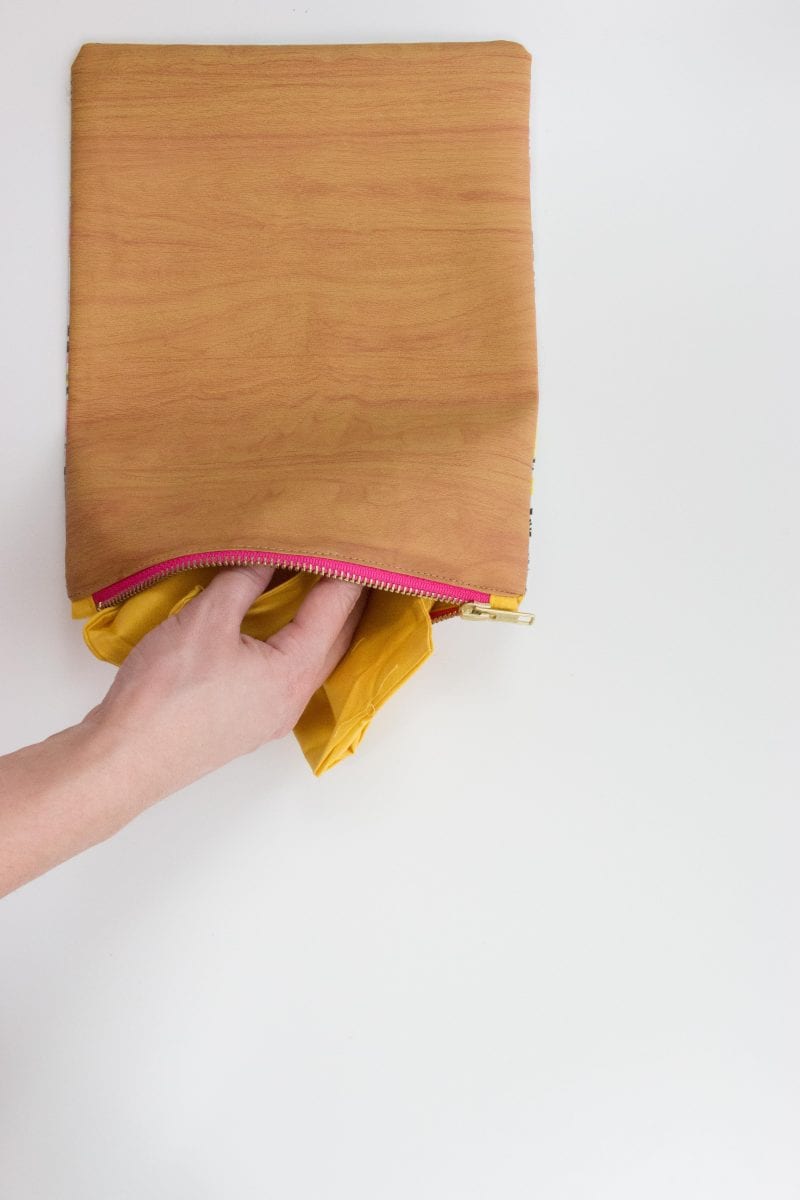
Turn the bag right side out pulling it through the opening in the lining.
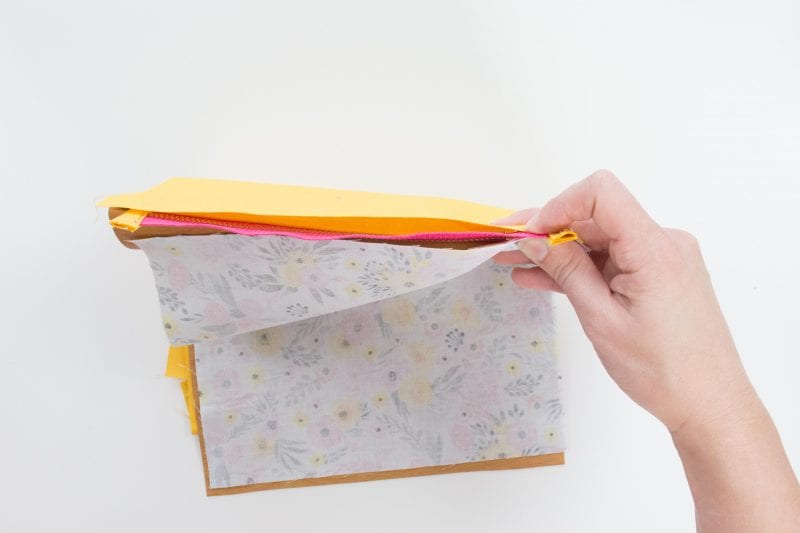
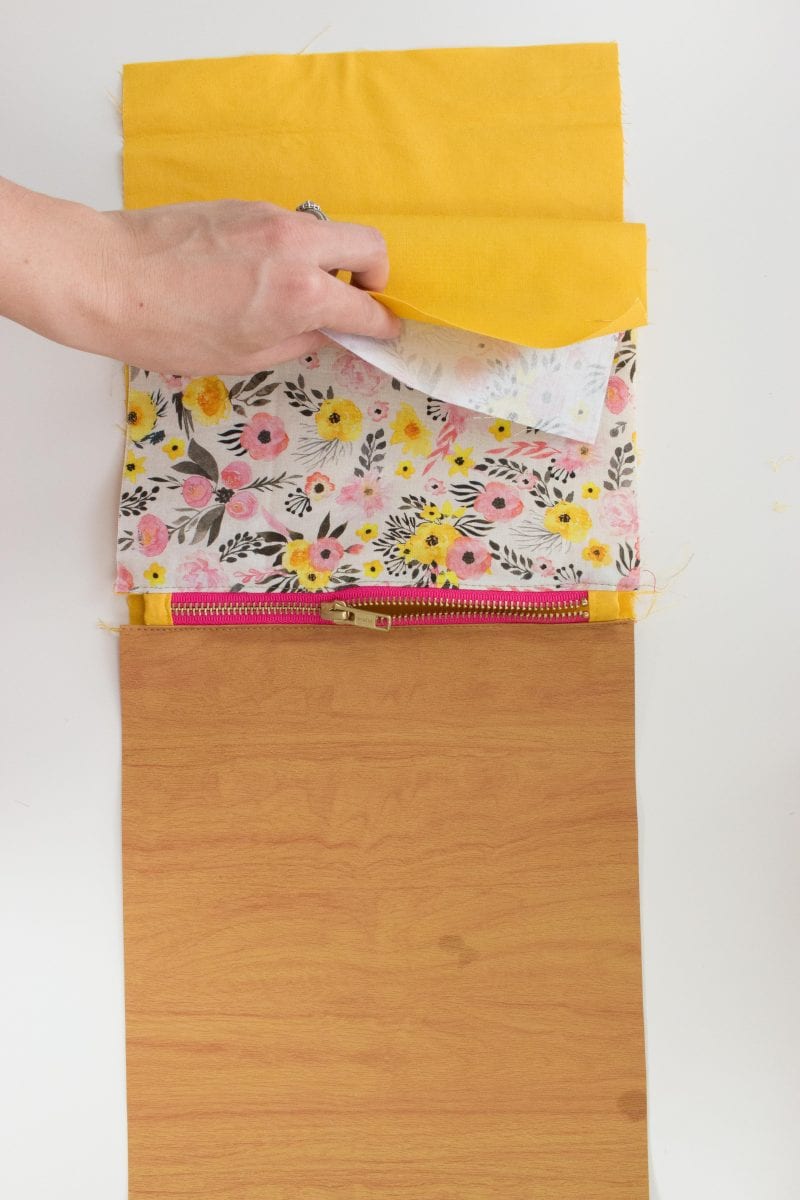
Cut a piece of Heat N Bond to the size of the opening in the lining. Trim it down to match the seam allowance.
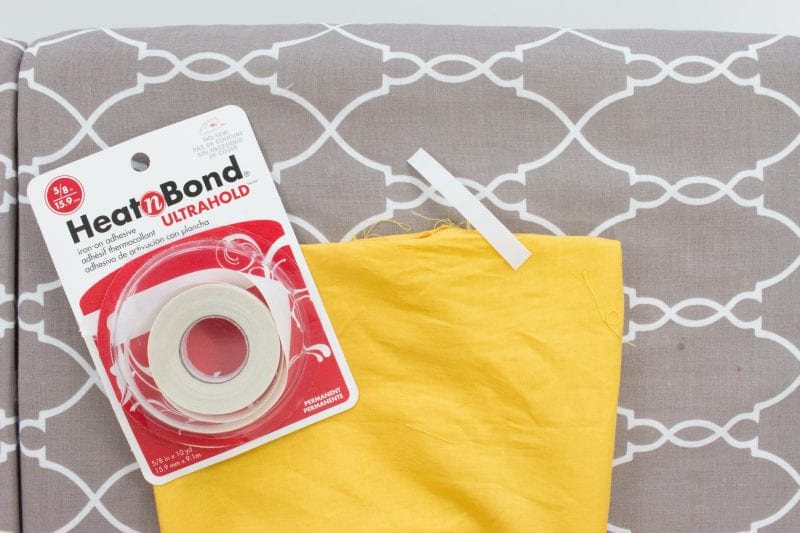
Use an iron to heat the tape, then remove the backing and press the two pieces of fabric together.
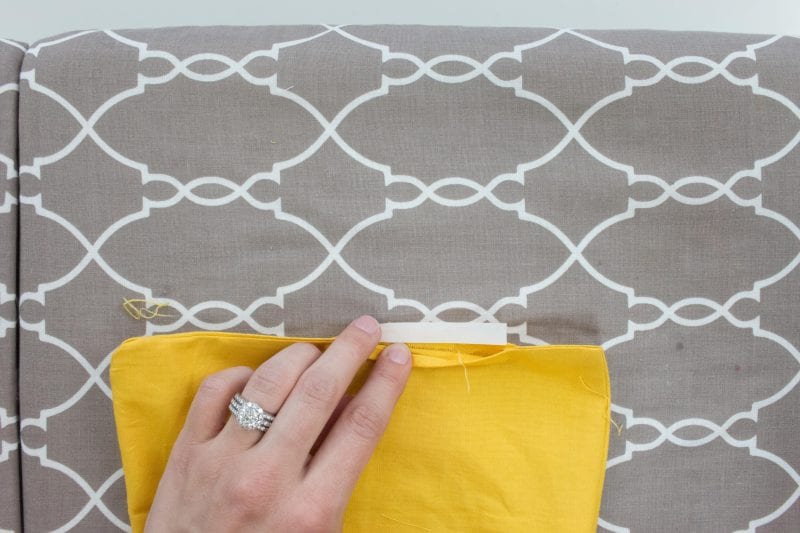
Push the lining into the bag. Use a turning tool to gently push the corners out to create a sharper looking point.
Throw all your necessities in your bag, zip it up, fold it over and you're ready for a night out on the town!
I hope you enjoyed this zippered pouch tutorial, be sure to check out this zipper pouch as well!
Don't want to forget about this sewing tutorial? Save this project to Pinterest here!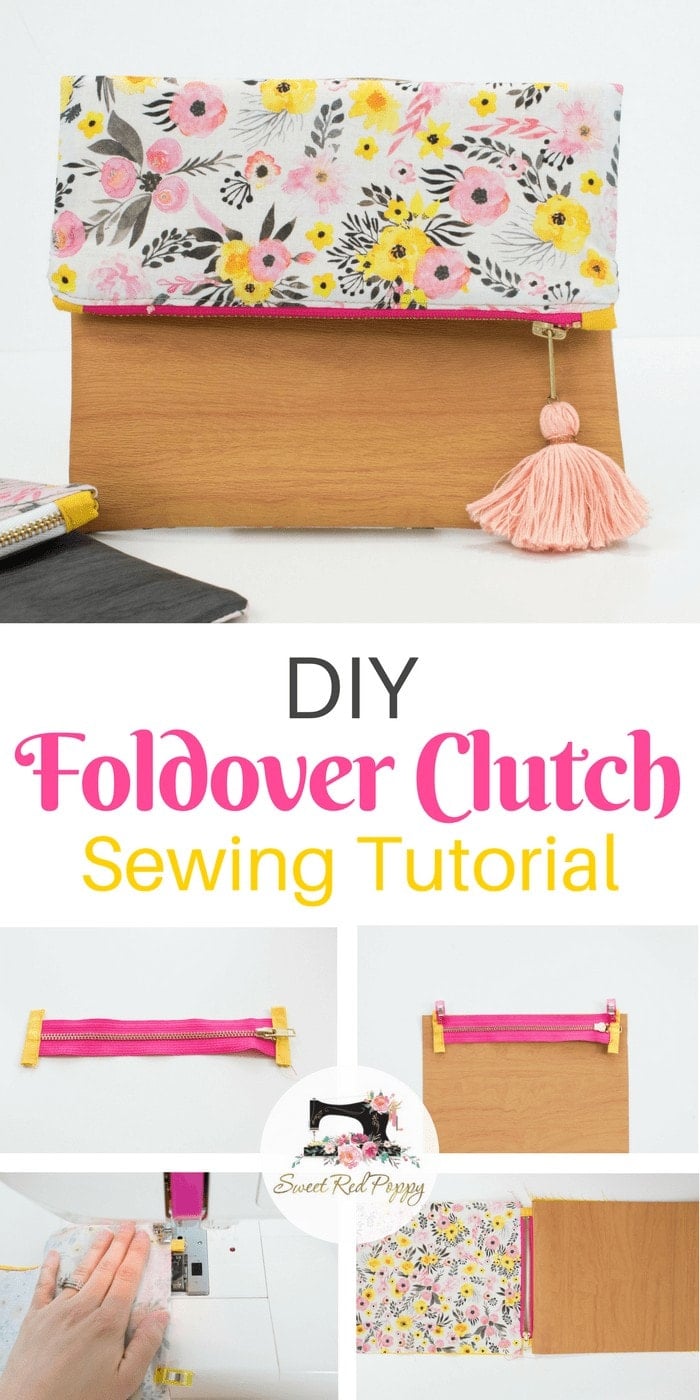
SaveSave
This is so cute! Thanks for sharing. Now to make a few to keep on hand for some gifts.
Thanks so much, Kristie! I'm so glad you liked it! That's a great idea to keep some on hand for gifts! I think I need to make a few more now. 🙂
THANKS! this is so adorable, I can't wait to learn how to do it!
Hi Kim,
I need this clutch! Is there a way to Print the Instruktionen? This way it would also be Rainer to do and keep the conversions to metric. I am just more in to paper. Have a nice evening/ day
Carin
View explicit material safely by choosing verified
adult websites. Opt for reliable sources for discreet
entertainment.
Also visit my web blog buy cialis online
Undeniably believe that that you stated. Your favourite justification seemed to be at
the net the simplest thing to be aware of. I say to you, I definitely get irked at the same time as other people think about concerns that they just do not recognise
about. You controlled to hit the nail upon the highest as neatly as outlined out the whole
thing with no need side effect , folks could take a signal.
Will probably be again to get more. Thanks
Look into my blog Download Windows 11 Cracked
I just couldn't leave your site before suggesting that I
extremely loved the standard info an individual supply in your visitors?
Is gonna be again frequently to inspect new posts
My webpage: BUY VALIUM ONLINE
Spot on with this write-up, I seriously believe that this web site needs a lot more attention.
I'll probably be returning to read more, thanks for the information!
Look at my site; สล็อตเว็บตรง
Toonaangevende adult websites leveren veilig hoogwaardige expliciete
inhoud. Kies voor veilige porno hubs voor een discrete ervaring.
Feel free to visit my page: Buy Rivotril